Masks are a central tool in After Effects that helps you edit image and video elements precisely and achieve creative effects. With masks, you can fade in or out areas in your compositions, animate them, and even create special effects. This tutorial will introduce you to the basics of the mask function and show you how to use it effectively.
Key Insights
- Masks allow you to fade in and out areas in your compositions.
- You can apply different shapes of masks, including rectangles, ellipses, and freehand masks.
- Masks can be used for animations and to create special effects.
- You have the option to edit and soften the edges of masks, which can be important for transitions.
Step-by-Step Guide
1. Create a Composition
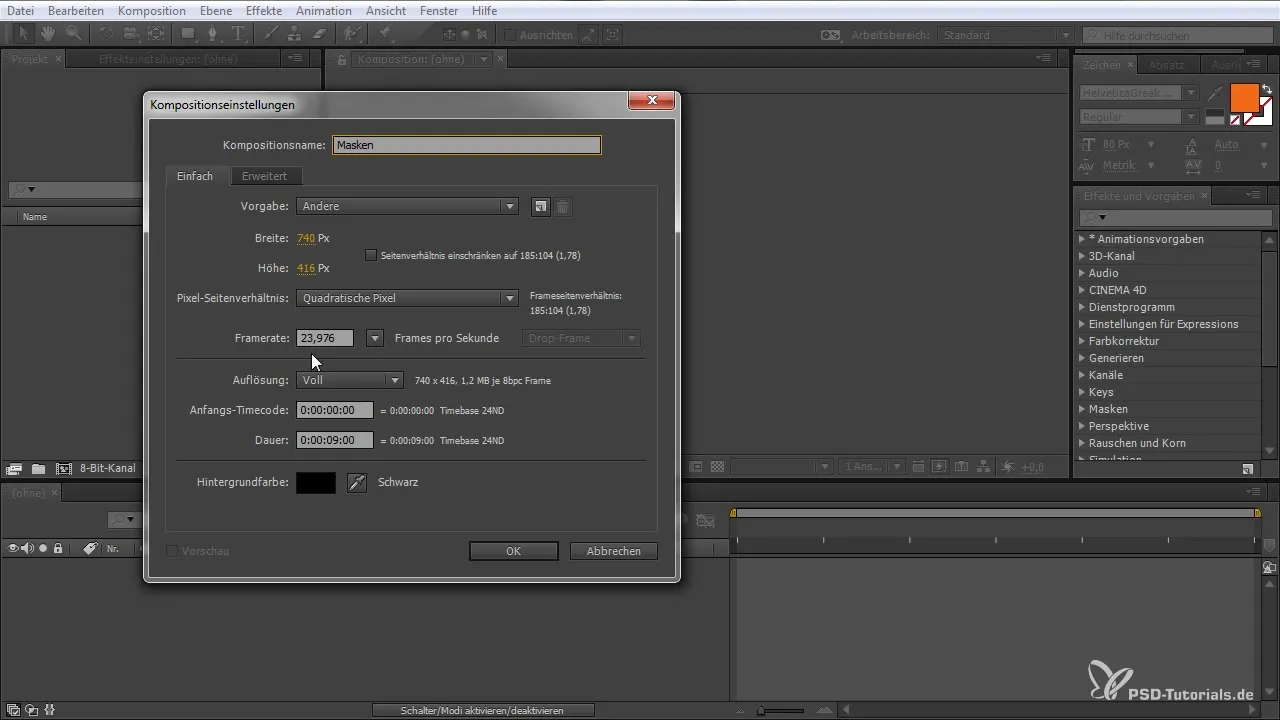
You start by creating a new composition in After Effects. Click on Composition > New. Give the composition a name, such as "Masks," and confirm with "OK."
2. Import Image or Video
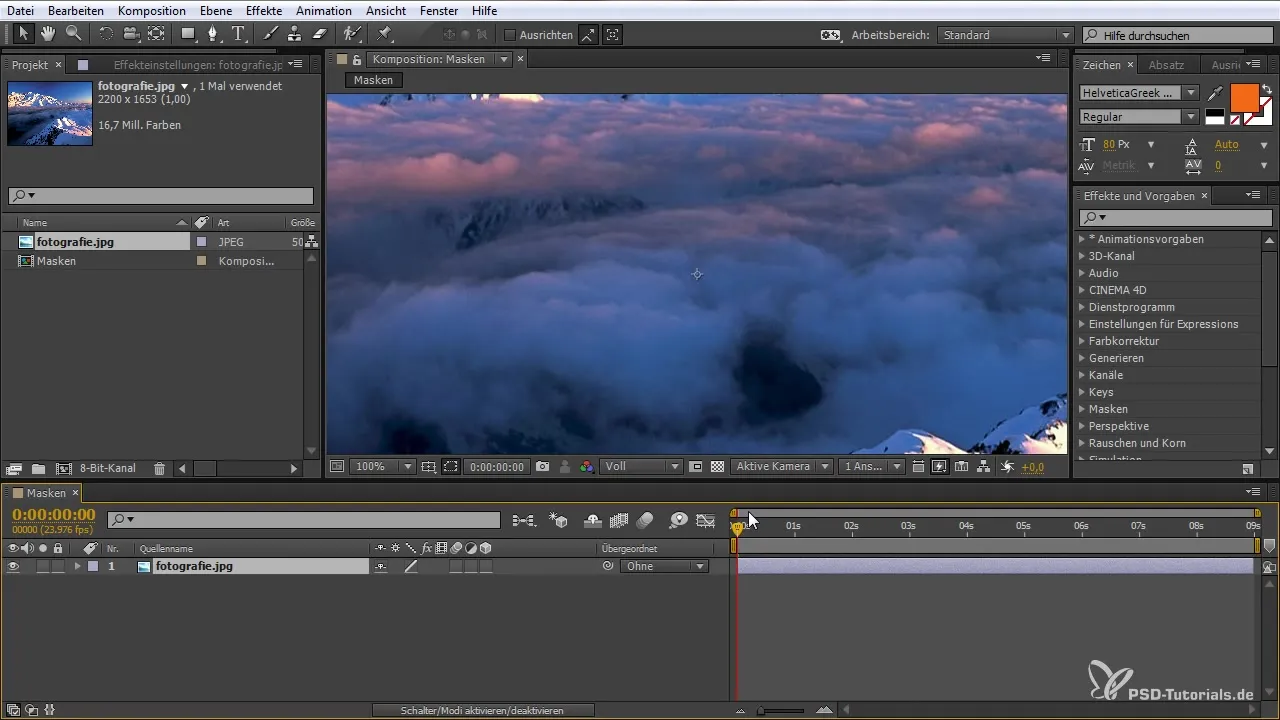
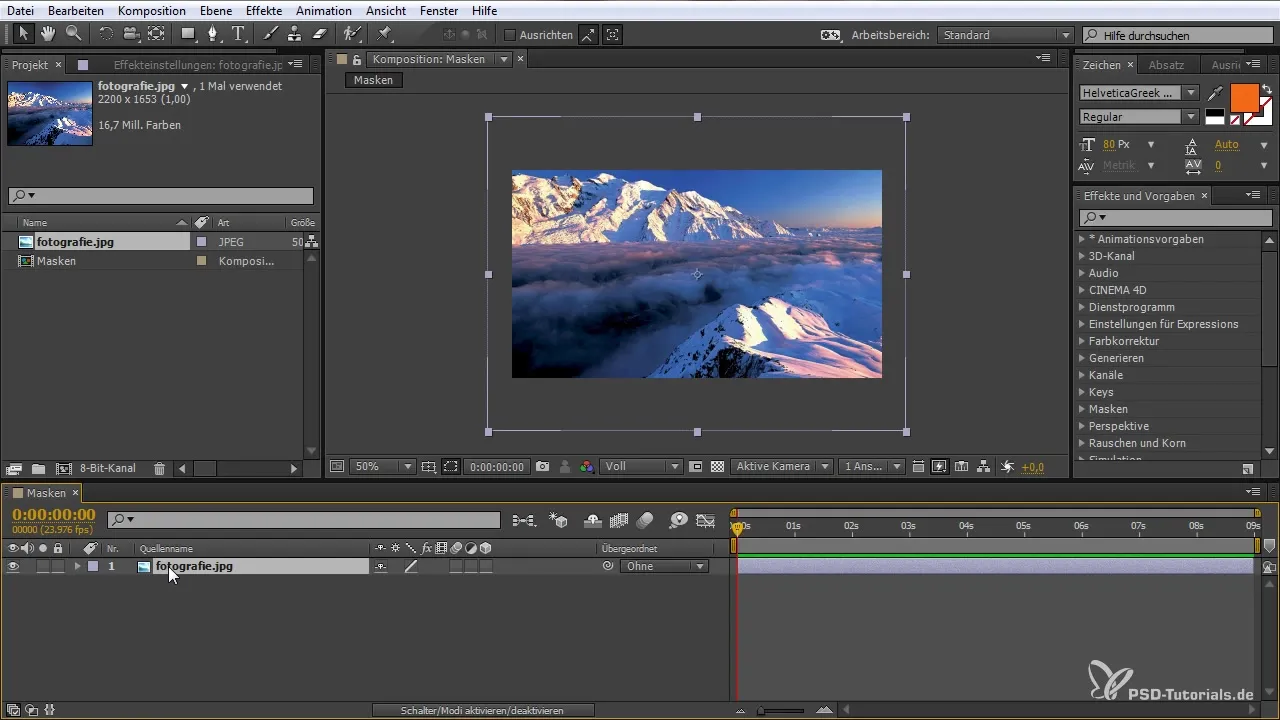
Now drag an image or video into your composition. To ensure it is clearly visible, you can adjust the size by pressing the S key to open the transformation menu and scale the image down.
3. Create a Mask
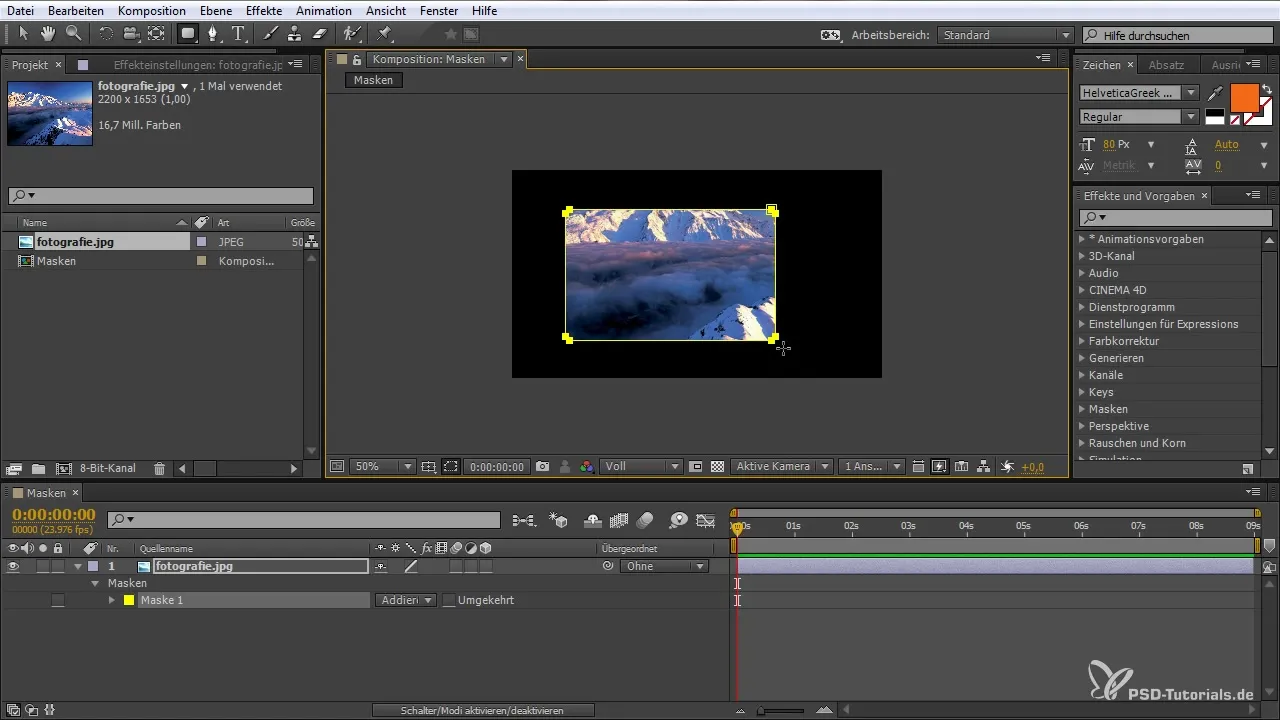
You can create a mask by selecting the Rectangle Tool or the Pen Tool from the tool panel. Click and drag to create a mask that covers the desired area. Alternatively, you can also use the keyboard shortcut Shift + Ctrl + N to quickly create a mask.
4. Activate Mask View
To make the mask visible, you may need to enable the visibility for masks. This can be done from the menu. With Shift + Ctrl + H you can toggle the mask view on or off as needed.
5. Adjust the Mask
After creating the mask, you can further adjust it. With the Selection Tool (V), you can move the corners and edges of the mask using the handles.
6. Change the Shape of the Mask
If you want to create a rounded mask, you can do this by adjusting the settings for the rounded edges. Experiment with the mouse wheel for finer adjustments to the radius.
7. Combine Masks
Masks can also be combined. You can create two masks and combine them through the "Masks" menu, for example by "Subtracting" or "Adding" to achieve interesting effects.
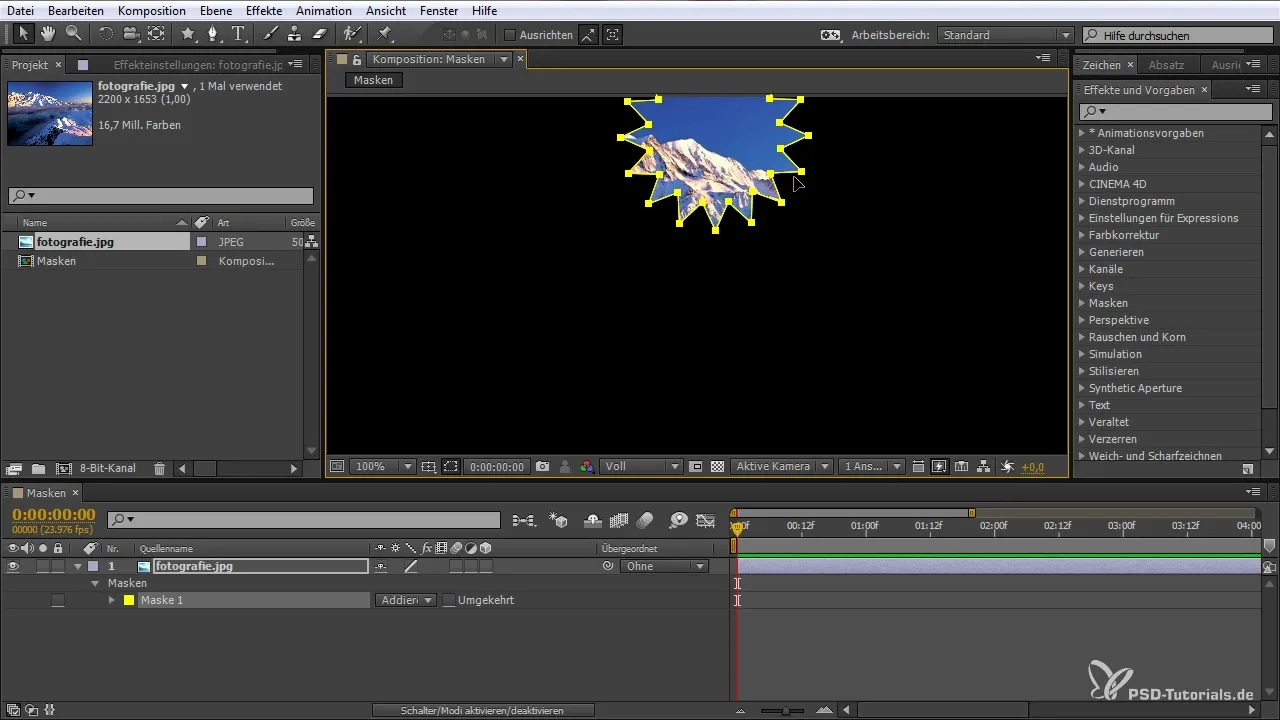
8. Animate Masks
To animate a mask, set keyframes for the mask path. Simply click on the mask and navigate to the mask properties. Here, you can animate rollbacks and changes.
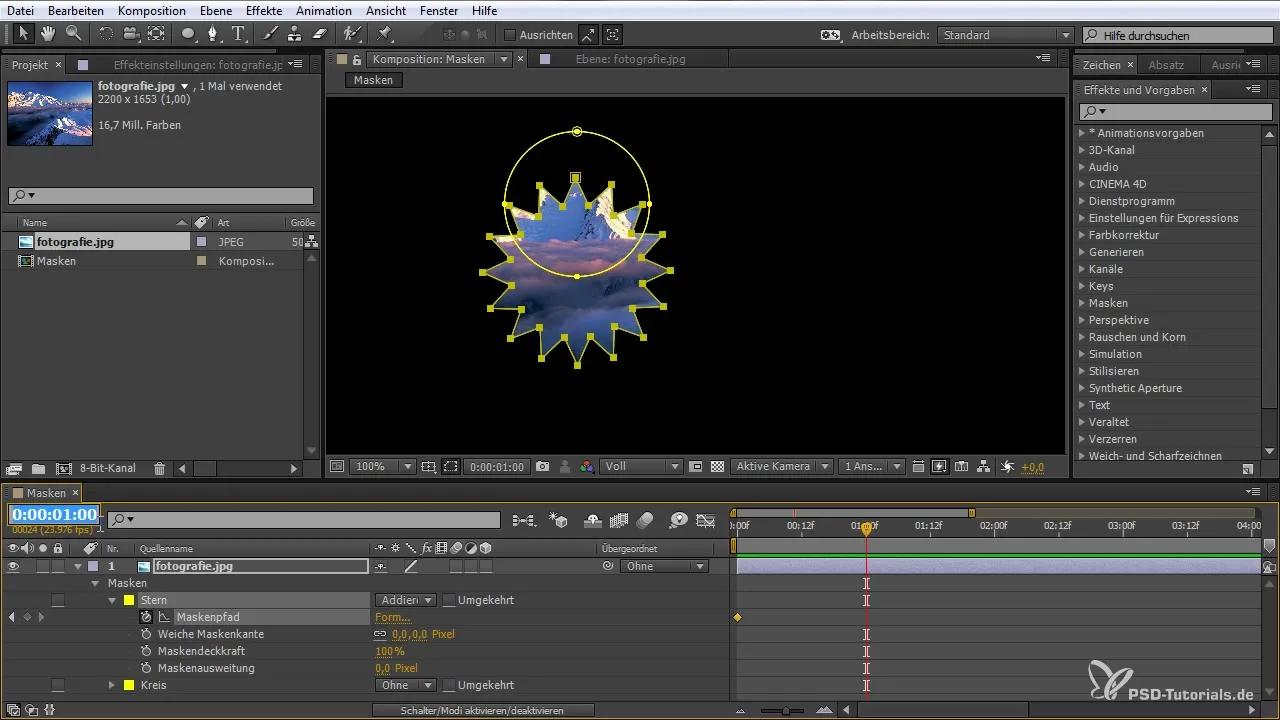
9. Use Soft Mask Edges
If you need softer transitions or want to create fades, the soft mask edges tool is helpful. Enable the option in the mask settings to create a smoother transition.
10. Activate and Deactivate Masks
Activating and deactivating masks can be useful when you have multiple masks that you do not want to see at the same time. This helps maintain order and clarity.
Summary - Masks in After Effects: Your Practical Guide
In this guide, you have learned the basic functions and possibilities of masks in After Effects. You have seen how to create, adjust, and combine masks to make your projects more interesting and creative. With these tools, you can elevate your videos to a new level.
Frequently Asked Questions
What are masks in After Effects?Masks allow you to fade in or out specific areas of layers in After Effects.
How do I create a mask?To create a mask, select the rectangle tool or the pen tool and drag the desired shape over the layer.
What can I achieve with masks?With masks, you can fade in or out areas, create animations, and generate effects like soft transitions.
How can I control the visibility of masks?You can toggle the visibility with Shift + Ctrl + H to show or hide masks in the workspace.
How do I animate a mask?You animate a mask by setting keyframes on the mask path and changing the position or shape of the mask over time.


