Mocca is a powerful tool available in After Effects for advanced tracking. With Mocca, you can effectively capture complex camera movements and various object movements, for example, adapting objects in videos. This guide will walk you step by step through the tracking process with Mocca so that you can achieve the best possible results from your projects.
Main insights
- Mocca offers you advanced capabilities in the area of tracking.
- You can make adjustments to improve tracking quality.
- Through manual and automated adjustments, you optimize the results.
Step-by-step guide
Step 1: Add video and check the scene
First, you insert your clip into After Effects. Select a scene that is suitable for tracking, ideally with clear, geometric shapes. In our example, we use a scene with a white house that is partially obscured by another building. This complexity presents a challenge that we can handle with Mocca.

Step 2: Adjust brightness
Before you start tracking, it may be helpful to adjust the brightness of the scene. A higher brightness can help improve tracking. Use this technique in professional environments to achieve the desired results.
Step 3: Start Mocca
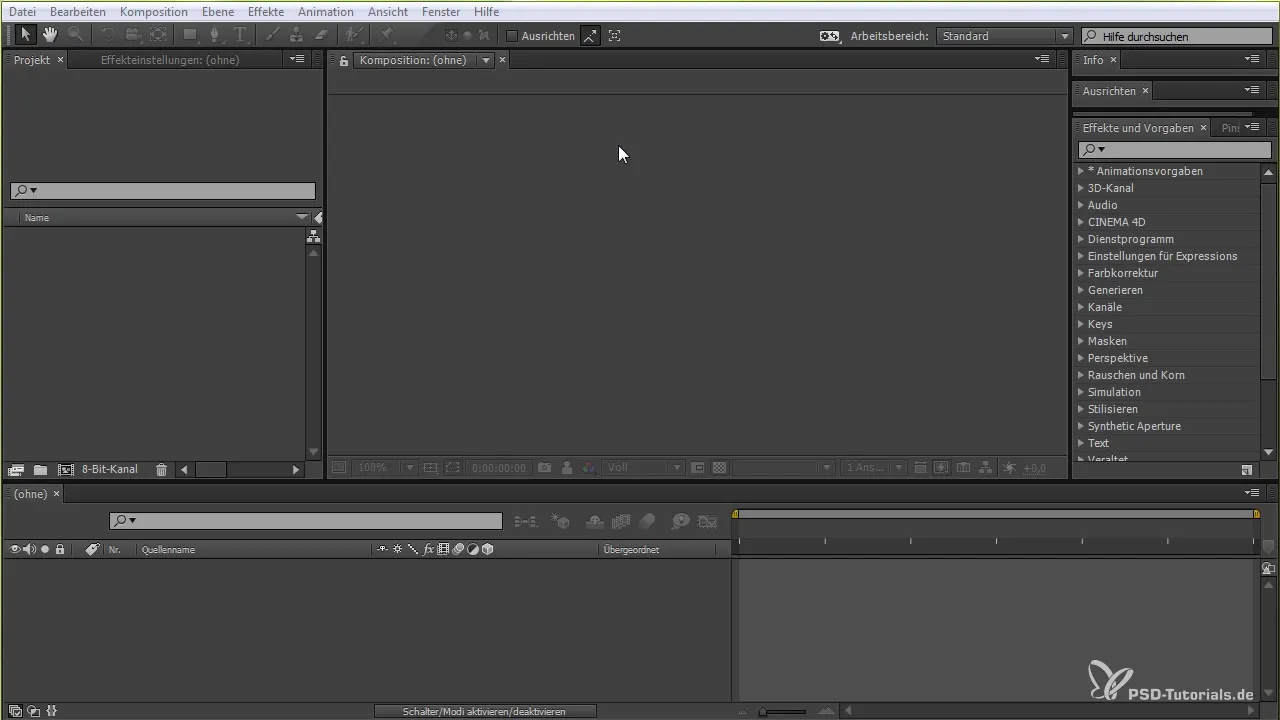
Click on the layer you want to track and navigate to “Animation” and then to “AE in Moka verfolgen”. This will start Mocca and ask you if you want to accept the project as is. Here you can make basic settings like the name of the clip and other parameters.
Step 4: Define tracking period
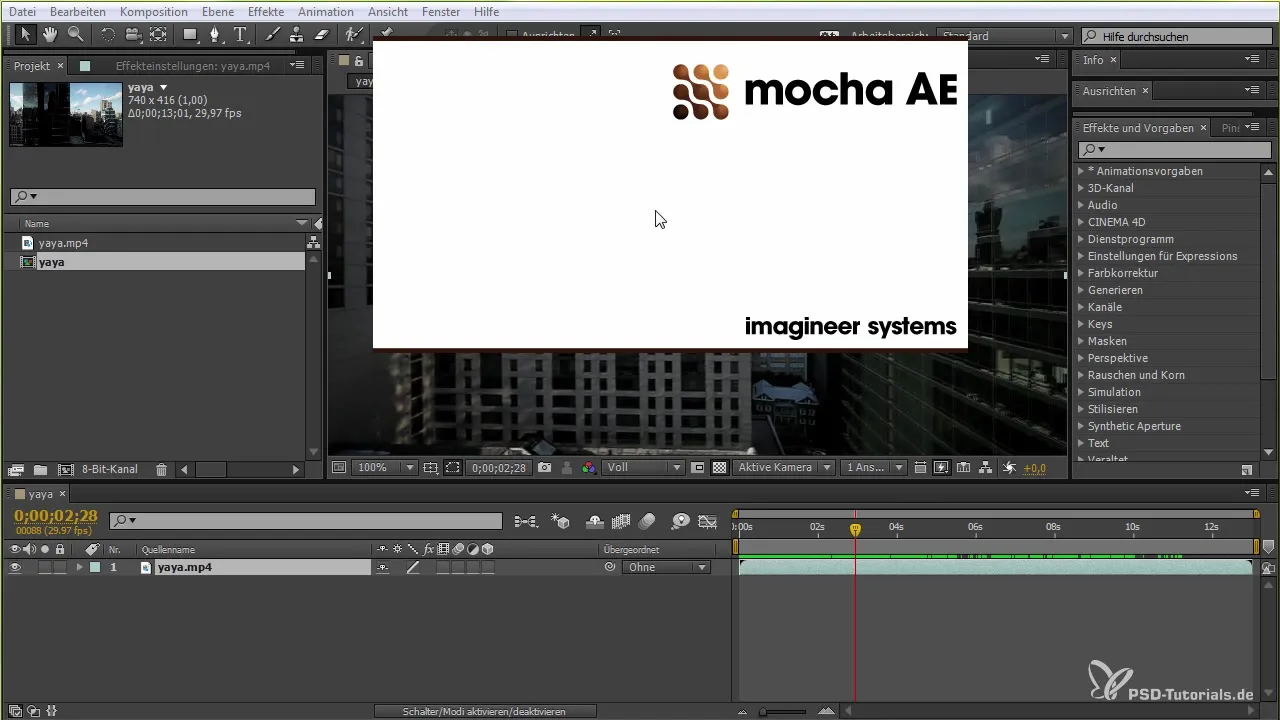
In Mocca, you have the option to move the time marker and thus determine from where to where the tracking should take place. Test different timestamps to achieve the best effect for your scene.
Step 5: Set parameters
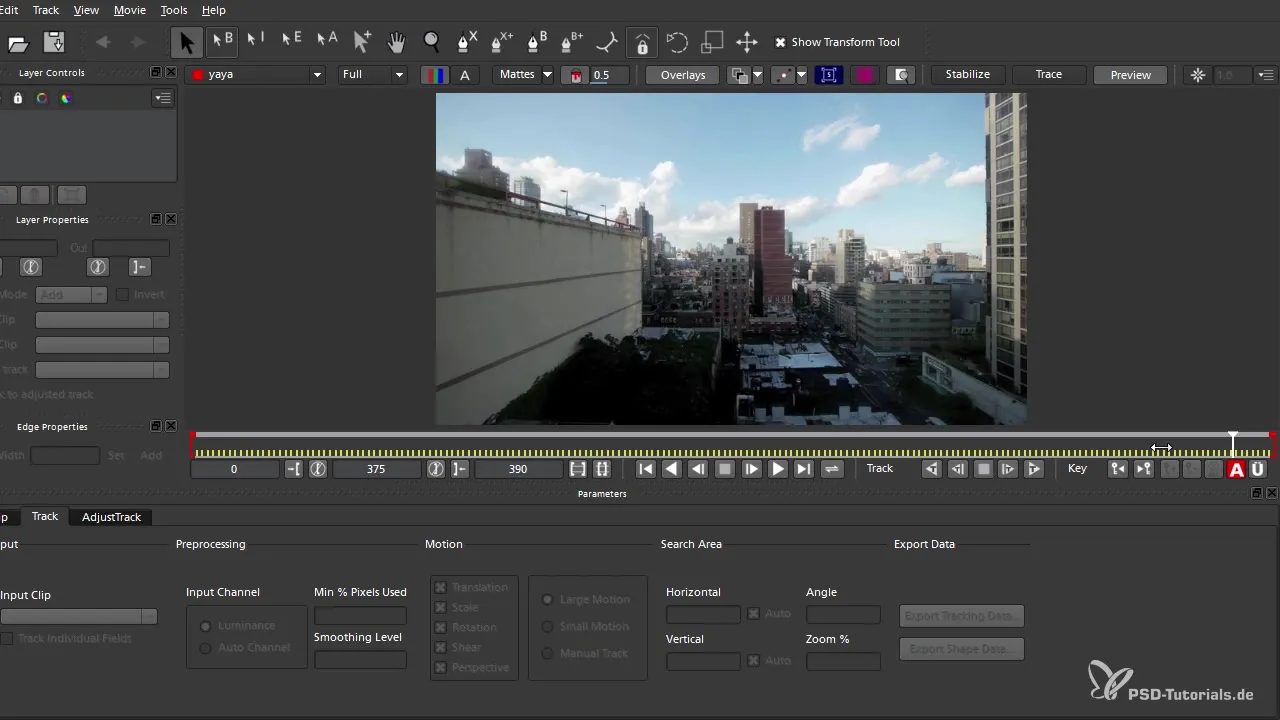
Are you now adding your tracking points? Using the features in Mocca, select prominent points on the building that are suitable for tracking. You can also create lines or splines to clearly define the area.
Step 6: Adjust tracking results
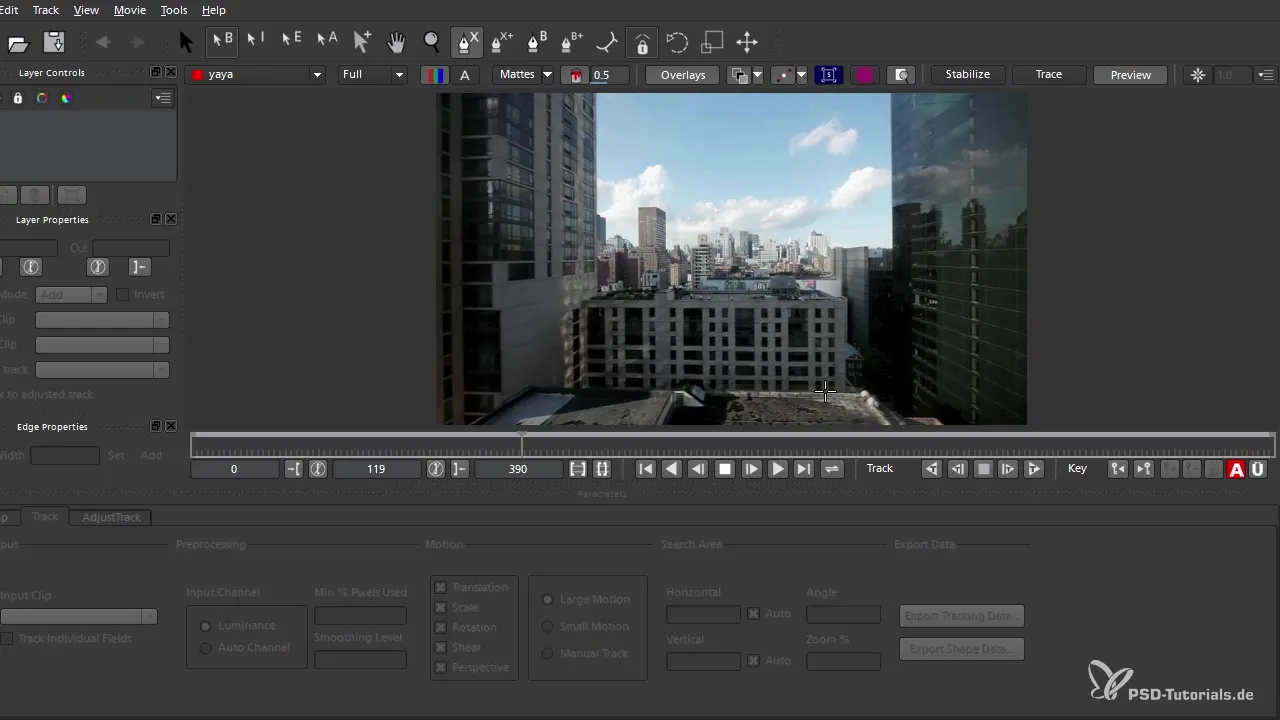
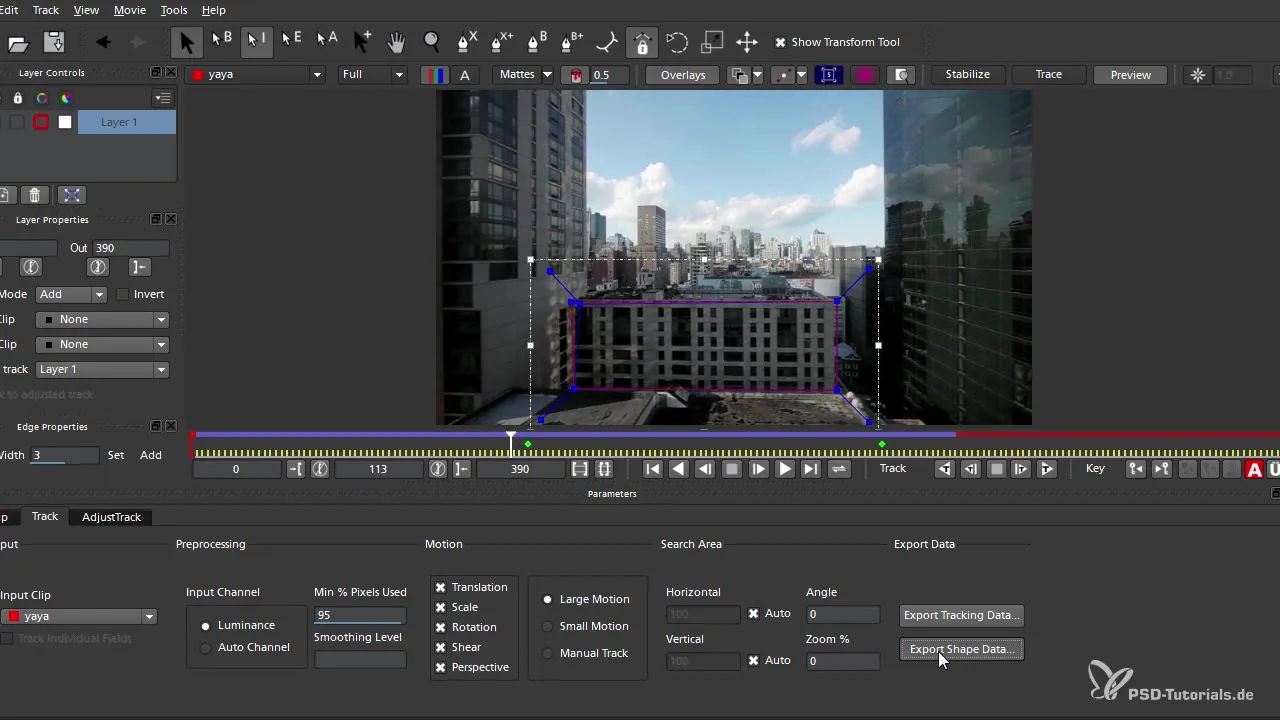
You will find parameters that you can adjust to increase the efficiency of your tracking. For example, you can set the minimum percentage of pixels that should be used for tracking. Higher values usually lead to more accurate results.
Step 7: Save the tracking data
After you have tracked the scene, you can export the tracking data. Select “Export Track Data” and determine how the data should be saved. Make sure to choose the option that fits your existing compositions.
Step 8: Import into After Effects
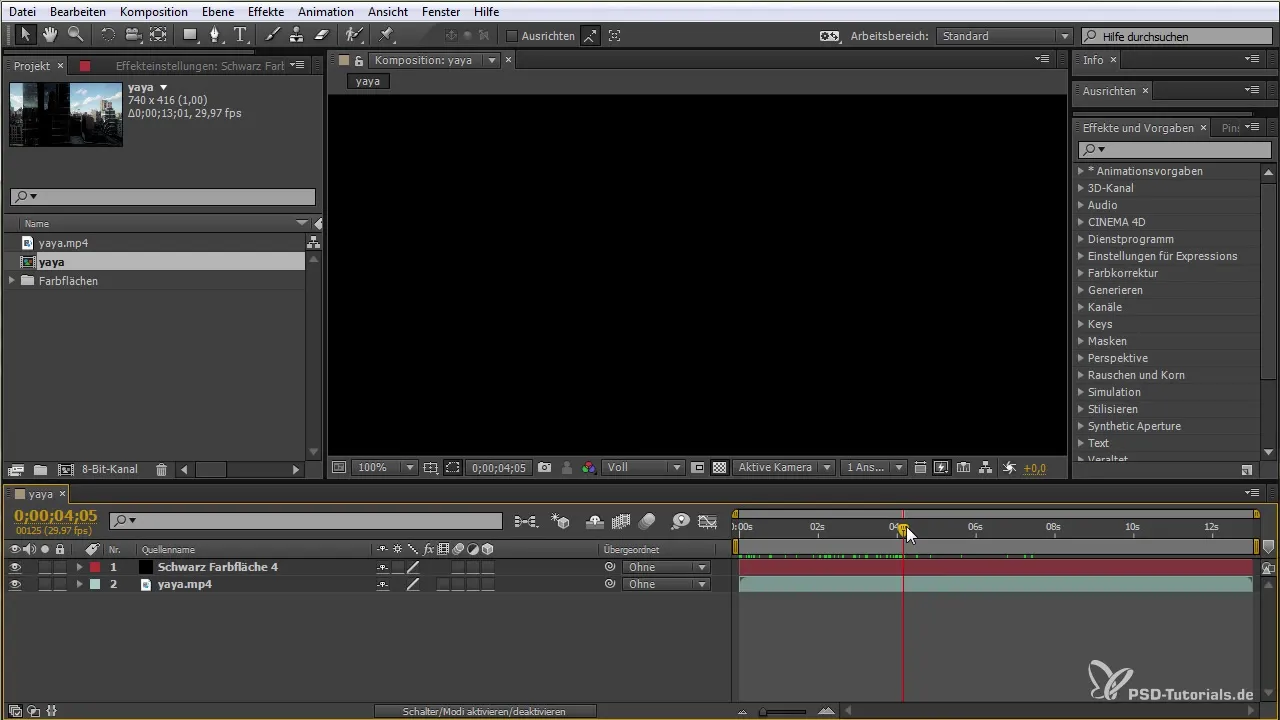
Switch back to After Effects and create a new solid or the layer you want to apply your tracking to. Make sure your time indicator is at the beginning of the timeline before you paste the data.
Step 9: Make adjustments
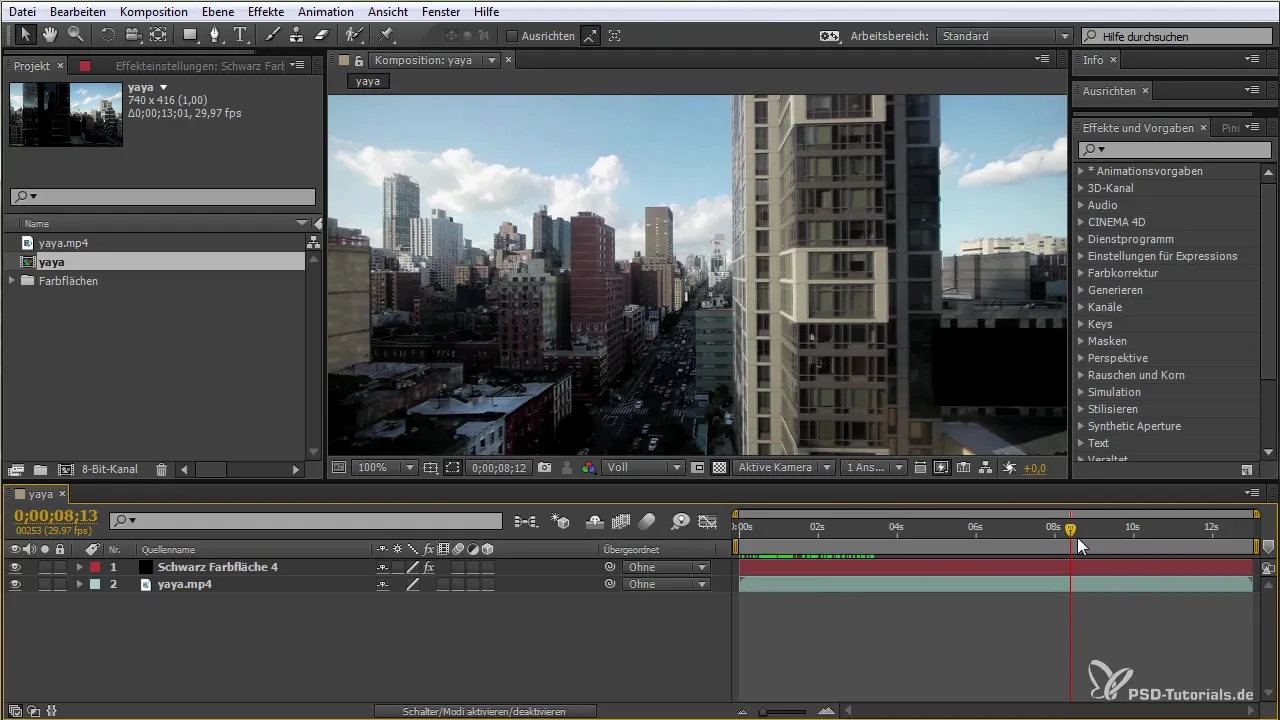
After importing the tracking data, check if everything is placed correctly. You may need to slightly adjust the placement to avoid overlaps and make the scene look clean.
Step 10: Final fine-tuning
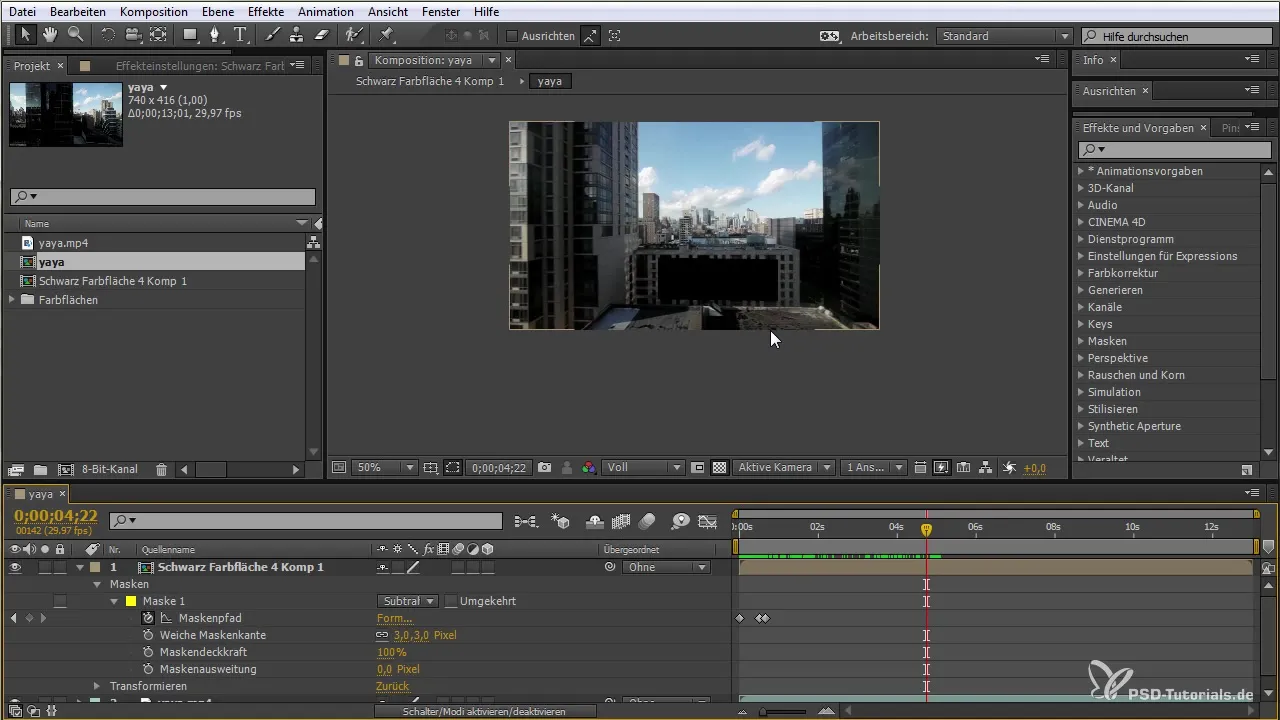
As a final step, check the masks that you may want to apply. Adjust the edges and ensure that all elements of the scene are harmoniously combined. This way, you achieve a professional result.
Summary - After Effects for beginners: Using Mocca correctly
Tracking with Mocca in After Effects allows you deeper control over your animations and content. Through precise settings and manual adjustments, you achieve high-quality results that give your work the final touch. The ability to track complex scenes opens up new creative perspectives for you.


