If you want to create creative effects in your videos, the RGB-split effect is an excellent choice. While this effect often requires special plugins, you can easily create it yourself with After Effects. In this tutorial I will show you step by step how to achieve this popular effect using channel shifting and noise. Let's dive right in and explore the possibilities of After Effects!
Main insights
- RGB-split effect can be created without plugins.
- Channel shifting gives your video a dynamic look.
- Noise can be added to refine the effect.
Step-by-Step Instructions
First, open After Effects and create a new project. A few steps are necessary to create the RGB-split effect. Let's get started.
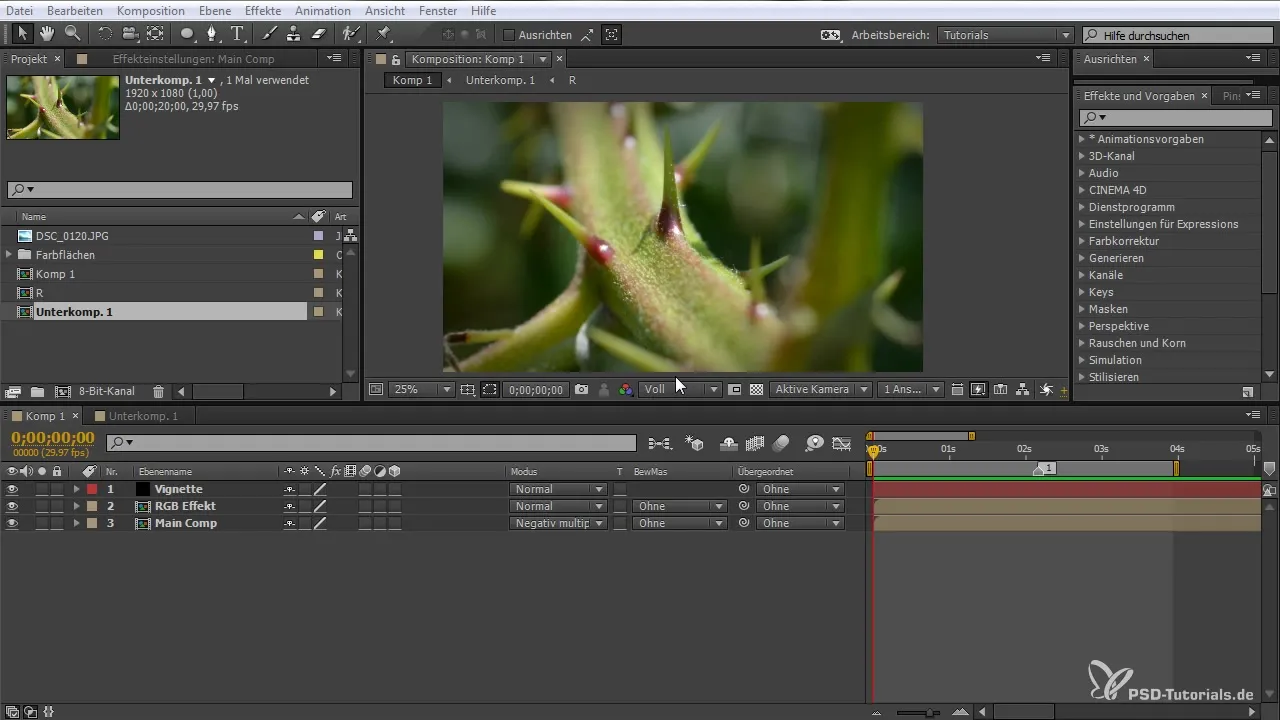
Create Project
Create a new composition by right-clicking and selecting “New Composition.” I recommend setting the size to 120 x 1080 pixels and the frame rate to 30 fps to give yourself enough time for sprite effects.
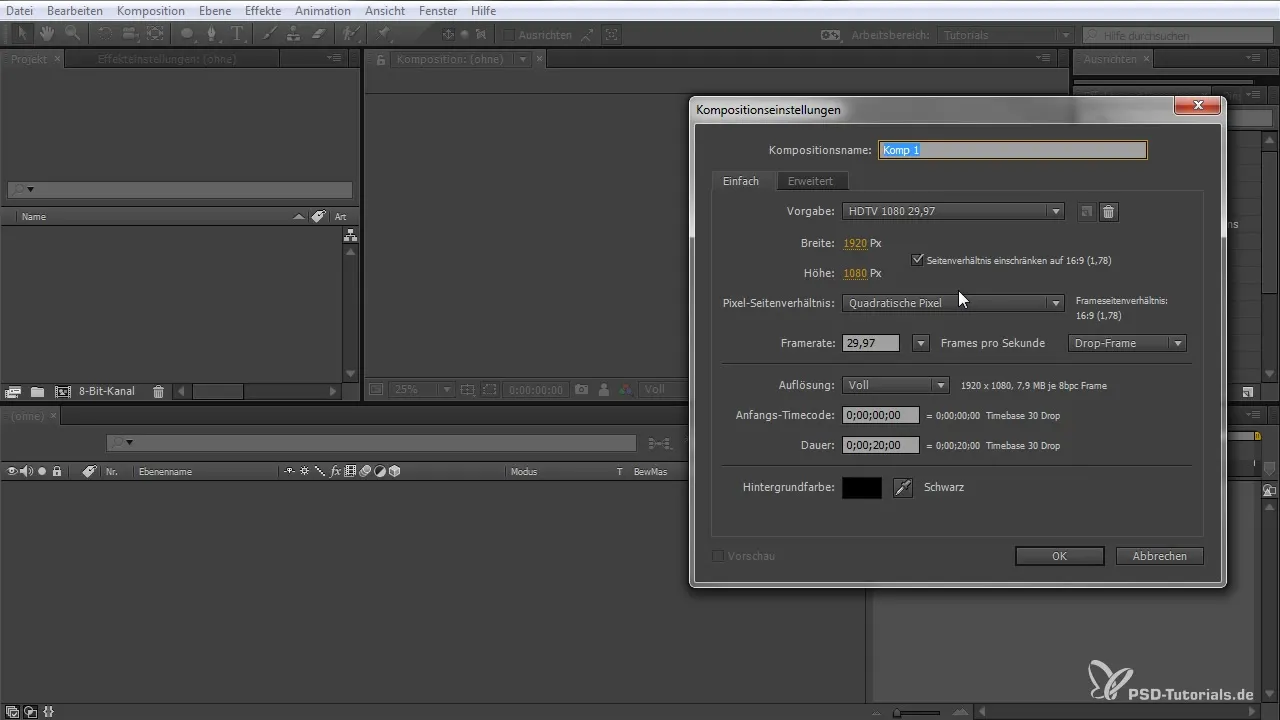
Import Image
Import an image or video into your composition. Just drag it into the composition window. Once you have successfully imported your image, you can also enable the preview to ensure everything looks correct.
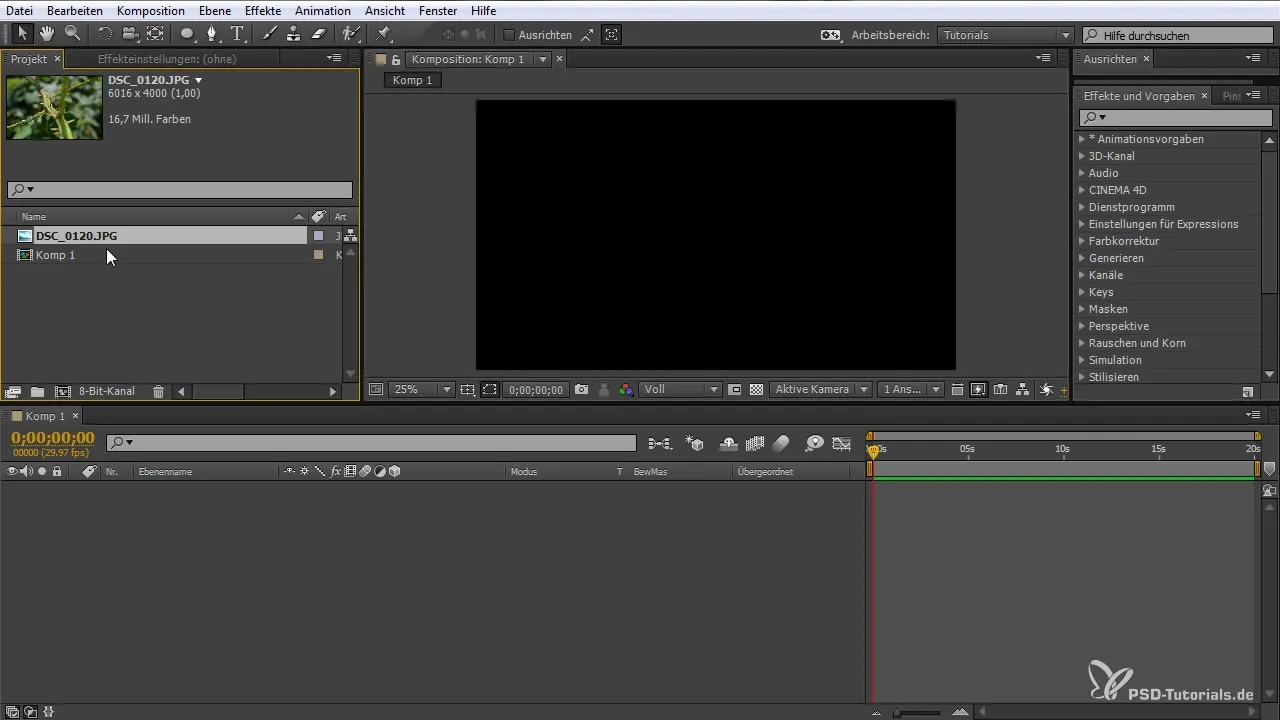
Create Subcomposition
Press the keyboard shortcut CTRL + SHIFT + C to create a new subcomposition. Simply name it “R” and make sure to leave the attributes in the composition so that you can access them later.
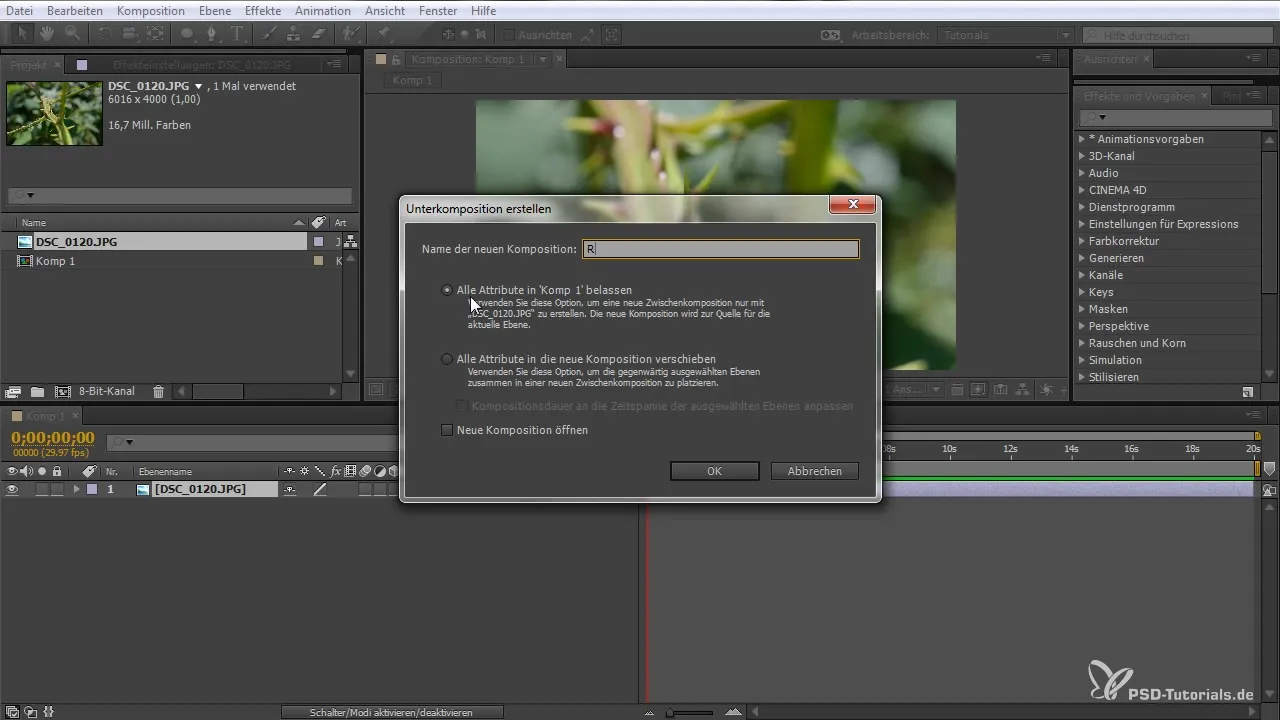
Adjust Channels
Navigate to the effects and select the option for channel shifting. Drag this effect onto your layer. When selecting the channels, it is important to configure each channel to work individually. Temporarily disable the other channels.
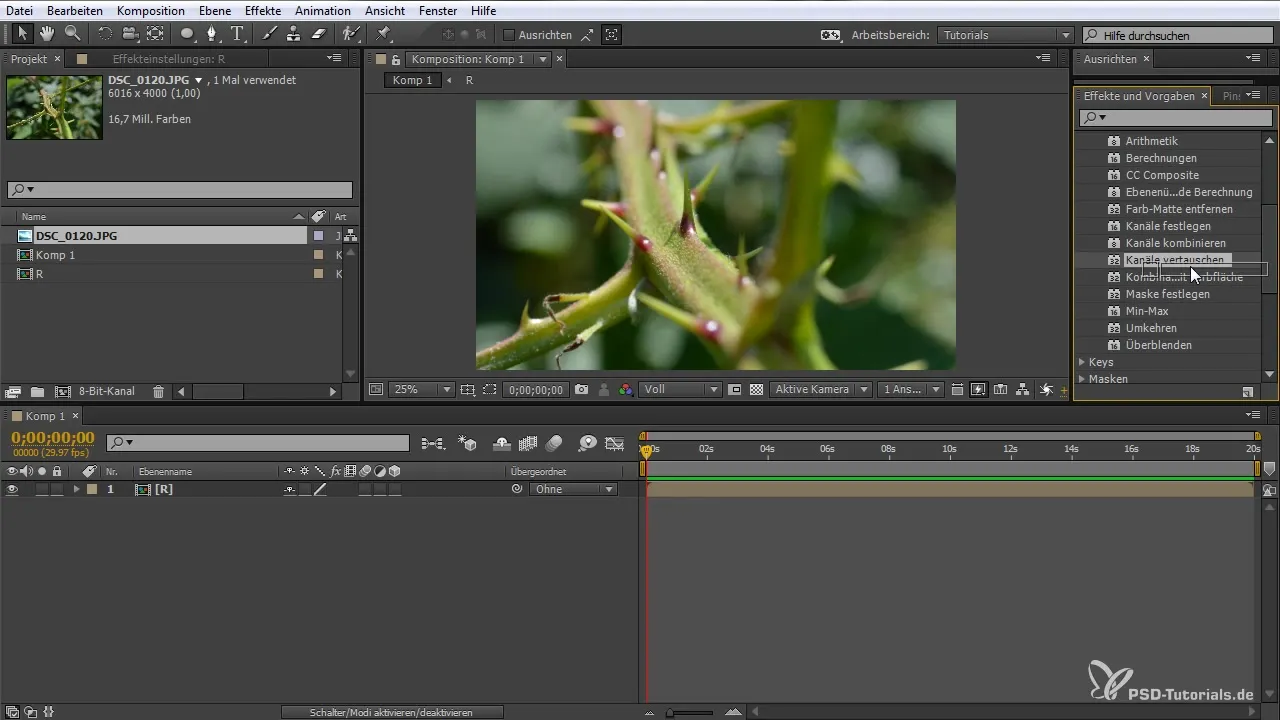
Activate and Adjust Channels
Now activate the red, green, and blue channels one by one to shift the colors. Note that the red channel must always be first. Shift the RGB channel and make sure to set the blending mode to “Negative Multiply.”
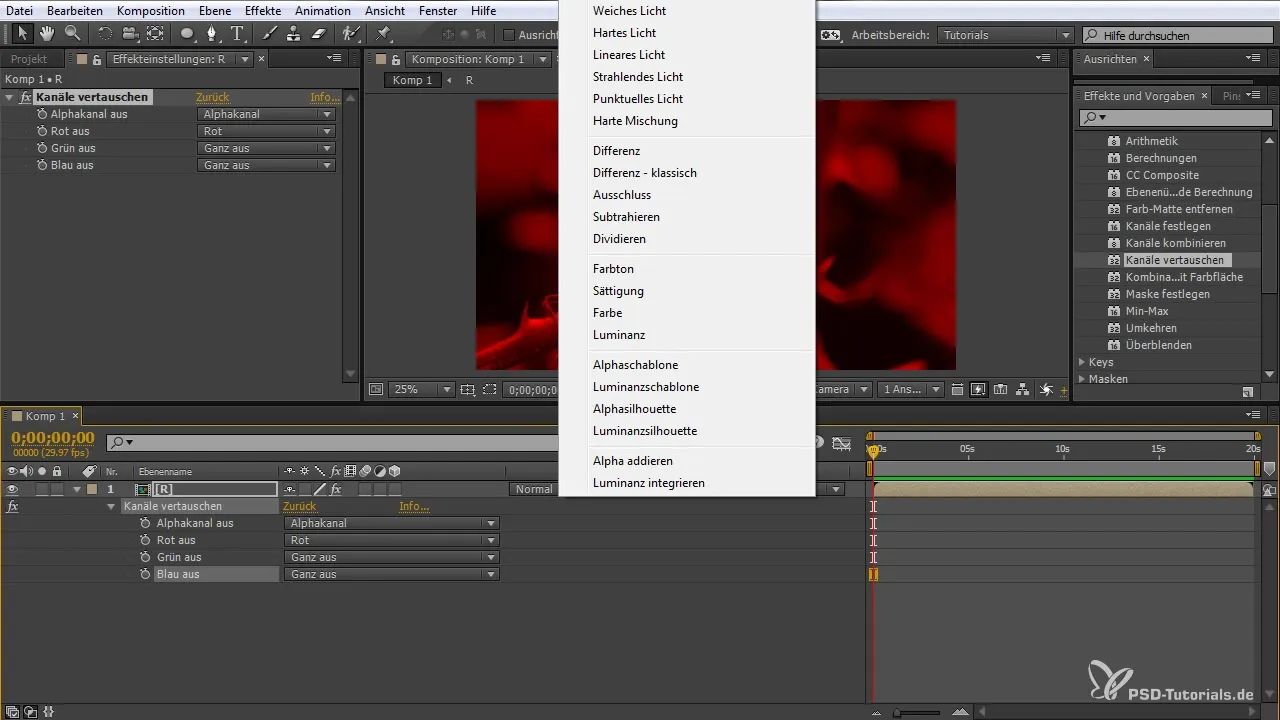
Set Keyframes
To create the animation, press the “P” key to show the position of your layers. Set keyframes for the shift of each channel so that the RGB-split effect looks dynamic. Ensure that the movement values do not exceed the boundaries of your image dimensions.
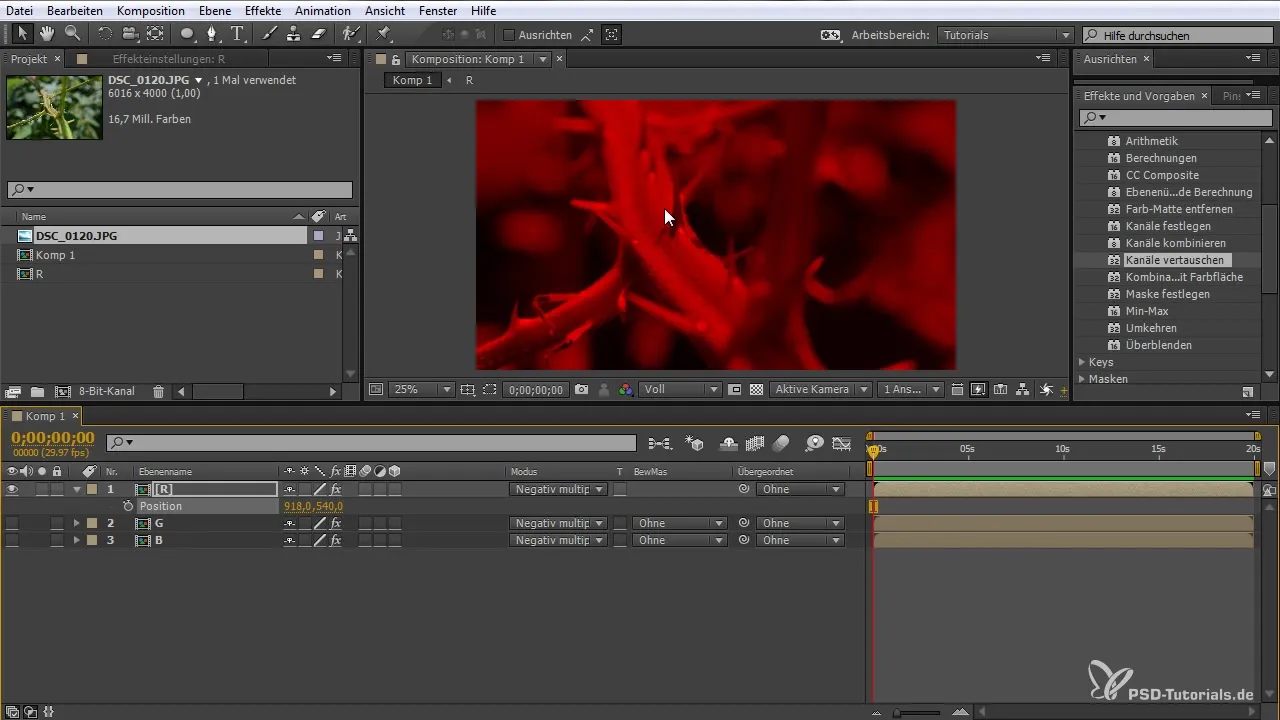
Preview the Animation
Create a RAM preview to see how your RGB-split effect looks. Experiment with shifting the keyframes to test different speeds of the animation.
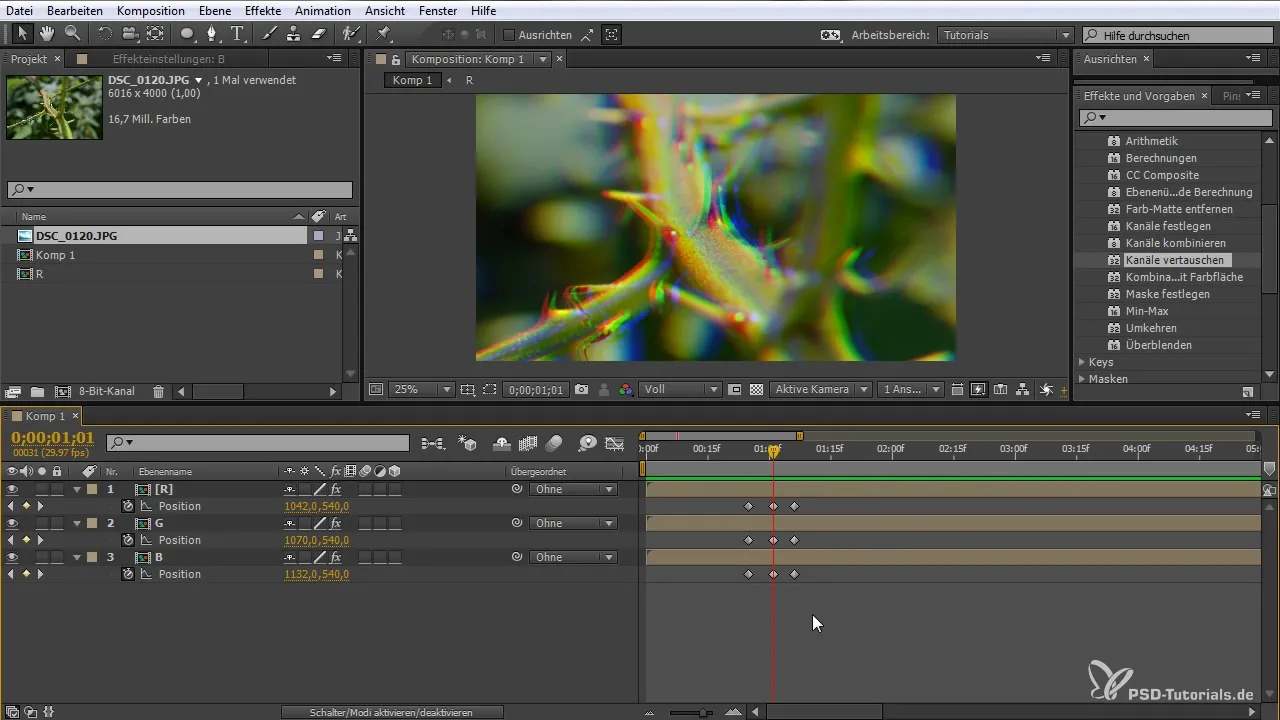
Add Noise
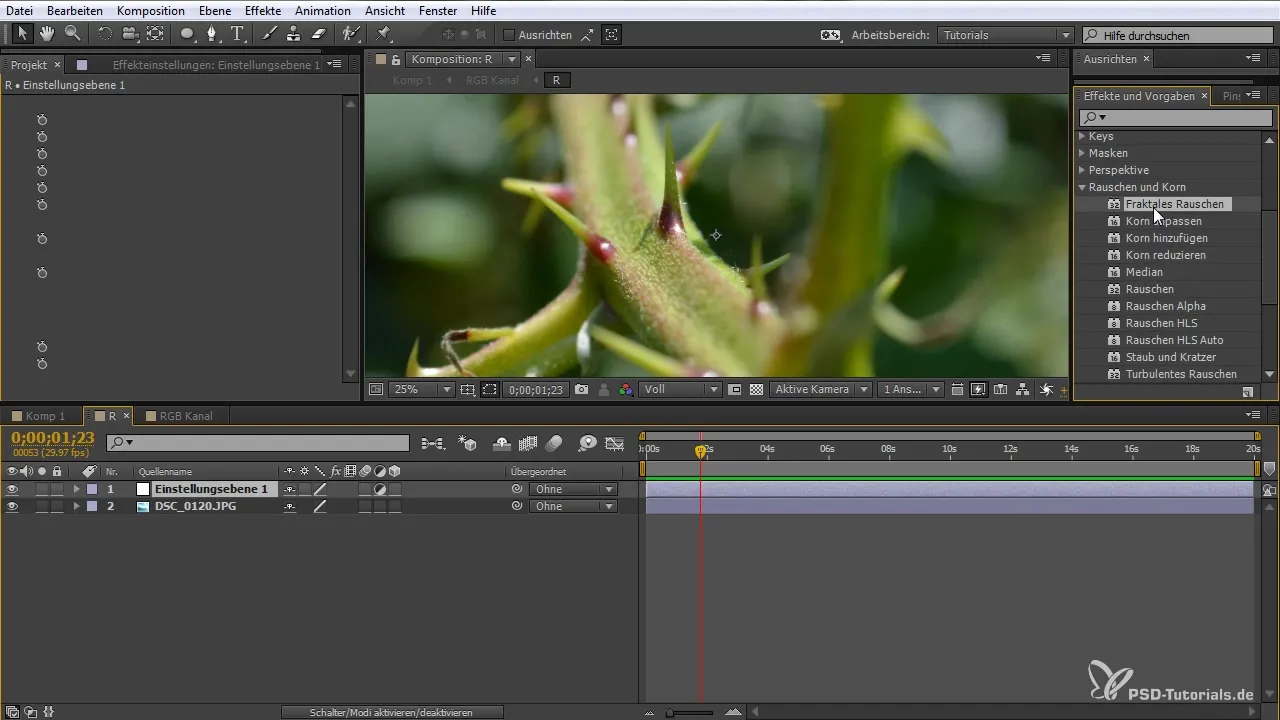
If you want to add noise, create a new adjustment layer (CTRL + ALT + N). Select the “Fractal Noise” plugin and adjust the settings to optimize the performance of your effect and achieve the desired intensity.
Create Vignette
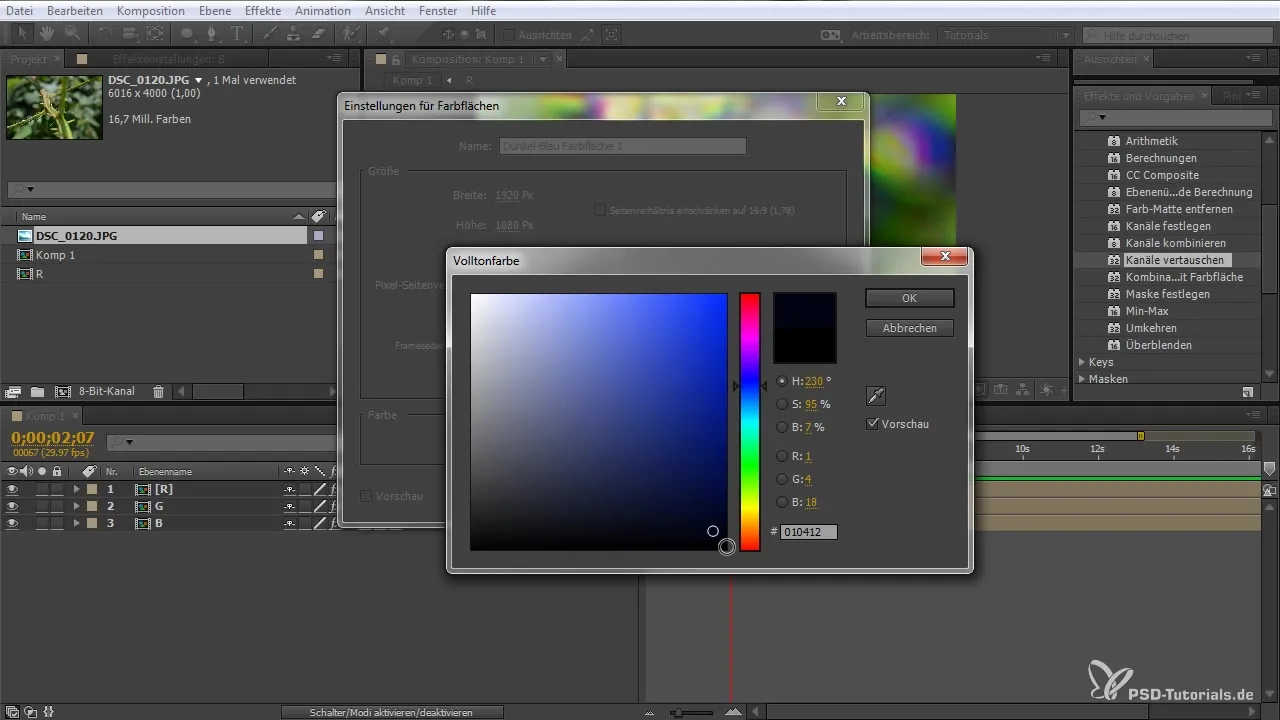
In addition to the RGB-split effect, you can create a vignette. To do this, right-click on the composition and create a new solid. Name it RGB-vignette and set it to “Subtract” to ensure it integrates well into the overall image.
Merging Effects
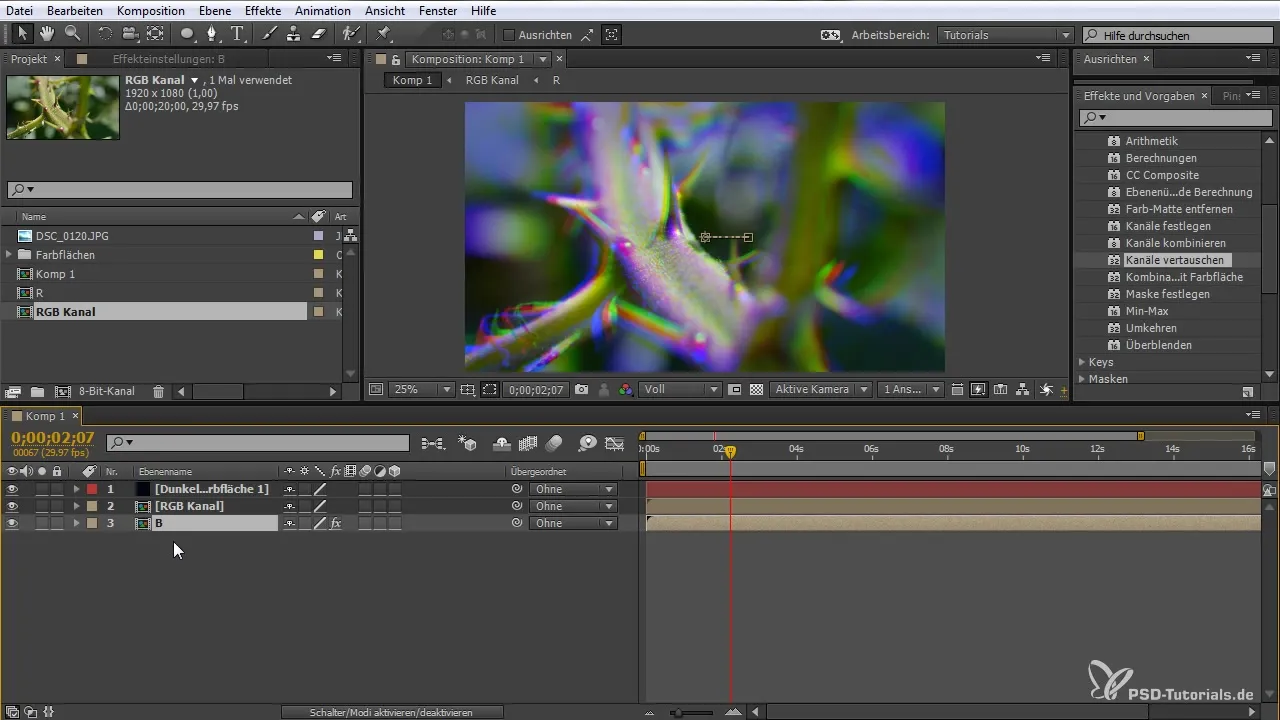
Create another subcomposition where you can merge all the RGB channels and the noise together. Disable any redundant layers to sharpen and optimize the effect.
Final Adjustments
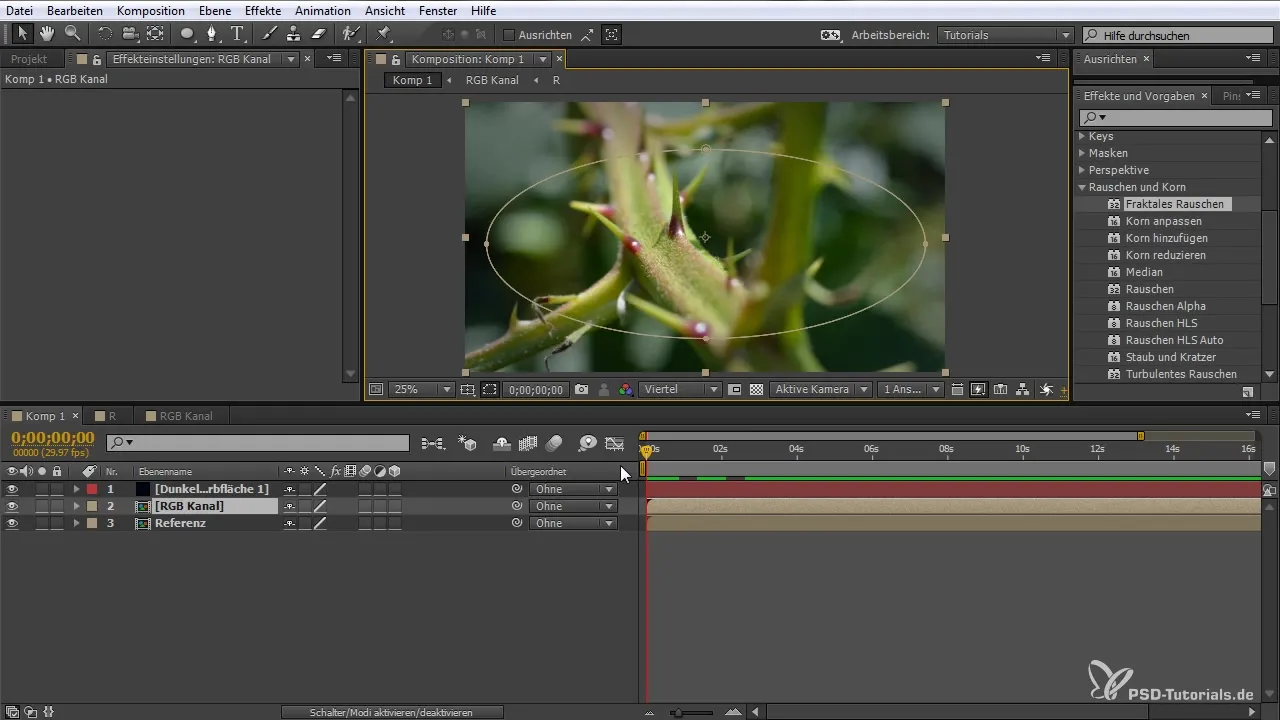
Go back to the main composition so you can review all the changes and see how the effects work together seamlessly. Make sure the animated elements are synchronized and that the overall effect looks as you envisioned.
Summary - Create RGB Split Effect in After Effects
With the steps presented, you have now learned how to create an RGB-split effect in After Effects without expensive plugins. With a little practice, you will be able to craft unique and engaging visual effects.
Frequently Asked Questions
How long does it take to create the RGB-split effect?The time depends on your experience with After Effects. A beginner might take about an hour.
Can I customize the effect?Yes, you can adjust the intensity and colors to your liking.
Do I need special plugins for this effect?No, the RGB-split effect can be created using the built-in features of After Effects.


