Creating an animated wedding card in After Effects adds a special touch to any celebration. You can work with images and texts to create an impressive card that will amaze your wedding guests upon seeing it. In this guide, you will learn step by step how to animate your personalized wedding card.
Key takeaways:
- You will learn the basics of animation in After Effects.
- You will learn how to integrate images and texts into your wedding card.
- You will receive valuable tips on using animation effects.
Step-by-Step Guide
Step 1: Prepare Materials
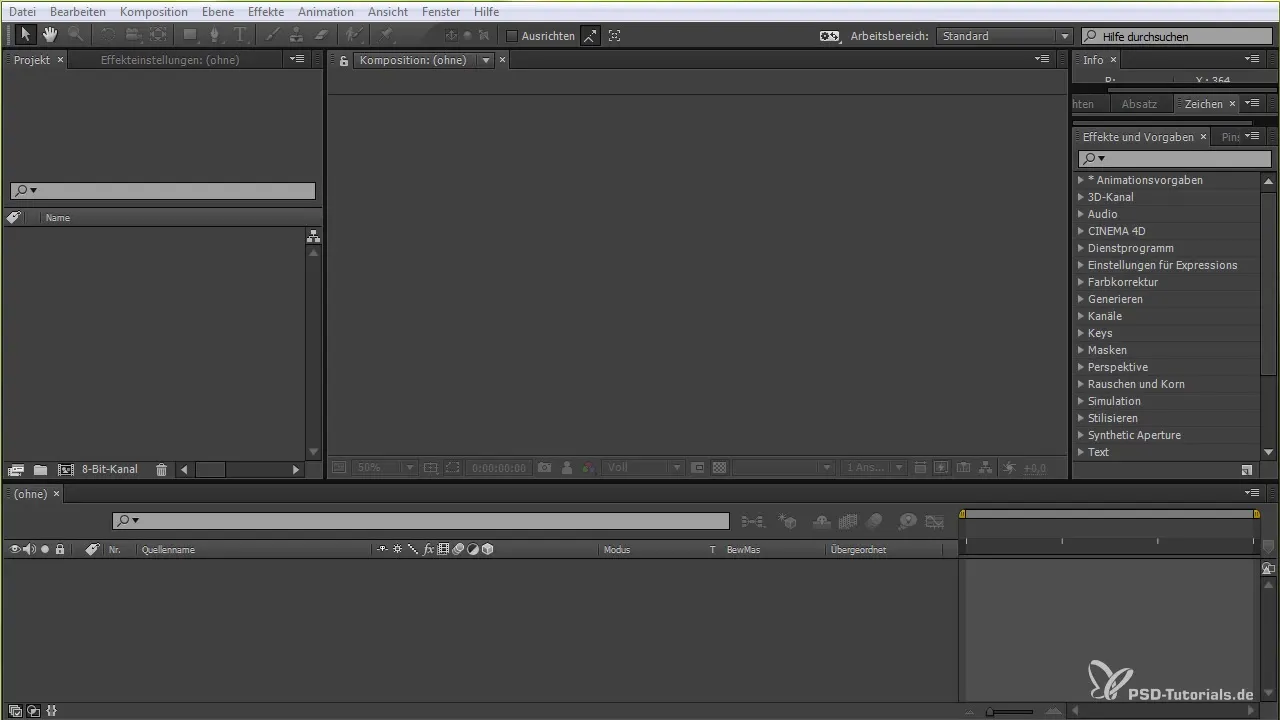
First, take a look at the materials available to you. These materials include images and text templates that you can customize later. Place the materials in After Effects to set up the composition and facilitate the creation.

Step 2: Set Up the Composition
Open After Effects and create a new composition with dimensions of 1280 x 720 pixels. Name this composition accordingly, for example, “Wedding Card.” Ideally, you should also create a new folder for your materials to maintain organization.
Step 3: Add Images
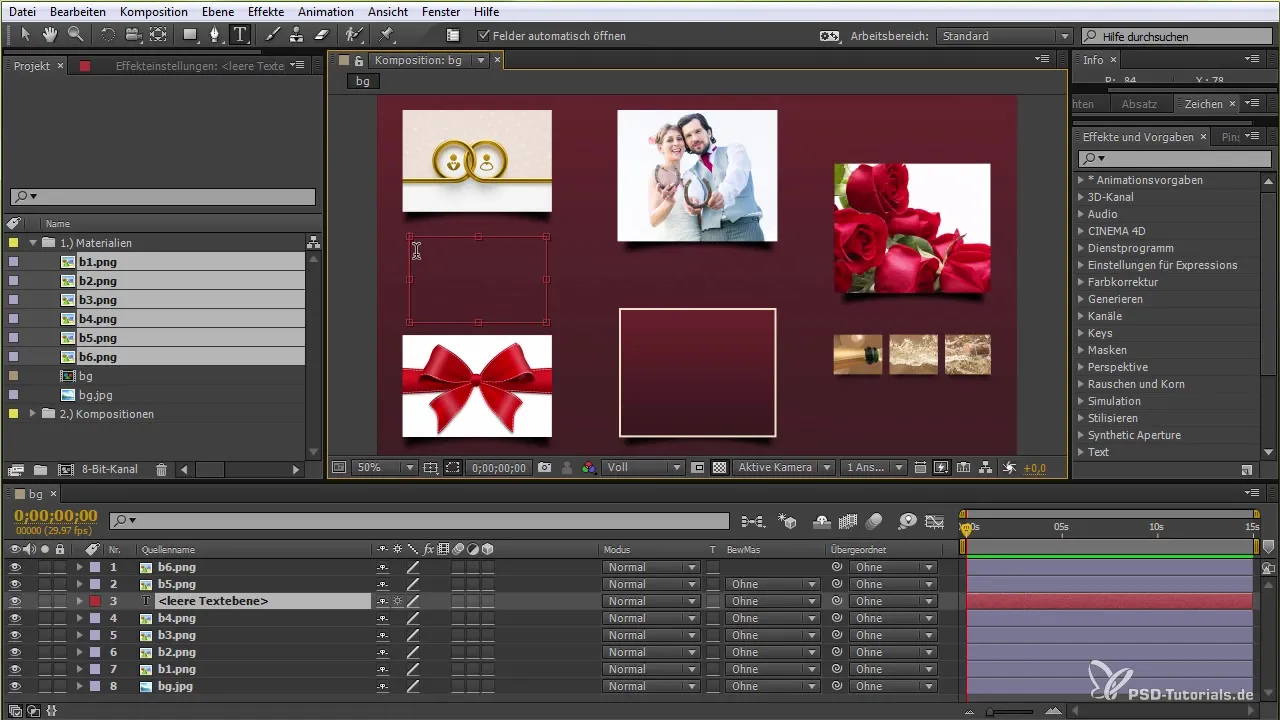
Now add the prepared images to your composition. Simply drag the images into the composition. Make sure to choose the right position so that the images are well visualized.
Step 4: Add Text
To personalize your wedding card, add text. Click on the text tool, draw a rectangle, and enter the relevant information, such as the names of the couple and the wedding date. Ensure that the font is legible and fits perfectly with the card's design.
Step 5: Structure the Card
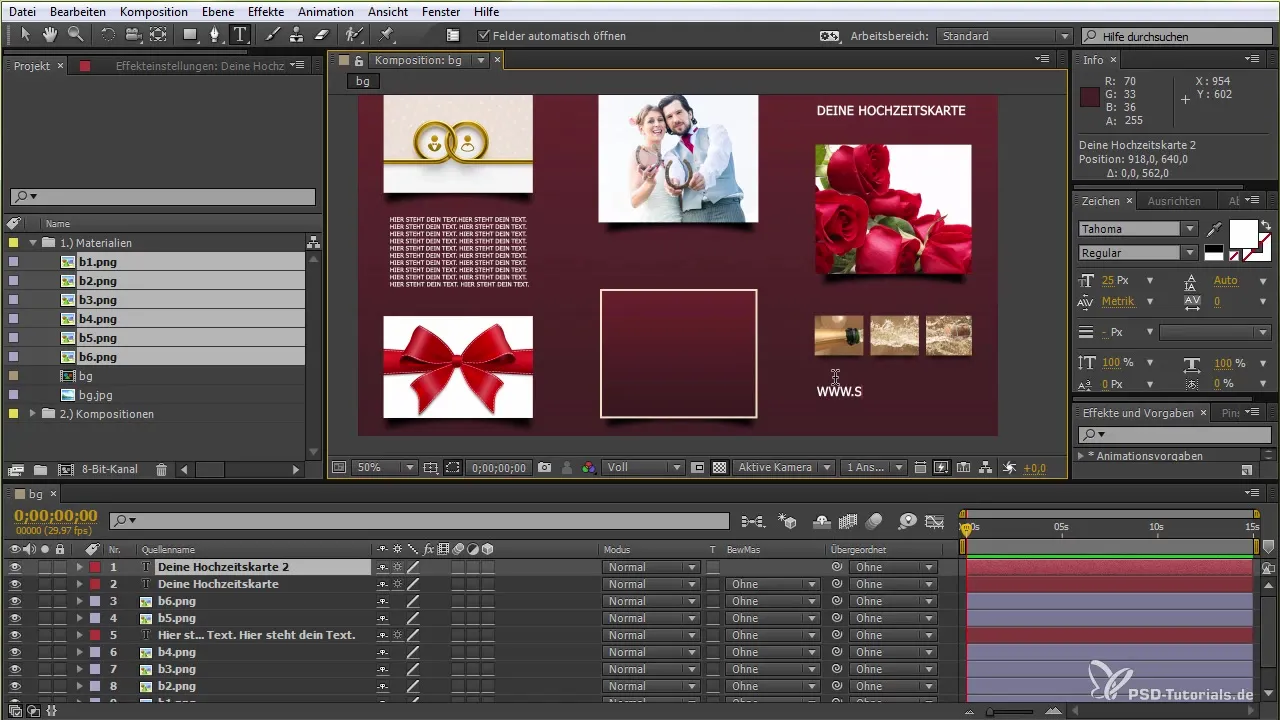
Attach the text fields and images in a way that creates an interesting structure. Think about which information you definitely want to convey, such as a website or other event details. Make sure everything looks good and can be harmoniously integrated into the card.
Step 6: Animate the Images
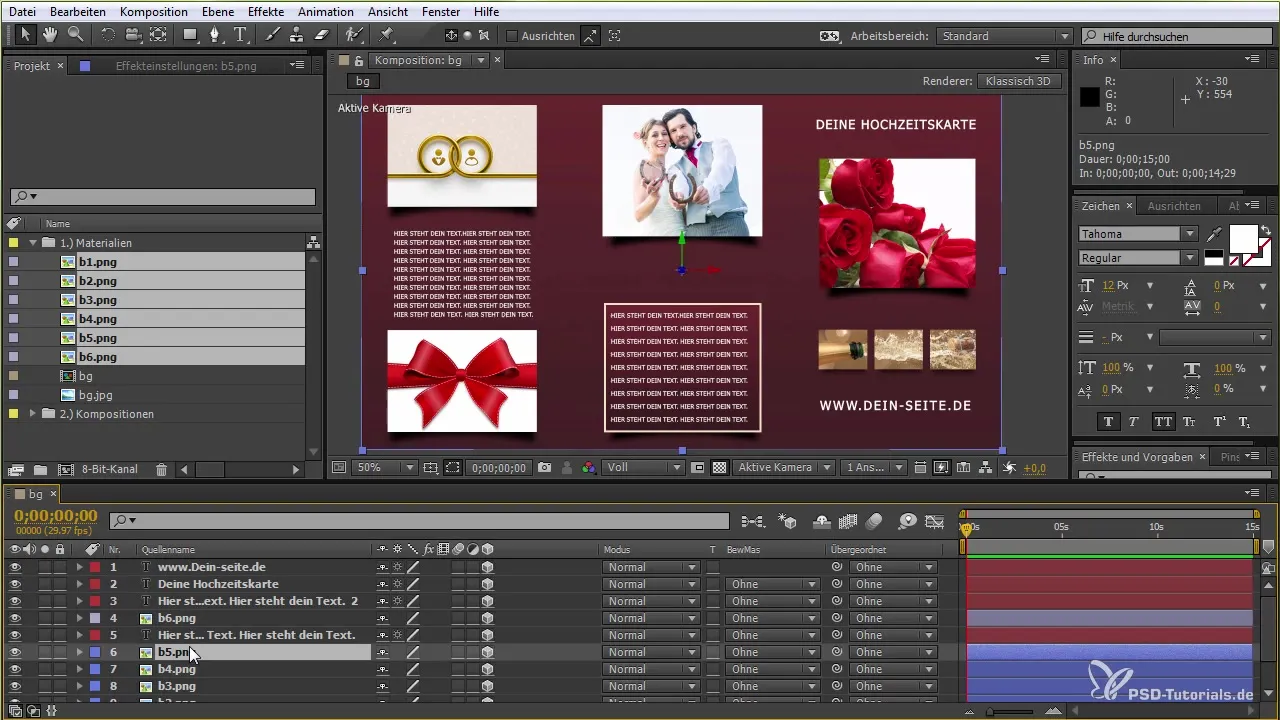
Now it gets exciting! Activate the 3D layer for the images. Press “P” on your keyboard to adjust the position of the image. This allows you to create an impressive animated appearance of the images. Experiment with the position and ensure that the focus is on different parts of the card.
Step 7: Text Animation
For the text effect, a text animation is set up. Highlight the text, go to the animation effects, and select a suitable animation, e.g., “Typewriter.” If you want the text to appear with each image, then adjust the timing accordingly.
Step 8: Create Subcompositions
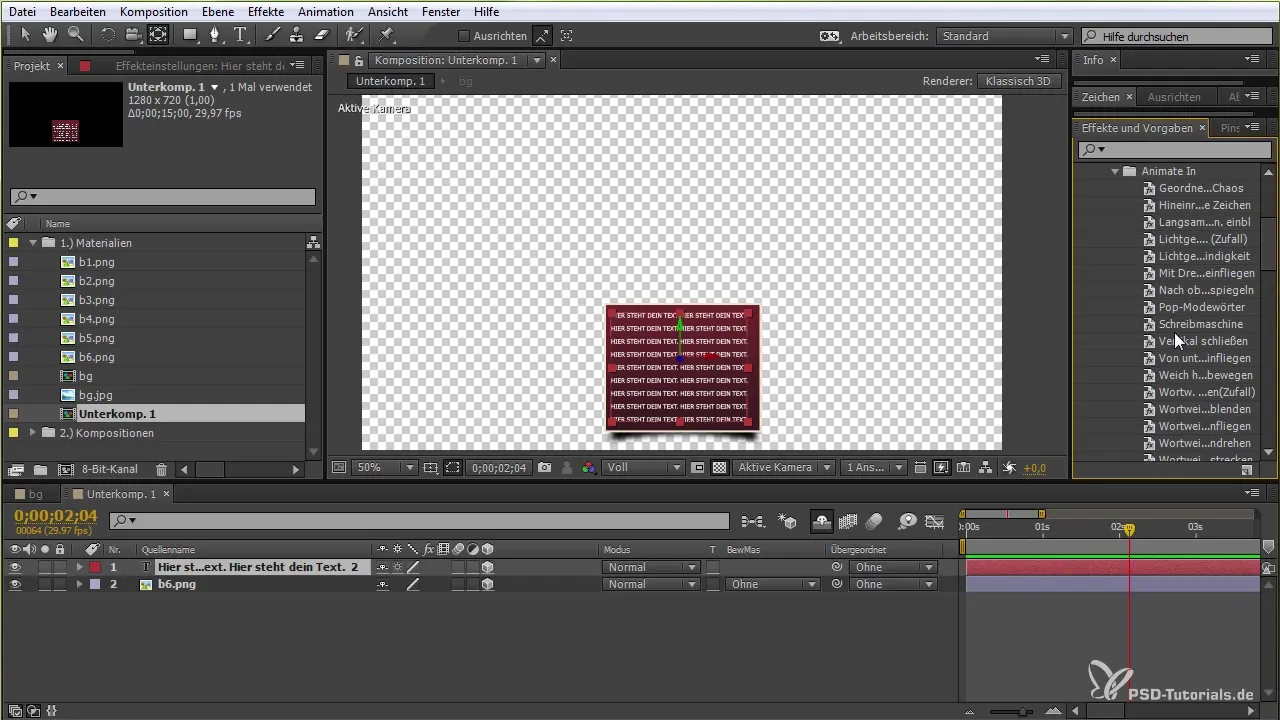
To ensure clarity, create subcompositions for the individual parts of the card. This makes it easier to manage the animations, especially if you want to make changes later.
Step 9: Add Background and Effects
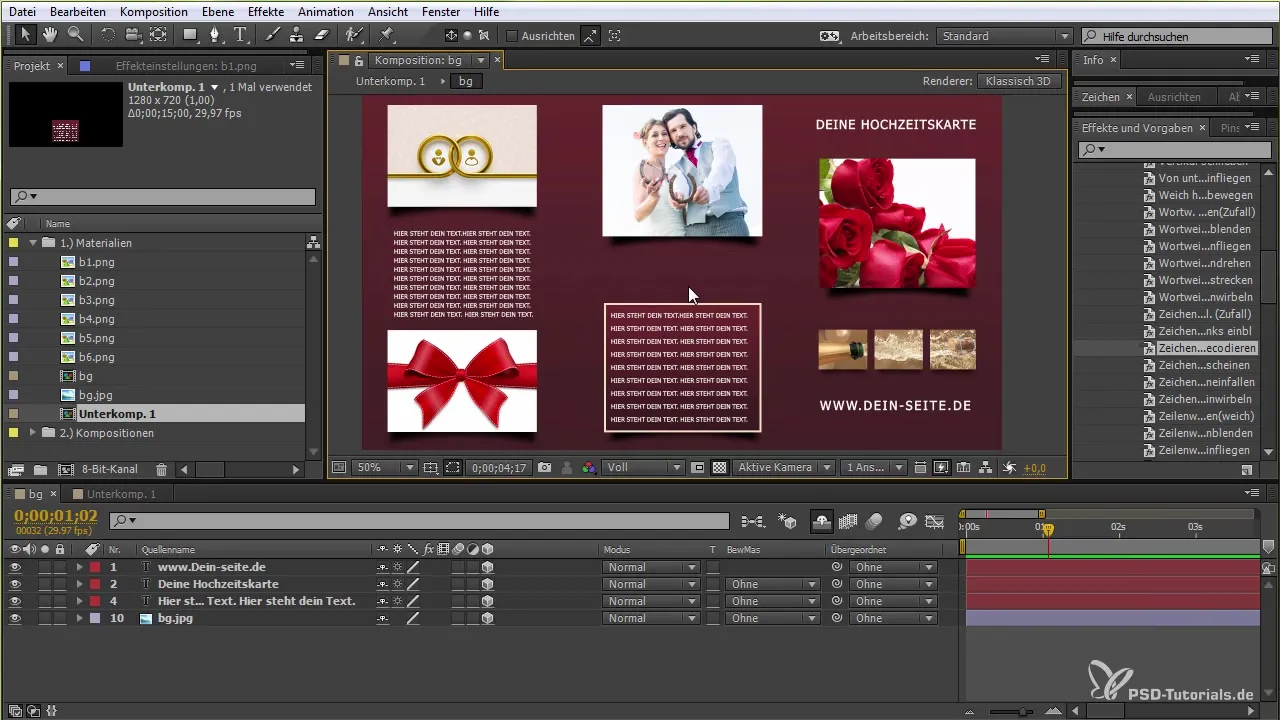
Add an appealing background. Consider whether you want a gradient or an image as a background. Experiment with color filters or vignettes to give the overall picture the final touch.
Step 10: Make Final Adjustments
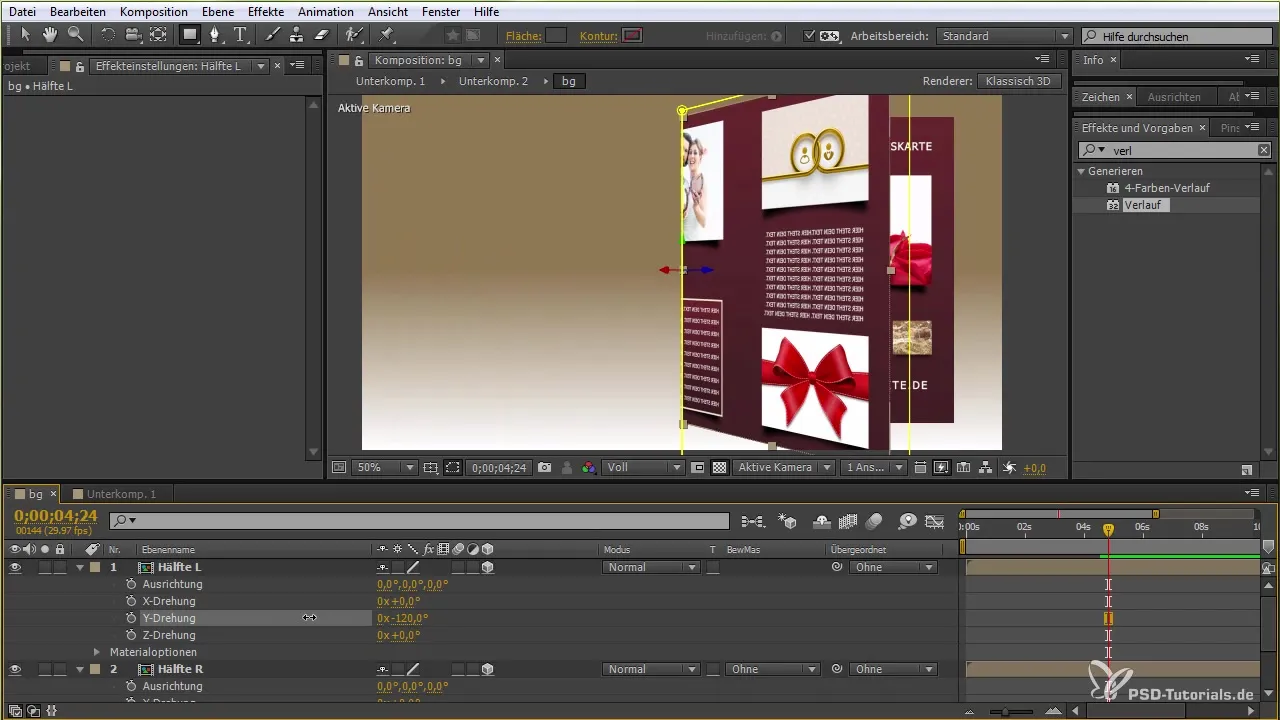
Finally, take a look at the entire animation and make any last adjustments. Ensure that everything flows harmoniously. Consider whether you want to add sound effects or music to make the animation more lively.
Summary - Animate Your Dream Wedding Card in After Effects
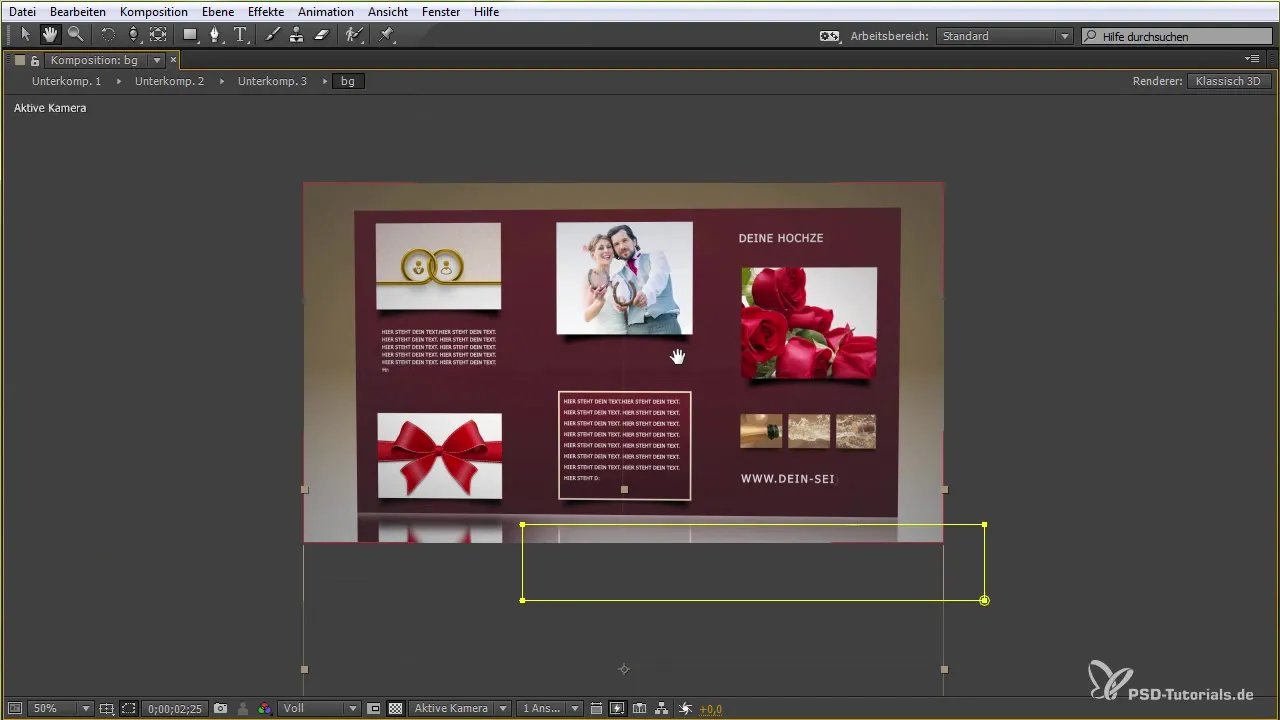
You have now learned how to create an animated wedding card step by step. With the materials and techniques presented, you can customize the templates for your own purposes and thus create a unique and unforgettable card for your wedding.
Frequently Asked Questions
How can I replace my images?Right-click on the image, then “Replace” and select the desired file.
Which animation effects are recommended?Use effects like “Typewriter” or “Fade” to bring your text to life.
Can I customize my background?Yes, add color fields or images for your background to optimize the design.

