The removal and correction of images can play a crucial role in making a composing look more appealing. In this tutorial, you will focus on the chessboard, which was photographed under suboptimal conditions. In this section, we will show you how to free the chessboard from its background, remove distracting elements, and make color adjustments to prepare it for your creative project.
Key insights
- Using the spot healing brush to remove distractions
- Using the masking mode for precise removal
- Color corrections using levels and color balance layers
Removing distractions
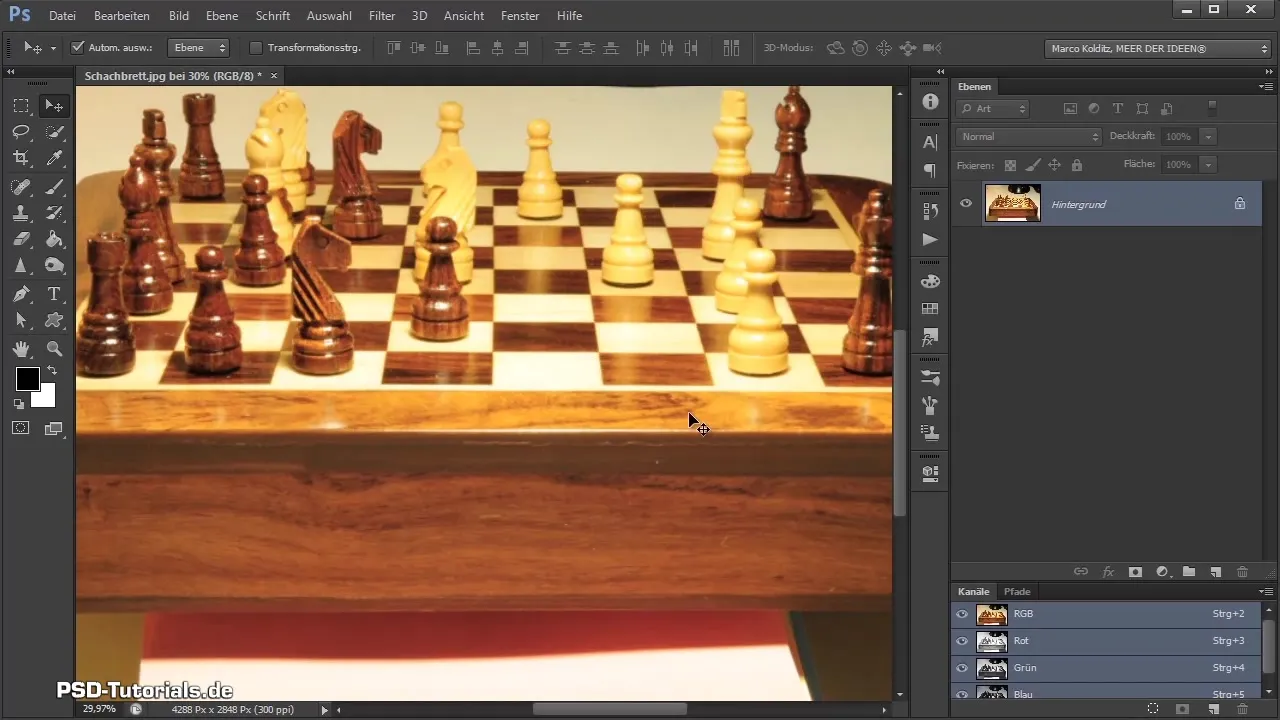
First, we look at the image of the chessboard that was temporarily taken under bad lighting conditions. First, you duplicate the background layer to remove distractions from this copy.
Use the spot healing brush, which is ideal for quickly working out small, distracting points. You can define the desired area, and Photoshop takes care of filling in based on the surrounding structures.
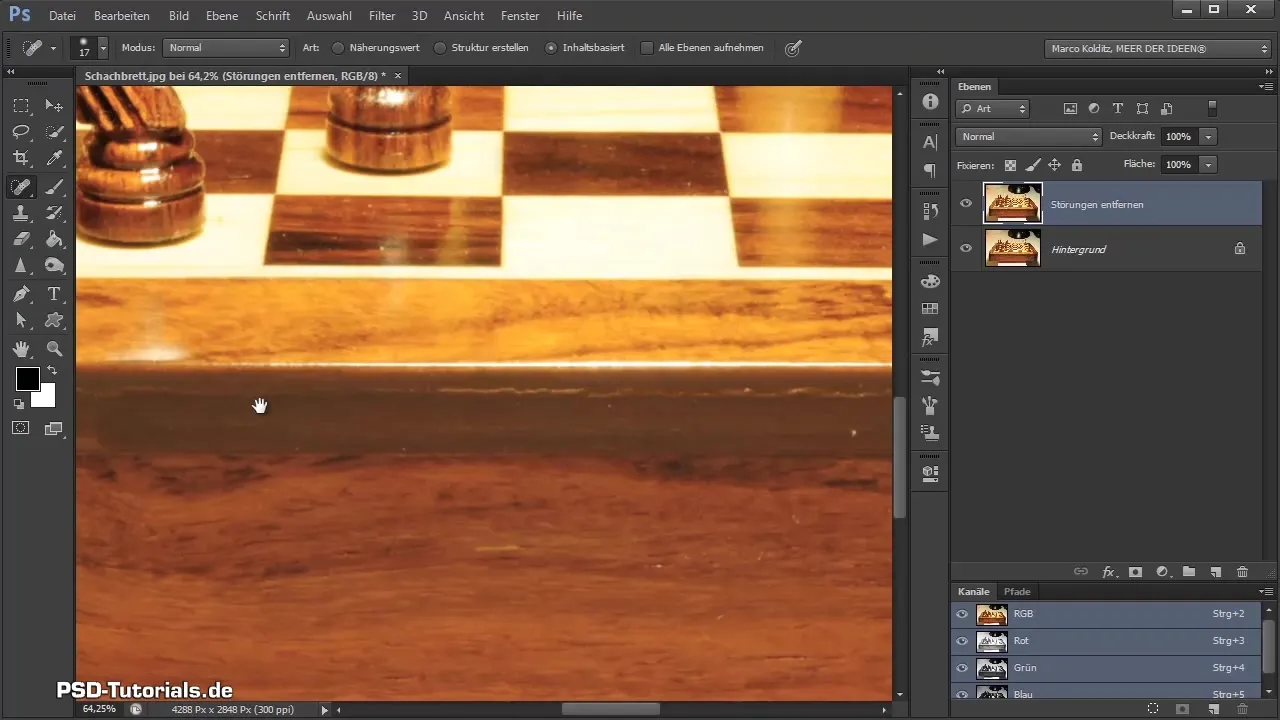
Sometimes the result might not be perfect, especially at edges. Here, you should work carefully to avoid blurriness.
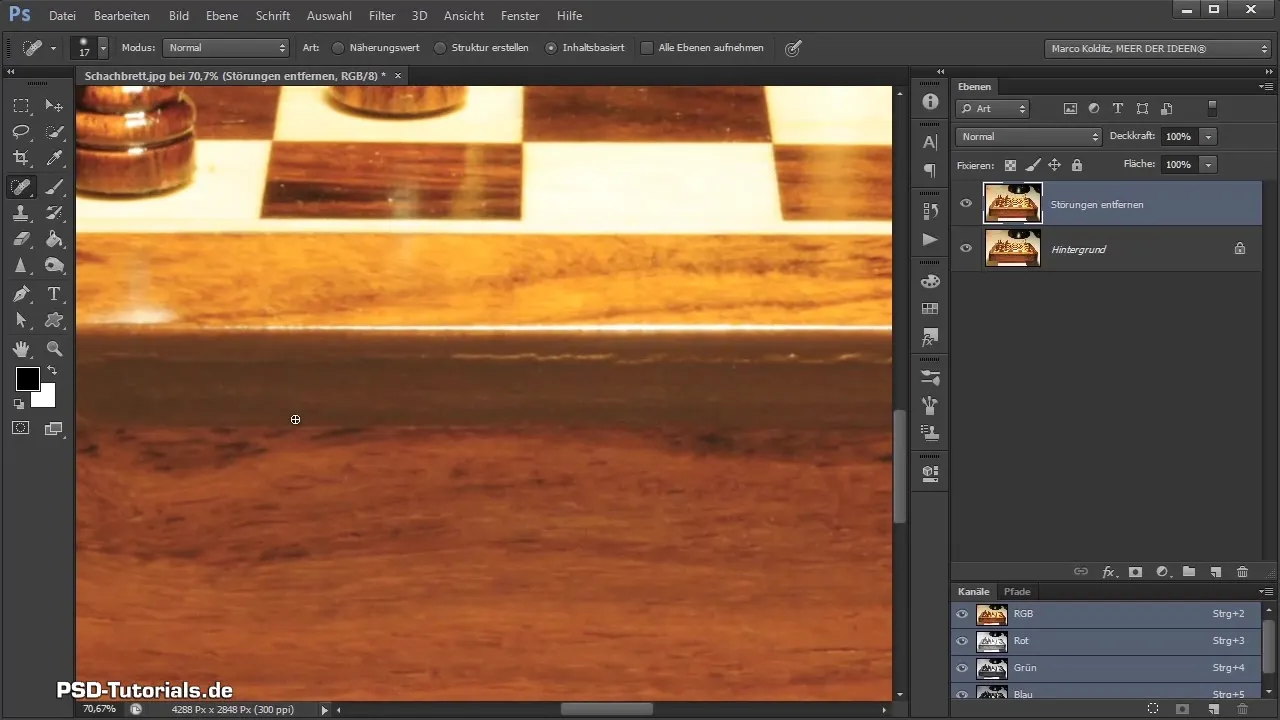
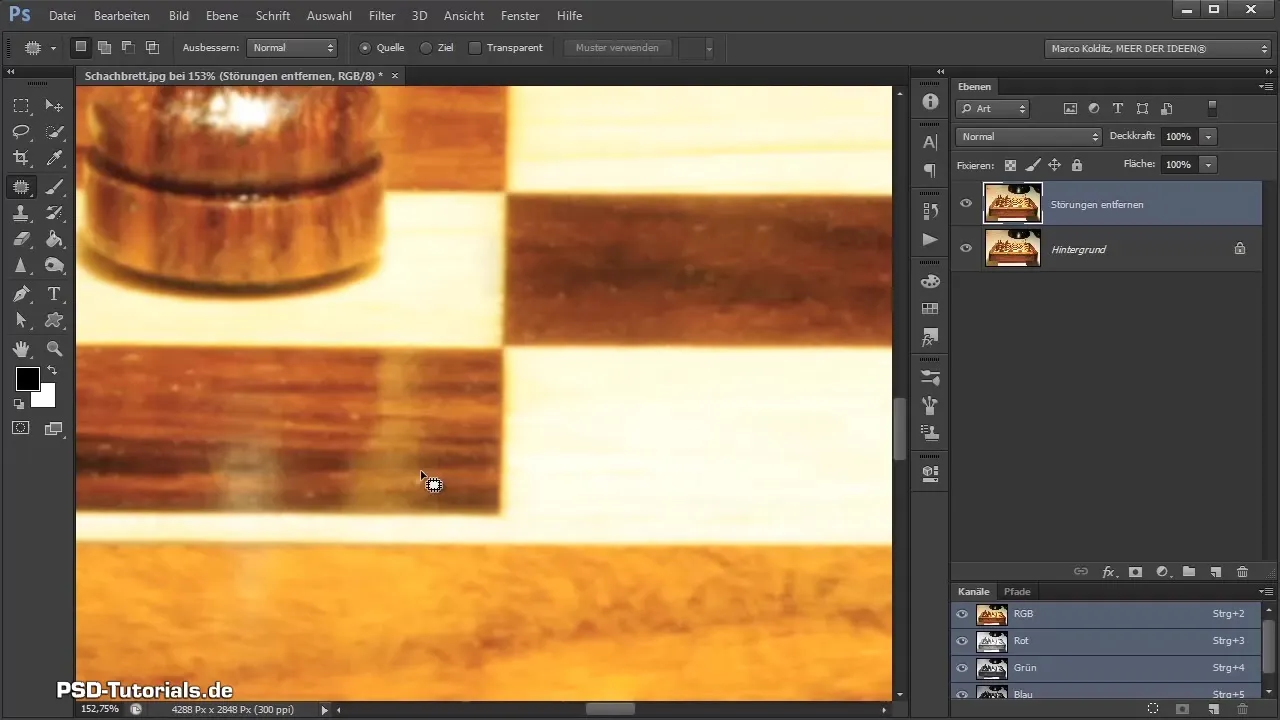
Take your time with these corrections, as it is especially important to achieve a clean result. Avoid rushing at the edges, as the outcome should look natural. You can also combine the corrections with the healing tool to work even more precisely manually.
Removing the chessboard
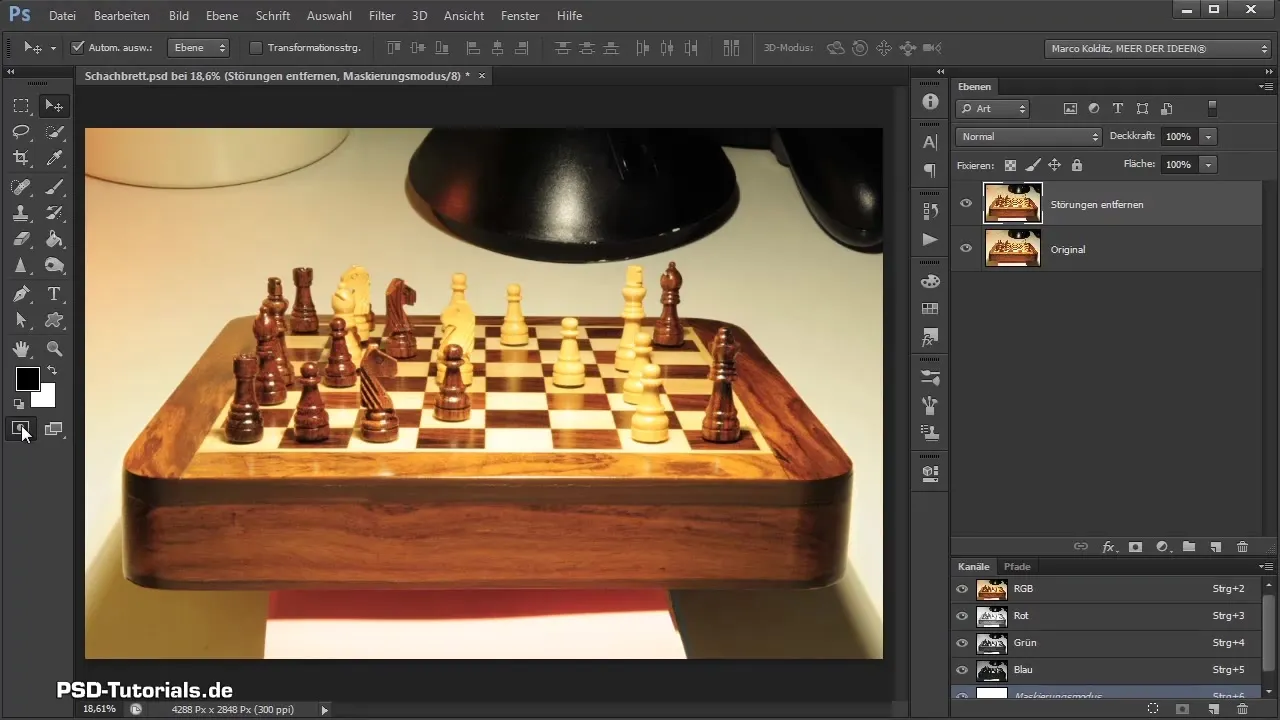
Once the distractions have been removed, it is time to free the chessboard from the background. Activate the masking mode via the corresponding icon in the toolbox. You will work with a brush at 100% opacity and mark the edges of the chessboard. Be careful not to work too meticulously on every single pixel.
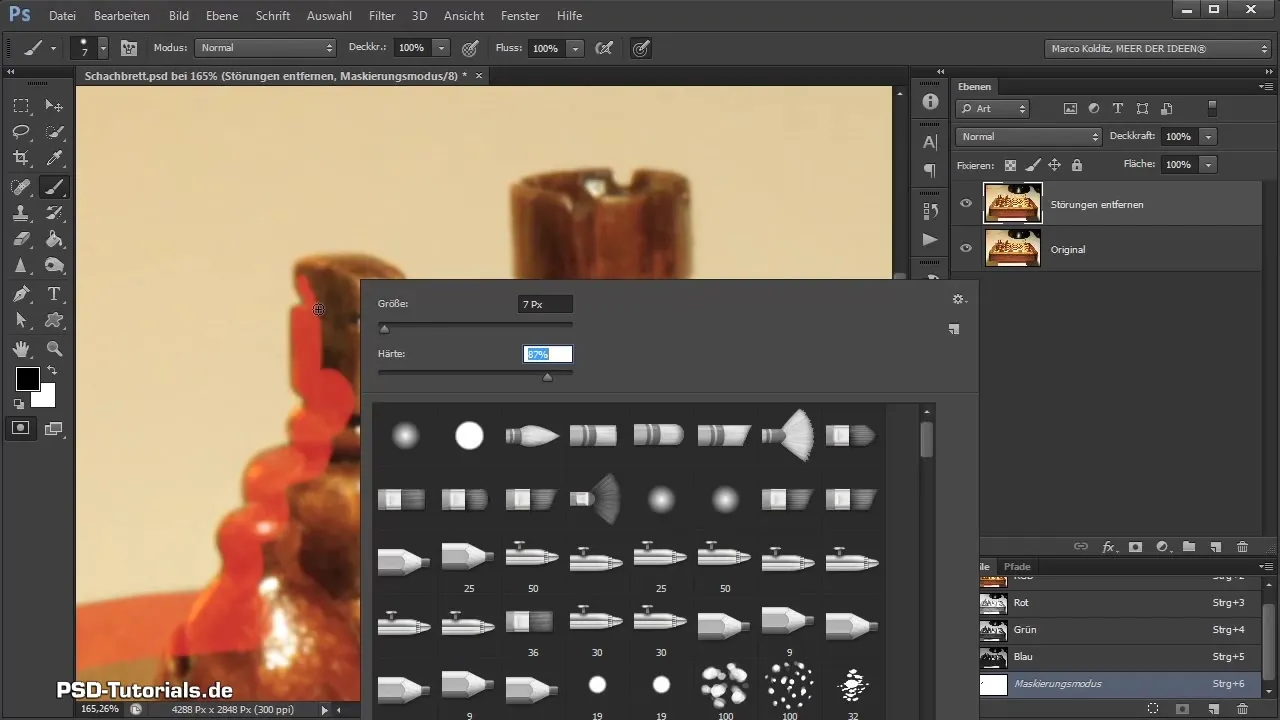
Instead, it is advisable to soften the brush tip to achieve a smoother transition that looks more natural in the composing later.
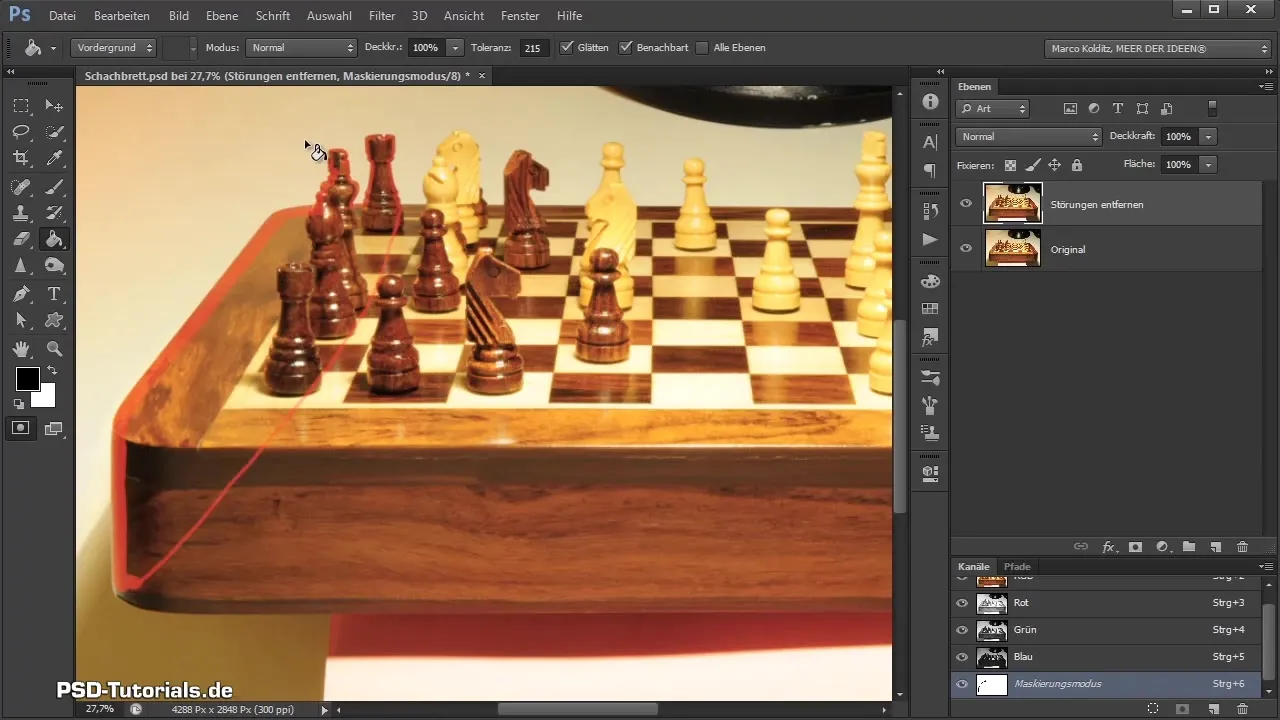
Once you have marked the entire chessboard and have a closed area, click with the fill tool in the middle to fill the selection. Ensure that there are no gaps present.
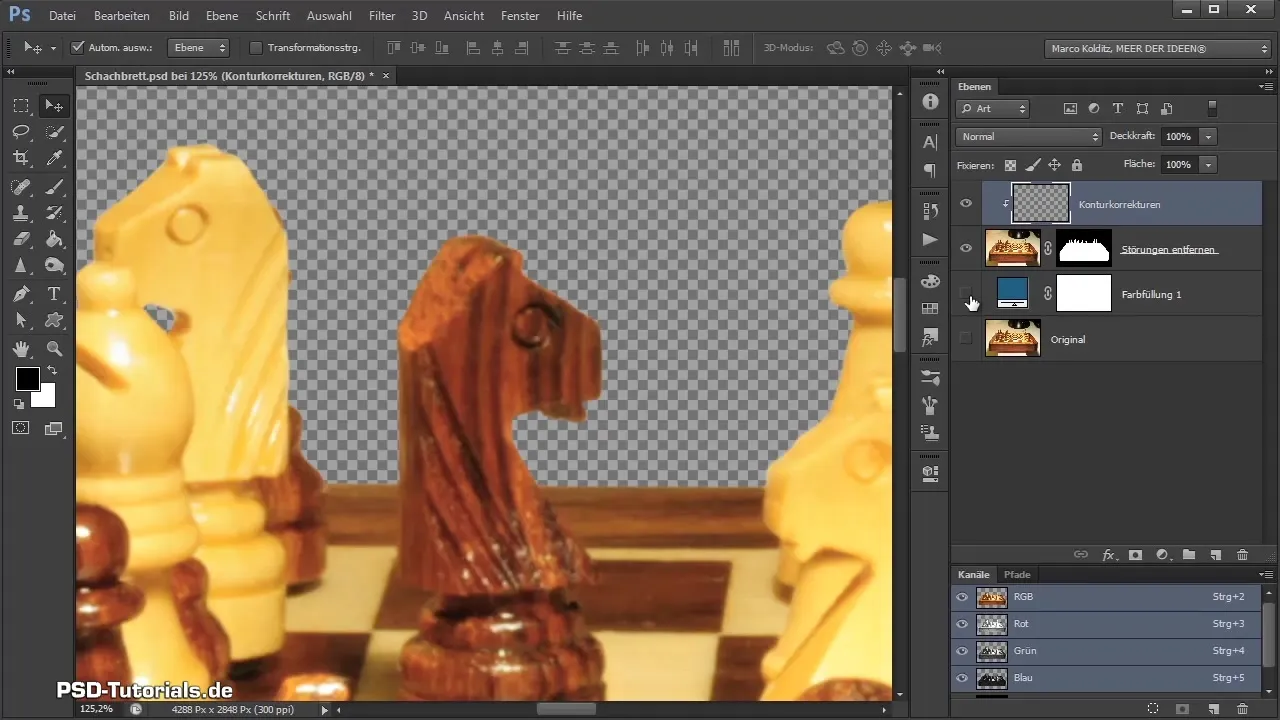
Now you have made a clean selection. To refine the edges, you can work again with the mask. With a clone stamp, you can remove areas of the background and improve the edges.
Correcting colors
You're almost finished! Now take a look at the chessboard and check for color casts. Create a levels adjustment layer to make color corrections.
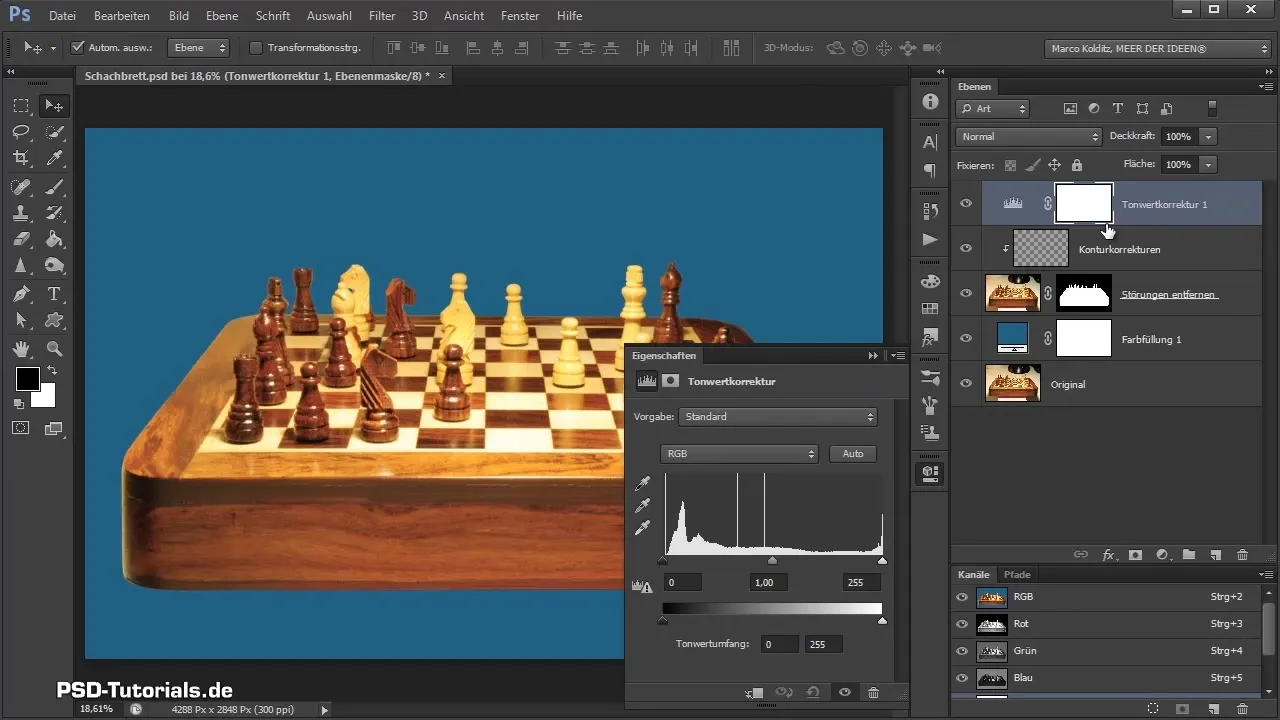
By using the eyedroppers, you can define what black, white, and gray mean in the image, and correct the colors accordingly. This method cleans up the image and ensures that the chessboard looks better.
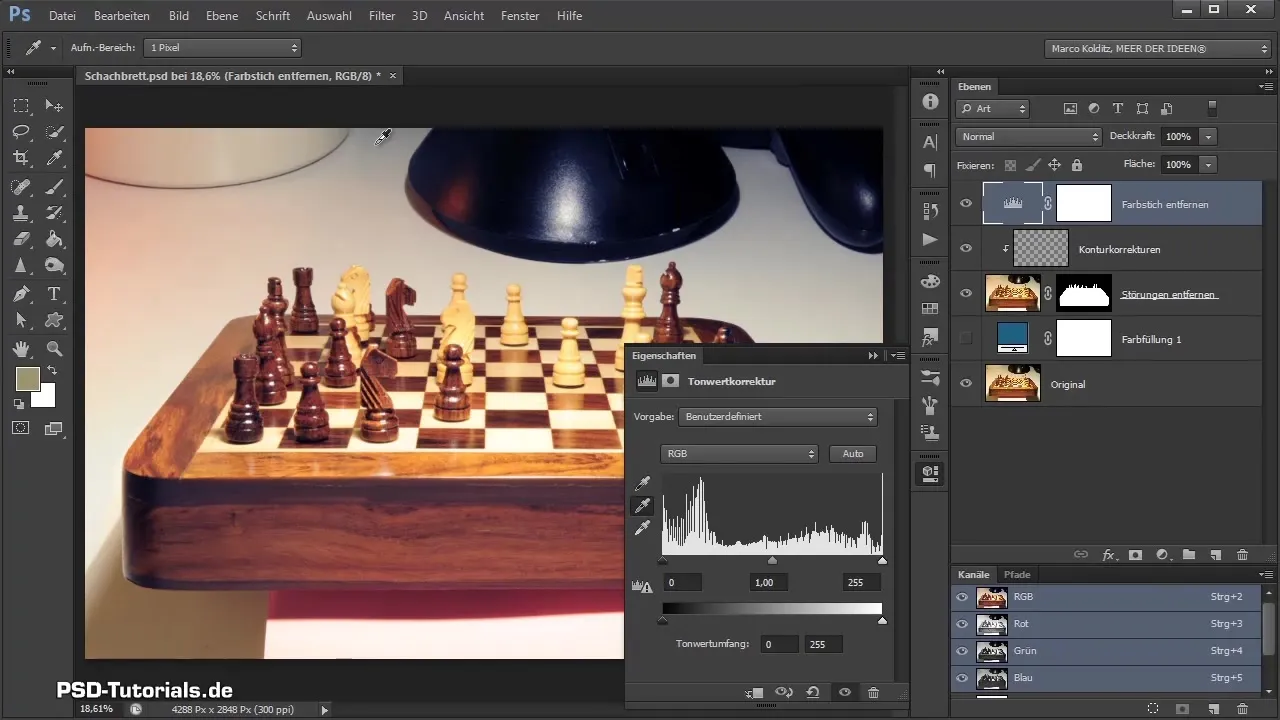
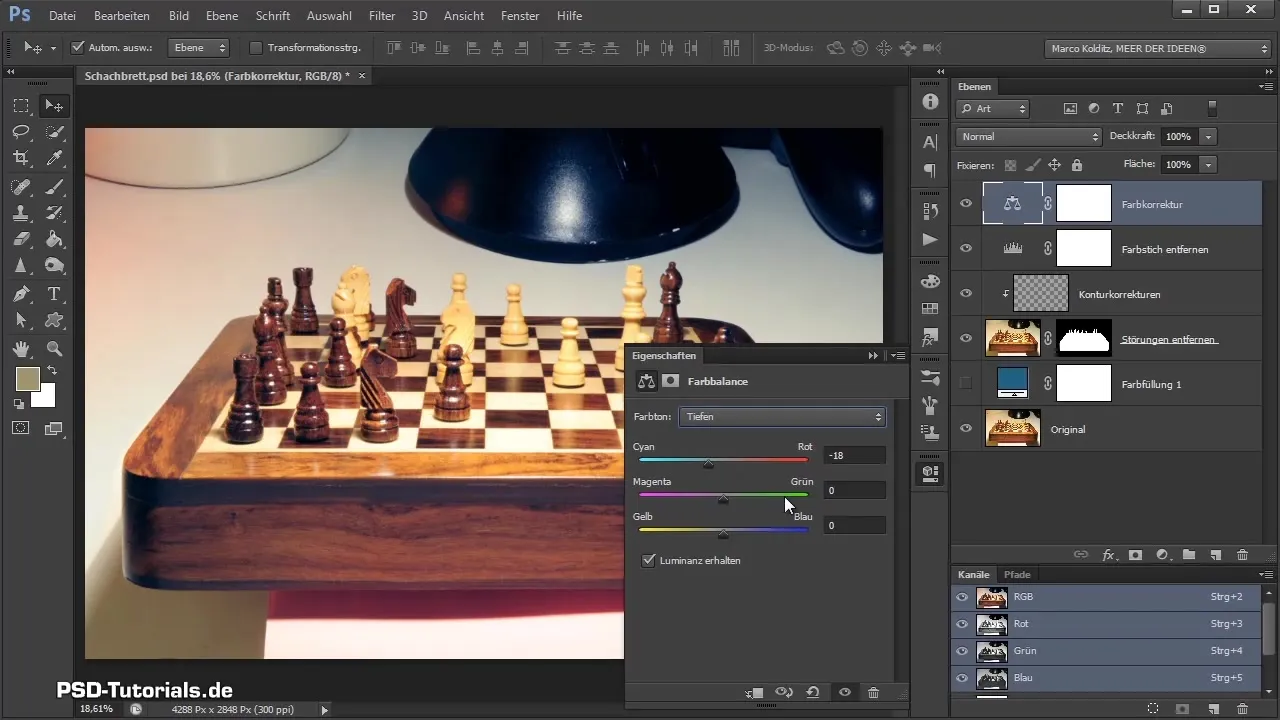
Additionally, create a color balance and adjust the colors to add more blue and red. Regularly check your changes to see how the image reacts.
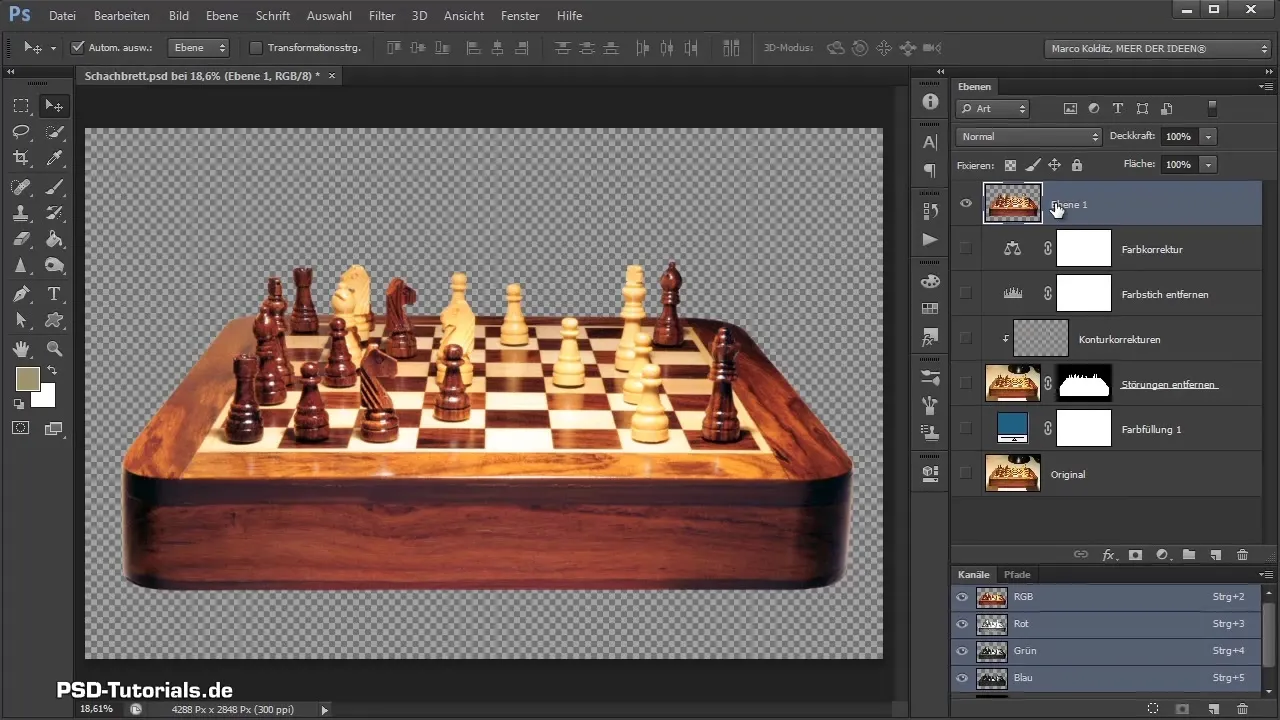
When you are satisfied with the changes, hide the background layer and merge the layers. By using a smart object, you will have the flexibility to make adjustments later without compromising image quality.
Summary - Freeing and preparing the chessboard in Photoshop
Throughout this guide, you have learned how to free a chessboard from distracting elements and prepare it for composing. You have learned methods for retouching, removing, and color correcting that enhance your skills in image editing.
Frequently asked questions
How do I remove small distractions in my image?You can use the spot healing brush to quickly work out distracting points.
How do I ensure that the edges of my removed image are clean?Use the masking mode and a soft brush for smooth transitions.
What can I do about color casts in the image?Use a levels adjustment layer and define black, white, and gray with the eyedroppers.
How do I merge multiple layers to save space?Use the "Merge Layers" or "Create Smart Object" function for more flexibility.
What role does the clone stamp play in correcting edges?It is used to remove unwanted areas and to refine the edges for a smooth result.


