In this tutorial, you will transform the right giant in your image into an impressive nature giant made of rock and moss. Step by step, you will learn how to purposefully insert, adjust, and harmoniously integrate textures into your composing.
Key insights
- The use of adjustment layers to enhance color dynamics.
- Working with masks for perfect texture adjustment.
- Using the clipping mask principle for precise placement of textures on the giant's body.
Step-by-step guide
First, you will convert the giant's body to achieve more naturalness and texture.
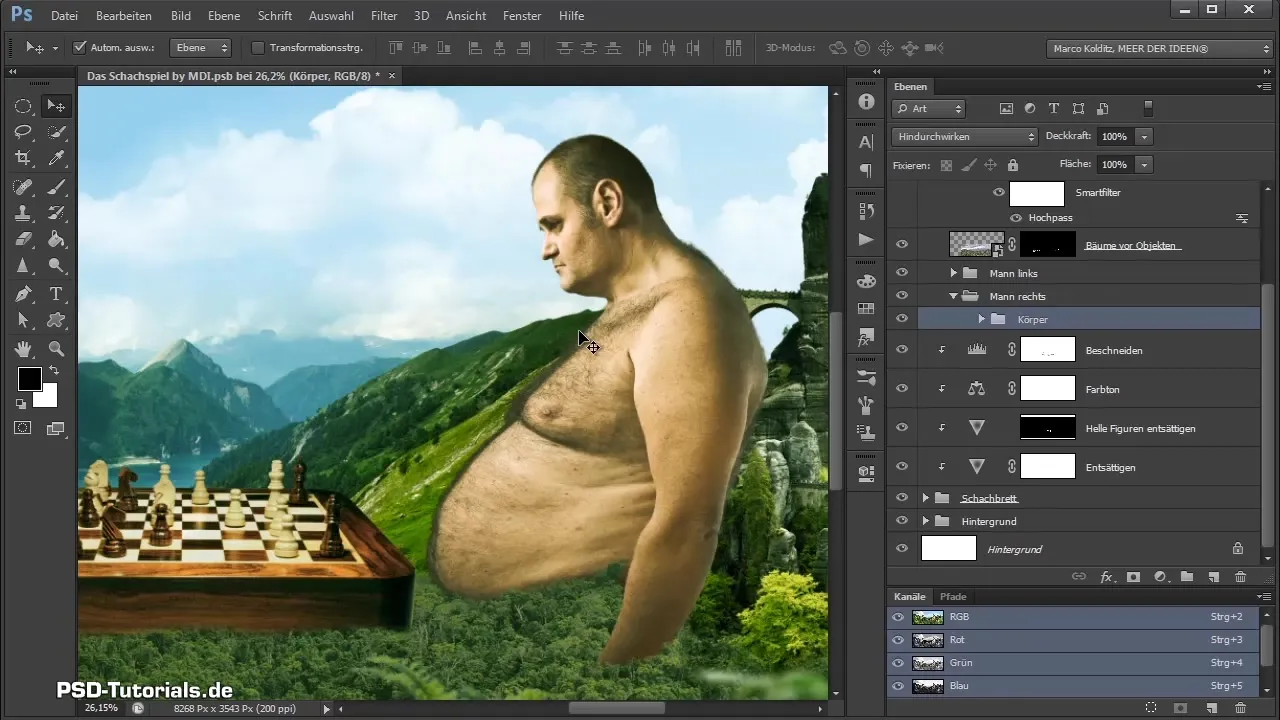
Now, we need to transform the right giant into a nature giant, which occurs through the targeted application of textures. To prepare the giant optimally, you must first desaturate the body significantly. Click on the body group that includes this and other areas, and create an adjustment layer for the dynamics. Pull the saturation slider all the way to the left. This ensures that the giant is nearly completely desaturated. To make sure this dynamics layer affects only the body, activate the clipping mask. Rename this adjustment layer to “desaturate” and adjust the dynamics to about -77 to achieve the desired effect.
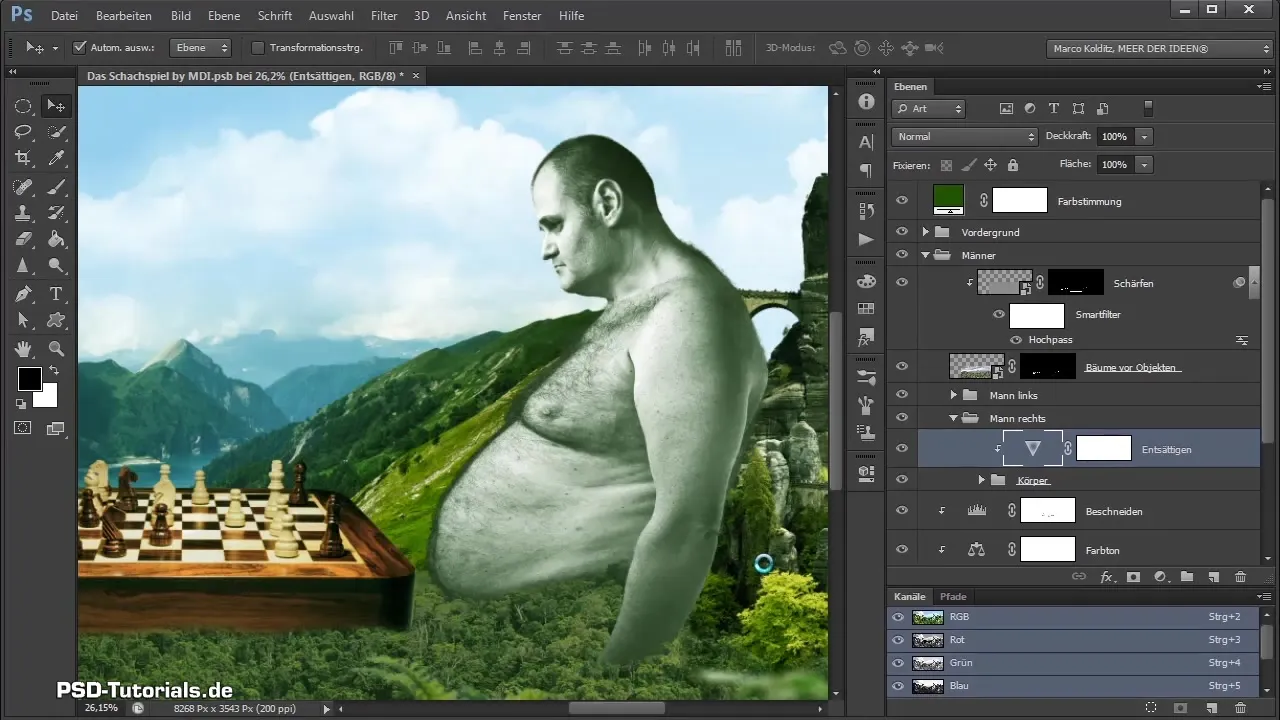
After desaturation, it's time to add the first texture. Go to “File open” and select the desired structure. You will notice that this structure has a light and a dark area. To make this more even, create a levels adjustment layer and pull the white slider to the left to achieve better balance. Playing with the grayscale values can further improve the effect.
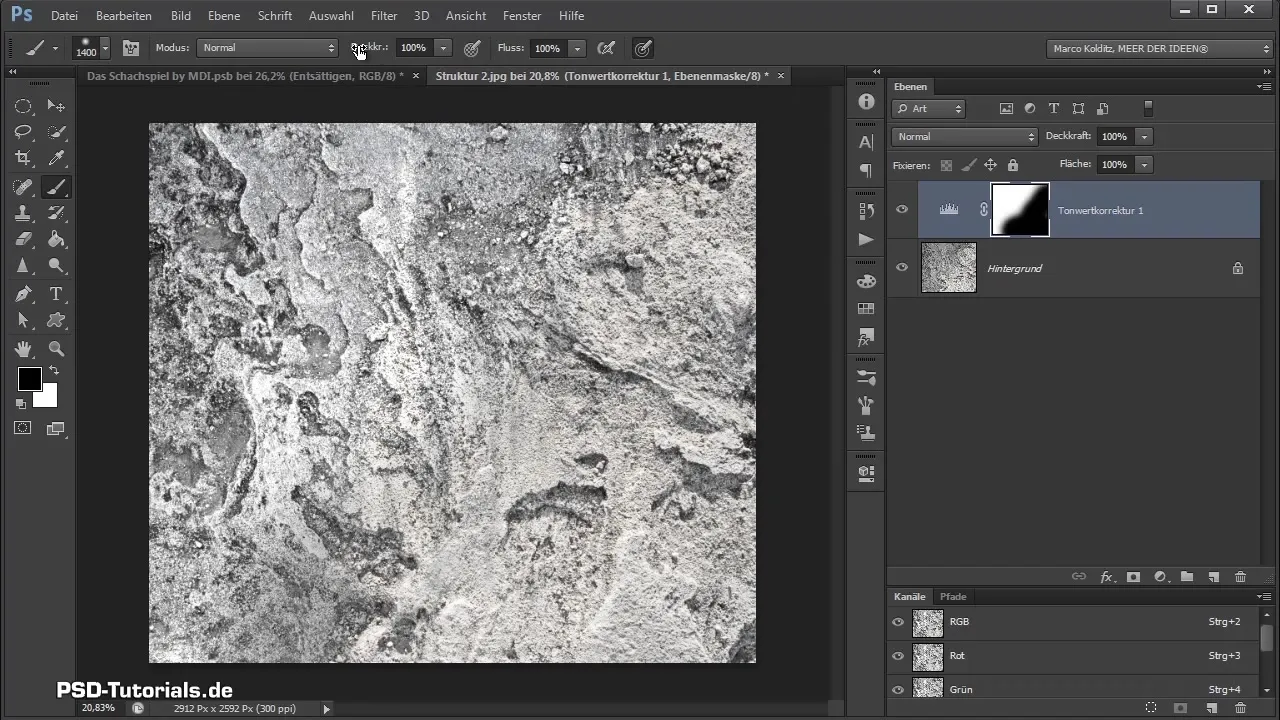
To achieve a harmonious integration of the texture, mask out the lighter area of the texture. Use a soft brush to create a smooth transition and ensure that the texture sits at the right place. Reduce the opacity of the mask to make the effect subtler.
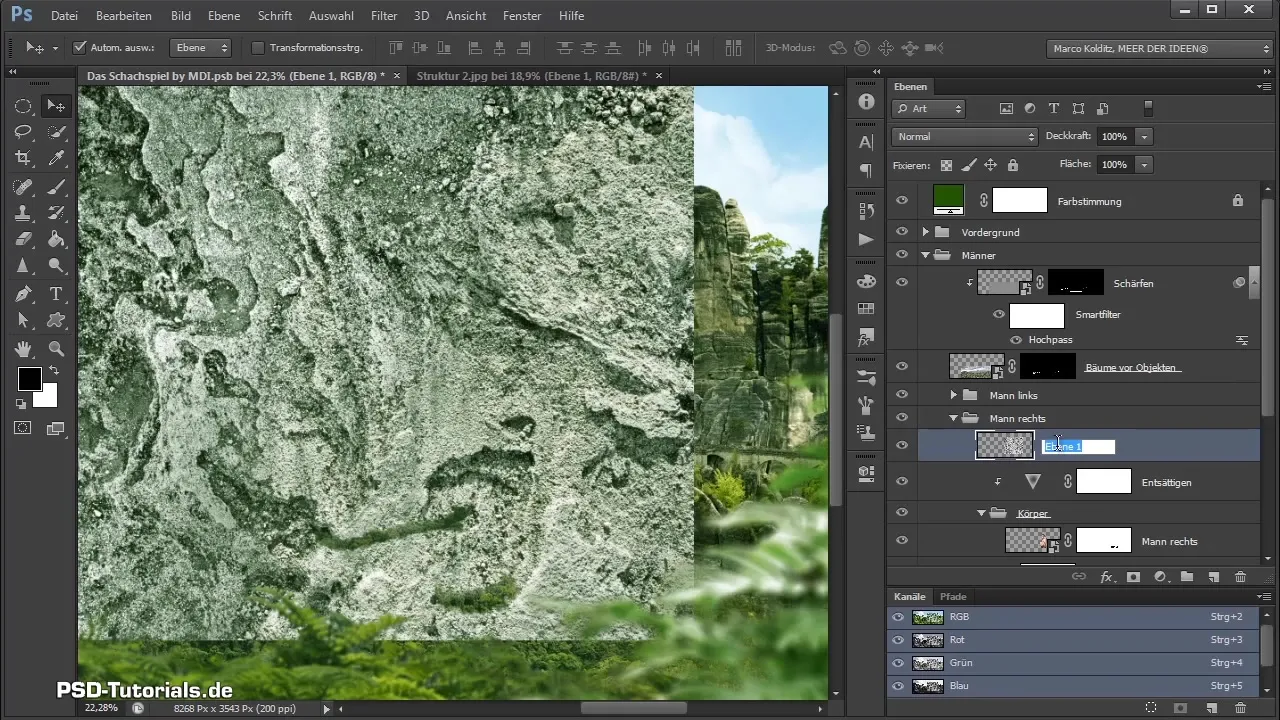
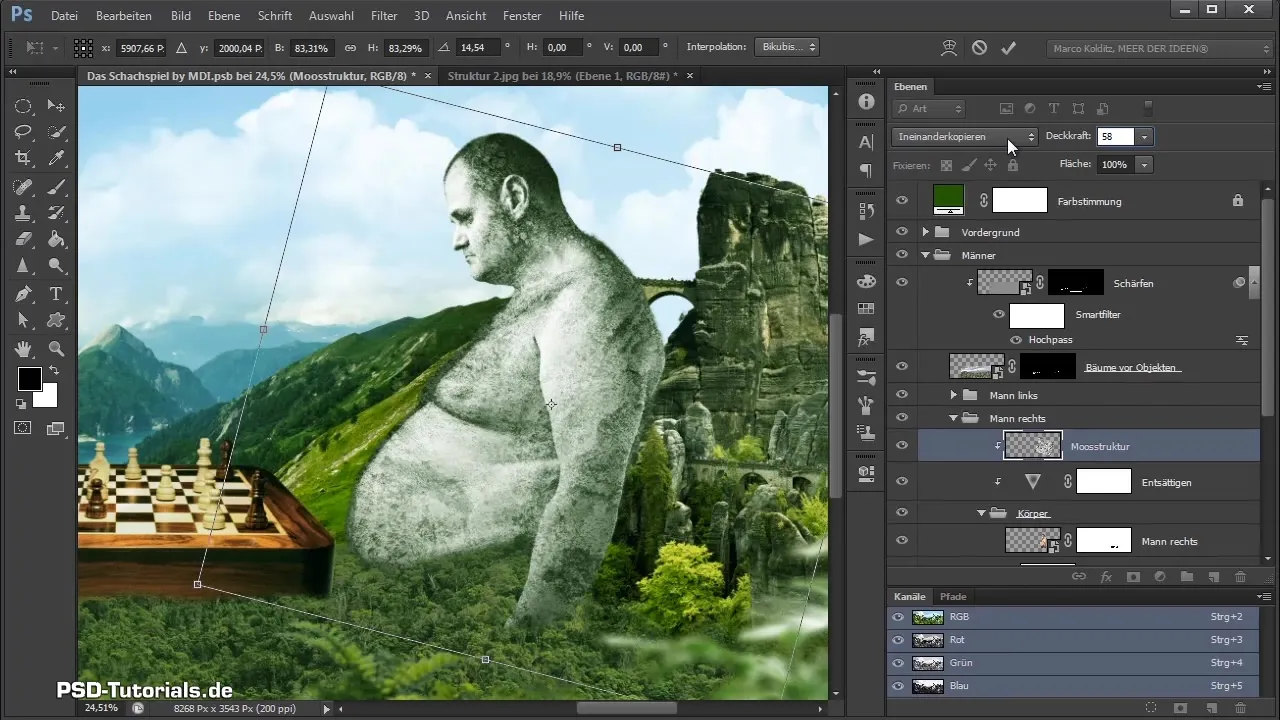
Now you can merge the structure using “Control + Alt + Shift + E” and drag it directly onto your composing. This texture will be placed above the “desaturate” layer and named. Make sure to align the texture so that it is only applied to the body of the giant by using a clipping mask. You can now horizontally flip and adjust the texture to achieve the perfect look.
Do not underestimate the importance of the blending mode. Change it from “normal” to “overlay” to achieve the desired contrasts. A value between 58 and 60% should provide the best result. Adjust the placement of the texture so that it looks particularly good on the giant's cheeks.
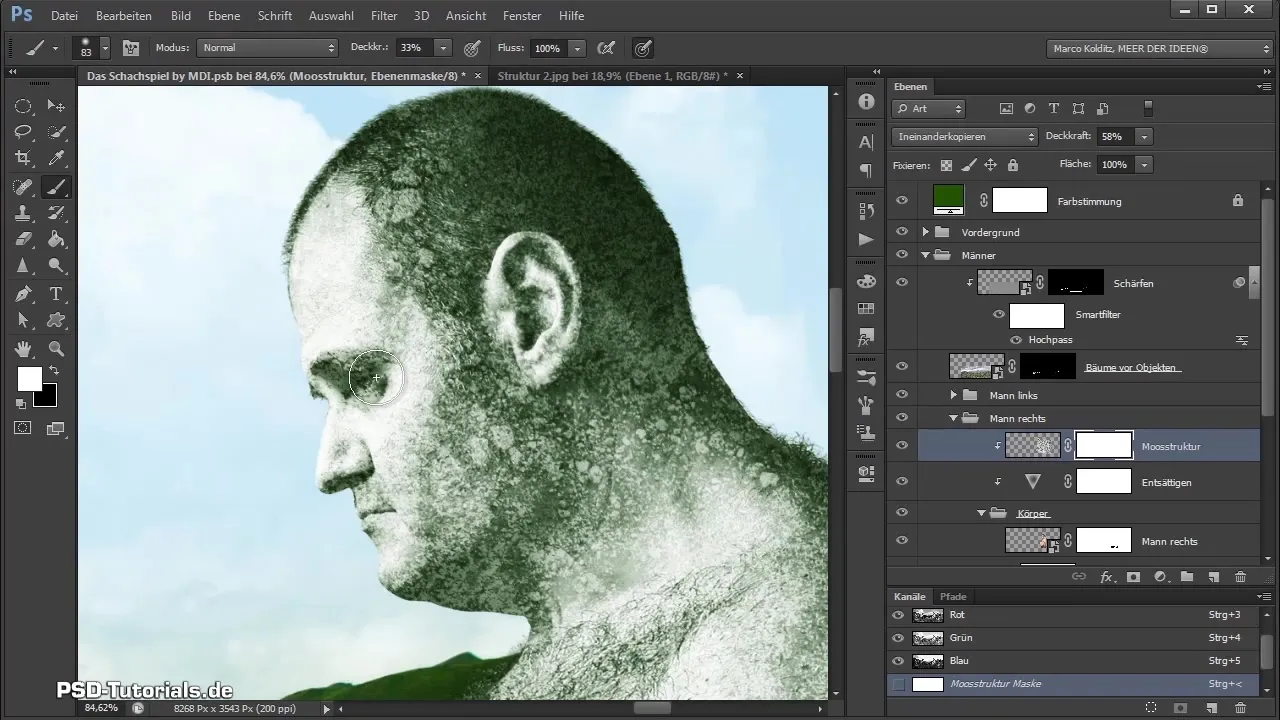
Subsequently, the areas that should not be affected by the texture are hidden using a mask. Use a lower opacity to make the original skin visible again, especially around the eyes and other prominent facial features.
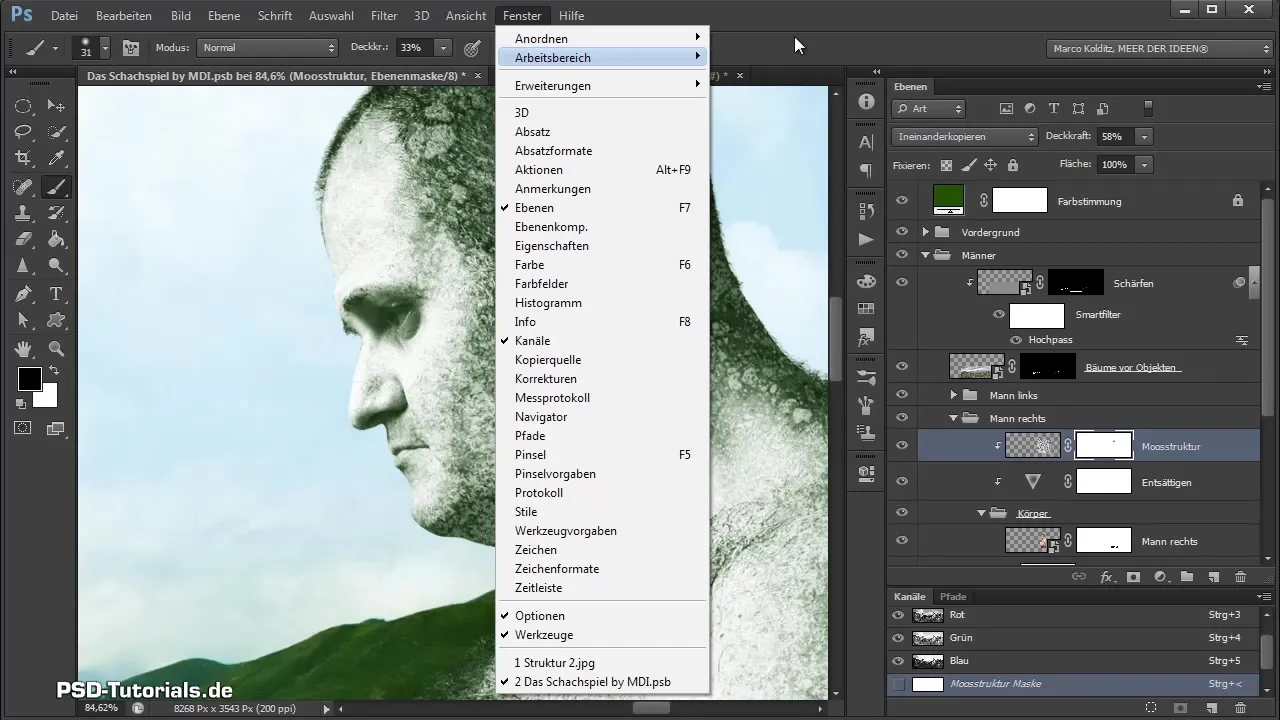
If you encounter performance issues during editing, it may be helpful to check the file size in the “Info” window. A large file size can impact processing power.
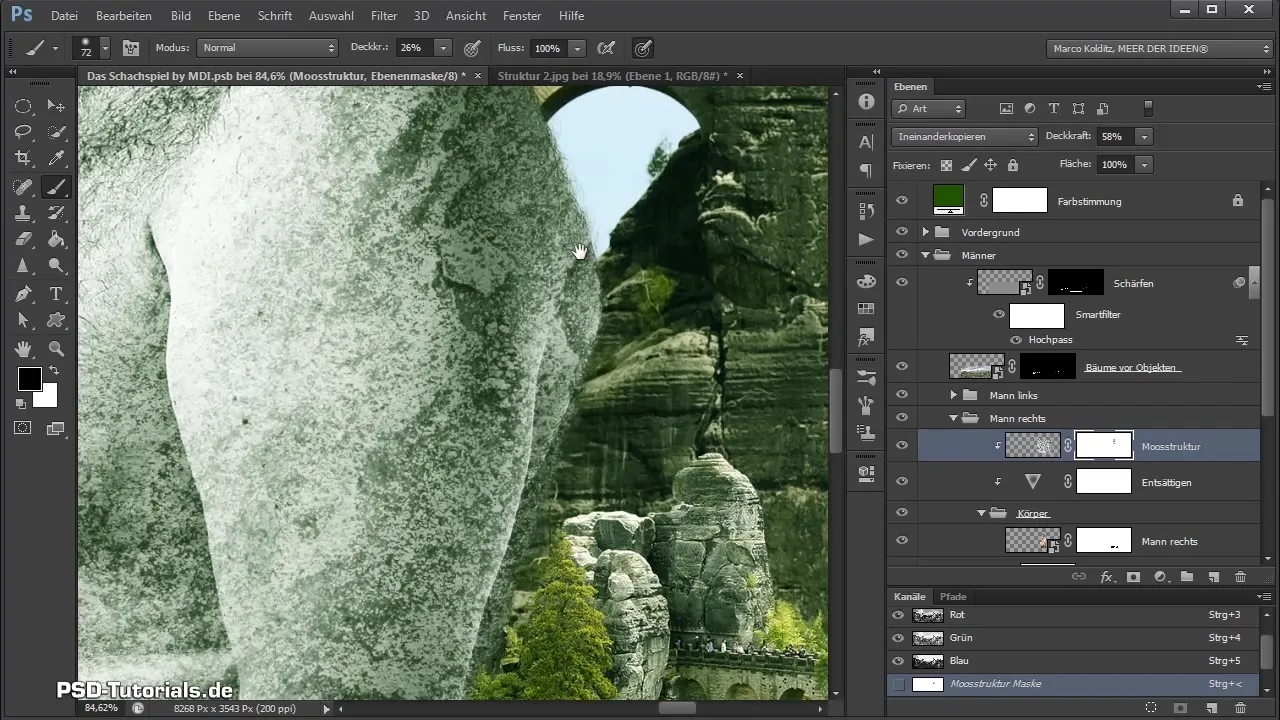
To make the texture appear more natural, it may be necessary to reduce the opacity in certain areas. Experiment with different opacities, especially at the edges of the body, to create a softer transition between texture and skin.
With the next structure for the arm, repeat the process. Create a new group named “Arm” and insert the texture into this group. Again, use a mask to ensure that the texture is only applied to the desired area.
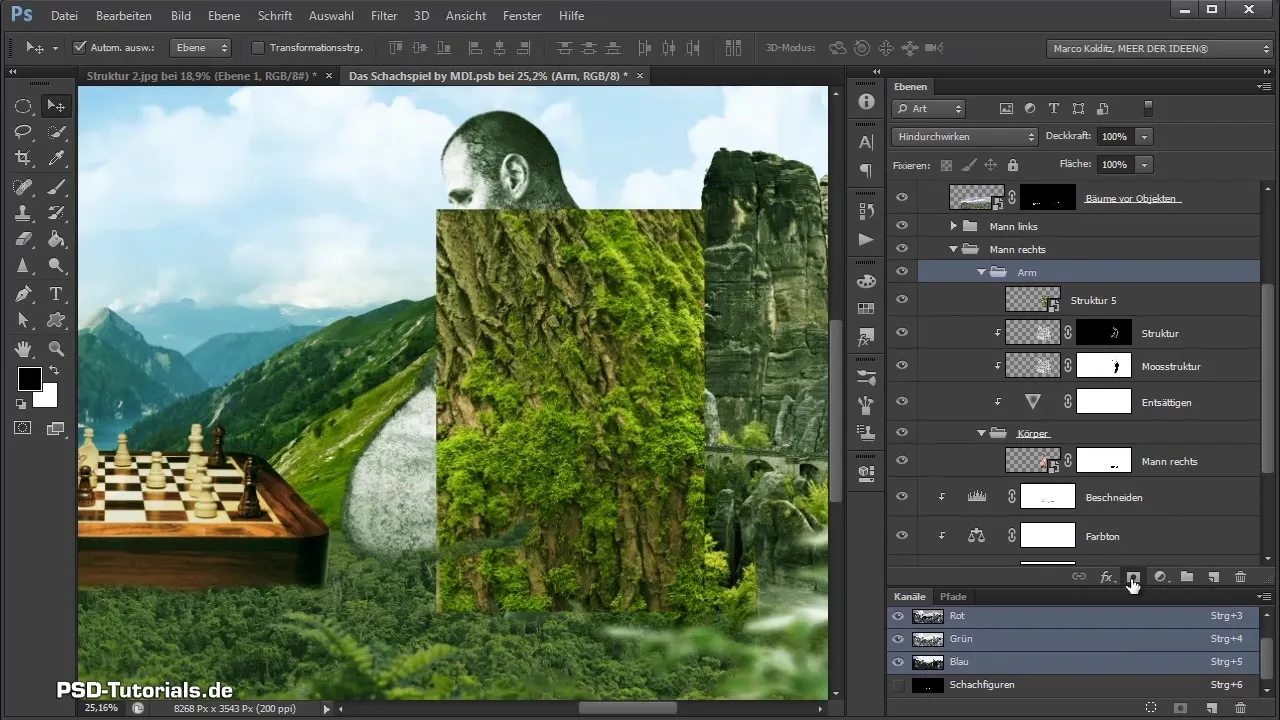
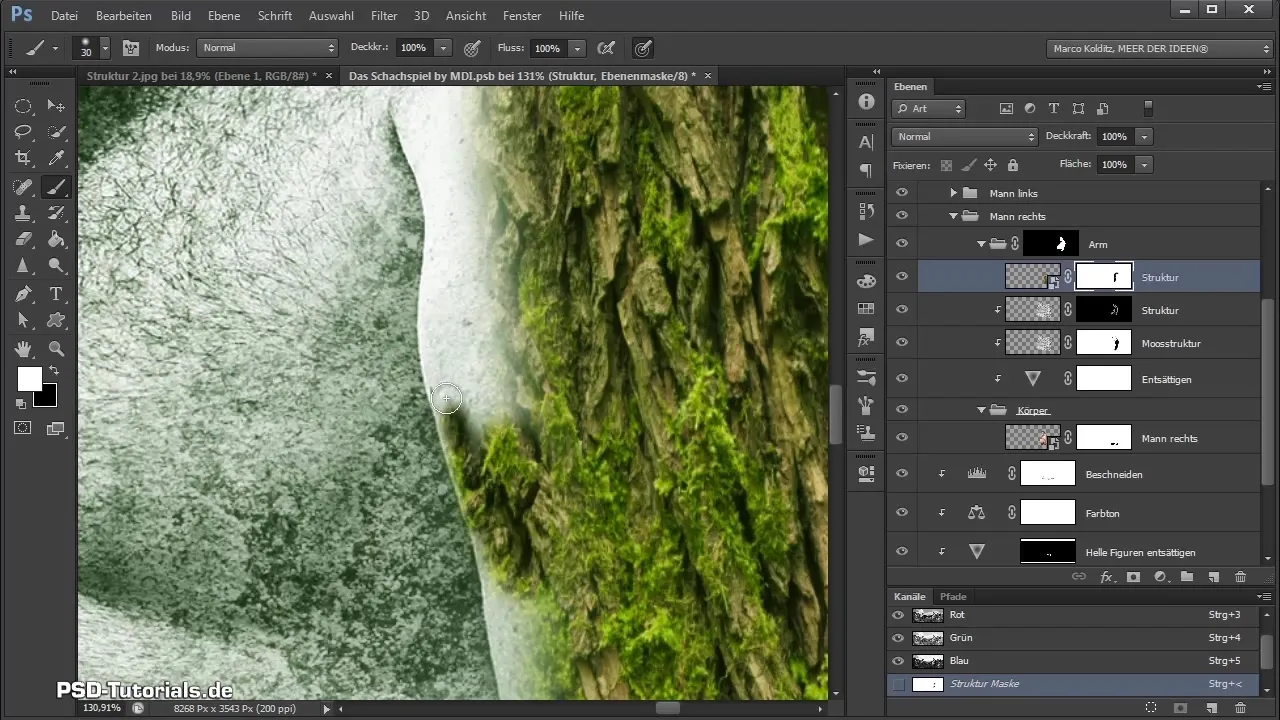
Then mask the area around the arm, ensuring that the texture fits exactly along the arm's gradient. Adjust the structure so that it corresponds to the natural contour of the body. After that, you adjust the visible texture and integrate it using another mask to restore the original look in the right places.
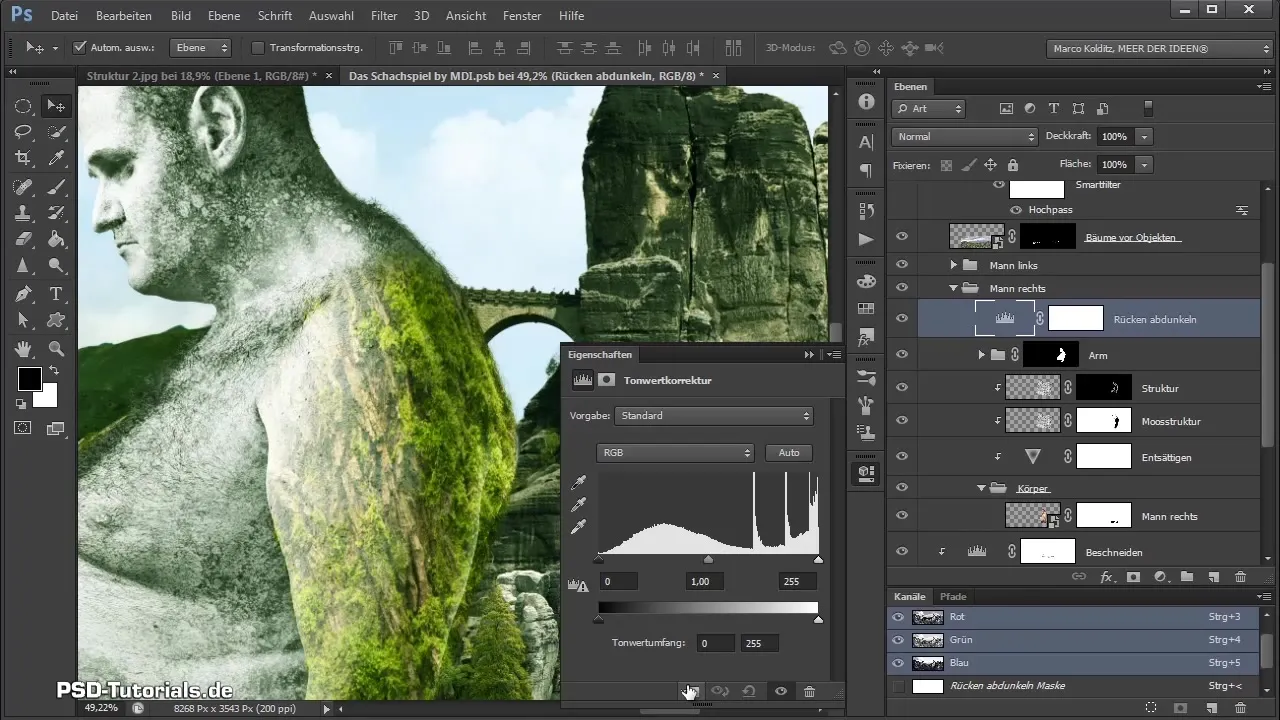
A levels adjustment layer can help regulate brightness, especially in the back area, which may appear too intense. Experiment with the brightness of the textures to find the perfect balance.
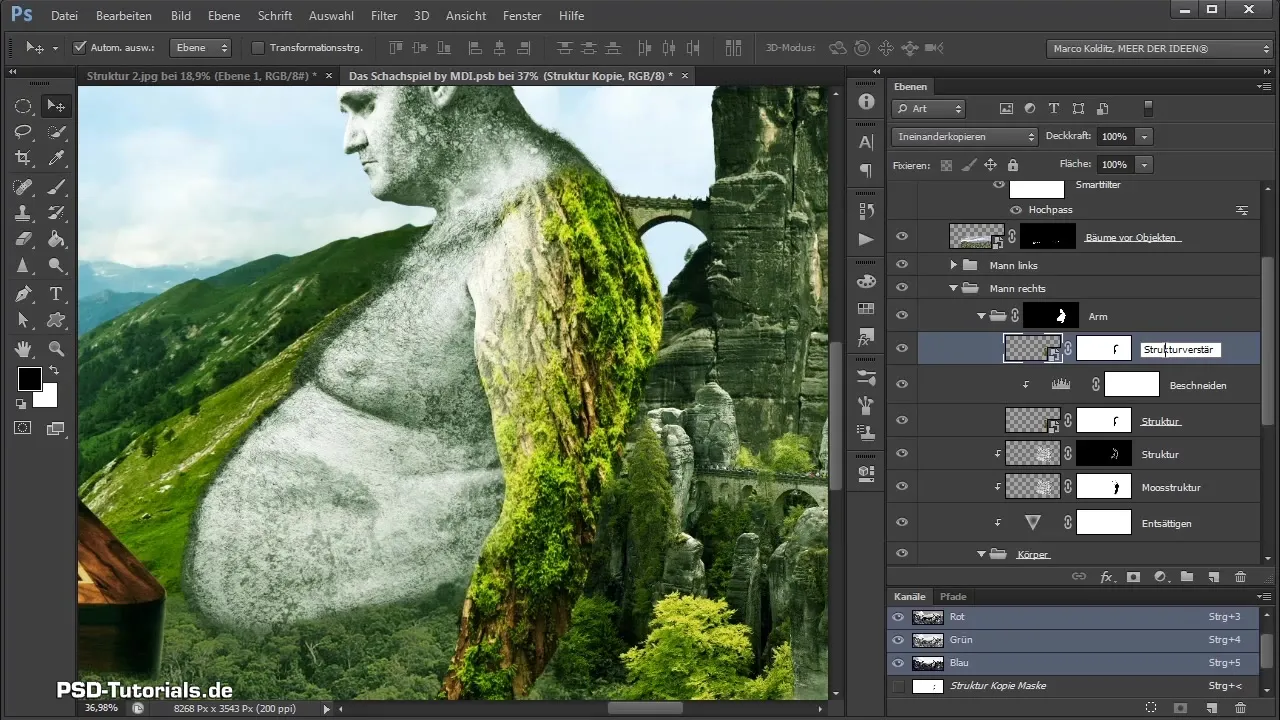
Finally, make further adjustments to the shadows to create harmony throughout the image. Place a structure that you can adjust again to highlight the arm region better.
In the next video, you will learn how to further refine the texture of the stone giant to make it look like real rock.
Summary - Guide to Creating a Nature Giant in Photoshop - Placing and Adjusting Textures
In this guide, you will learn how to transform a giant in Photoshop into a nature giant by effectively placing and adjusting textures. The entire process includes desaturating the body, adding and adjusting textures, and purposefully masking undesired areas.
Frequently Asked Questions
How do I desaturate the body in Photoshop?You can desaturate the body by using a dynamics adjustment layer and pulling the saturation slider to the left.
How can I insert textures into my composing?You insert textures by adding them through the “File” menu and then “Place”.
What is a clipping mask?A clipping mask restricts the visible area of a layer to the layer below it, meaning that the texture will only be applied to the desired area.
How can I change the opacity of a layer?The opacity of a layer can be adjusted through the properties panel by moving the opacity slider.
Which blending modes are useful for textures?Blending modes like “overlay” or “soft light” are often useful for harmoniously integrating textures into your image.


