In this section, you will learn how to apply impressive textures to your composing using Photoshop. Marco Kolditz will show you how to add an organic texture like “Bauchmoos” to the “right giant” while simultaneously adjusting the rock structures. With these techniques, you can give your digital artworks that certain something and make them appear more vibrant.
Key Insights
- Refine the rock structures through creative texture application.
- Use masks effectively to make adjustments locally.
- Experiment with color and tonal correction for a harmonious result.
Step-by-Step Guide
To begin editing, open your Photoshop project and ensure that all necessary graphics are available.
Step 1: Create a Group for Rock Structures
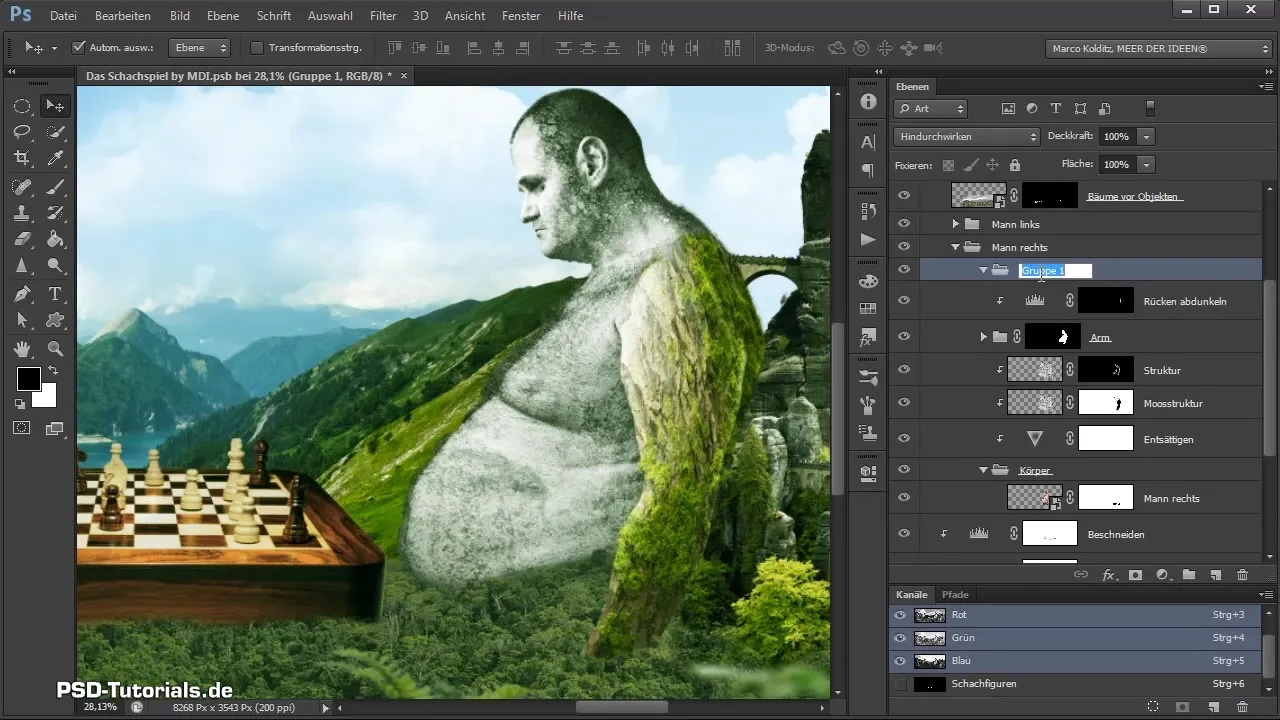
First, focus on creating a group for the rock structures. Click on the layers to select the darkening layer and then create a new group. This group will contain the elements you want to change.
Step 2: Create a Mask
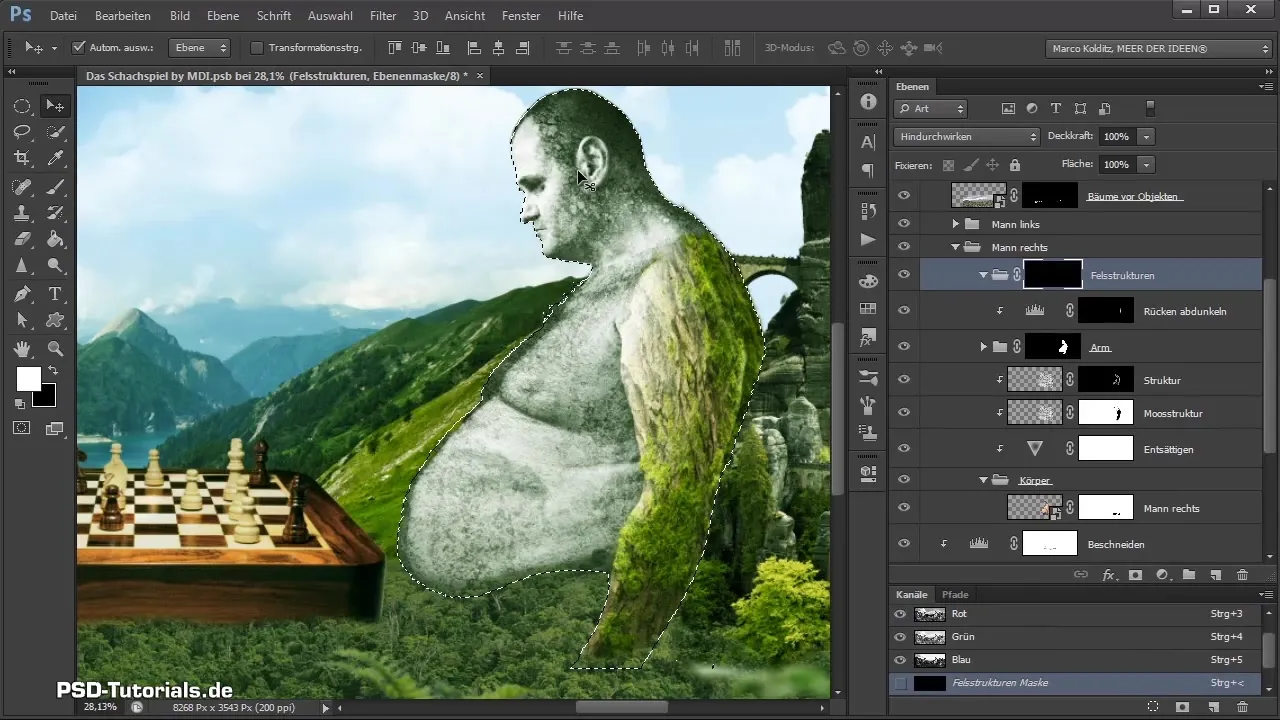
Now it's time to create a mask for the group. Hold down the Alt key and click on the mask of the arm. This ensures that changes only affect the selected area.
Step 3: Place the Moss Texture
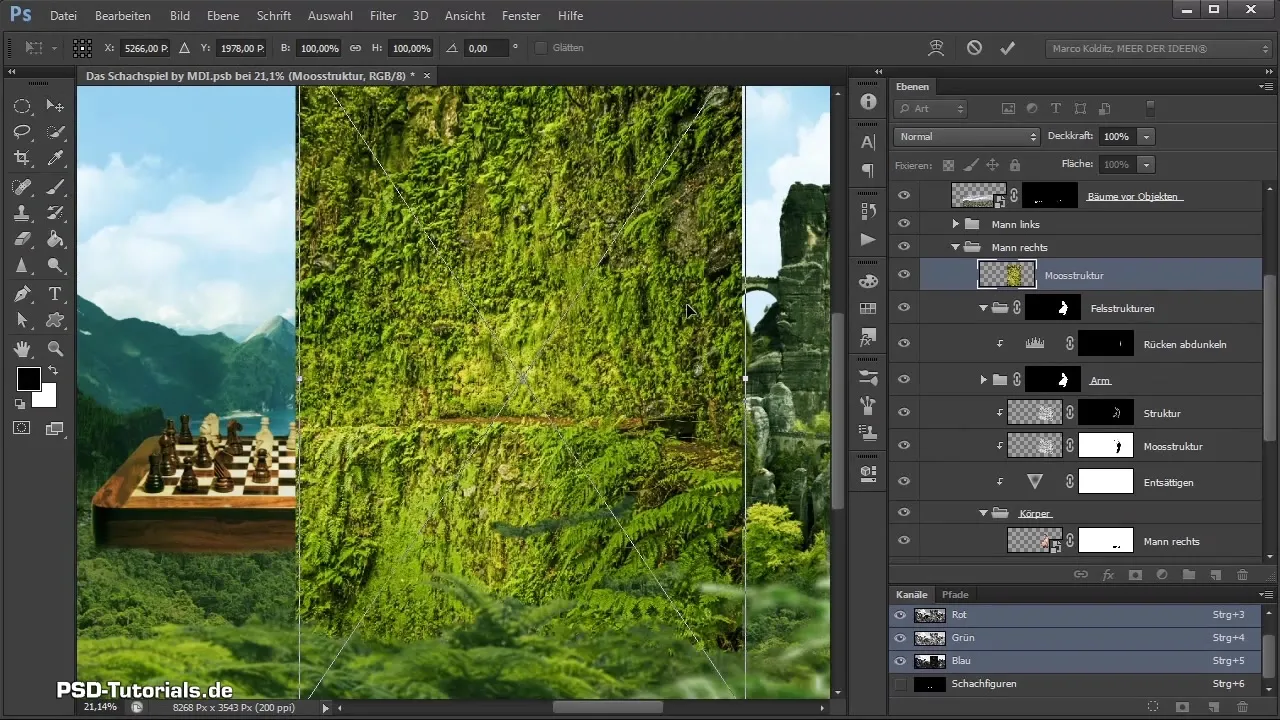
Go to "File", then "Place", and choose the moss texture you want to use. Drag the texture into the group for the rock structures and adjust the position. Confirm your placement by pressing the Enter key.
Step 4: Adjust the Blending Mode
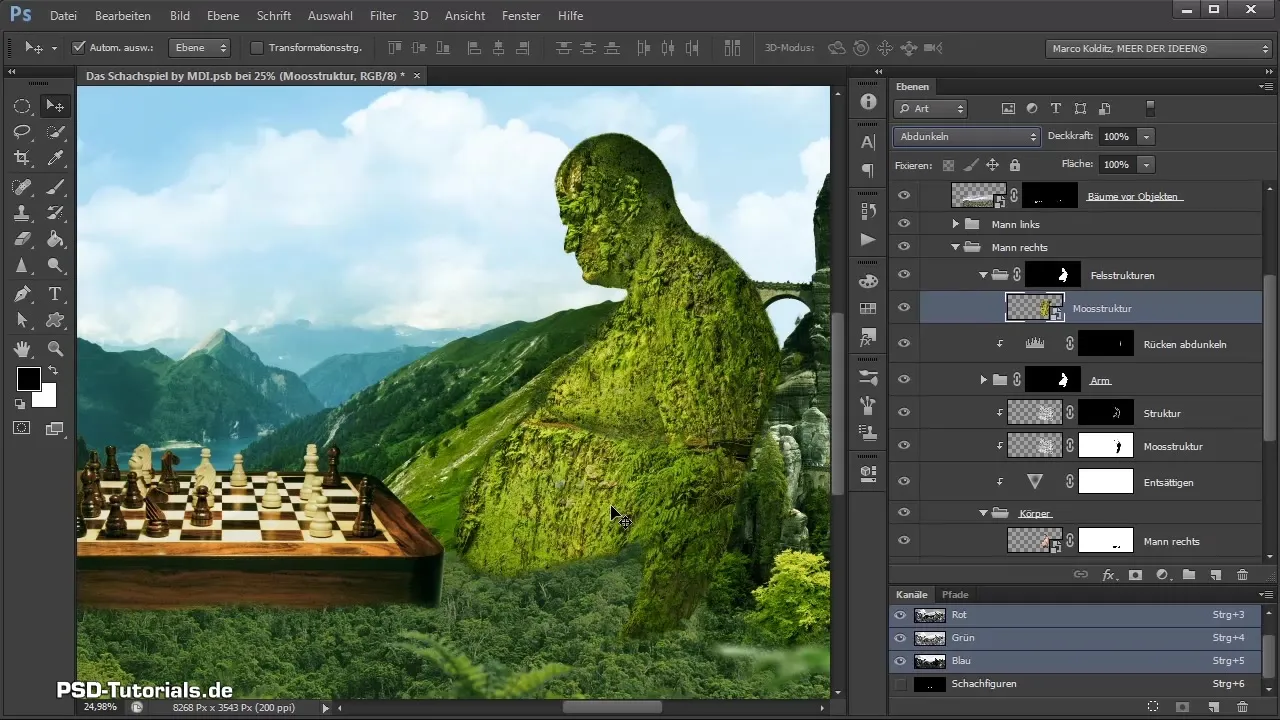
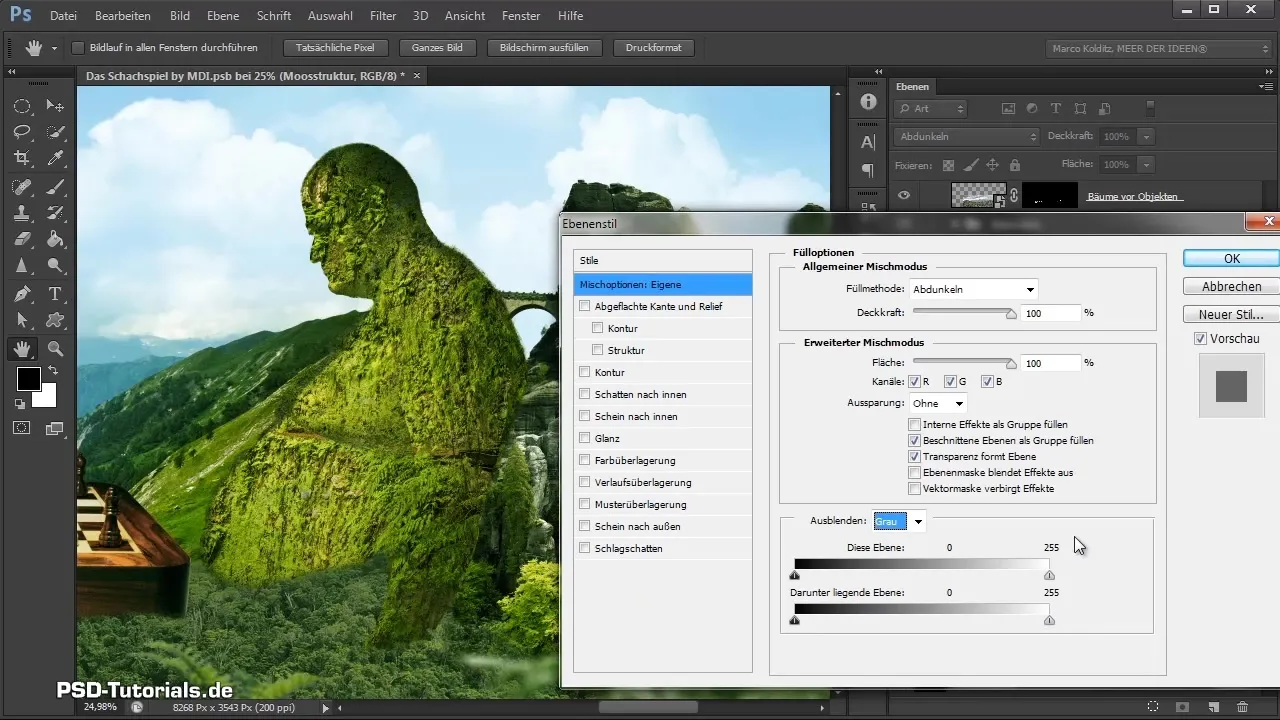
To seamlessly integrate the moss texture into your image, set the layer mode to "darken". This ensures a harmonious integration of the texture into the background.
Step 5: Perform Color Correction
Double-click on the moss texture layer to access the layer styles. Here, you can adjust the colors. Drag the slider to the left to bring back the highlights and make the moss texture appear less intense.
Step 6: Edit the Mask
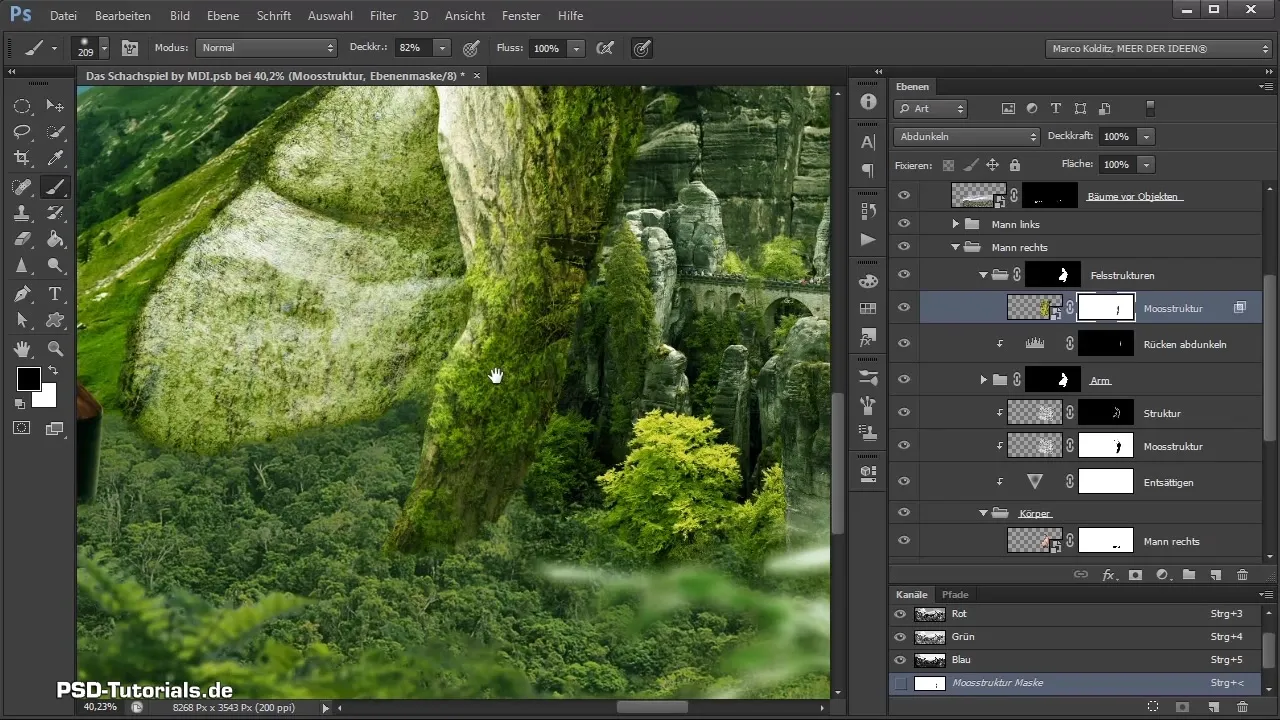
With the mask, you can free specific areas from the moss, such as the arm. Work precisely to ensure that the moss is only visible in desired locations. Be careful not to cover too much, especially in the belly area.
Step 7: Make Fine Adjustments
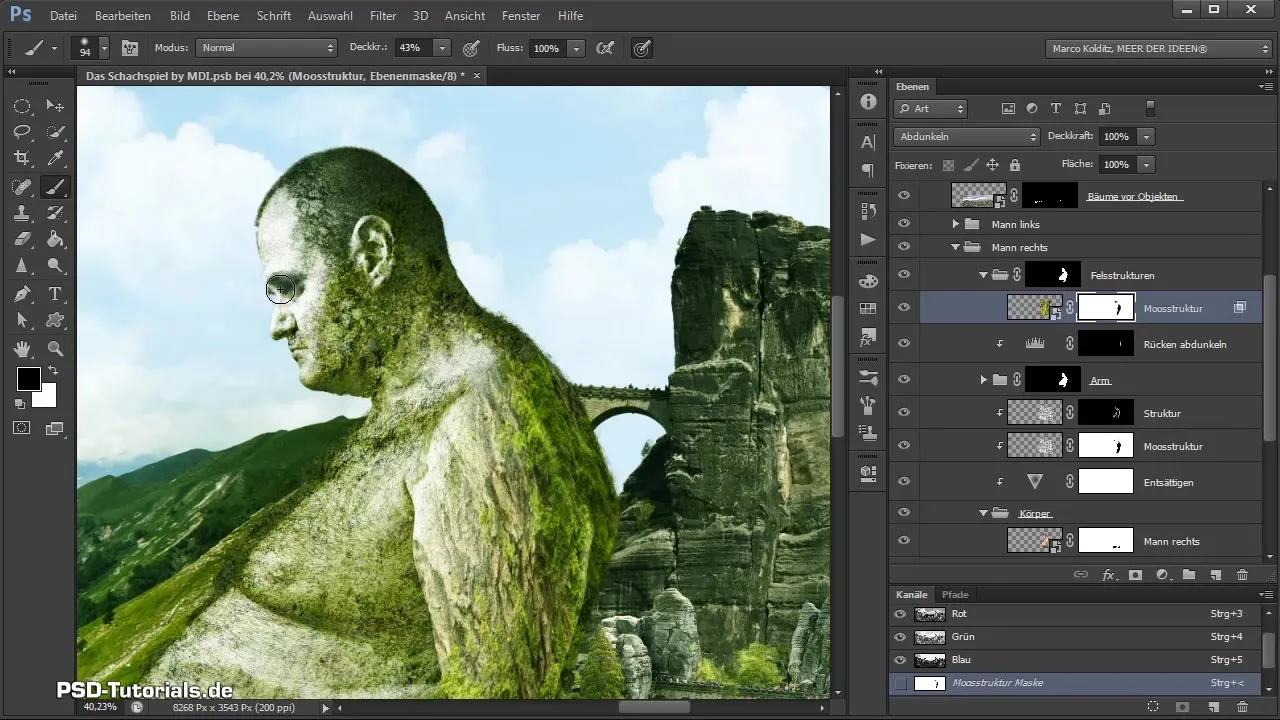
Now it's time to make further fine adjustments. Change the opacity and adjust the blending mask so that the head or eyes are less affected by the moss texture.
Step 8: Add Additional Rock Structure
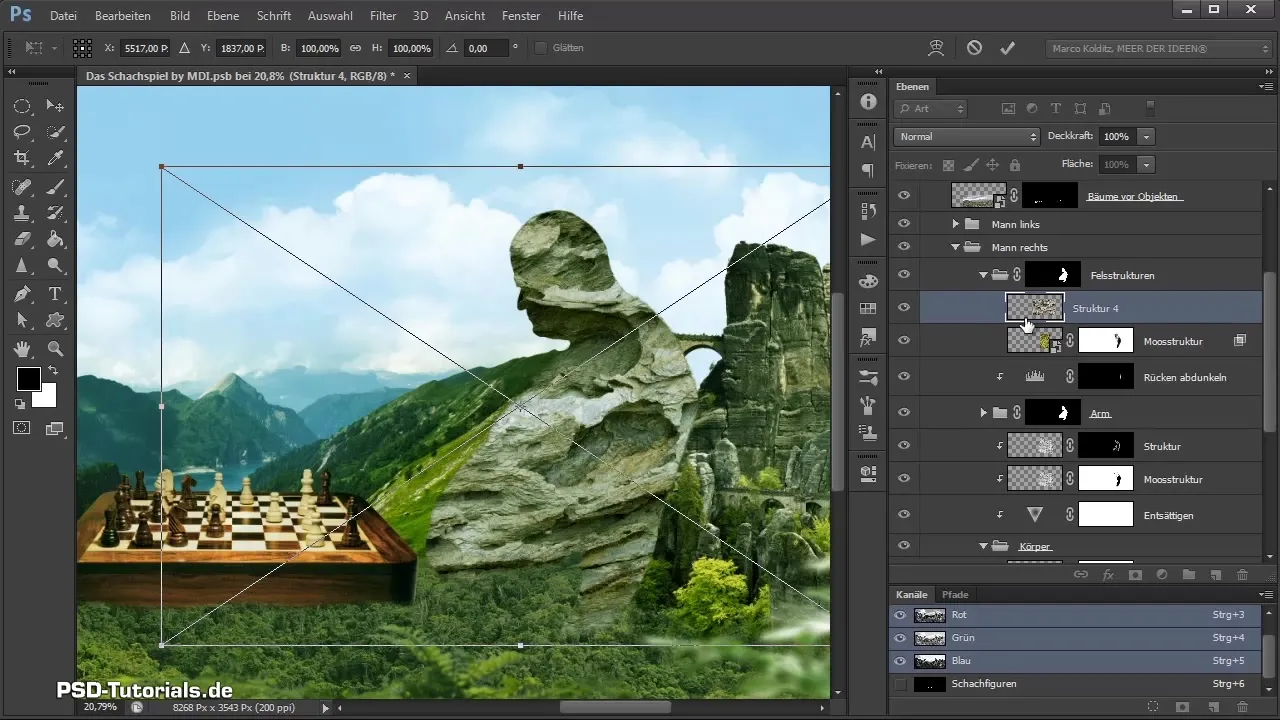
Return to "File -> Place" to add an additional structure. This structure should also be integrated into the group for rock structures. Adjust it and set the mode back to "darken".
Step 9: Adjust Saturation and Contrast
Use a hue/saturation layer to reduce the saturation of the new rock structure. Set a reduction of about 18% and name this element "desaturate". Also, add a tonal correction to increase the contrast and make the image appear more vibrant.
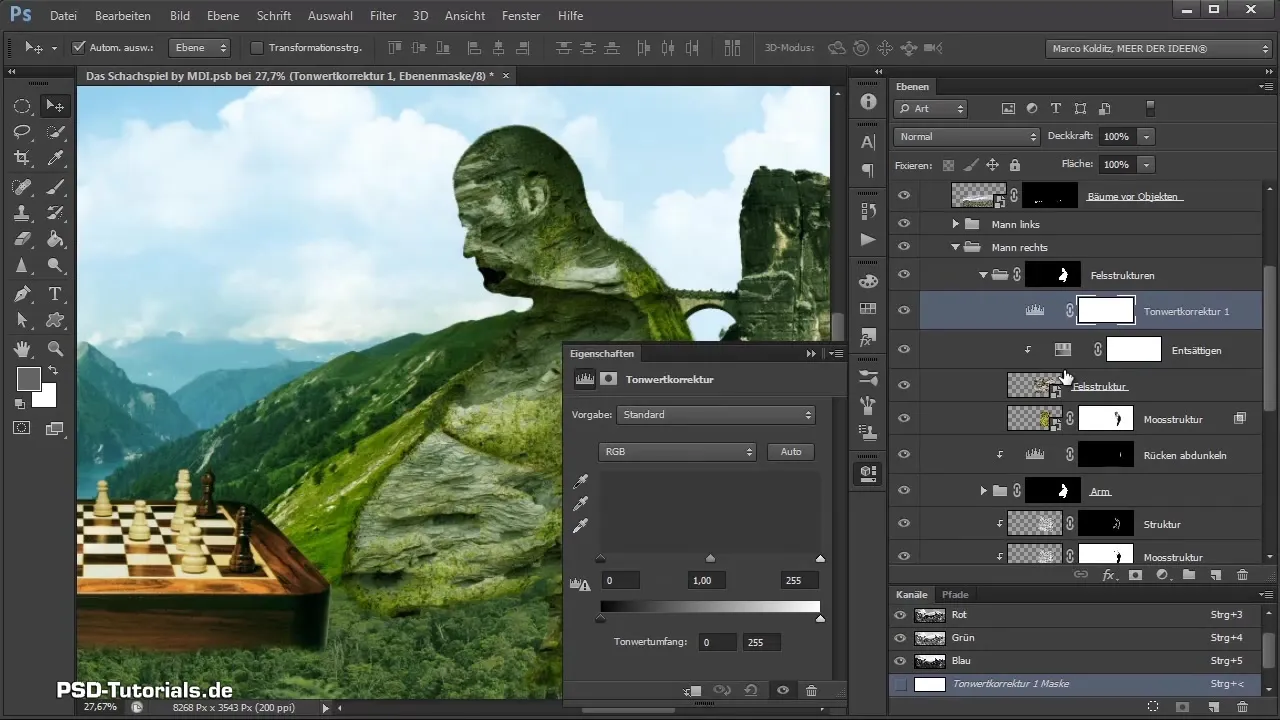
Step 10: Adjust the Image
You can now move and adjust the rock structure until you achieve the desired interplay of textures. Pay attention to how the new elements consider the overall composition.
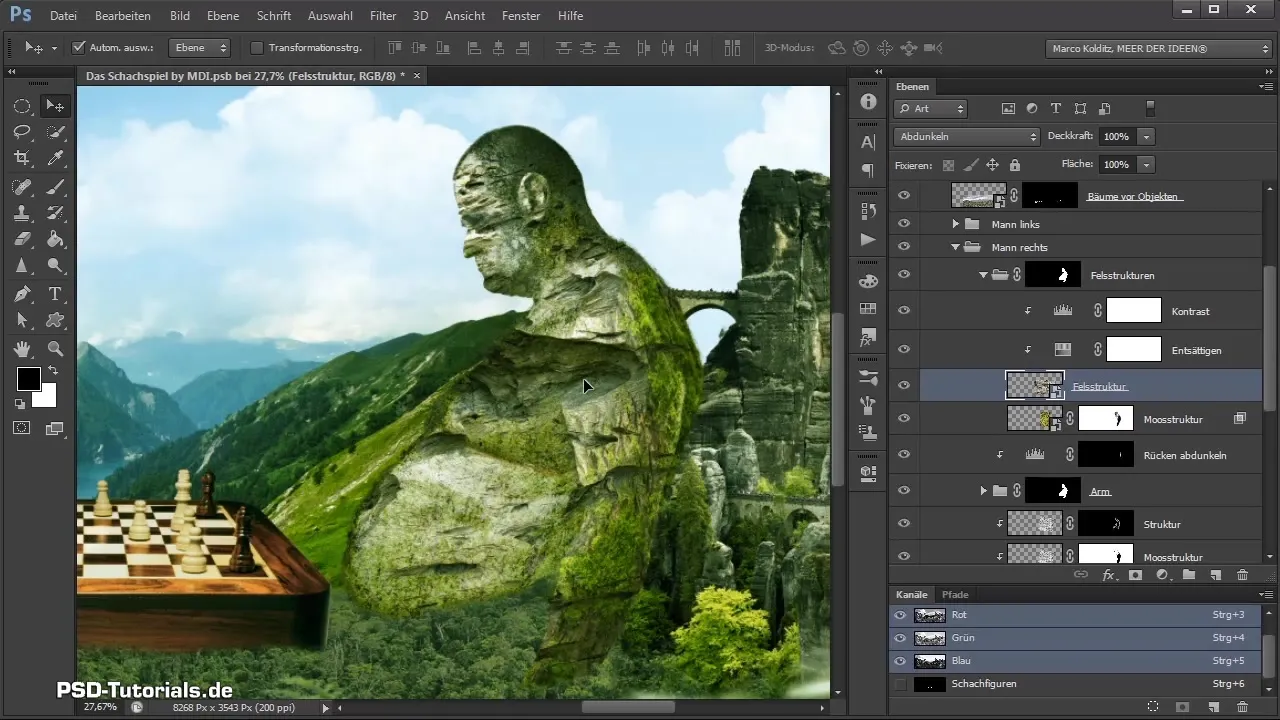
Step 11: Selection and Masking
You can now duplicate the entire rock structure layer. Hold down the Alt key, drag the layer up, and create a fresh mask for the new layer. This allows you to implement different textures in various areas.
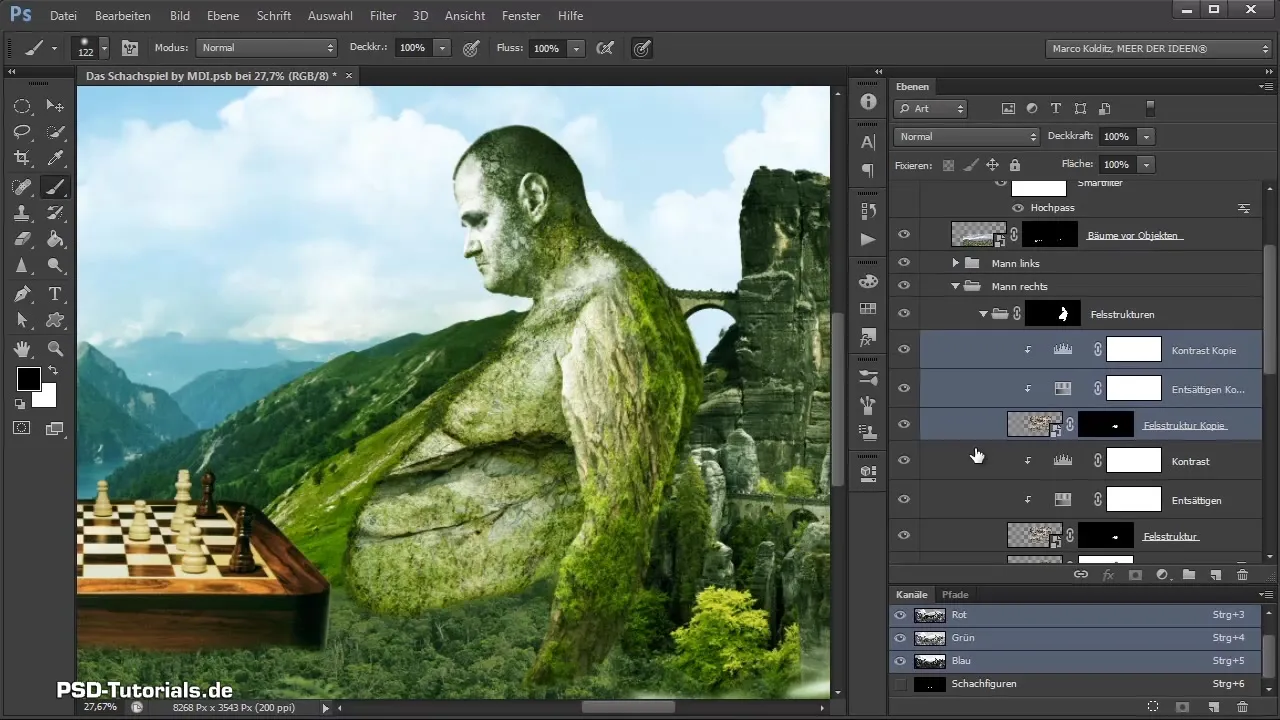
Step 12: Fine-Tune the Final Result
After making the changes, review the overall image and compare it with the original. Pay attention to the harmonious integration of the rock and moss structures. Make direct adjustments if necessary.
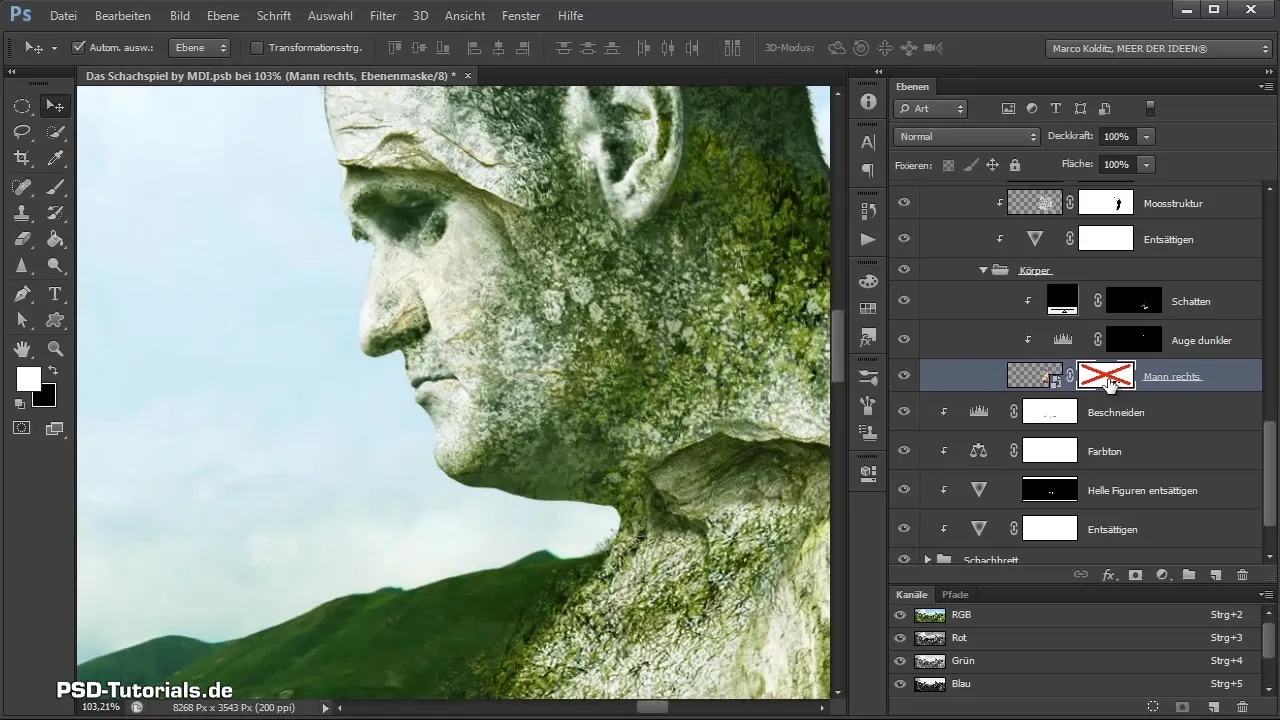
Summary – Placing and Adjusting Textures on the Right Giant
With these steps, you have learned how to effectively place impressive textures like Bauchmoos and rock structures on your giant in the composing. The combination of masking techniques and image editing tools allows you to create realistic and dynamic artworks.
Frequently Asked Questions
What are the main steps when adding textures?Create a group, set masks, place the textures, and adjust them.
How can I reduce the saturation of a texture?Use the hue/saturation layer and drag the saturation slider to the left.
How does the darken mode work in Photoshop?It ensures that the dark areas of the upper layer influence the lower layers, blending the colors.
How can I effectively use masks in Photoshop?Masks allow you to selectively show or hide specific areas to make your adjustments precise.


