The composing in Photoshop allows you to creatively combine different image elements. In this tutorial, you will learn how to merge the front and back part of a truck so that it appears to be floating in the air. Additionally, we will add a car and effectively place both vehicles in the composing. Let your creativity run free and follow the steps to achieve impressive results.
Key Insights
- Convert layers into smart objects for easy editing and transformation.
- Use the transformation tool to adjust the position and size of the elements.
- Apply adjustment layers to optimize colors and contrast.
Step-by-Step Guide
First, you have successfully cut out the front part of the truck. Now, follow the steps to effectively integrate the back part of the truck and the SUV into your composing.
Create Smart Objects
To effectively combine the two parts of the truck, you must first convert all layers into smart objects. Start by creating the smart object for the back part. Right-click on the layer of the back part and choose "Convert to Smart Object."
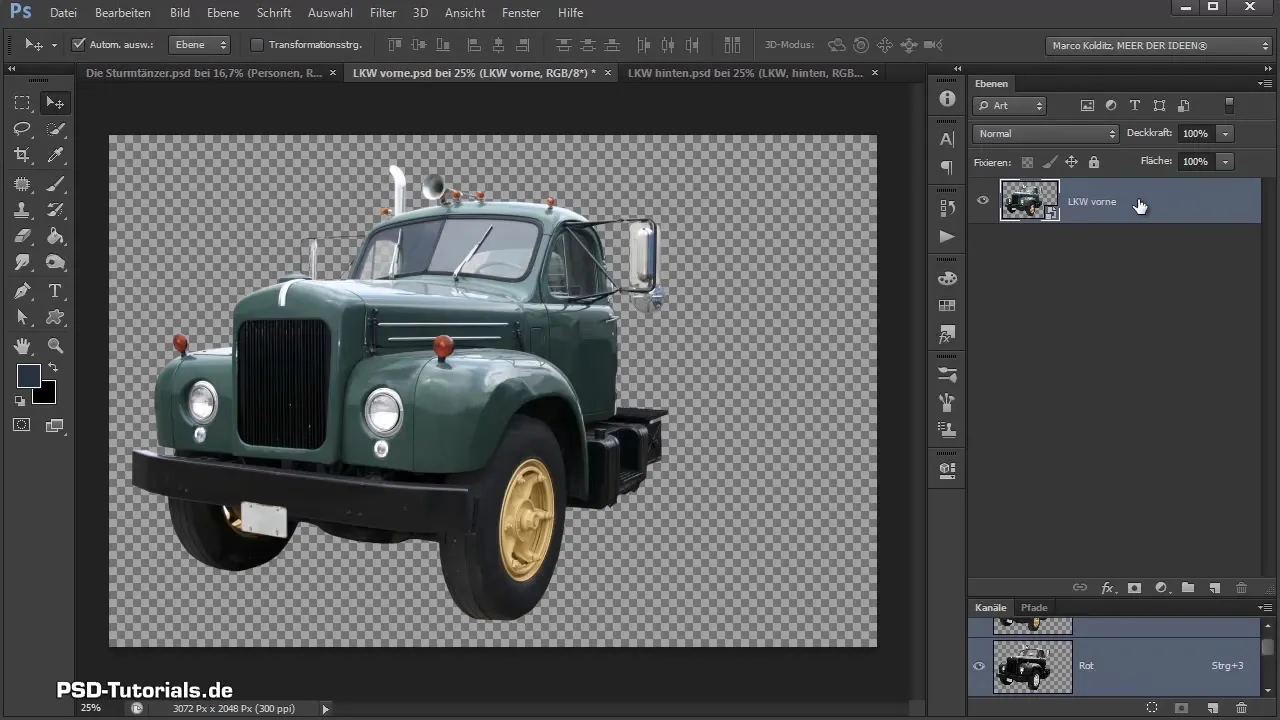
Positioning Parts
Now you can drag the back part of the truck into your composing. Position it behind the front part and ensure that the layer order is correct. To make the back part look like it is actually "hanging," mirror it horizontally under "Edit" and "Transform."
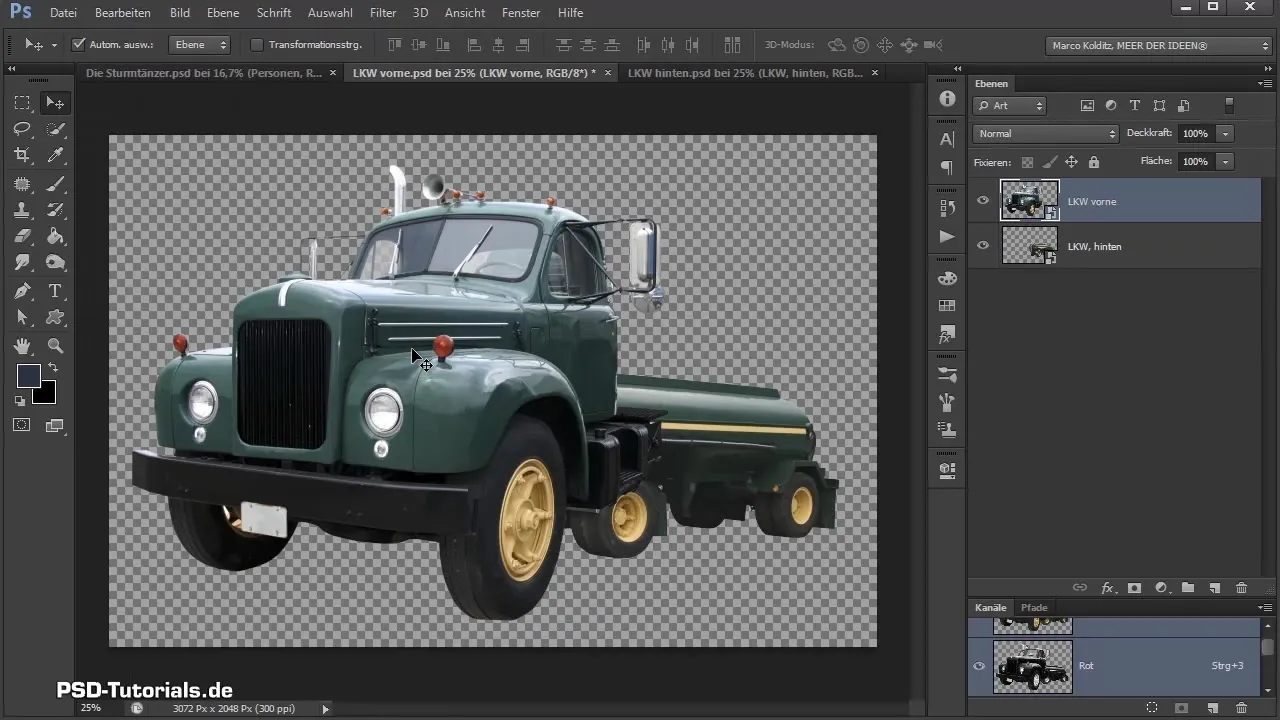
Resizing
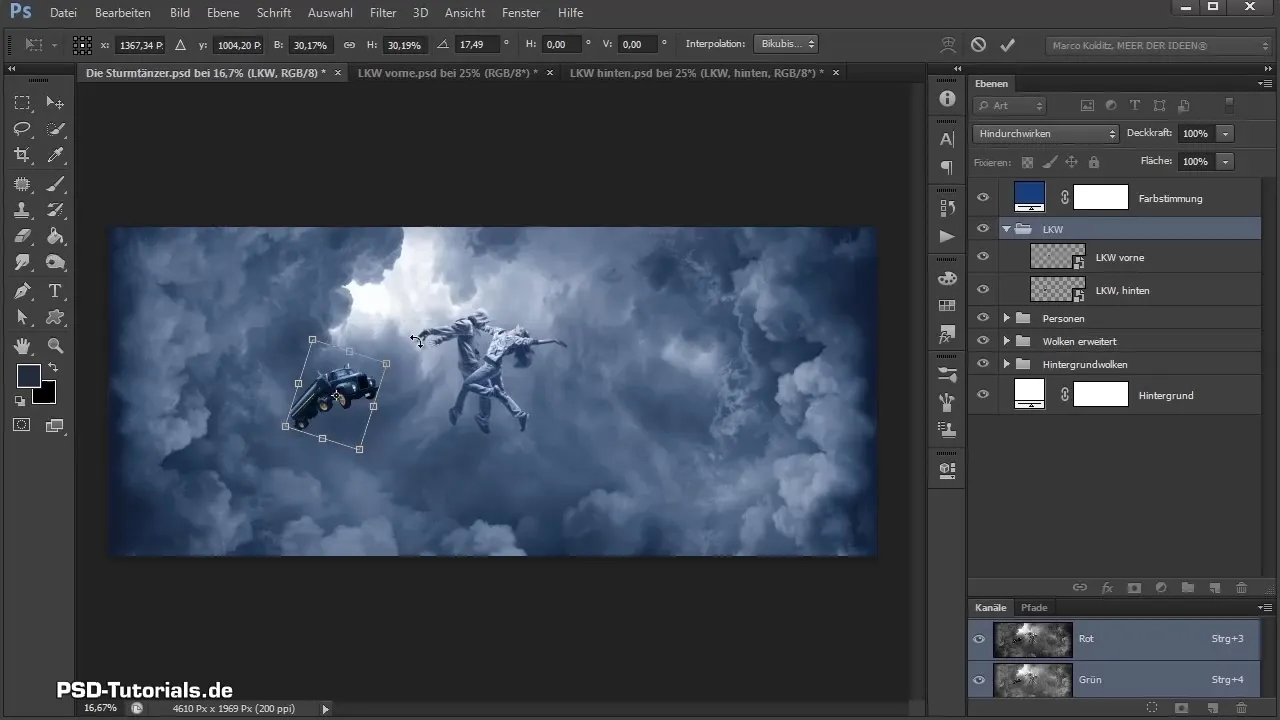
Shrink the front part of the truck by pressing Control and T. Rotate and scale it until it looks like it is hanging in the air. Ensure that the proportions fit and the truck looks cohesive.
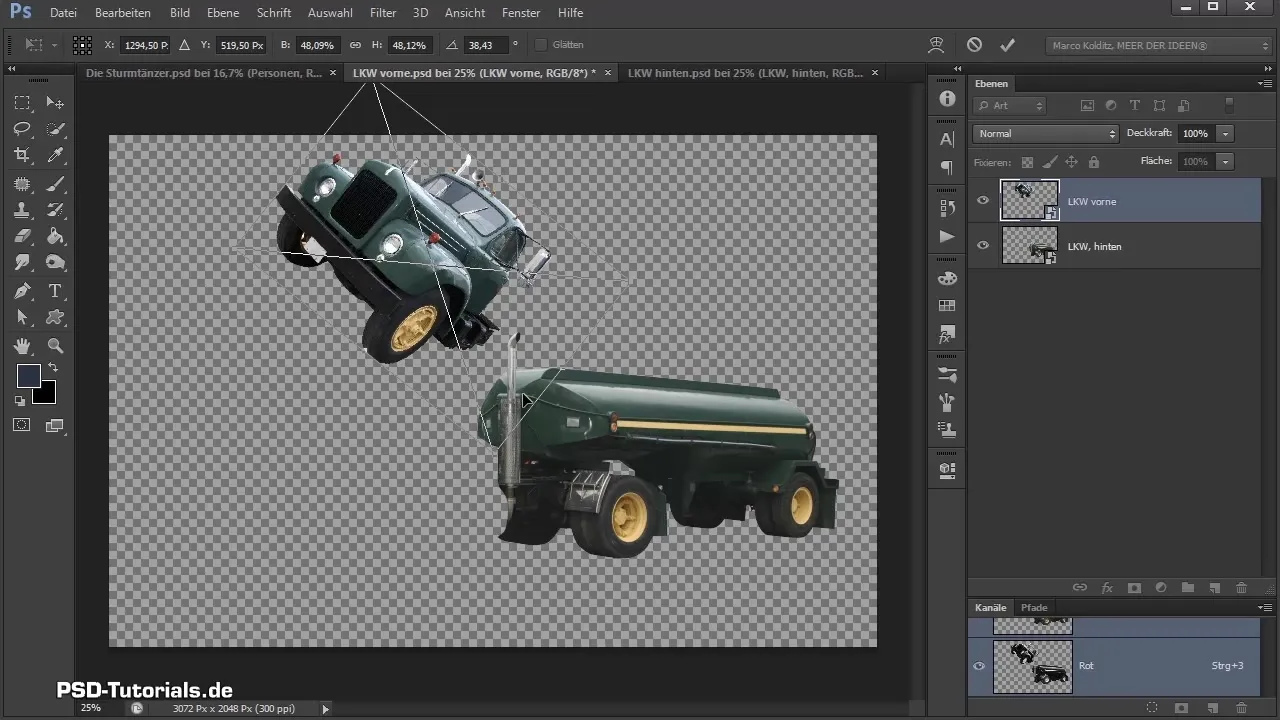
Create a Group
After positioning both parts, select the layers of the truck and pull them into a new group. Press Control and G to do this and name the group appropriately.
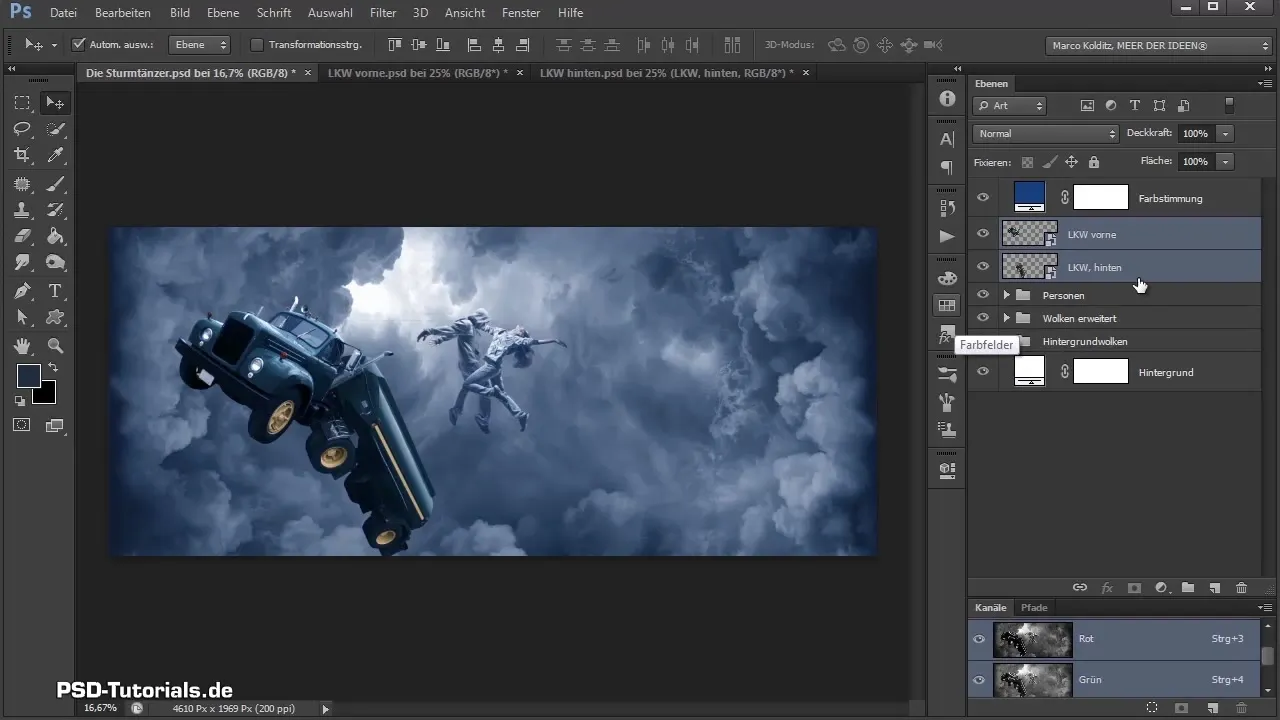
Transform the Truck
Now it's time to transform the entire truck group again. Use Control and T to rotate the truck and place it in the desired spot in the image. Make sure it's facing the direction of the couple.
Contrast and Color Correction
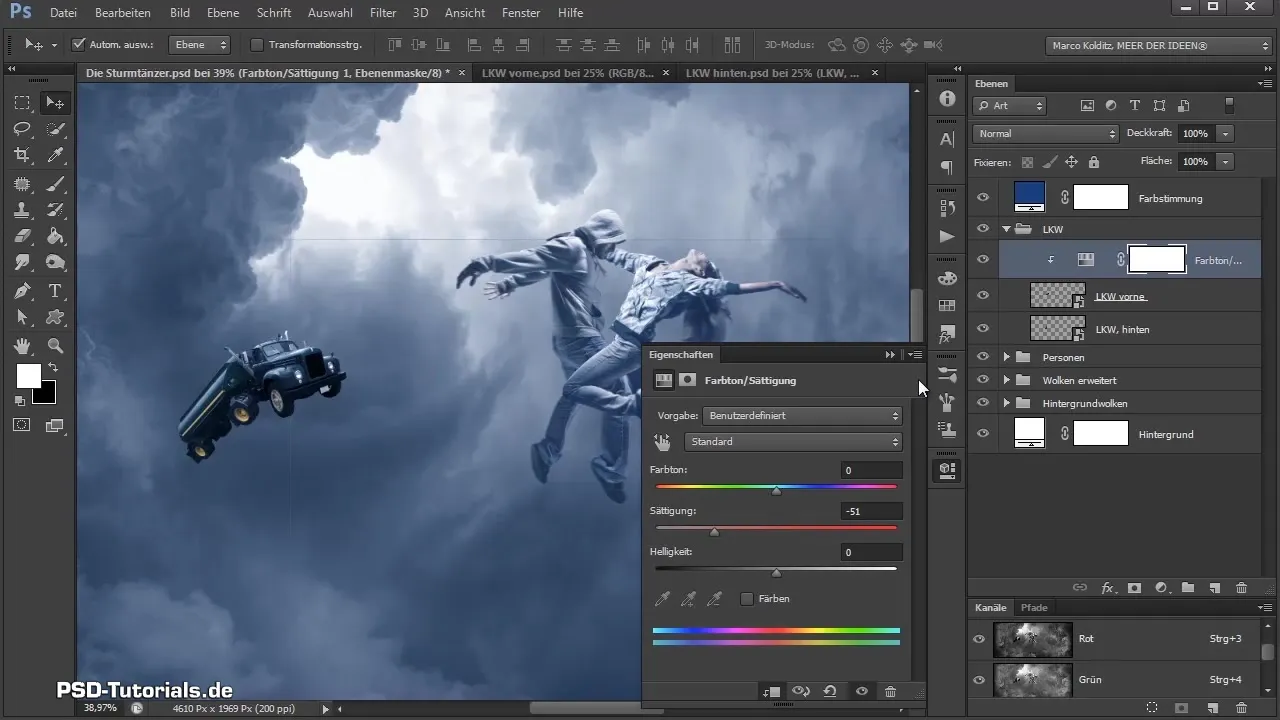
To better integrate the truck into the image, you should add a hue and saturation layer. Create a clipping mask so that the changes only apply to the front part of the truck.
Fine-Tuning
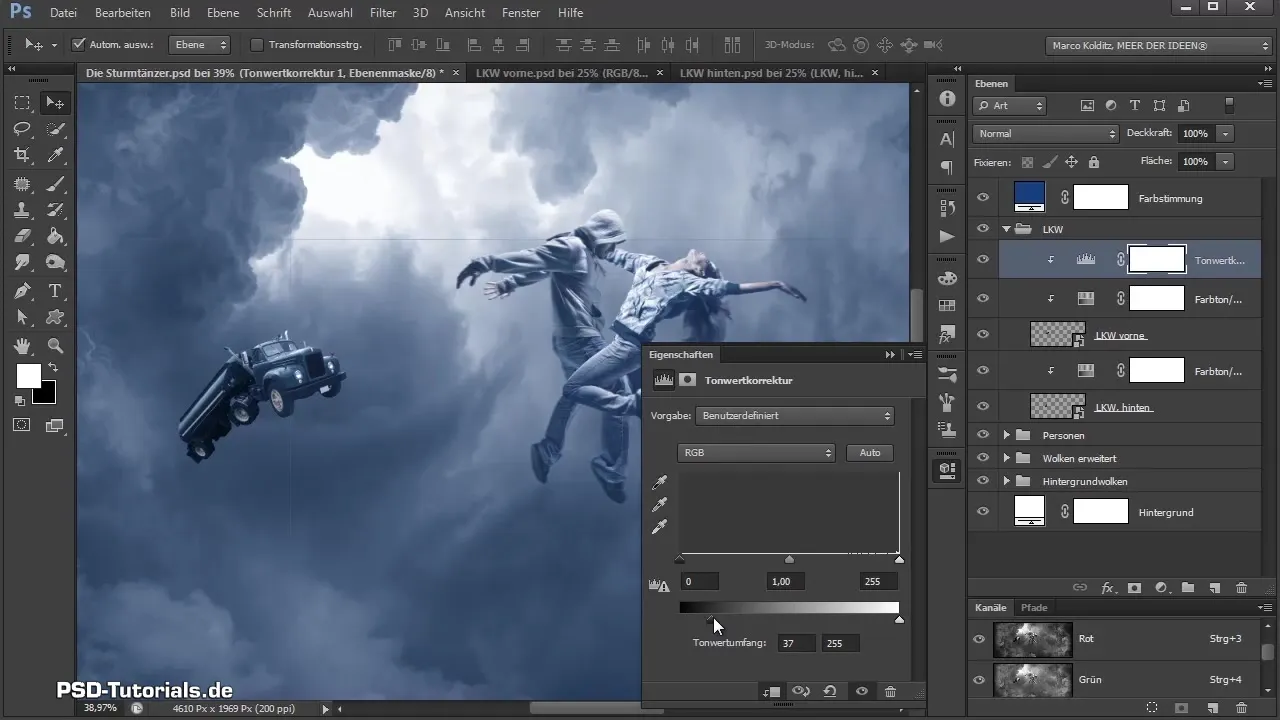
Make an additional adjustment layer for tonal correction. Here you can clip the blacks and adjust the contrast. This gives the front part of the truck more depth and makes it appear more lively.
Add the SUV
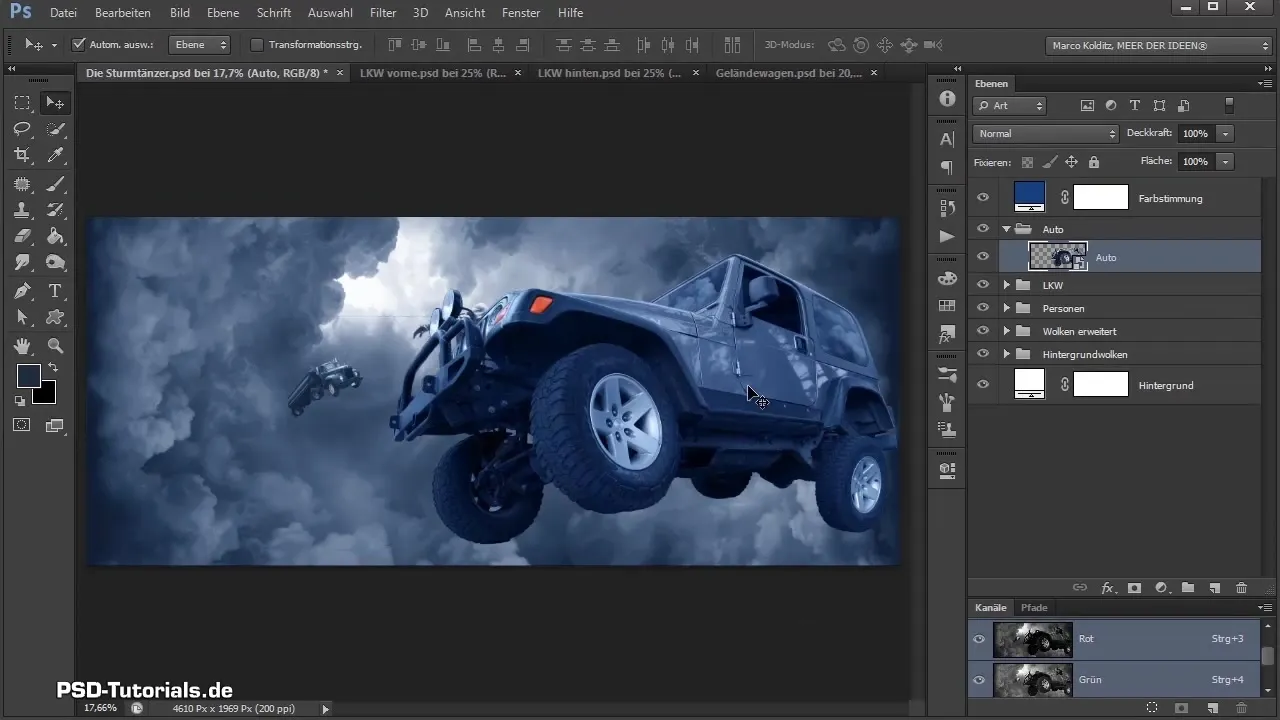
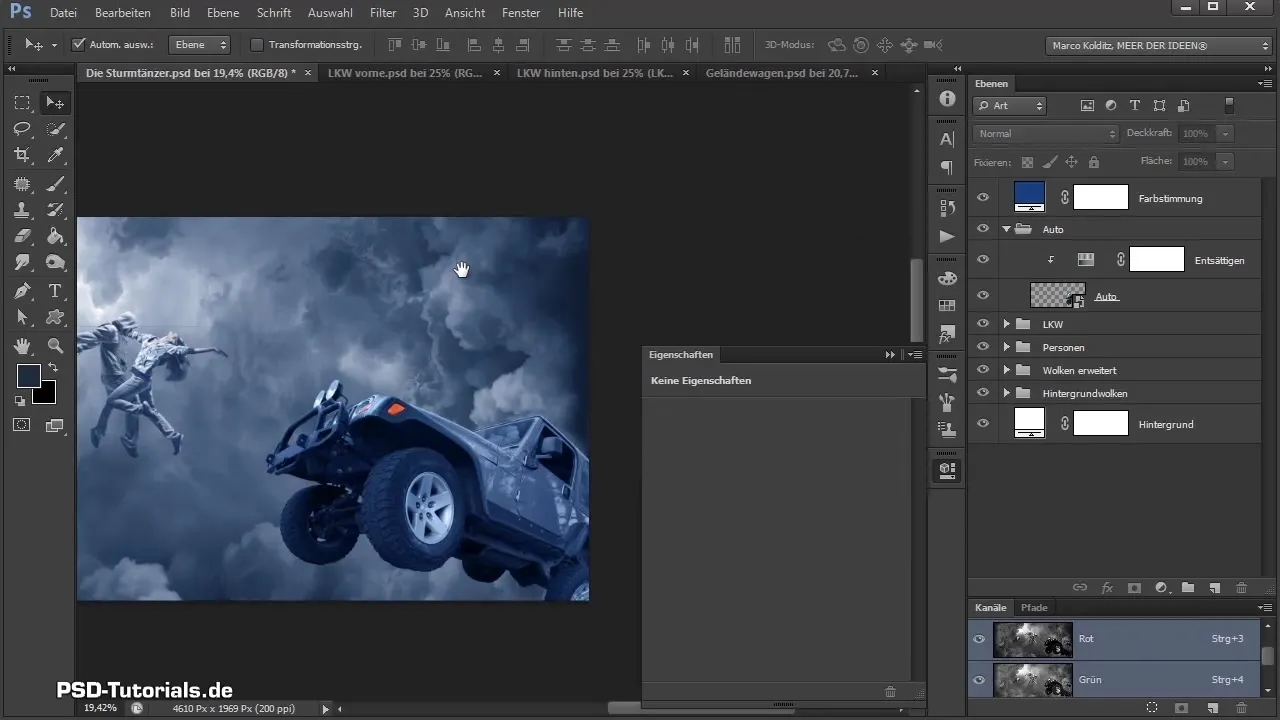
Now it's time for the SUV. First, you should create a new group for the SUV and convert it into a smart object. Place the SUV in the composing as well, paying attention to both size and direction.
Adjustment and Final Touches
Drag the SUV so that it is clearly visible but not overly dominant. Also create a hue and saturation layer for the SUV to slightly desaturate the colors. You can keep the orange turn signals to create a nice contrast.
Final Corrections
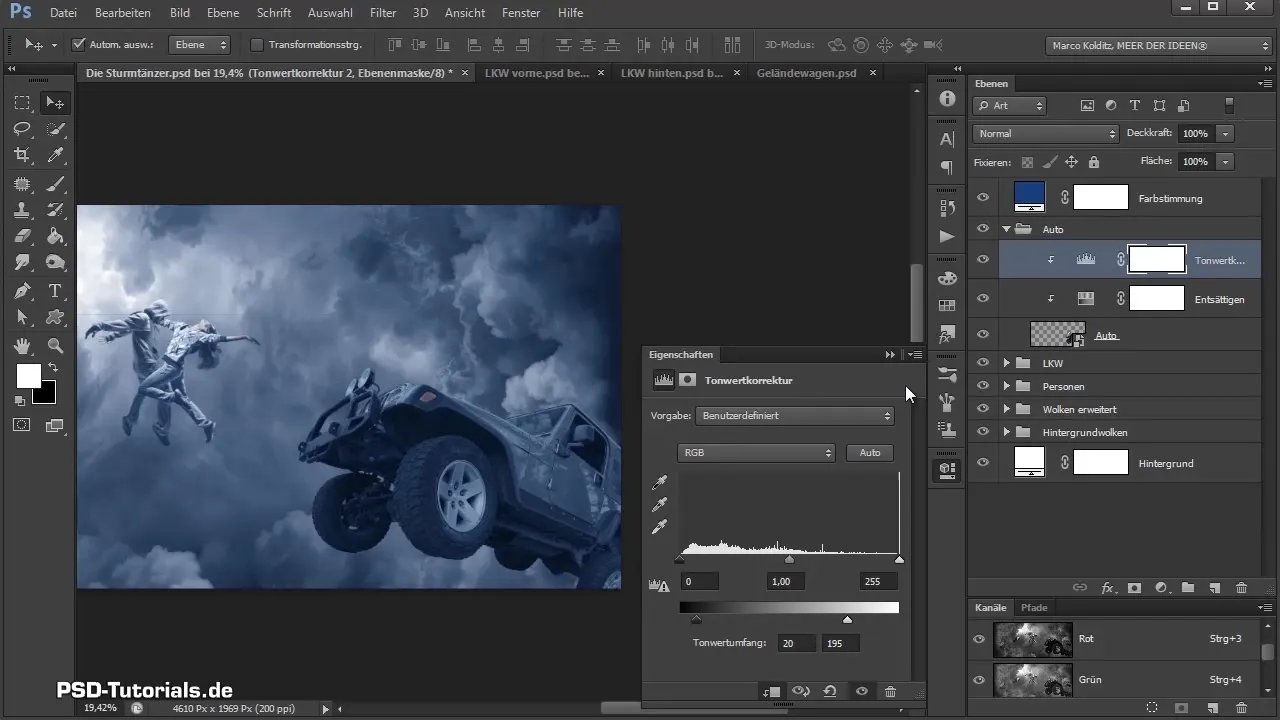
Finally, you can make another tonal correction to harmoniously integrate the SUV into the overall image. Make sure to adjust the blacks and whites to achieve a consistent lighting mood.
Summary – Merging Trucks and Placing Vehicles in Photoshop
In this guide, you learned how to combine the front and back parts of a truck in Photoshop and add a car. By using smart objects, the transformation tool, and various adjustment layers, you have the opportunity to create impressive compositions.
Frequently Asked Questions
How can I convert layers into smart objects?Right-click on the layer and choose "Convert to Smart Object."
How do I ensure the truck is facing the right direction?Use the transformation function and mirror the truck horizontally to change its direction.
Why should I use adjustment layers?Adjustment layers allow for non-destructive editing and help to precisely adjust colors and contrasts.
