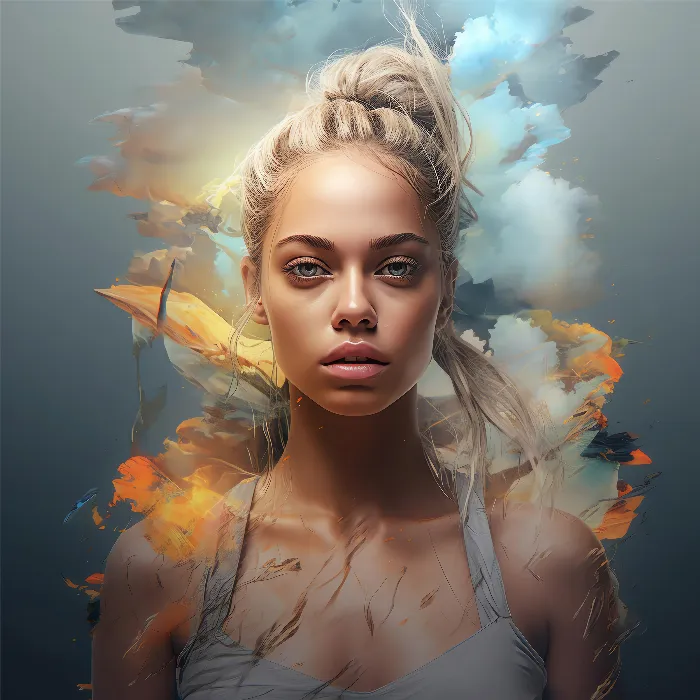
Nowadays, there are endless possibilities to create creative designs - whether you want to create a social media post, a thumbnail, or an invitation card. One of the best platforms for this is Canva, which allows you to transform text into impressive images. In this guide, I will show you how to effectively use Canva's text-to-image feature to create appealing graphics quickly and easily.
Key Takeaways You will learn how to use the "Text to Image" feature in Canva, what creative possibilities are available to you, and how to optimize the quality of your designs.
Step-by-Step Guide
First of all, you should sign up on the Canva website. If you haven't done that yet, go to canva.com and create a free account.
Now that you are logged in, start the design process.
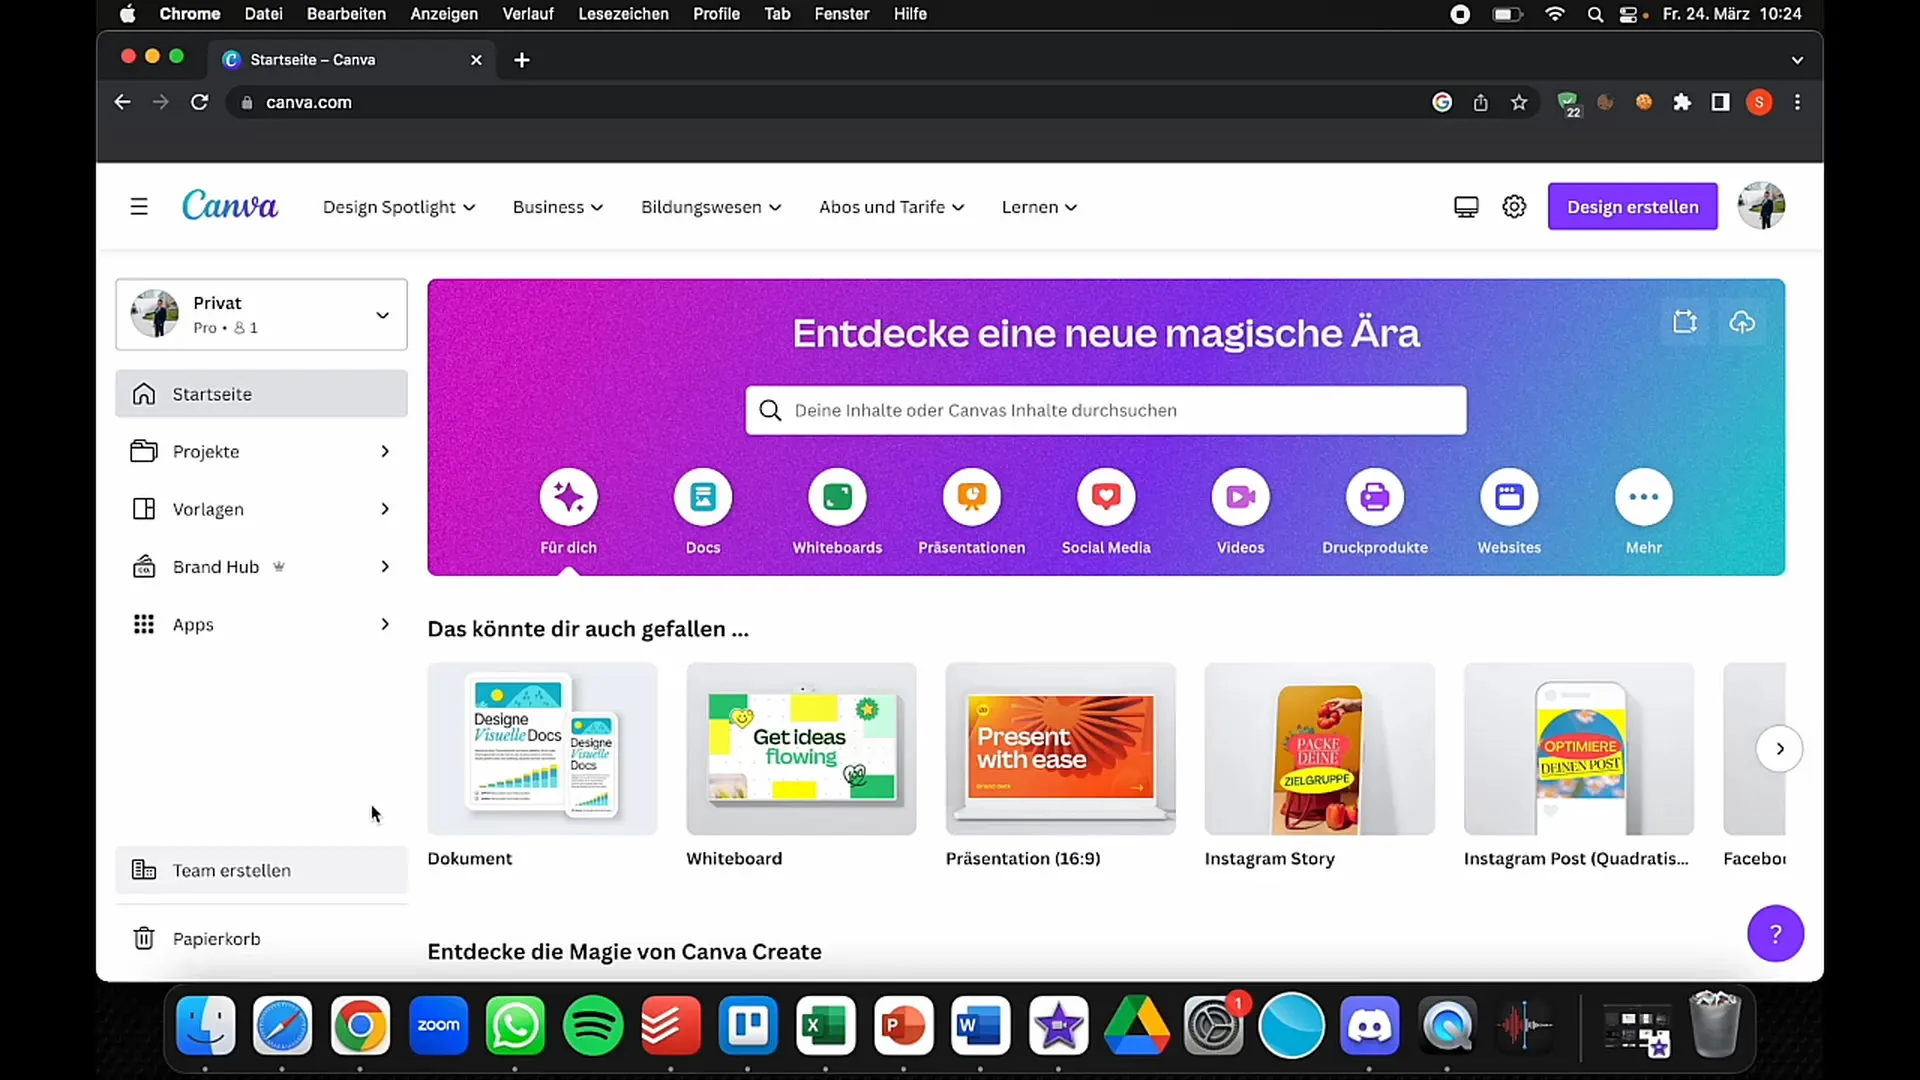
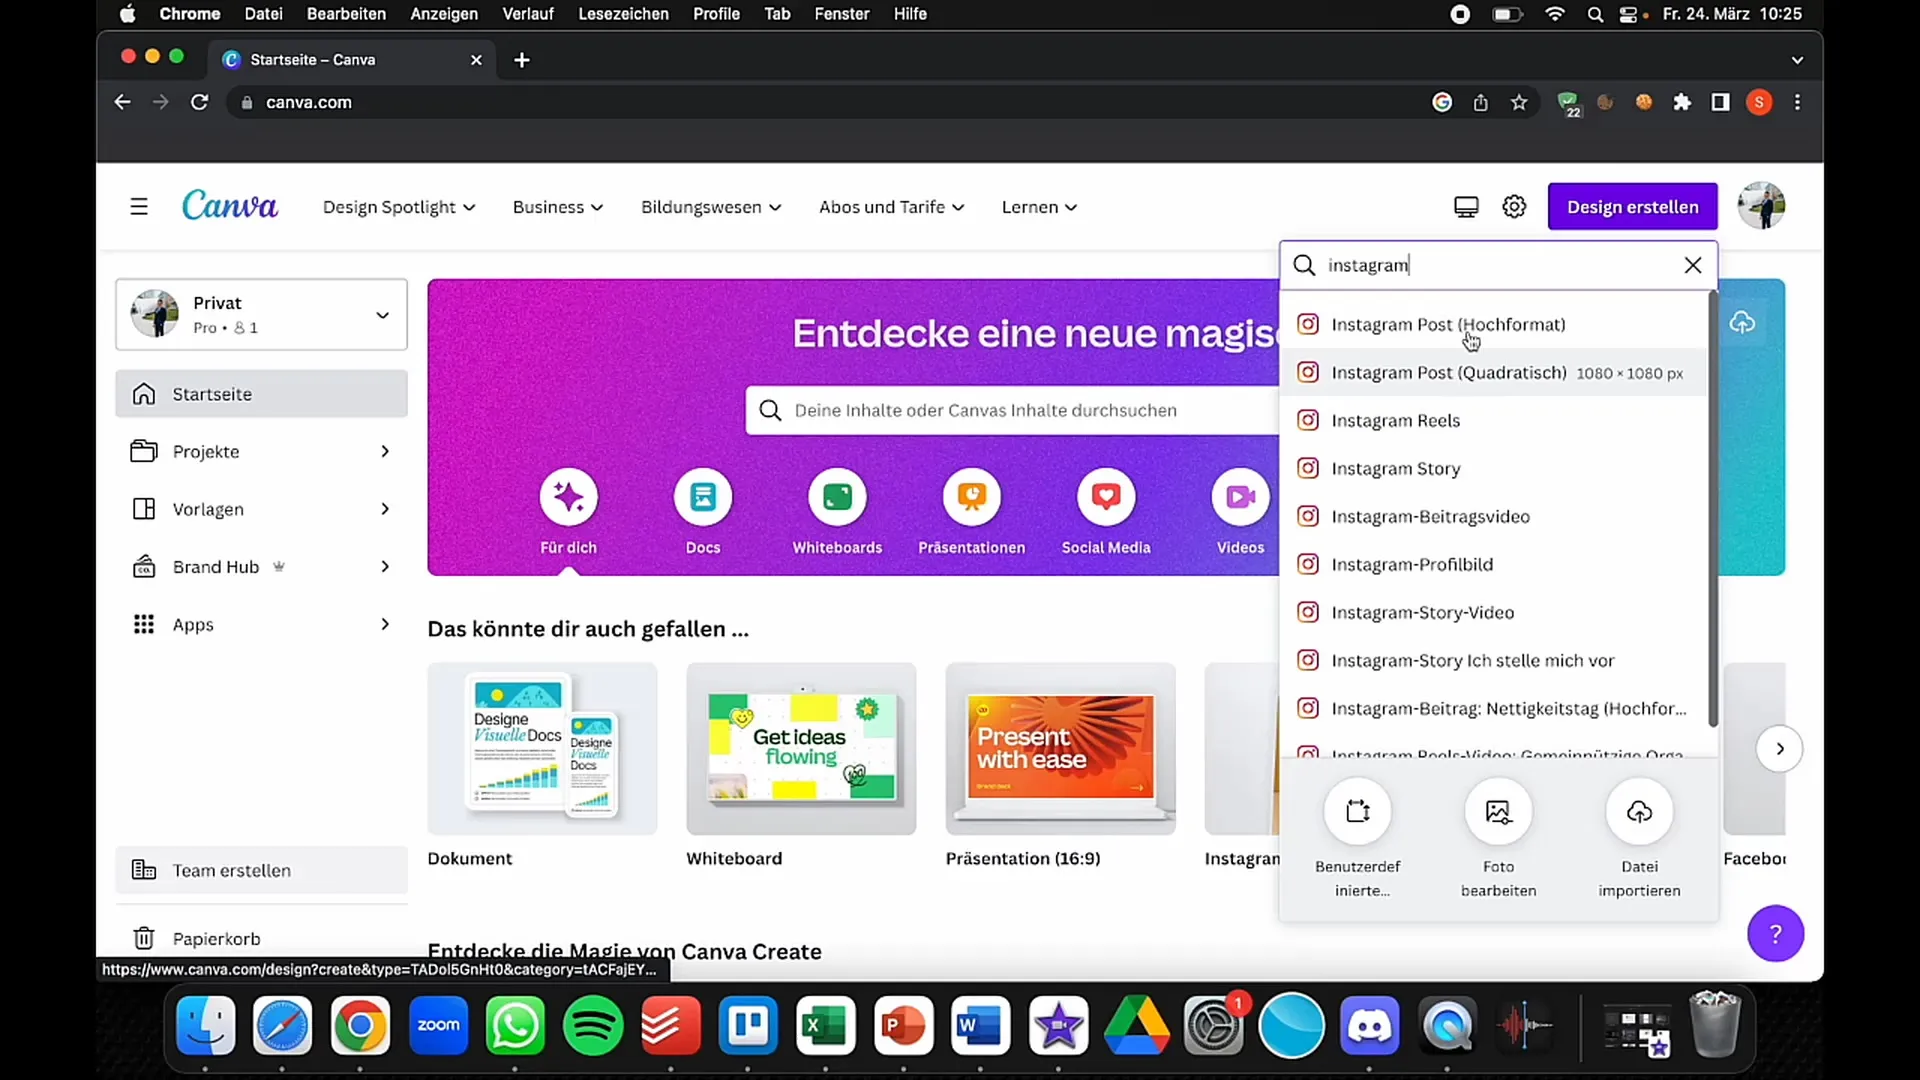
Click on "Create a design" on the homepage in the top right corner. Here you will see a variety of formats, such as Instagram posts, invitations, or thumbnails for Facebook and YouTube. Choose the desired format to open your design area.
After the selection, the design area opens up, and on the left, you will see various tools and templates. If you are not familiar with Canva yet, you will find many templates in each section that can help you with your design.

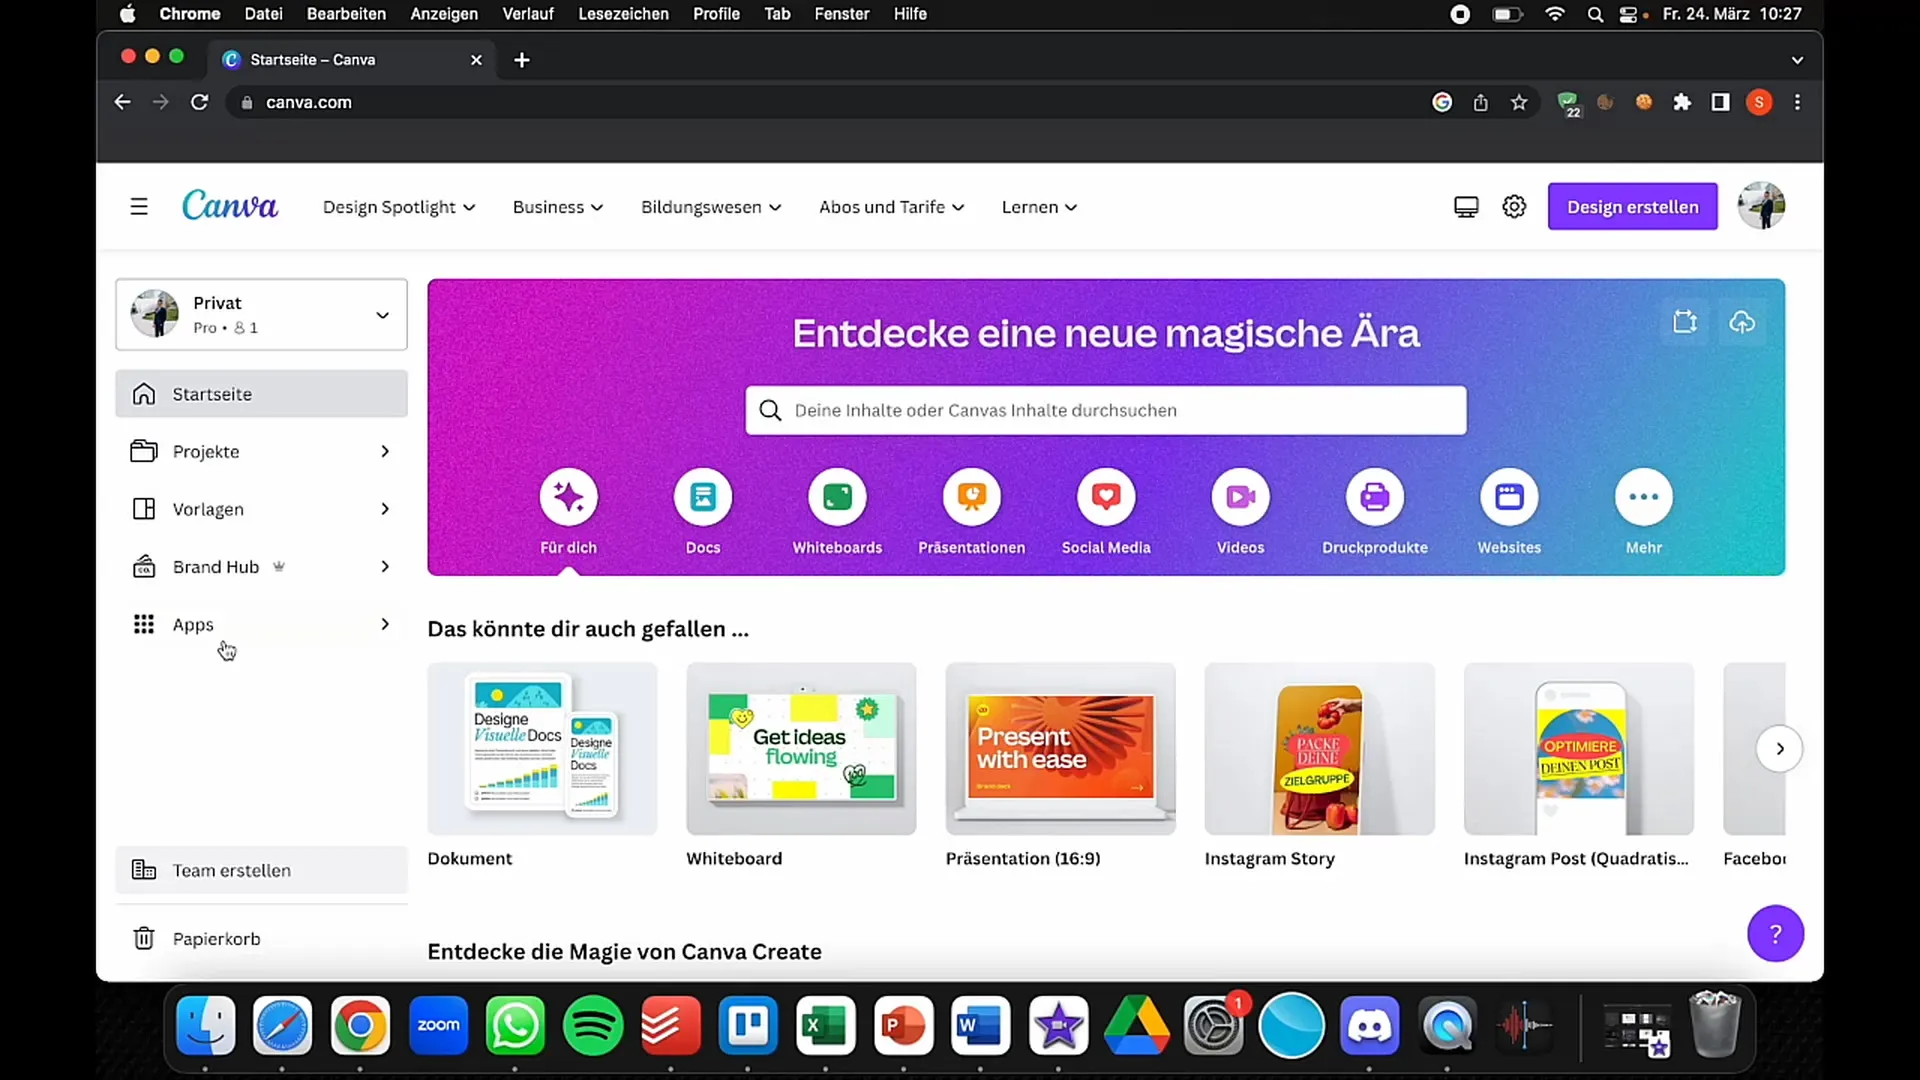
To work with the "Text to Image" function, go to "Apps" in the left-side menu. Here you should find the "Text to Image" function. This option allows you to convert text into brilliant graphics.
Click on "Text to Image". Now you can enter the text you want to turn into an image. Be creative! For example, you could enter a description of a cartoon you imagine.
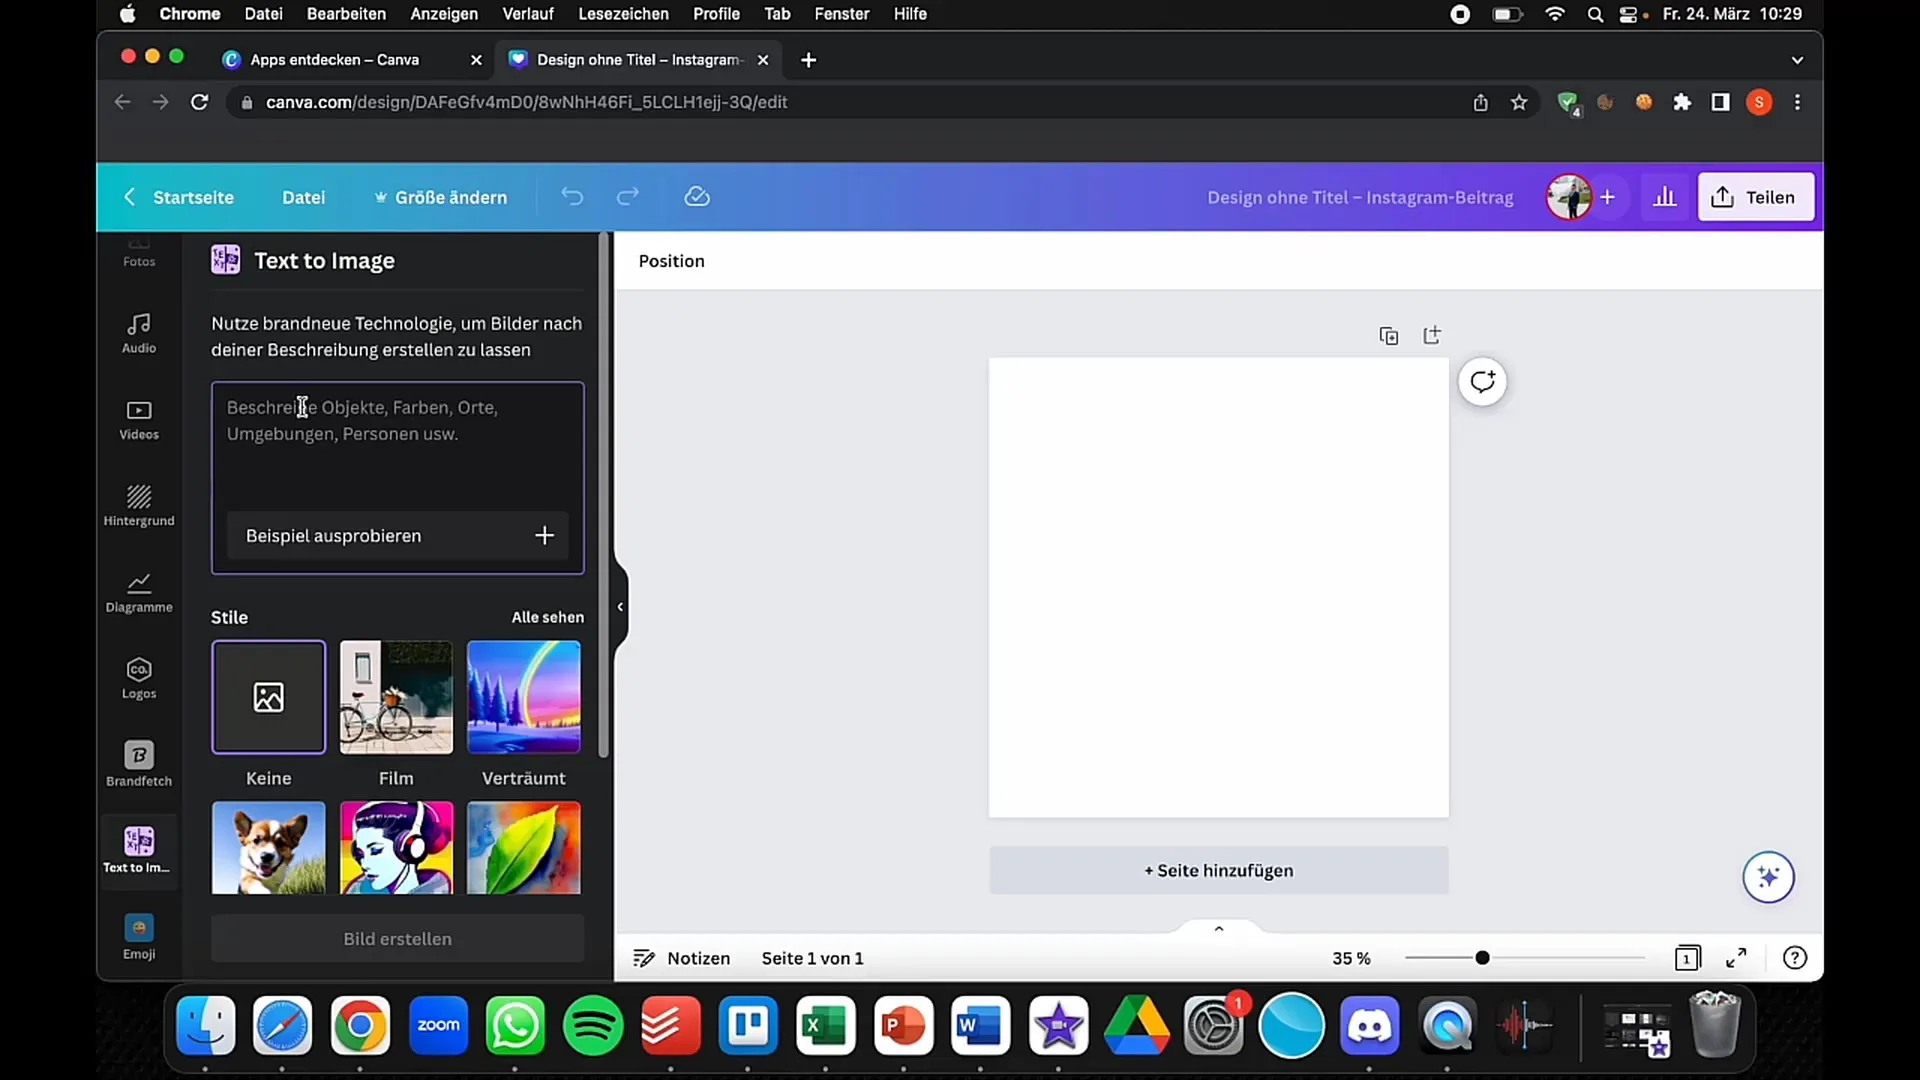
After entering your text, you will be able to choose different styles. These features are reminiscent of other popular tools like Midjourney or Blue Willow, which also help you generate graphic content.
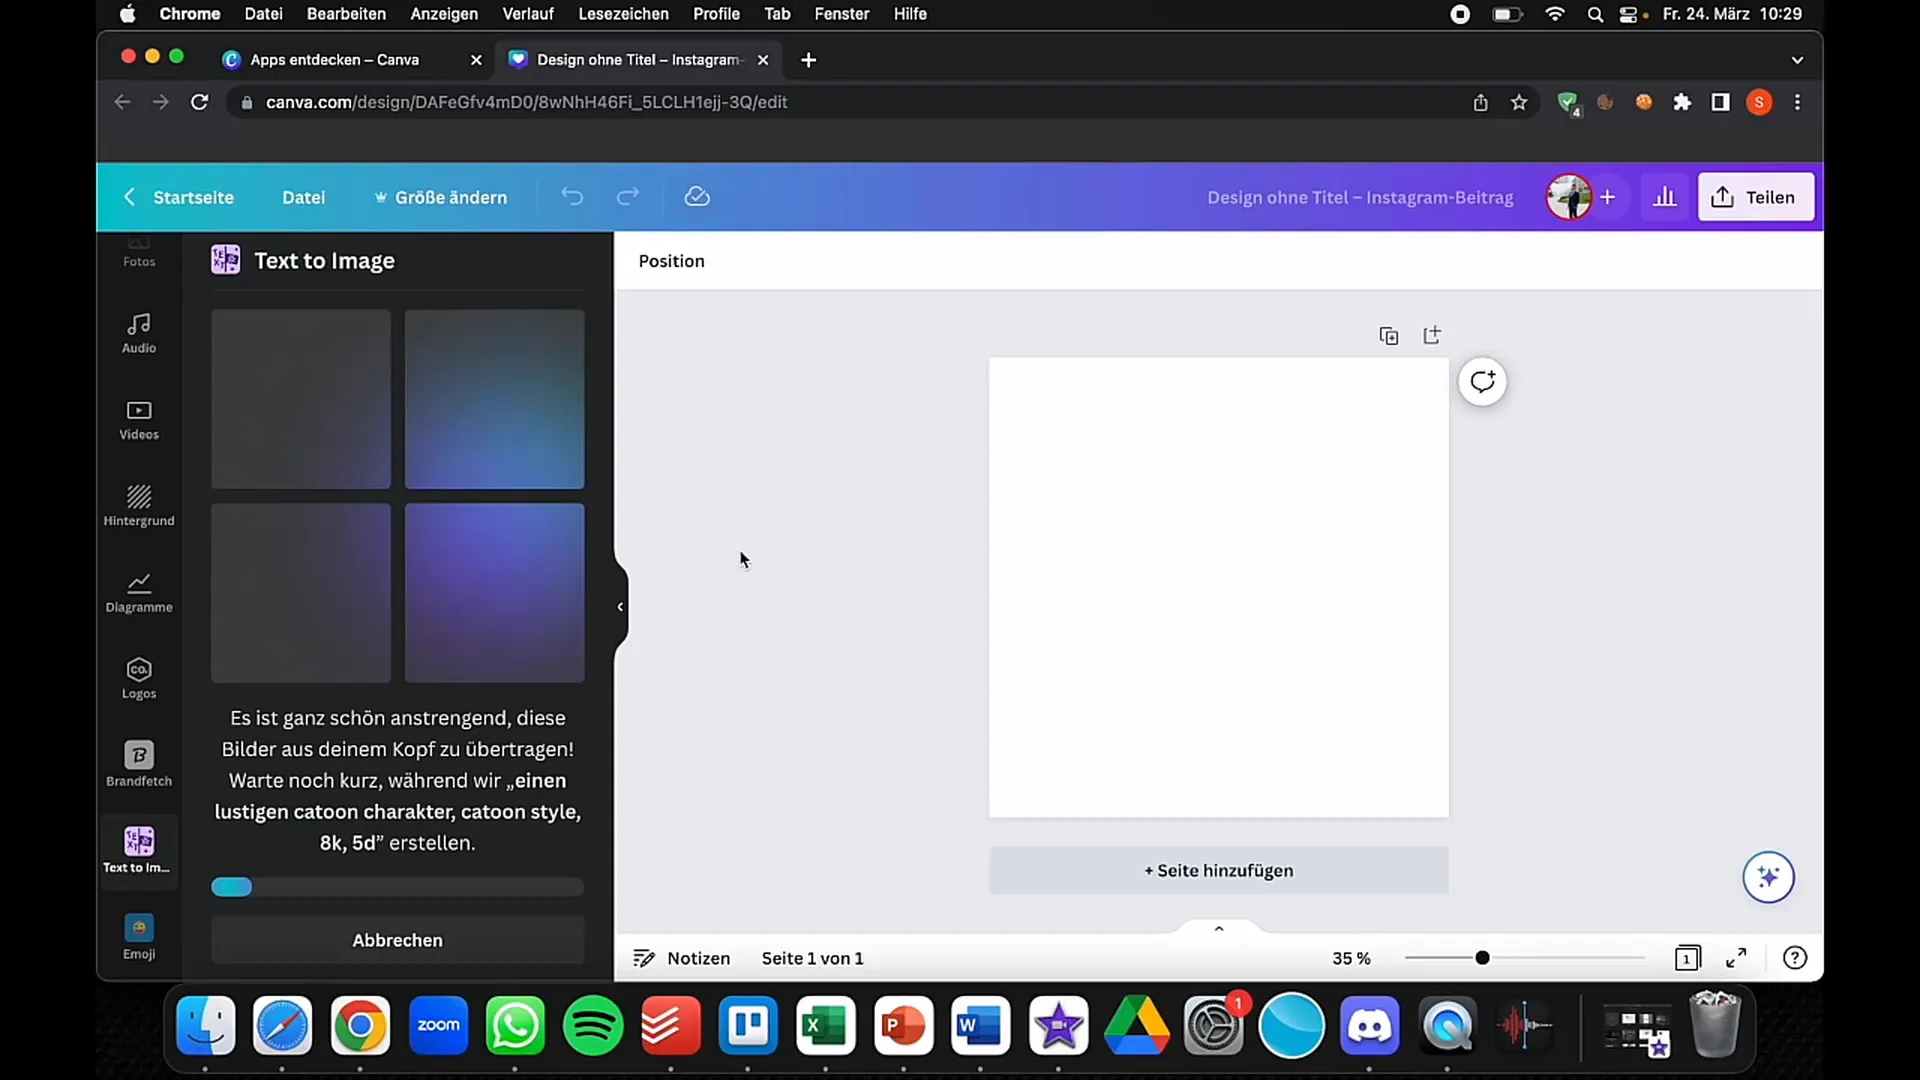
Now that you have entered your text, click the button to generate the image. Canva will now transform the text you entered into a visual representation.
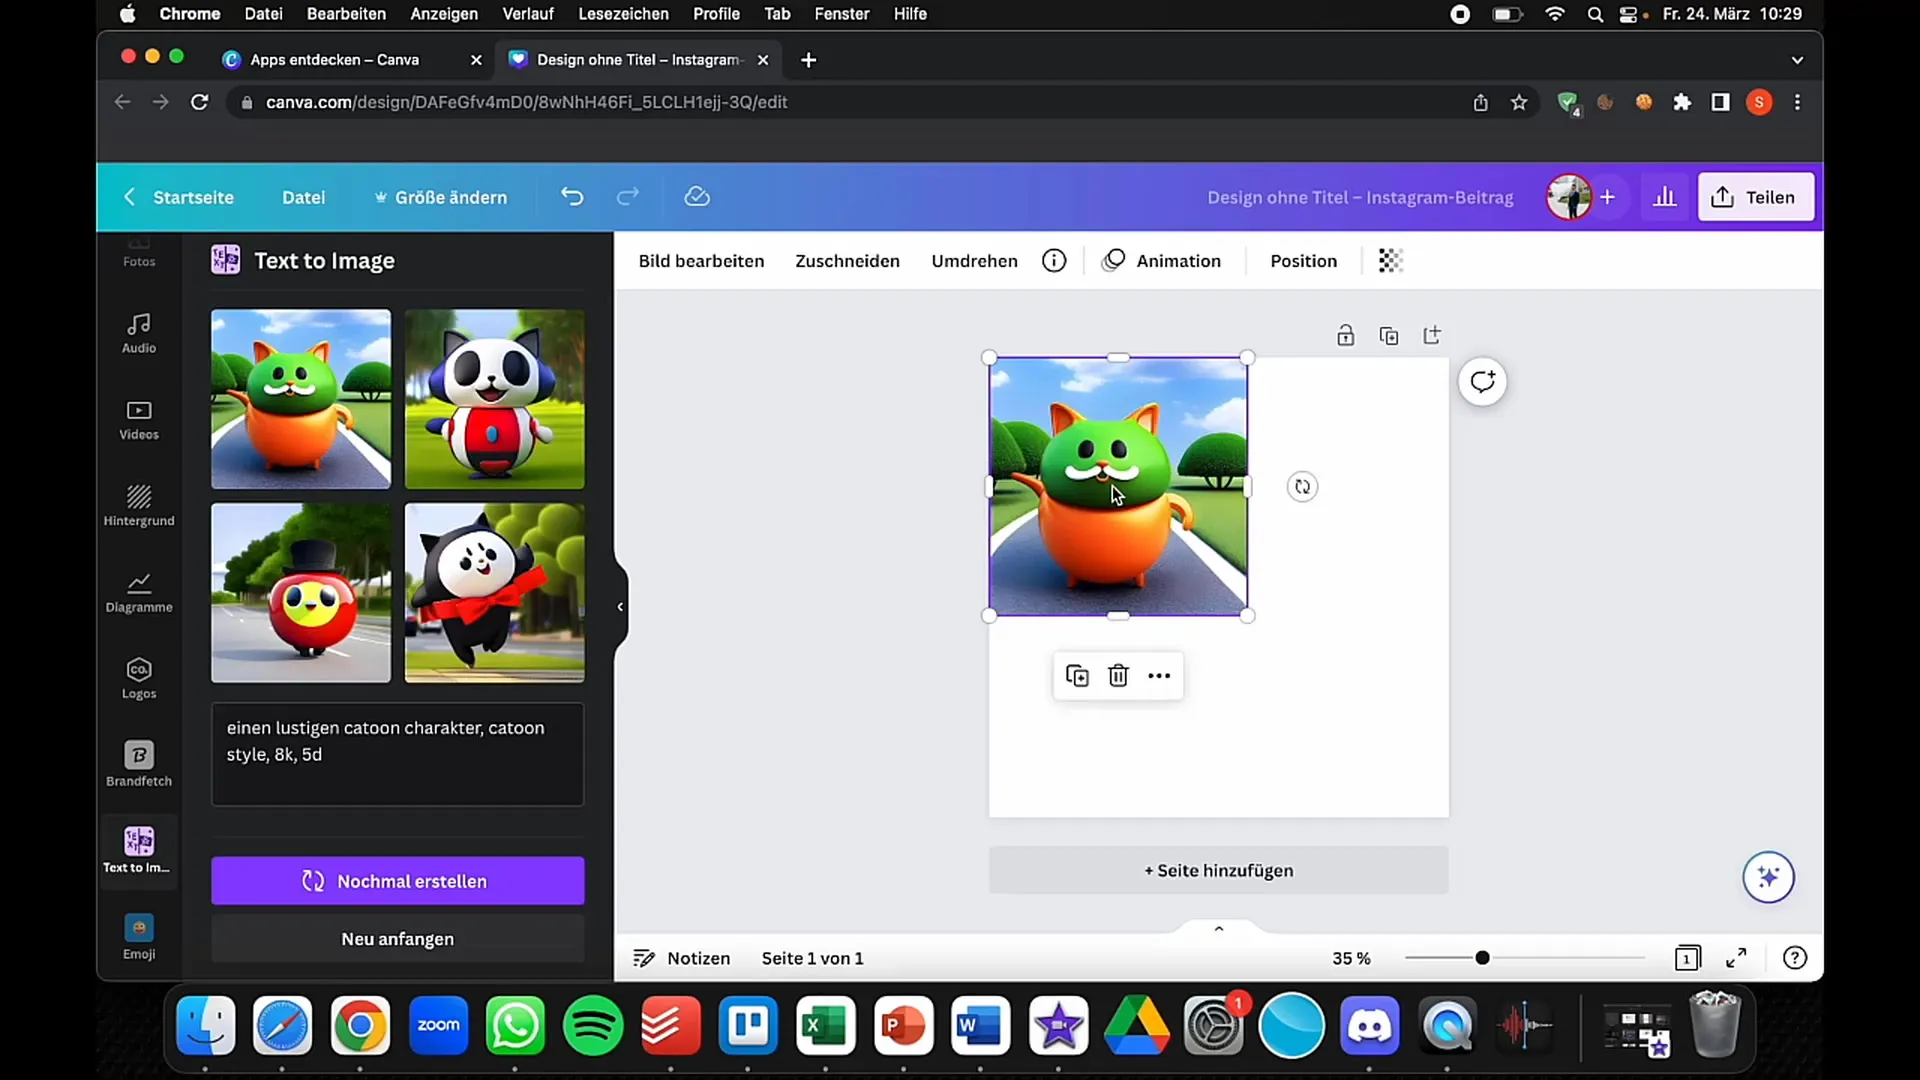
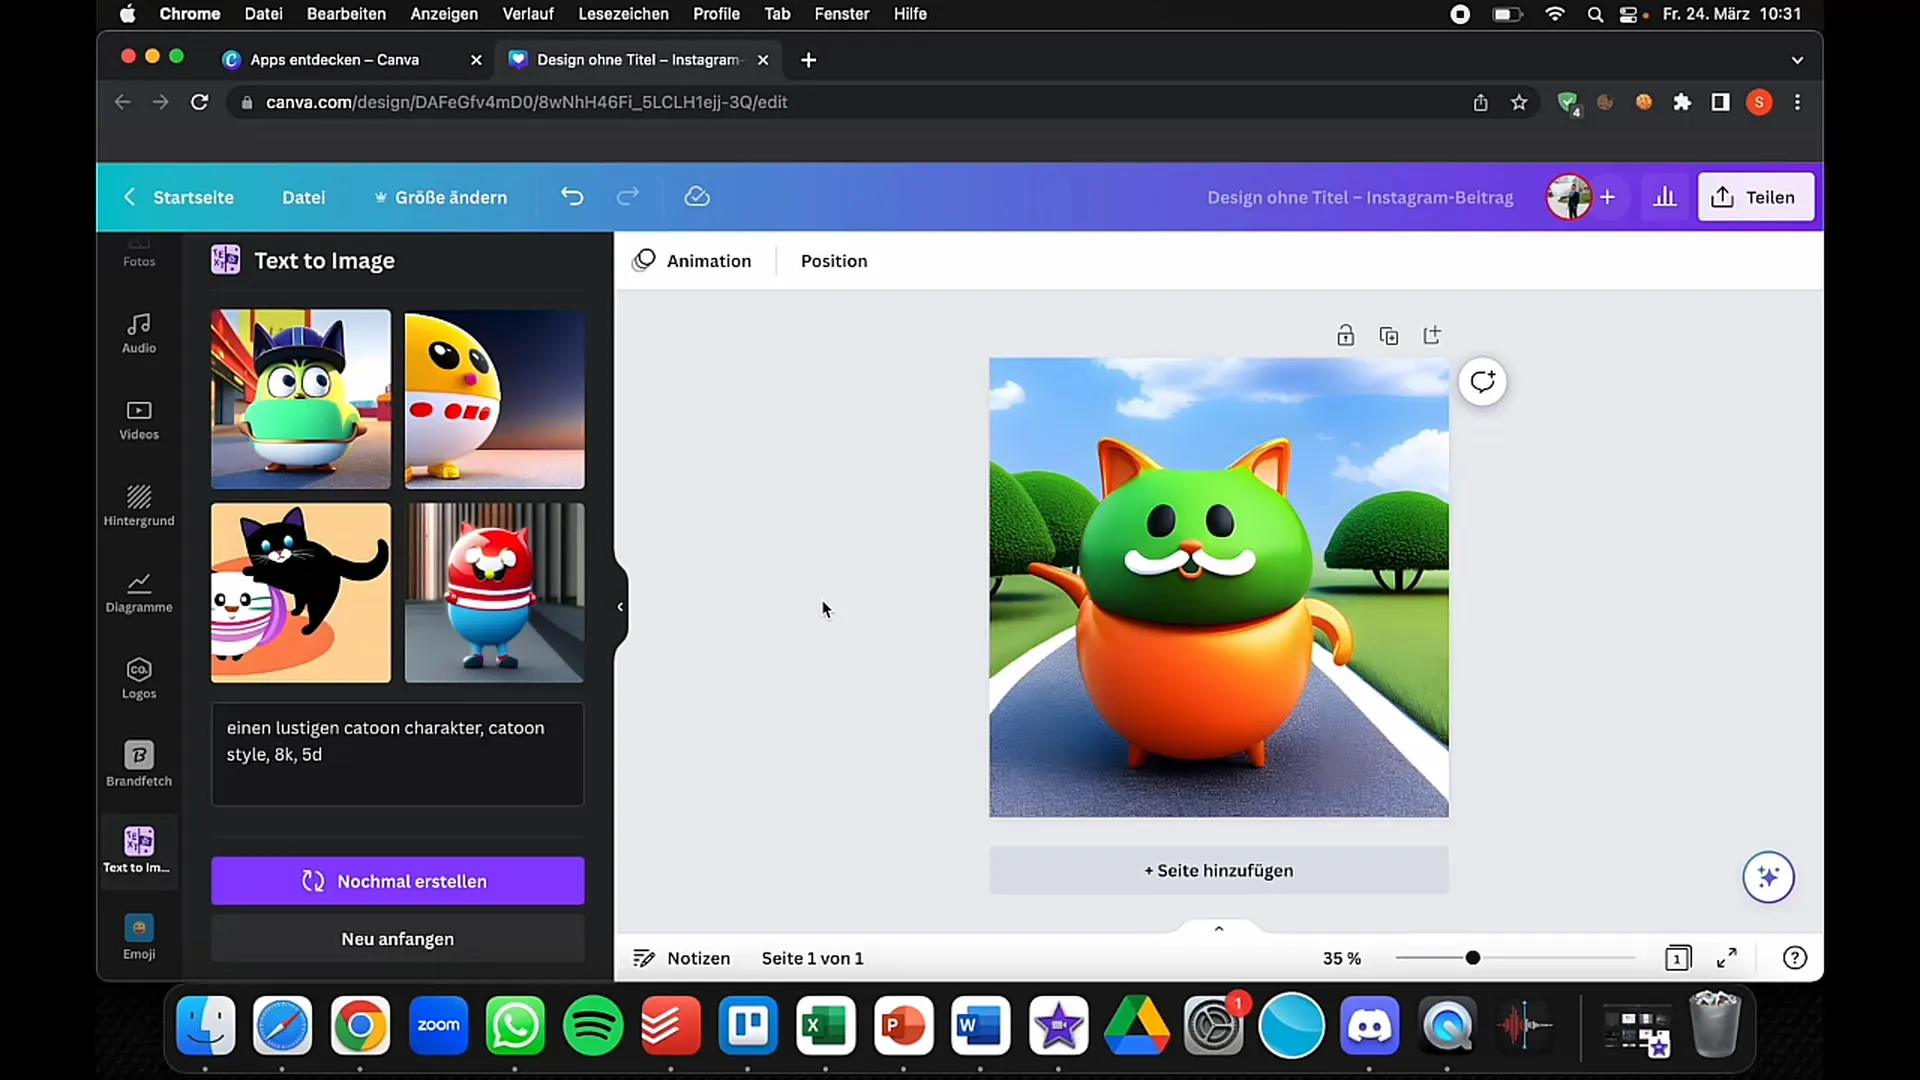
You can now see the results. Canva will show you different options to choose from. If you like one of the images, click on it to insert it into your design.
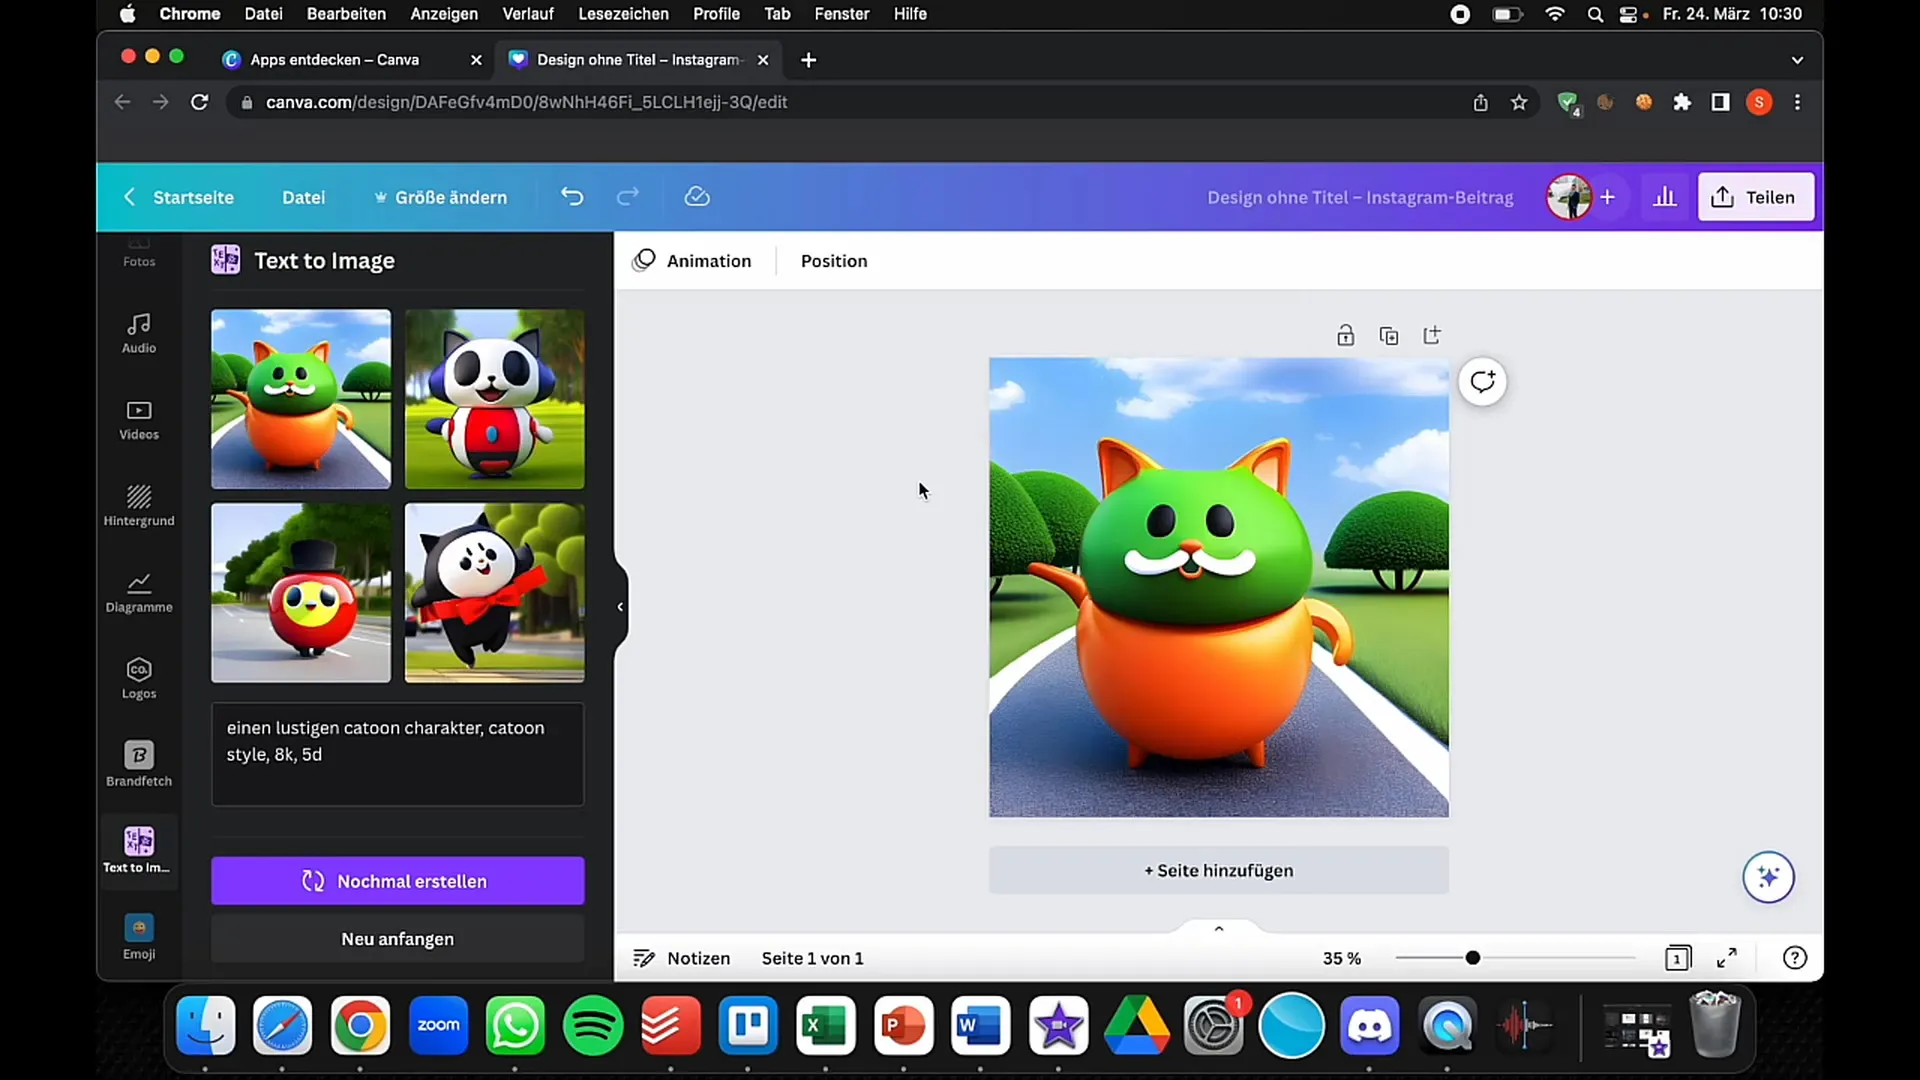
One major advantage of Canva is that all designs are immediately available in the application. You don't have to worry about saving or downloading until you're ready. This greatly simplifies the design process.
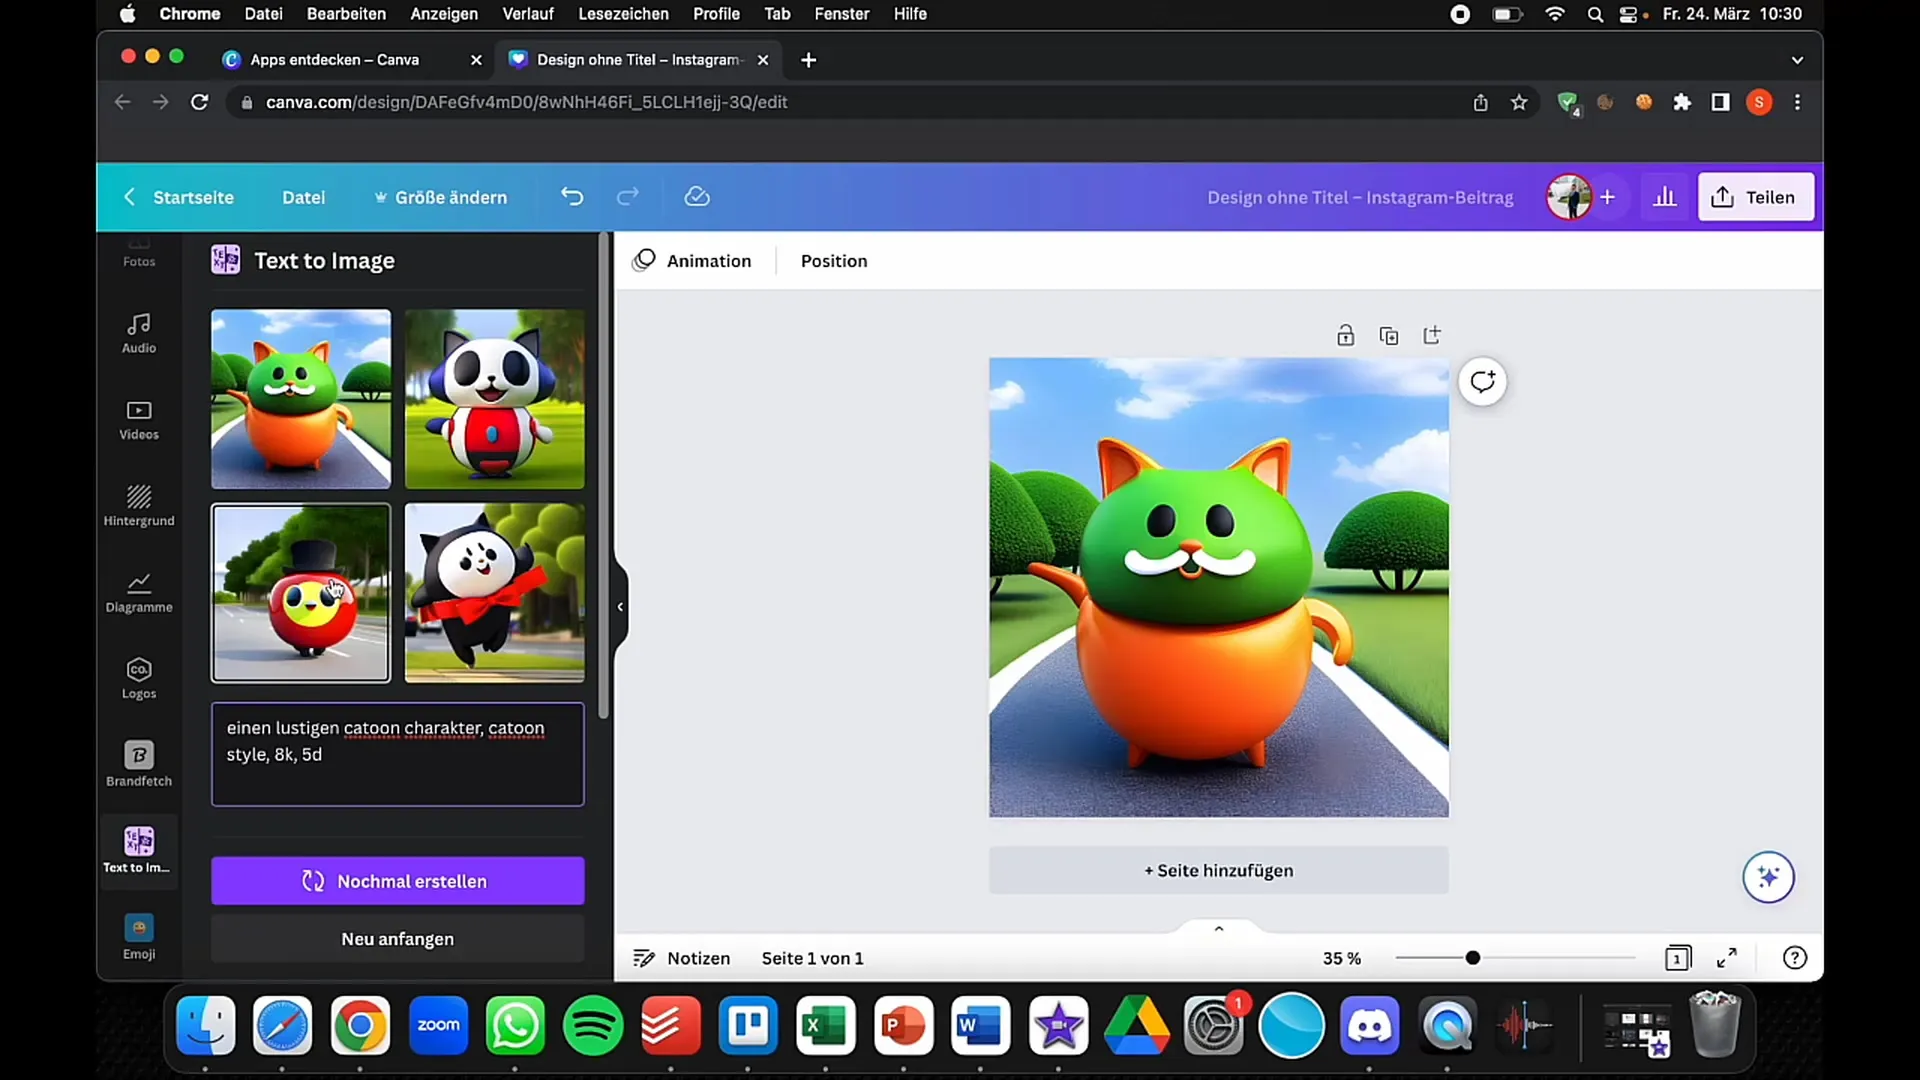
Now compare the quality of your image with the images you created in other tools like Blue Willow or Midjourney. Note that the quality and style may vary. It's important to understand these differences and figure out which tool is best suited for your specific needs.
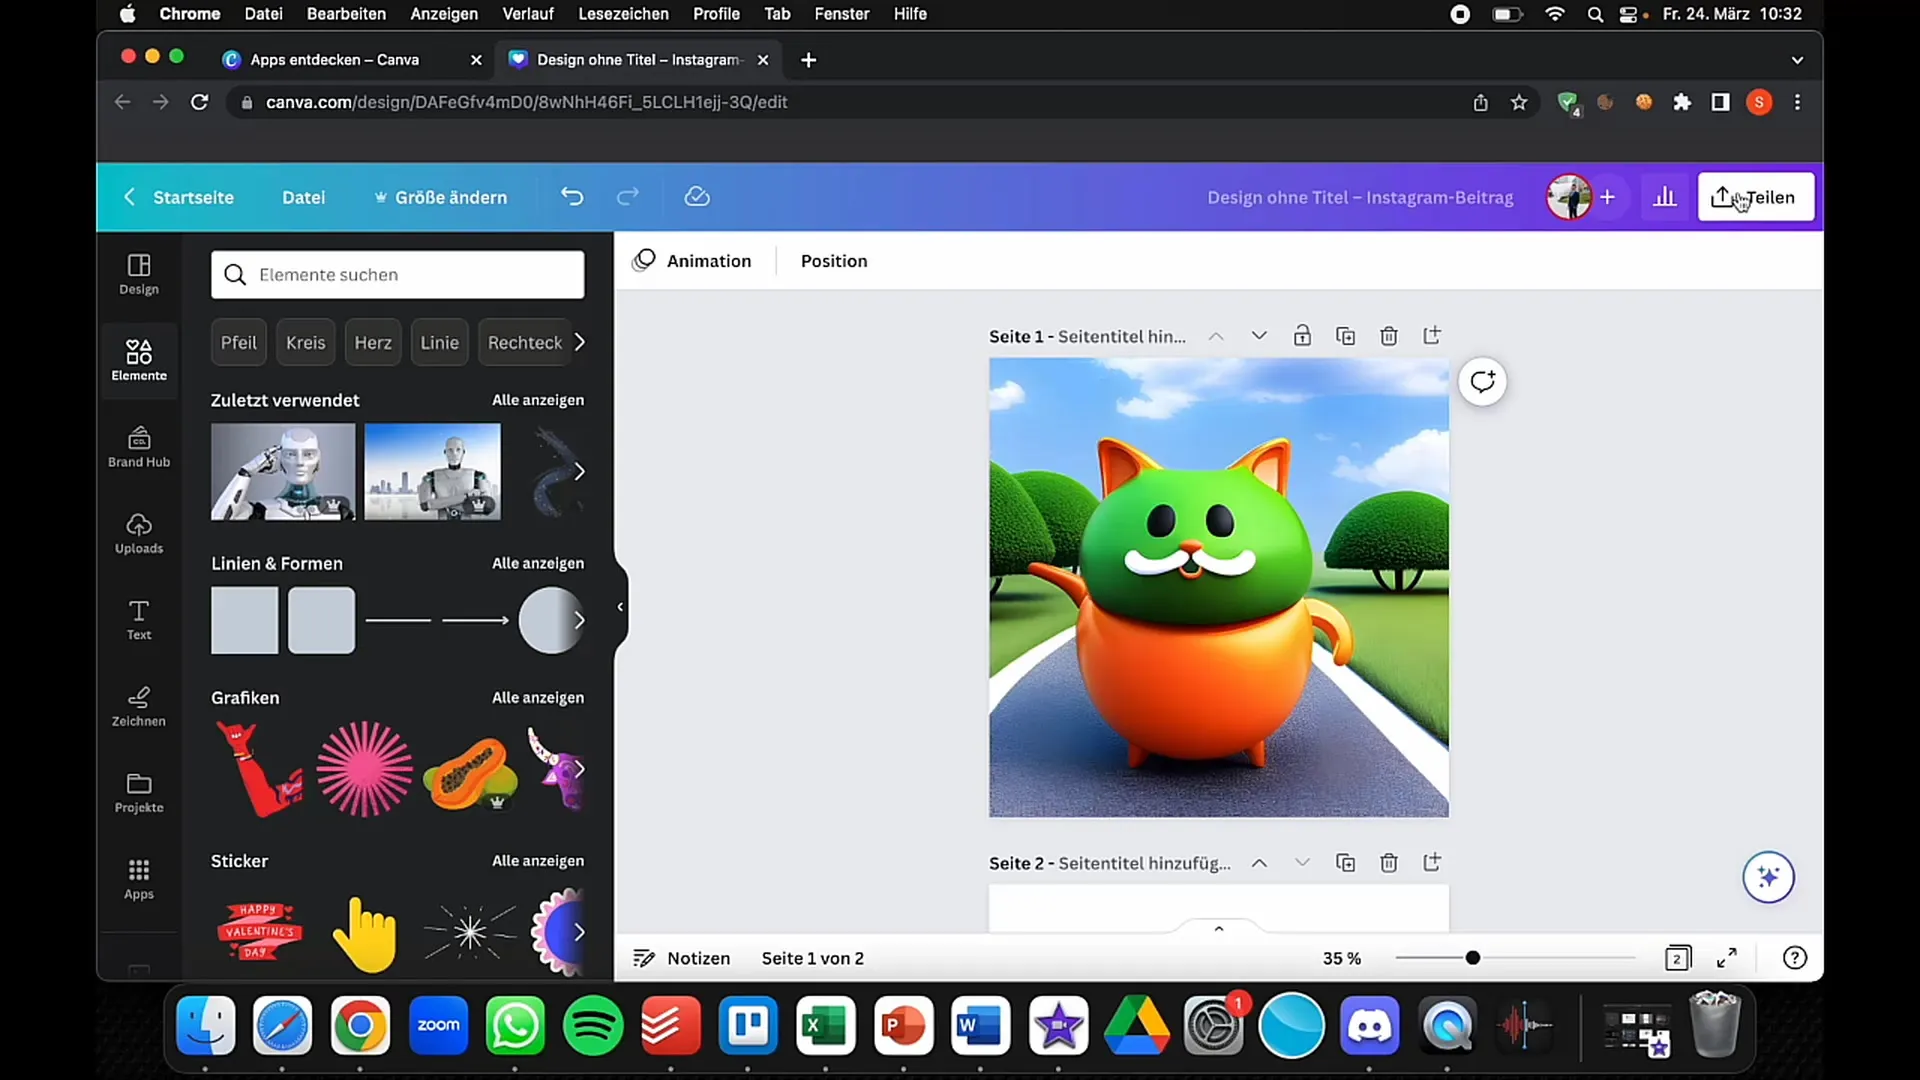
Once you are satisfied, click on the "Share" button at the top right and then on "Download". Choose the desired file format - PNG or JPEG are common options.
For those using Canva Pro, there are additional options such as downloading in SVG format or creating transparent backgrounds.
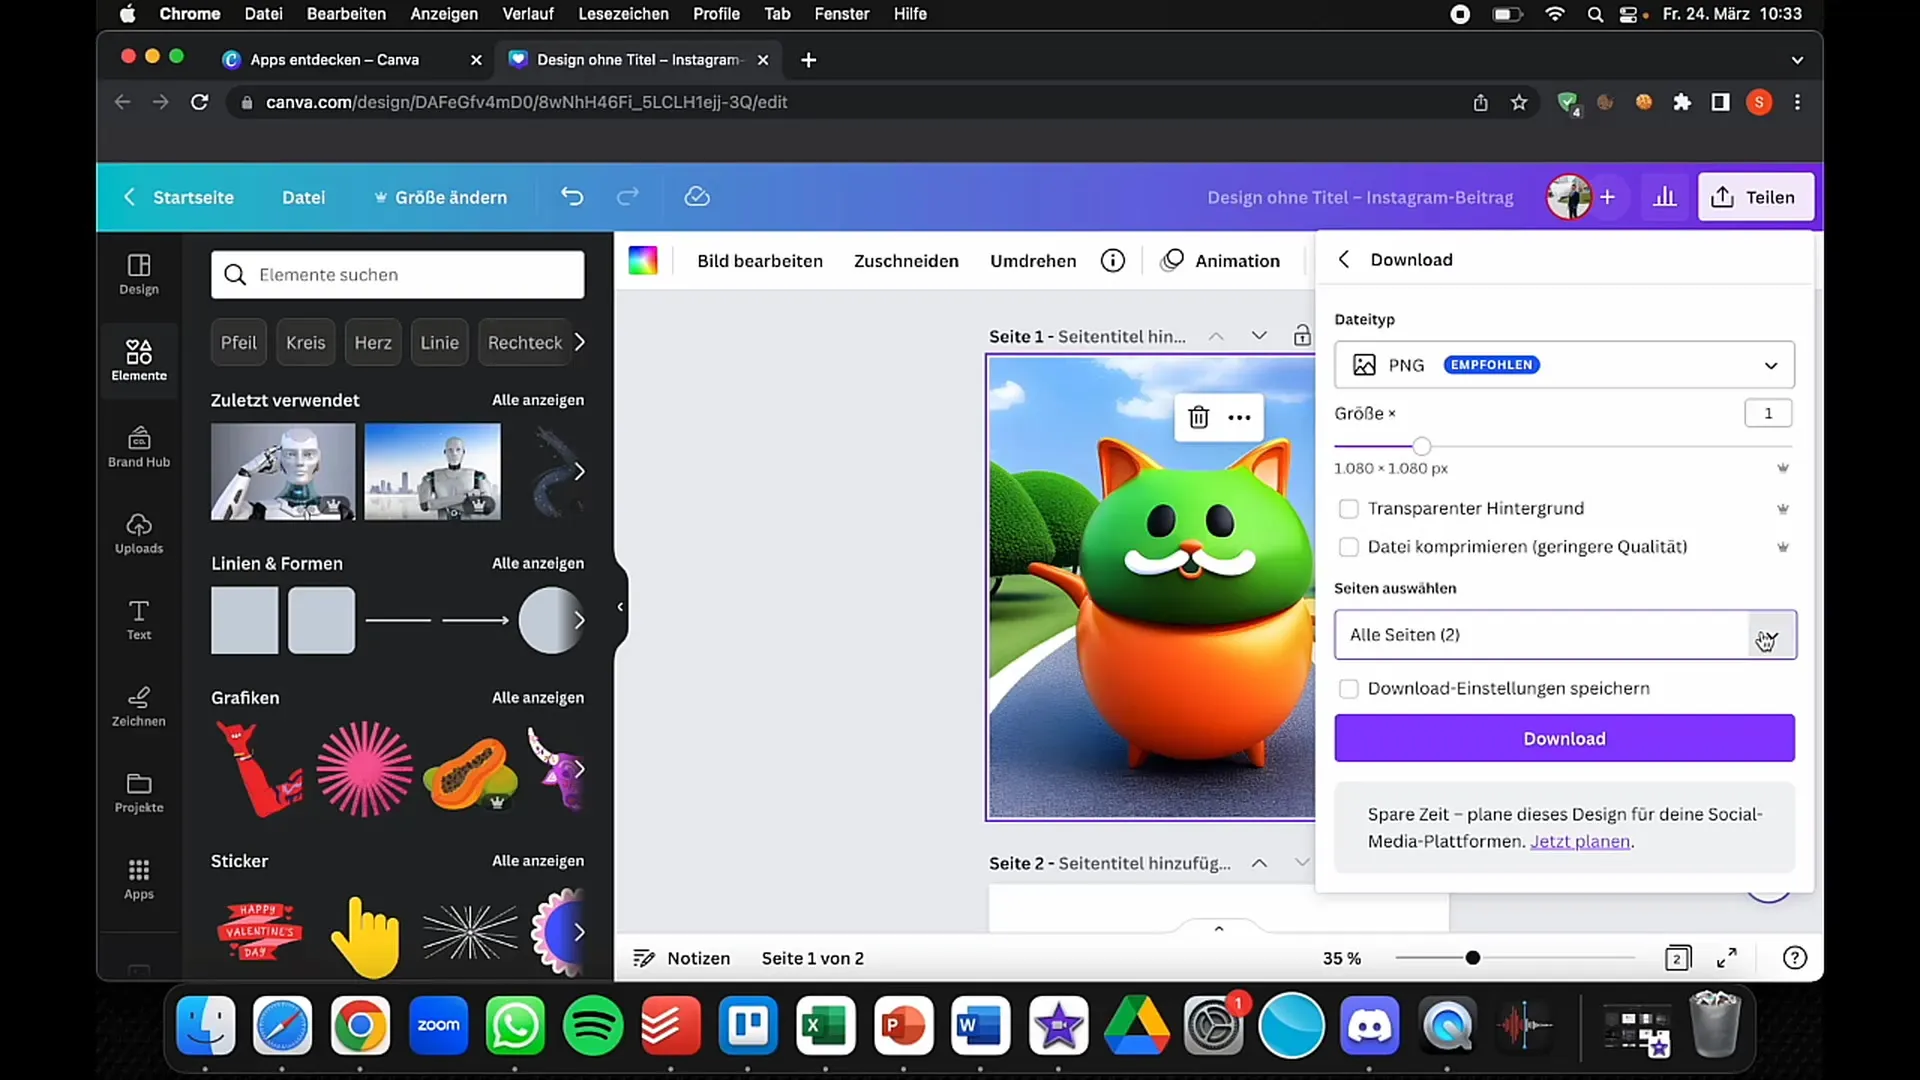
After you have made the desired settings, click on "Download". Your completed image will now be downloaded and can be used anywhere.
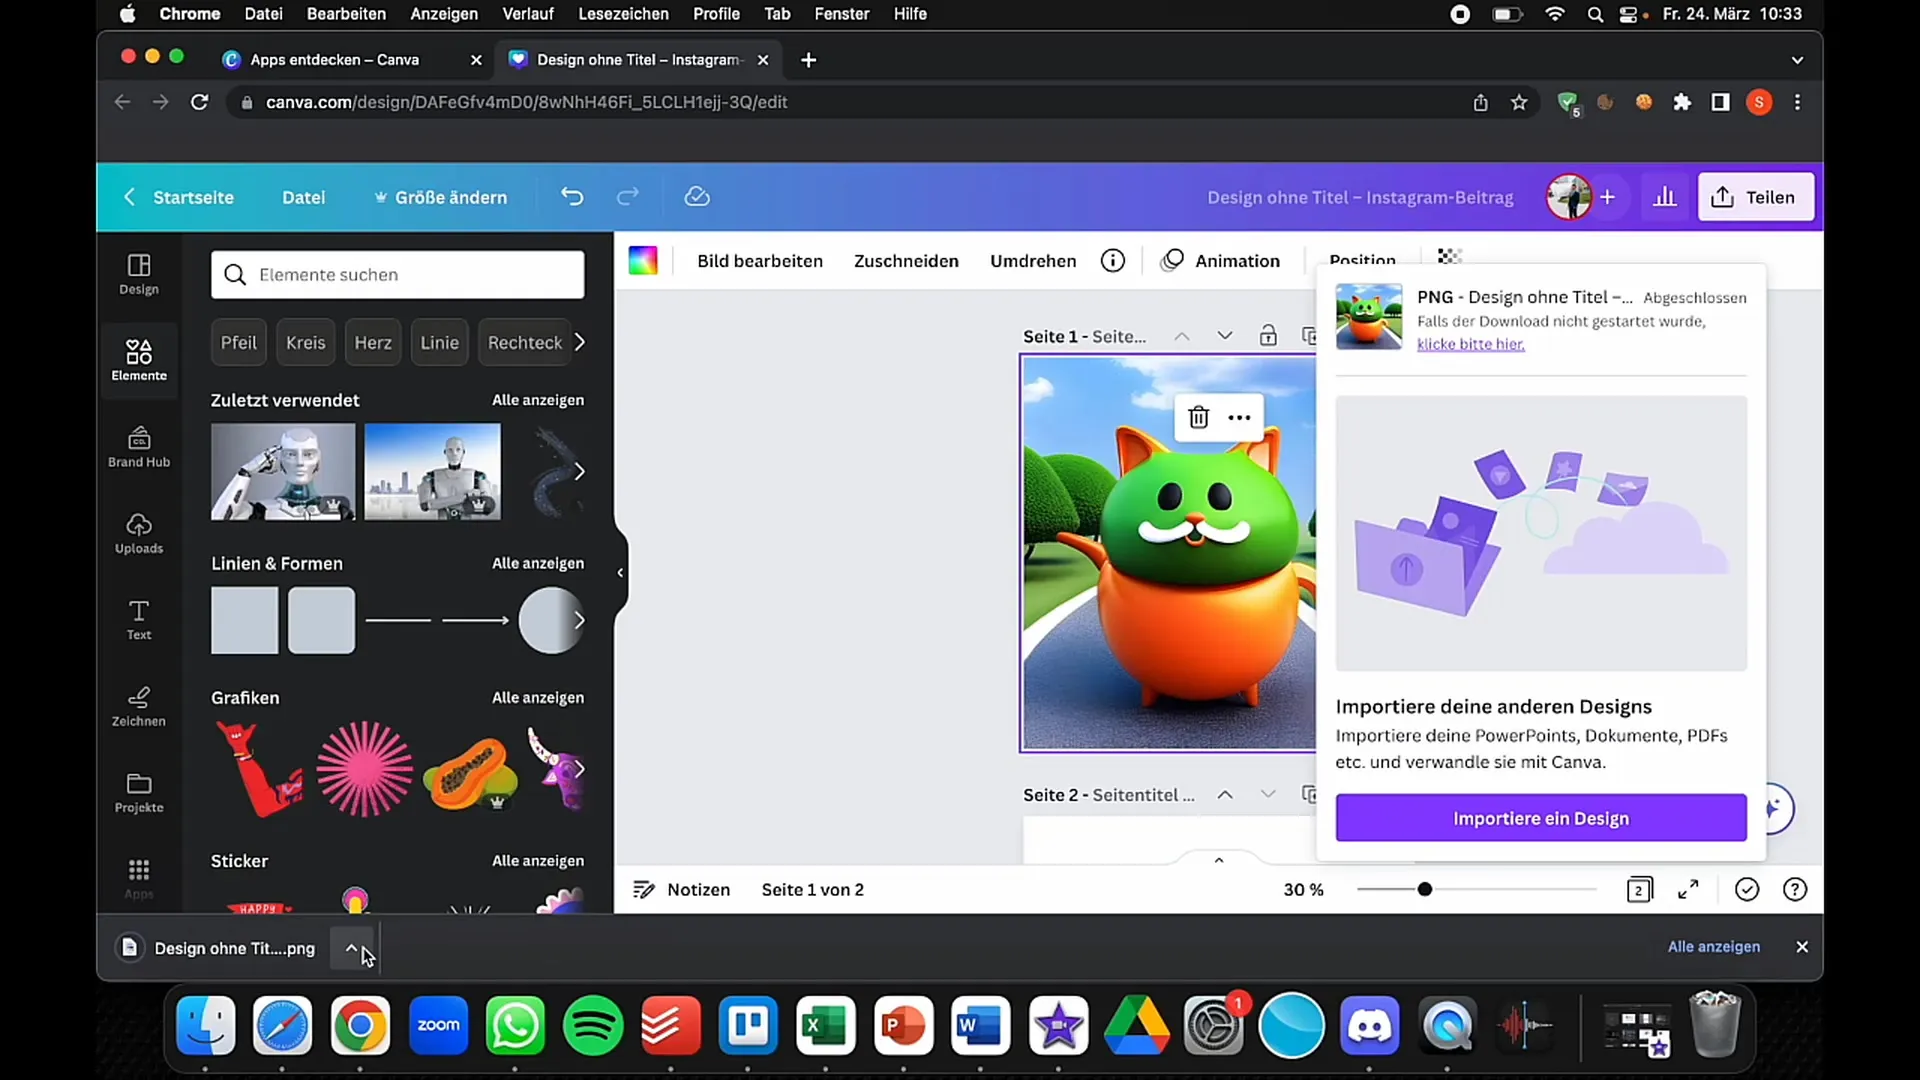
With these simple steps, you can use the text-to-image function in Canva to create creative designs that match your style.
Summary
In this guide, you have learned how to effectively use the text-to-image function in Canva to create impressive graphics. You have seen how to enter your text, compare the styles, and make adjustments before downloading.
Frequently Asked Questions
How do I use the text-to-image function in Canva?To use the text-to-image function, log in to Canva, go to "Apps", and choose "Text to Image". Then enter your text and choose a style.
Are there free alternatives to Canva for text-to-image conversion?Yes, there are various free tools and platforms that can convert text to image, but the user interface and functionalities may vary.
What file formats can I download from Canva?In Canva, you have the option to download your designs in different formats such as PNG, JPG, and SVG (with Canva Pro).
