The art of composing in Photoshop opens up many creative possibilities for designing and enlivening your images. The cut-out and placement of objects is an essential part of this process. In this tutorial, you will learn how to efficiently cut out birds for your composing, place them correctly, and adjust them. By applying techniques such as masking mode and motion blur, you will achieve an appealing final result. Let’s get started!
Key takeaways
- Cutting out birds using the masking mode.
- Effect of tonal corrections for color adjustment.
- Placement and distortion design for more dynamics.
- Use of motion blur for realistic effects.
Cutting Out Birds
First, go to “File” and select “Open” to choose the photo with your birds. In this case, you have three birds that you want to use for your composing. Start by completely desaturating the background of your image. To do this, press the key combination Control + Shift + U. Now your background will be displayed in grayscale, which makes the later steps easier.
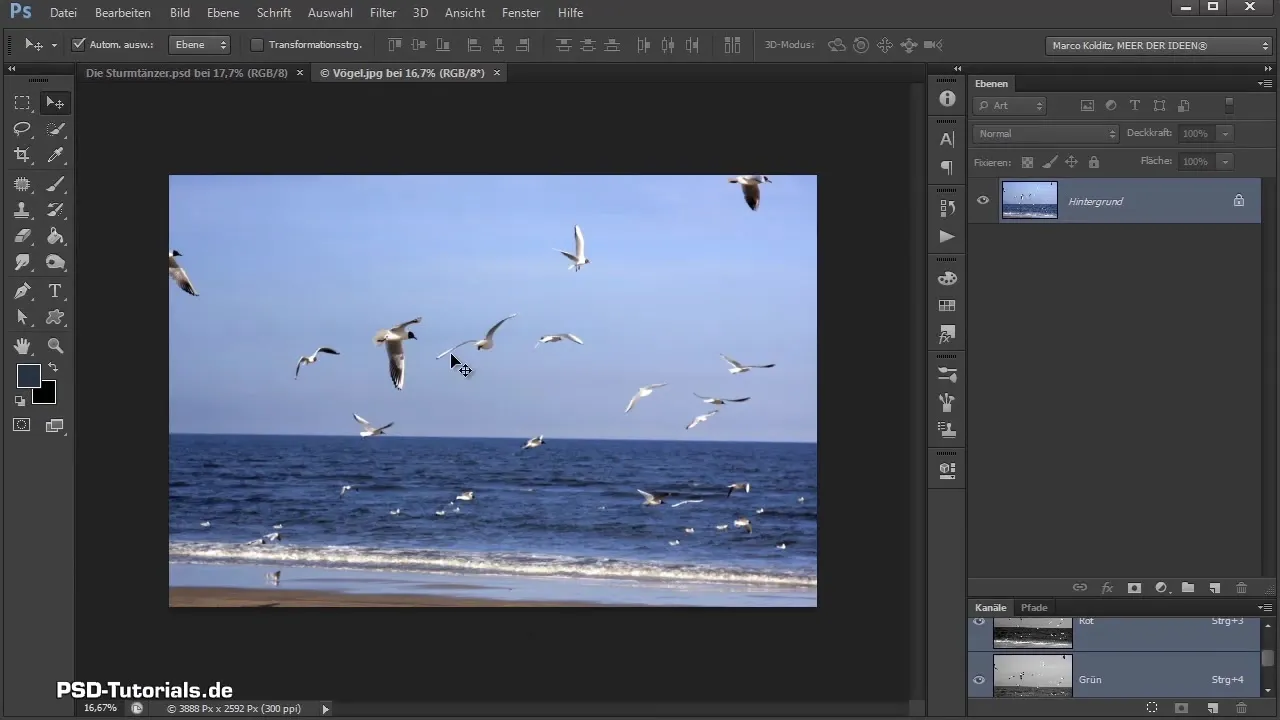
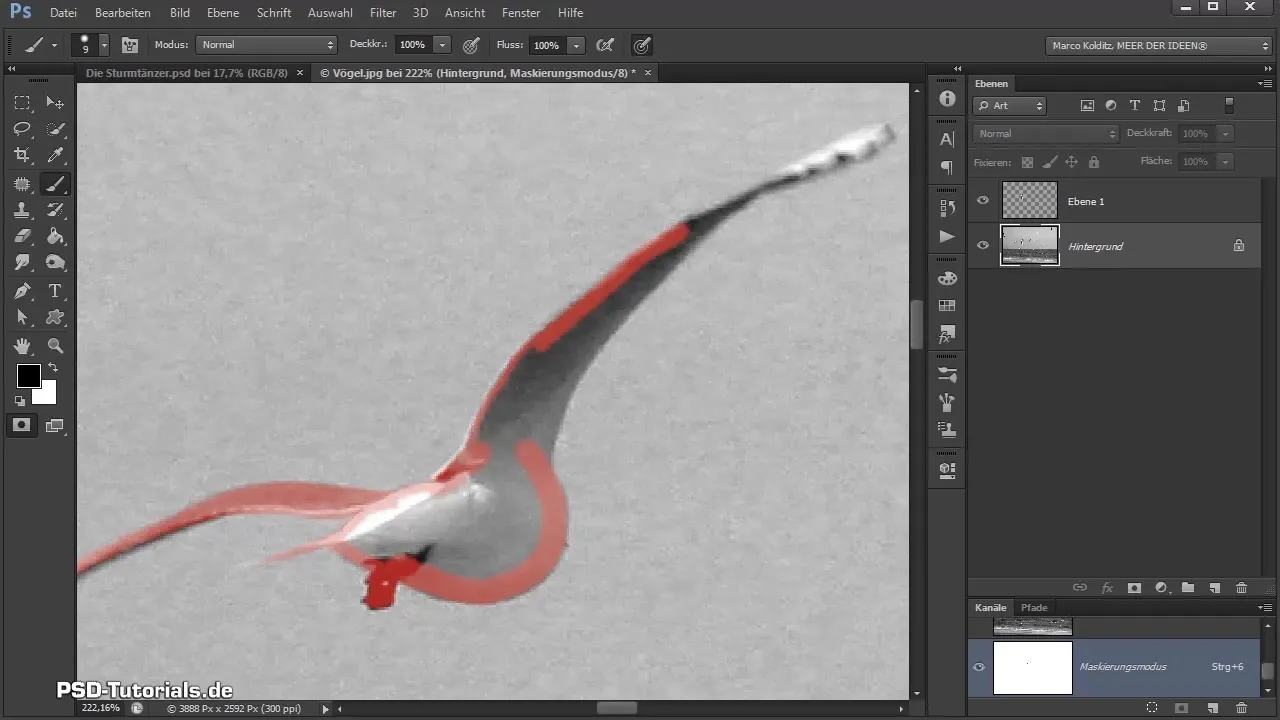
In the next step, focus on the first bird in the image. Go to masking mode and use a brush with full opacity. Make sure to choose a slightly harder brush to make the edges clearer when cutting out. During this process, you can be a bit lax at the edges since the birds will be slightly blurred in the final composing.
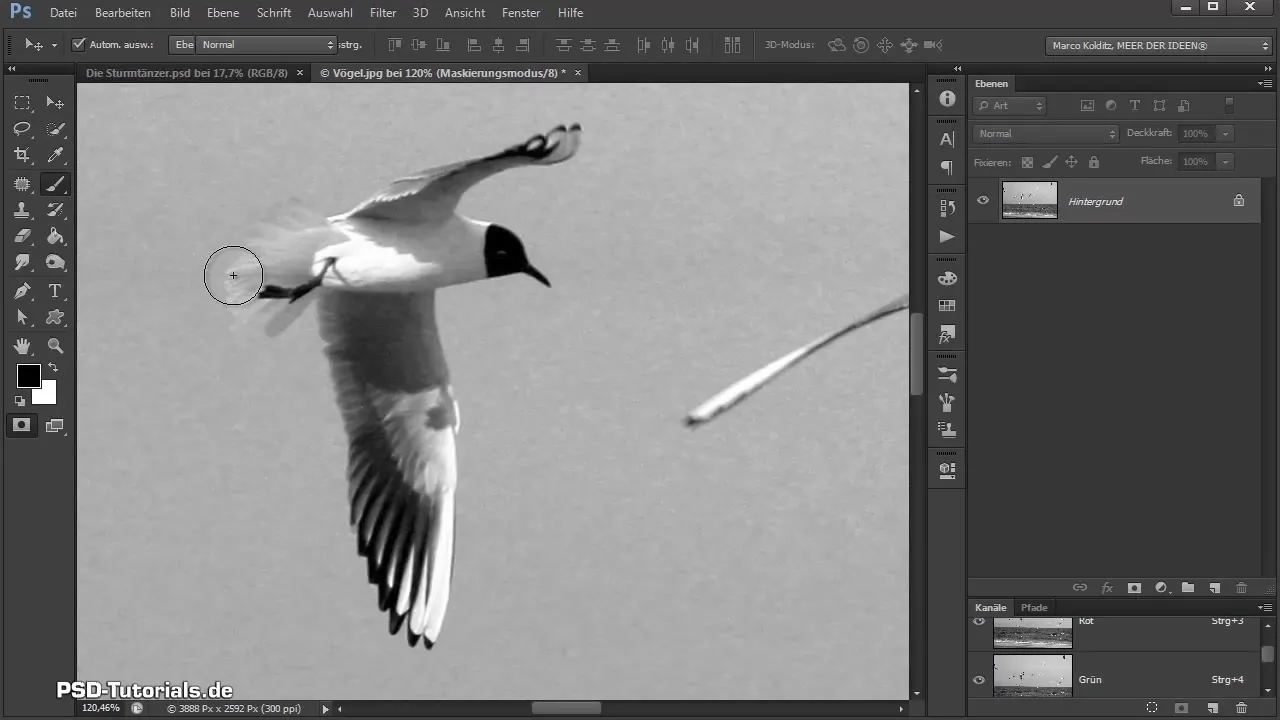
Once you have finished cutting out the first bird, exit the masking mode, invert the selection (Control + Shift + I), and press Control + J. This moves the bird to a separate layer.
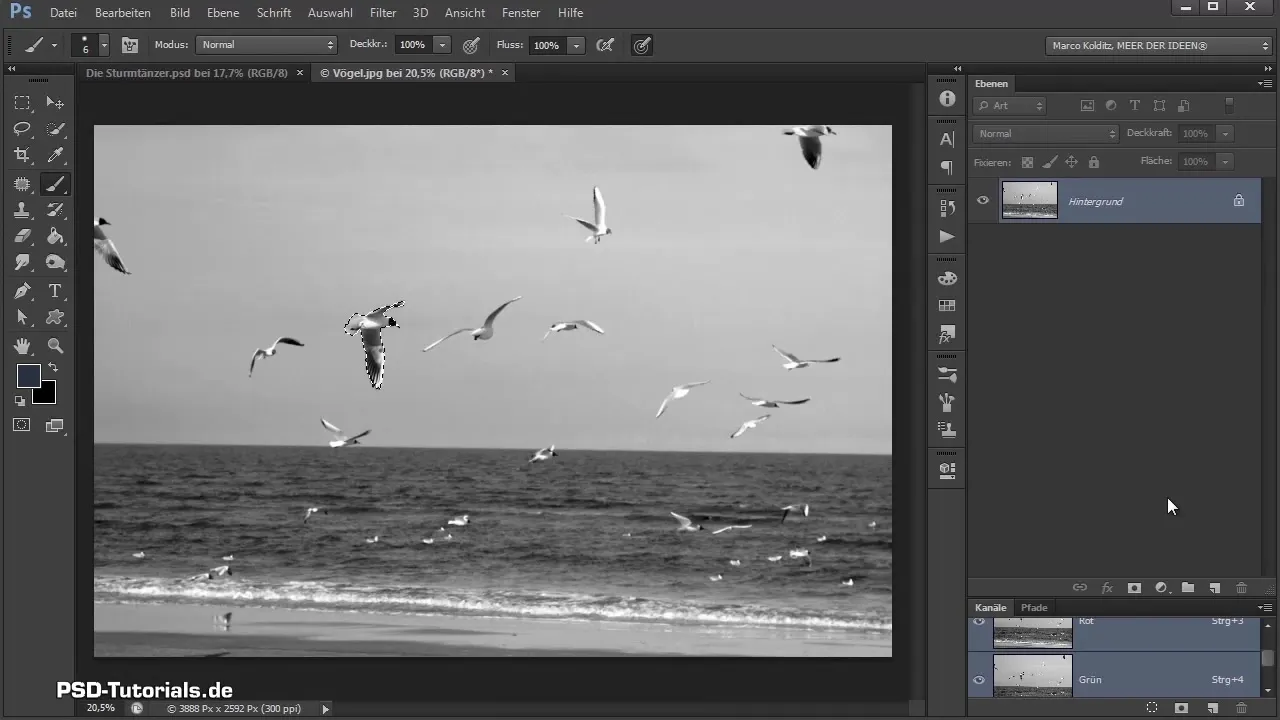
Now it's the turn of the second bird. Repeat the same process to cut out this bird as well. Here you might want to use a softer brush, especially to manage the bird's wings as they are in motion.
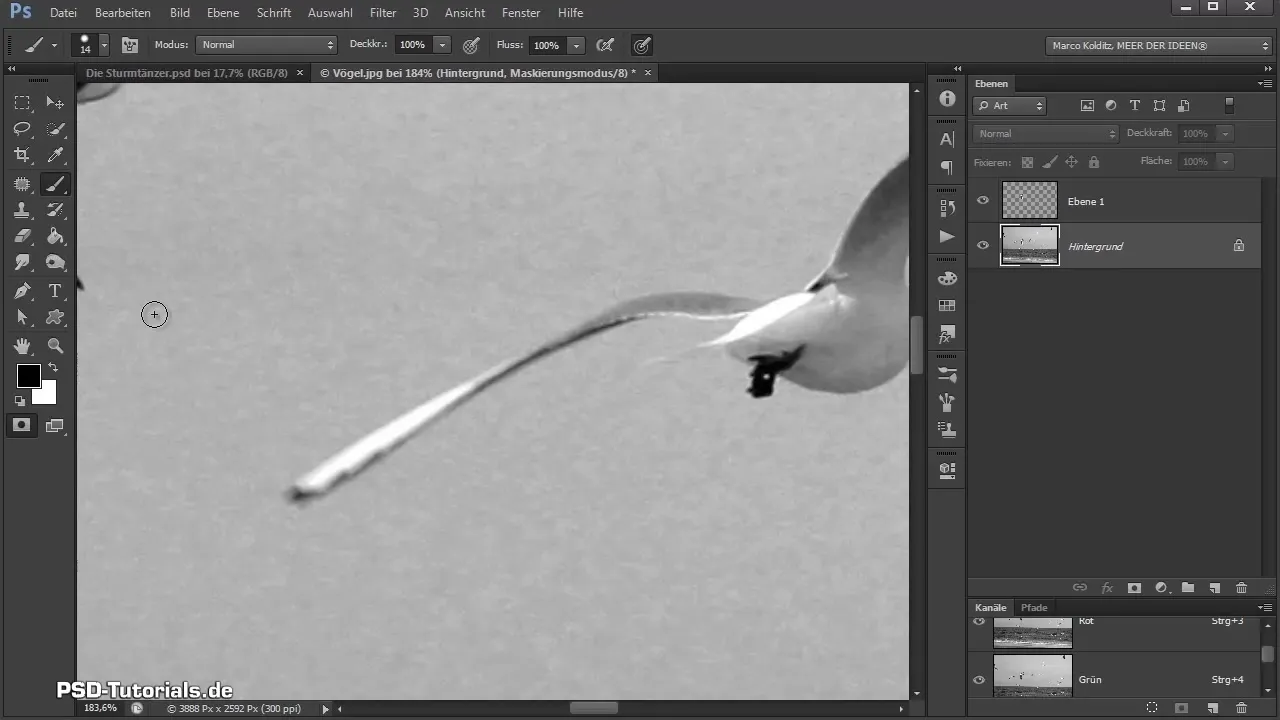
Cutting out requires attention to detail, skill, and patience. However, if you maintain order in your cut-out process, you can save time and still achieve a satisfactory result.
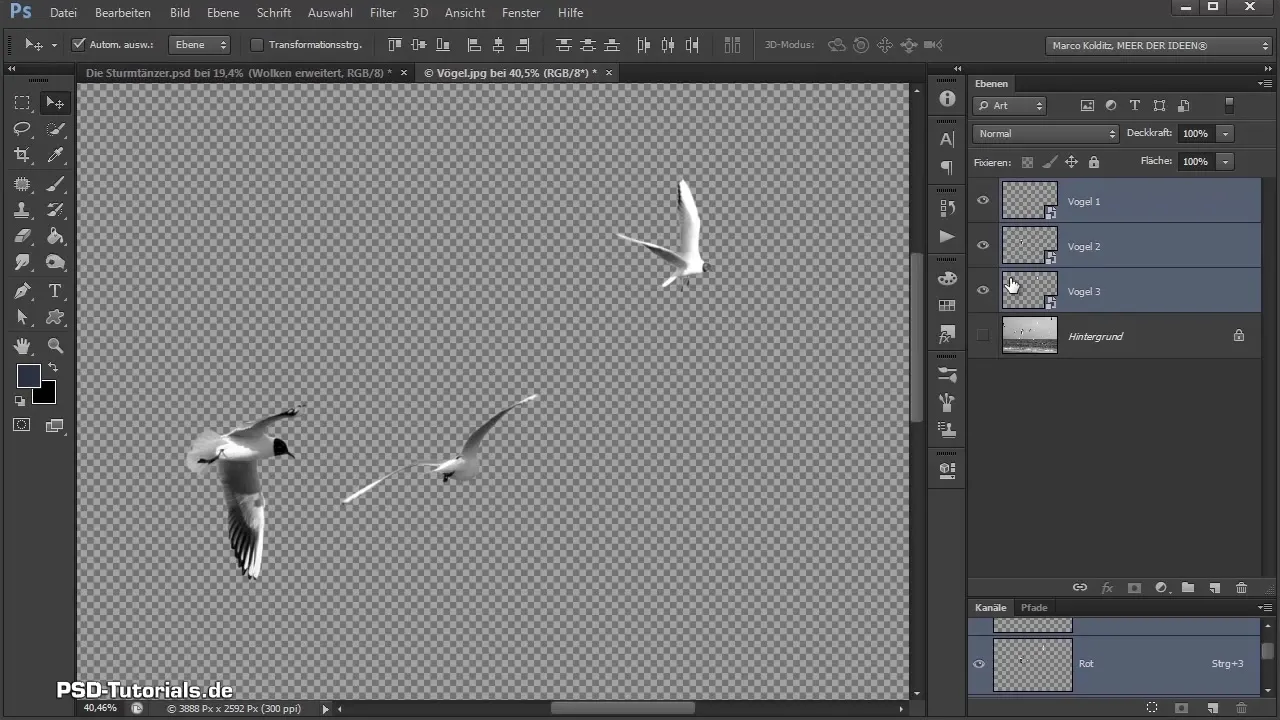
After you have cut out all the birds, hide the background to ensure that everything has been applied correctly. Convert the birds to smart objects for more flexibility in your composing. Select all the birds and drag them into your main composing document.
Positioning and Adjusting Birds
Place the birds below the group of people in your composing. To transform the birds correctly for your overall image, press Control + T. This allows you to scale and rotate the birds. Experiment with different positions so they do not appear too static; after all, birds move dynamically in the wind.
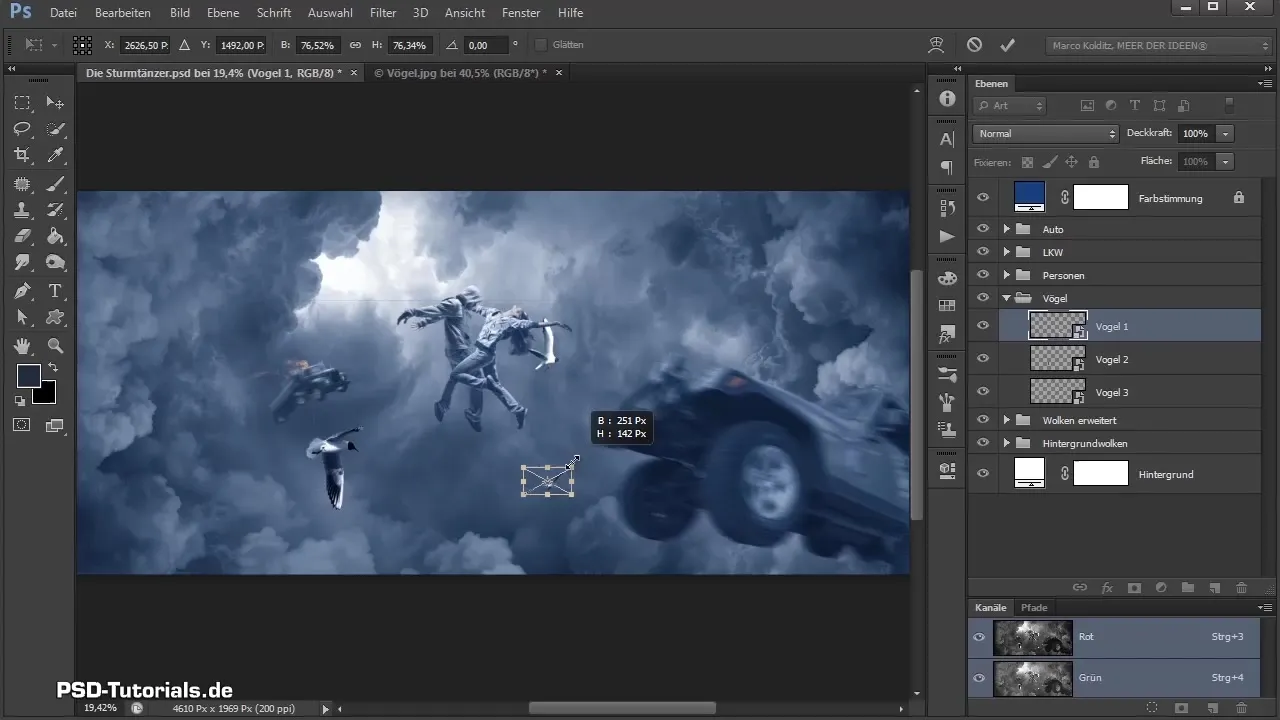
Some of your birds can be rotated by editing > Transform > Flip Horizontal, so their gaze directs the viewers' attention. For more dynamics in the image, it is important that the birds are arranged in a way that points towards each other.
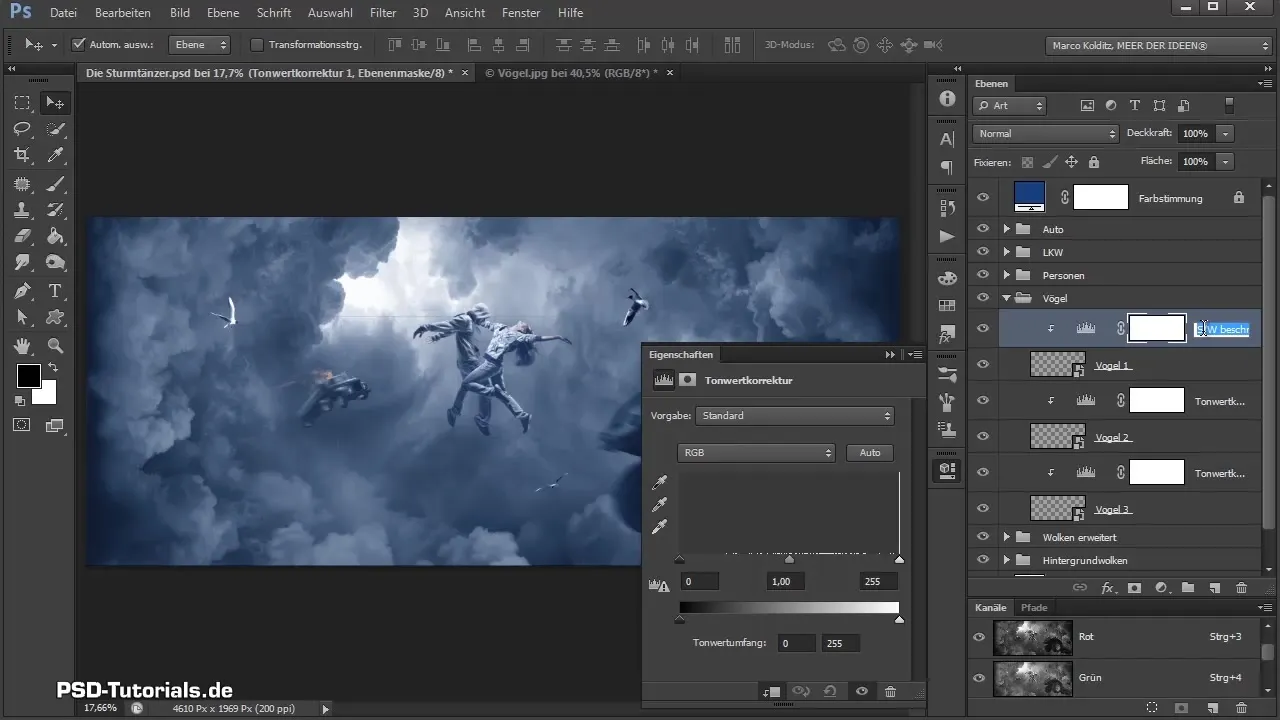
Now it’s time to adjust the light and shadow of the birds. Often, you will notice that the darkness or brightness of the birds differs from the ambient lighting. Open the tonal correction for each bird and trim the blacks and whites to better fit into the image.
Distorting Birds for Motion Effects
To add more drama to the image, you want the birds to appear more restless, as if they are being tossed in a storm. Select each bird layer, go to Edit > Transform > Warp and pull parts of the birds so that they seem properly integrated into the composition.
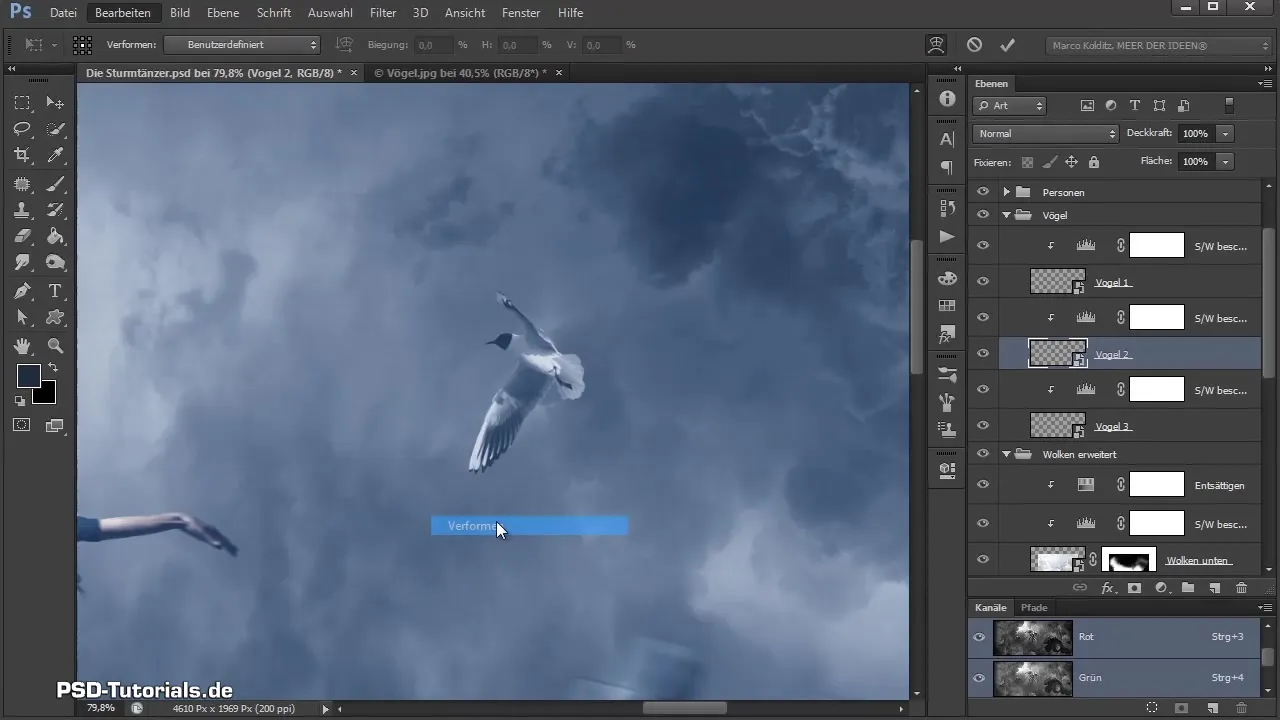
Optionally, you can start applying the motion blurs. Click on each bird, go to Filter > Blur > Motion Blur, and adjust the angle and distance. Impact the birds (e.g., diminishing behavior) by adjusting the pixels so they look like real birds flying in a storm.
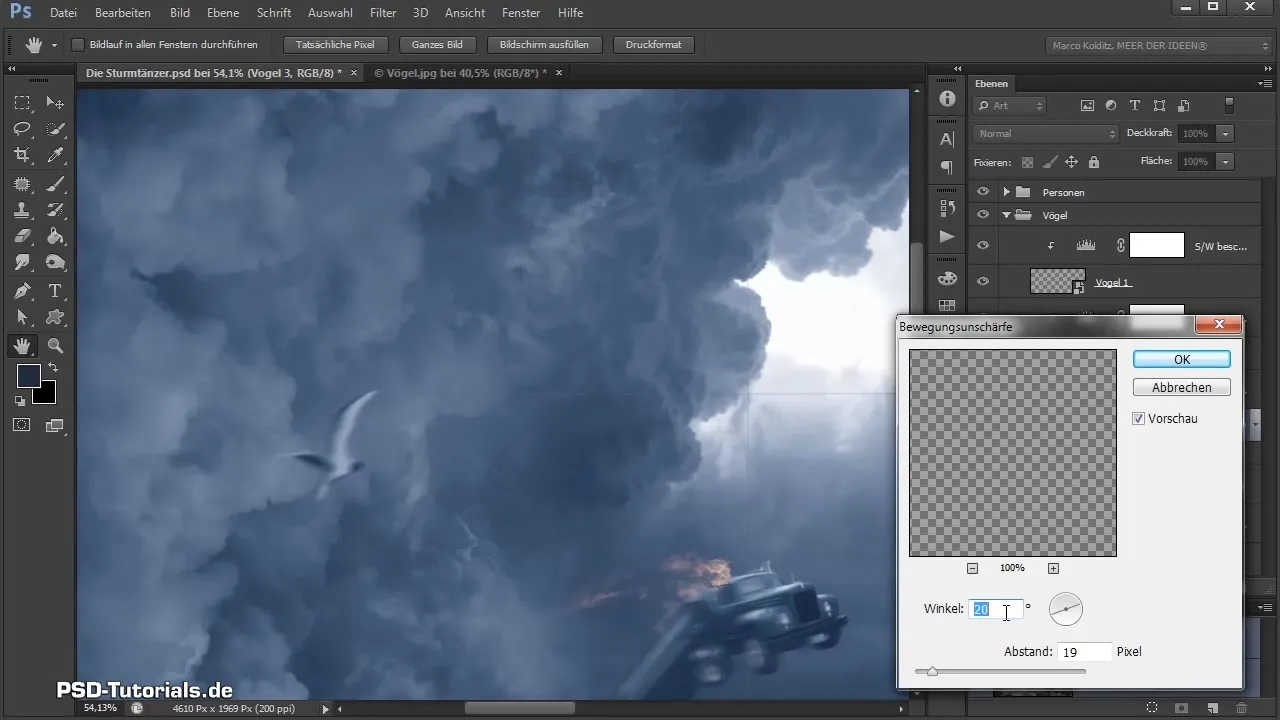
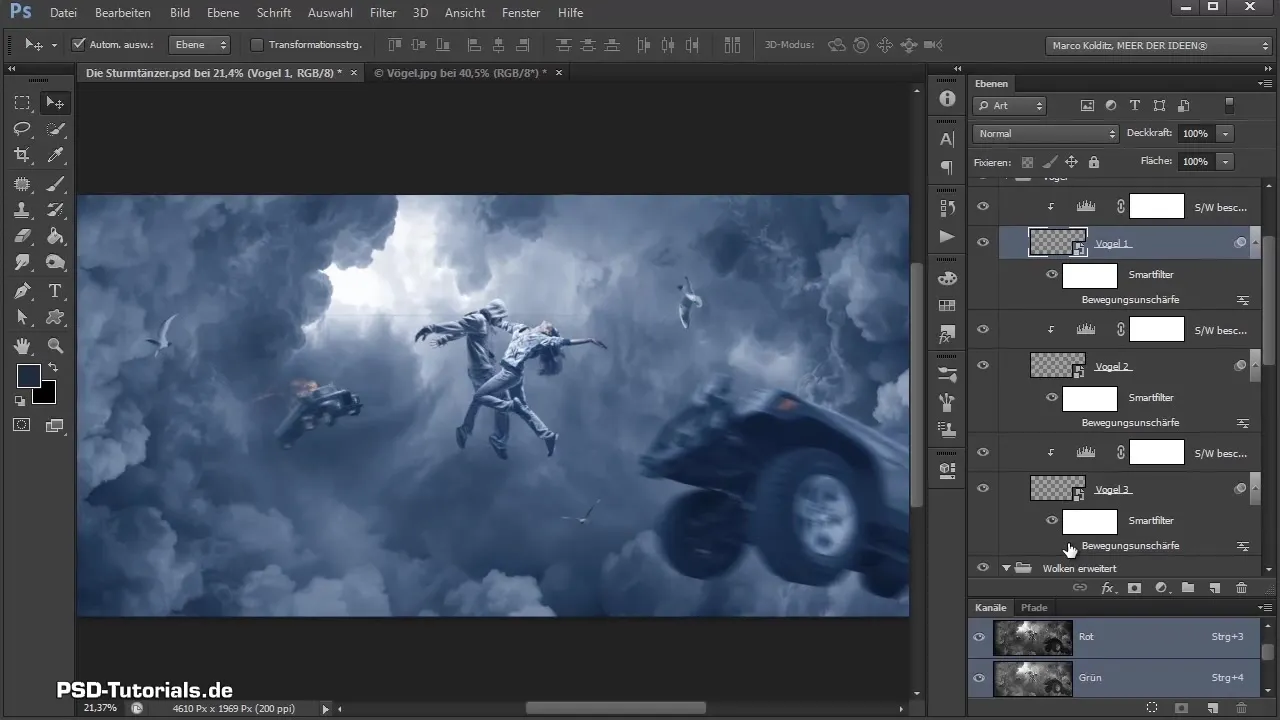
By actively working with motion blurs, your composing gains an exciting dynamic that makes it livelier.
Summary – Photoshop Composing: Cutting Out and Adjusting Birds
In this tutorial, you have successfully learned how to efficiently cut out birds in Photoshop, place them in a composing, and adjust them while giving your image more life through creative techniques such as distortion and motion blur. Plan your effects in advance and be patient in execution to achieve the best result.
Frequently Asked Questions
What is the masking mode?The masking mode allows you to selectively edit and cut out areas of an image.
How can I insert the birds into my composing?You must first create the birds as separate layers and then place and transform them in your main composition.
How can I adjust the colors of the birds?Use the tonal correction to adjust the black and white values of the birds according to your desired lighting effects.
Is it important to use motion blur?Yes, motion blur can help make the image appear more realistic and dynamic.
How can I ensure that the birds fit well into the composition?Cutting out, correctly placing, and adjusting with light and shadow effects are essential to ensure their natural integration into the composition.


