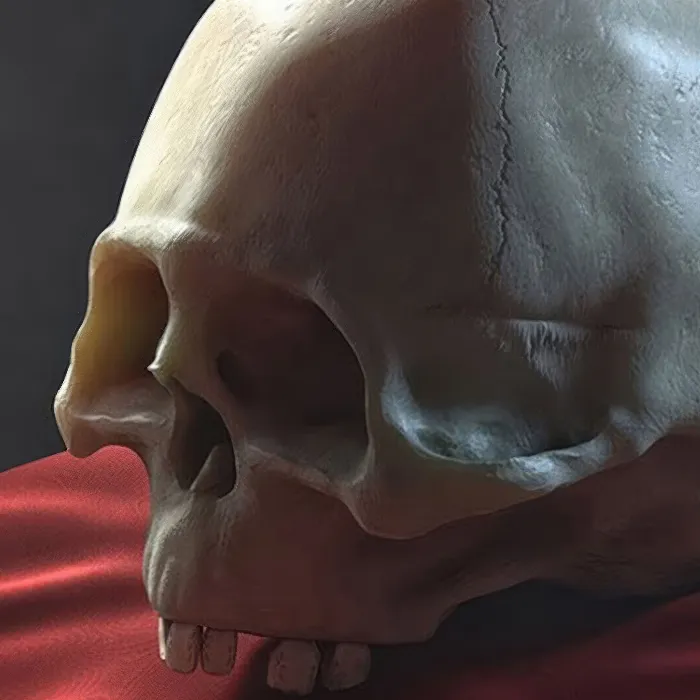
In today's tutorial, we will focus on the materials within CINEMA 4D, particularly on texturing bone models. The goal is to achieve a more realistic representation through the use of Subsurface Scattering (SSS) and photographic textures. You will learn how to effectively adjust and extend the basic materials created during baking to achieve an impressive result.
Main Insights
In this tutorial, you will learn how to use Subsurface Scattering to simulate light passing through bones. You will also learn how to import textures and adjust materials in CINEMA 4D to create realistic surfaces.
Step-by-Step Guide
1. Materials and Object Settings
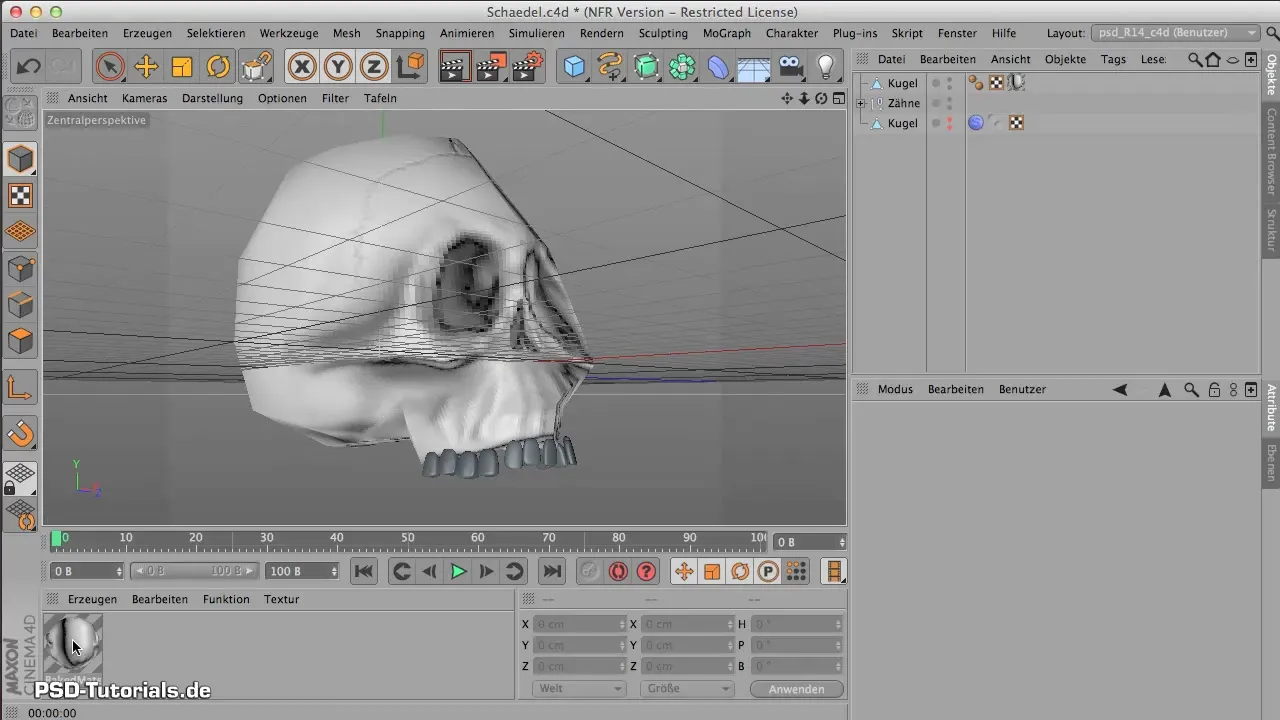
Start CINEMA 4D and load your original model—an example being a skull. Switch to the standard layout for a clear overview of your objects. The required model is left as a sphere, which we will adjust for our work. Hide all unnecessary parts so you can focus on the essentials.
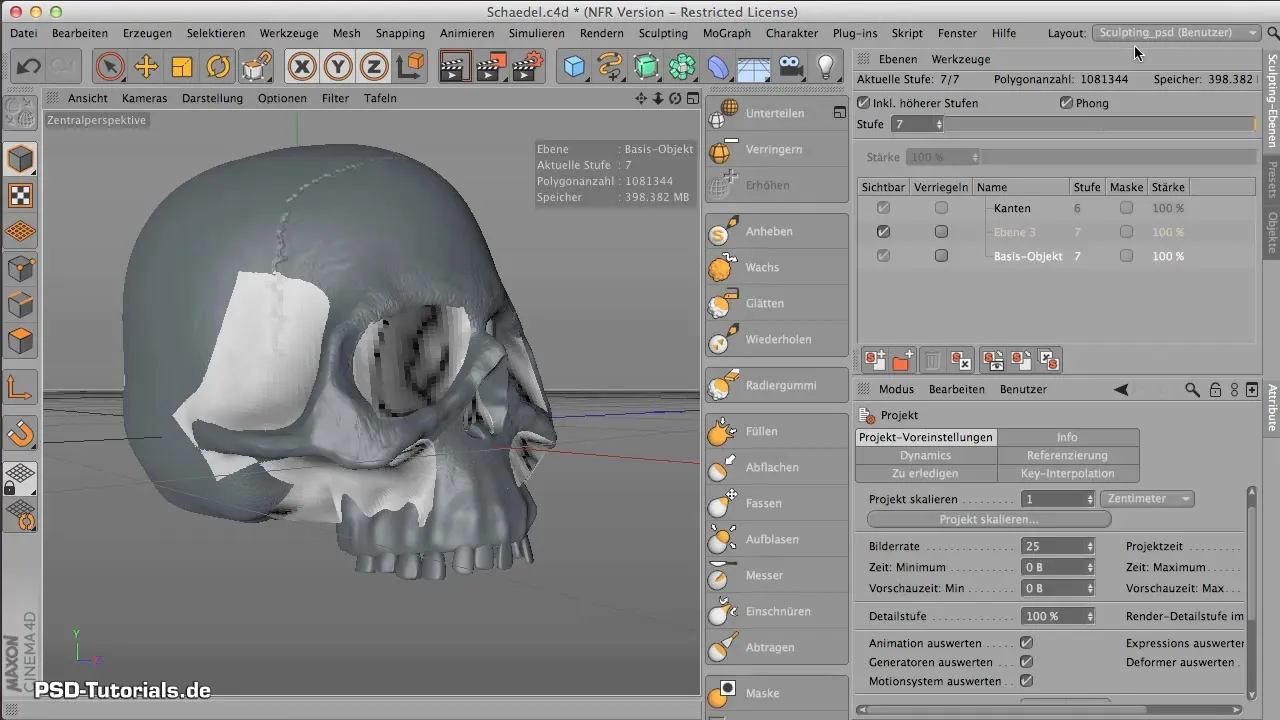
2. Check Basic Material Channels
Open the Material Manager and look at the standard channels of your material. You will notice that some of the channels—like the color and specular channels—are already activated, but do not contain specific values or adjustments. Keep an eye on the list and ensure that you activate the diffusion channel as the next step.
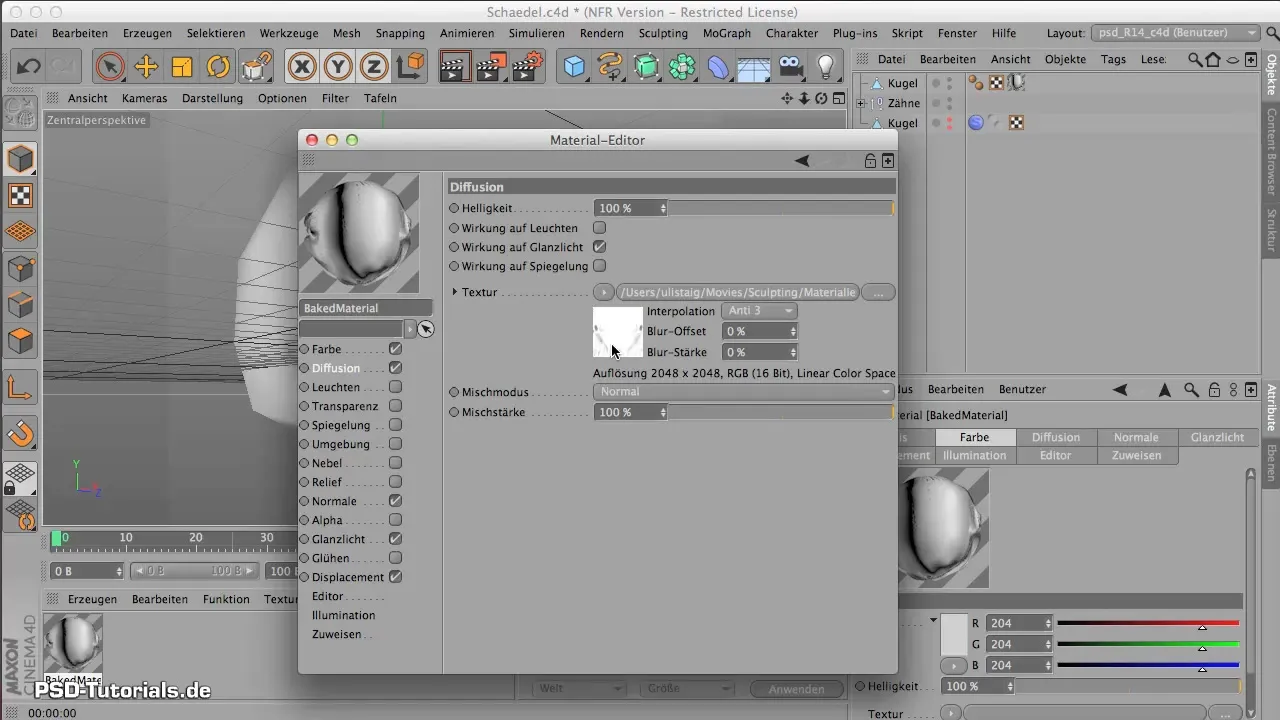
3. Adjust Diffusion Channels
Click on the diffusion channel to check the Ambient Occlusion Map. This map plays a key role in simulating the light behavior on your model's surface. It is essential to ensure that the path to your map is correct for everything to function smoothly.
4. Add Normal Map
In addition to the diffusion channels, we need to take care of the normal map. This channel ensures that the material interacts brilliantly with the light. Look at the color settings and work with the standard RGB values: Red stands for X, Green for Y, and Blue for Z.
5. Configure Displacement Map
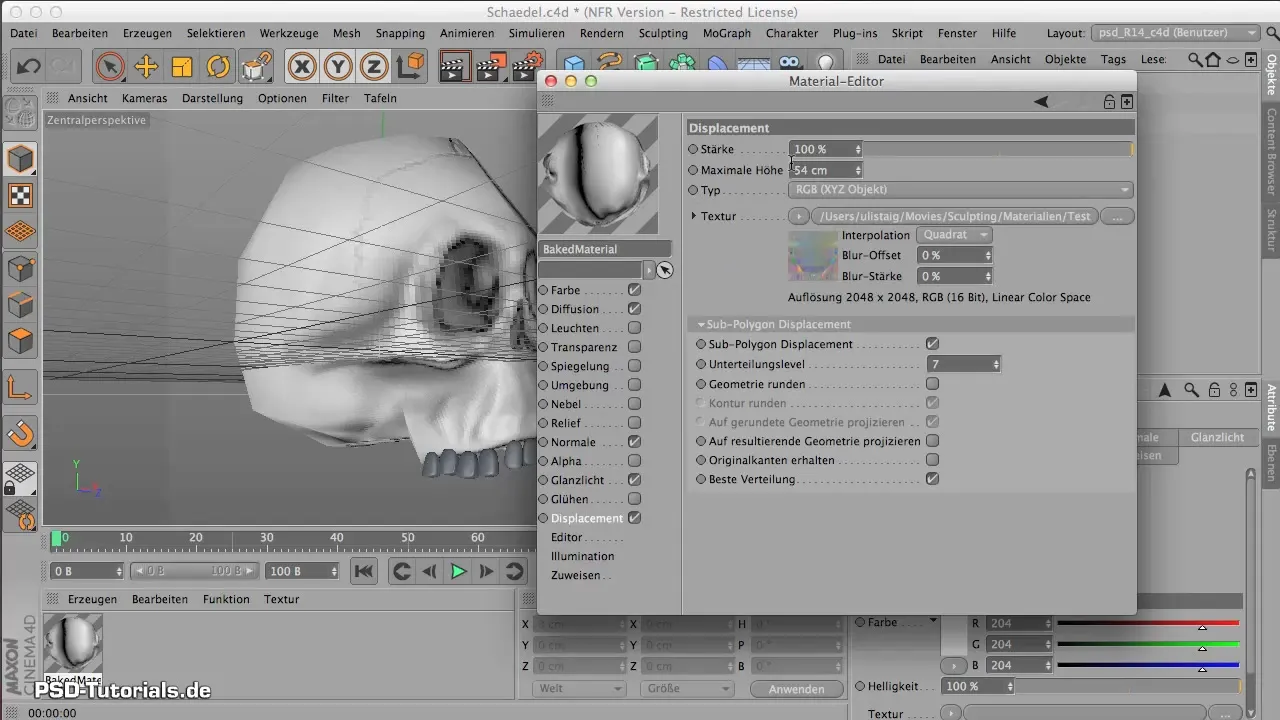
The displacement map also needs the correct settings, but generally, you won’t need to change much here since the values were already set during baking. Ensure that the subdivision level remains at 7 to guarantee the highest level of detail.
6. Import Textures
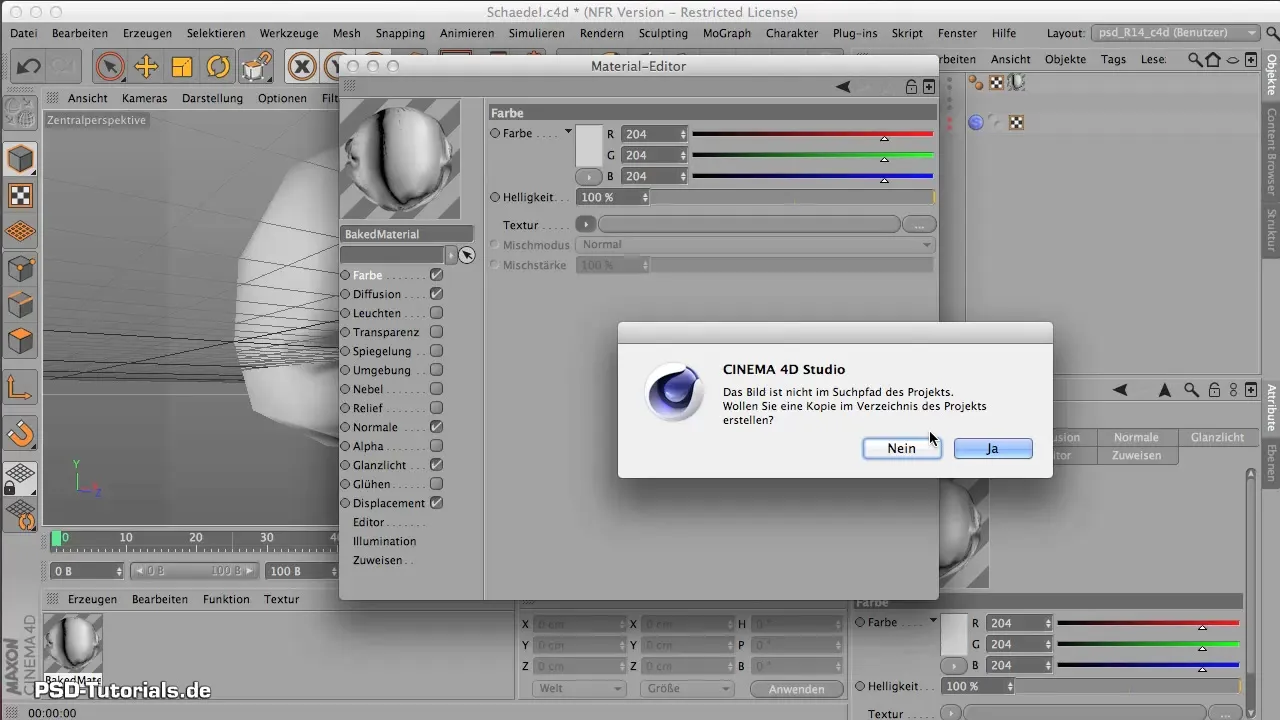
To make the color of the material more realistic, import an image for the color channel. Choose a concrete texture or another suitable texture that has a similar hue to bone. Play with the transparency settings and ensure that the texture's structure is around 70% to achieve a natural look.
7. Working with Subsurface Scattering
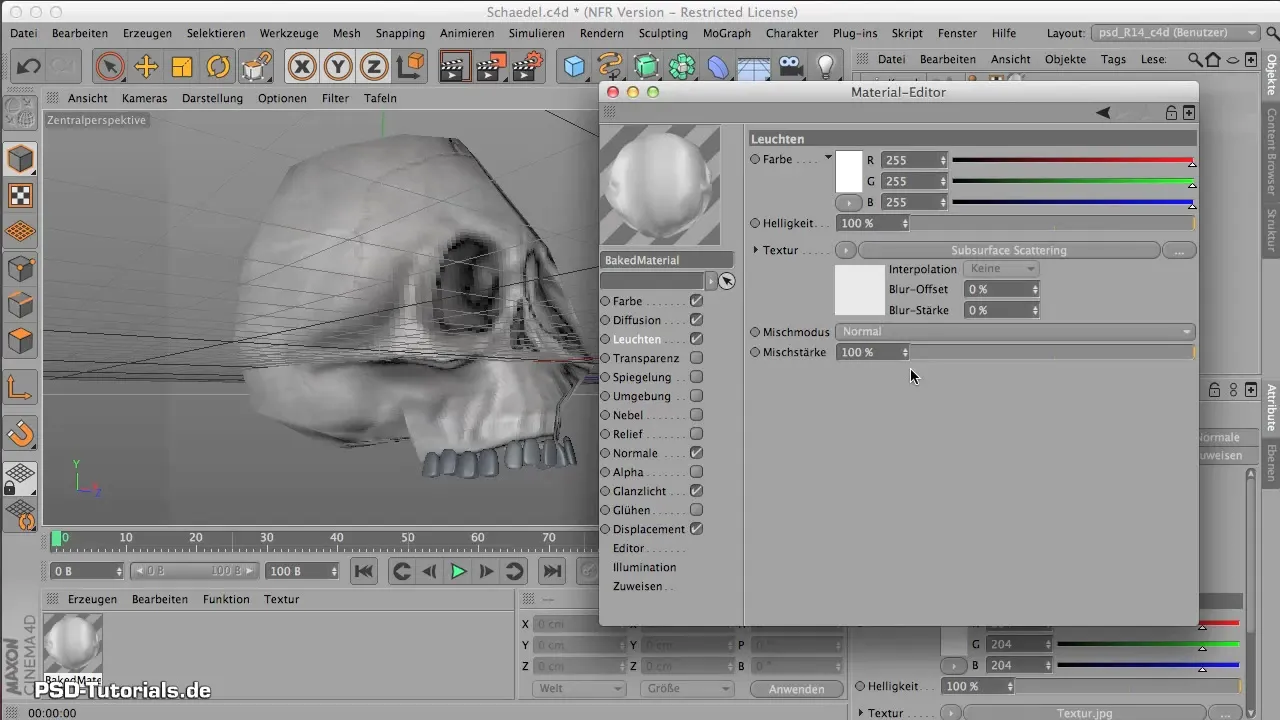
To represent the light permeability of bones, you need the Subsurface Scattering channel. Look for this texture type in the Material Manager. This allows you to simulate light under the surface of the object. Experiment with values for the color determination; I recommend a base color of 180 to 190 for the red component.
8. Set Path and Calculation Values
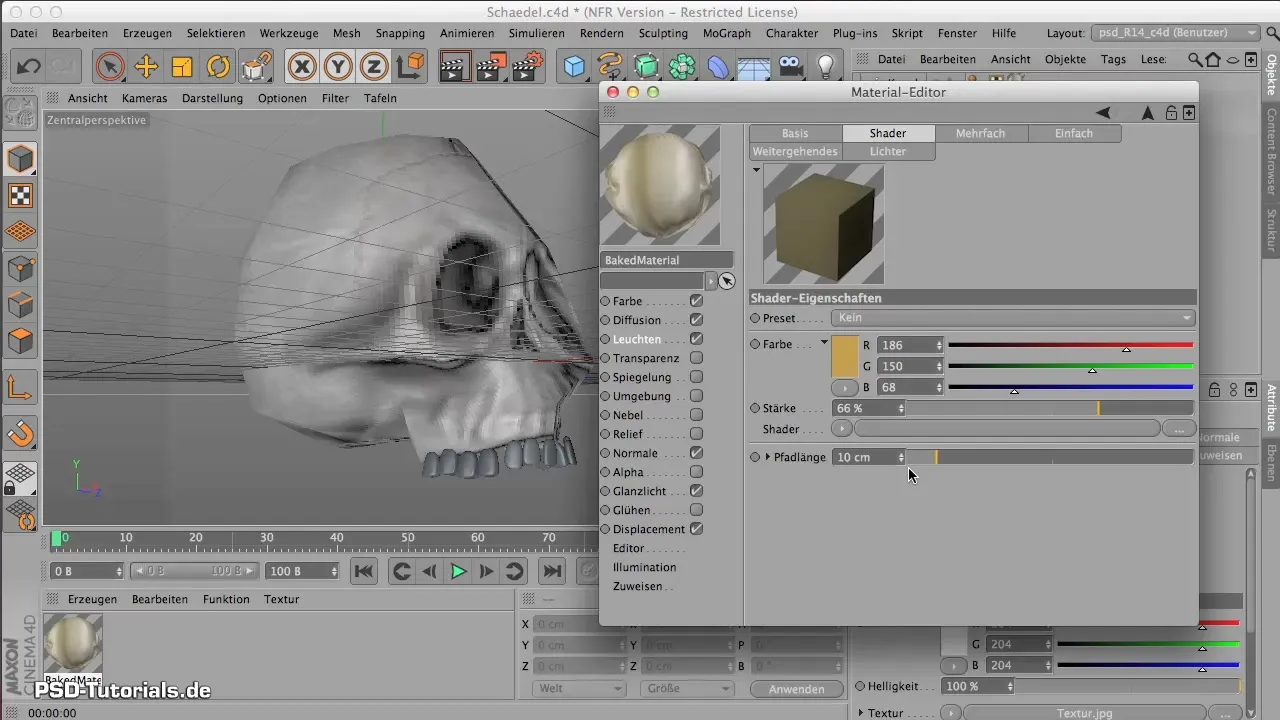
The path values for Subsurface Scattering represent the light depth under the surface. Try a length of about 3 cm. Be aware that lower values decrease the rendering speed, so test initially on small objects.
9. Rendering and Fine-Tuning
Once you are satisfied with all your settings, render the object. Be ready to make minor adjustments, especially if the first render does not meet expectations. Adjust the light sources and intensity of the textures if necessary to achieve perfectly tuned results.
Summary - Sculpting in CINEMA 4D: Material Design for Realistic Bones
In this guide, you learned how to effectively edit and adjust materials in CINEMA 4D to create a realistic texture for bone models. The use of Subsurface Scattering and photographic textures is crucial for a credible result.
Frequently Asked Questions
How do I import a texture into CINEMA 4D?You can import a texture in the color channel of your material by clicking on the corresponding field.
What is Subsurface Scattering?Subsurface Scattering is a method of representing light that penetrates beneath the surface of an object.
How does the path length affect rendering?The path length determines how deep the light penetrates into the material and can significantly affect rendering speed.
What are the standard colors for the normal map?The standard colors are red for the X-axis, green for the Y-axis, and blue for the Z-axis.
What do I do if rendering takes too long?Test the render settings with smaller objects or reduce the detail levels of the textures.
