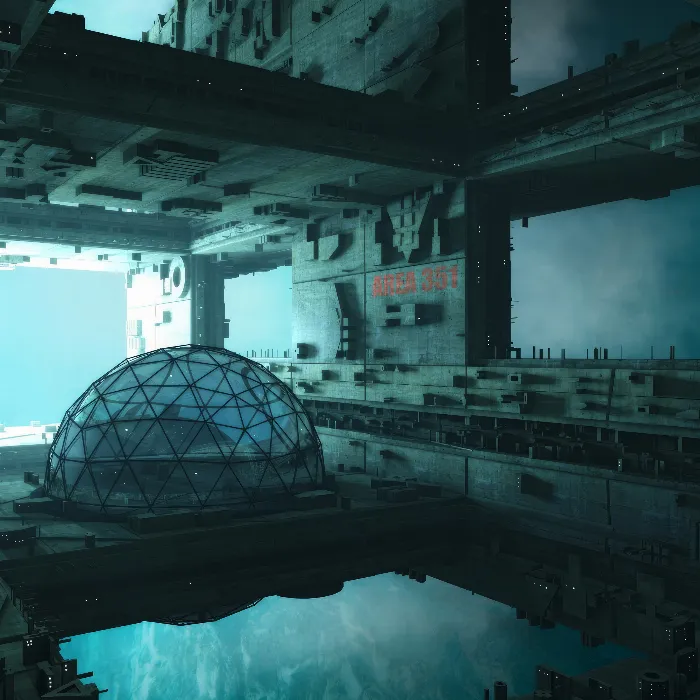
The right camera setup in a 3D-space can make the difference between an average and an impressive scene. You are now at the beginning of a creative process that involves bringing your digital world to life. Here you will receive a detailed guide on how to effectively set up your camera and find the perfect perspective for your 3D scene.
Key insights
- A good camera setup is crucial for the visual impact of your 3D scene.
- Using a short focal length can enhance the depth perception and dimension of your objects.
- The aspect ratio of the camera should be set before the final image composition to properly shape the visible rendering.
Step 1: Turn on the camera
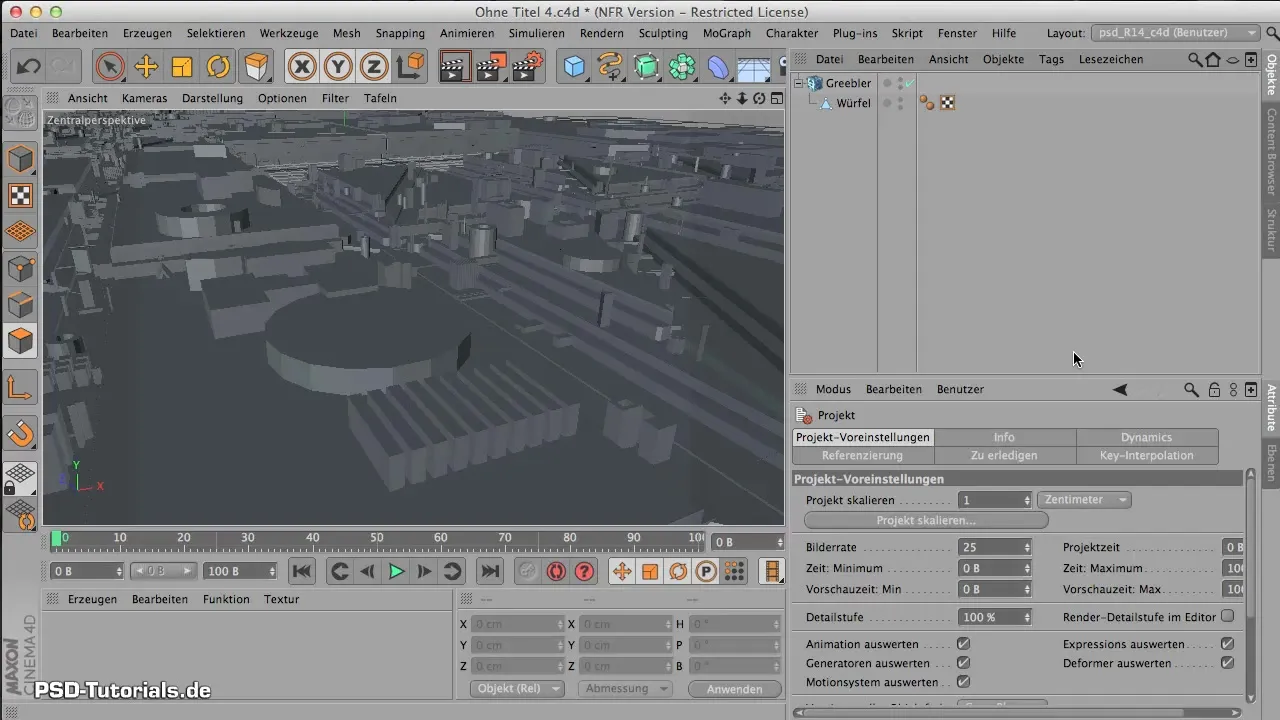
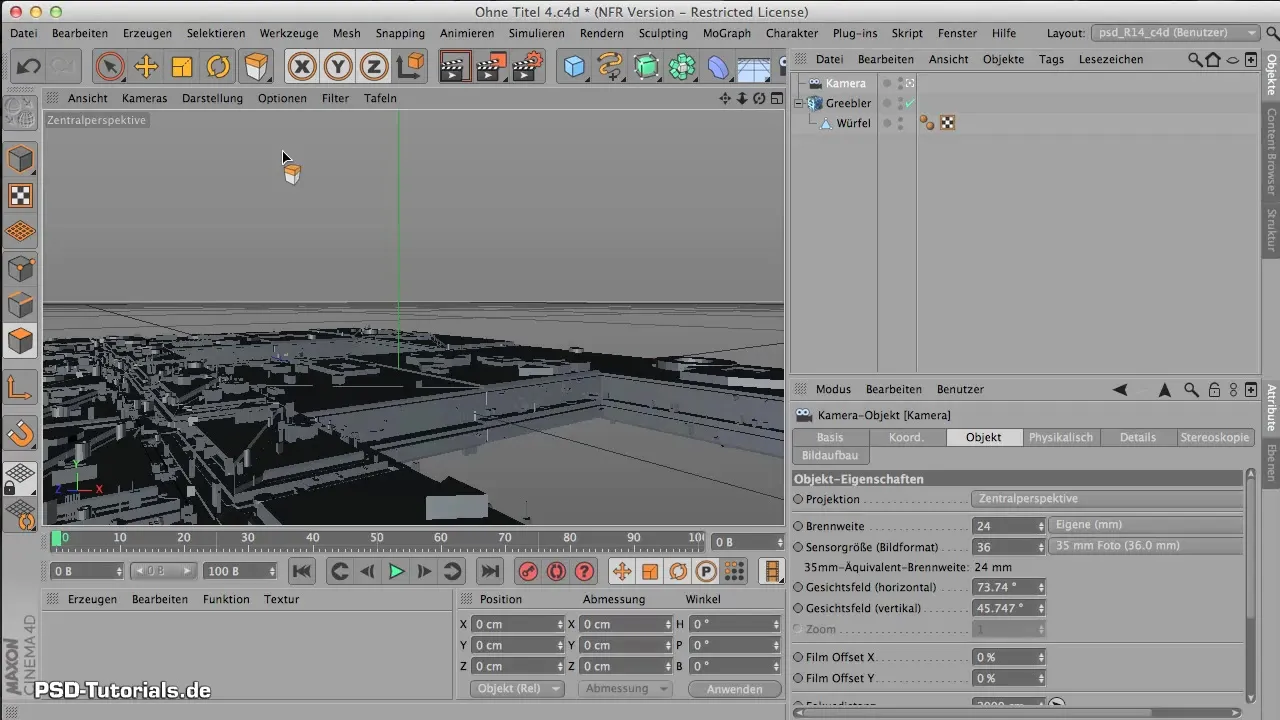
Before you can start with the camera configuration, you need to ensure that the camera is active in your software. Often the camera is not immediately visible and must be explicitly activated before you can adjust it. Make sure to click on the corresponding icon behind the camera to turn it on, otherwise, all adjustments will remain ineffective.
Step 2: Adjust focal length
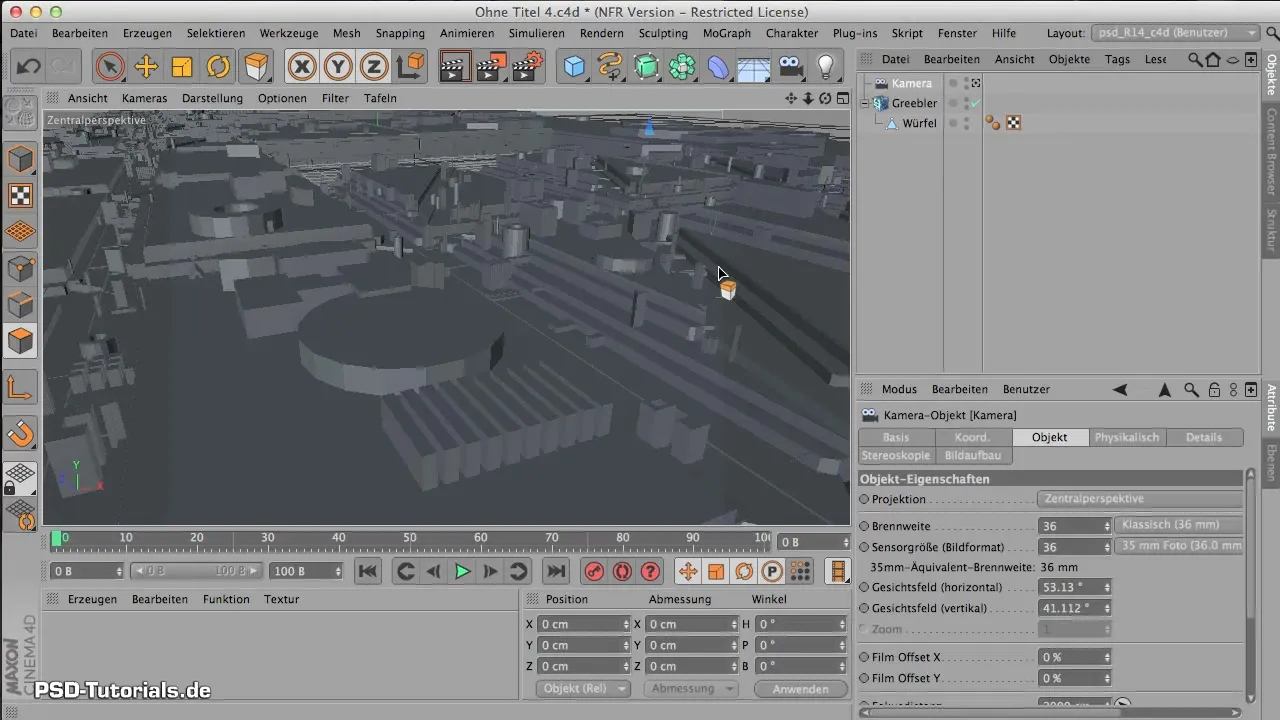
Once the camera is activated, you can adjust the focal length. For interiors, a range between 18 and 35 mm is recommended to achieve a wide-angle effect. This setting makes rooms appear larger and gives more depth to your scene. Set the focal length to 24 mm for an optimal perspective in your 3D world.
Step 3: Adjust image format
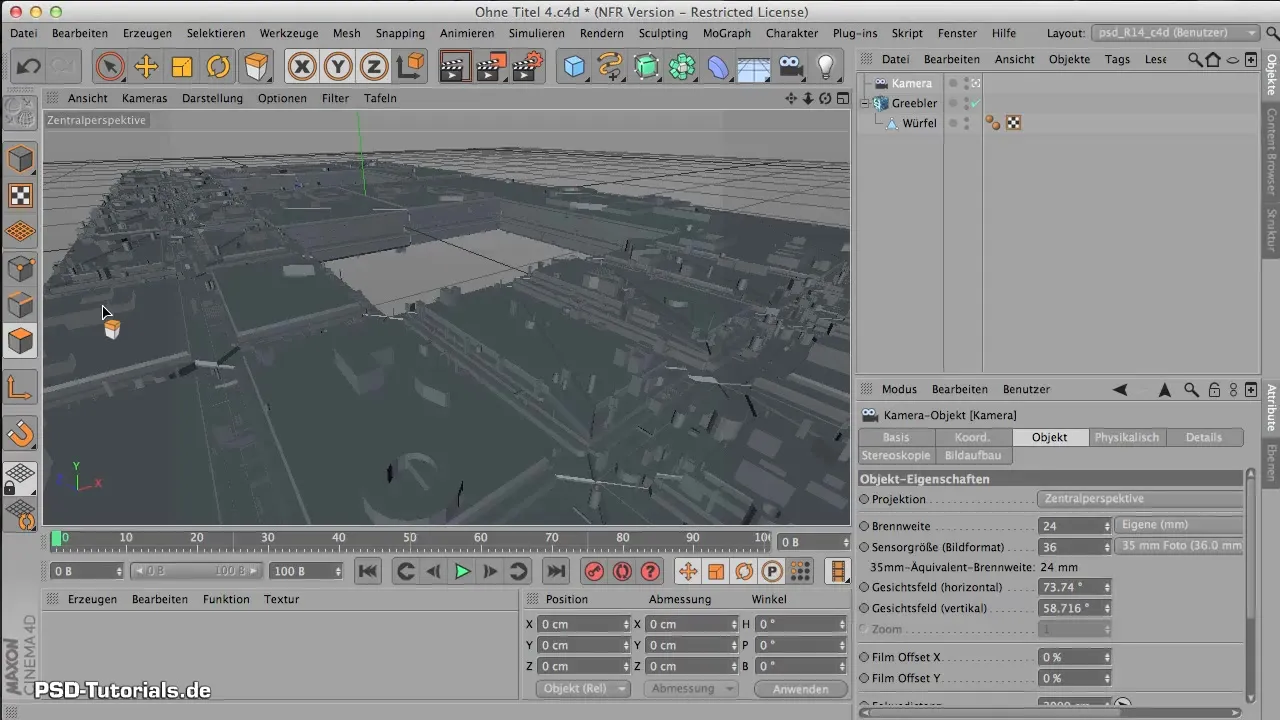
Once the focal length is set, you should configure the image format for your project. To do this, go to the render settings and change the aspect ratio to 16:9. For example, you can choose a resolution of 1600 x 900 pixels to ensure that you see the entire scene in the editor without black bars that may interfere during later rendering.
Step 4: Design the base plate
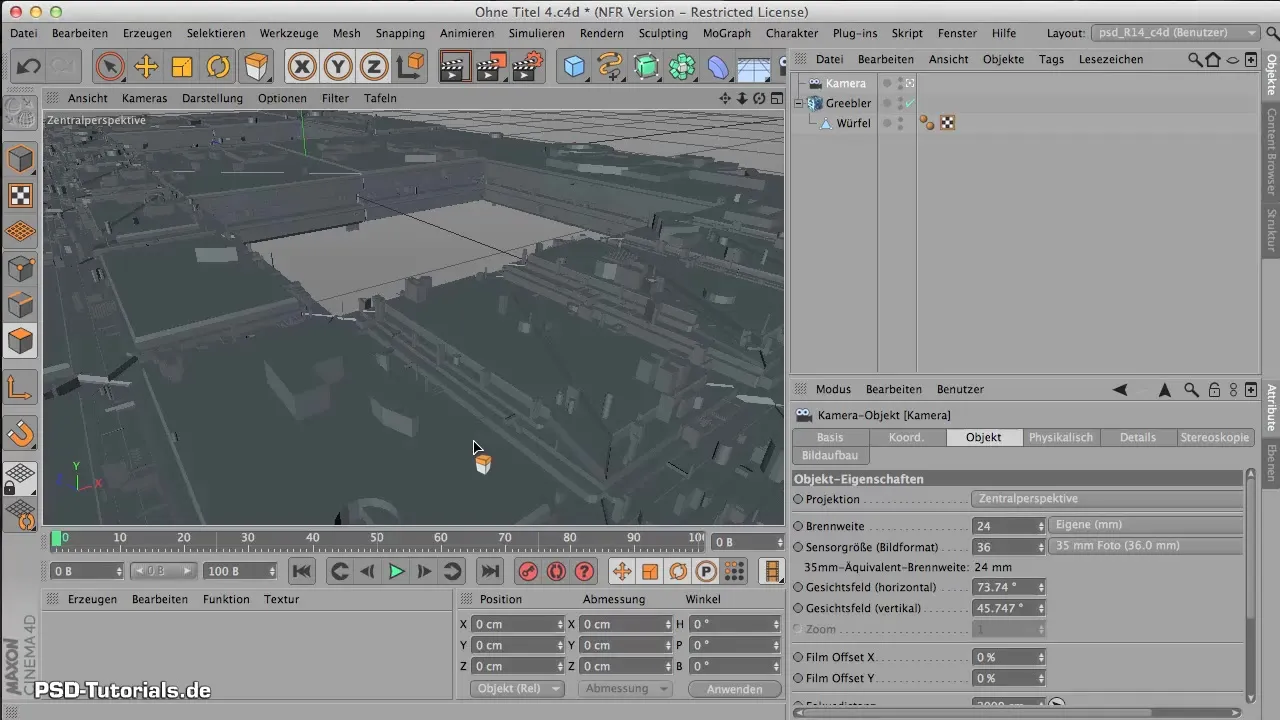
Now it's about designing the base or foundation of your scene to make it visually appealing. There are fewer fixed rules here; instead, you should trust your creative instincts. An important aspect is to keep the horizon visible to give the scene space. Move the objects so that the horizon remains clearly visible, providing more depth to your image.
Step 5: Arrange objects
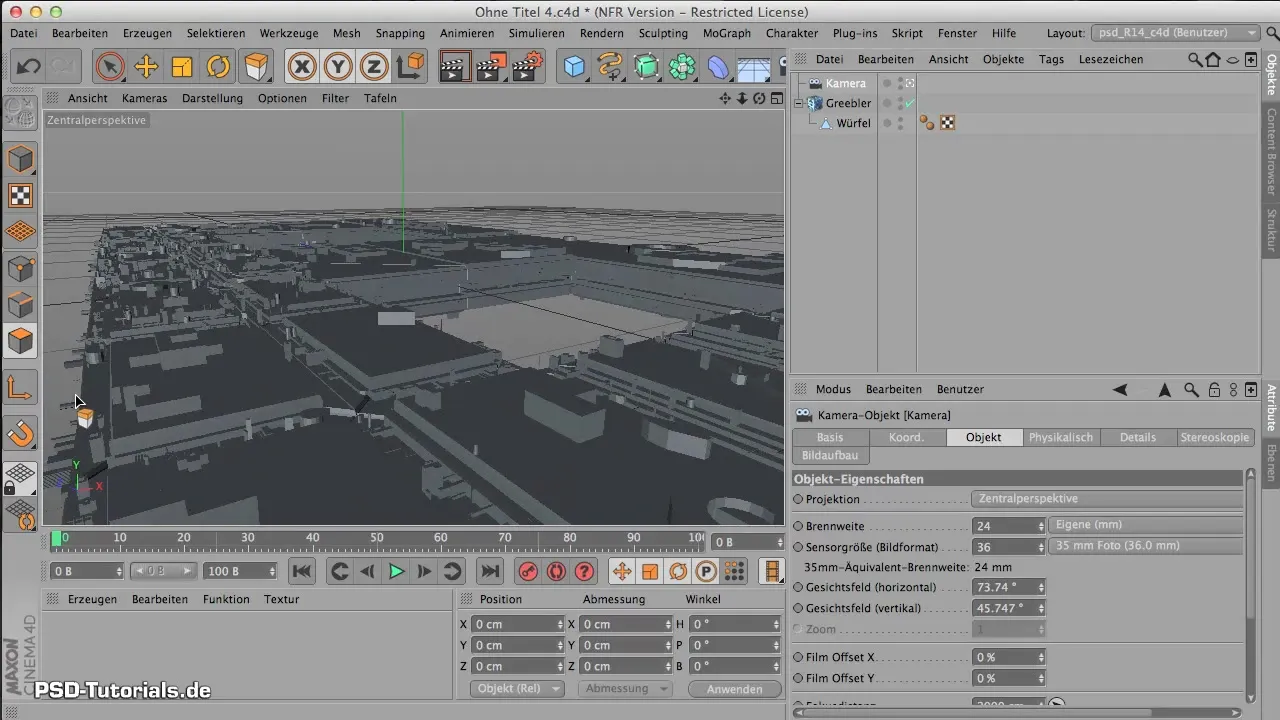
Make sure that the space station looks visually large and impressive. Avoid edges that might be visible, as this can break the illusion for the viewer. Position the objects in a way that stimulates the imagination and appears to extend beyond the image borders. This can be achieved by creatively hiding edges and playing with the arrangement.
Step 6: Utilize views
You want to showcase not only the surroundings but also interesting details of your 3D scene. Get closer to certain elements to depict small protrusions or holes that convey more depth. Consider how you can integrate the view of different parts of the environment throughout the entire scene.
Step 7: Horizon and leading lines
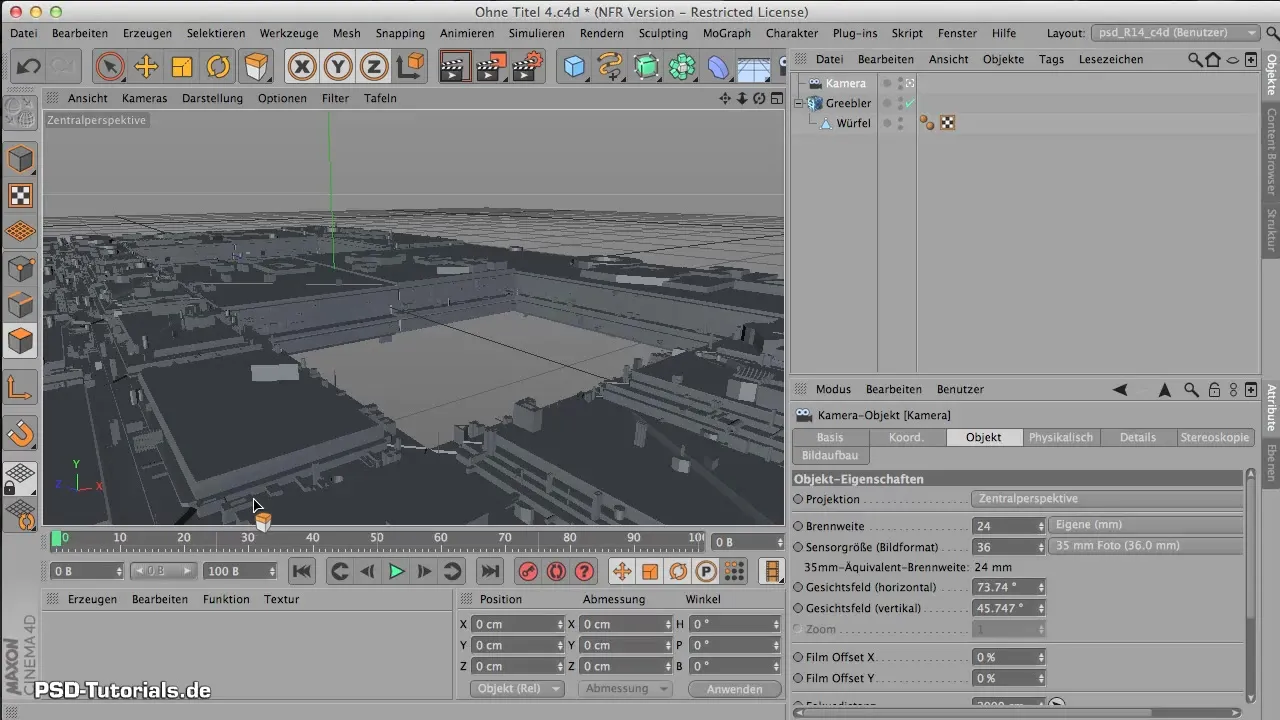
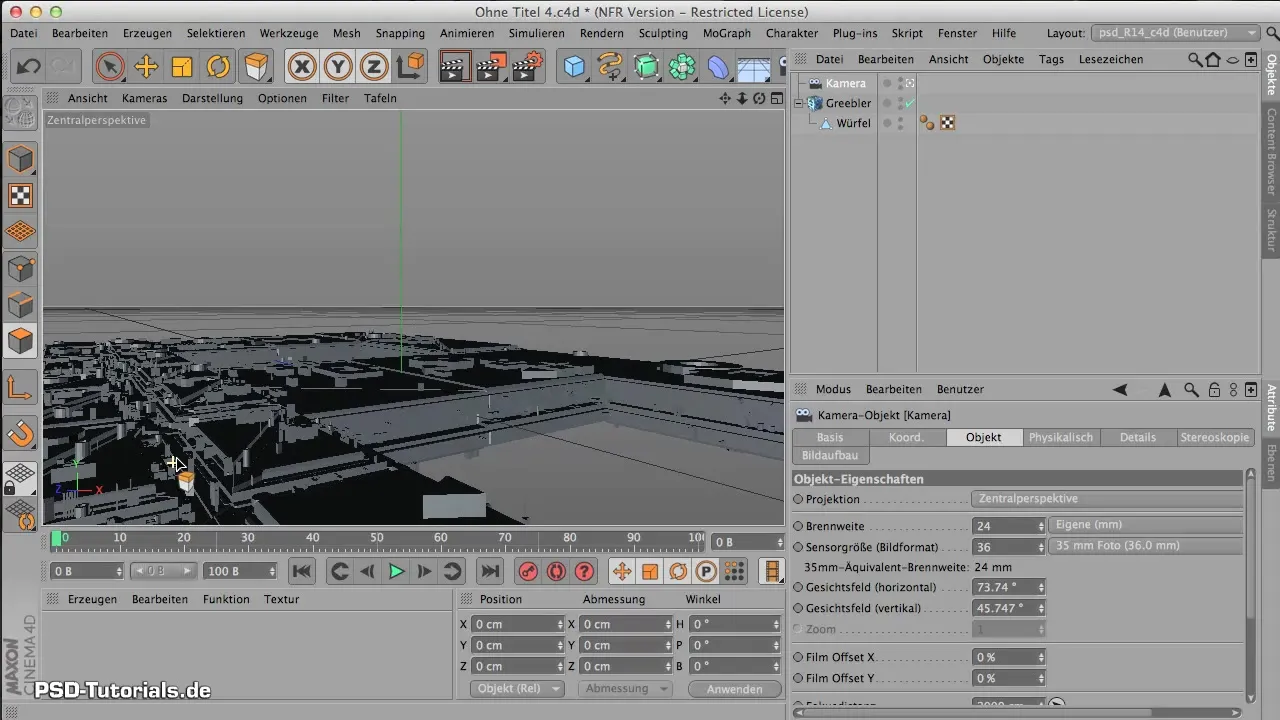
To further improve the arrangement of your objects, ensure that your horizon is positioned both in the center of the image and with a dynamic line direction. Try to create diagonals and interesting lines to guide the viewer's eye and thus increase the visual tension in your image.
Step 8: Fine-tuning
Now that your basic arrangement is set, you can begin with fine-tuning. Add side panels and ceiling structures to complete the scene. Ensure that each new component harmonizes with the existing parts and supports the desired look.
Summary - Creative Guide to Camera Configuration in 3D Environments
This guide has introduced you to the basic steps for effective camera configuration in 3D-environments. The right Camera-Setup and the conscious design of the scene are crucial for the visual outcome of your projects.
Frequently Asked Questions
What focal length should I choose for interiors?For interiors, a focal length between 18 and 35 mm is recommended for a wide-angle effect.
How do I set the aspect ratio?You can set the aspect ratio in the render settings to 16:9, e.g., with 1600 x 900 pixels.
How important is the position of the horizon?The position of the horizon is crucial for giving depth to the scene and shaping the overall image.
