The right lighting is crucial for the visual aesthetics of your 3D scene. With a single light source, you can achieve a lot, especially when it is optimized through targeted settings. In this guide, I will walk you through the steps to install and adjust a light source that can consider both backlighting with area shadows and attenuation. Let's begin the light-rich spectacle!
Key findings
- A single light source is often enough to create atmospheric effects.
- The right light source should be omnidirectional to achieve natural lighting.
- Settings like color, shadow, and visibility are crucial for light quality.
- Global illumination can support the overall lighting of the scene.
Step 1: Selecting the Light Source
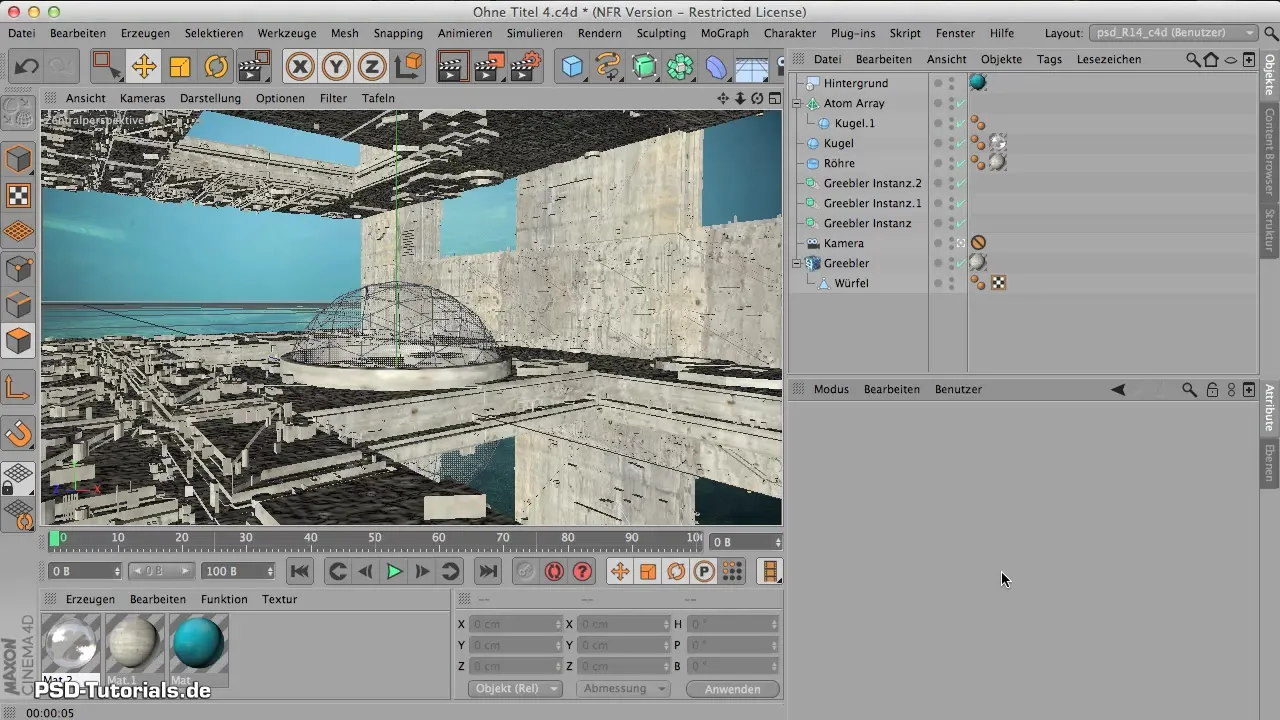
The first step is to select a suitable light source. It is important to note that a light source that shines in all directions is more effective in an underwater or space-represented scene than a directed spotlight. You can easily create an omnidirectional light source using the options "Generate Light" and "Light".
Step 2: Positioning the Light Source
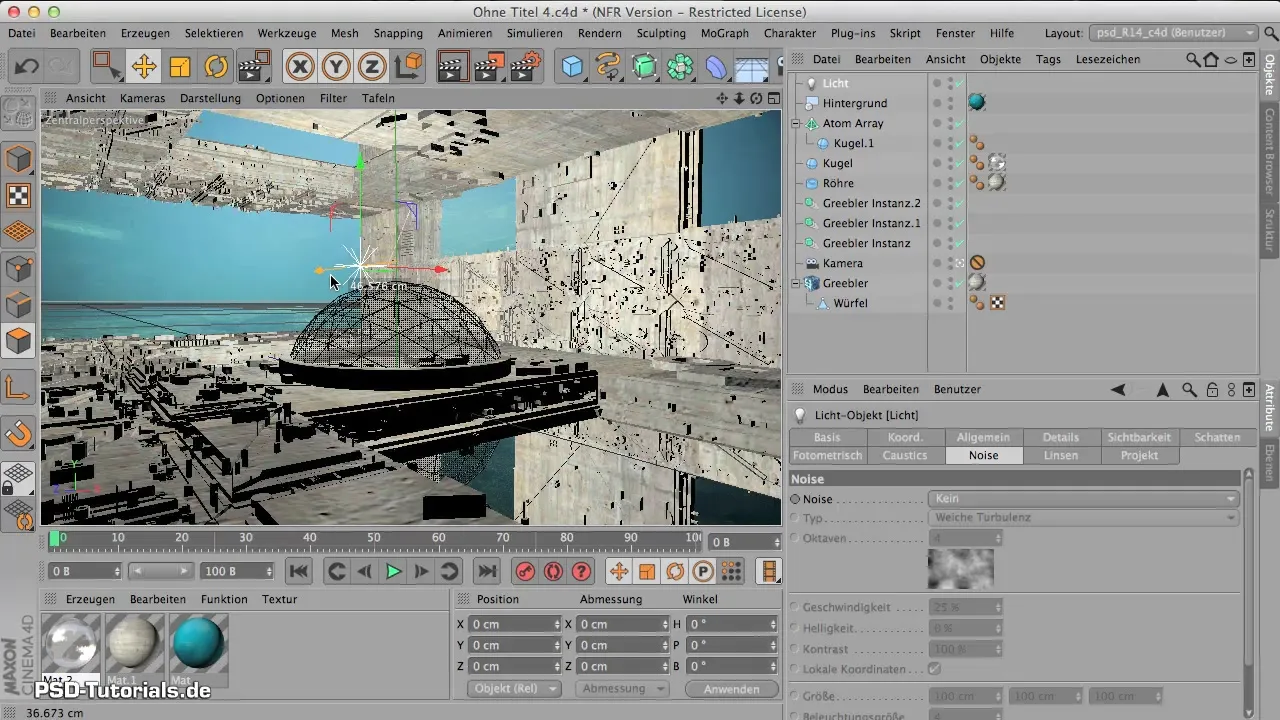
The light source is created at the center of the coordinate system by default. You need to raise the light source to ensure it illuminates the areas in front of it properly. Position it so that the scene appears atmospheric and appealing.
Step 3: Adjusting the Color
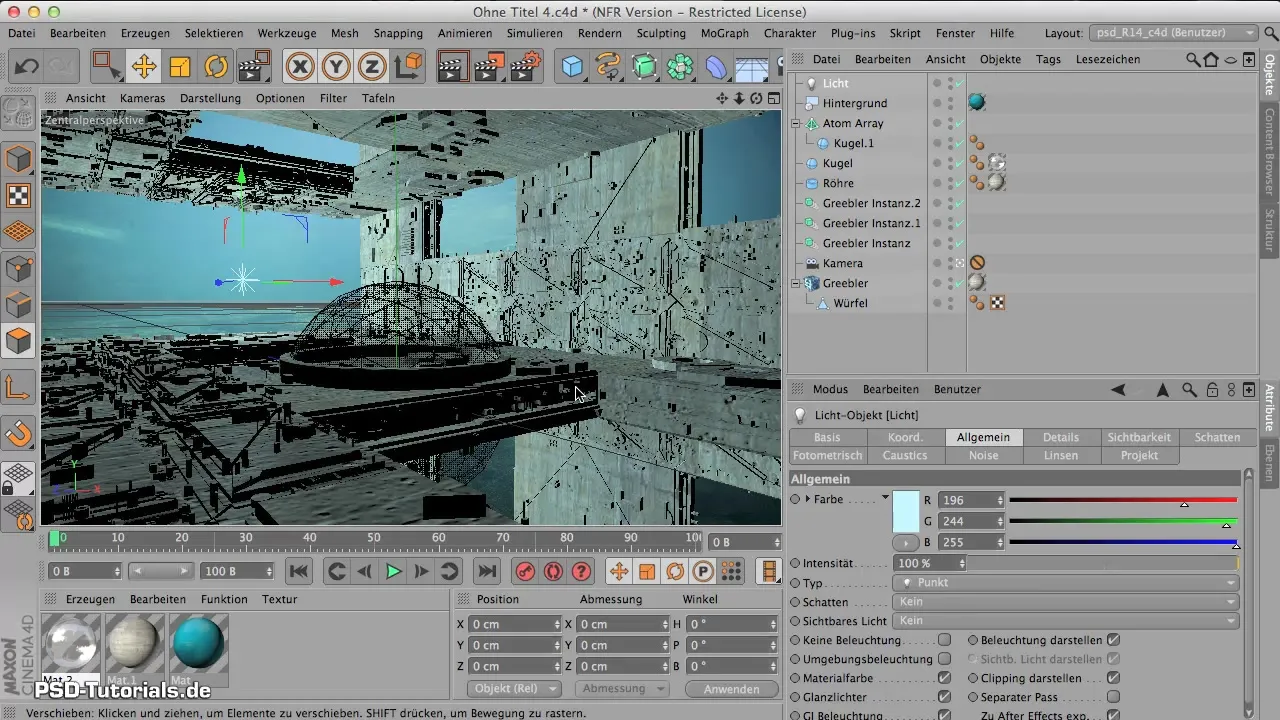
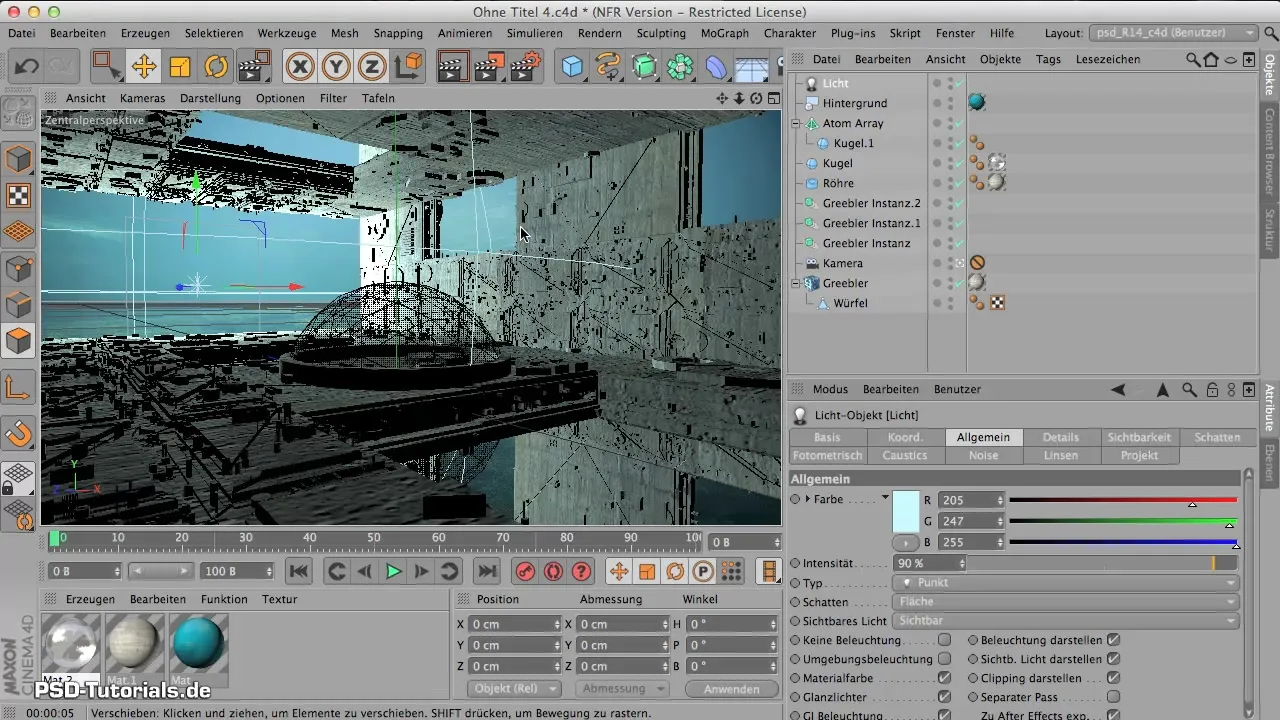
Now it's time to adjust the color of the light source. Since you are working in a scene with a turquoise background, you should choose the light color accordingly. Reduce the green and red to achieve the desired tonal effect.
Step 4: Changing Shadow Settings
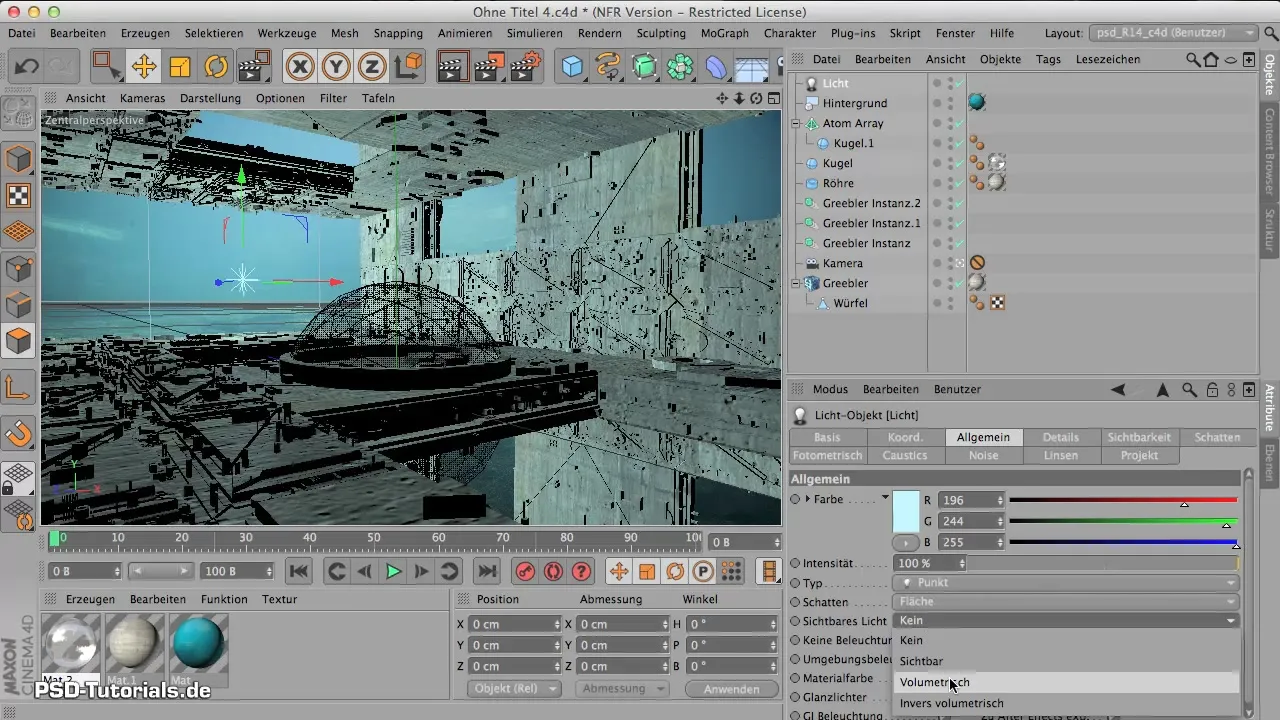
For a more realistic environment, choose area shadows. This gives you soft, natural shadows that enhance the overall look of the scene. Additionally, it makes sense to add visible light to create a atmospheric effect.
Step 5: Configuring Attenuation
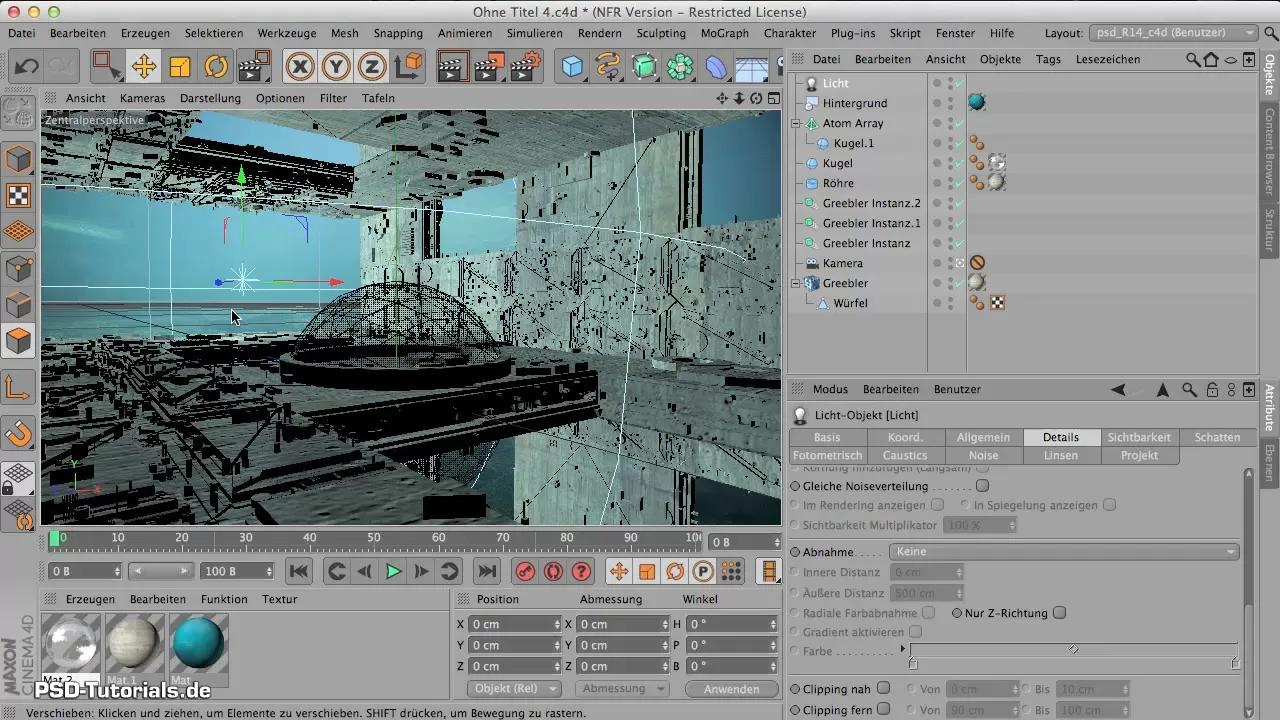
An important setting is the attenuation of the light source. By default, the light source emits light evenly, regardless of distance. Change this to "inverse square" so that the light diminishes with increasing distance. This will create a more natural lighting.
Step 6: Visibility of the Light Source
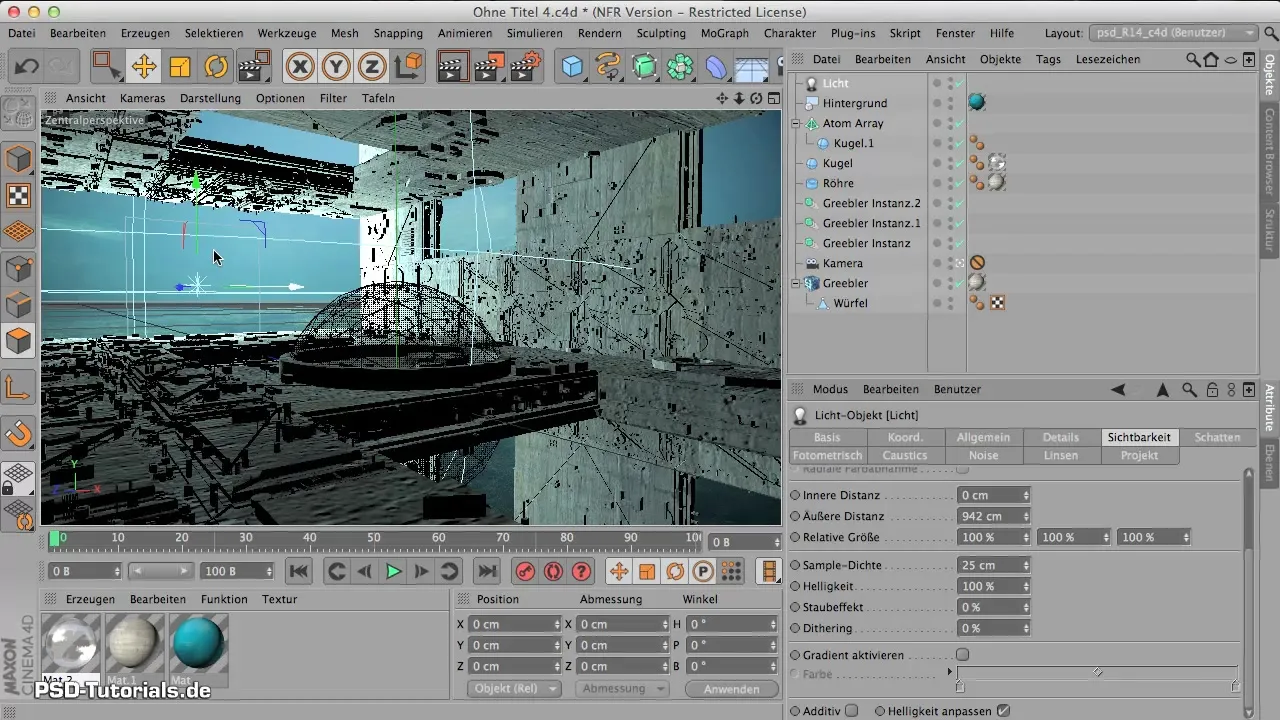
Expand the visibility of the light source to achieve a greater range. Ensure that the visibility extends beyond the camera position. At this point, you can also choose to have the visibility create a cloudy effect, adding extra depth to the scene.
Step 7: New Shape of Visibility
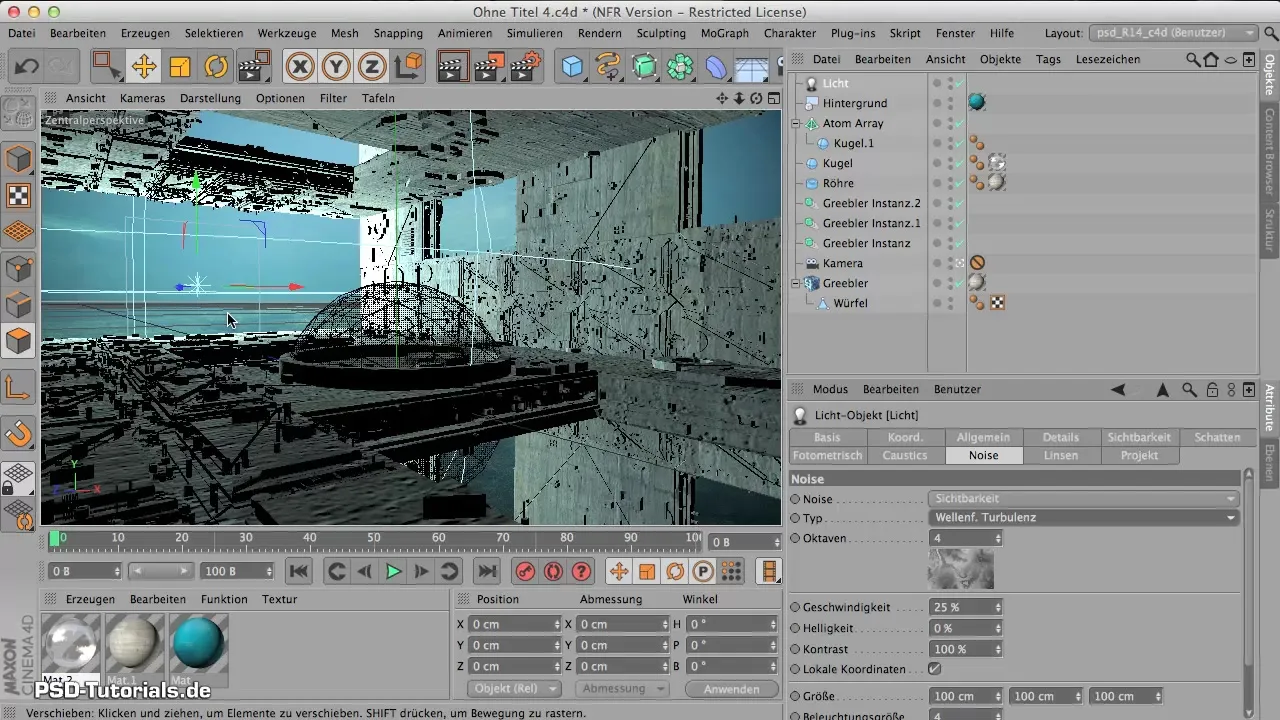
Add a new shape to give the light source additional character. Make sure this new shape is not generated with the lighting to avoid unwanted shadows. Choose a wavy turbulence to achieve a natural effect.
Step 8: Test Rendering
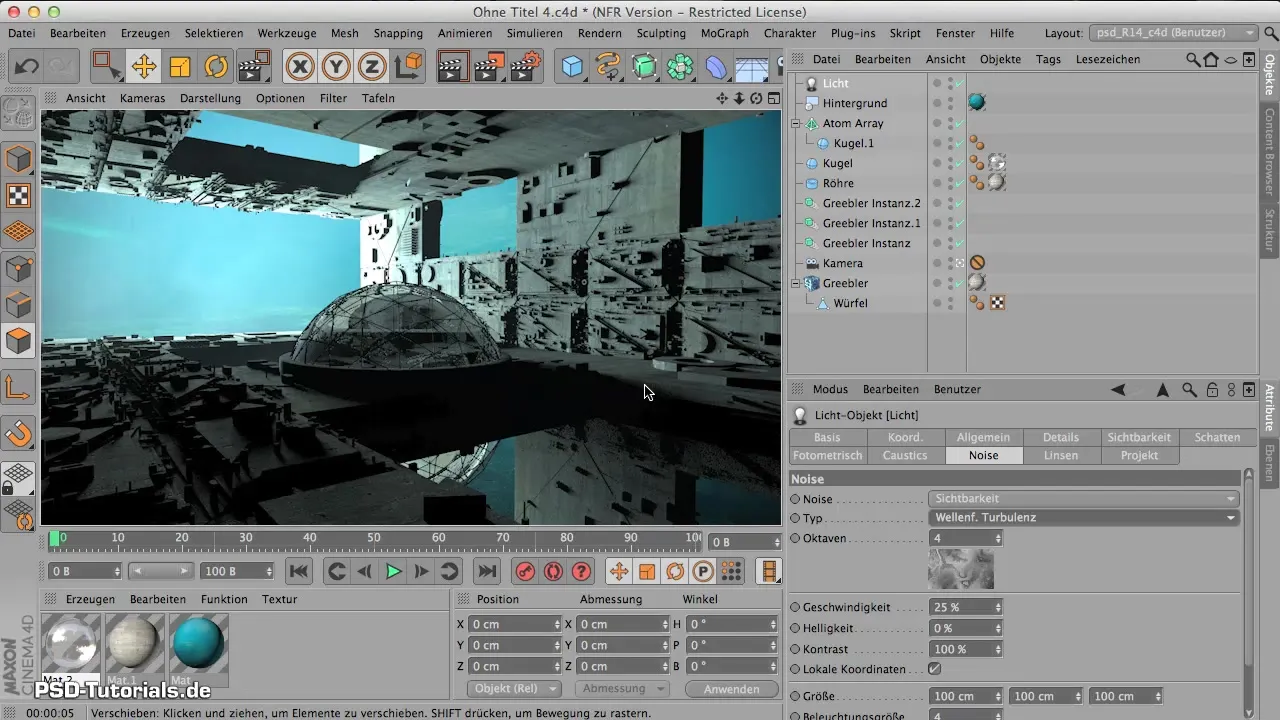
Now perform a test rendering to check if all settings are correct. Pay attention to how the light source and shadows work and whether you like the mood. It is often wise to make minor adjustments after the test rendering.
Step 9: Final Adjustments
After the initial rendering, you can slightly adjust the light color to optimize the desired effect. Also, lower the brightness a bit to achieve a more pleasant overall impression.
Step 10: Ambient and Global Illumination Effects
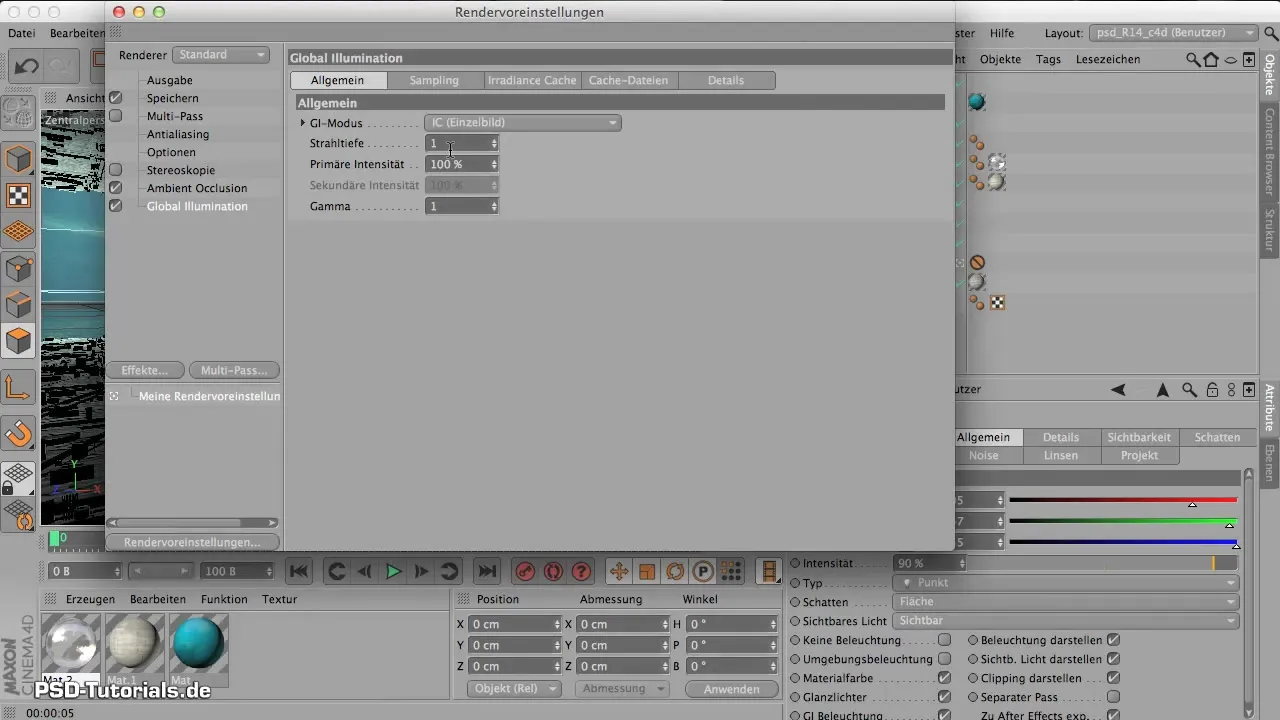
Finally, the render settings can be updated to add effects like Ambient Occlusion and Global Illumination. These enhance the depth and quality of shadows, giving the scene additional life.
Summary – Installing Light Source: Step-by-Step Guide for an Atmospheric Scene
To create a convincing 3D scene, the targeted installation and adjustment of a light source is essential. With the above steps, you have the means to achieve impressive lighting that significantly enhances the content of your scene.
Frequently Asked Questions
How do you control the color of the light source?The color can be adjusted via the general settings of the light source by modifying the RGB values.
What is the advantage of an omnidirectional light source?An omnidirectional light source emits light in all directions and simulates natural light sources better than directed spots.
How does attenuation work in a light source?Attenuation ensures that the light diminishes with increasing distance from the light source, creating a more realistic lighting.
Is it necessary to conduct a test rendering?Yes, a test rendering helps to test the effectiveness of the light source and its settings, and make adjustments if necessary.

