The Acrobat navigation bar is located on the left-hand side of an open PDF document. If Acrobat is open without a document, i.e. empty, the navigation bar is not available.
In the navigation bar, navigation buttons are displayed one below the other, which provide different functions.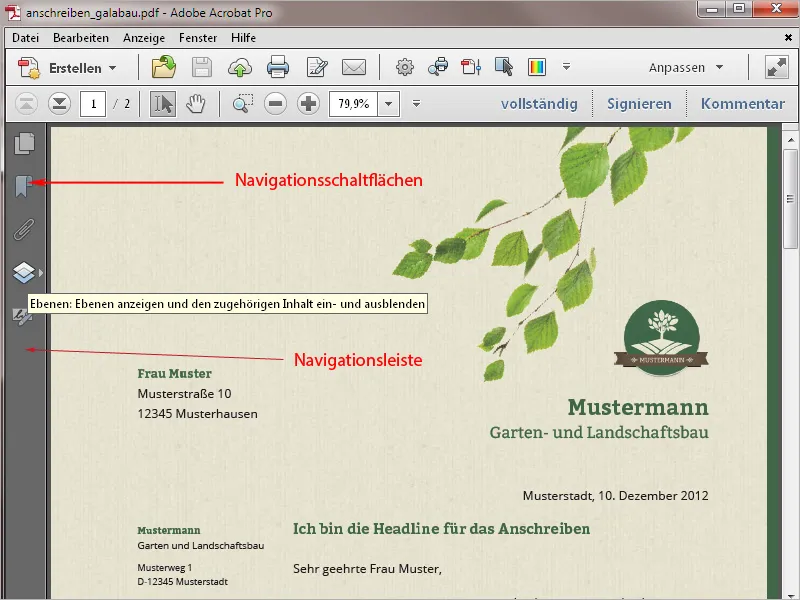
Clicking on one of the navigation buttons opens the navigation window to the right of the bar. The document is displaced to the right of the screen in the same size. You can adjust the width of the navigation window by holding down the left mouse button and moving the border to the document to the left or right.
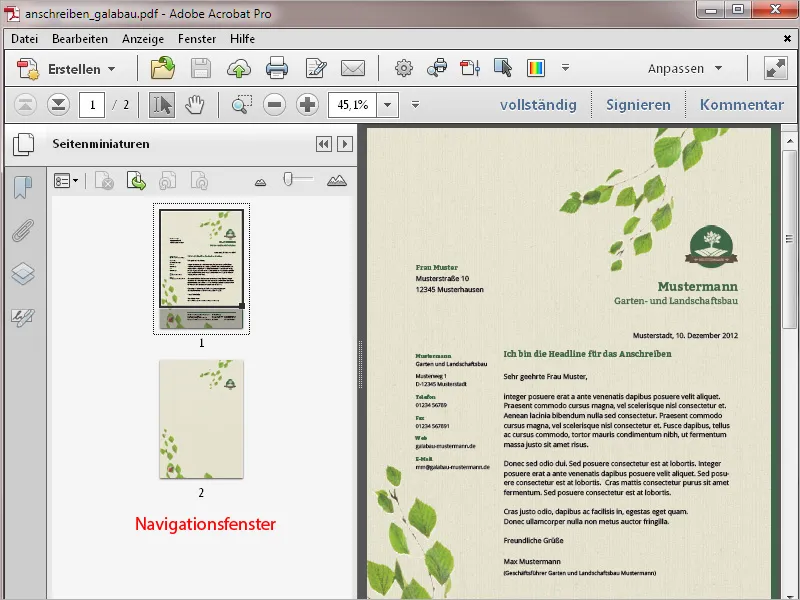
The navigation window offers different options and editing possibilities depending on the button selected. In all navigation windows, there is an options menu at the top left-hand edge in which context-sensitive commands are provided.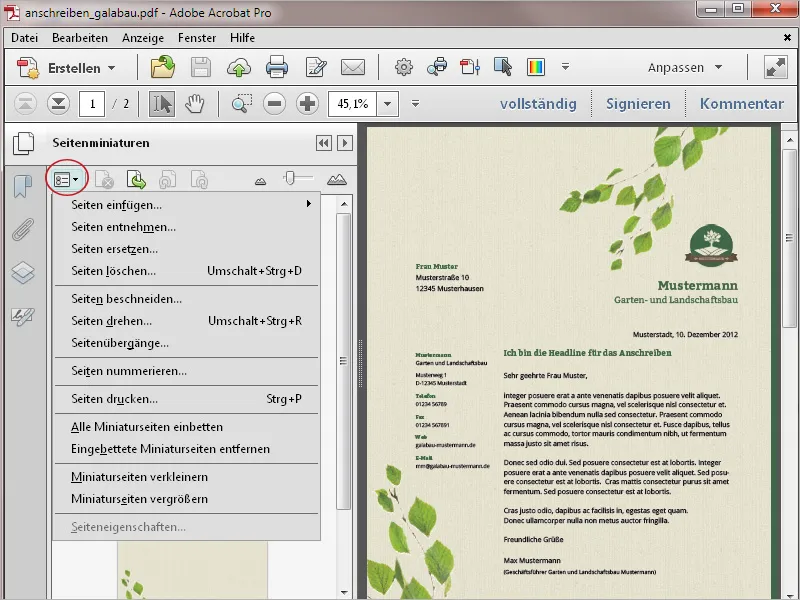
If required, the display of the navigation window can be expanded to cover the entire screen by clicking on the small arrow pointing to the right in the upper area.
You can then return to the previous view by clicking on the small arrow to the left. Close the navigation window with the double arrow to the left.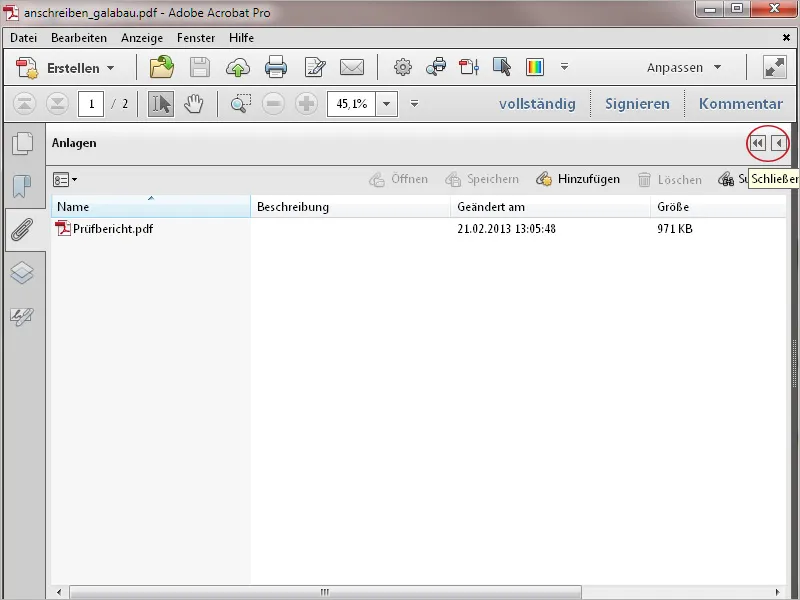
You can use the context menu of the right mouse button to show additional buttons by clicking in the navigation bar.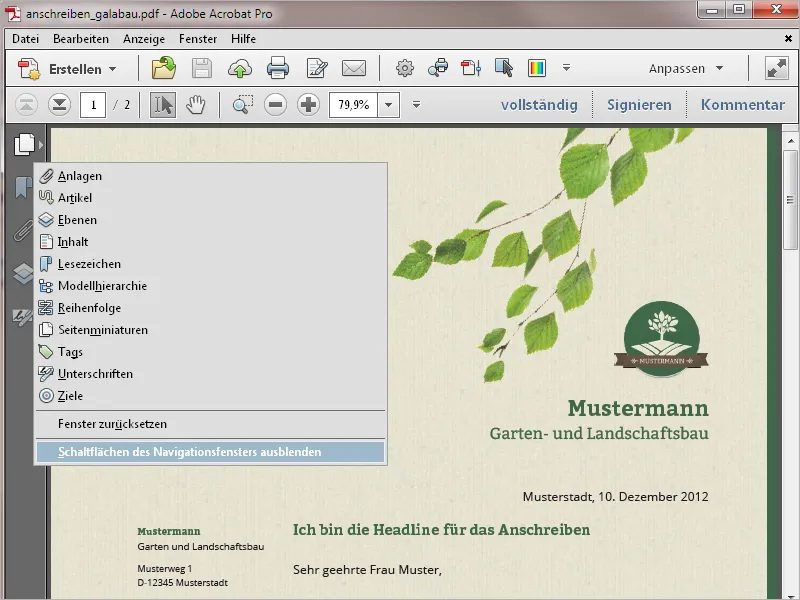
A button can also be hidden again by unchecking the box in the context menu. By clicking on the Reset window menu item, only the standard buttons are displayed in the navigation bar again. To get a better overview of the document, you can also hide the navigation bar completely by clicking on the menu item of the same name.
The quickest way to display the navigation pane again is to use the shortcut F4.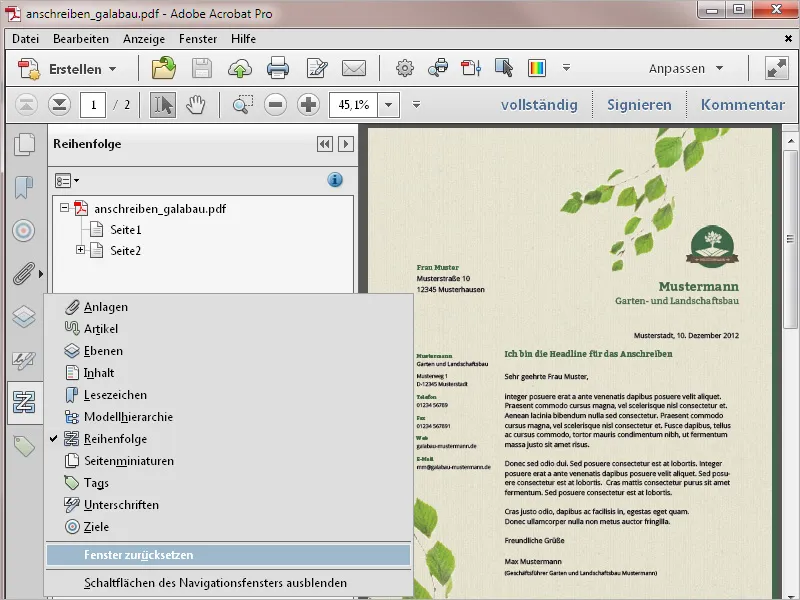
Bookmarks are particularly useful in large documents as they make it easier to navigate within a document. As a rule, these bookmarks are already created when the layout document is exported.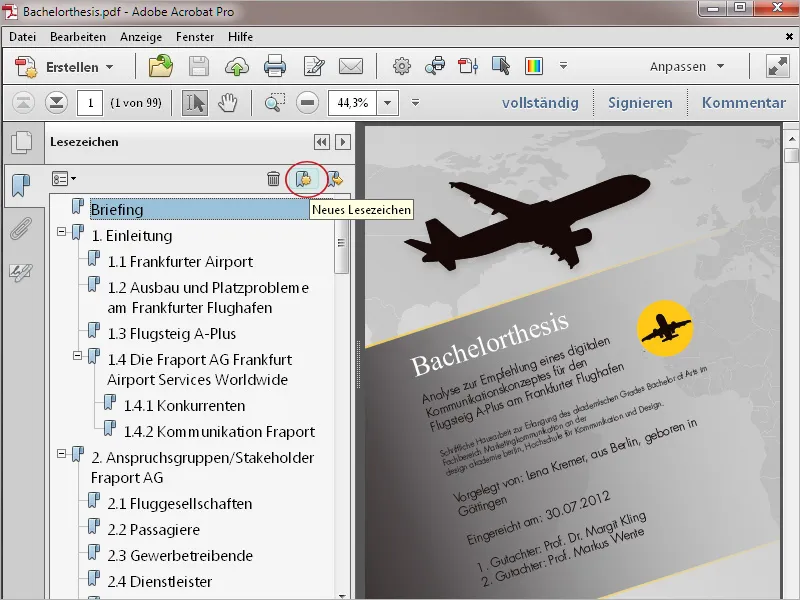
However, if this is not the case, you can also create your own bookmarks in Acrobat at a later date. There are two methods available to you:
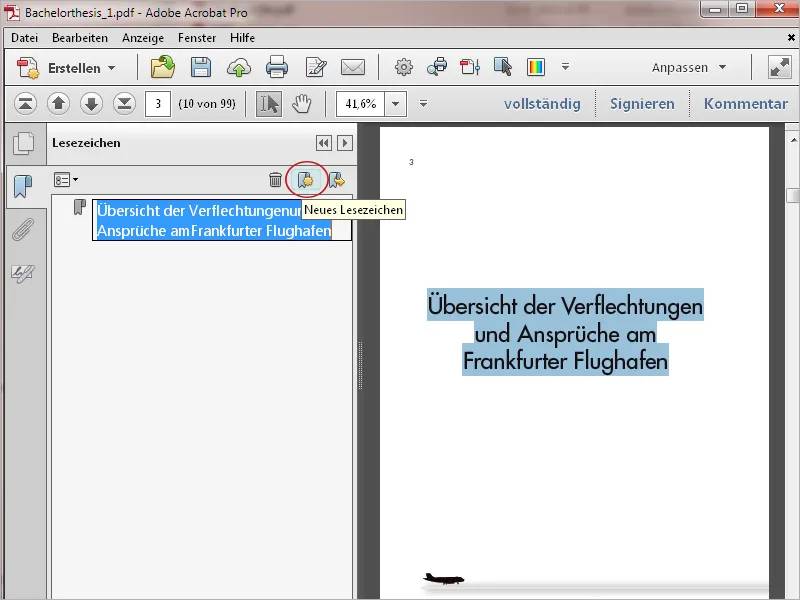
- Use the selection tool to mark the text of the chapter heading and then click on New bookmark in the navigation window. The selected text is then immediately adopted for the bookmark.
- Do not select anything on the corresponding page and click on New bookmark. Now you have to assign your own name for the bookmark.
To create a hierarchy, first create a bookmark for a subordinate chapter and then drag it to the top of the parent section by holding down the left mouse button. Acrobat then displays the nesting graphically and thus logically.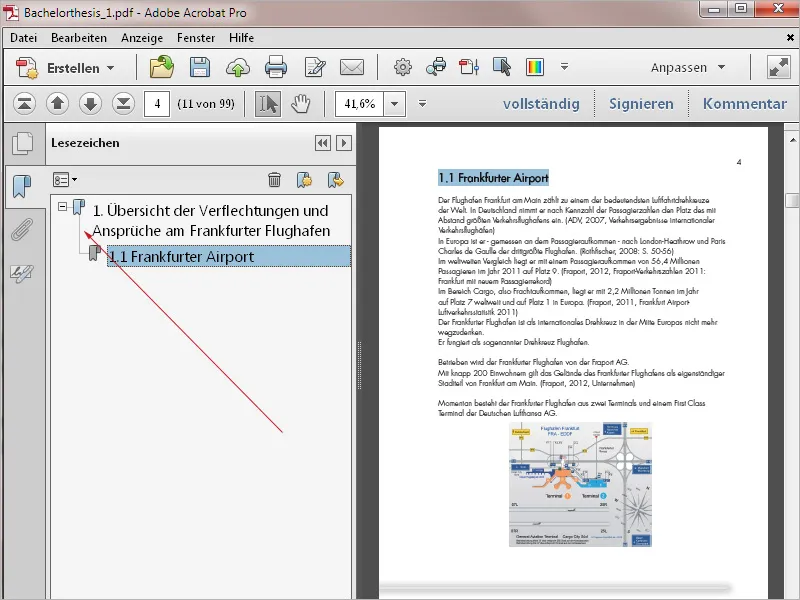
You can rename the bookmarks or edit the spelling using the context menu of the right mouse button. You can also easily delete a bookmark that is no longer needed by clicking on the small recycle bin.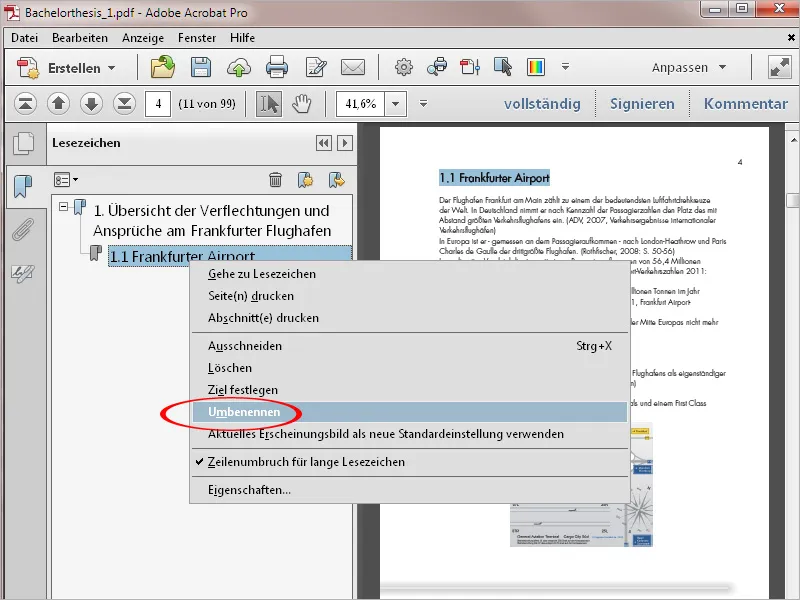
Another interesting option is to enrich a PDF file with document-relevant attachments. These are displayed via the navigation button Attachments: Show file attachments. Further attachments can also be added or removed here. The attachments are independent files, but are embedded in the PDF document. When this PDF document is forwarded, the attachments are also included.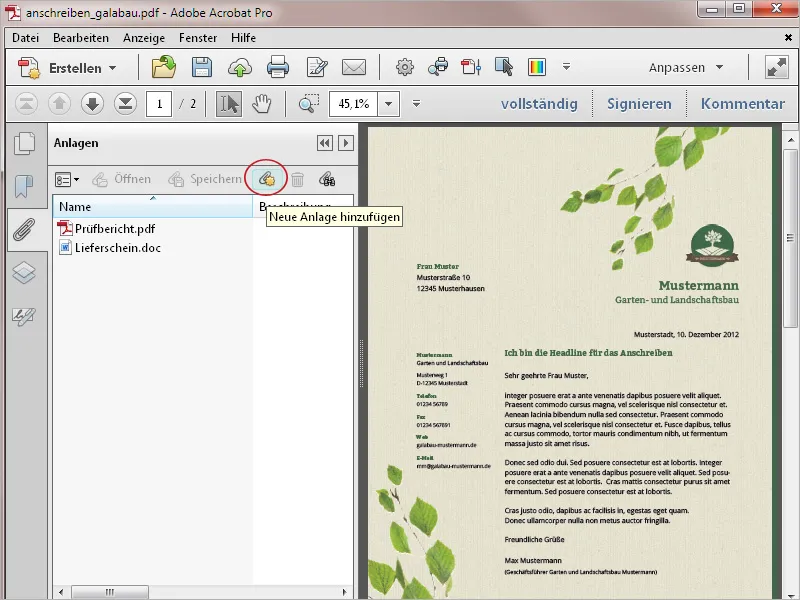
The Layers navigation button is an equally interesting option. Layers created in the document are displayed here and can be shown or hidden as required. An example of this is a letterhead that contains a layer with layout elements that have already been printed on paper in offset printing and another for the pure text.
Both layers remain visible for forwarding as a screen document.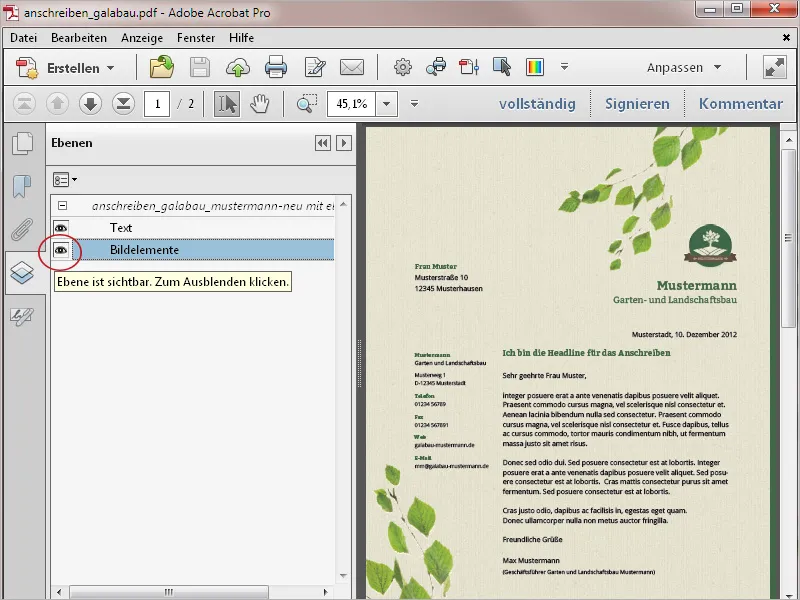
For printing on the stationery in the Office printer ...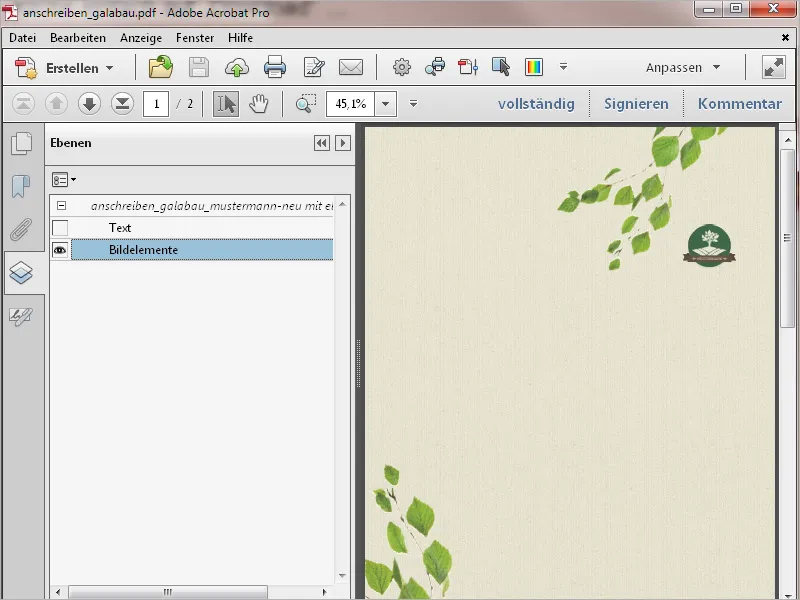
... you then only show the text layer.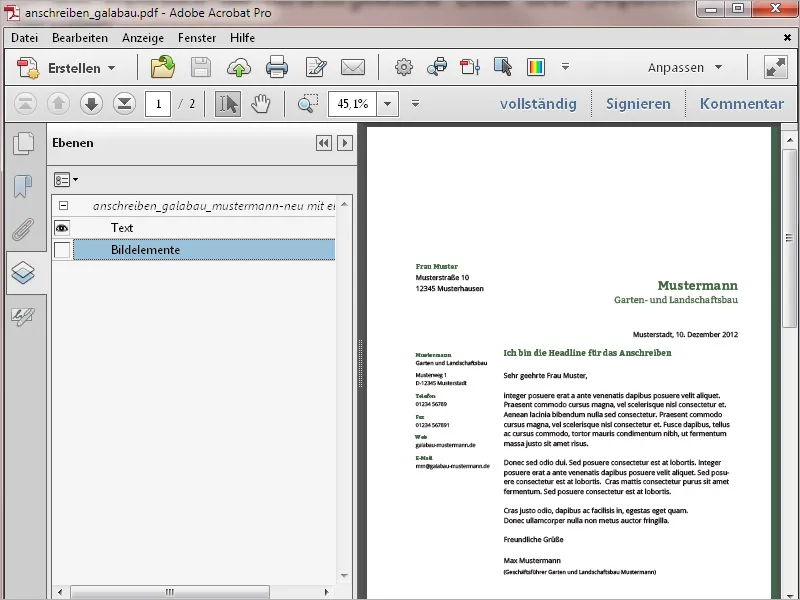
This makes it very easy and convenient to adapt a single PDF document to different requirements.


