Photoshop is a powerful tool for image editing, and the workspace plays a central role. You will save time and increase your efficiency when you skillfully use the functions of the workspace. In this guide, you will learn how to customize your workspace and optimize your work with various tools in Photoshop.
Key Insights
- You can adjust the background color of your workspace to improve the focus on your image.
- Different modifications for displaying the image allow for targeted editing.
- Strategic keyboard shortcuts make working easier and promote a smooth workflow for your projects.
Step-by-Step Guide
First, let’s look at how to change the background color of your workspace to optimize the contrast with your image. Right-click on the workspace. This will open a menu where you have a palette selection with different shades. Choose one that you prefer – whether it’s a light or dark gray, or maybe even a custom green if that suits your editing better. You can always revert to the default color.
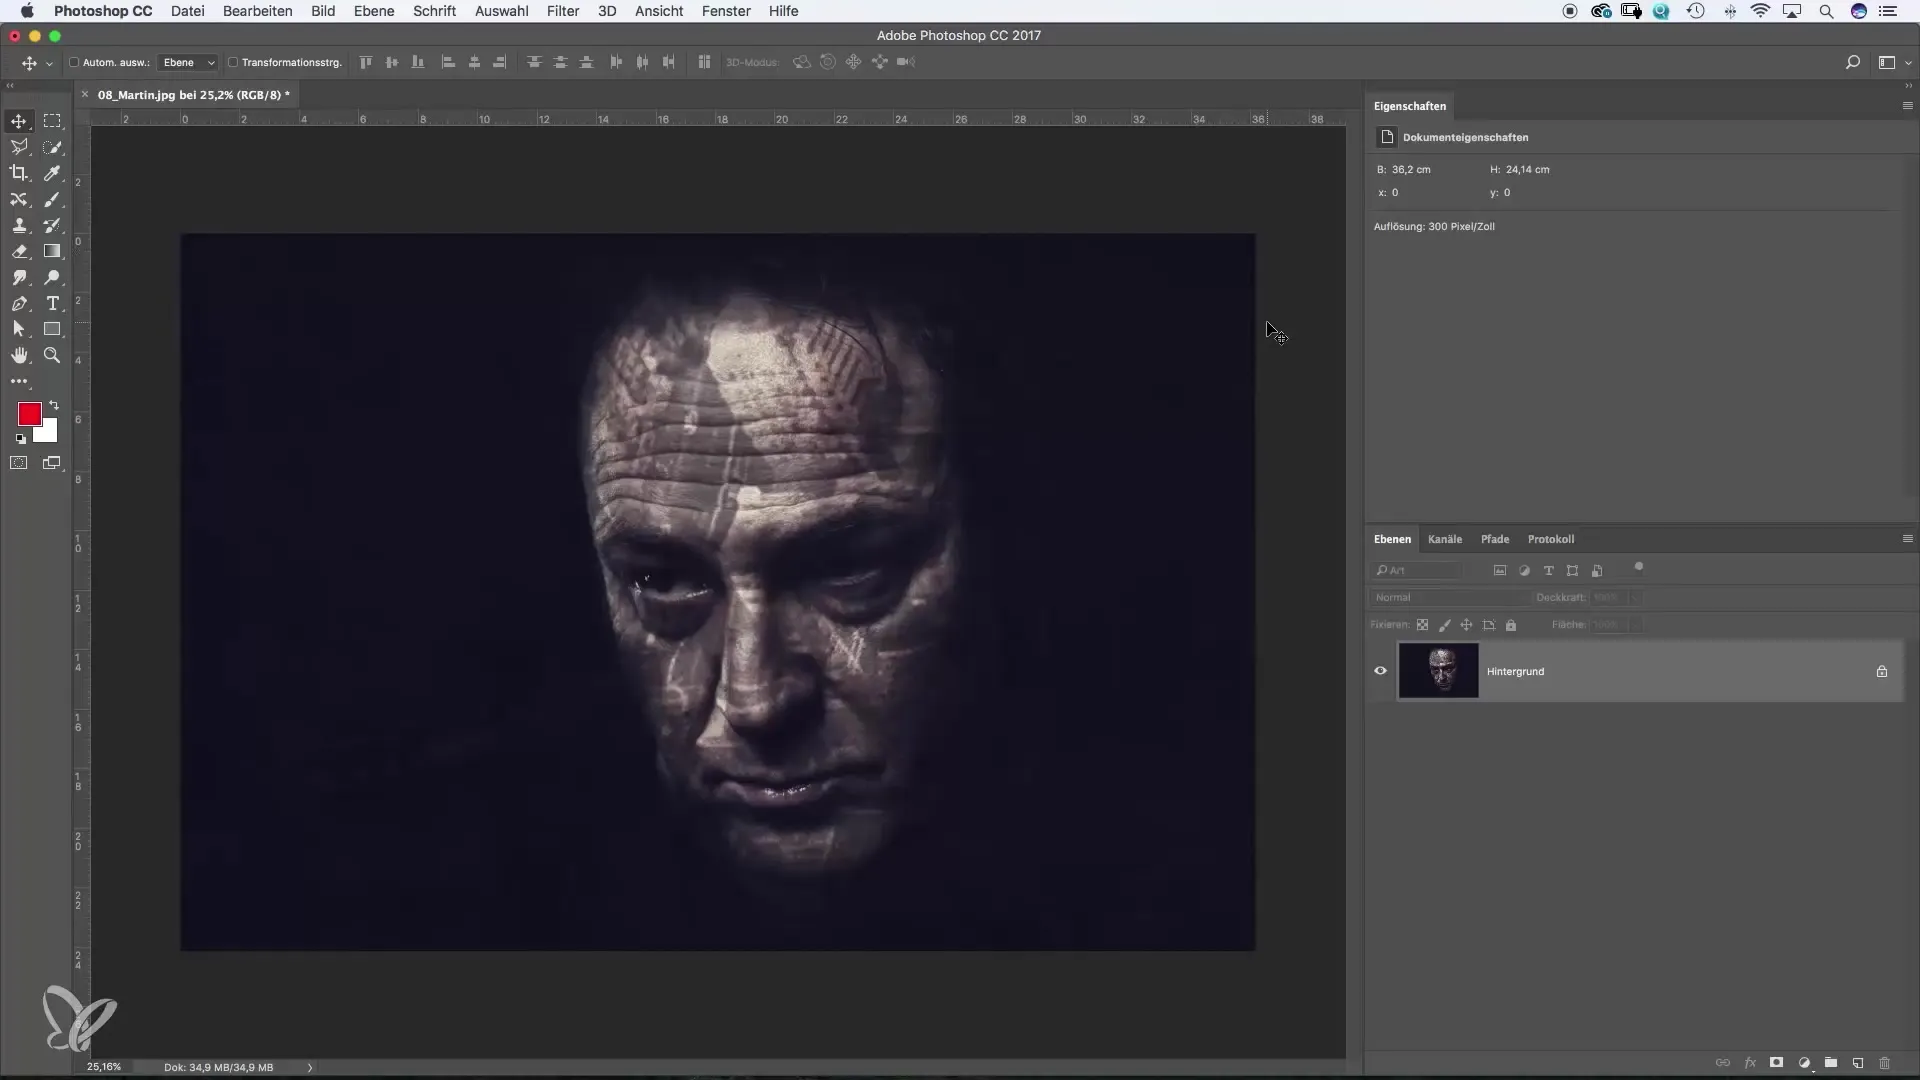
The next important element is moving your image on the workspace. You can use the Hand tool to move the image. When you press the F key, you switch to another display mode that changes the view of the image, allowing you to focus better on the image. When you then click again with the left mouse button on the workspace, you can move the image.
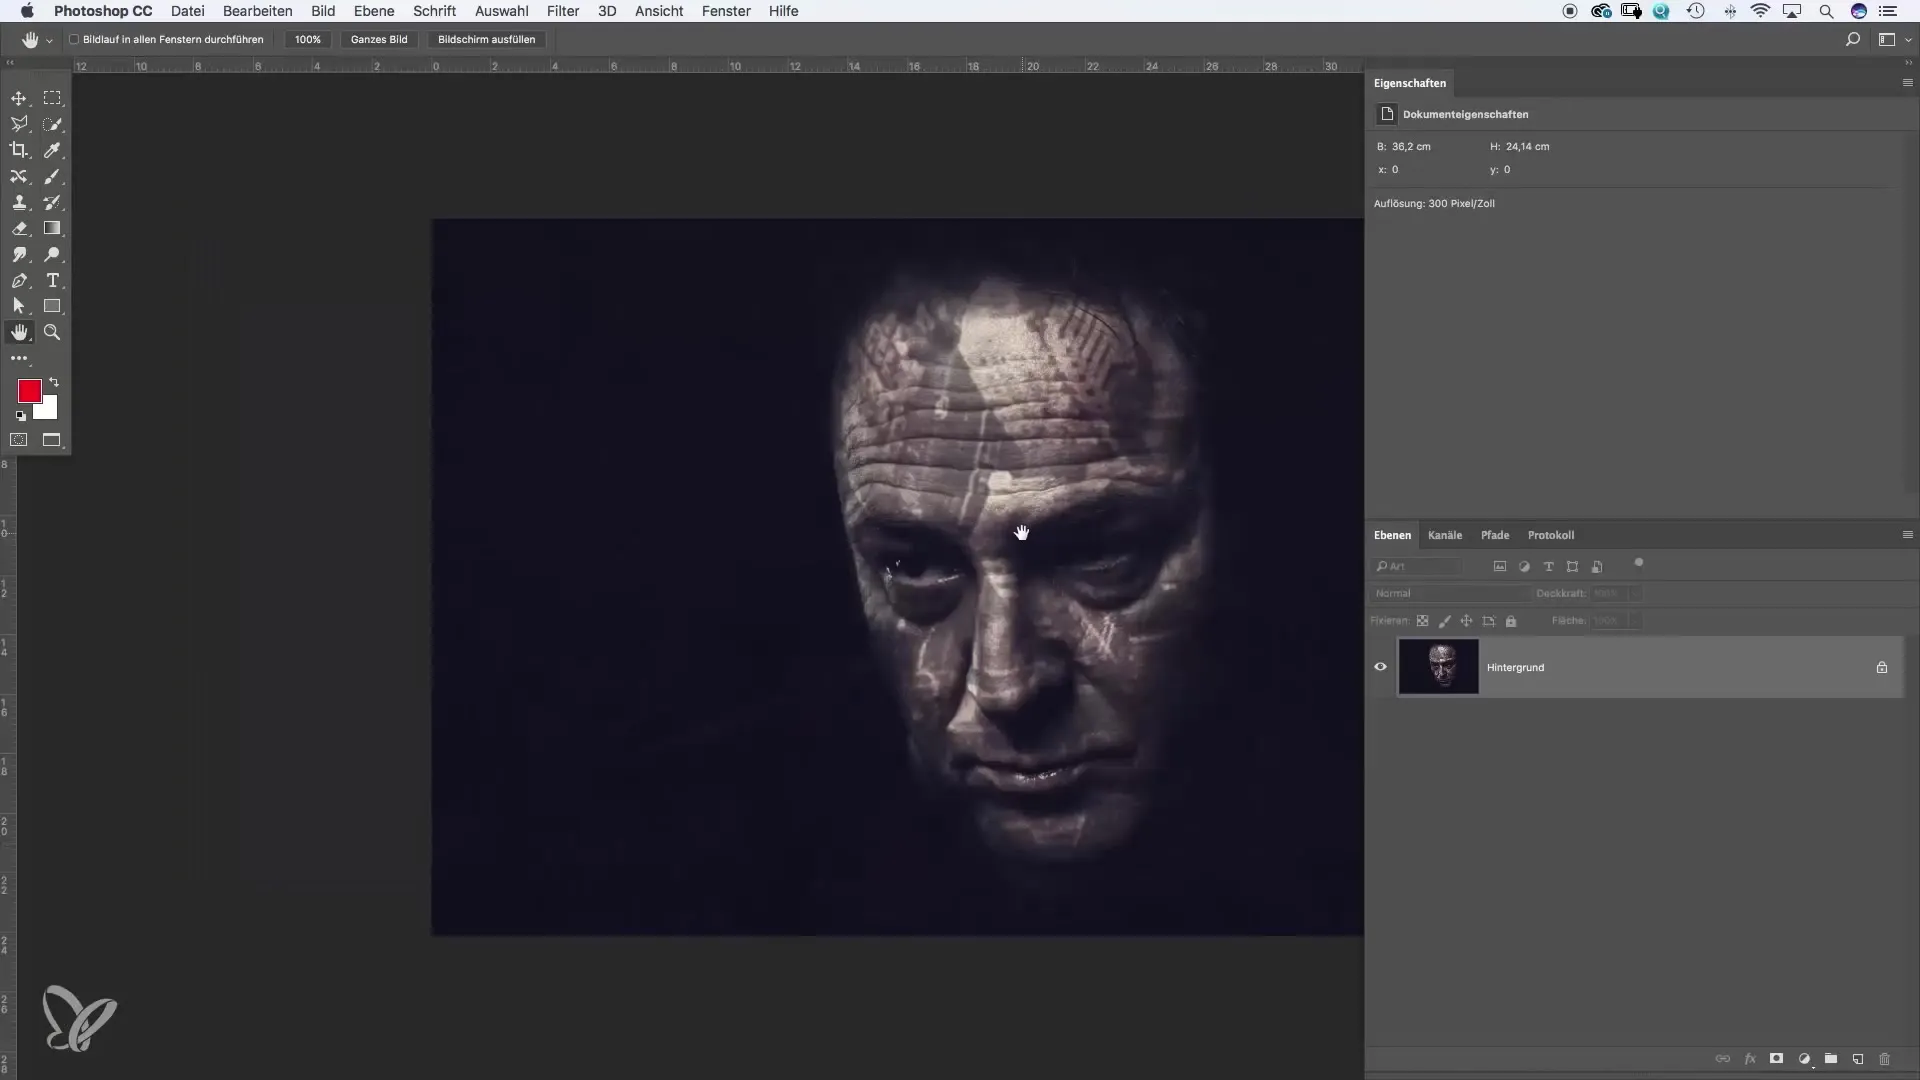
A crucial advantage is the ability to hide everything else when needed and focus solely on the image. Press the F key again to enter full-screen mode. All menus and tools disappear so that you can concentrate fully on the image. To restore the default mode, press the F key again.
If you are working with a brush tool and want to move the workspace, you can quickly access the Hand tool: Just hold down the space bar. This allows you to move the image while still working with your current tool without constantly switching between tools.
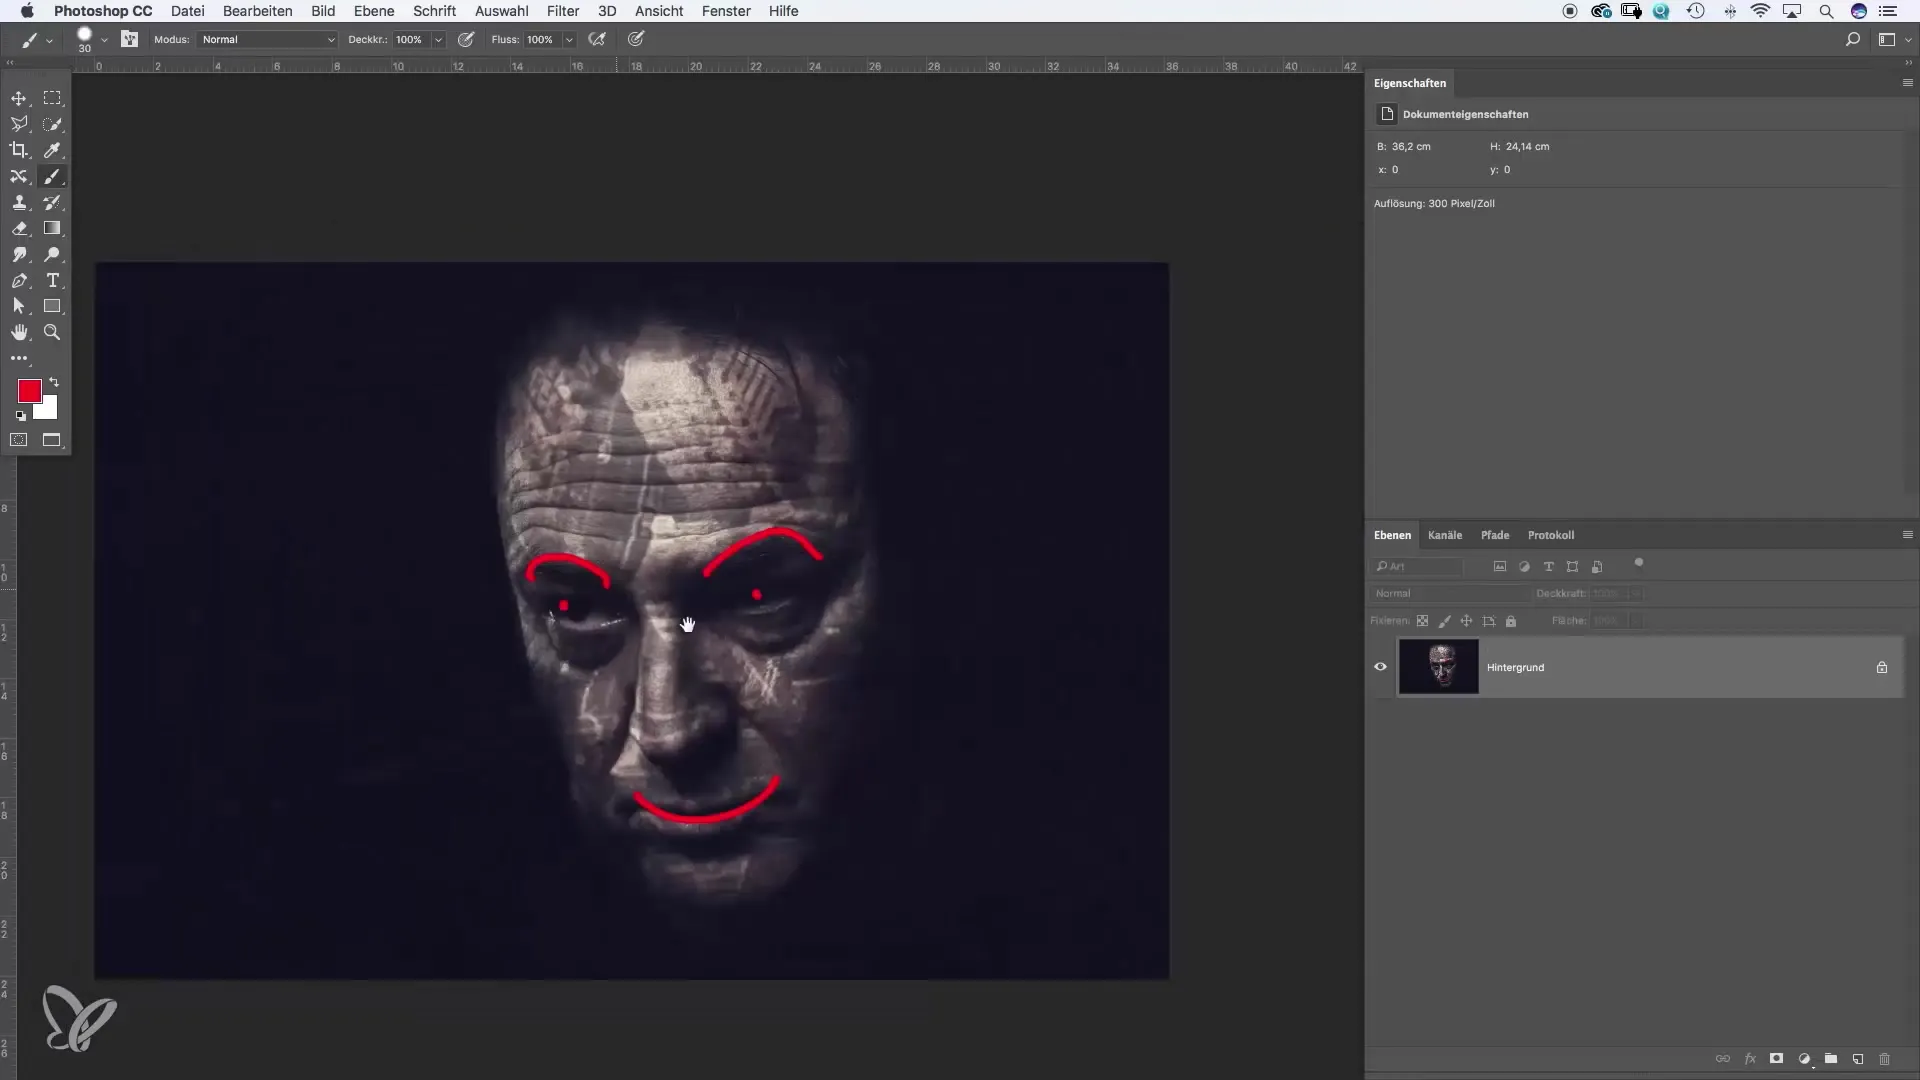
To enlarge an image, you can double-click on the Hand tool. This scales the image to fit the entire workspace. There is also a zoom tool that allows you to zoom in and out as needed. You can activate the zoom tool by holding down the Alt key and clicking on the workspace to zoom out.
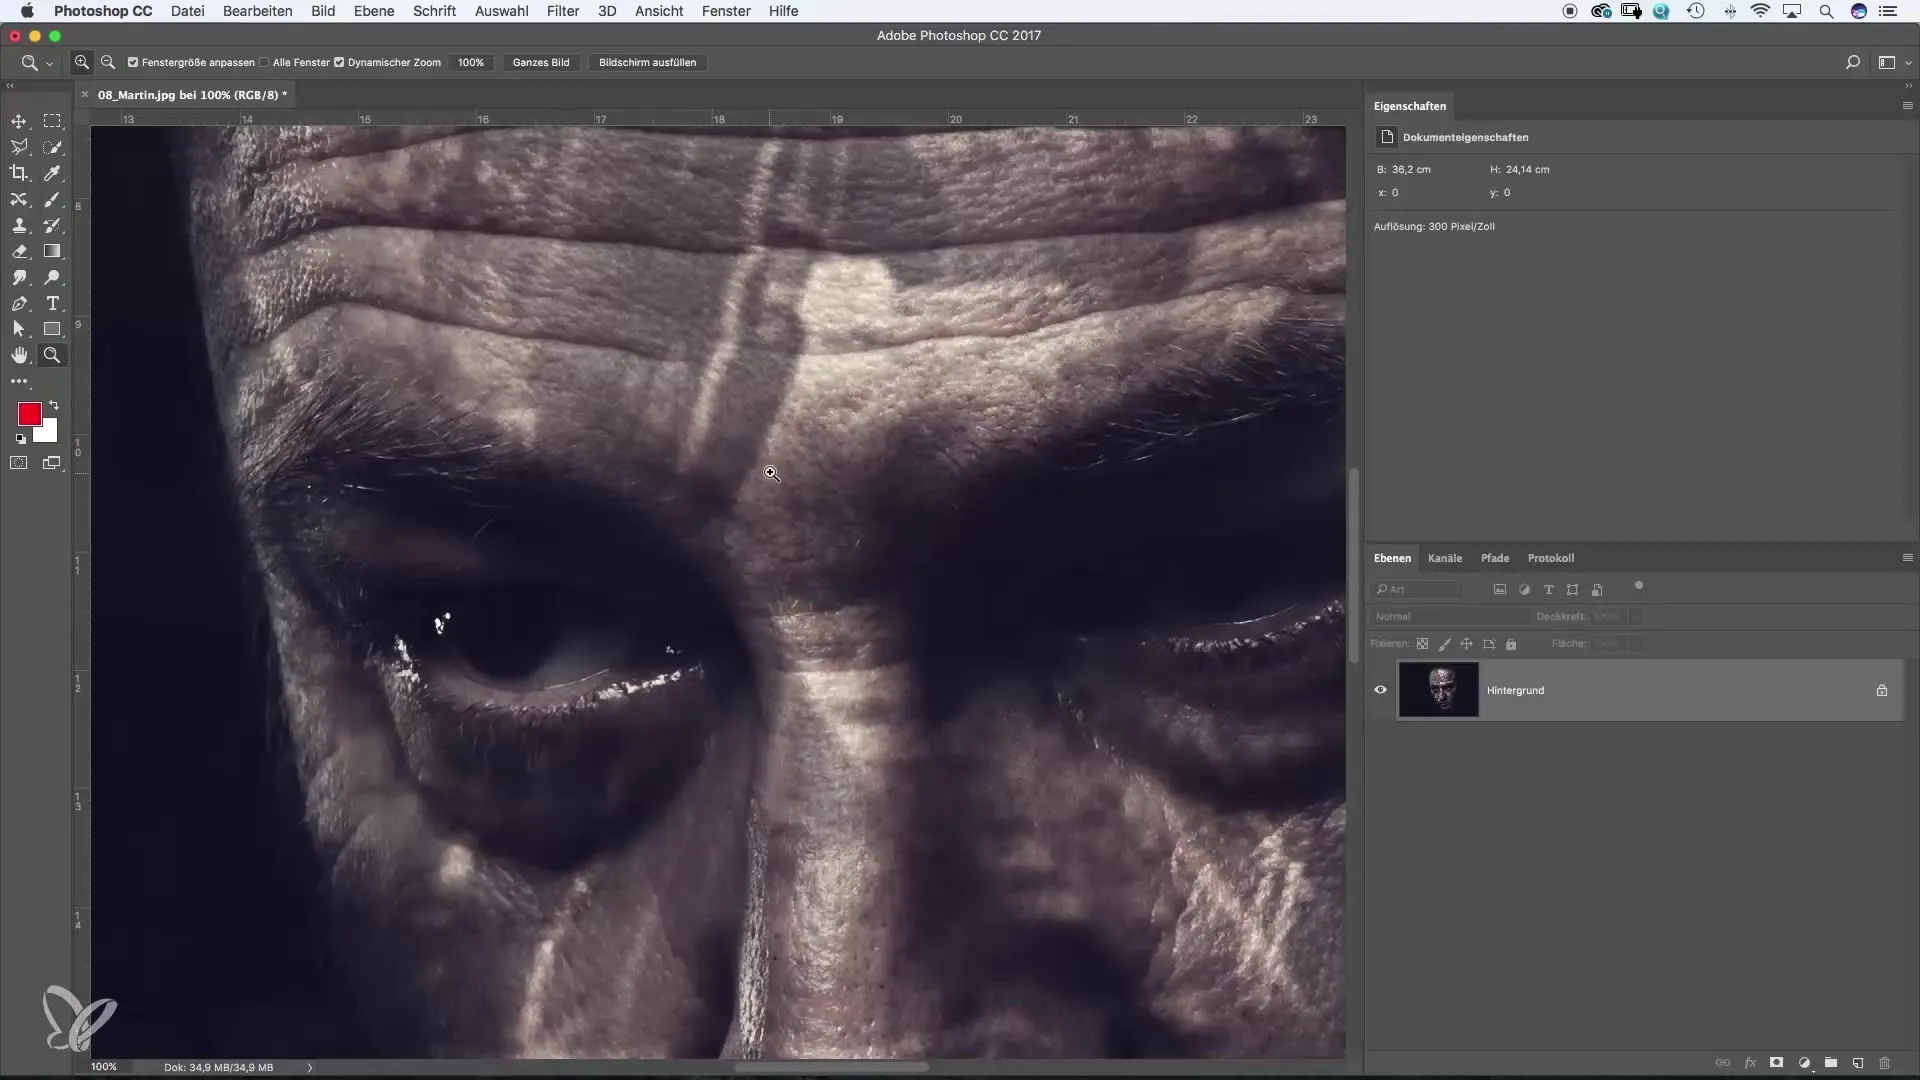
A useful feature while zooming is the dynamic zoom. You can click and hold the mouse button to drag in the direction you want to zoom in. This makes it easy to quickly navigate from one detail to the next. If this method doesn’t appeal to you, you can also draw a specific selection to zoom directly into that area.
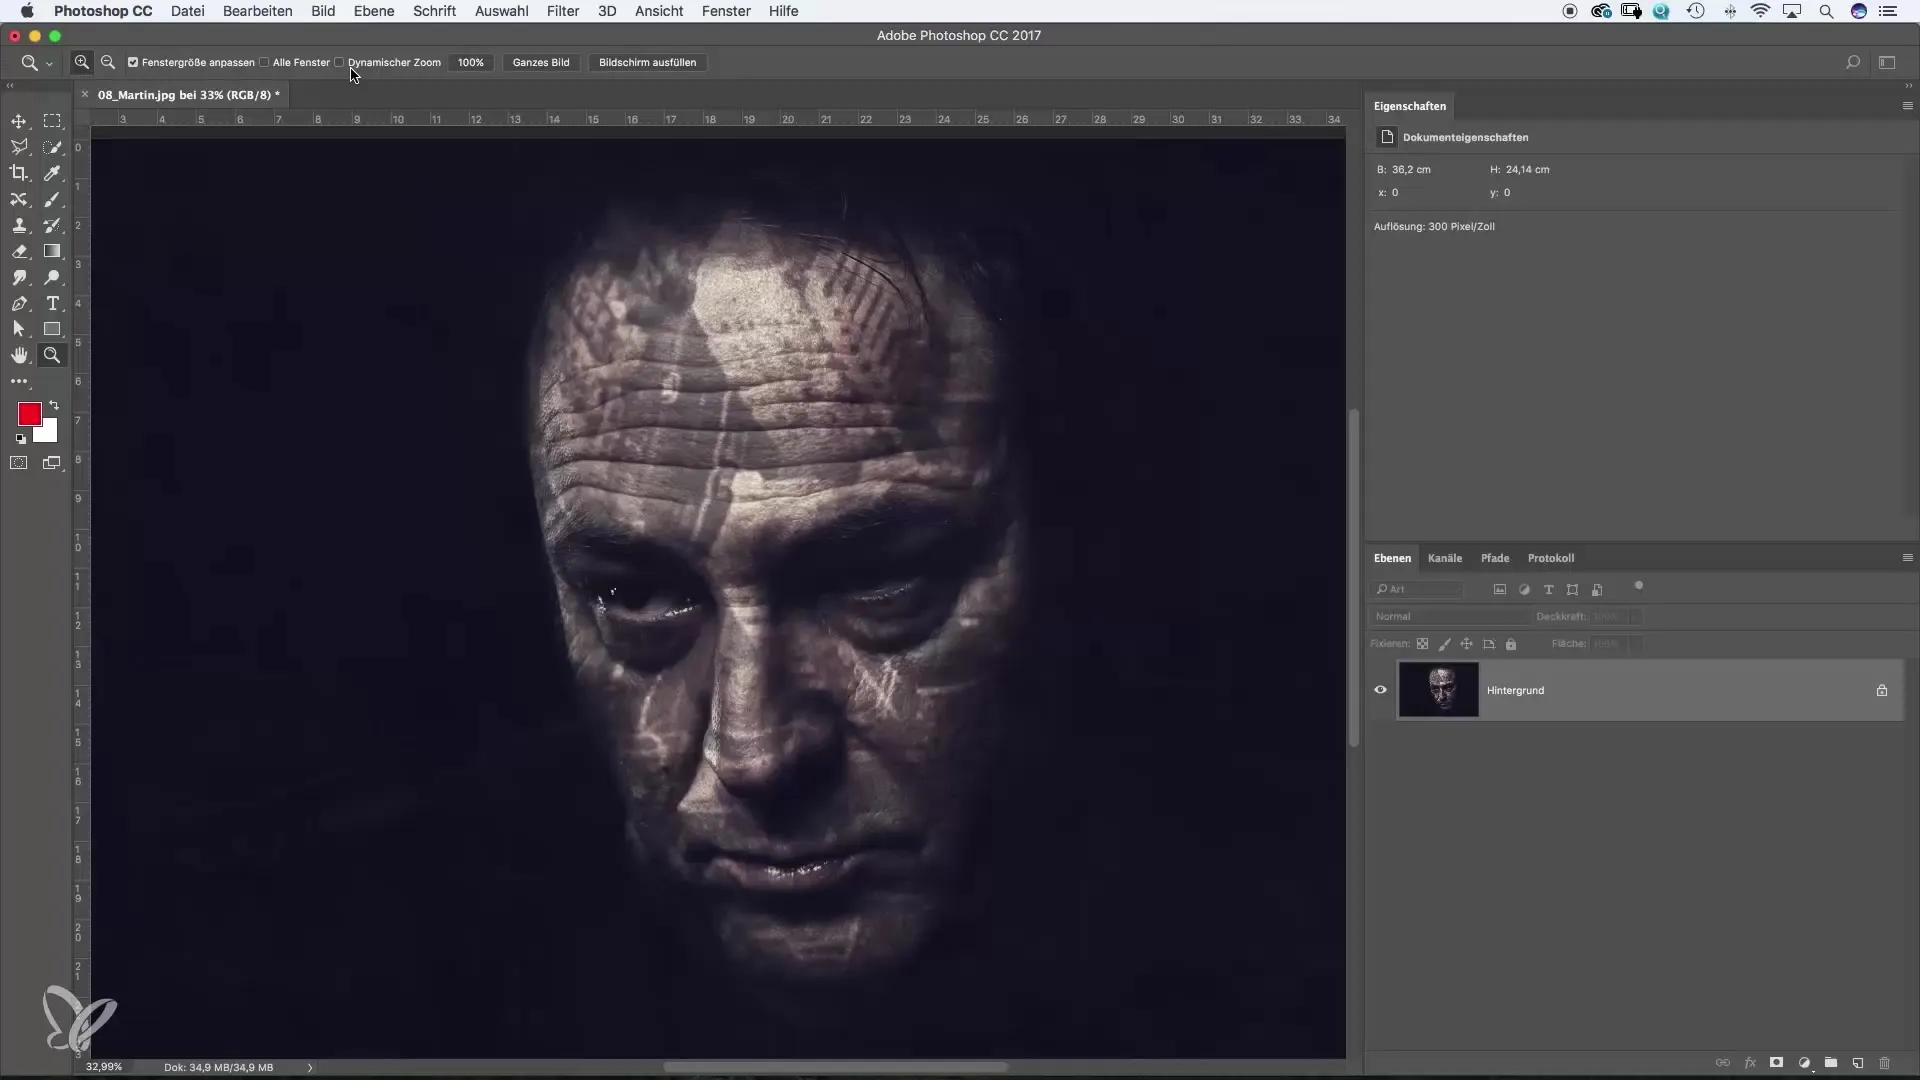
Another often overlooked function is rotating the workspace. By pressing the R key, you can rotate the image to reach difficult spots. The rotation only changes the view, not the image itself, allowing you to work at all angles without altering the actual content of the image.
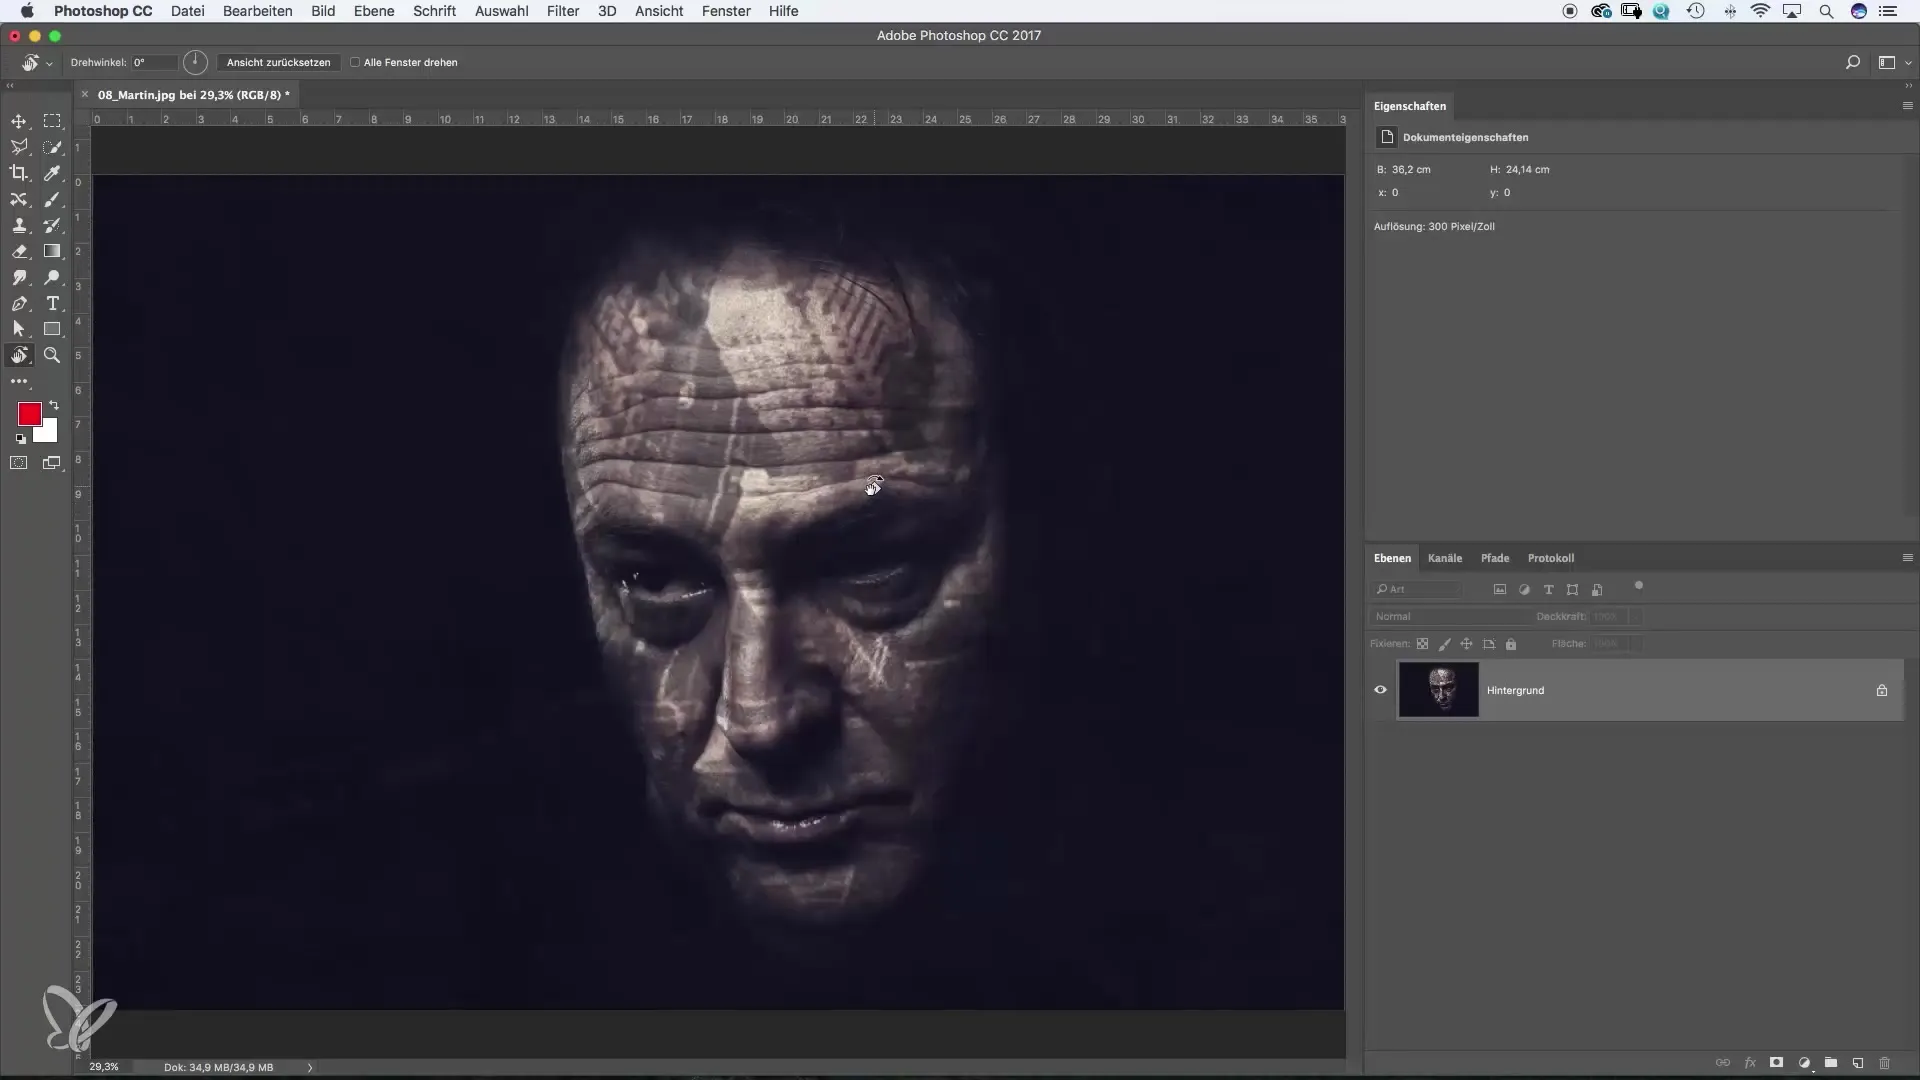
These tips for navigation and the customization options on the workspace will greatly help you when working intensively with image editing. It’s advisable to practice these functions regularly so they are readily available to you in targeted situations. With these skills, you will be able to significantly improve your control over your projects.
Summary – Tips for Effectively Using the Photoshop Workspace
The points mentioned above provide the foundation for efficiently utilizing the Photoshop workspace. You can customize the display and use various tools to fully express your creativity. Experiment with the settings and find out which combinations work best for your working style.
Frequently Asked Questions
How do I change the background color of the workspace?Right-click on the workspace and select a color from the menu.
How can I move the image on the workspace?Select the Hand tool and click again on the workspace or press the space bar while using another tool.
What does the F key do in Photoshop?The F key toggles between different display modes to optimize the workspace.
How can I zoom in and out in Photoshop?Use the zoom tool or hold down the Alt key to zoom in or out as needed.
Can I rotate the workspace?Yes, press the R key to rotate the image without changing its format.

