Working in Photoshop offers you endless creative possibilities, whether it's creating graphics, making adjustments to images, or developing complex designs. However, the more layers you add, the more cluttered your project becomes. At this point, groups come into play. With groups, you can structure your layers and maintain an overview, even as your project grows. Let's discover how to use groups effectively to bring order to your Photoshop document.
Key Insights
With groups, you can organize layers in Photoshop, keep track of complex projects, and access various design elements flexibly. Using groups correctly will make your work significantly more efficient.
Step-by-Step Guide
Creating a Group
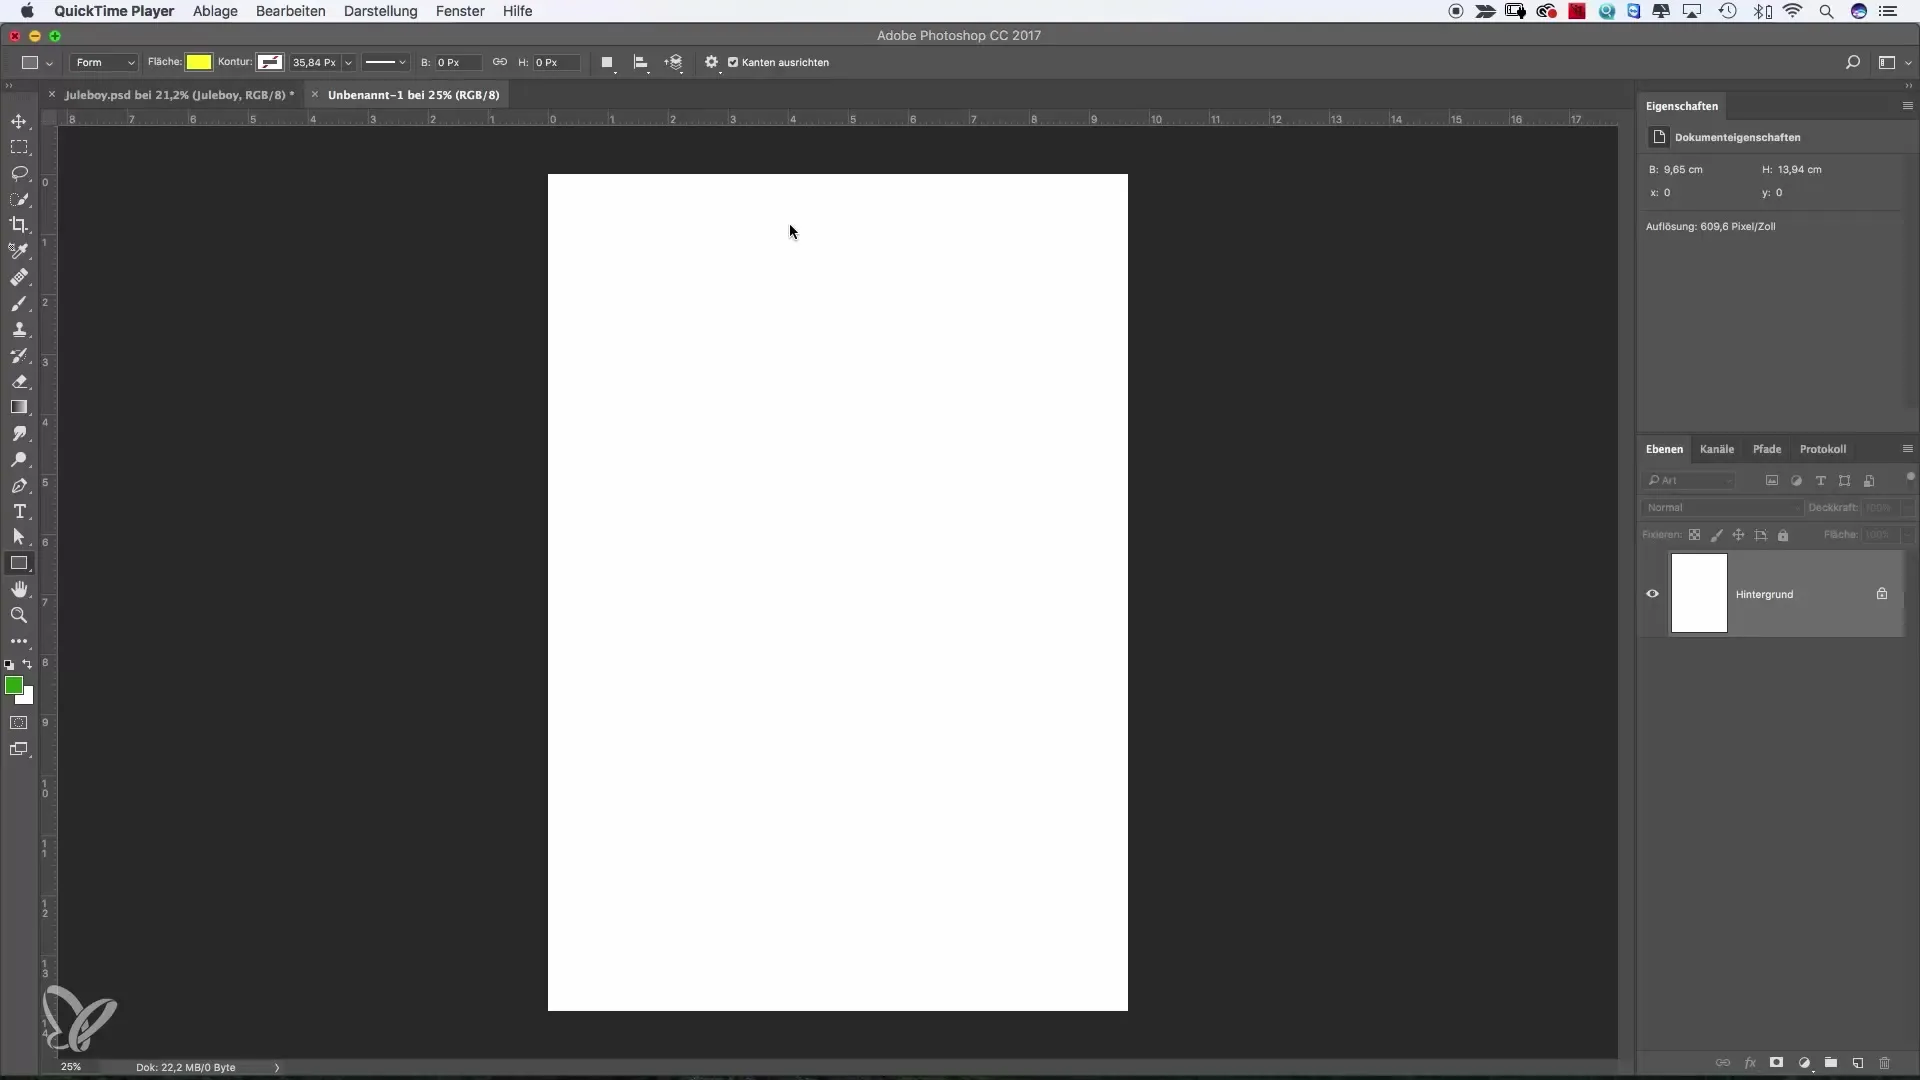
To take advantage of groups in Photoshop, follow these steps. Let's start with a simple example where you design a smiley face. First, draw a circle for the head and create a new layer for the eyes. You need to work carefully to ensure the individual elements are placed correctly.
Once you have the head and the eyes, you can draw a mouth. Make sure the hardness of your brush tips matches the desired effect.
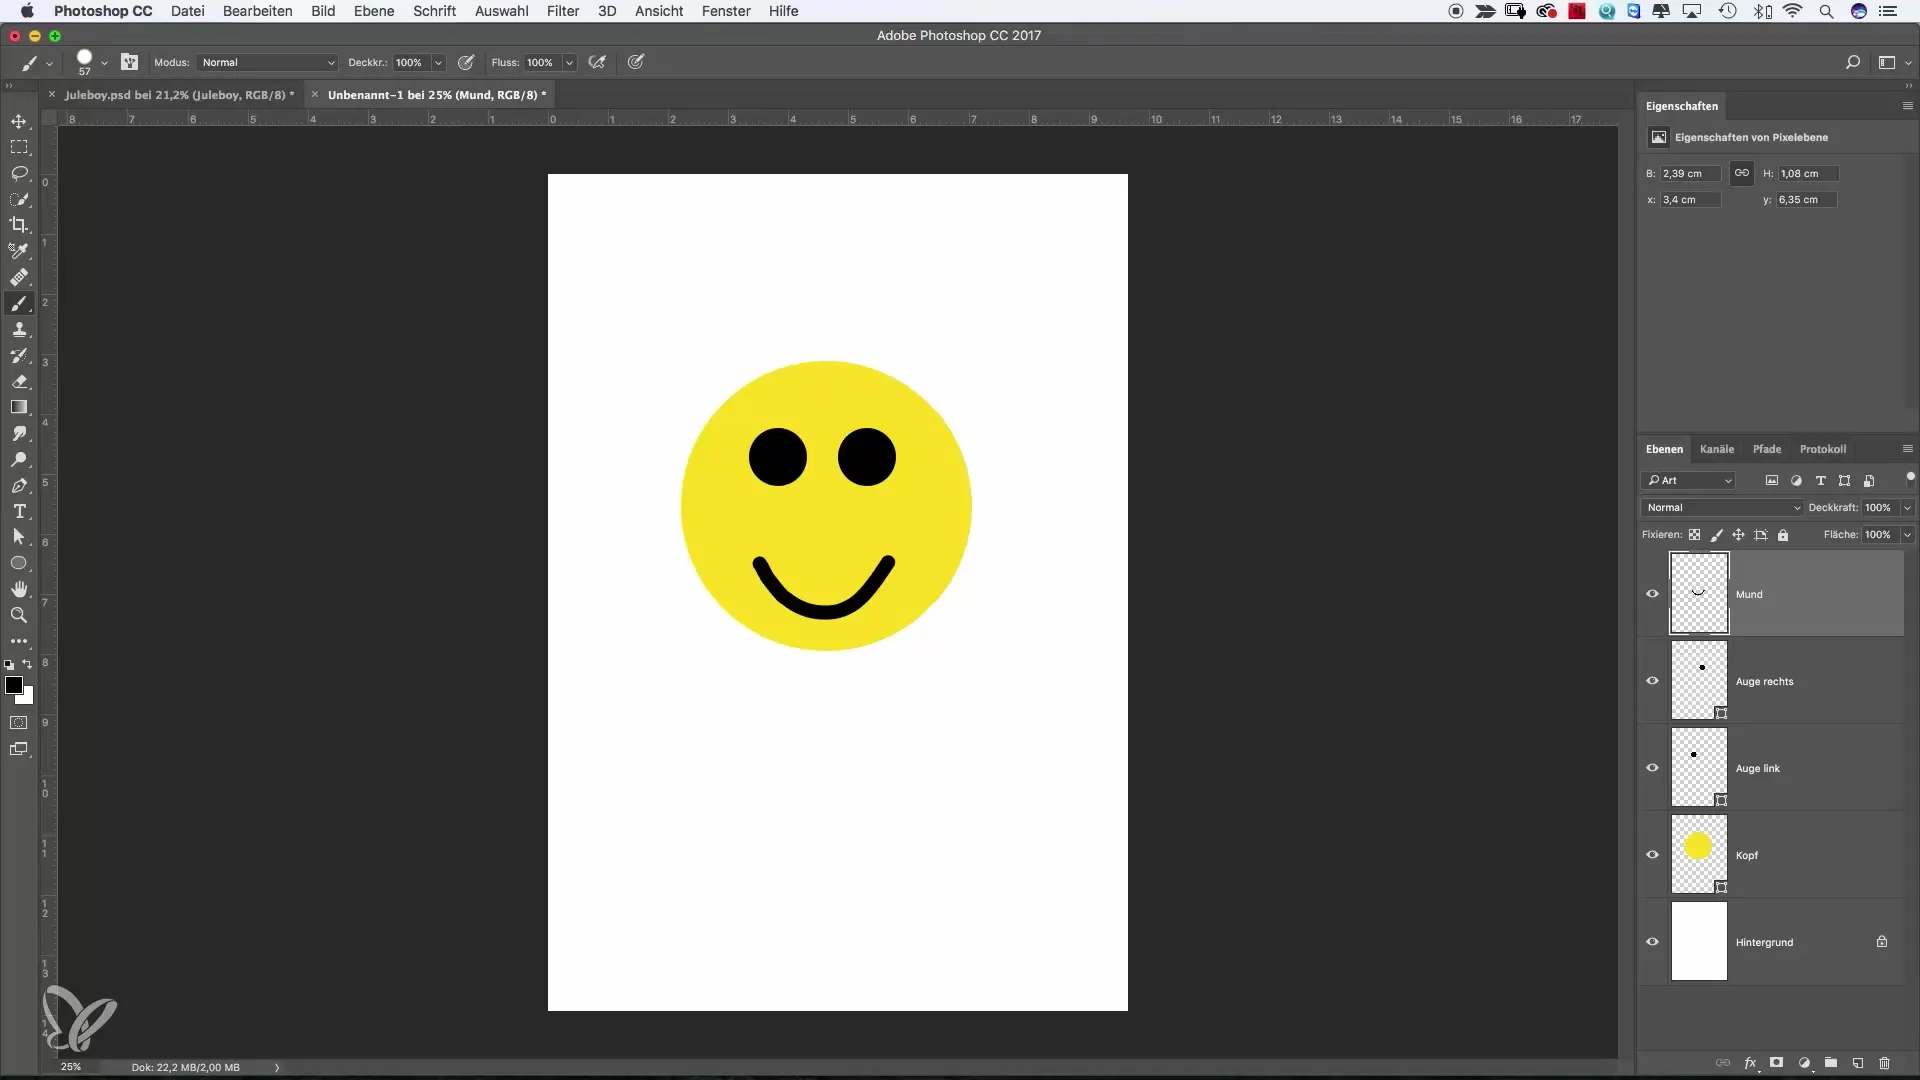
After creating these elements, you will find it difficult to keep track. This is where groups come into play. In Photoshop, there is a simple icon that looks like a folder. It is located in the bottom right corner of your layers panel. When you click on this icon, you can create a new group.
Naming the Group
When you create a group, it starts out empty. However, you can name it to organize your layers. In our case, we name the group "Face," as it is supposed to contain all the elements of the smiley.
Dragging Layers into the Group
Now you can drag the individual layers into the group. Just hold the element you want to add, click on it, and drag it into the group. You will see that the different layers are now combined in the group.
Using the Group
To see how the group works, you can open and close the group. When you close the group, all layers outside remain visible, and only the group stays together. This is helpful because you can maintain an overview at all times.
Hiding Hidden Elements
Another useful feature is the ability to hide the entire group. Click on the eye icon next to the group, and all layers within the group will disappear. When you open the group again, the elements will still be present as usual.
Combining Layers
There is also a quicker way to combine multiple layers into a group. Activate the top layer, hold down the Shift key, and then click on the bottom layer. This way, you have selected all layers. Then drag them onto the group icon. In just a few steps, you have grouped your layers.
Grouping Layers with Right-Click
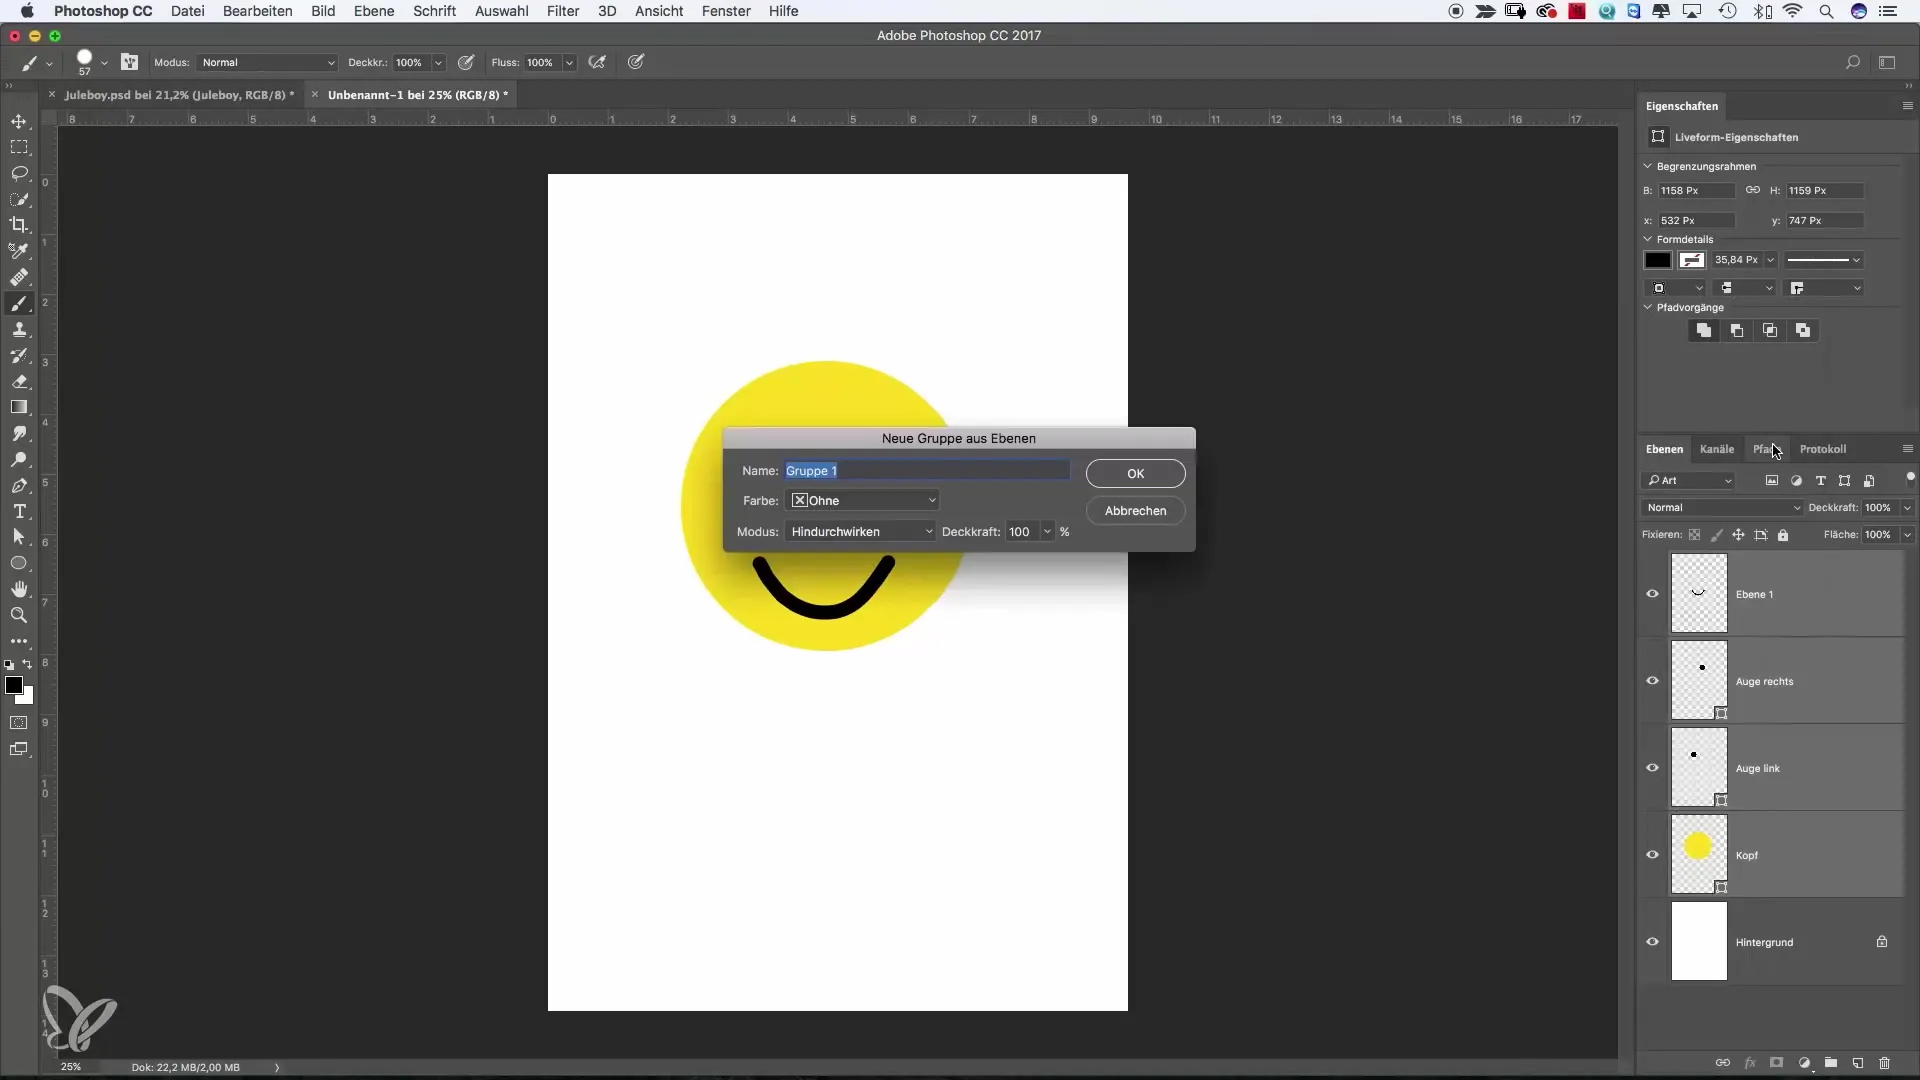
Alternatively, you can also right-click on the selected layers and choose the option "Group from Layers." This is especially convenient if you have already selected all required layers and want to convert them into a new group immediately.
Adding and Naming Colors
Once you create a group, you can even assign it a color to make it immediately recognizable. Name the group appropriately so you can quickly refer to it when editing your project later.
Hierarchy of Groups
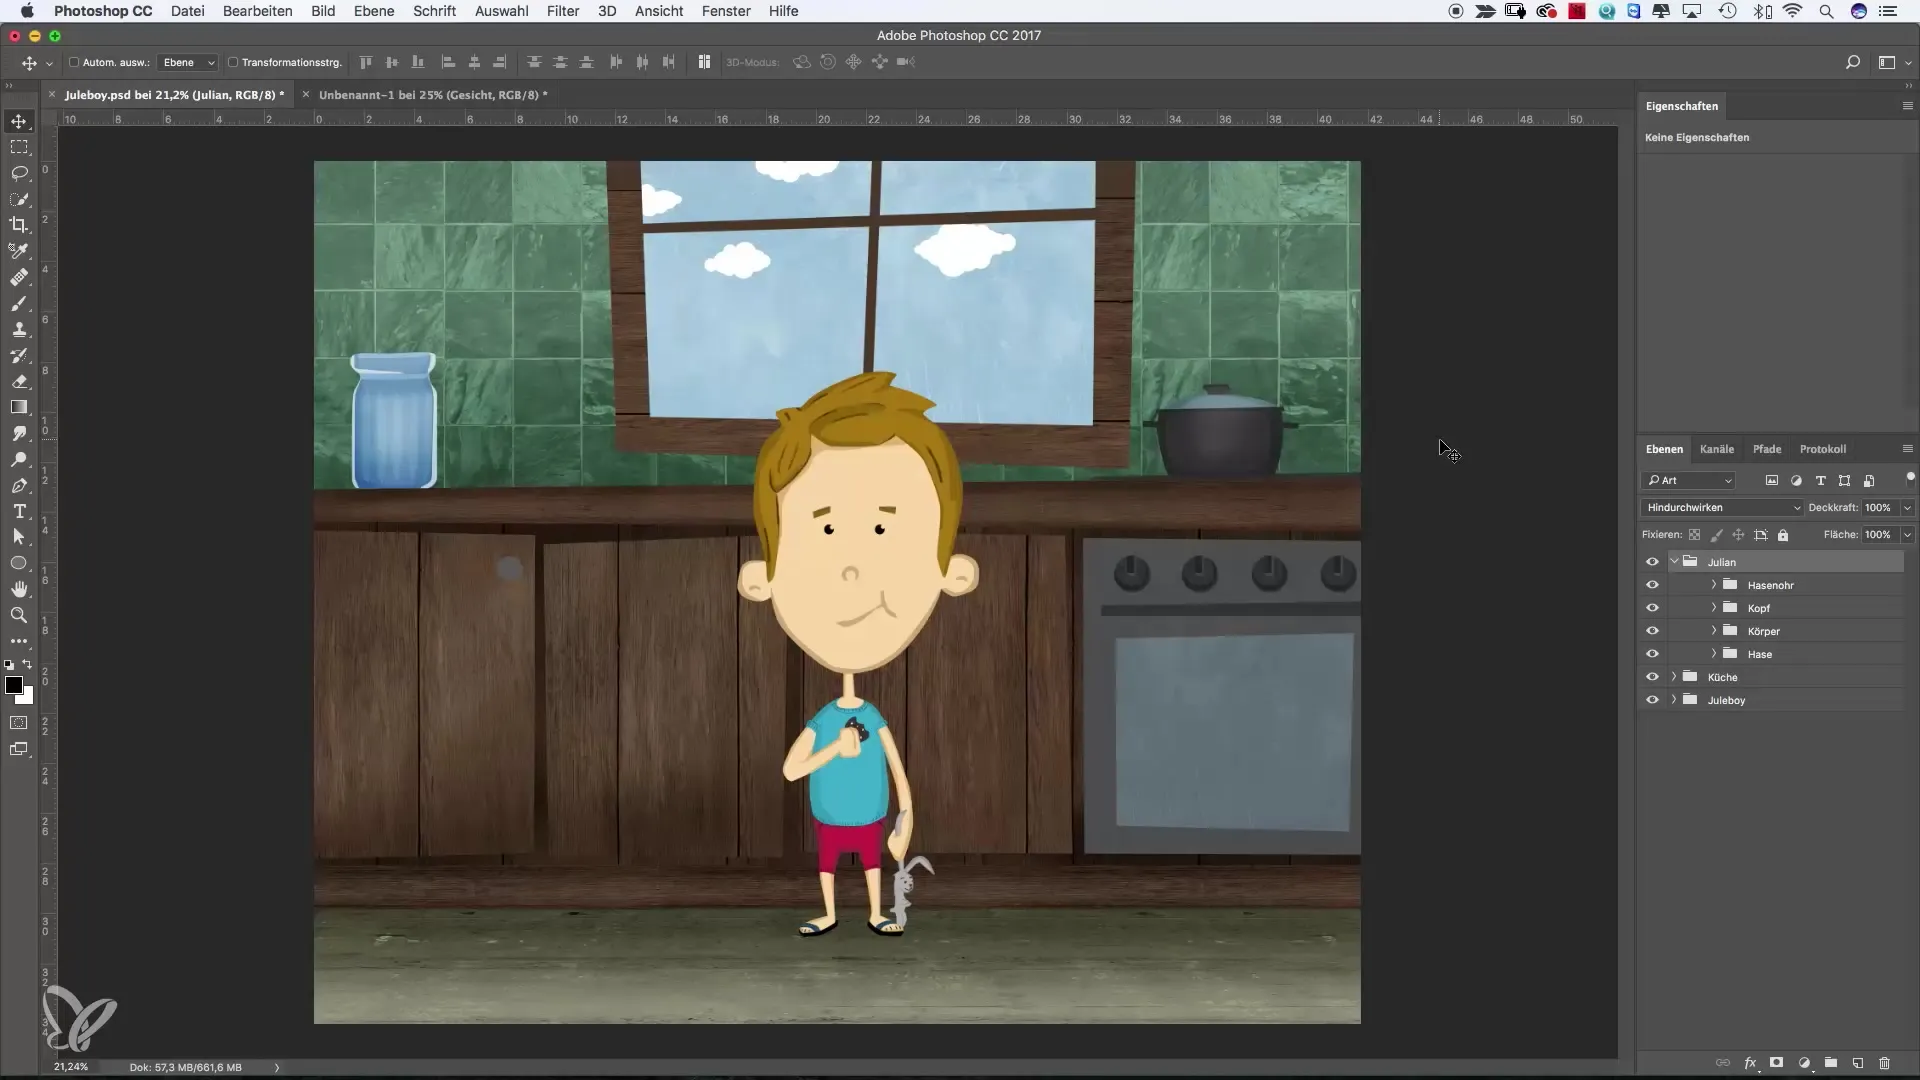
As you work, you might find it useful to have groups within groups. This way, you can further structure your project. It works just like with the main group by dragging more groups into the existing one.
Utilizing Efficient Groups
When creating complex projects with many details, groups not only help with organization but also with the interaction of different components. For example, you can sort entire body parts into groups or keep backgrounds and accents separate.
Using Groups in Your Workflow
The most important thing is to regularly name your groups and not leave them empty. Understand the group system as the digital equivalent of a folder system on your computer. This way, you avoid losing track of your project.
Summary – Efficiently Creating and Using Groups in Photoshop
Using groups in Photoshop can help you maintain an overview with extensive projects and increase the efficiency of your workflow. You have seen various ways to organize layers and how important it is to clearly name each group and possibly use color coding.
Frequently Asked Questions
Why should I use groups in Photoshop?Groups help you keep track and efficiently organize your layers.
How do I create a group in Photoshop?Click on the folder icon in the layers panel and drag your desired layers into this group.
Can I group multiple layers at once?Yes, you can select multiple layers and right-click to choose "Group from Layers."
How can I label groups?You can assign a color to your group and give it a meaningful name for quick identification.
Are groups in Photoshop time-consuming?No, groups usually save you time, as they help you better structure your project.
