The world of image editing offers a variety of tools that help you retouch photos and remove unwanted elements. One of the most effective methods for this is the use of the spot healing brush in Photoshop. This advanced tool allows you to fix errors in images with minimal effort while achieving excellent results. Here you will learn how to properly apply the spot healing brush.
Main insights
- The spot healing brush provides an easy and effective way to remove unwanted objects.
- With just one hand, you can retouch while the other remains free for other tasks.
- Photoshop autonomously searches for suitable source areas and repairs image errors.
Step-by-step guide
1. Select the tool
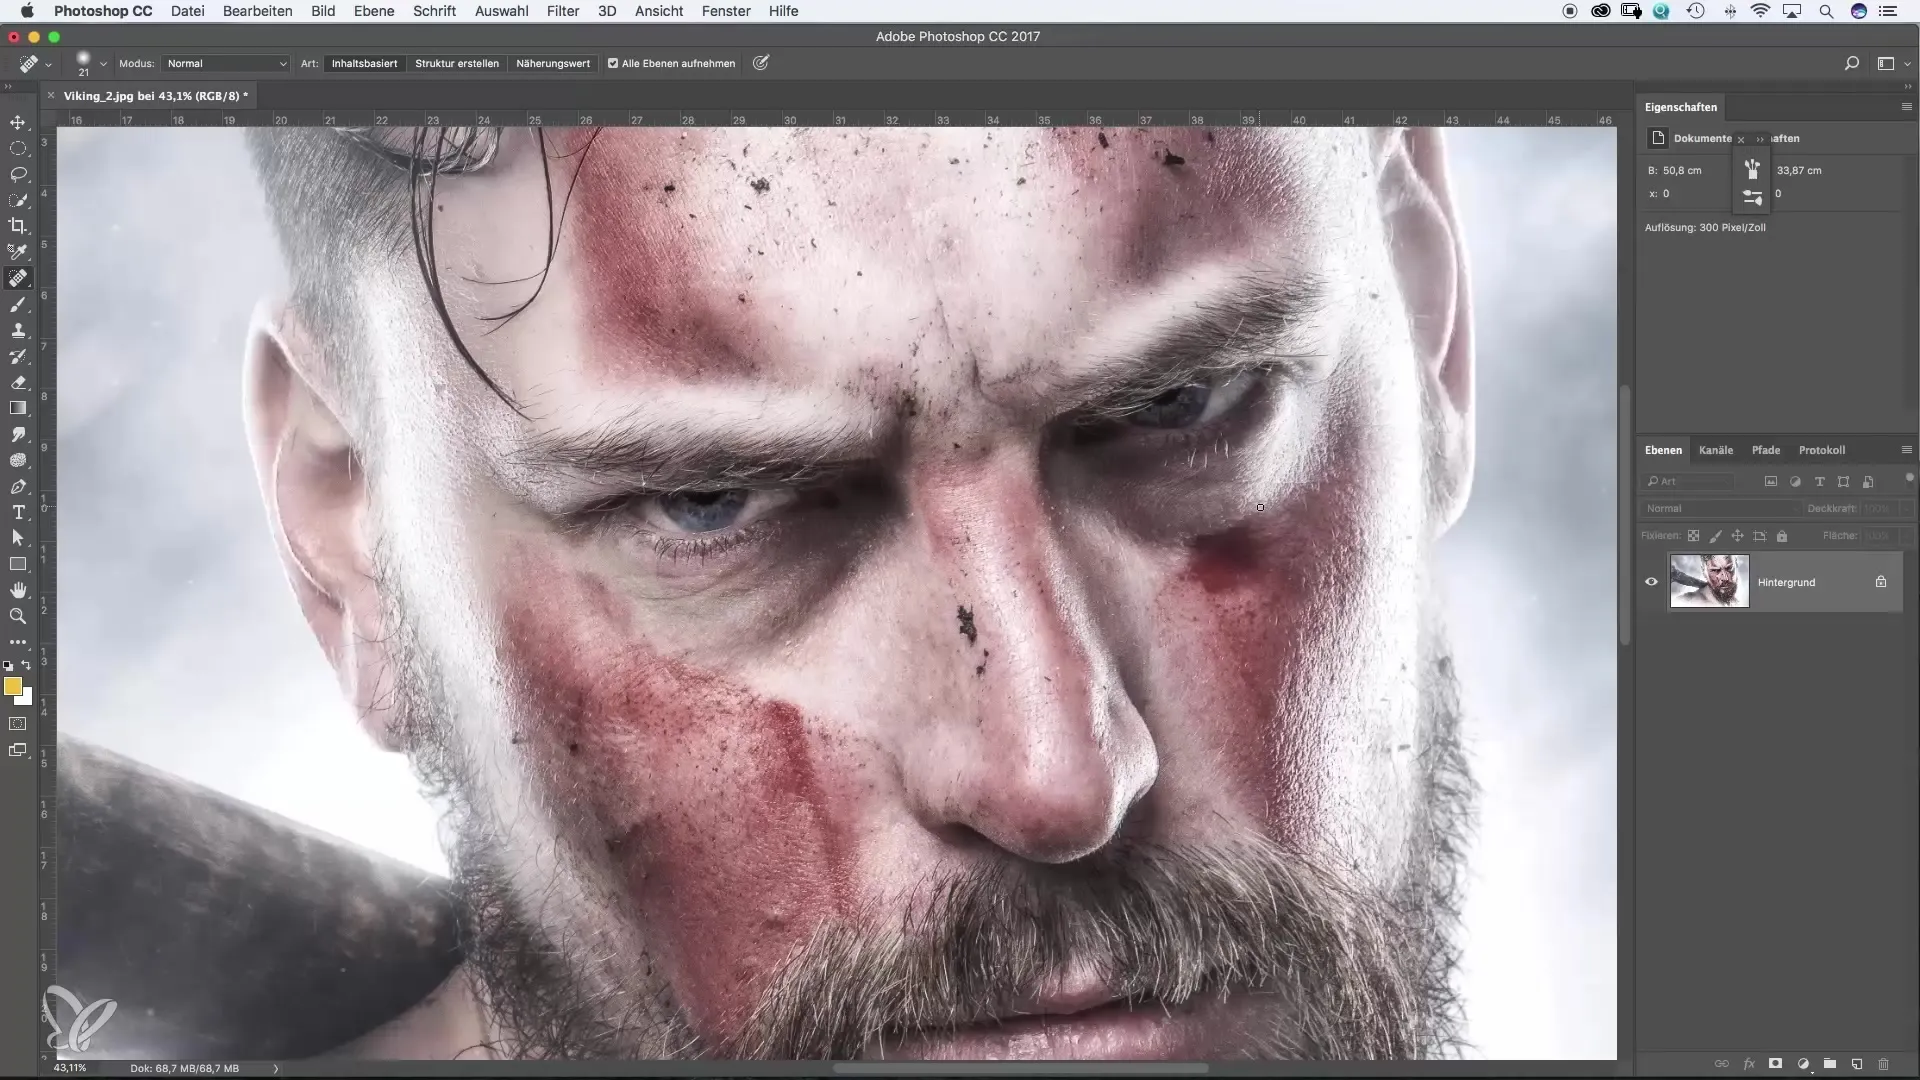
To start, open Photoshop and load the image you want to edit. Look for the spot healing brush in the toolbar. It is ideally suited for removing area distortions or distracting elements directly in the image.
2. Adjust brush size
Before you start retouching, it is helpful to adjust the brush size to the area you are editing. A smaller brush is suitable for fine details, while a larger brush is ideal for bigger areas. You can easily adjust the brush size with the corresponding button.
3. Paint over the errors
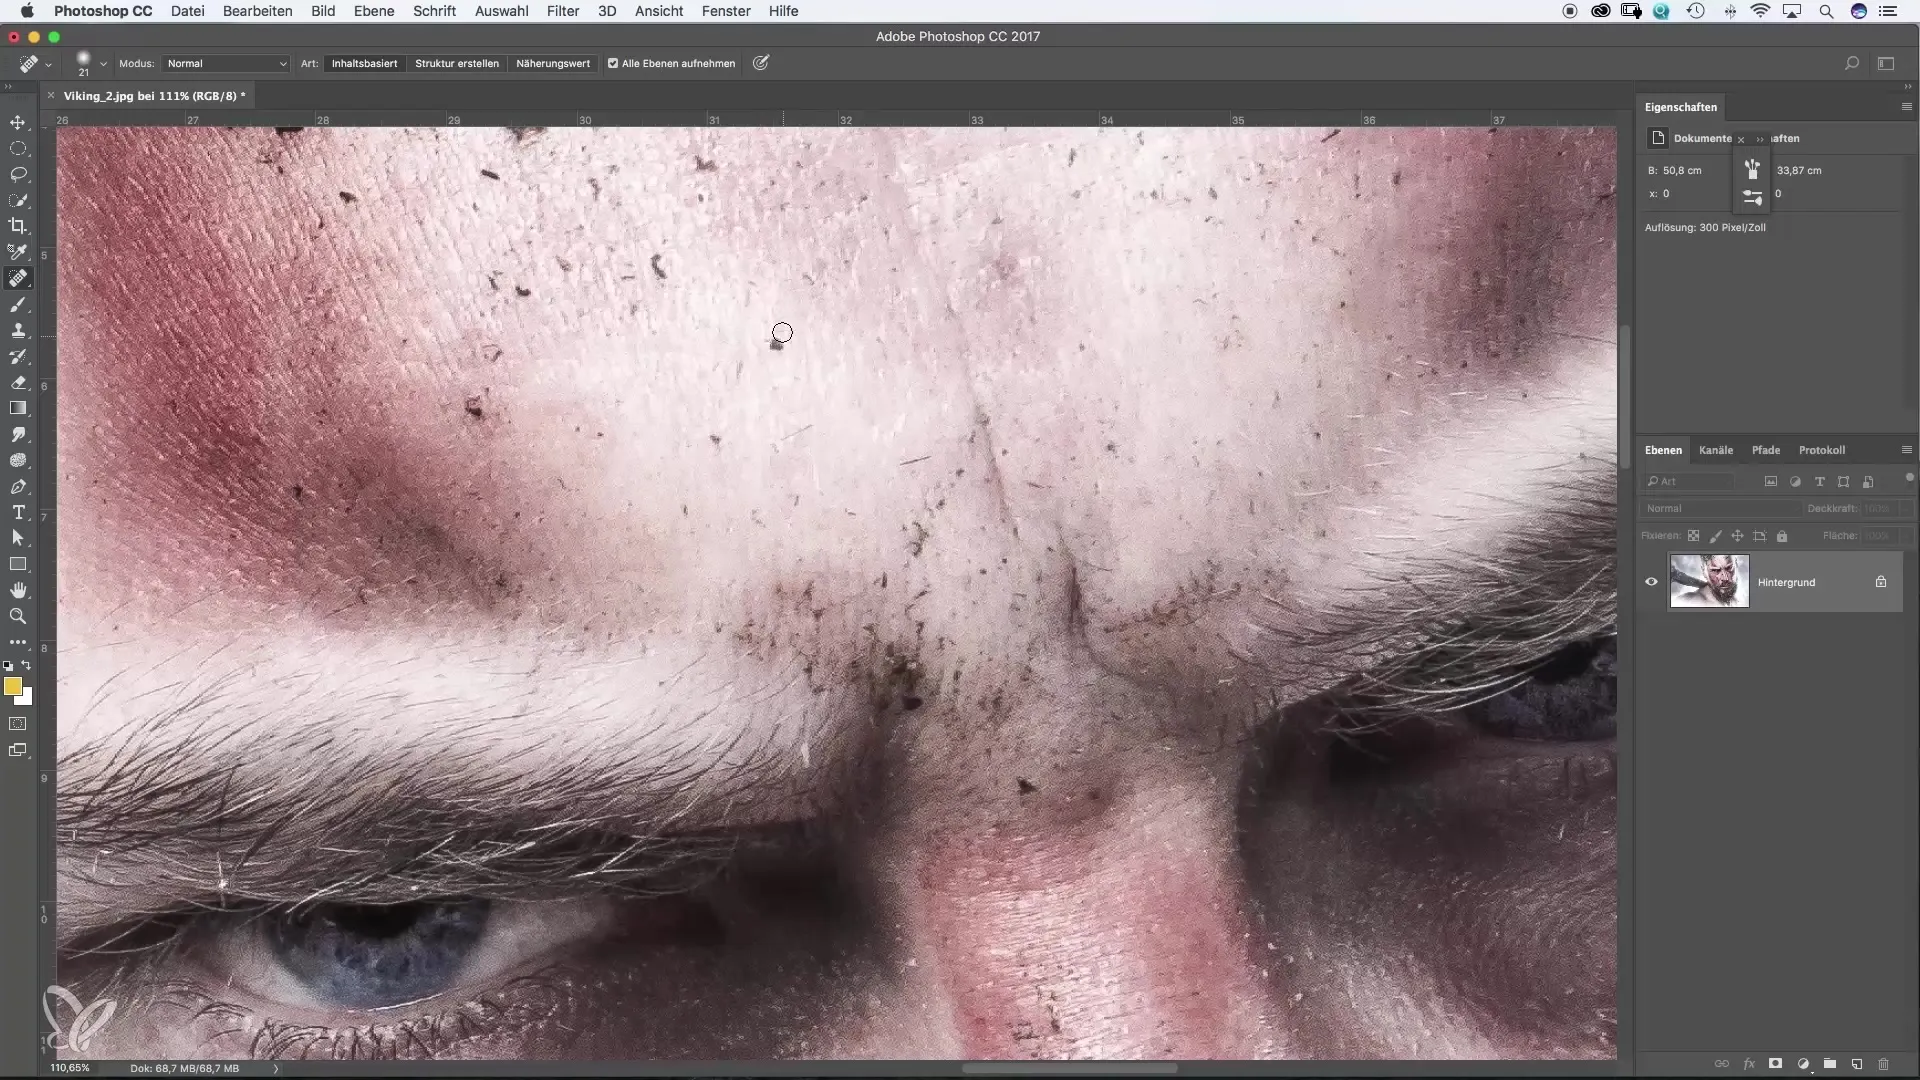
Now it's time to take action. Run the brush over the error areas in your image. The spot healing brush takes over from here, autonomously searching for a suitable source to replace the disturbances.
4. Check results
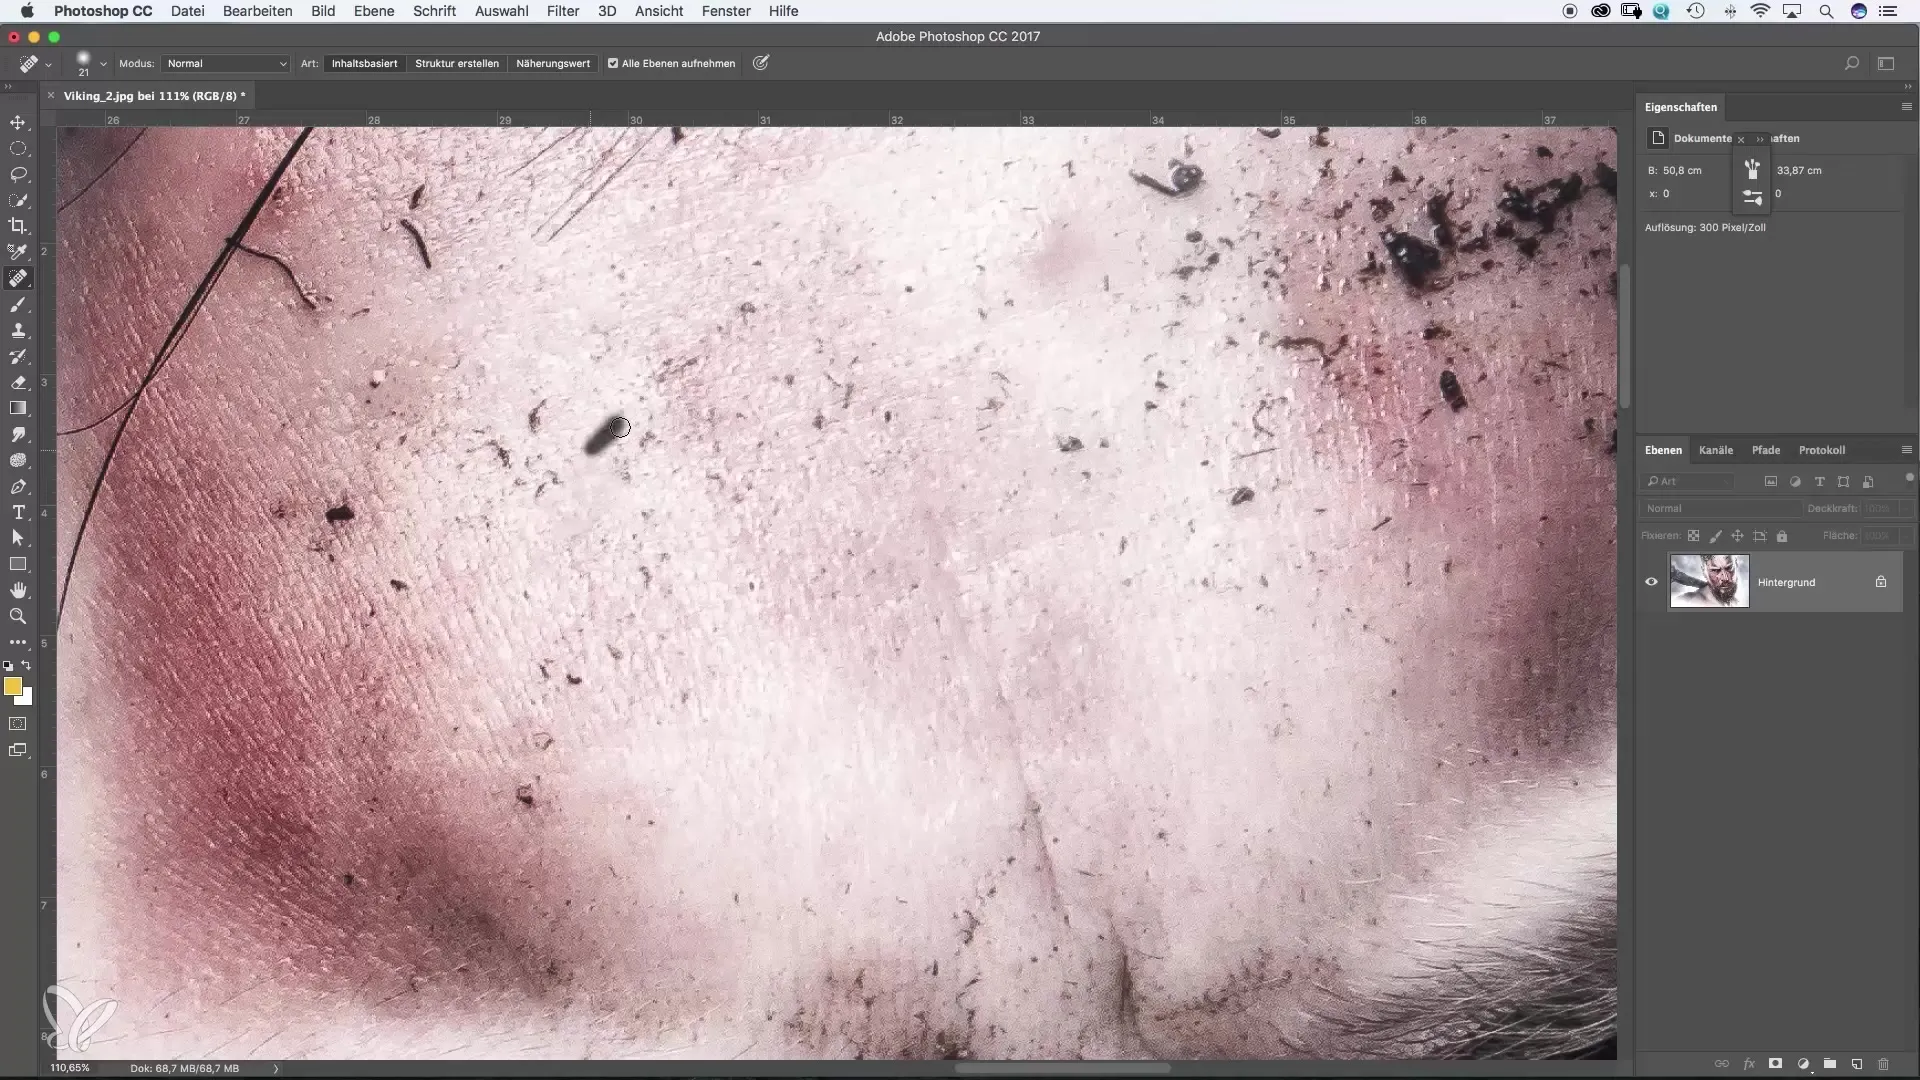
After you have painted over the affected areas, check the result. Often, the changes are immediately visible and the distracting elements are gone. However, it may happen that some areas do not look optimal or need further editing.
5. Undo if necessary
If the results do not meet your expectations, don't panic. Use the undo function (Ctrl + Z) to revert the last steps. You can then paint over the areas again and try the process again as needed.
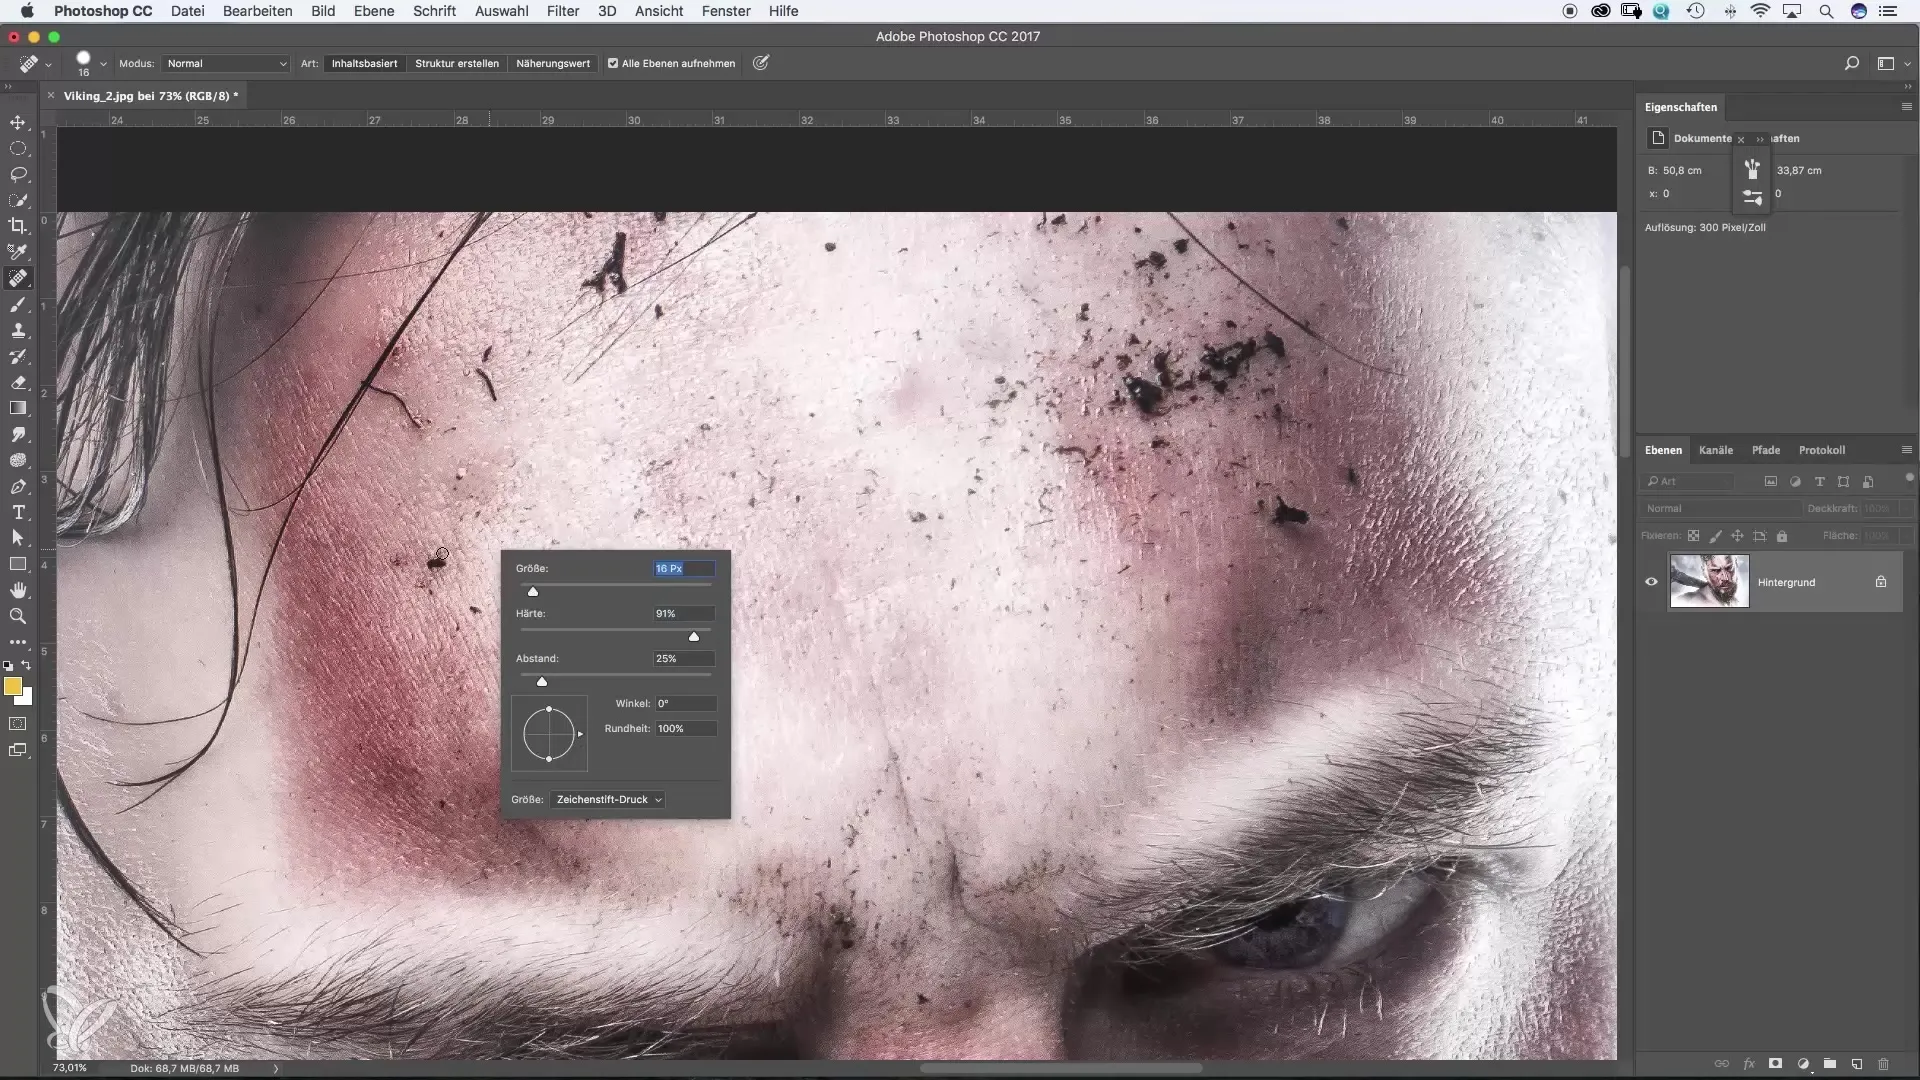
6. Adjust hardness
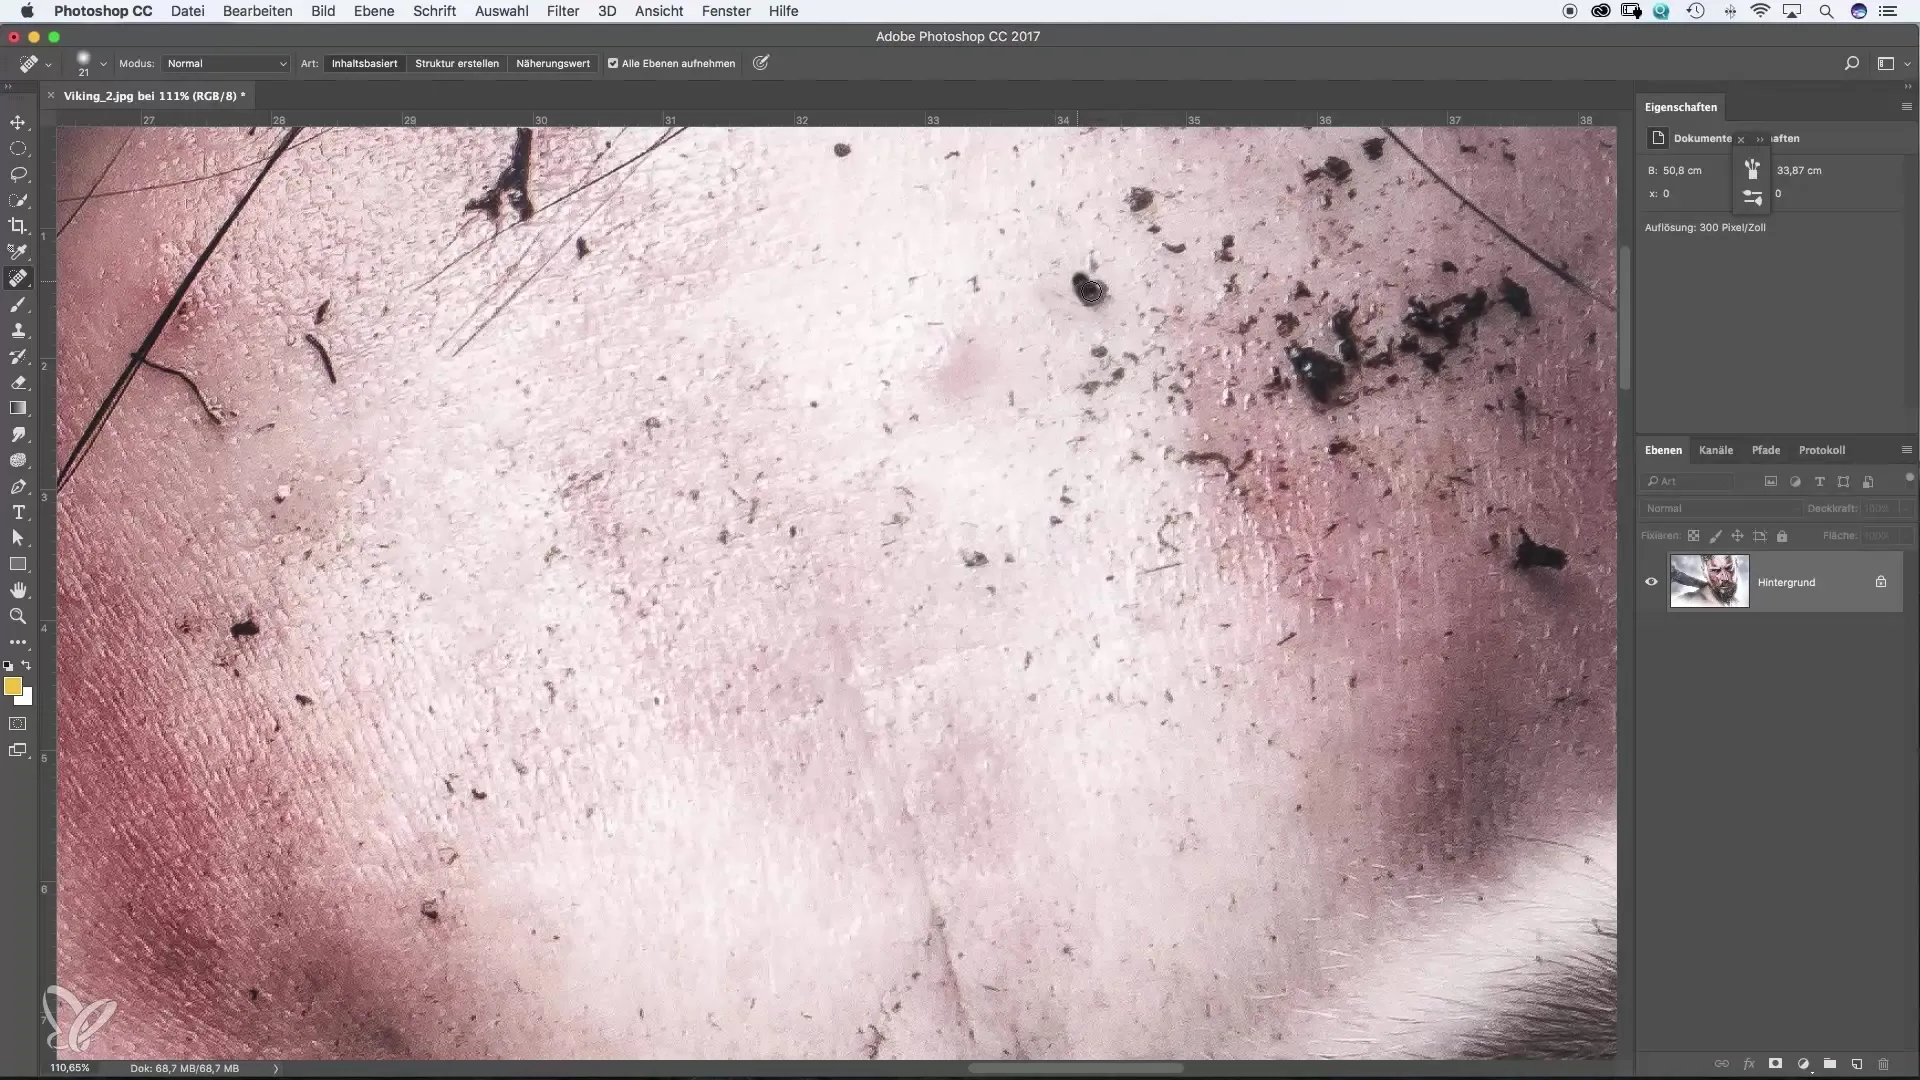
For more sensitive skin areas or structures, it may be helpful to adjust the hardness of the brush. Too high hardness can look unnatural, while too low hardness does not effectively eliminate the errors. Experiment with the settings to achieve the best result.
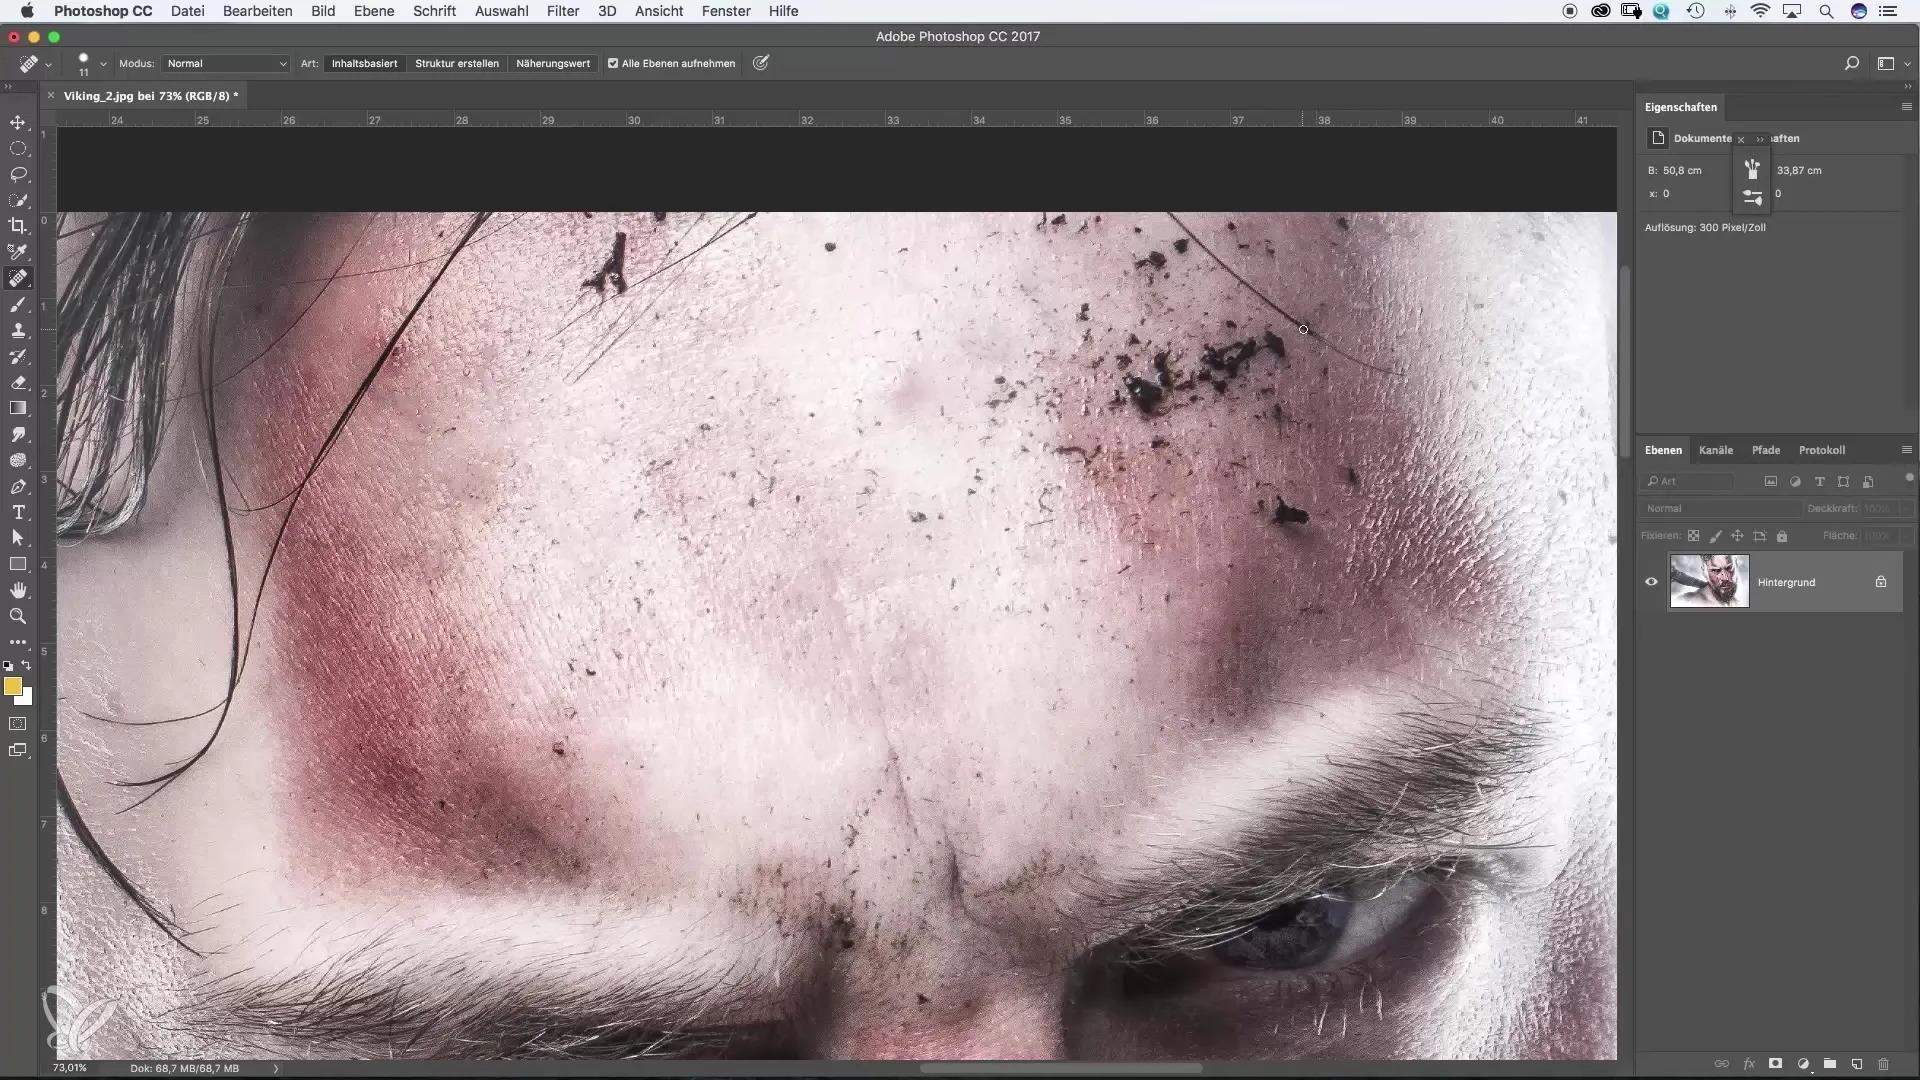
7. Edit complex areas
Finally, tackle more complex areas. Don't worry, the spot healing brush can also deliver great results on difficult areas such as hair or other fine details. Feel free to go over them multiple times to remove all disturbances.
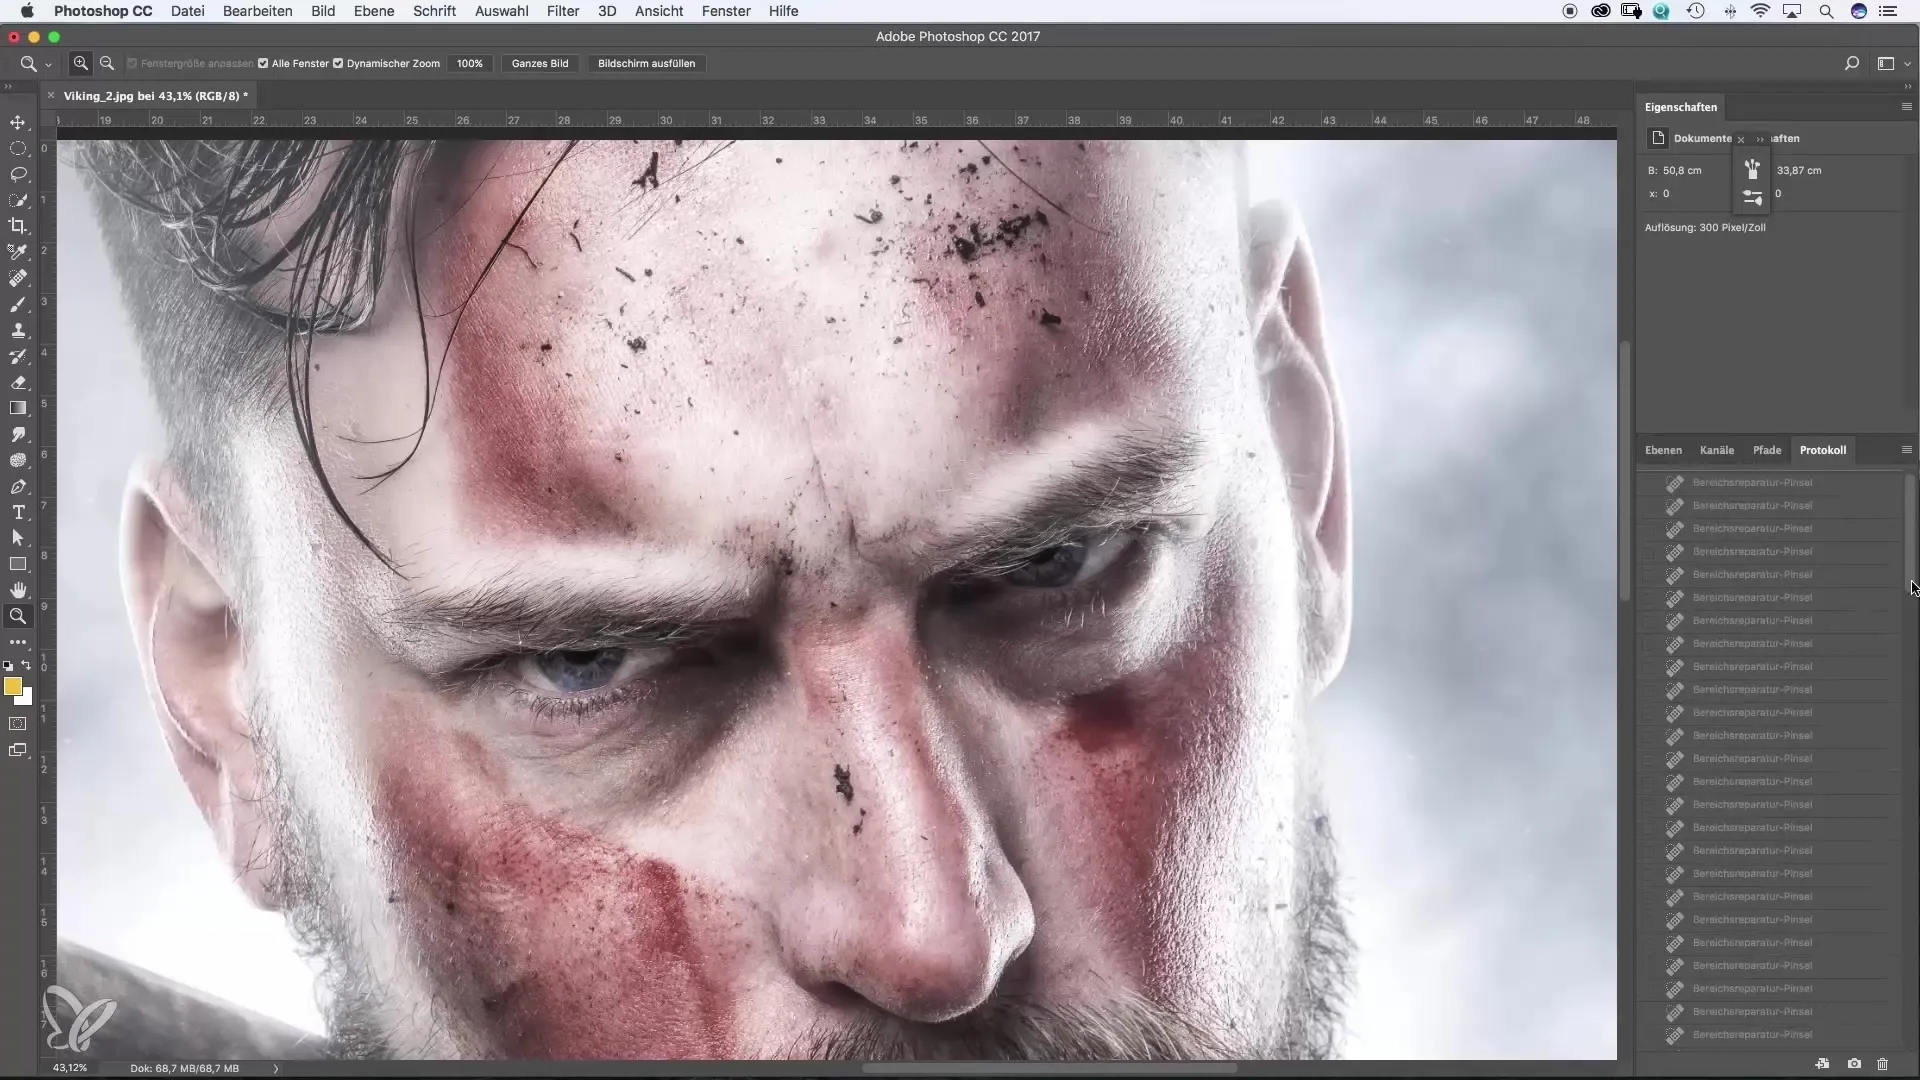
8. Check overall result
Look at the overall picture to decide if further adjustments are necessary. Compare the retouched version of your image with the original to ensure that the retouching appears harmonious.
Summary – Guide to using the spot healing brush in Photoshop
The spot healing brush in Photoshop is a powerful tool for effective image editing. With it, you can easily and efficiently remove disturbances while simultaneously attending to other activities. Use the steps described to enhance your retouching skills.
Frequently asked questions
How do I find the spot healing brush in Photoshop?It is located in the toolbar and can be found with a quick look at the available brushes.
Can I apply the spot healing brush to facial problems?Yes, it is excellent for removing pimples, skin blemishes, or other disturbances on the face.
What do I do if the result doesn’t look good?Just use the undo function to revert the last step and try again.
How can I change the brush size?You can set the brush size directly in the toolbar or adjust it using the shortcut Alt + Right Click (on Windows).
Can I retouch and type simultaneously with one hand?Yes, that is one of the great advantages of the spot healing brush. You can use one hand for retouching and the other for other tasks.


