Photoshop offers an impressive variety of options for image editing, and among the most powerful tools are the Sharpen and Blur filters. These filters are not only easy to use, but they also give your images a professional touch. In this guide, you will learn how to effectively use these filters to achieve stunning results and take your image editing to the next level.
Key Insights The Sharpen and Blur filters are fundamental for image editing. By wisely combining these filters, you can enhance the focus of your images and create successful transitions between sharpness and blur. Sharpening brings out details, while blurring makes the image appear more harmonious.
Step-by-Step Guide
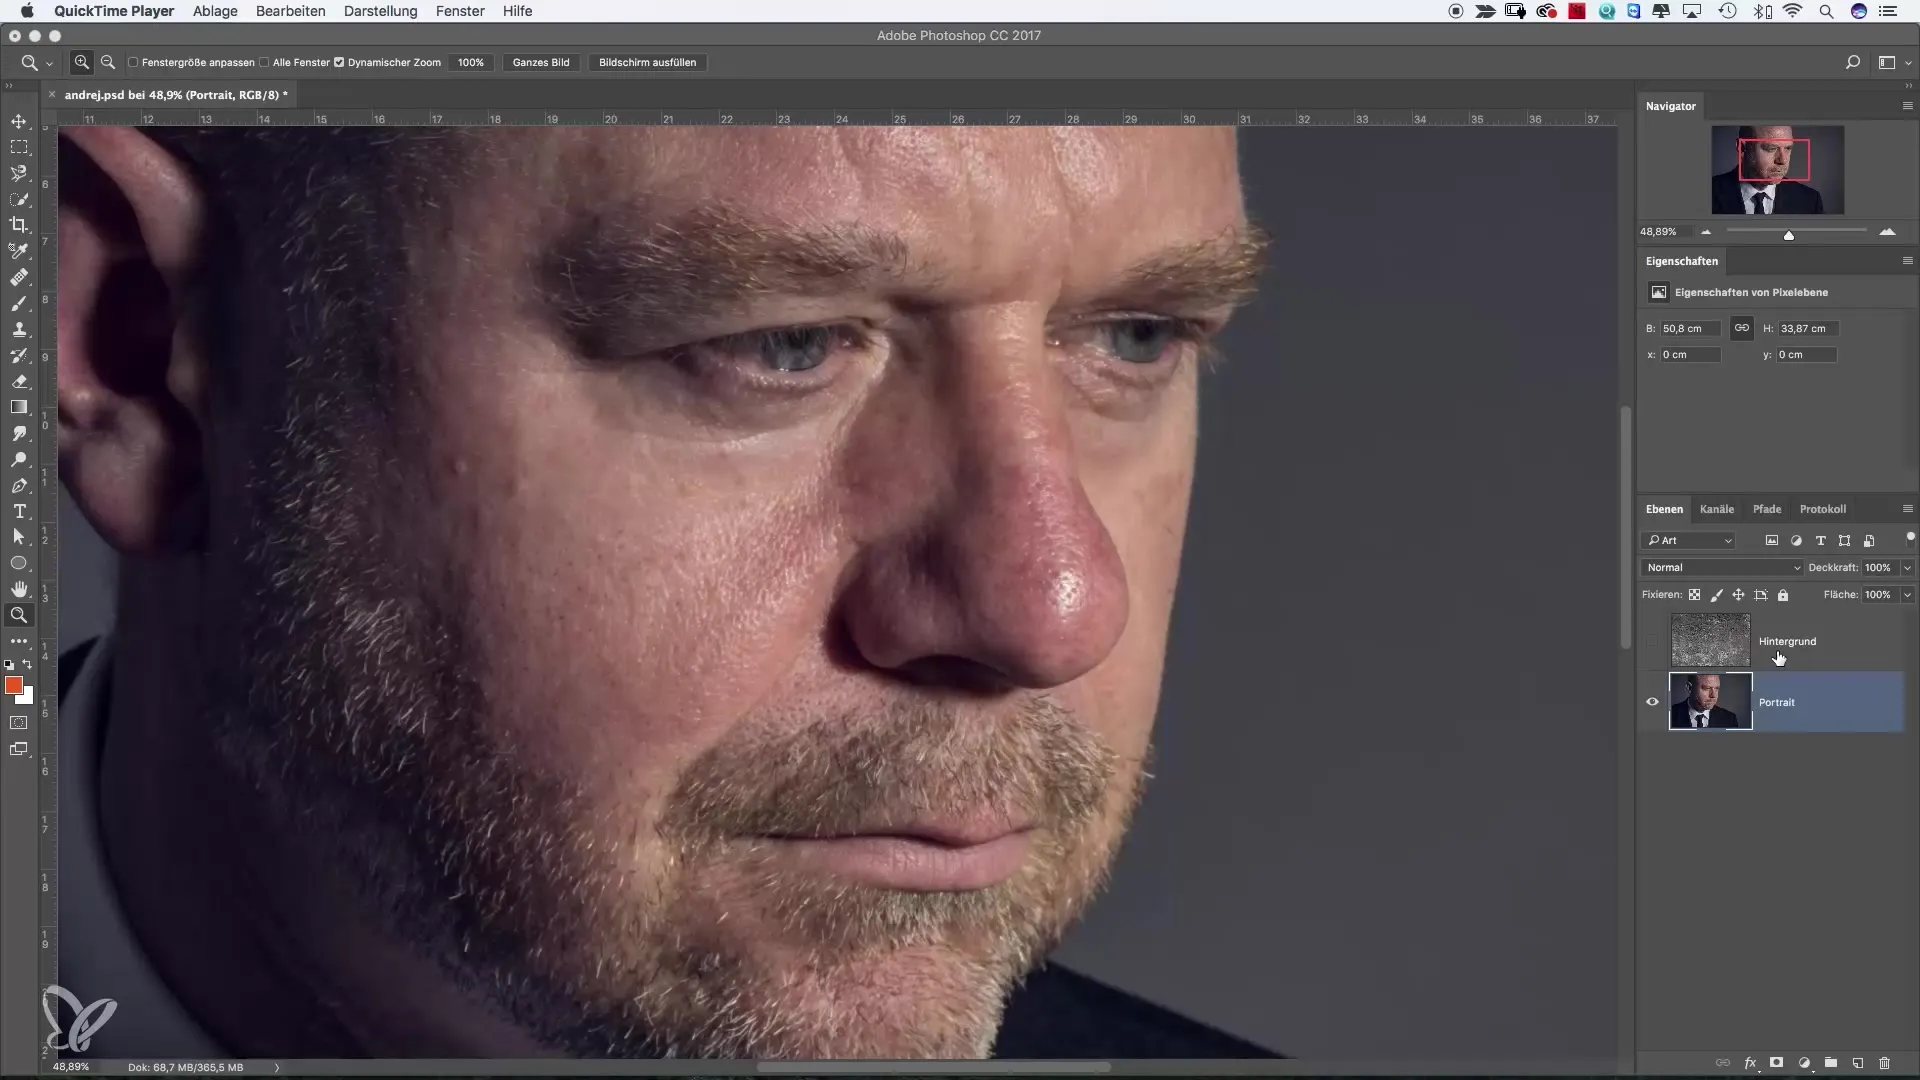
First, select the layer you want to edit. Start Photoshop and load your image. You can choose any layer to experiment with the filters.
Now select the filter area. Go to "Filter" at the top of the menu bar. Here you will find a variety of options. Among the sharpen filters, there are several subcategories that offer you many ways to creatively edit your image.
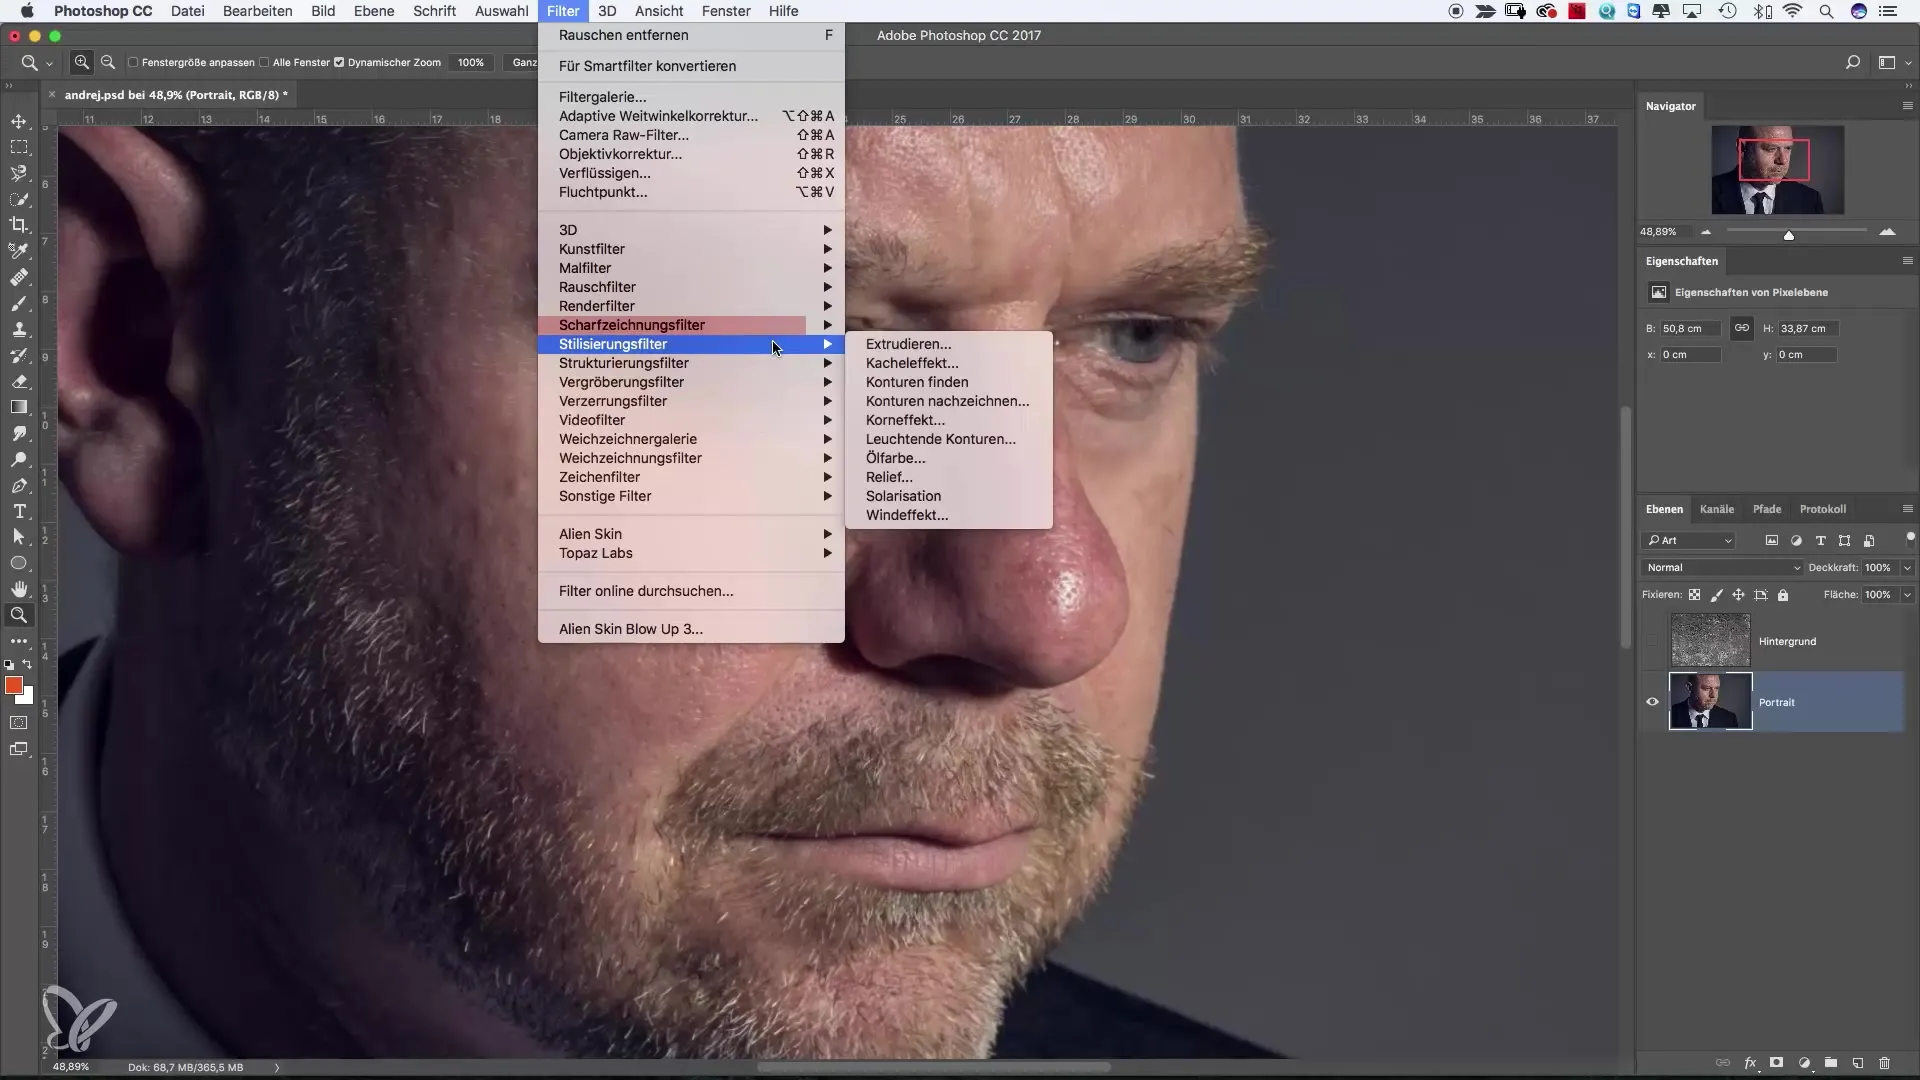
I recommend trying the filters individually. For example, you can start with the "Unsharp Mask" filter, as this is one of the easiest methods to make an image sharper. You will see that the image changes immediately as you add sharpening filters or adjust the settings.
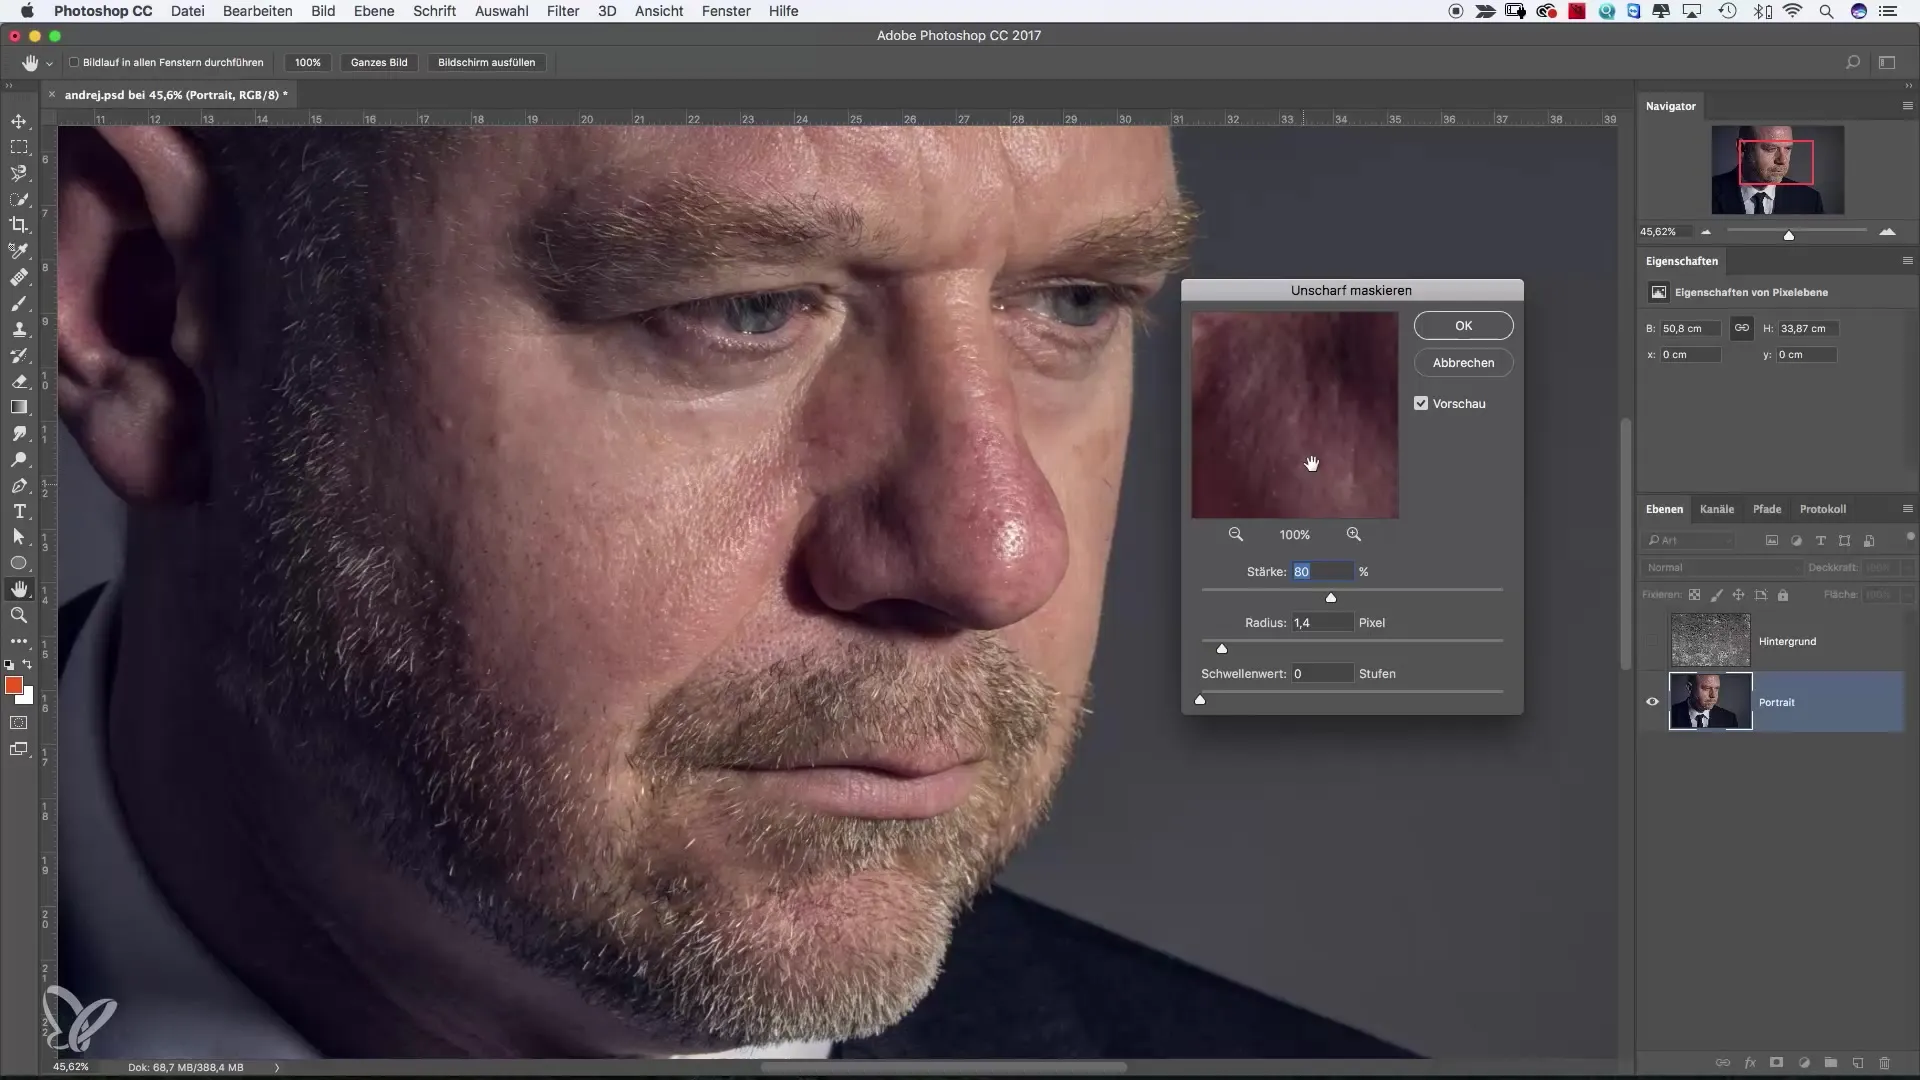
In the next step, we will apply the Unsharp Mask filter. When you apply the filter, a dialog box opens. Here you can set the strength and the radius. I set the radius to 1 at the beginning and the strength to a high value to see the effects.
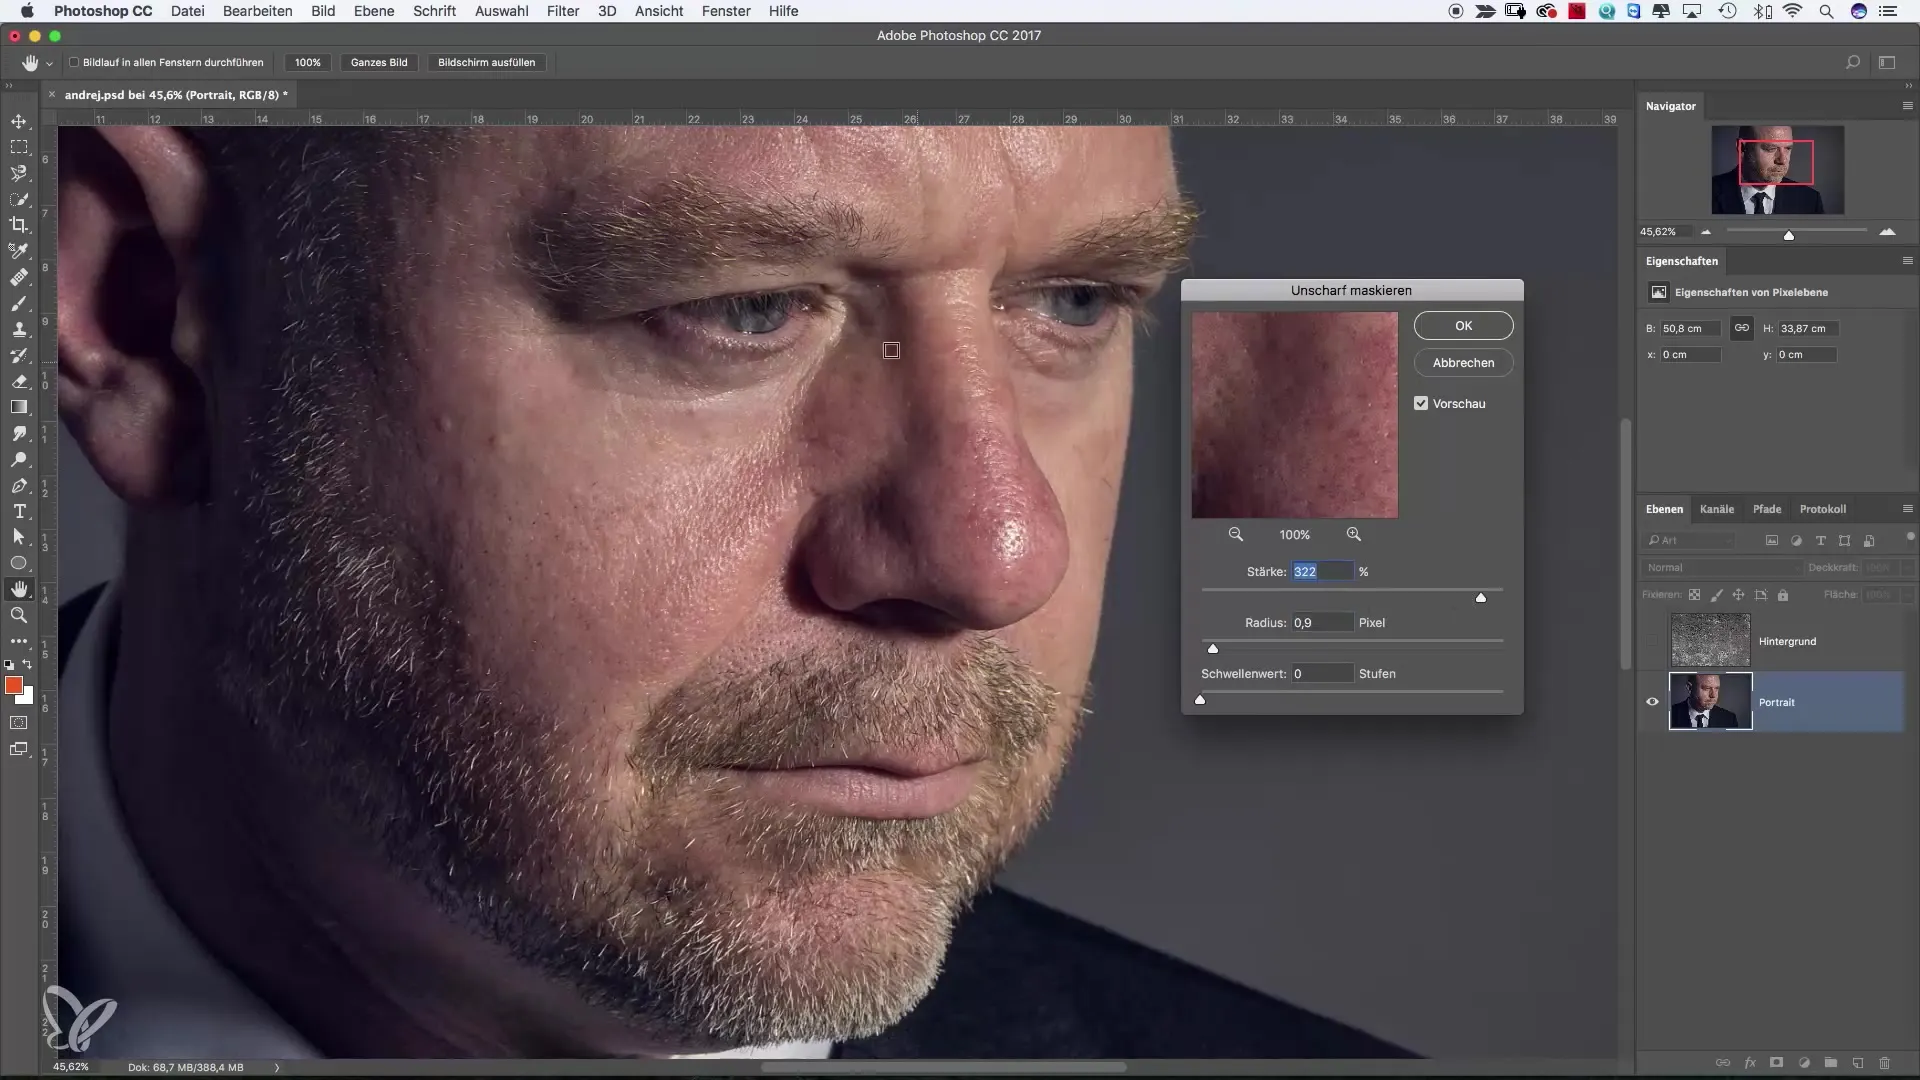
Look at the image. You will notice that details like stubble gain more structure and sharpness. Be careful with the strength setting, as too high values can appear unnatural. A radius of up to 15 is typically sufficient to optimize sharpness.
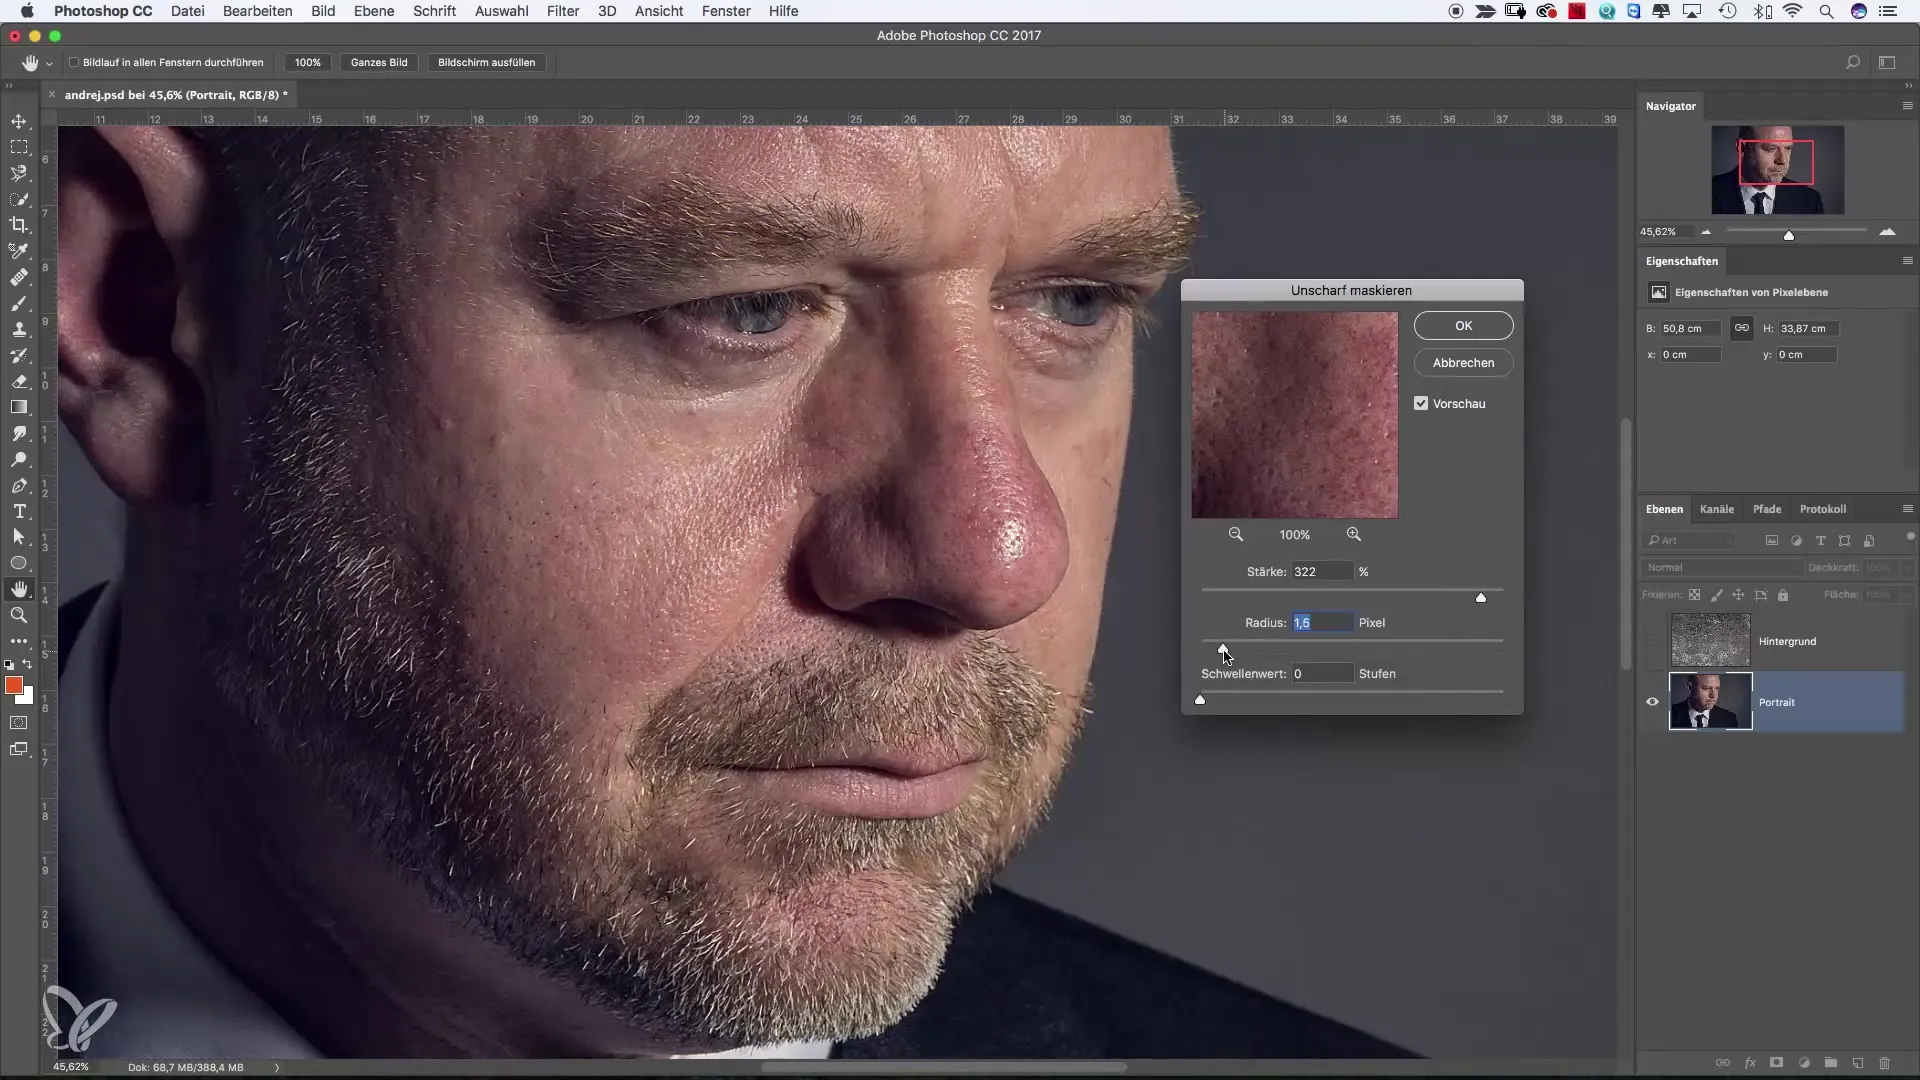
Once you are satisfied with the values, confirm the settings and check the changes. You will notice a significant difference between the original shot and the sharpened image.
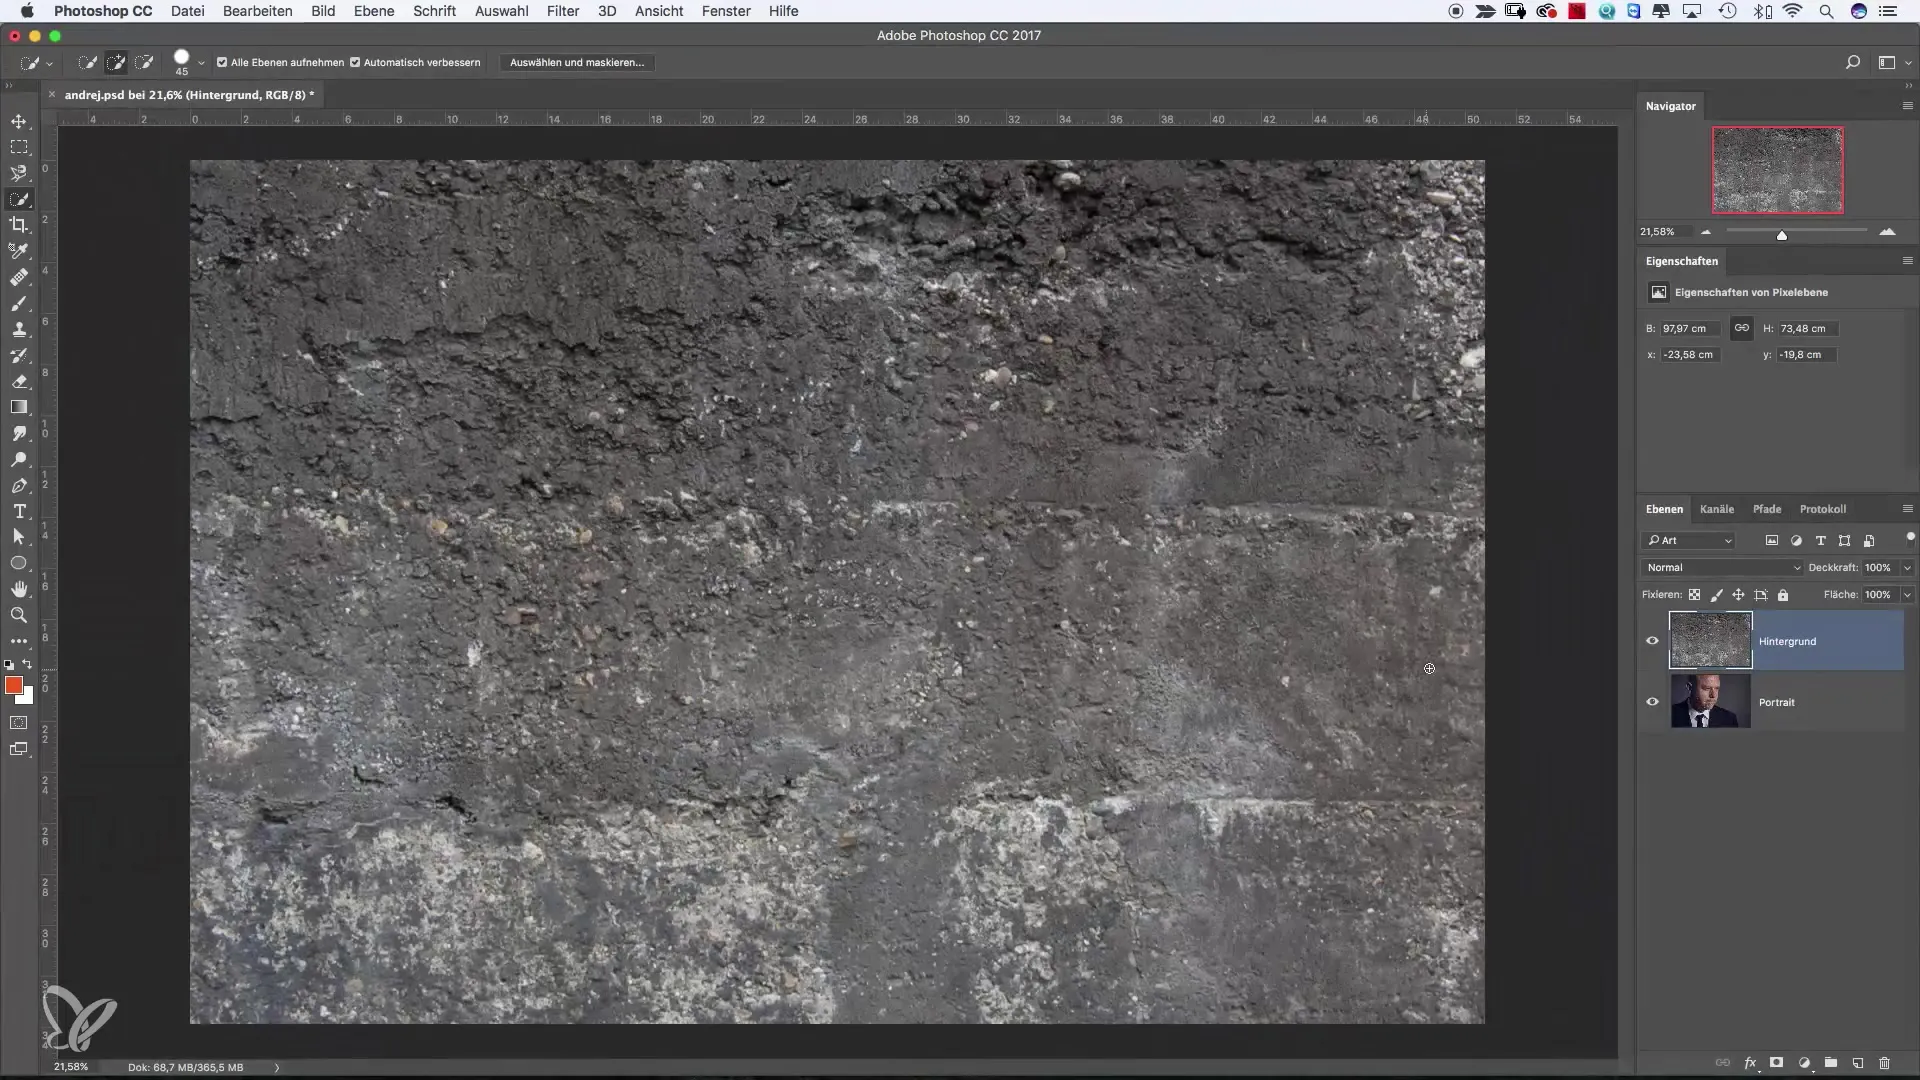
Now we want to blur a background. Convert the background layer into a Smart Object. Right-click on the layer and select "Convert to Smart Object." This allows you to edit the filters later at any time without losing quality.
With the Smart Object, you can select the blur filter. For this, go back to "Filter" and choose "Blur Filter" and then "Gaussian Blur." This tool helps you to gently blur the background and highlight the foreground subject.
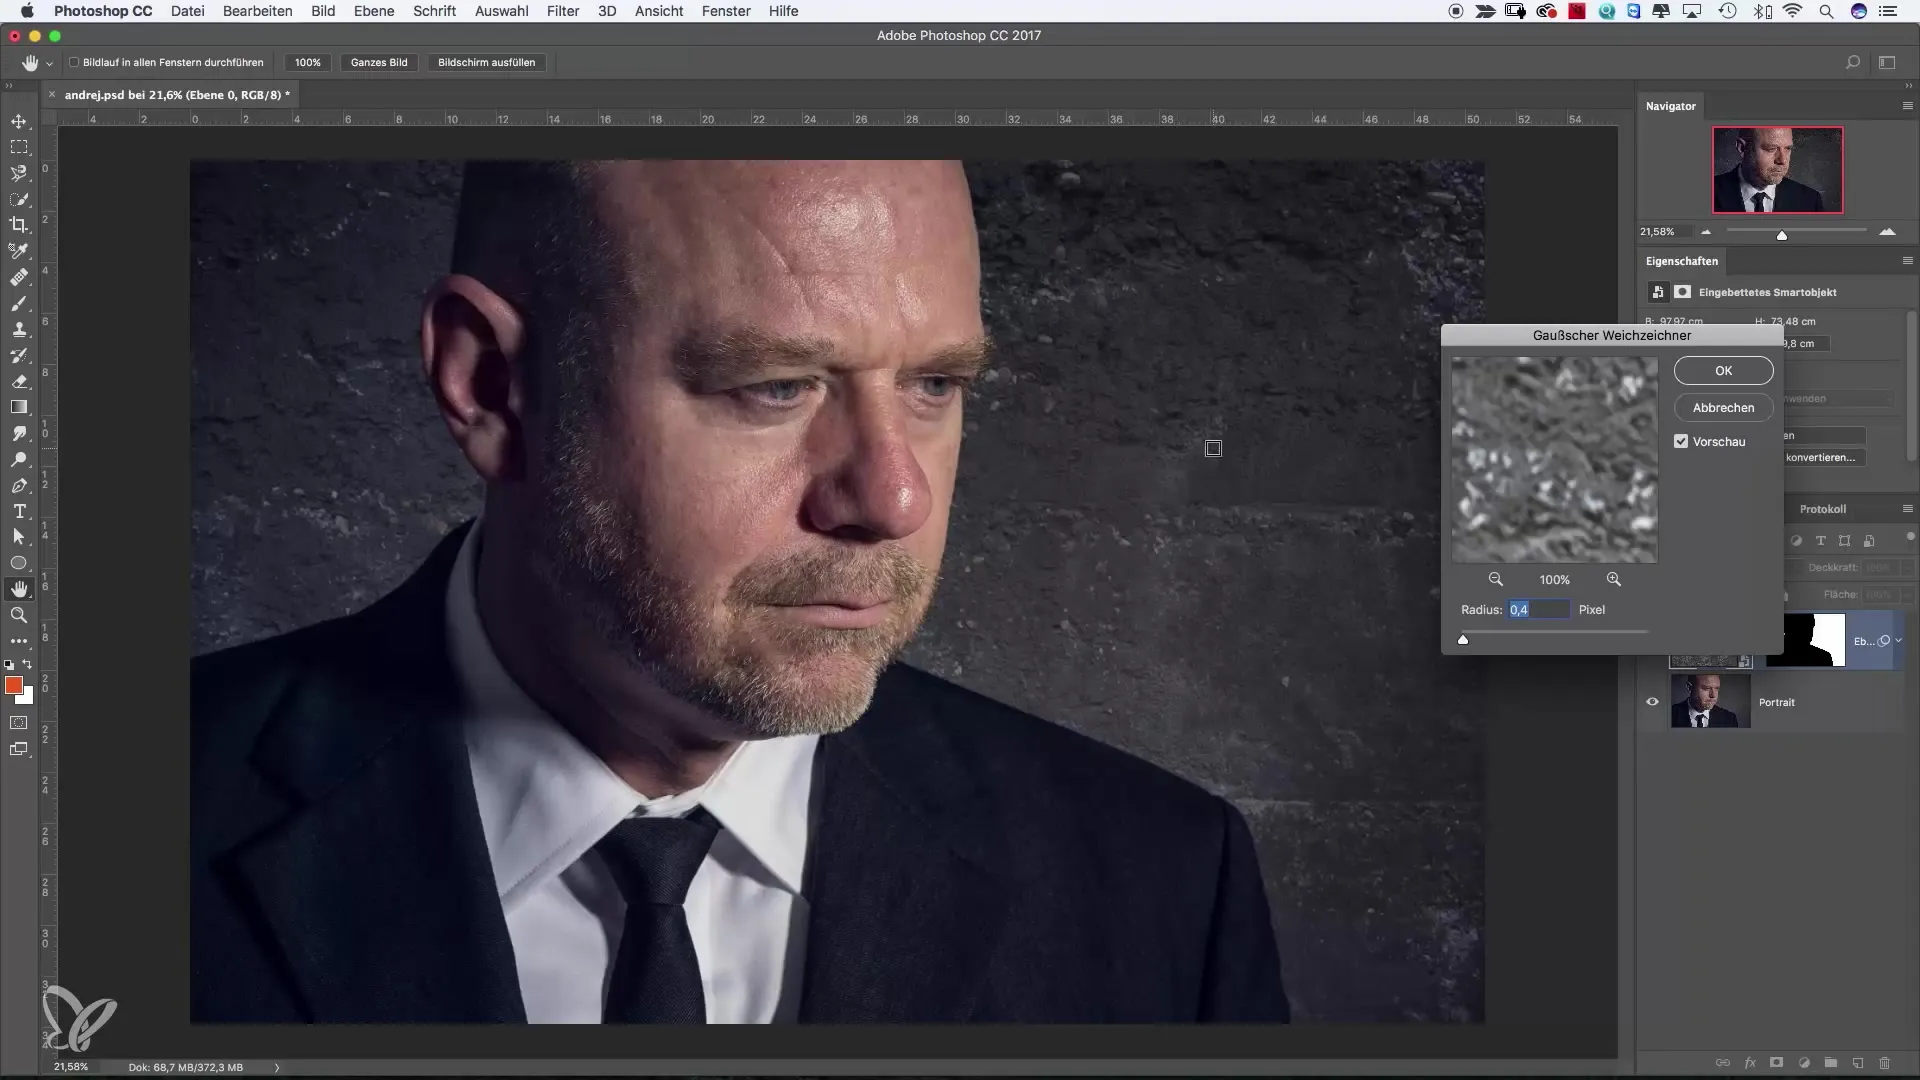
Create a rough selection around your subject and then invert the mask. This ensures that only the background is blurred while your portrait remains sharp. Make sure the transition between sharp and blurry looks harmonious.
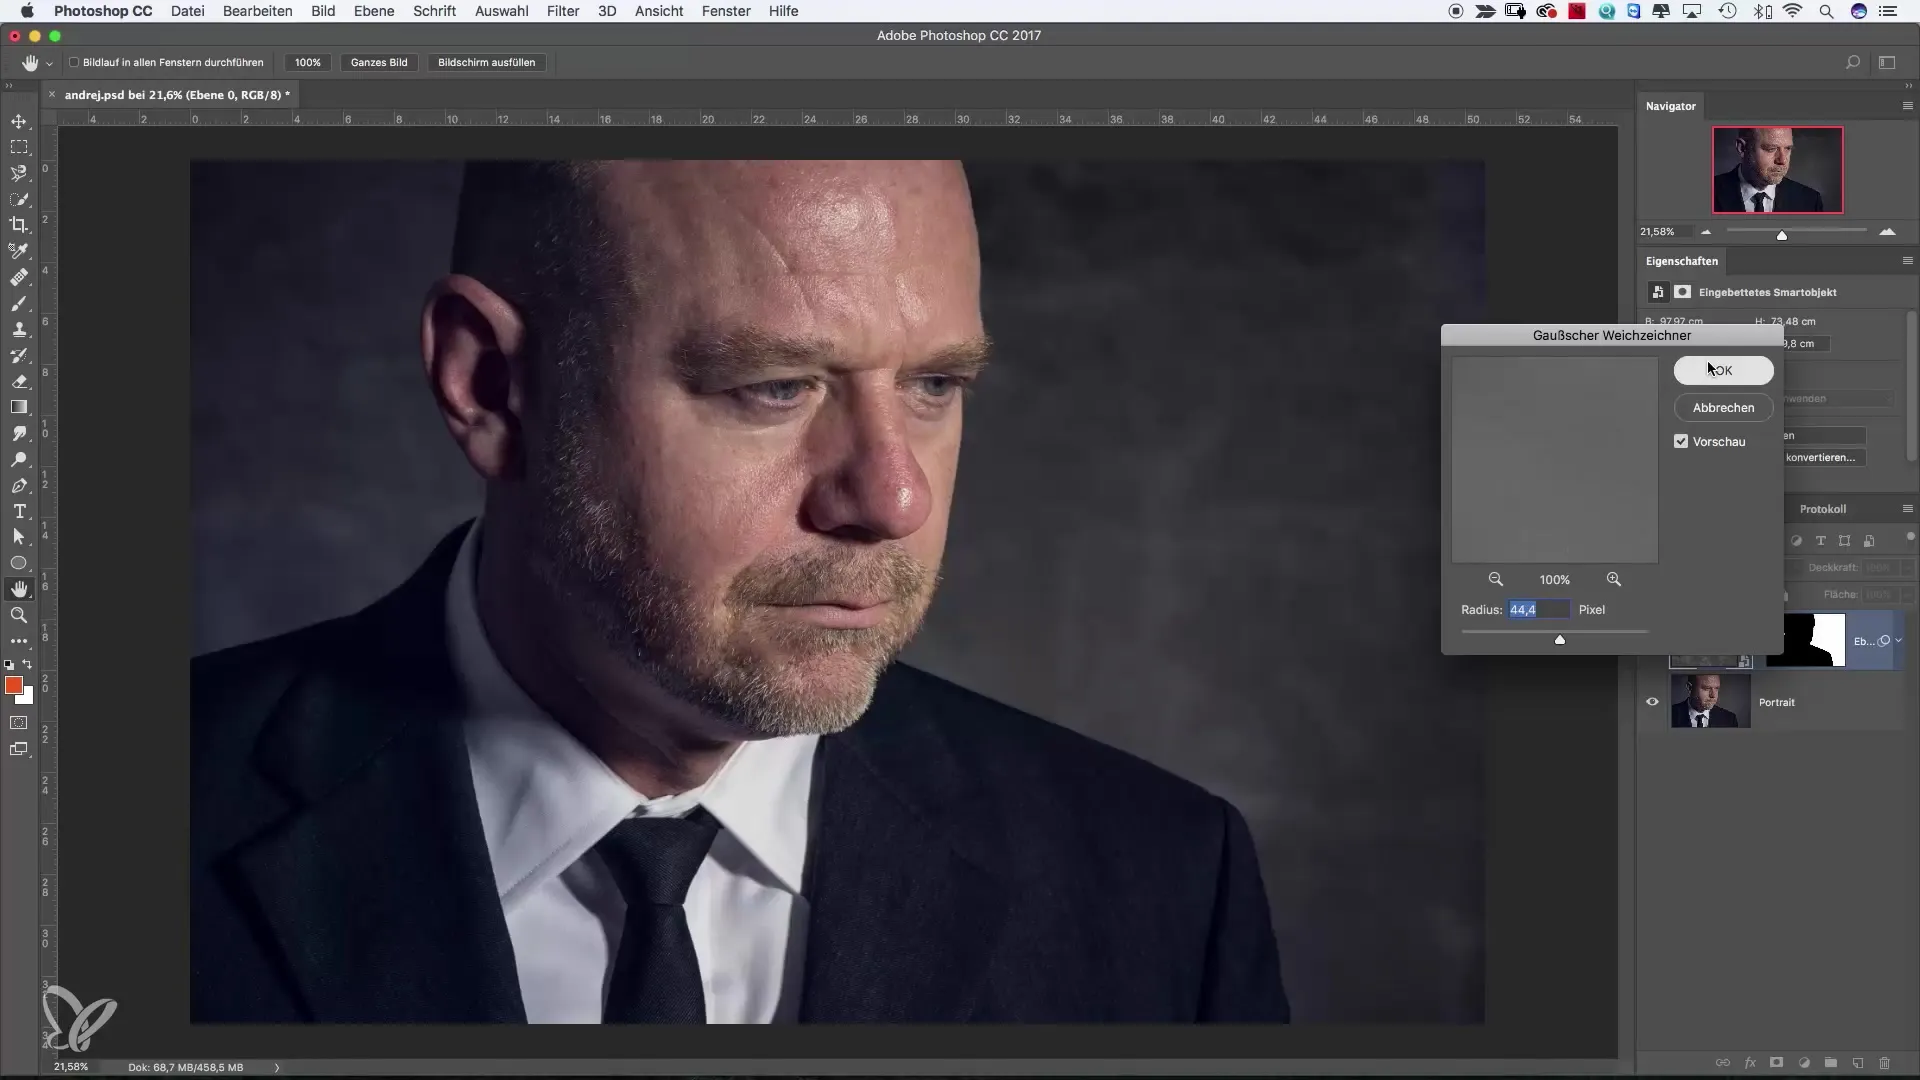
A small note: When you apply the filter to a Smart Object, you can always retract or adjust the blur by clicking on the icon next to it. This allows you to always access the settings.
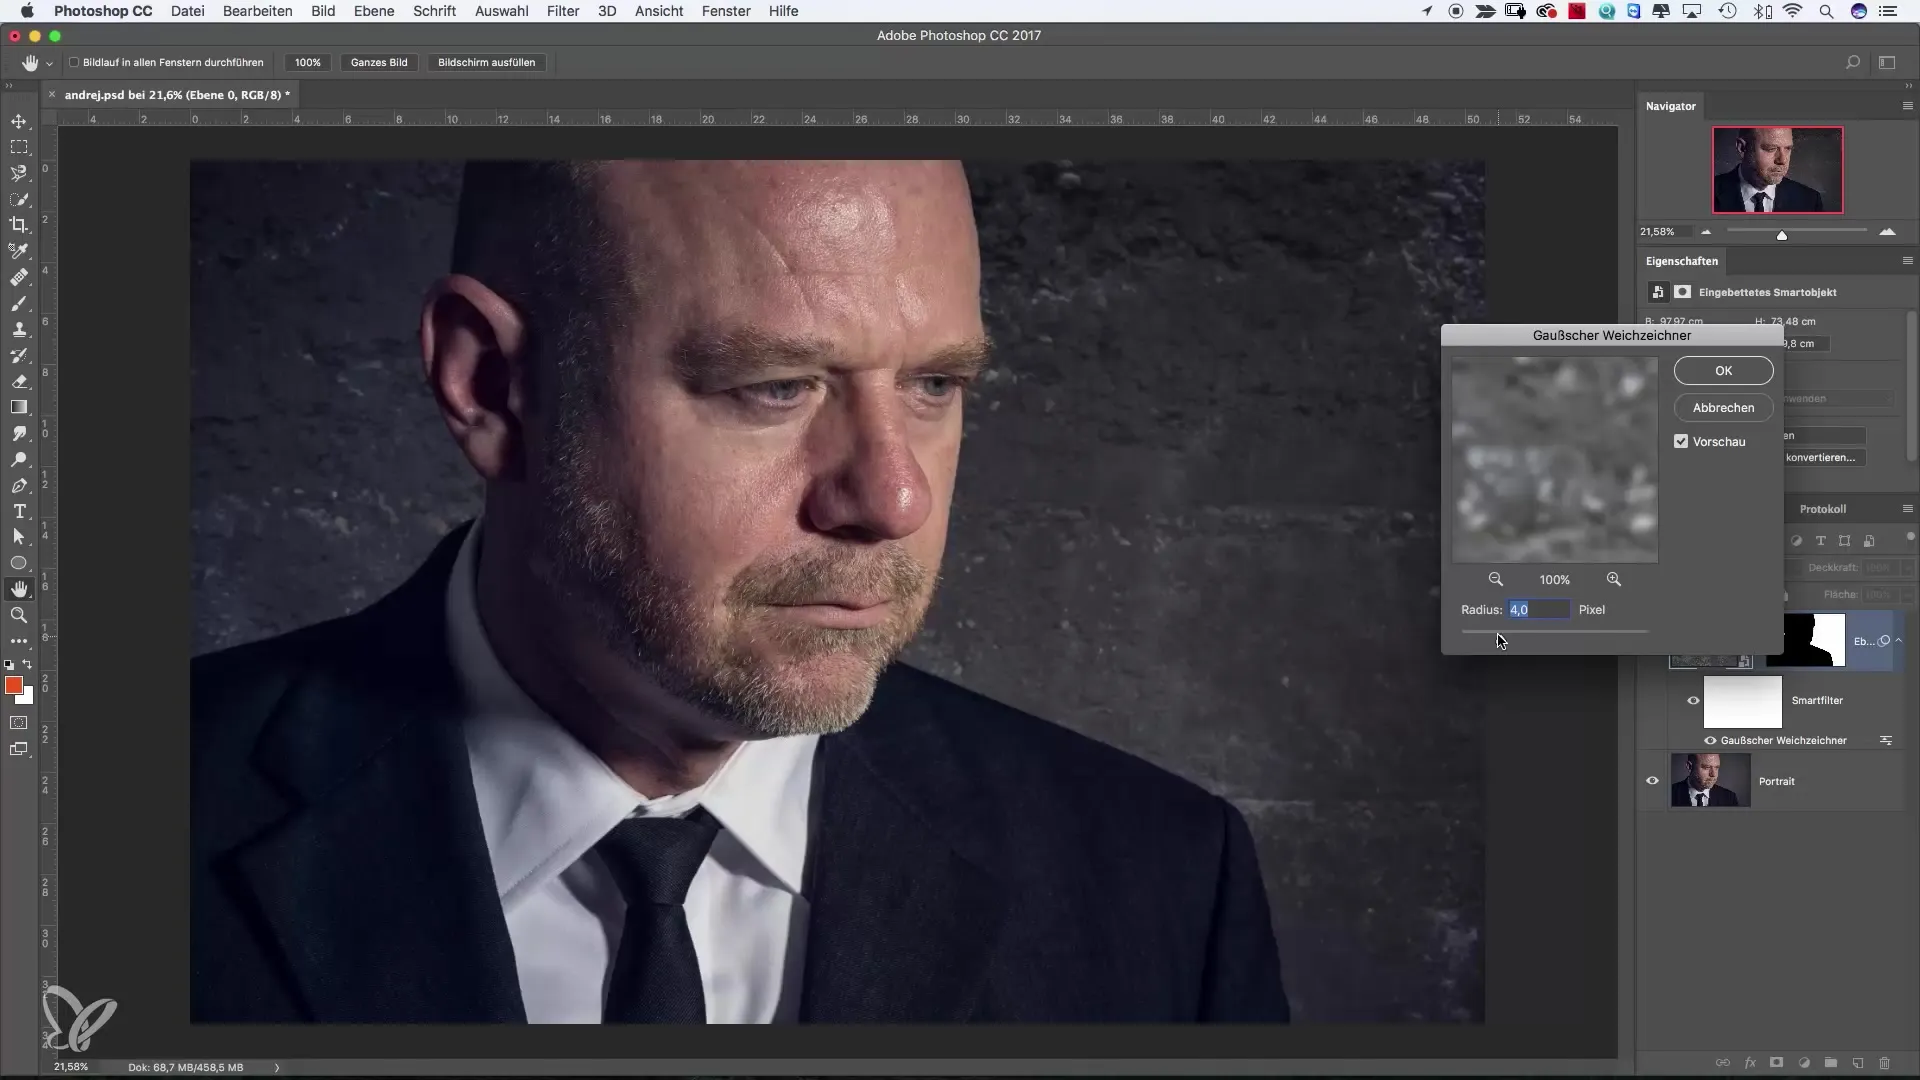
Now you can experiment even more with your image. By applying multiple filters to a Smart Object, you can unleash your creativity and achieve interesting effects. The beauty of it is that you always have the option to adjust these effects.
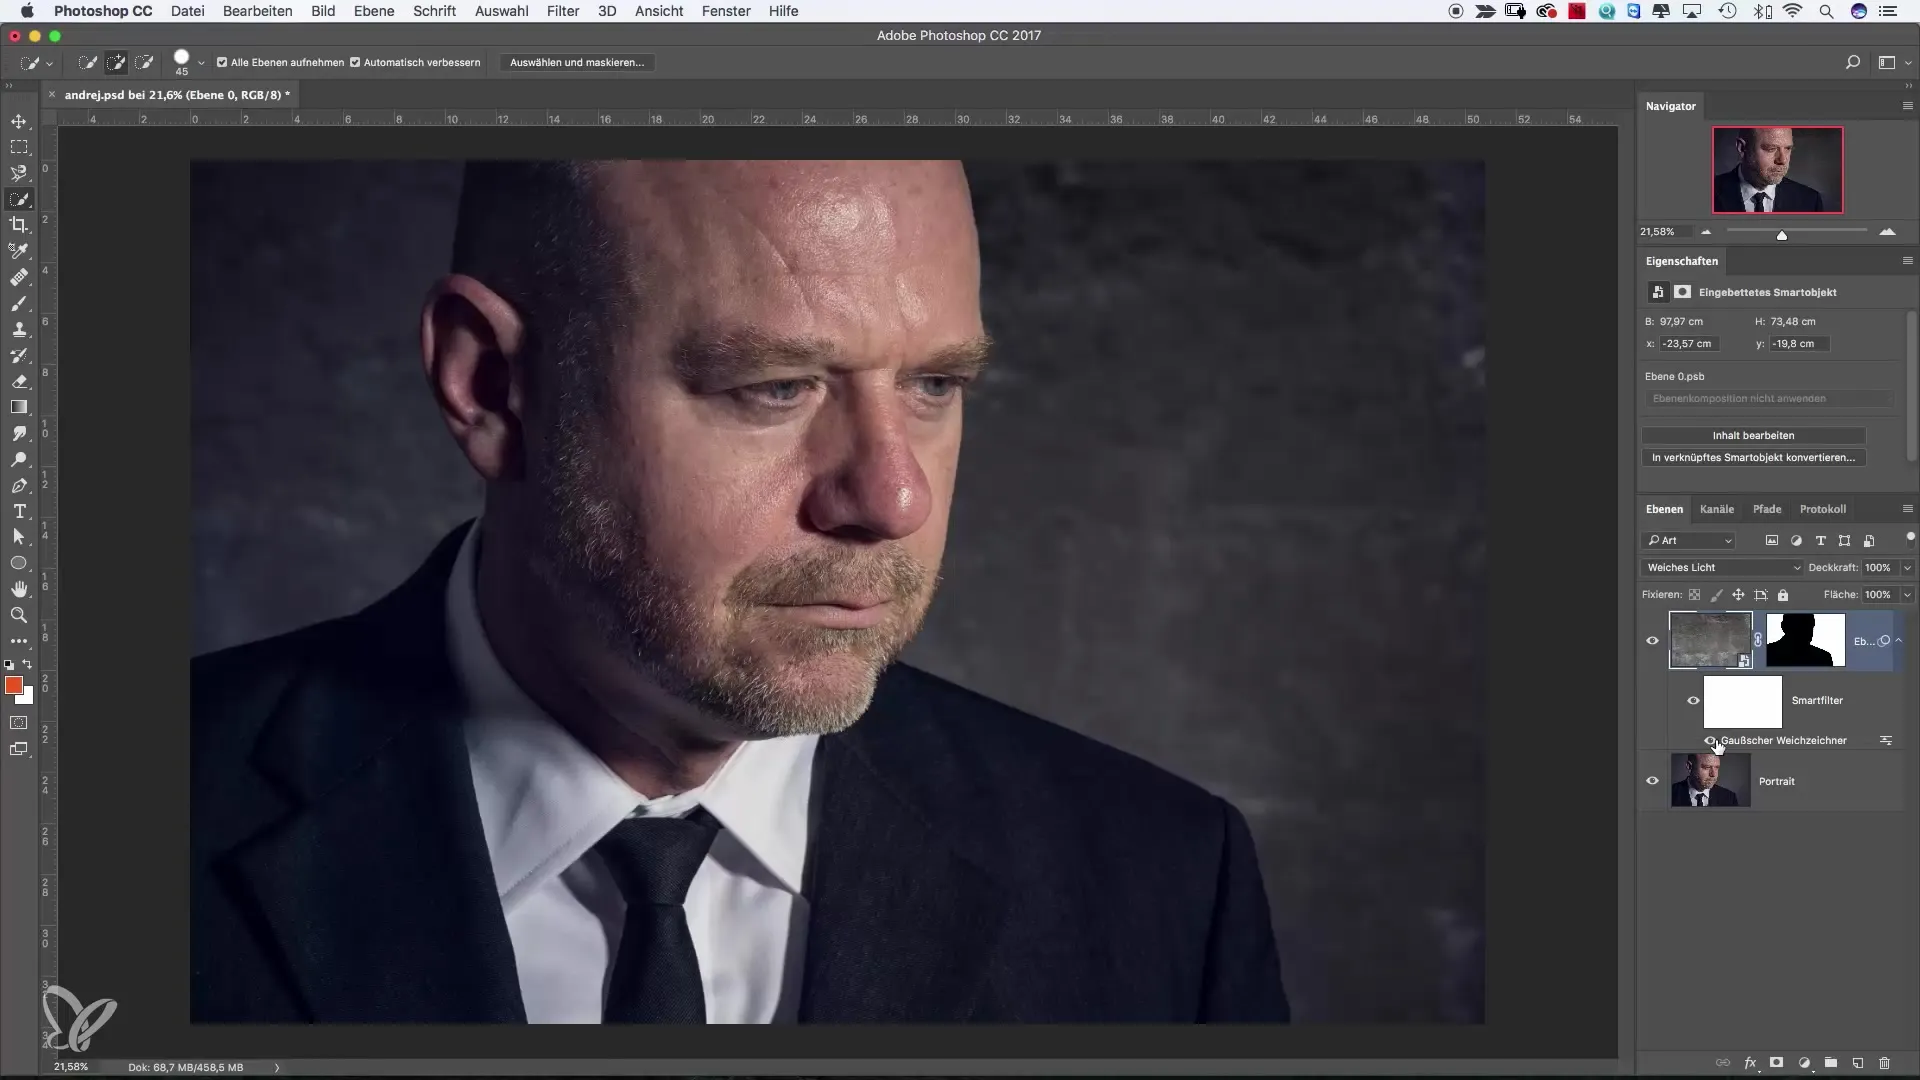
In summary, these are the two most fundamental filters in Photoshop that will make your work easier. These filters provide you with a solid foundation to improve your image editing skills and try out creative techniques.
Summary – Sharpen and Blur Filters in Photoshop Enhance Your Image Editing
The use of sharpen and blur filters in Photoshop is one of the most effective methods to highlight your images. These filters allow you to make details visible and create smooth transitions – a perfect combination to direct focus and optimize visual effects.
Frequently Asked Questions
How do I apply a sharpen filter?Select the desired layer, go to "Filter," choose "Sharpen filter," and adjust the settings.
What is the advantage of a Smart Object?Smart Objects allow for non-destructive editing of filters, so you can change their settings at any time without losing the original image data.
Can I apply multiple filters to a layer?Yes, you can apply multiple filters to a Smart Object and combine and adjust their effects as desired.
How do I find the right strength for the sharpen filter?The strength depends on your image. Start with a higher value and adjust as needed. Do not overdo it to avoid unnatural results.


