You want to optimize your videos for the web, but don't know how to achieve the right compression? In this comprehensive tutorial, I'll show you how to efficiently compress your videos using various programs so that they are both high-quality and space-saving. Let's discover the best tips and tricks for video compression and go through a complete workflow together.
Key insights
- Two recommended programs for video compression are Super and XMedia Recode.
- You should choose the right settings for bitrate, frame rate, and audio quality to ensure optimal video quality.
- A structured workflow when creating tutorials and videos leads to better results.
Step-by-step guide
1. Program selection: Super or XMedia Recode
Before you start compressing, you need to choose a program. I typically work with either Super or XMedia Recode. In this example, I will select Super because it has a user-friendly interface and is continually being improved.
2. Import video
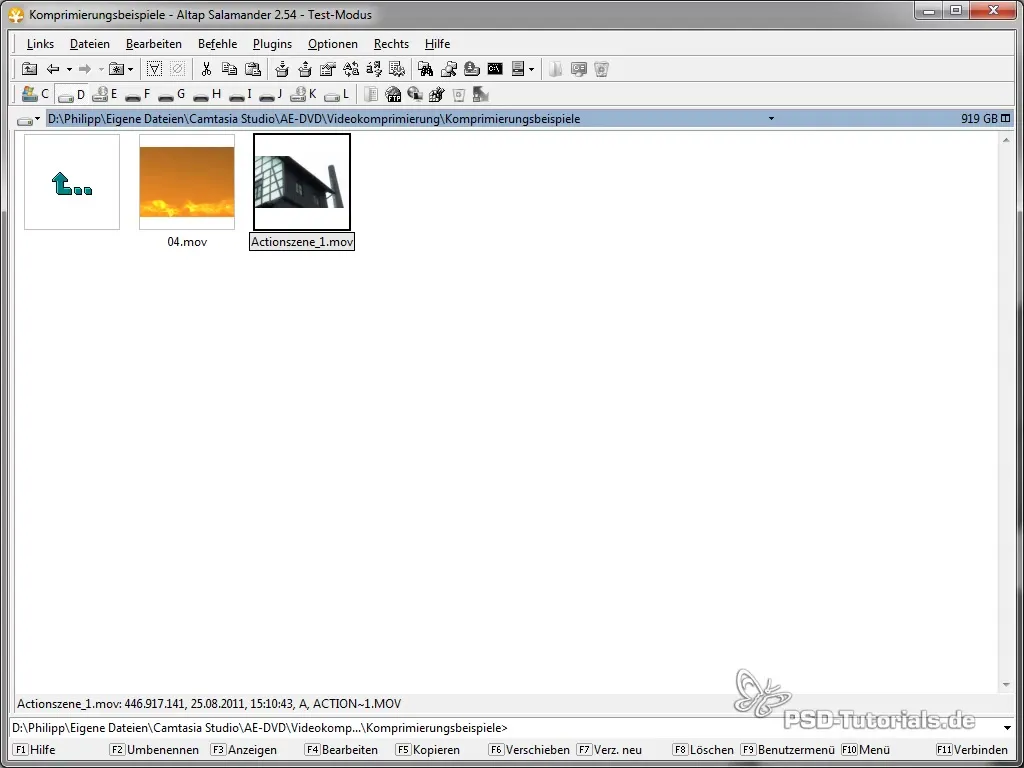
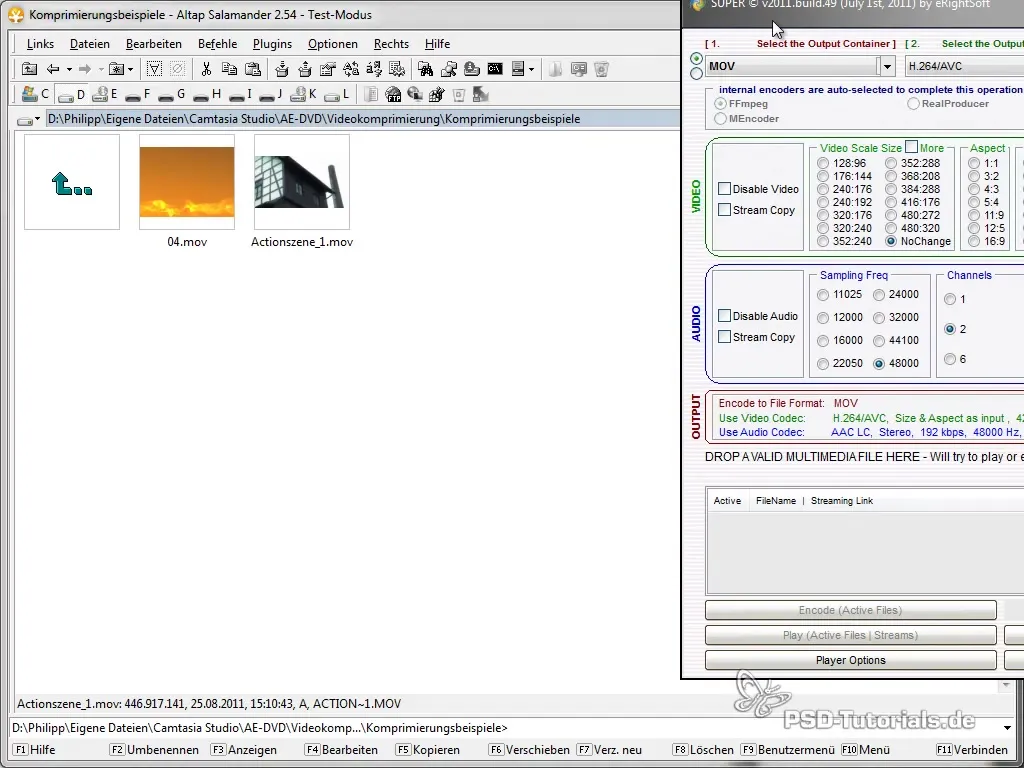
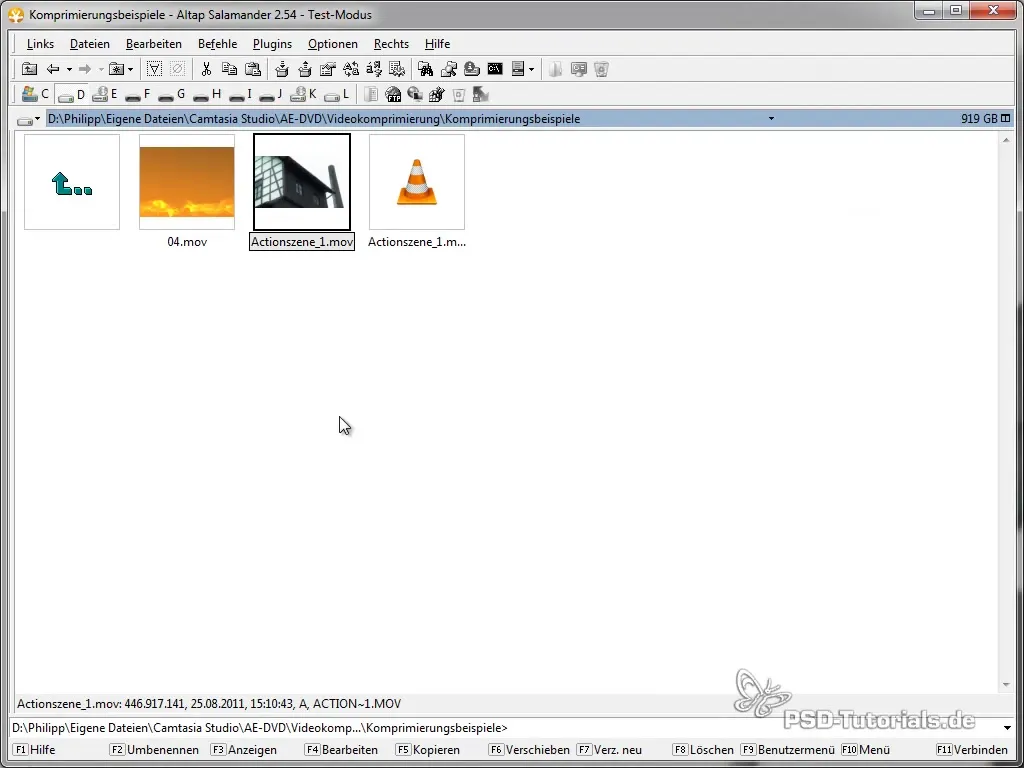
To compress a video, open the program and import the desired video via drag and drop. Simply drag the action scene based on it into the program's window.
3. Check video settings
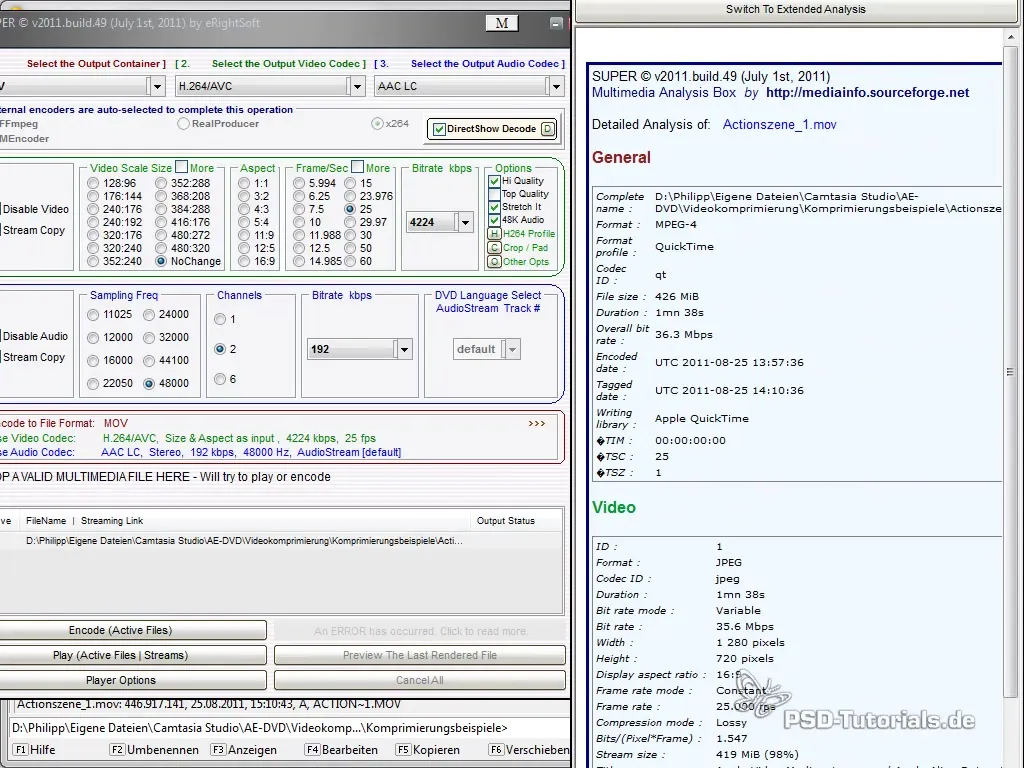
Double-click on the imported video to view its current information. It's important to know the bitrate, size, and frame rate of the original video. This helps you set the best compression settings.
4. Select output format
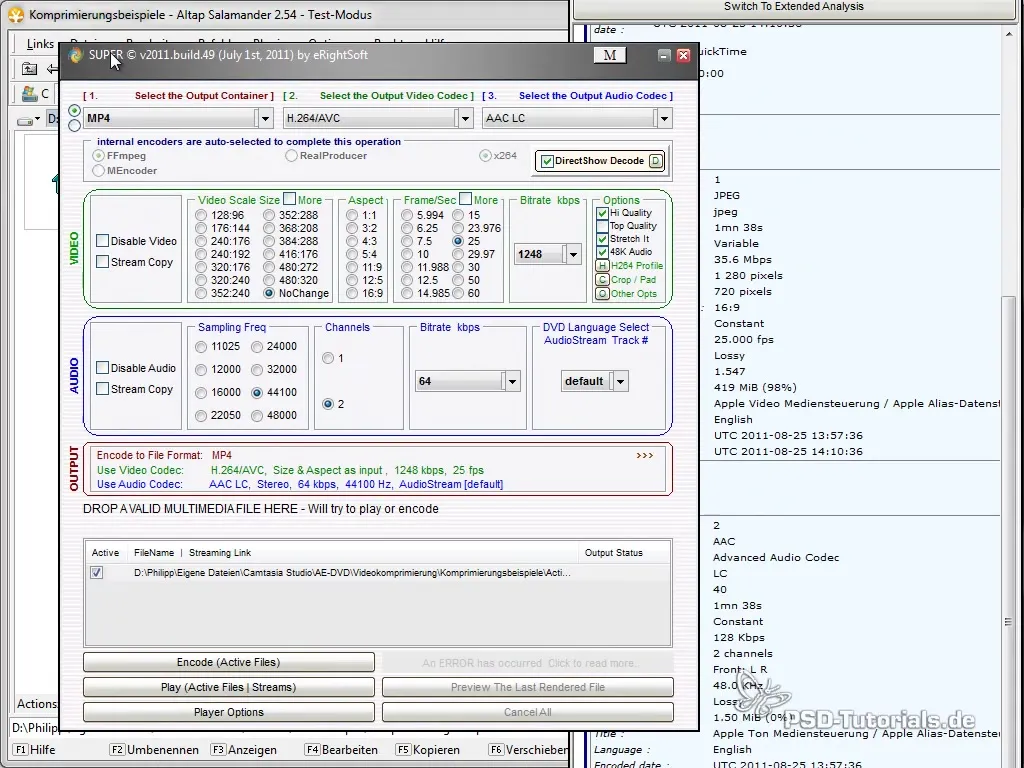
In the Super interface, you can set your desired output format. The MP4 format is recommended for web videos. Select it and ensure that the codec is set to H.264 to achieve high quality with a low file size.
5. Adjust audio settings
In the next step, you should adjust the audio settings. Choose the audio codec AAC and ensure that the quality is set to 44100 kHz. In most cases, mono channels are sufficient to save space.
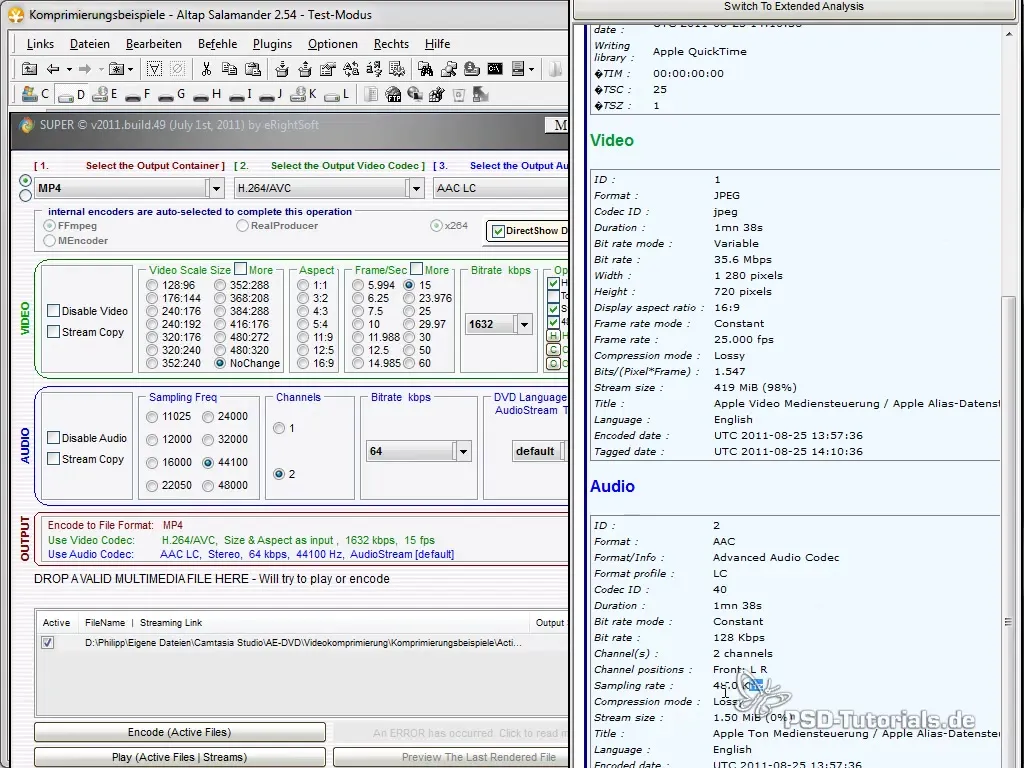
6. Adjust video and audio quality
Now you can set the video quality. A bitrate of about 1600 kbps is often sufficient, which provides a good balance between quality and file size. You can also set the audio bitrate to 128 kbps, which is entirely sufficient for most applications.
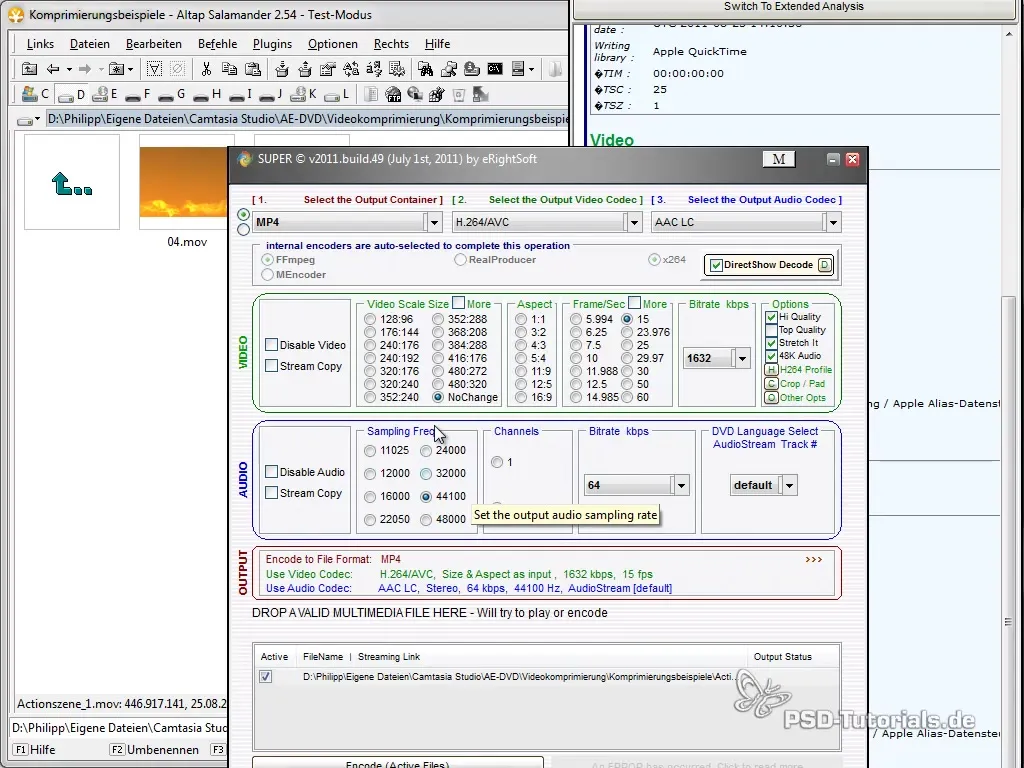
7. Start compression
When all settings have been made, click “Encode active Files” to compress the video and audio data. Super will now start the encoding, and you can wait until the process is complete.
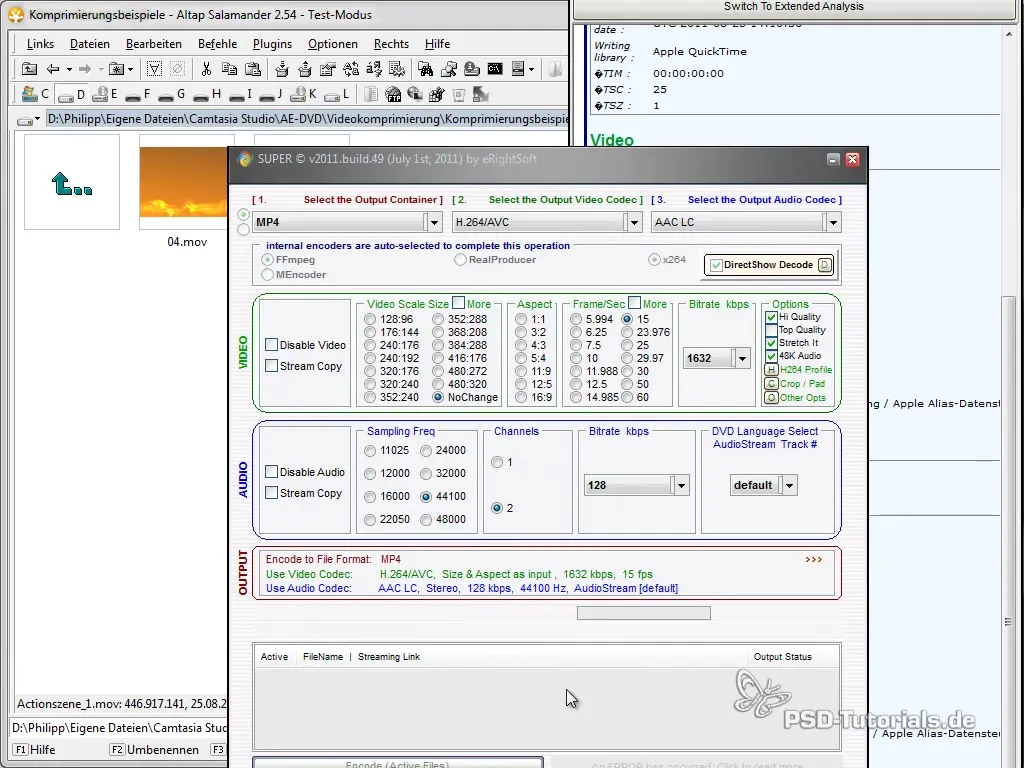
8. Check results
After compression, you will hear a notification sound, and you can find the saved video in the specified location. Check the file size and quality of the compressed video to ensure everything looks good.
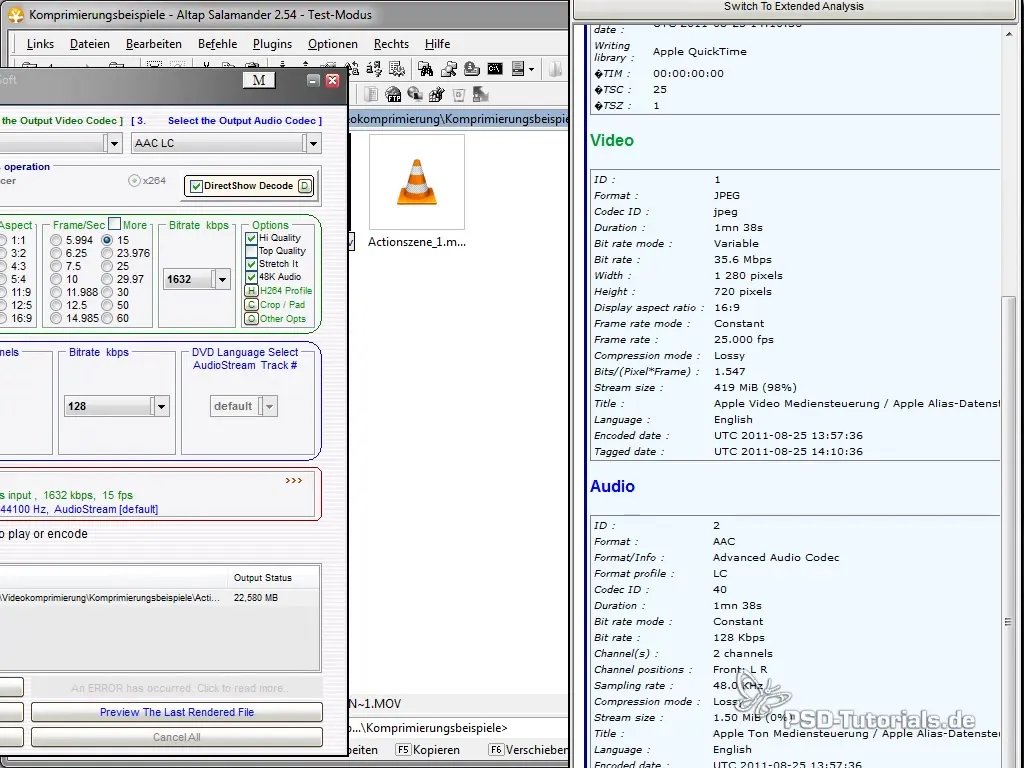
9. Compression with XMedia Recode
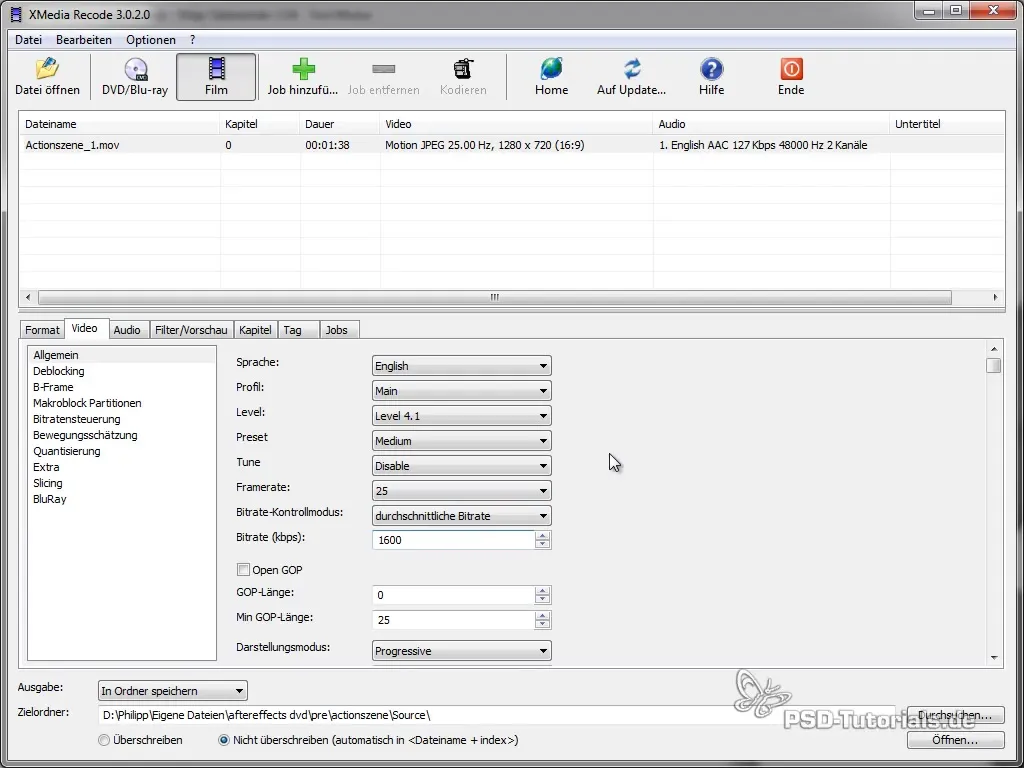
Besides Super, I will now give you a brief insight into XMedia Recode. Here too, you can import your video via drag and drop and set the settings for the output format. Select MP4 and the codec H.264, just like in Super.
10. Adjust bitrate and quality
Similar to Super, you can set the bitrate for your video to about 1600 kbps; a two-pass process is also possible for better compression. Also ensure that the audio settings are correct.
11. Workflow for tutorials
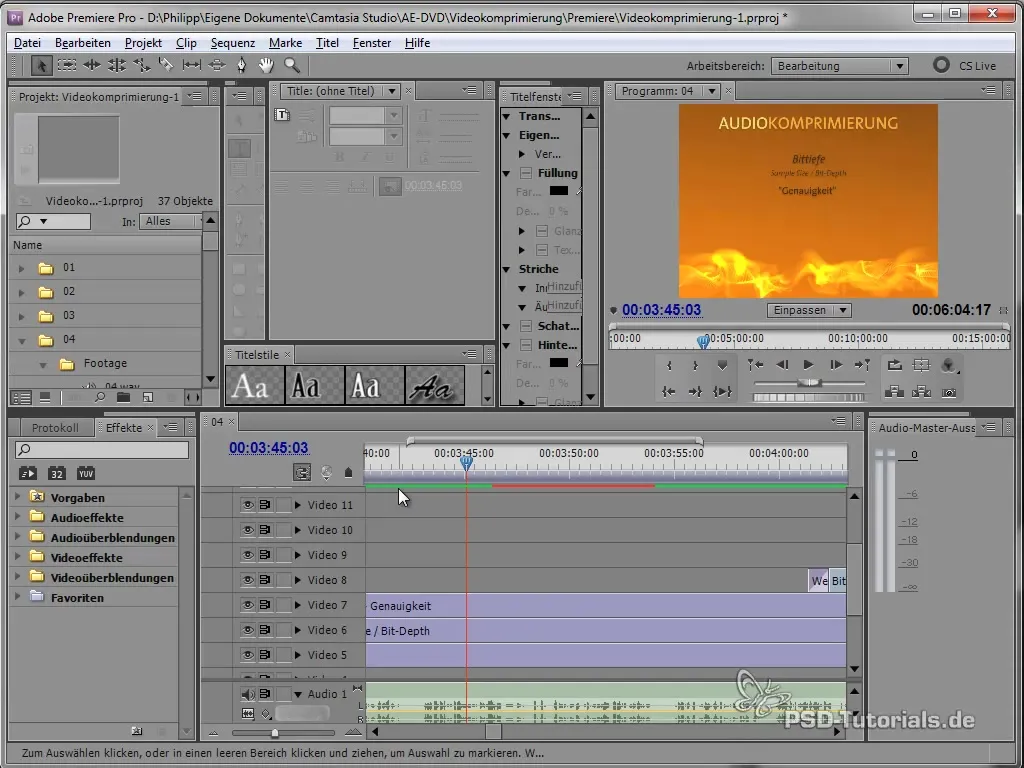
Before I compress videos, I often record the audio with Adobe Audition and edit the video later with Adobe Premiere Pro. In Premiere, you can add titles and animations that give more importance to the tutorial.
12. Adjust render location
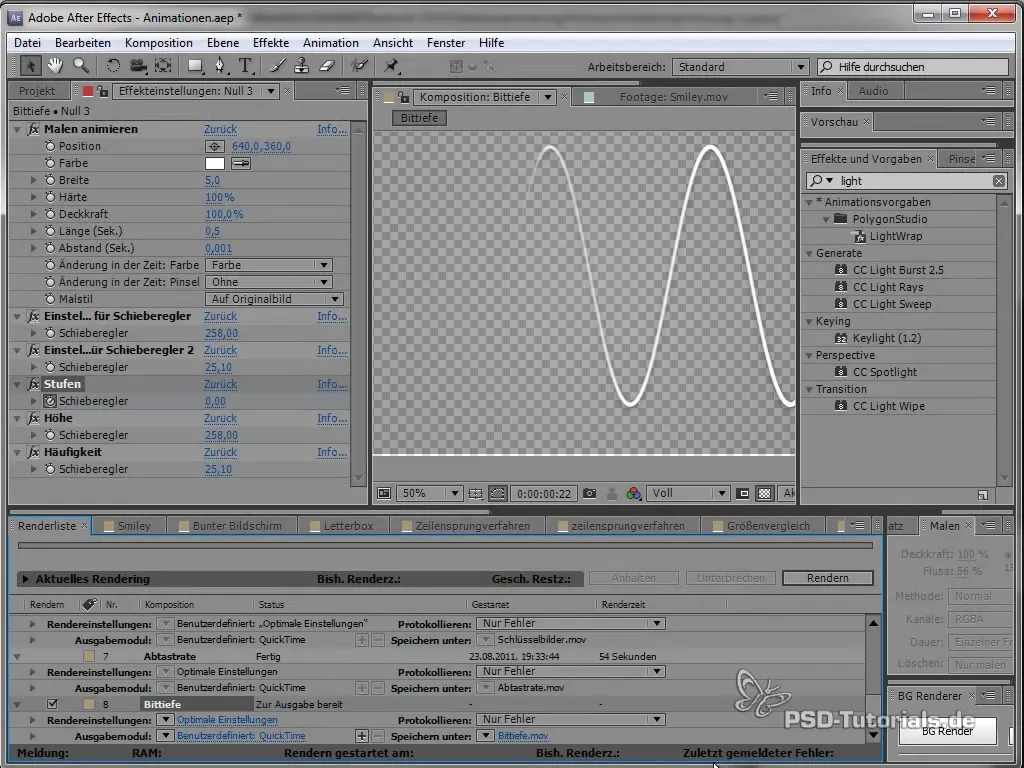
When exporting a video, make sure to set the correct storage location. This prevents confusion and storage shortages on your devices.
13. Export and upload
After adjusting the video and audio quality, you can export the video. Pay attention to appropriate resolutions and frame rates to ensure optimal playback. Compression with Camtasia Studio is also very helpful for the final size of the video.
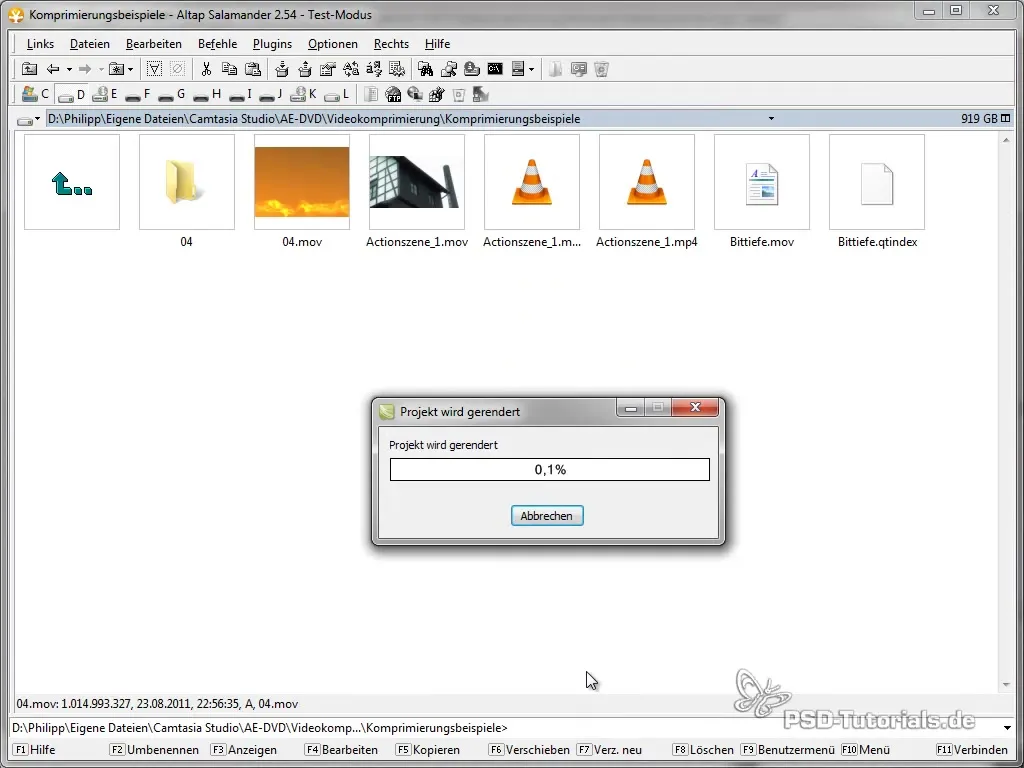
14. Analyze results
After completing the export process, check the file size and test the video quality before uploading it online. A careful analysis ensures a positive viewer experience.
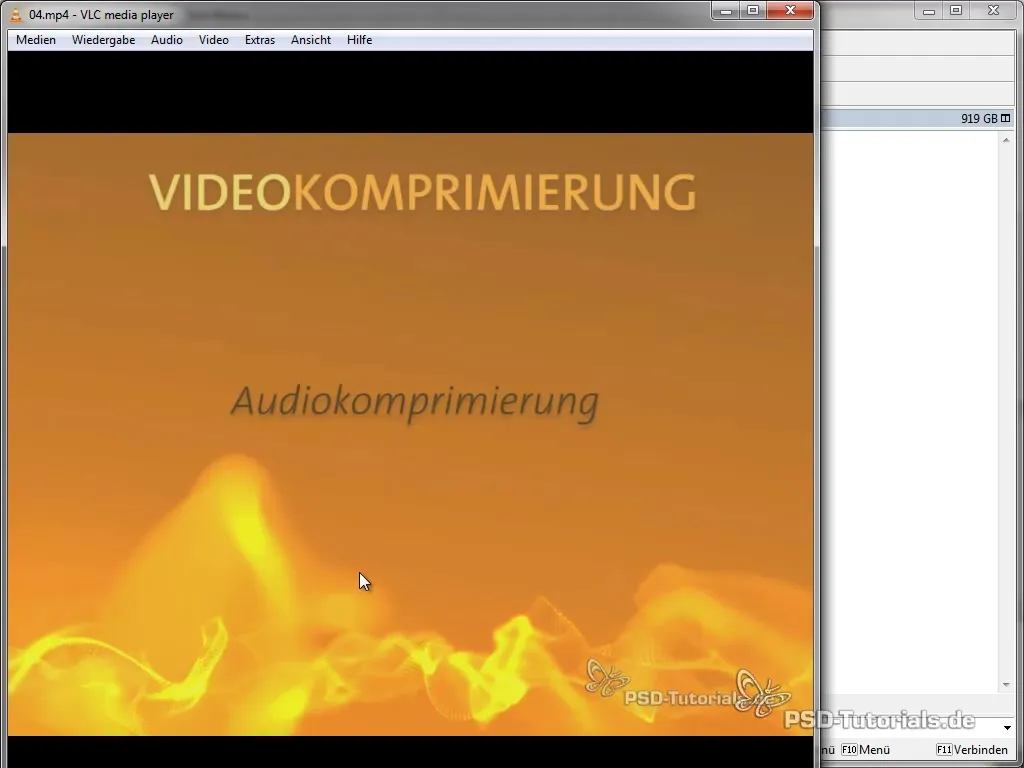
Summary - Effectively Use Video Compression for the Web - Tips and Workflow
Video compression is crucial for the quality and size of your video. With programs like Super and XMedia Recode, as well as a structured workflow, you can successfully optimize your videos for the web. Pay attention to the right settings to find a good balance between quality and file size.
Frequently Asked Questions
Which programs are suitable for video compression?Super and XMedia Recode are highly recommended.
How do I choose the right bitrate for my video?A bitrate of about 1600 kbps is often ideal for web videos.
What about frame rates?The frame rate should be set according to the content of the video; for tutorials, 15 fps is often sufficient.
How can I optimize audio quality?Set audio quality to 44100 kHz and bitrate to 128 kbps for a good balance.
Can I compress my videos with Adobe Premiere Pro as well?Yes, that's possible, but using specialized software for compression is more effective.
