Every photographer knows this: The sky doesn’t look as vibrant in the original image as one would wish. However, with clever adjustments, you can intensify the colors of your sky while simultaneously improving the overall impact of your holiday photo. In this tutorial, you will learn how to optimize the sky colors using HSL and grayscale adjustments.
Key Insights
- Luminance affects the brightness of colors in the image.
- Saturation enhances the hues, giving the sky more vibrancy.
- By adjusting hues, you can fine-tune the color tones.
Step-by-Step Guide
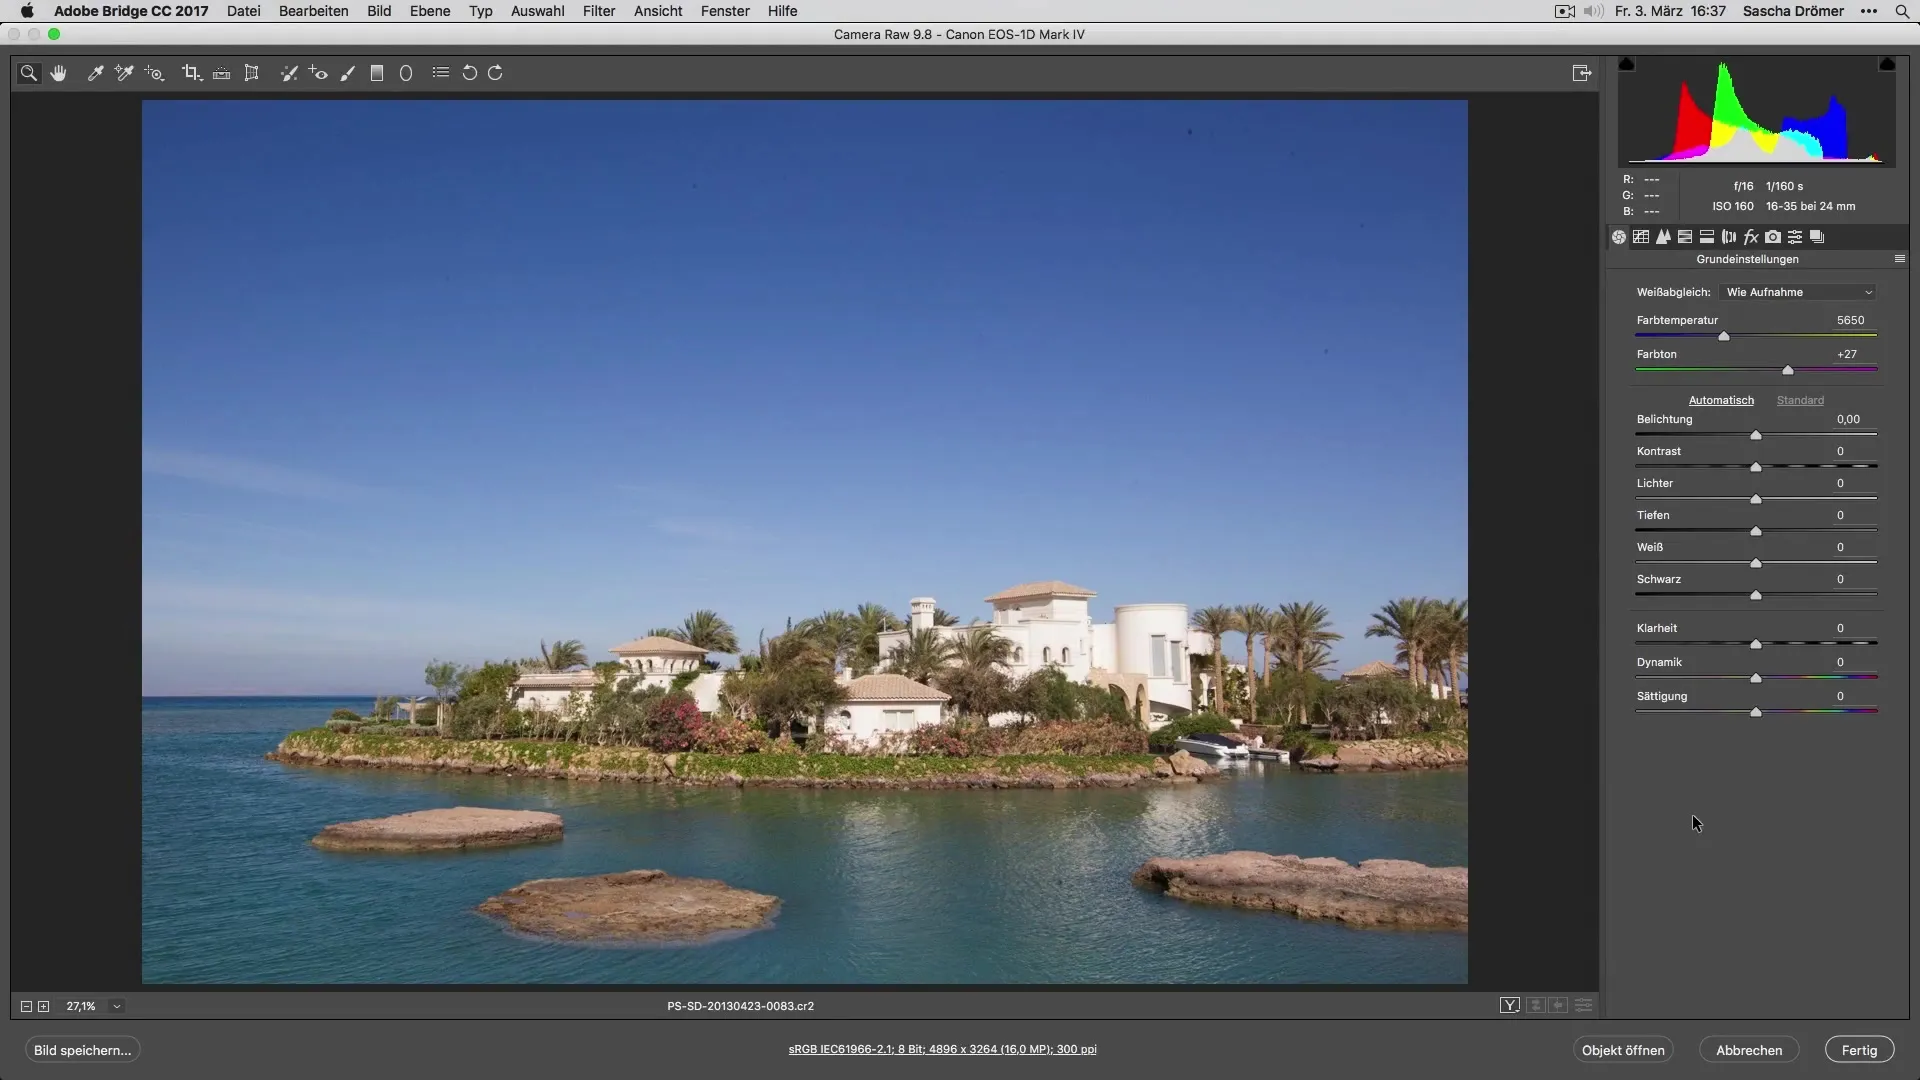
First, you need the image you want to optimize. We start with a raw file of the image to achieve the best results.
Adjust Brightness
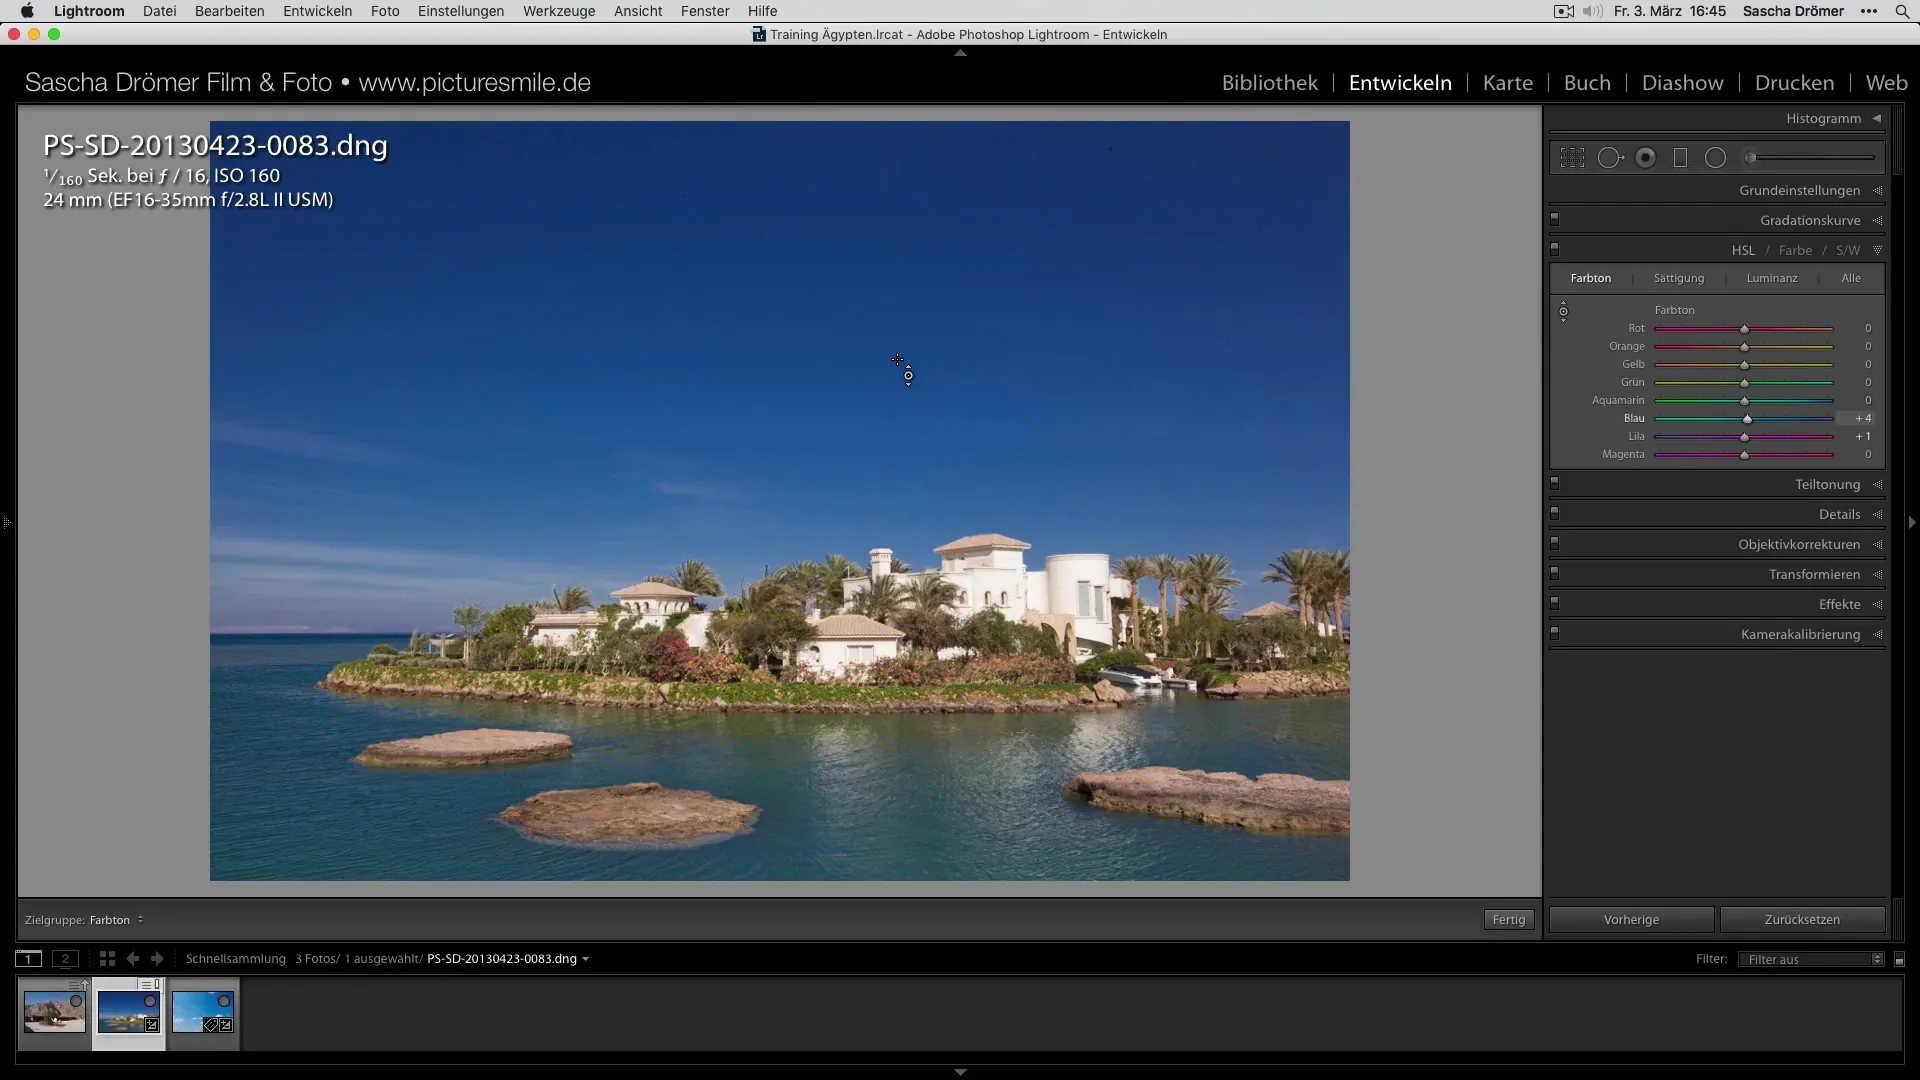
Go to the HSL section of your image editing software. Activate the selective adjustments. Here you can influence the luminance of the various hues in the sky.
When working in the luminance area, make sure to adjust only the brightness levels. Move the mouse horizontally in your image to see the cross and shift it from left to right. You will notice that the brightness of the blue and purple tones in the sky changes.
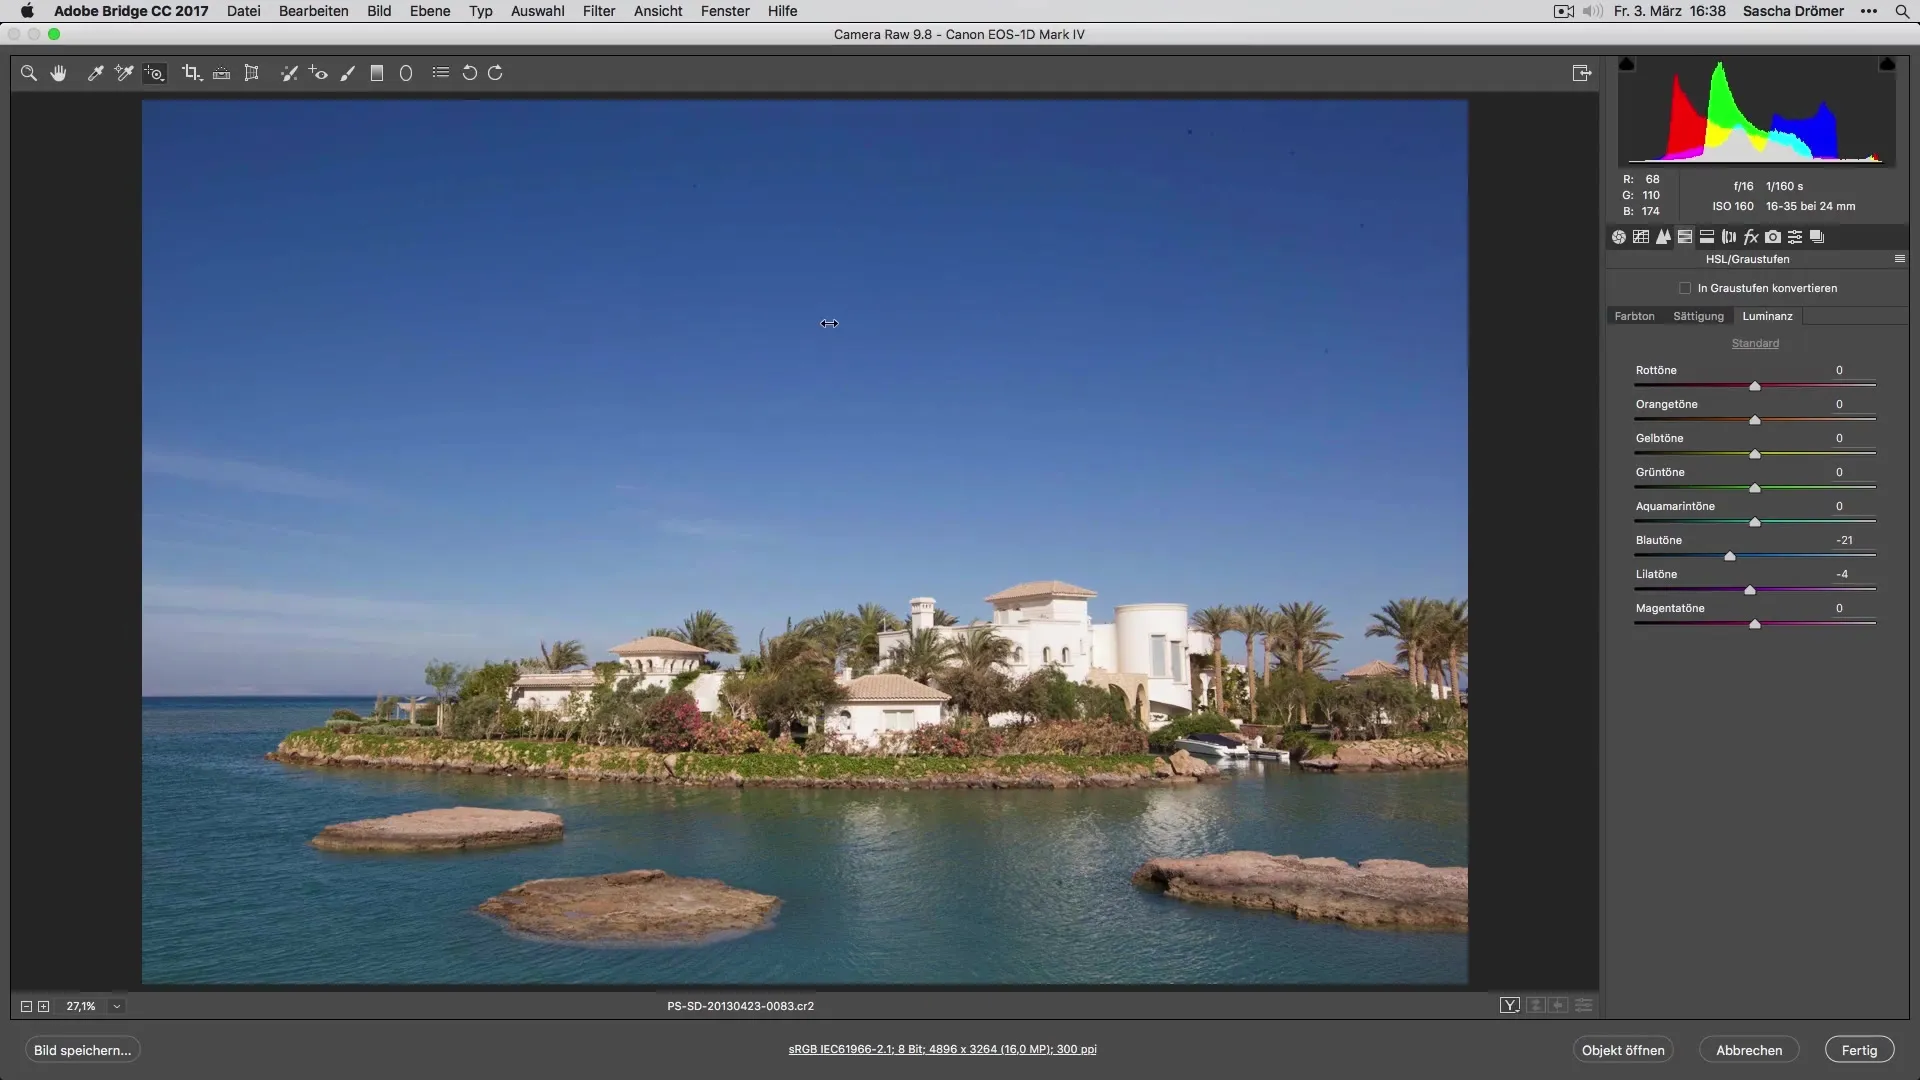
This adjustment already gives the sky tones a more intense aura. Compare the image before and after the adjustment to see the progress.
Intensify Saturation
After adjusting the brightness, now proceed to saturation. Stay in the selective adjustments and increase the saturation of the sky tones. Here it makes sense to exaggerate this step slightly to show a clear effect.
Watch how the sky becomes livelier with the increased saturation. Enhanced saturation brings your sky colors to life and creates an exciting look.
Fine-tune Hue
The last step is adjusting the hue. It is important to make only subtle changes to maintain a natural look. A strong intervention can quickly appear unnatural.
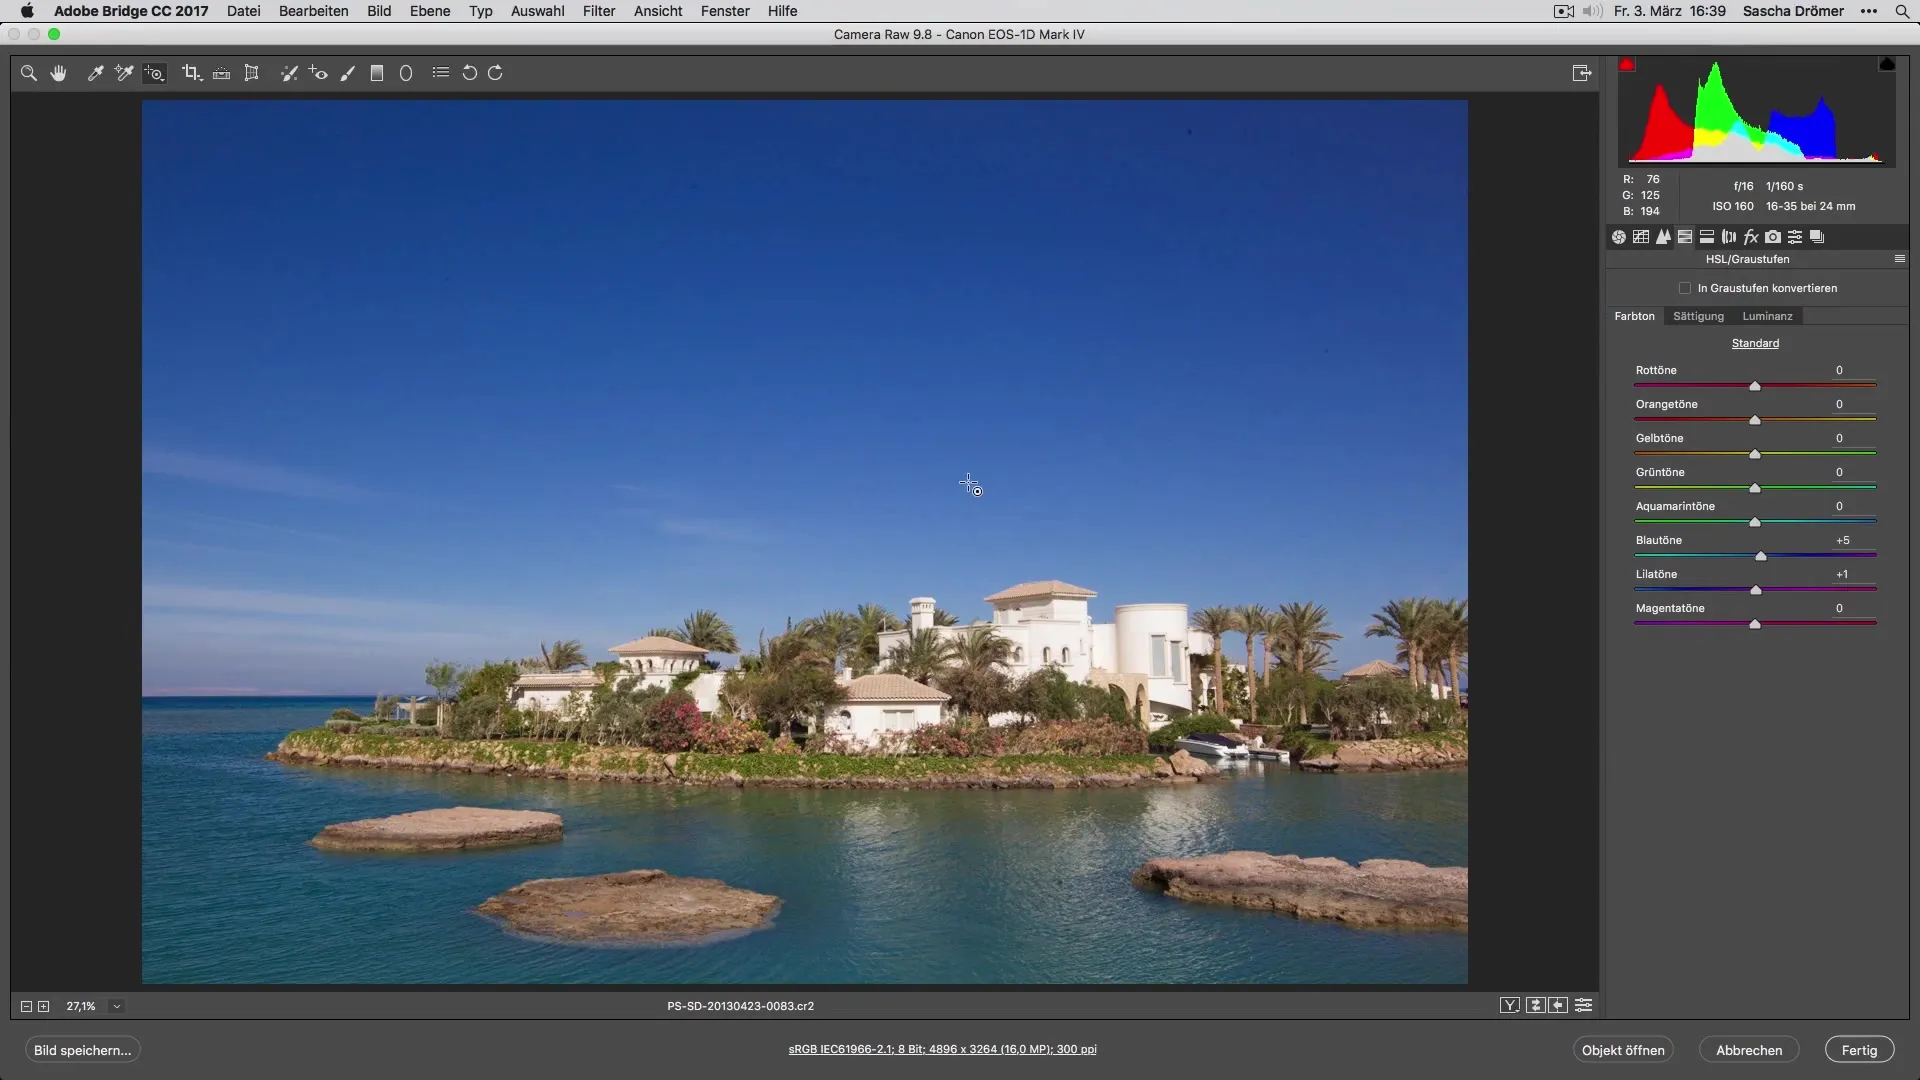
You should adjust the hue only minimally adjust to capture the exact nuances. Compare the image again: The colors are now more intense and appear more harmonious and vibrant.
Overall Adjustment
Often, when working with luminance and saturation, you need to slightly readjust the hue. This happens similarly in most image editing programs. Here is the button to activate HSL adjustments.
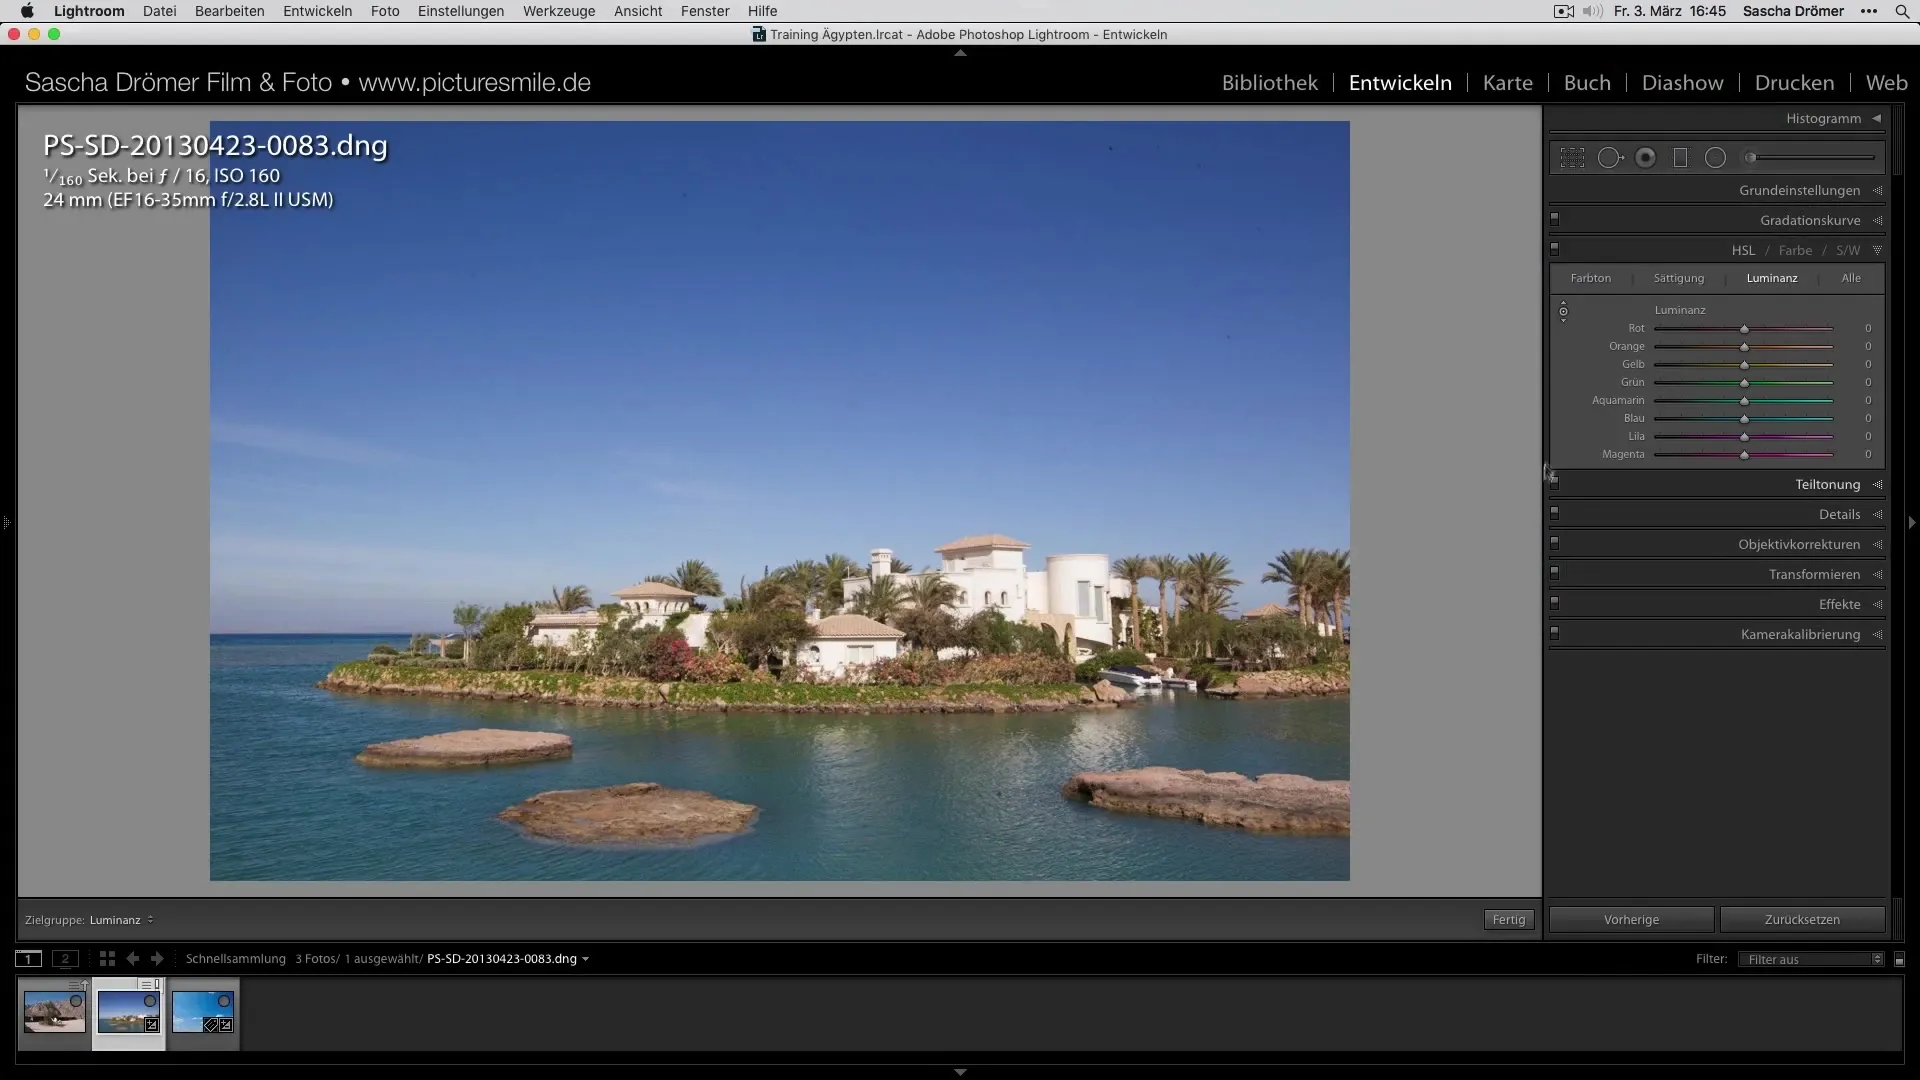
Hold down the mouse button while sliding the hue up or down to achieve the desired results. These fine adjustments are crucial for a balanced and aesthetic holiday photo.
Summary – Perfectly Highlighting Holiday Photos – Color Optimization for the Sky
In this guide, you have learned how to optimize the colors of your sky through targeted brightness, saturation, and hue adjustments. The best results are achieved when you gradually adjust the various parameters and regularly check the changes.
Frequently Asked Questions
What is HSL?HSL stands for Hue, Saturation, and Luminance and allows for precise color adjustments.
How can I adjust colors in Lightroom?Click the button for selective adjustments in the HSL area and adjust the values for brightness and saturation.
Are adjustments in a raw file better than in JPEG?Yes, raw files offer more room for adjustments without loss of quality.
How can I revert the changes?Most image editing programs have an undo function or show adjustments in layers.
Can I transfer the colors to other images?Yes, many programs allow you to copy and paste adjustments between different images.


