In this guide, you will learn how to create appealing YouTube Shorts using the free video editing program DaVinci Resolve on your PC. Short videos are a great way to showcase your creativity and potentially go viral. In the following steps, I will guide you through the entire process, from installing the program to tips on making your videos even more engaging. Let's get started!
Main Takeaways
- You need DaVinci Resolve 18 to create short videos.
- Make sure to record and edit your video in portrait 9:16 format.
- Use effects and titles to make your shorts more visual and engaging.
- Ensure to optimize audio quality and remove background noise.
Step-by-Step Guide
1. Installing DaVinci Resolve 18
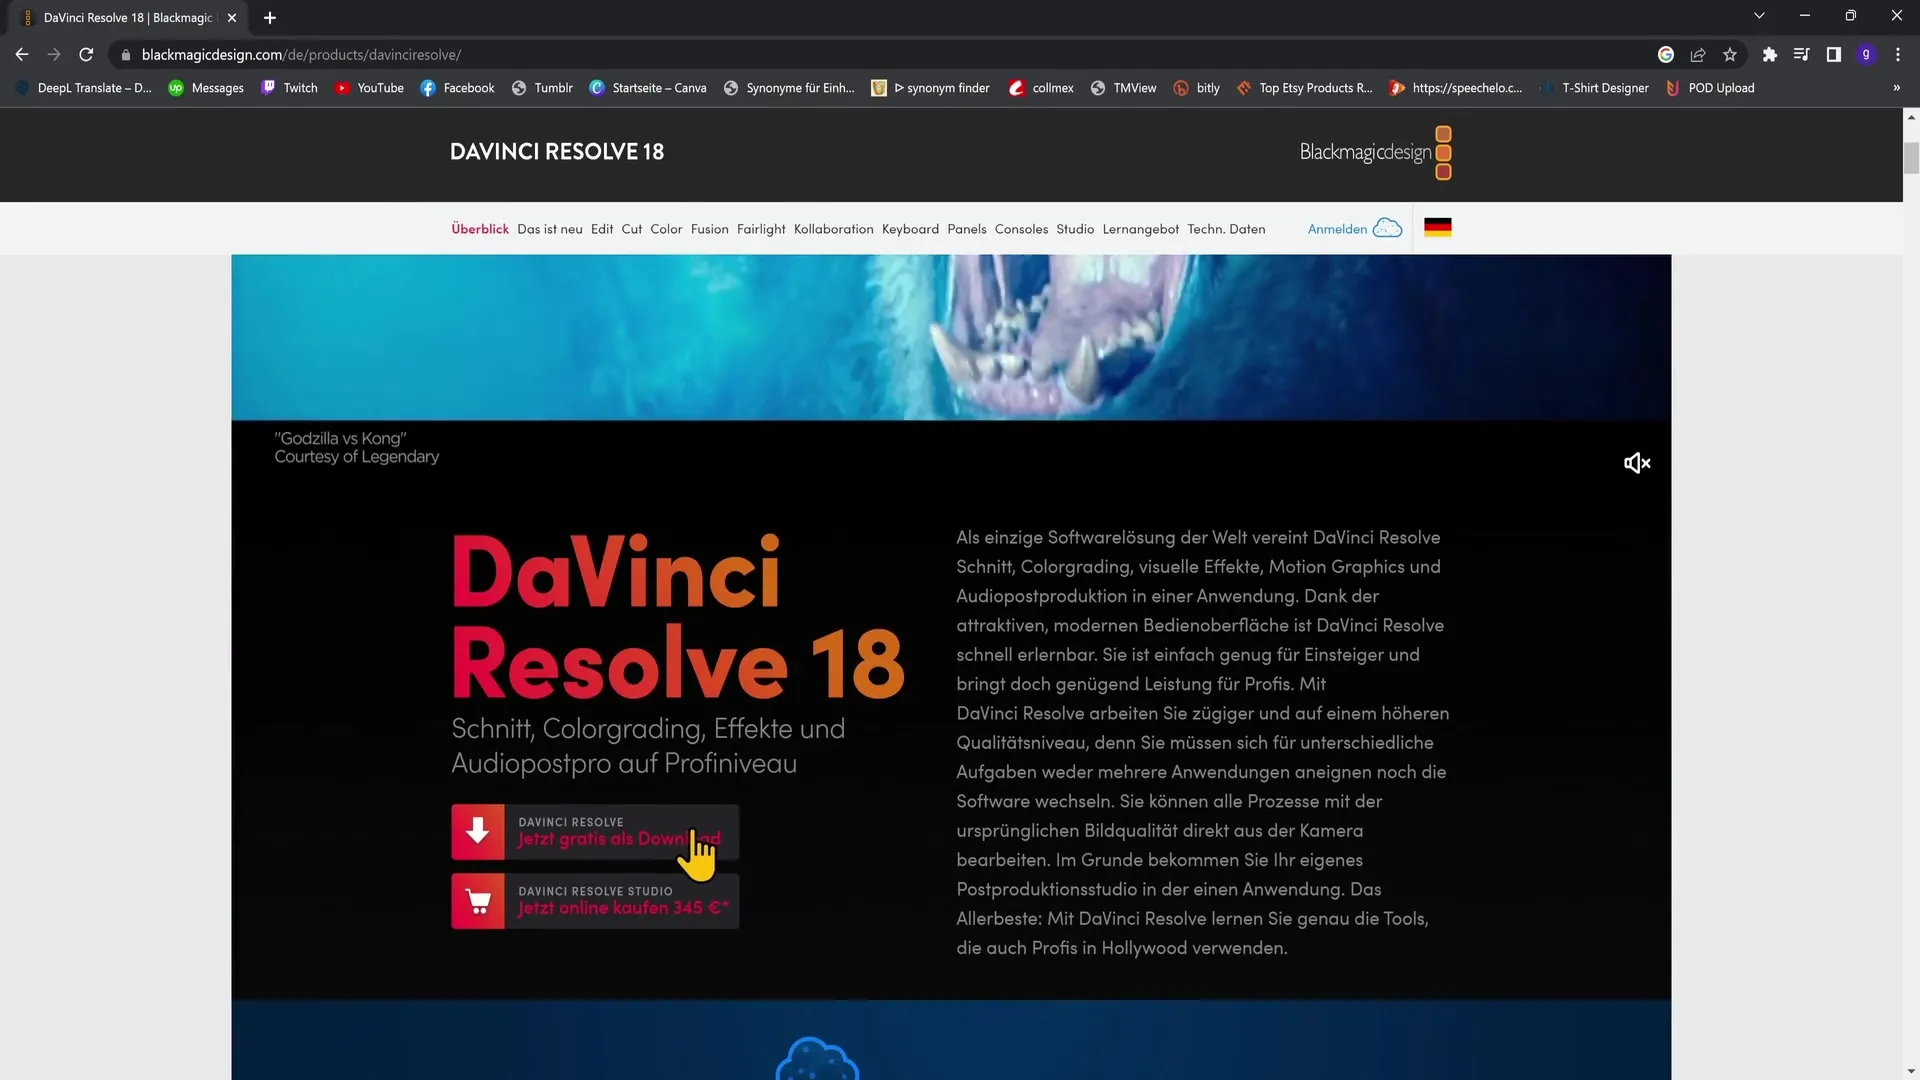
Visit the official DaVinci Resolve website and download version 18. Click on the download button.
On the left side, select your operating system. The program is available for Windows, macOS, and Linux. Make sure to choose the free version. Fill in the required data and click on "Sign in and download".
2. Creating a New Project
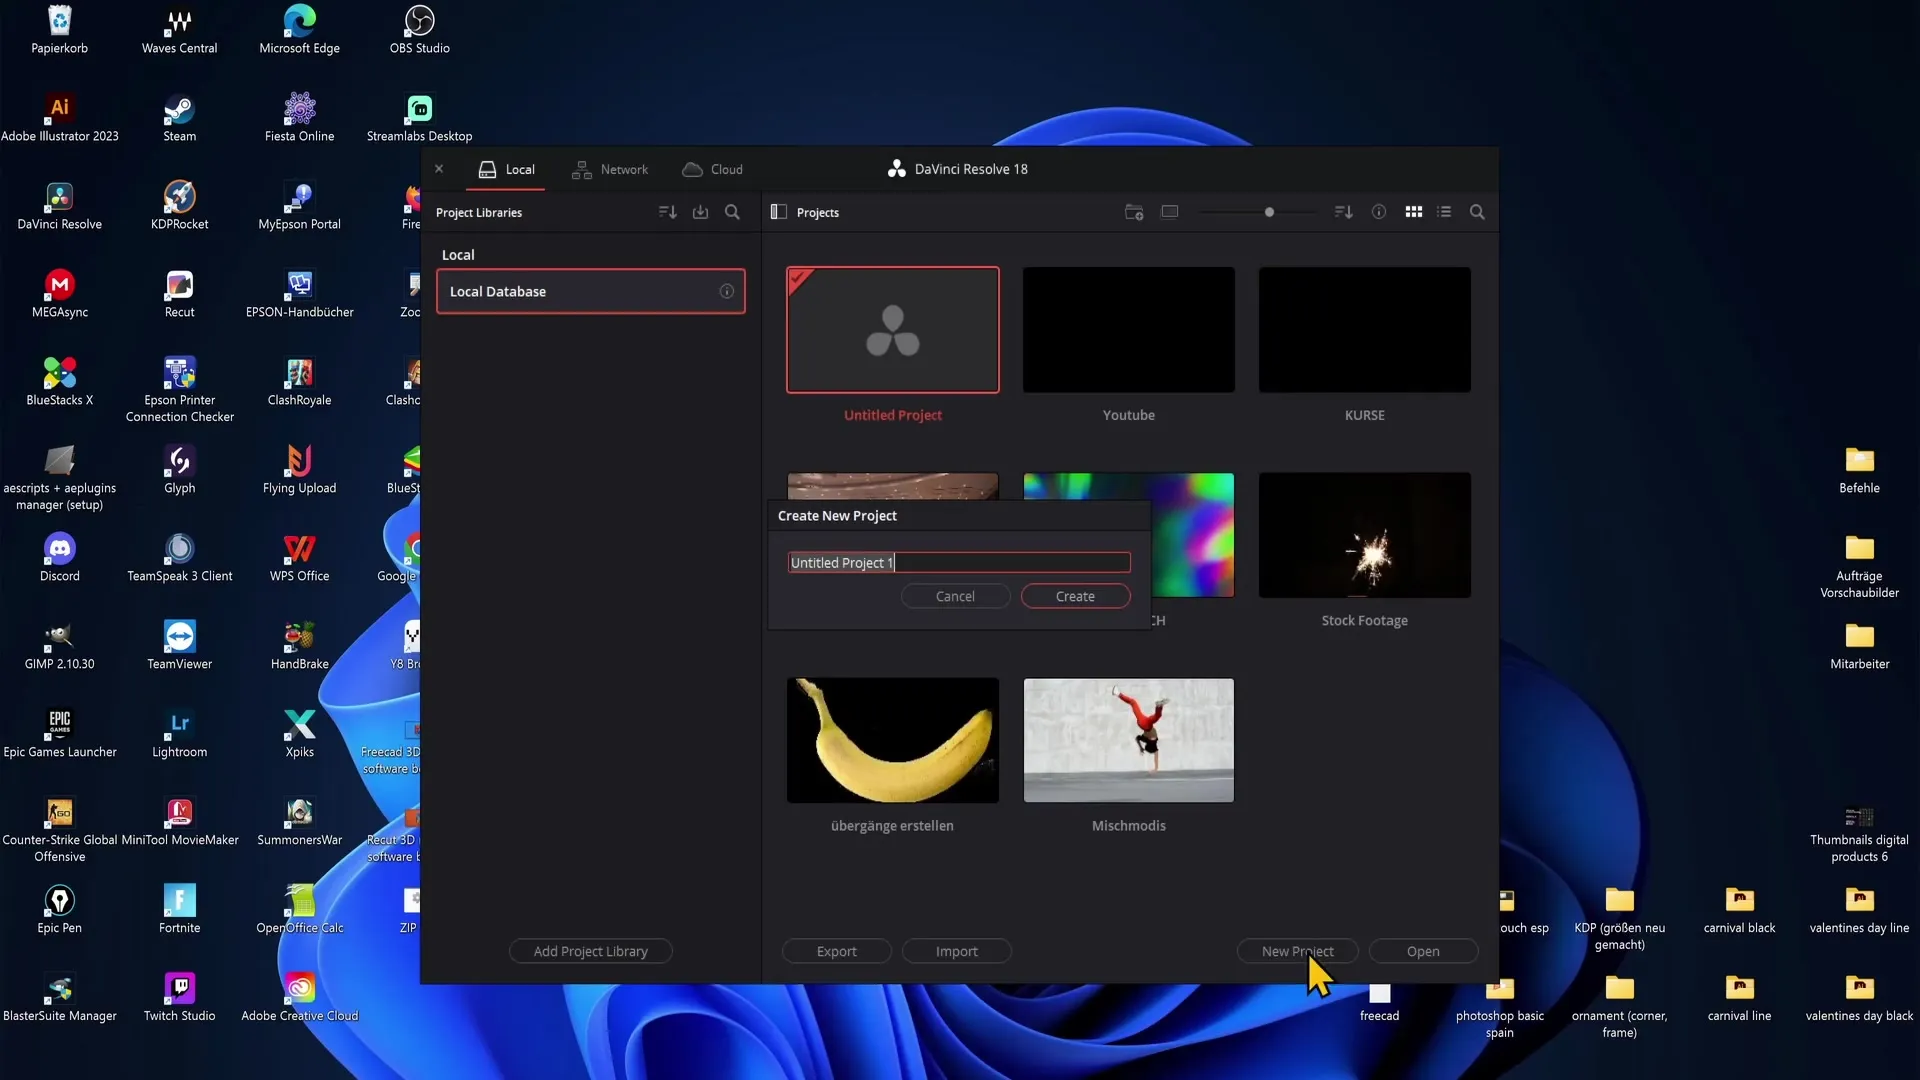
Once the installation is complete, open DaVinci Resolve. Click on "New Project" at the bottom right corner of the screen to create a new project. Name your project, for example, "YouTube Shorts," and click on "Create".
3. Creating a Timeline
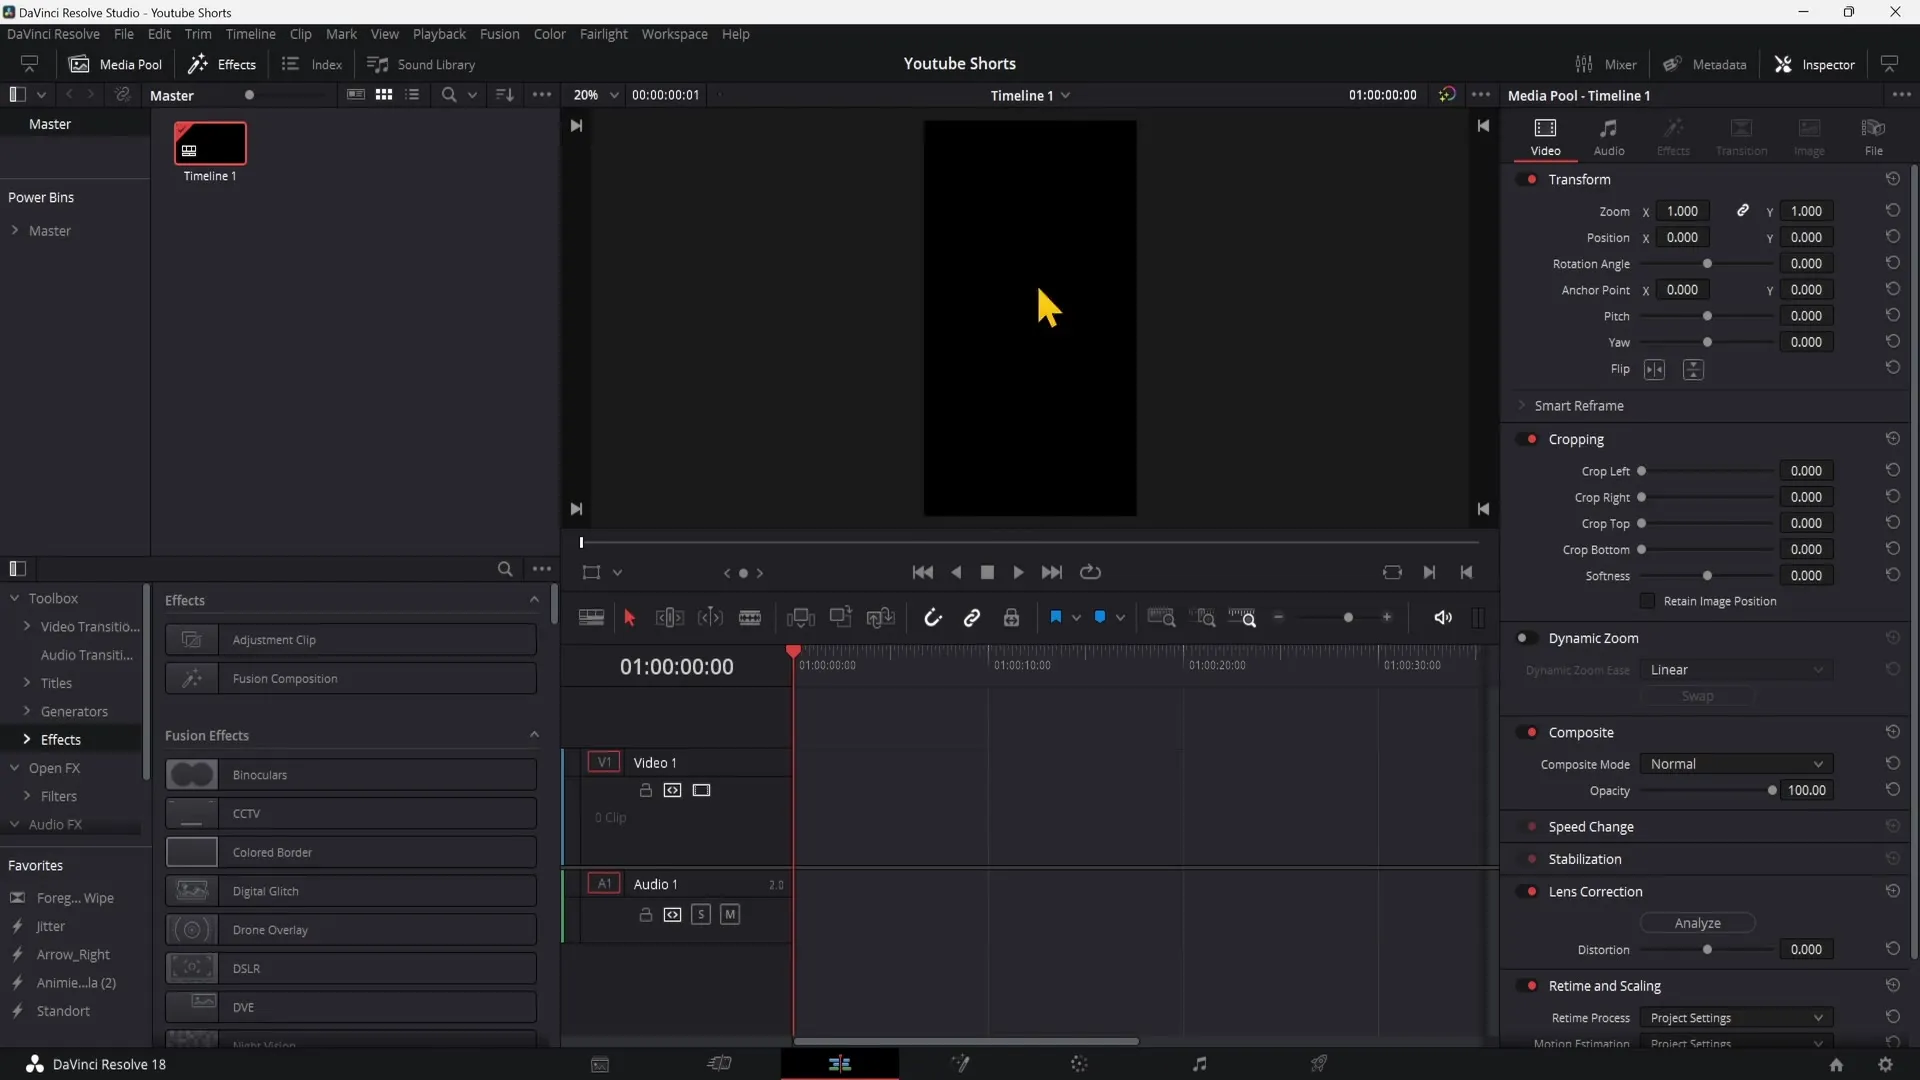
Switch to the "Edit" tab and right-click in the "Media Pool" area. Choose "Create New Timeline". Uncheck "Use Project Settings" and select the following settings: you need 1080x1920 for the format to have your video in portrait orientation.
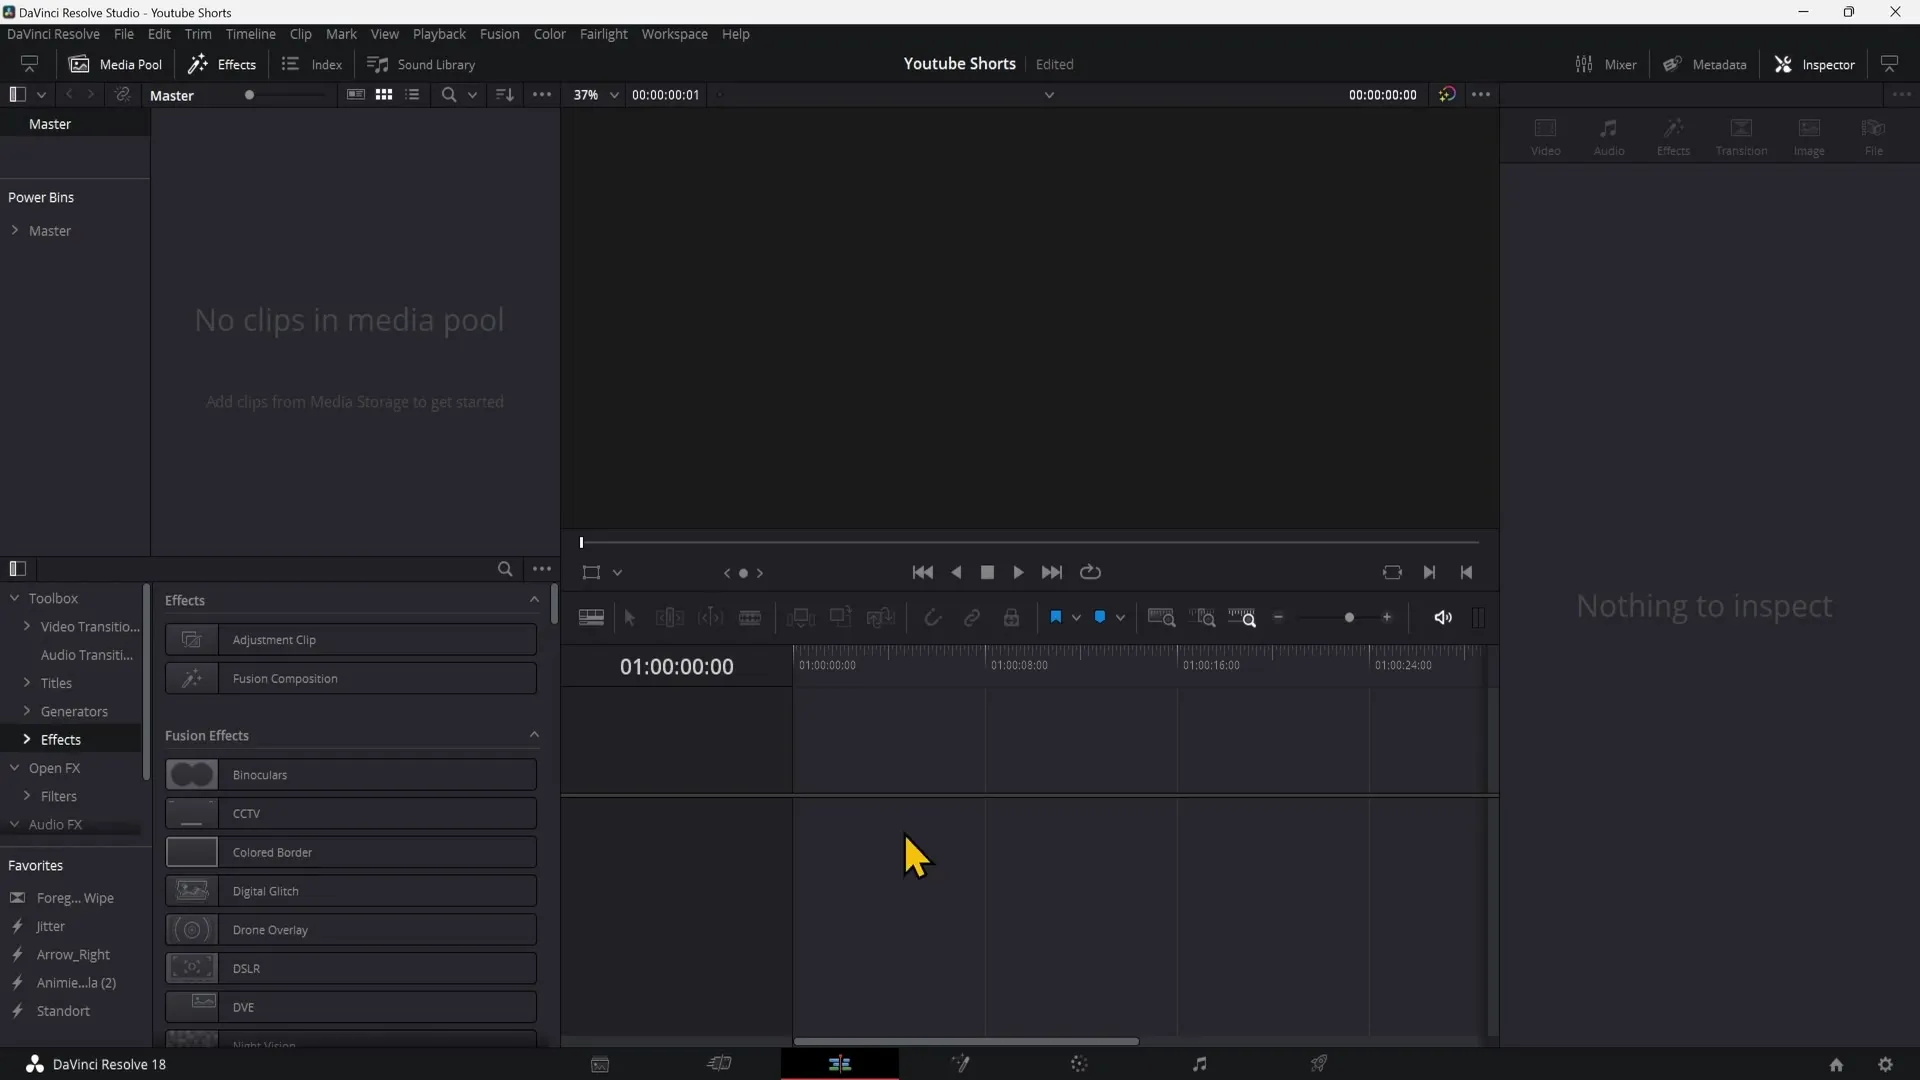
Click on "Create". Your timeline is now created, and you can start editing your video.
4. Importing Video
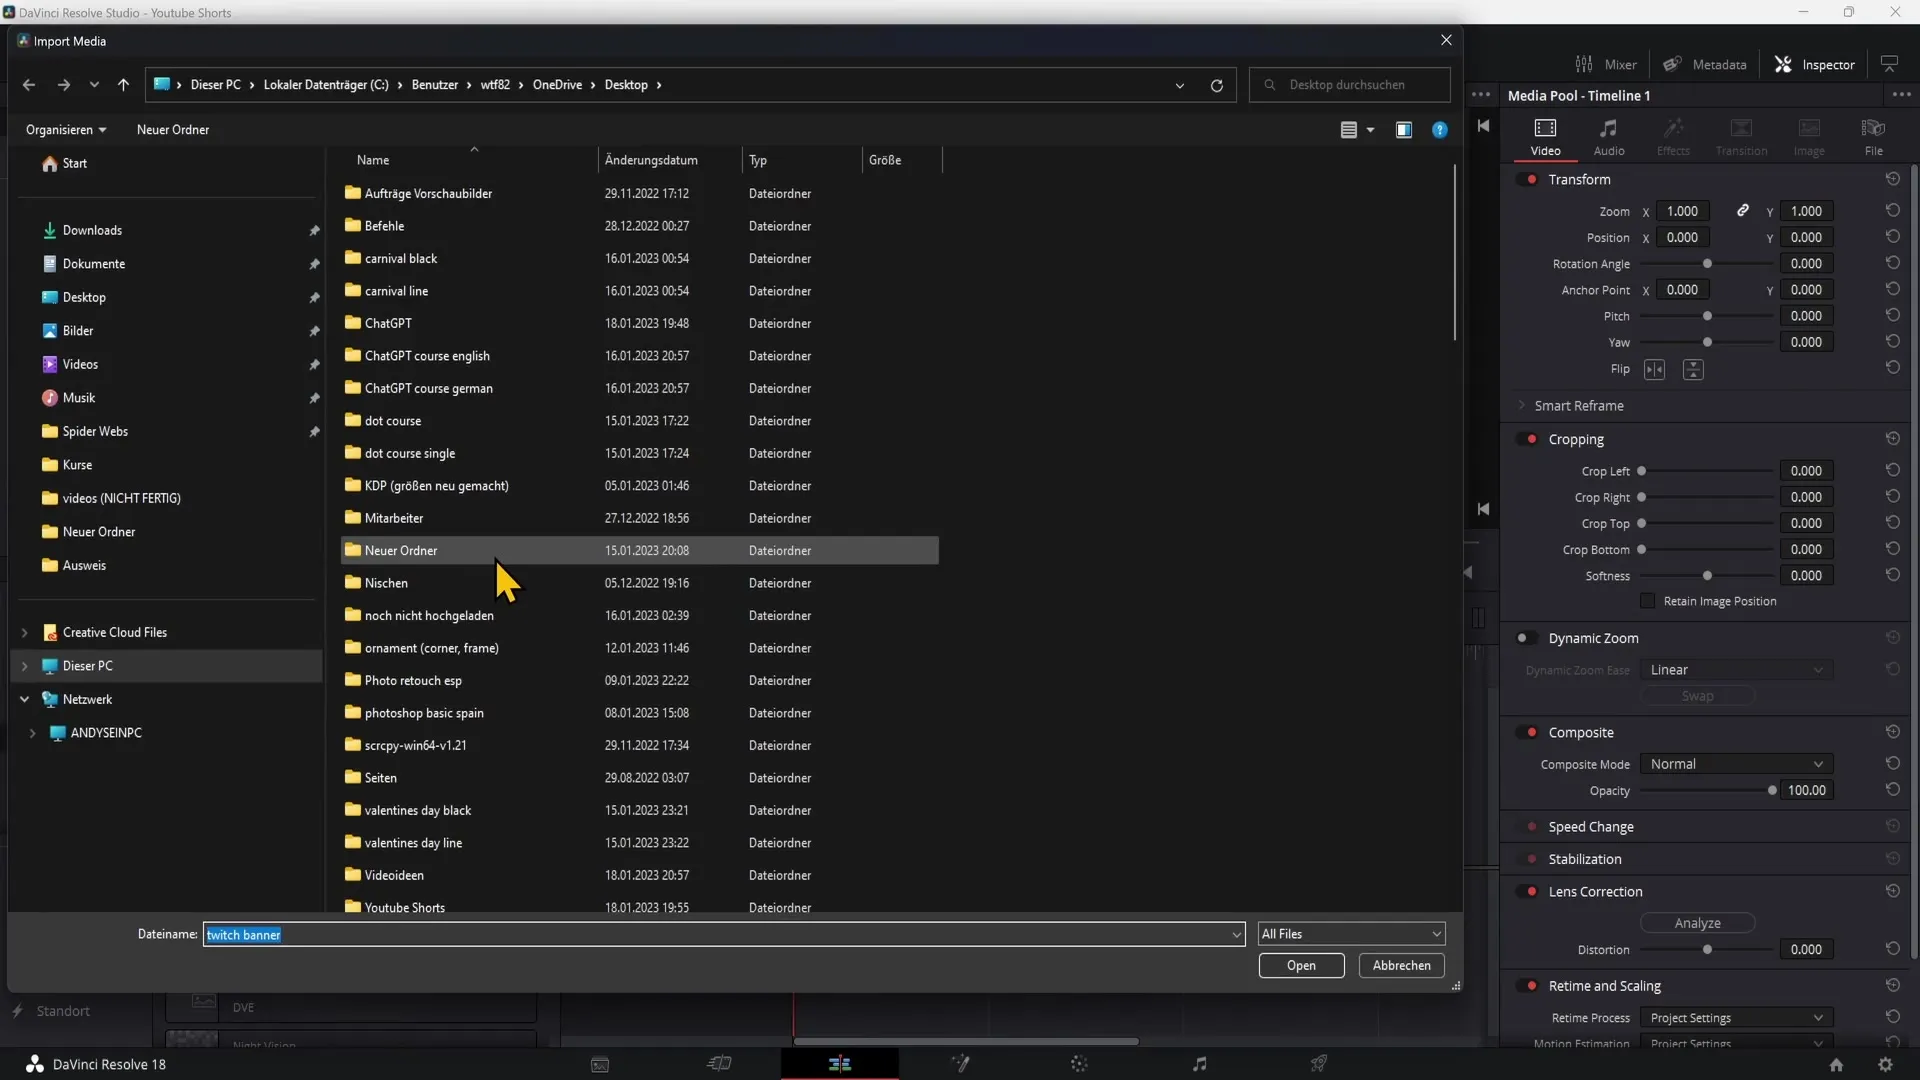
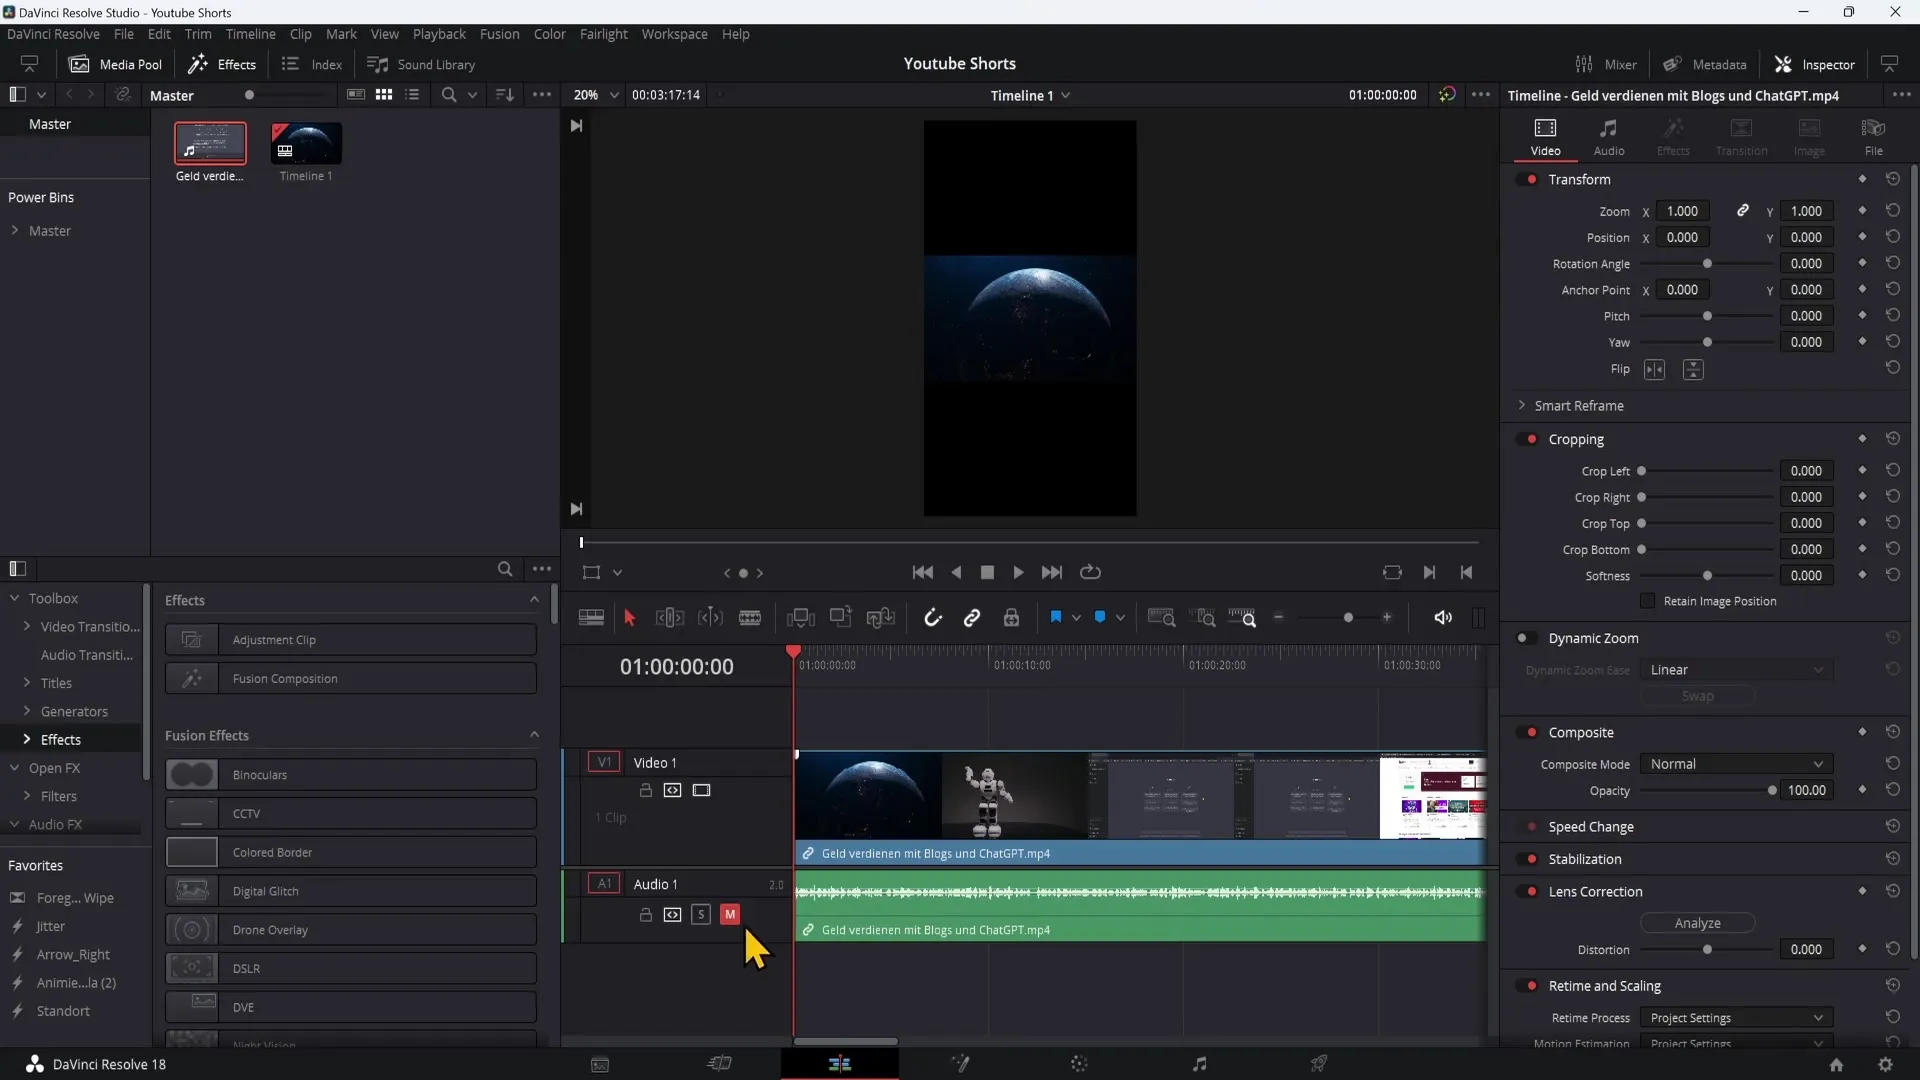
To import a video into your project, right-click in the Media Pool and choose "Import Media". Select the file you want to use and drag it into your timeline using the left mouse button.
In my example, I will mute the audio track. Click on the mute button to silence the sound while editing.
5. Video Editing
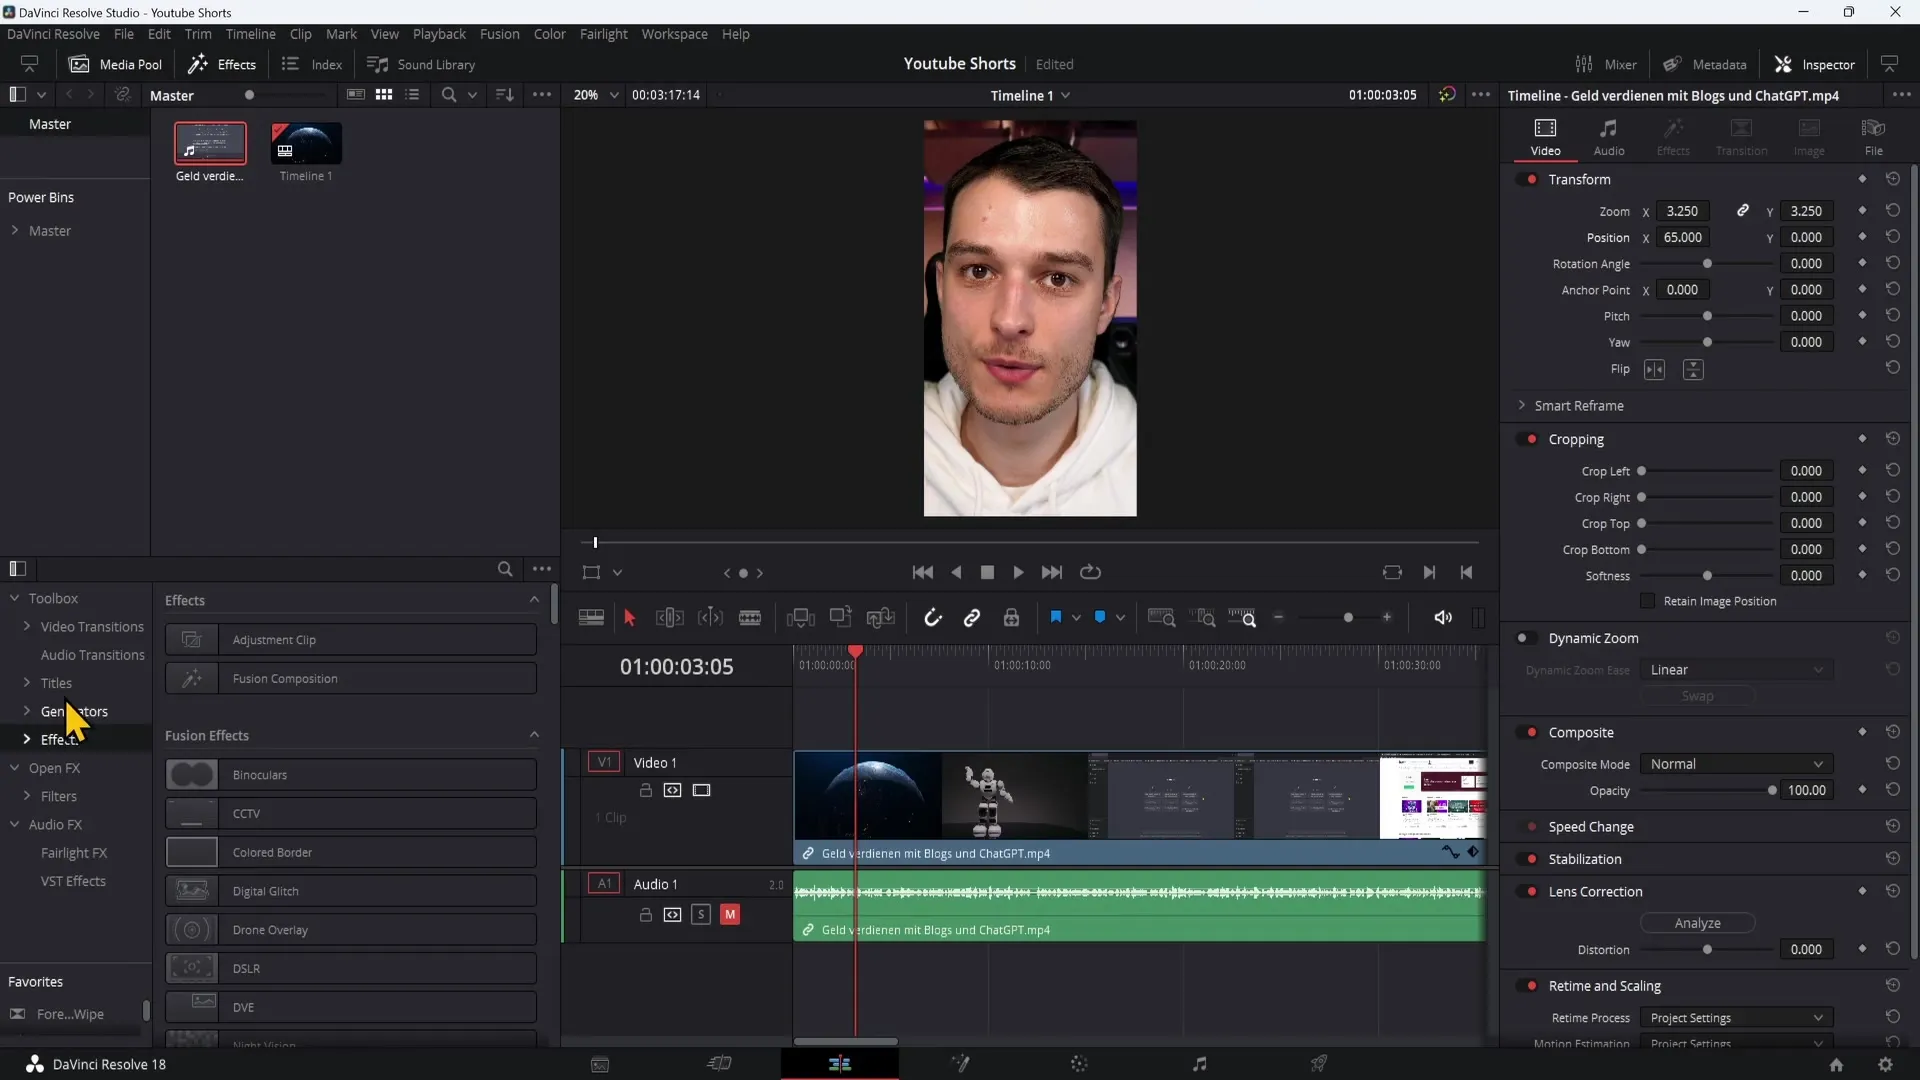
Determine if your video needs to be cut from 16:9 to 9:16 format. Zoom in on the inspector if needed to ensure important text and objects are clearly visible. Make sure your main content stays in the center.
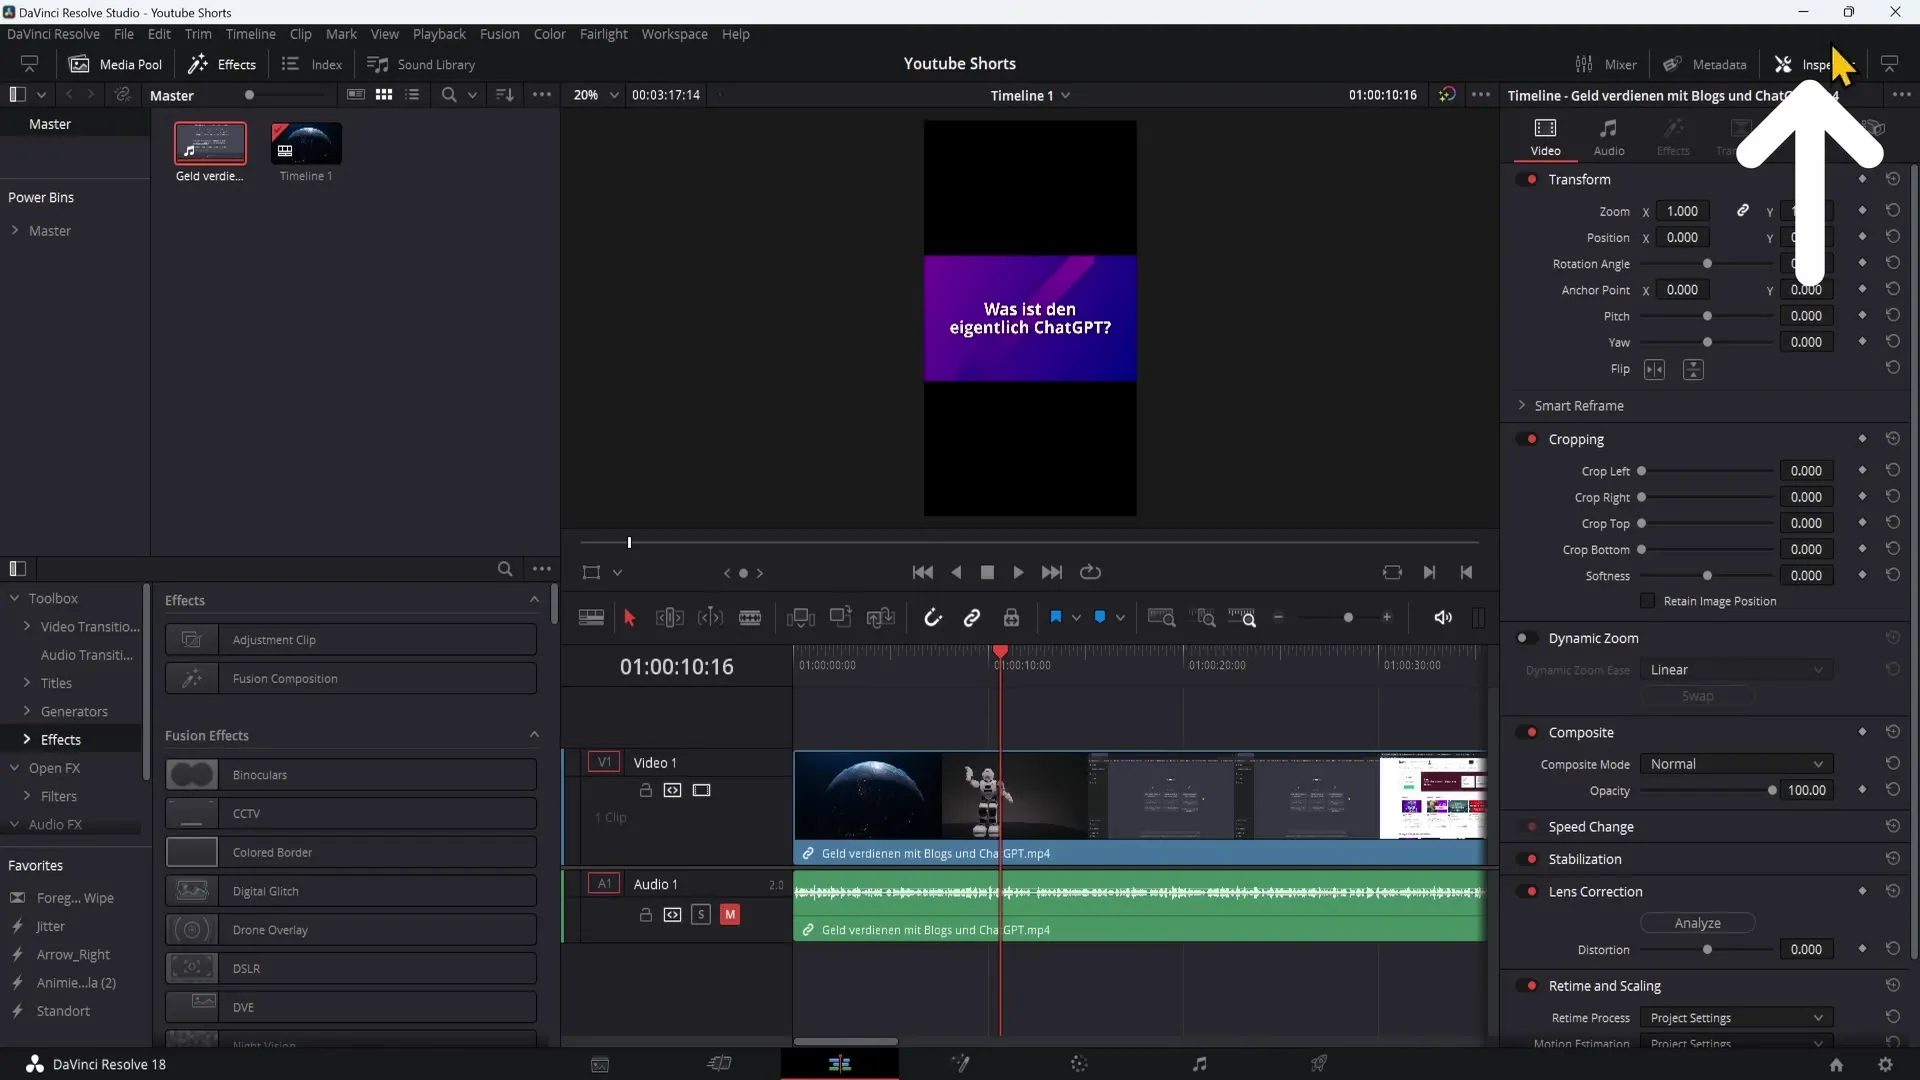
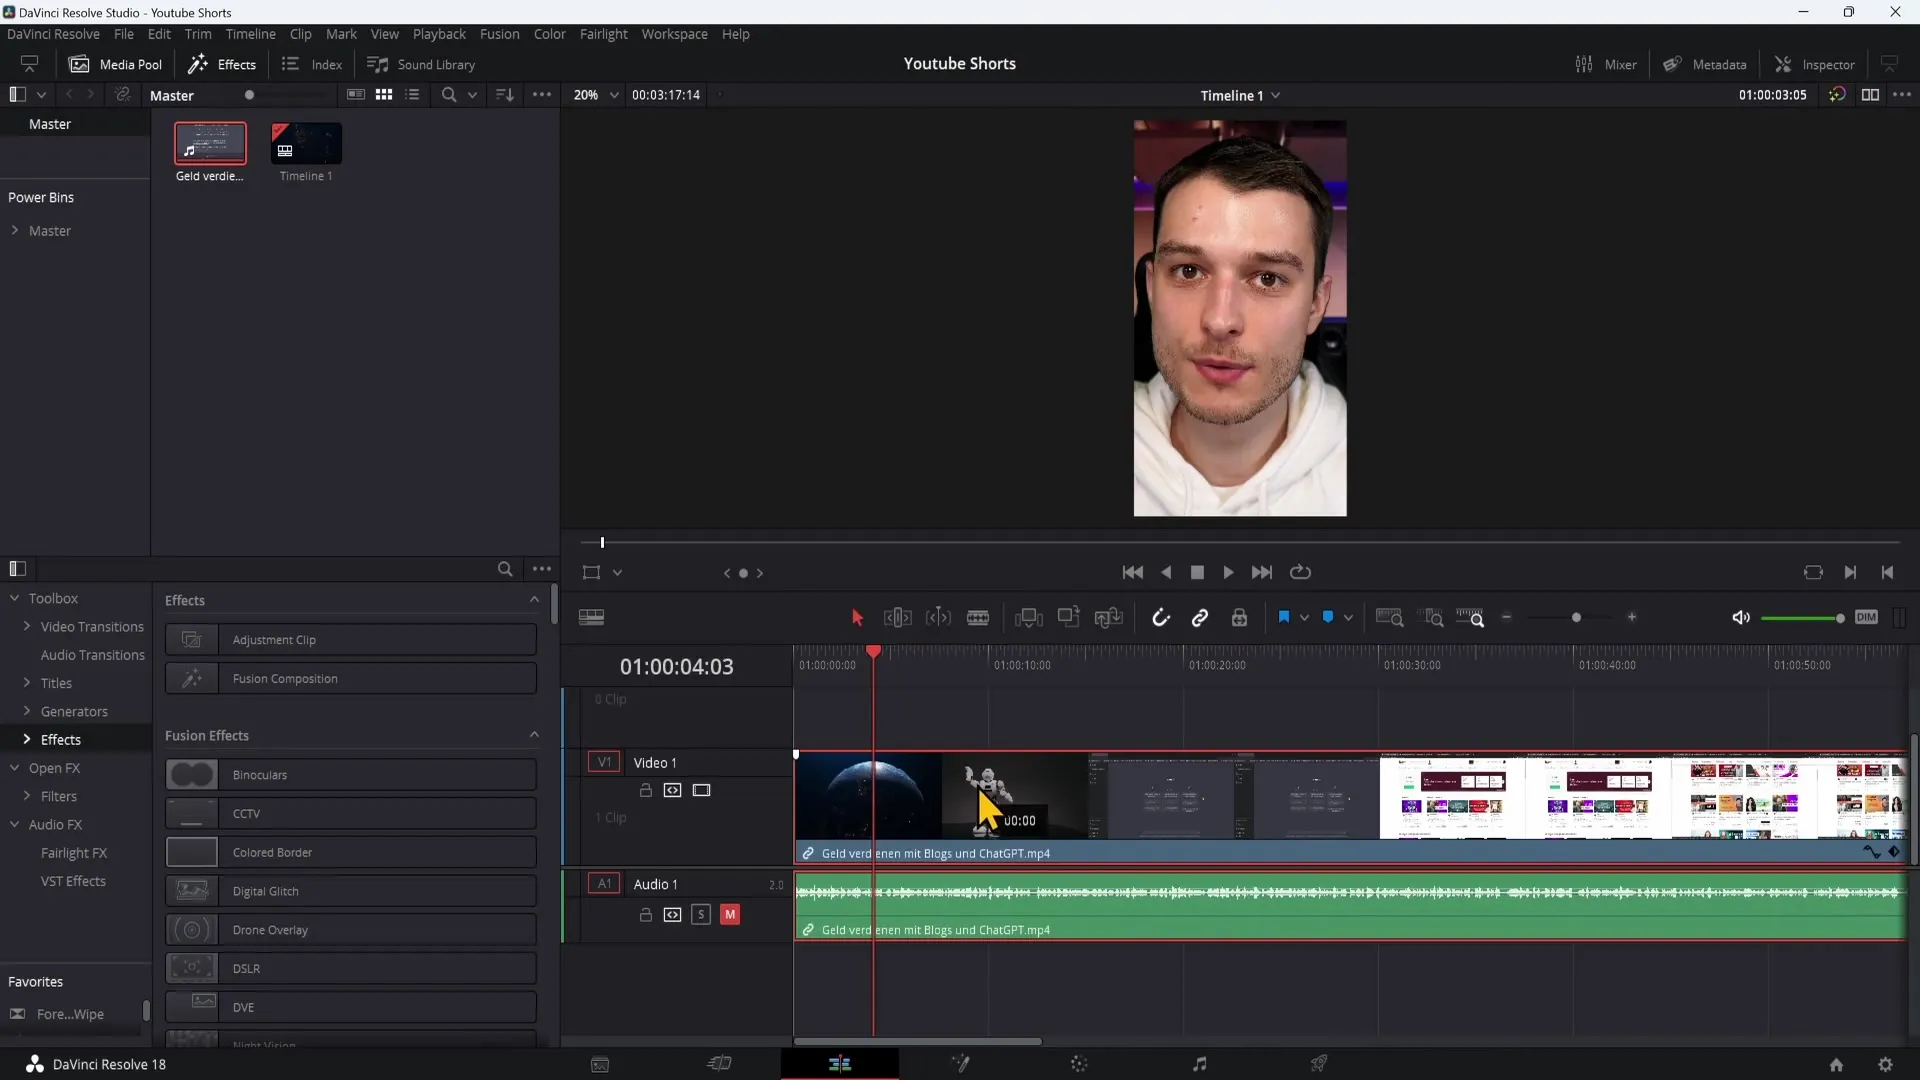
With the selection tool, you can move and adjust clips. Click on the clip and drag it to the desired position.
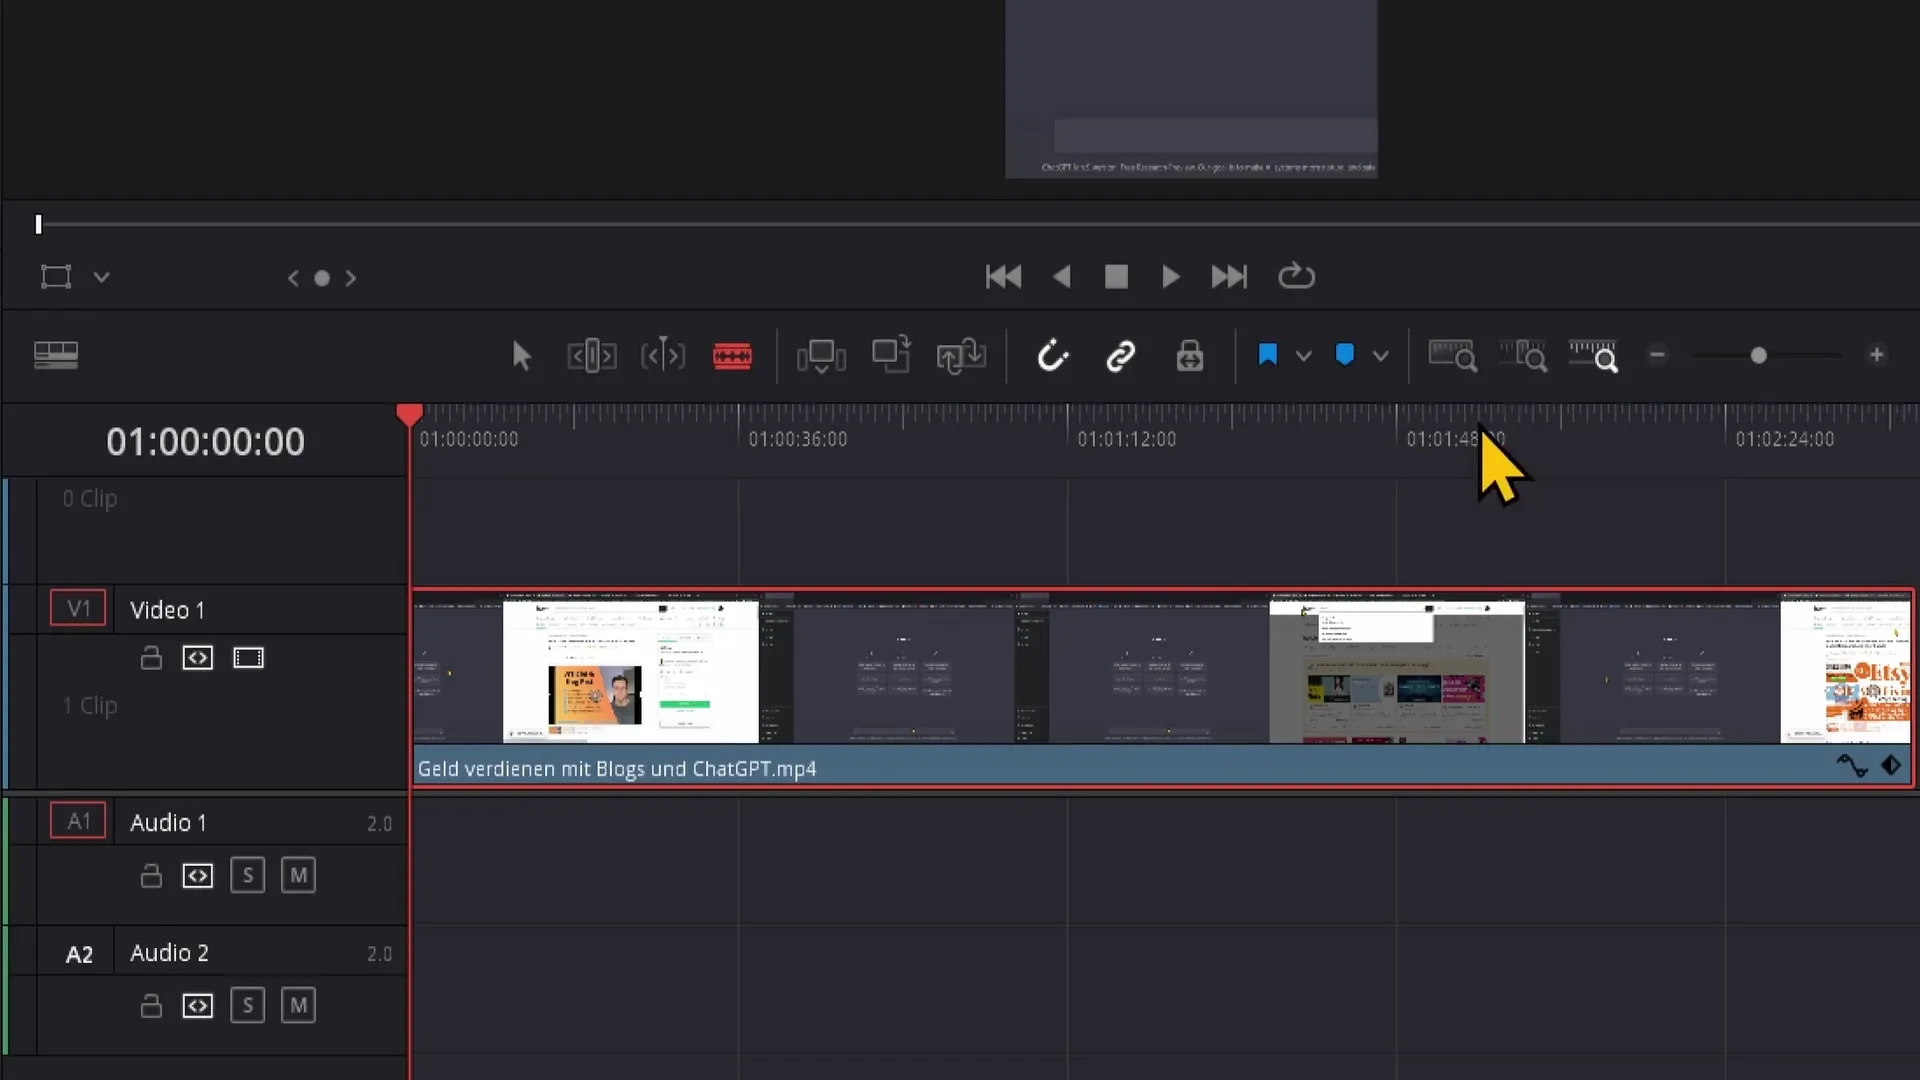
If you want to make a cut using the "Razor" tool, place the cursor at the desired location in the timeline and make the cut there.
6. Adding Effects and Transitions
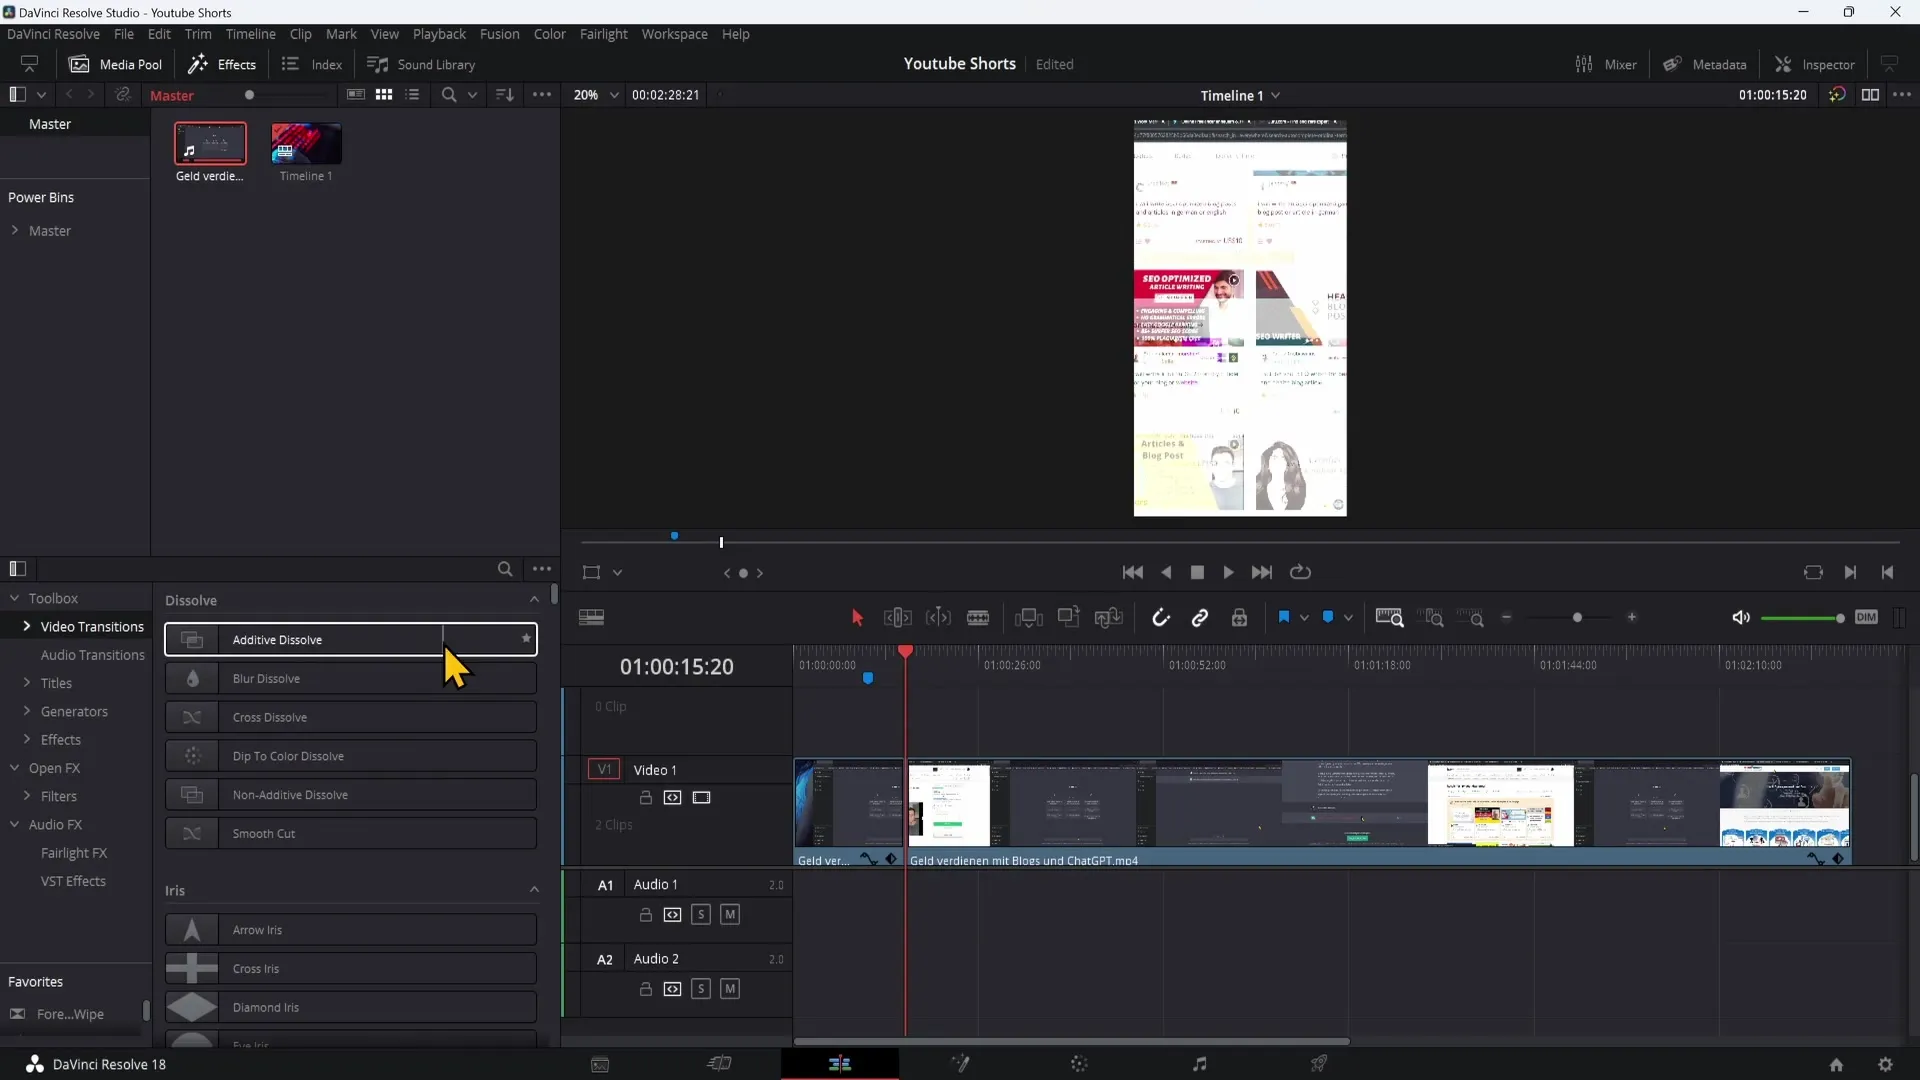
To make your shorts more interesting, add effects. In the top left corner, there is the "Effects" tab. Here you will find various effects, text overlays, and transitions. You can drag and drop these elements into your timeline.
To add a video transition between two clips, simply drag a transition over the interface of the two clips in your timeline.
7. Inserting Titles
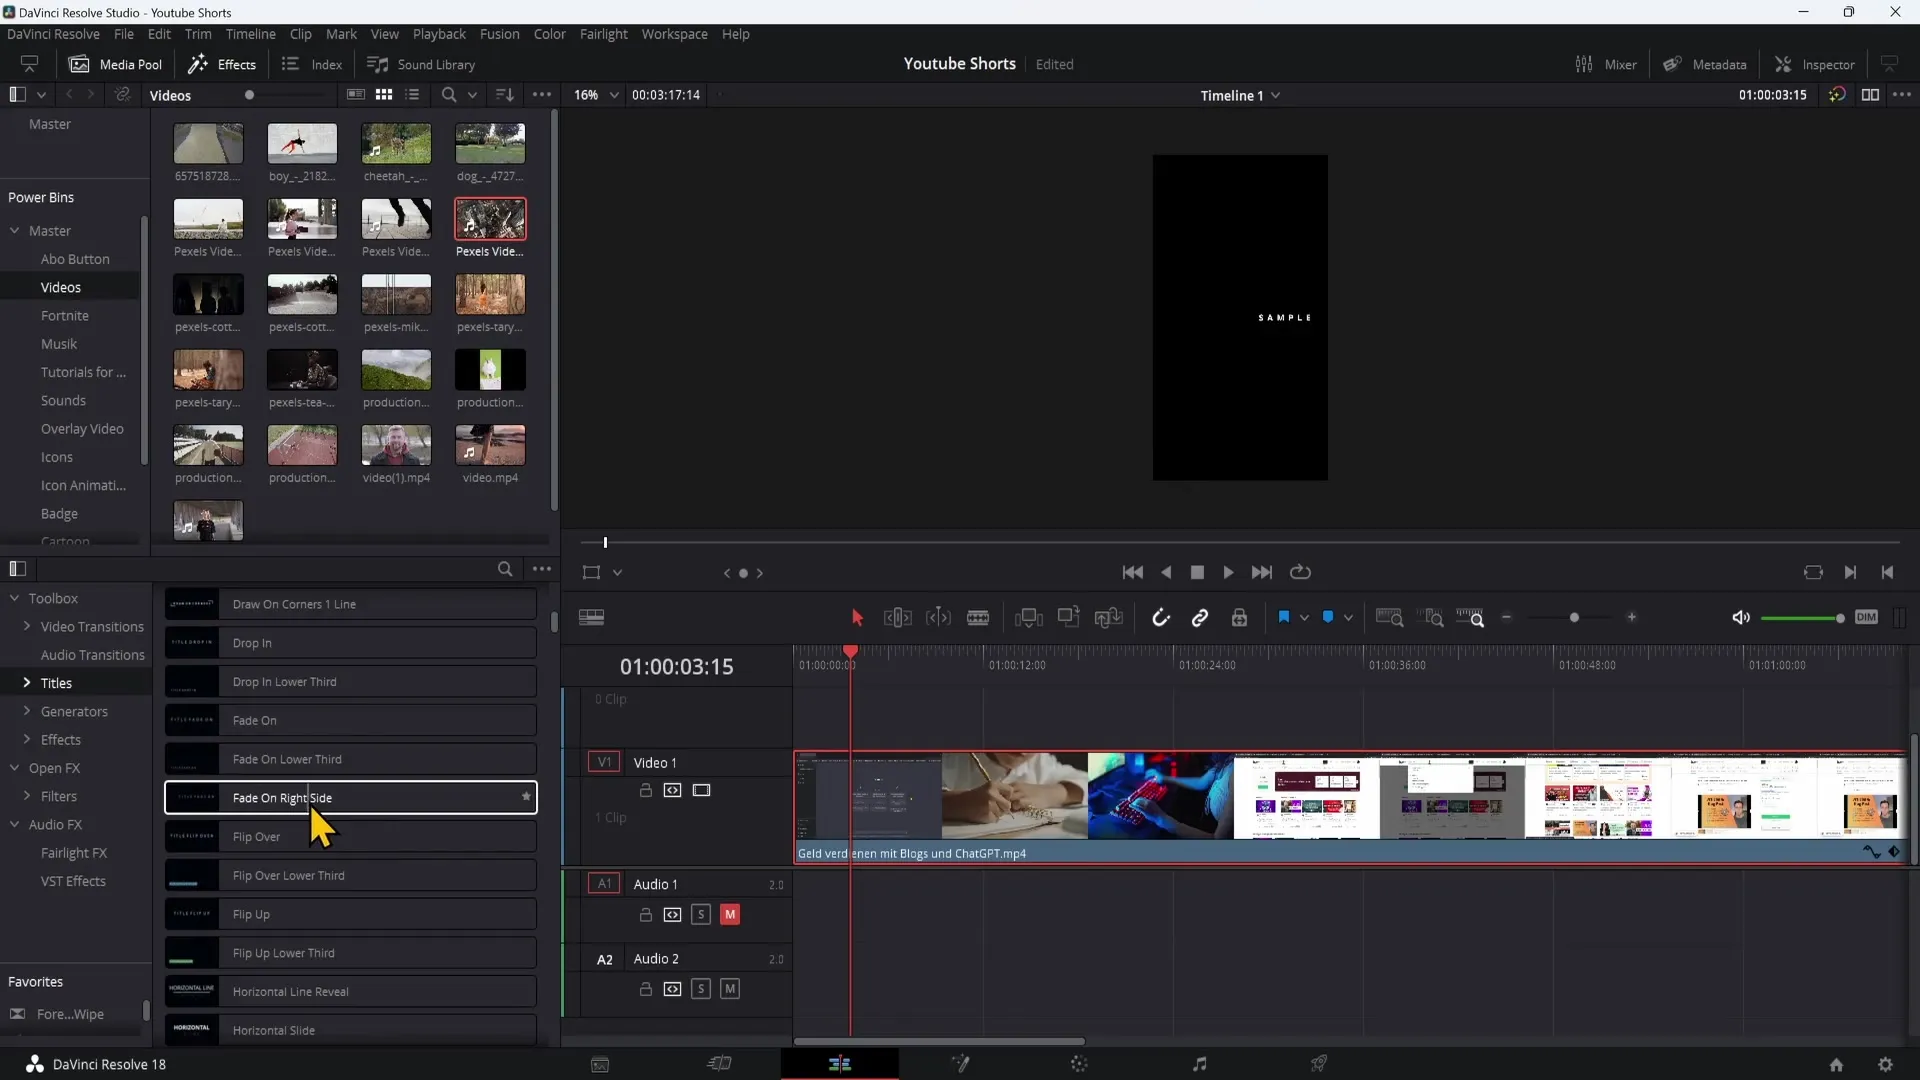
Text is important as many viewers watch shorts without sound. Go to the "Titles" tab and choose "Text Plus". Drag the text into the second video track and personalize it in the Inspector. Change the font, size, and color to your liking.
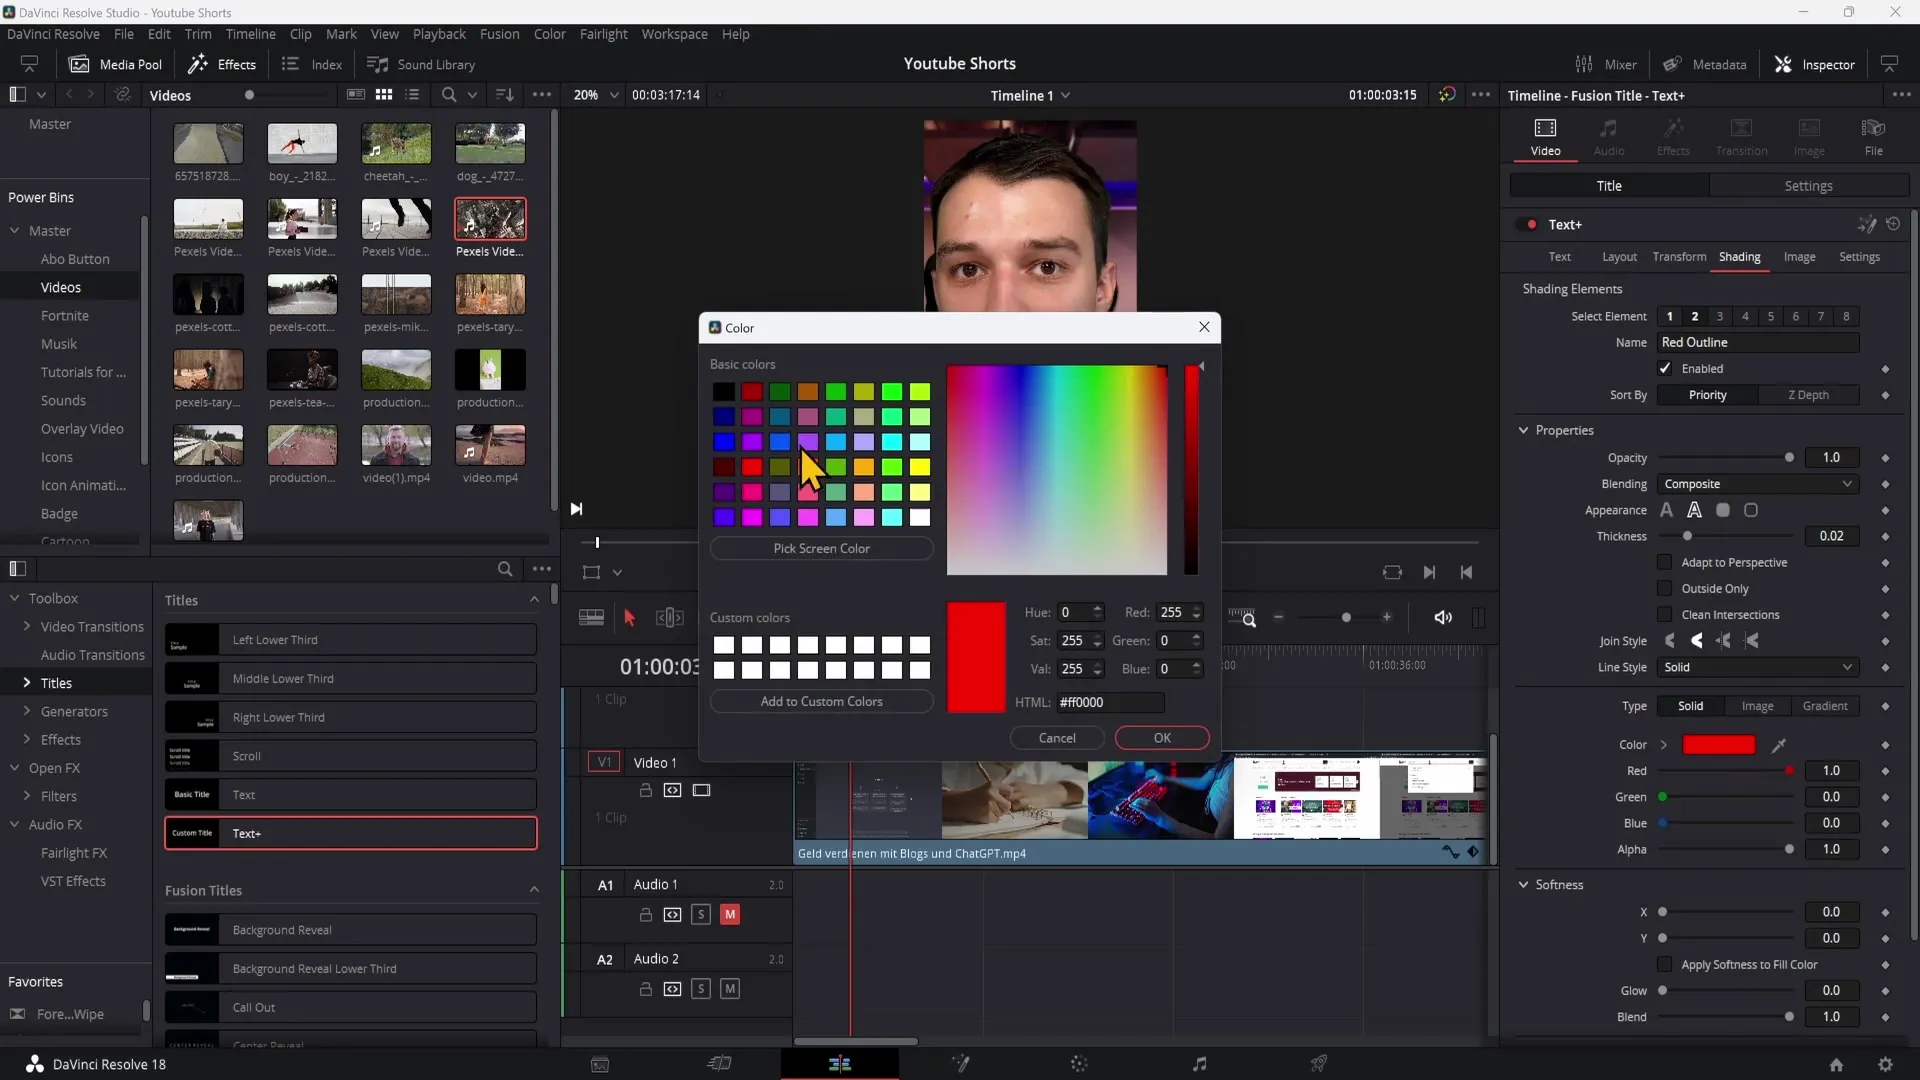
It is useful to highlight important words or make them visually interesting. To make your text impressive, experiment with shades or outlines.
8. Optimizing Audio
To improve the audio quality, go to the Audio tab in the Inspector. Here you can adjust the volume and experiment with the pitch to achieve interesting voice effects.
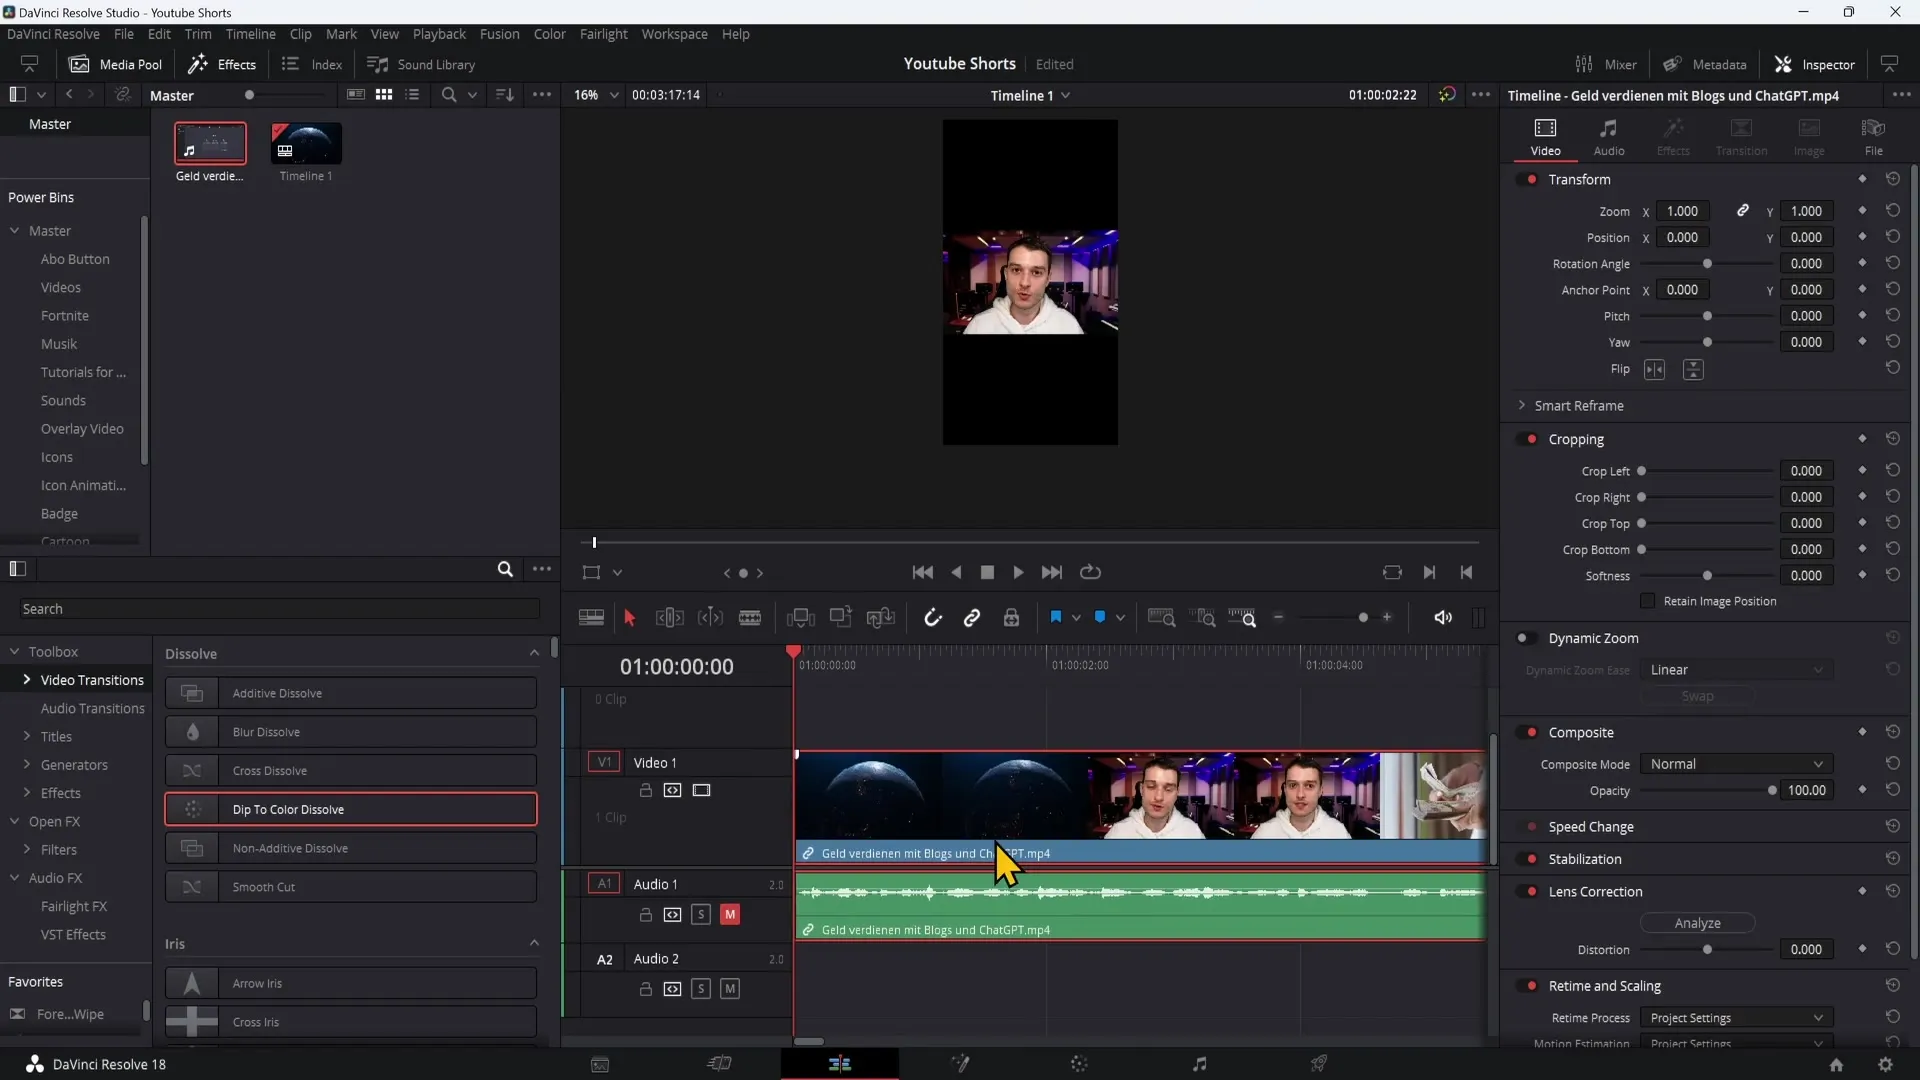
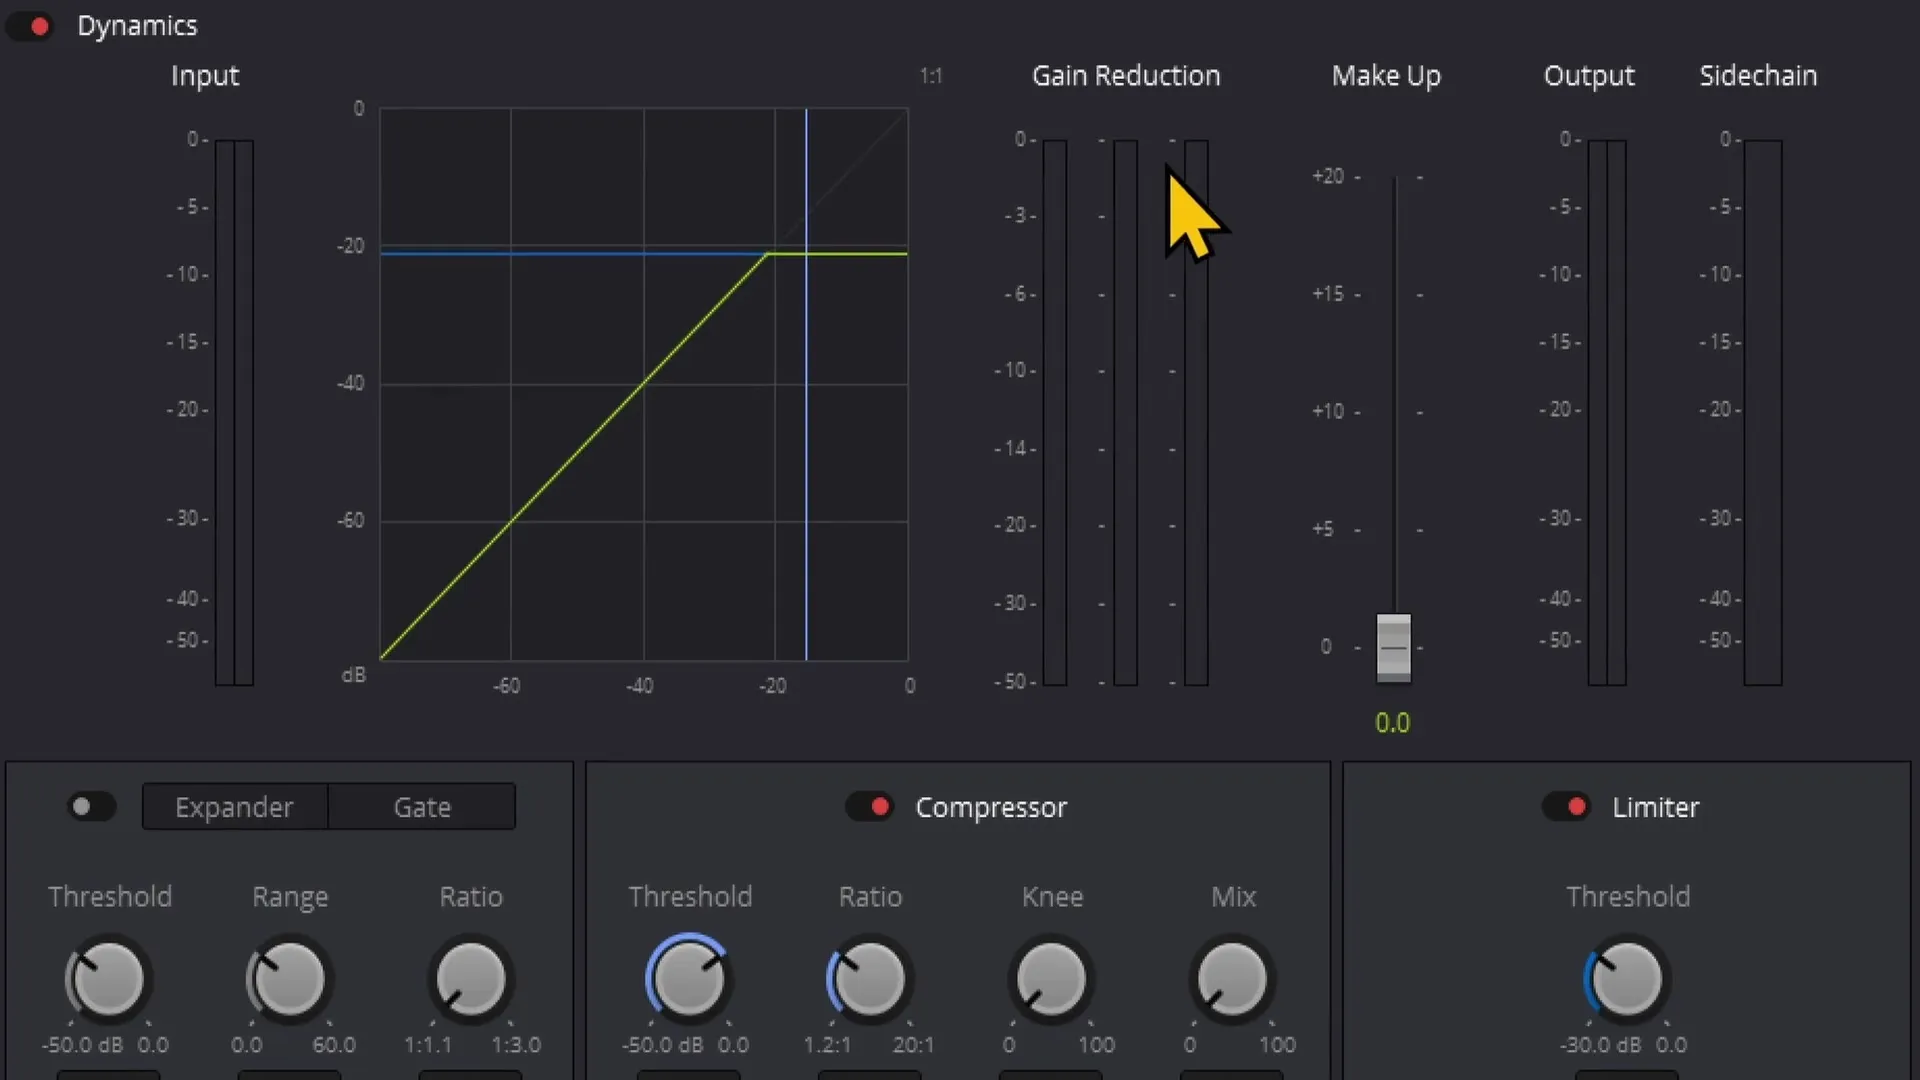
Use the Dynamics function for compression and limiter to optimize the audio quality. Make sure the volume levels do not clip.
9. Adjusting Color
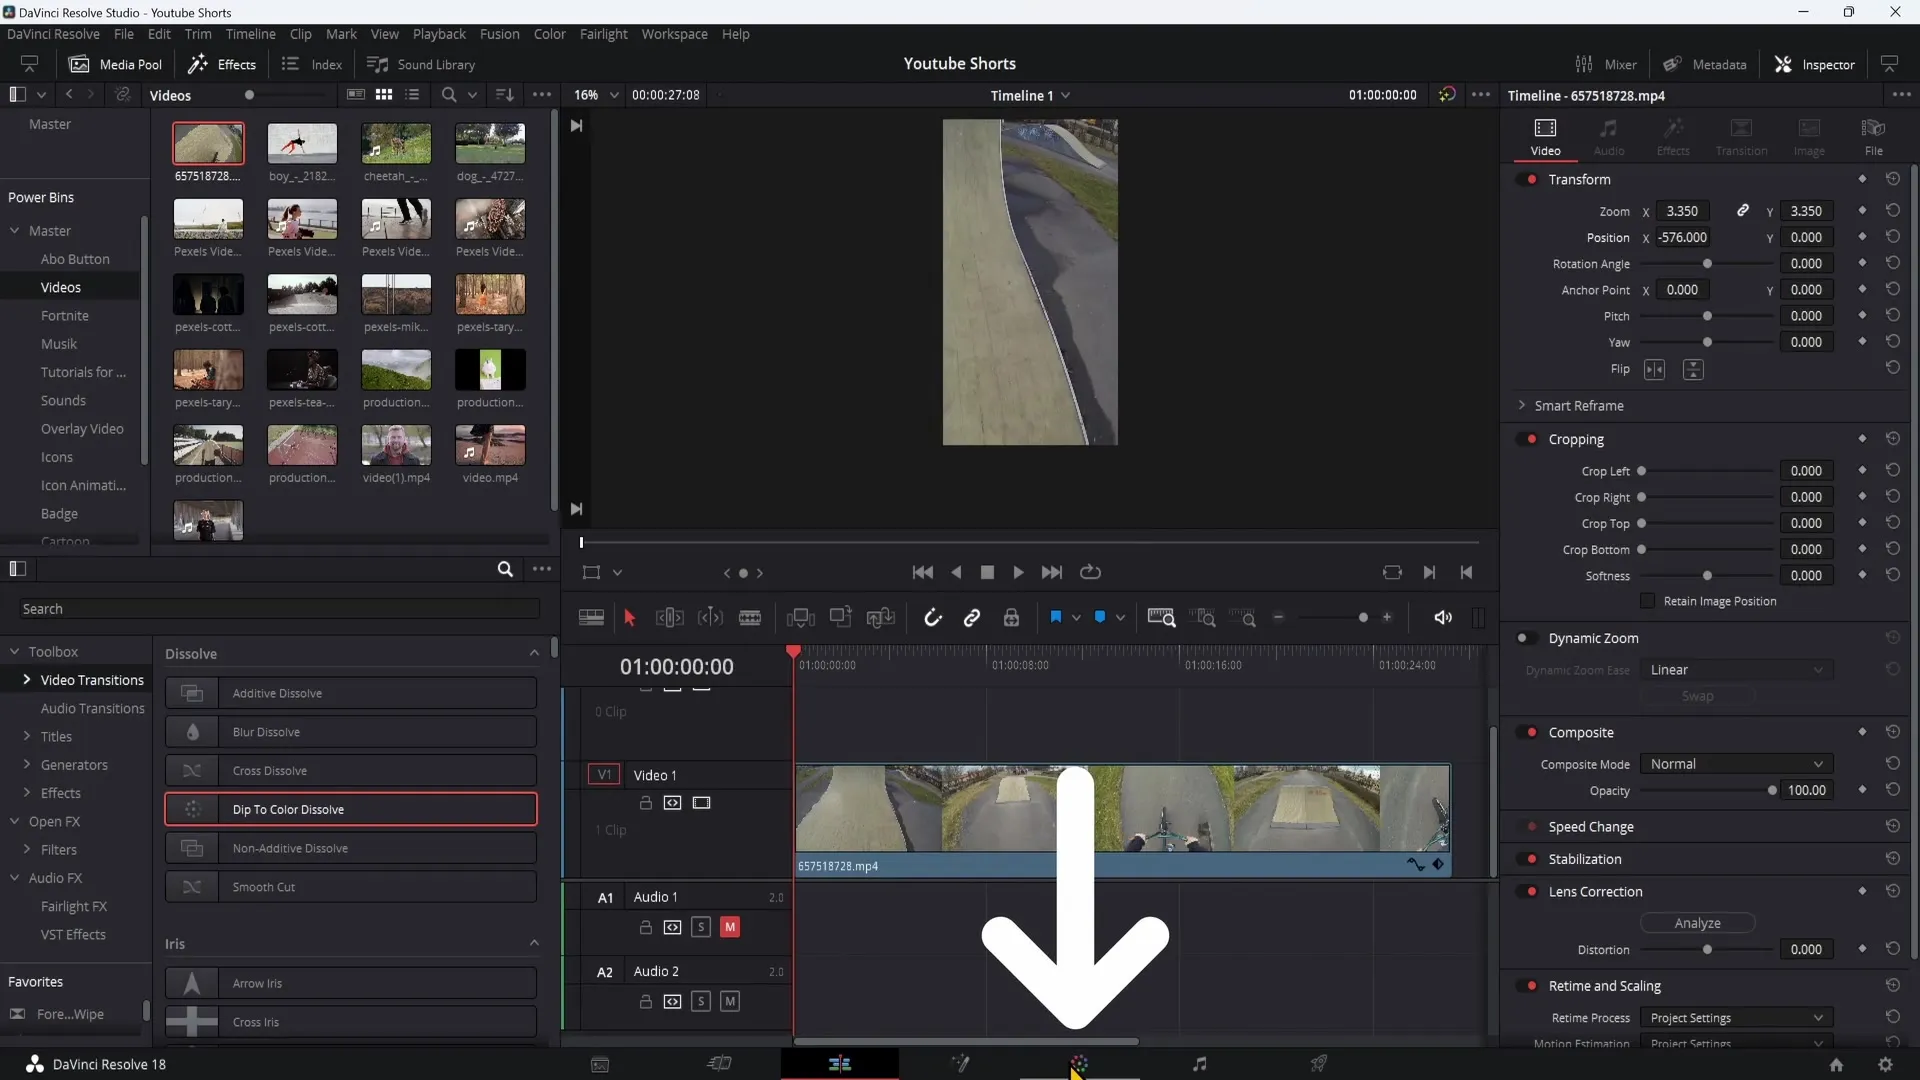
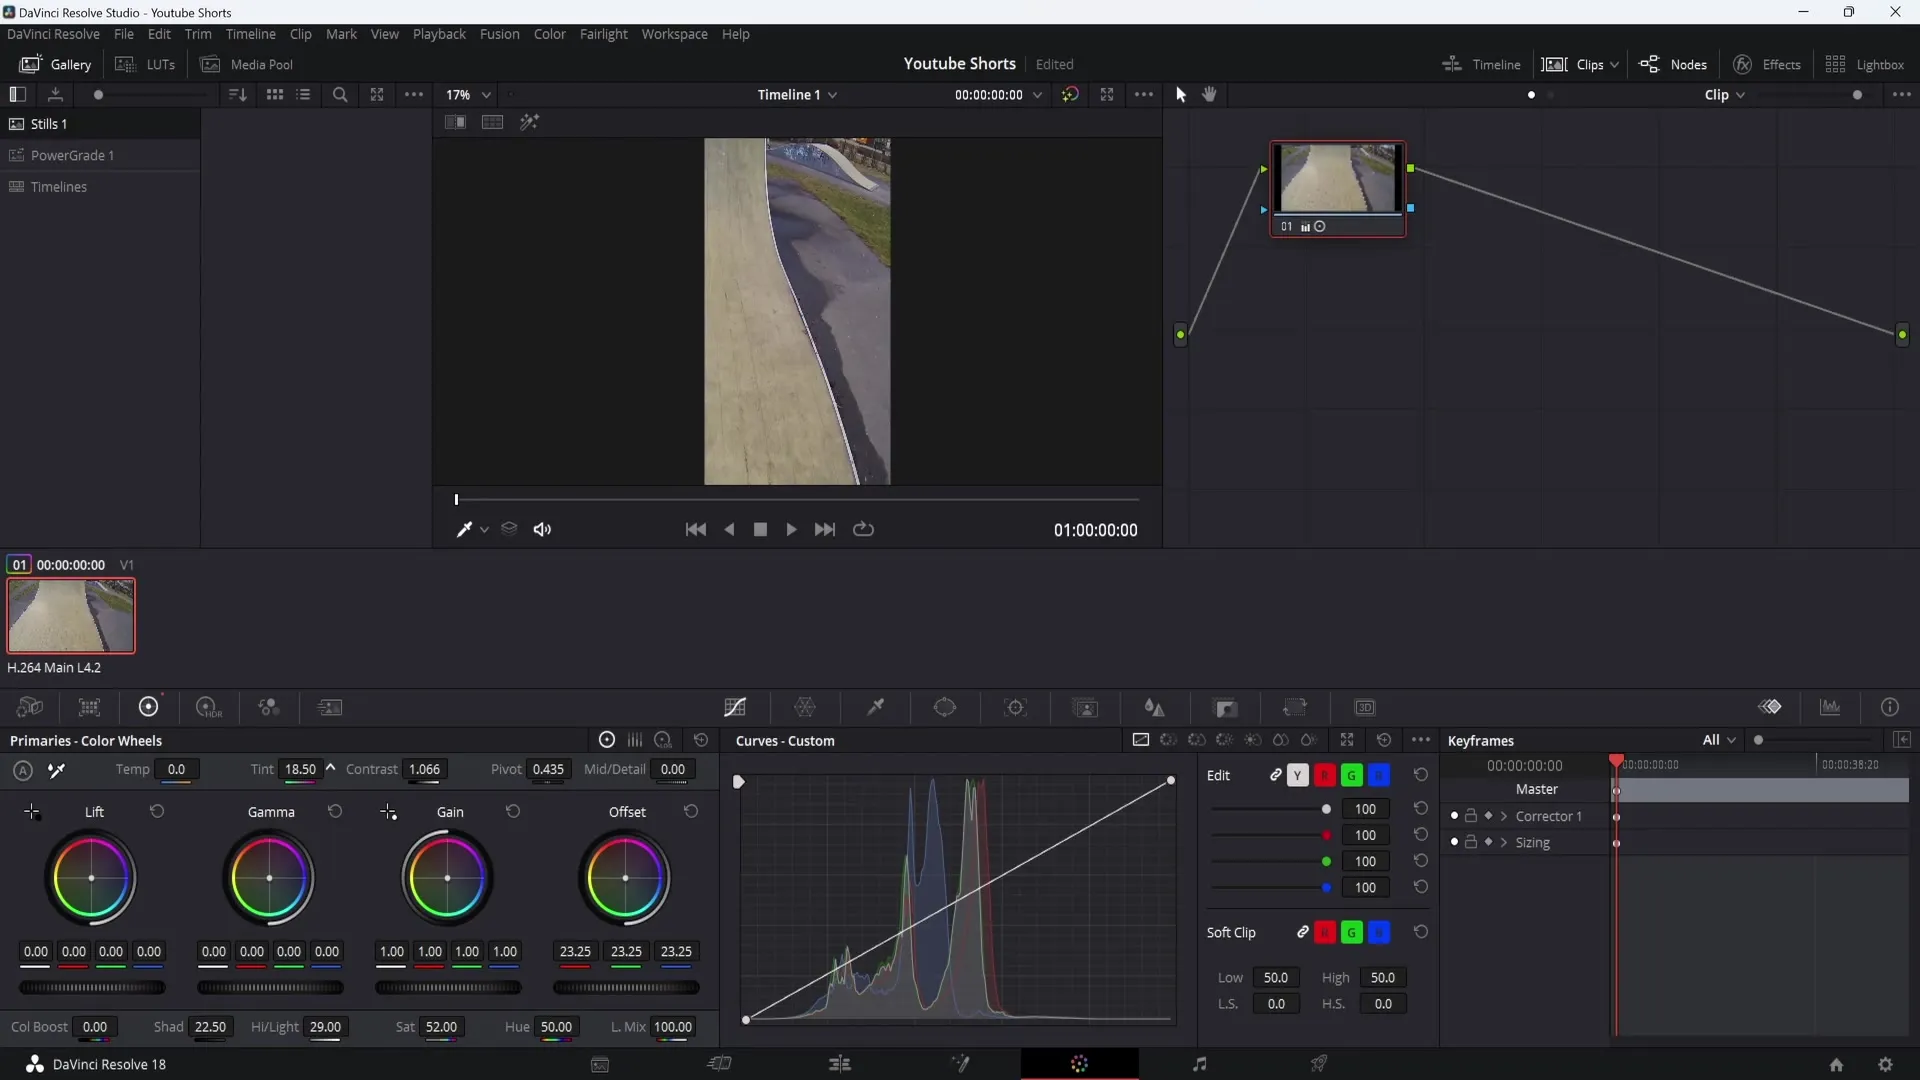
If you have a continuous video without scene changes, you can make color adjustments in the Color Grading section. Here, you can play with the contrast and brightness sliders to make your video more vibrant.
Experiment with the color sliders to adjust the image according to your preferences.
10. Exporting Video
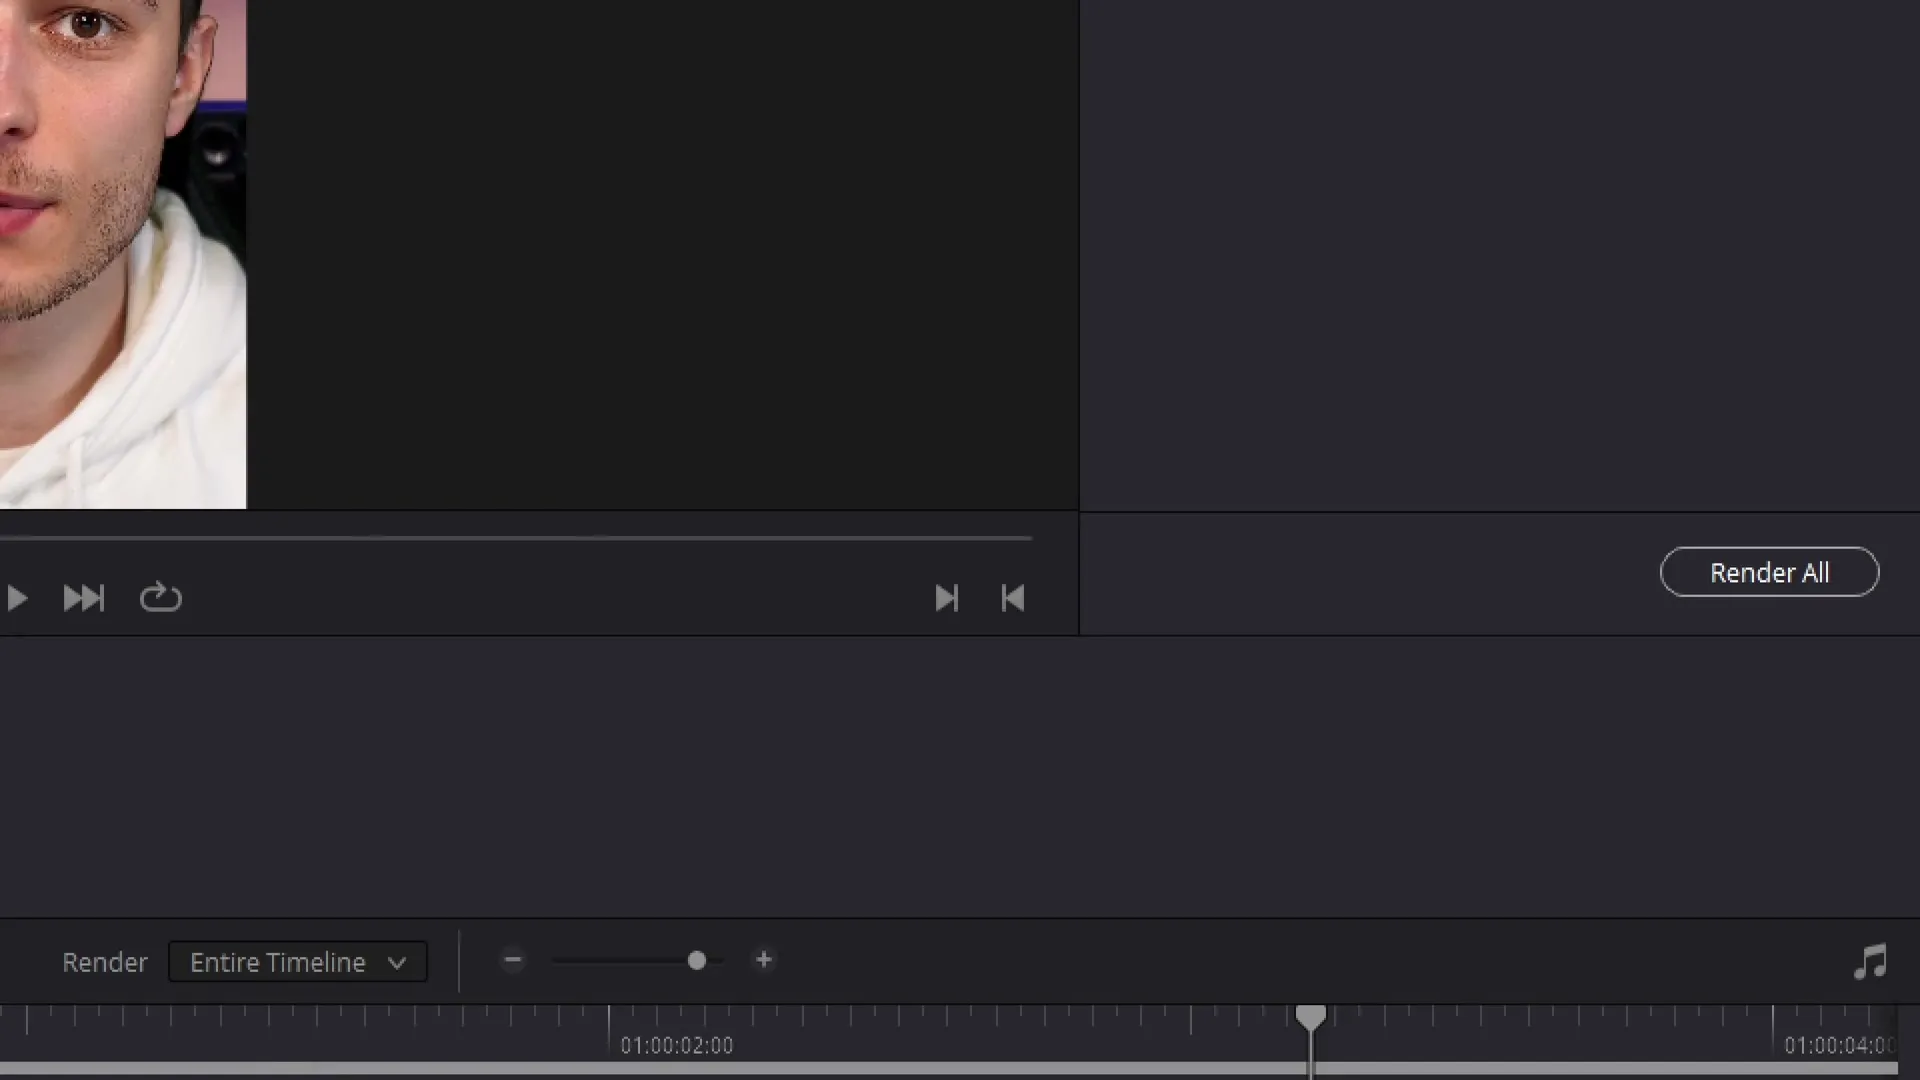
To export your finished video, click on the rocket icon at the bottom right. Go to the "Custom Export" tab. Choose the MP4 format and set the bitrate to "Constant Bitrate". Add your video to the Render Queue and click on "Render All".
Summary
In this tutorial, you have learned how to install DaVinci Resolve 18 and create your YouTube Shorts in portrait mode. With the right techniques for editing, effects, titles, and audio adjustments, you will be able to produce engaging shorts that capture the attention of your viewers.
Frequently Asked Questions
How do I download DaVinci Resolve 18?Visit the DaVinci Resolve website and click on the download button. Choose your operating system and download the free version.
How do I set the format for Shorts?Create a new timeline and change the settings to 1080x1920.
How do I add text to my video?Go to the "Titles" tab, drag "Text Plus" into your timeline, and adjust the font, size, and color in the Inspector.
How can I improve the audio quality?Use the Dynamics function for compressor and limiter and adjust the volume and pitch.
What is the best export for YouTube Shorts?Export in MP4 format with constant bitrate and add your video to the Render Queue.
