In this tutorial I will show you how to create an appealing video player banner for your livestream. A well-designed banner can help attract your viewers' attention and establish clear visual communication. When your stream is offline, you may want to display an attractive image that is both informative and engaging. Let's dive right into the process.
Key Takeaways
- A video player banner enhances the appearance of your channel.
- Make sure the design harmonizes with your other branding elements.
- It is important to choose clear and legible fonts and colors to avoid confusion.
Step-by-step Guide
Step 1: Downloading the Banner
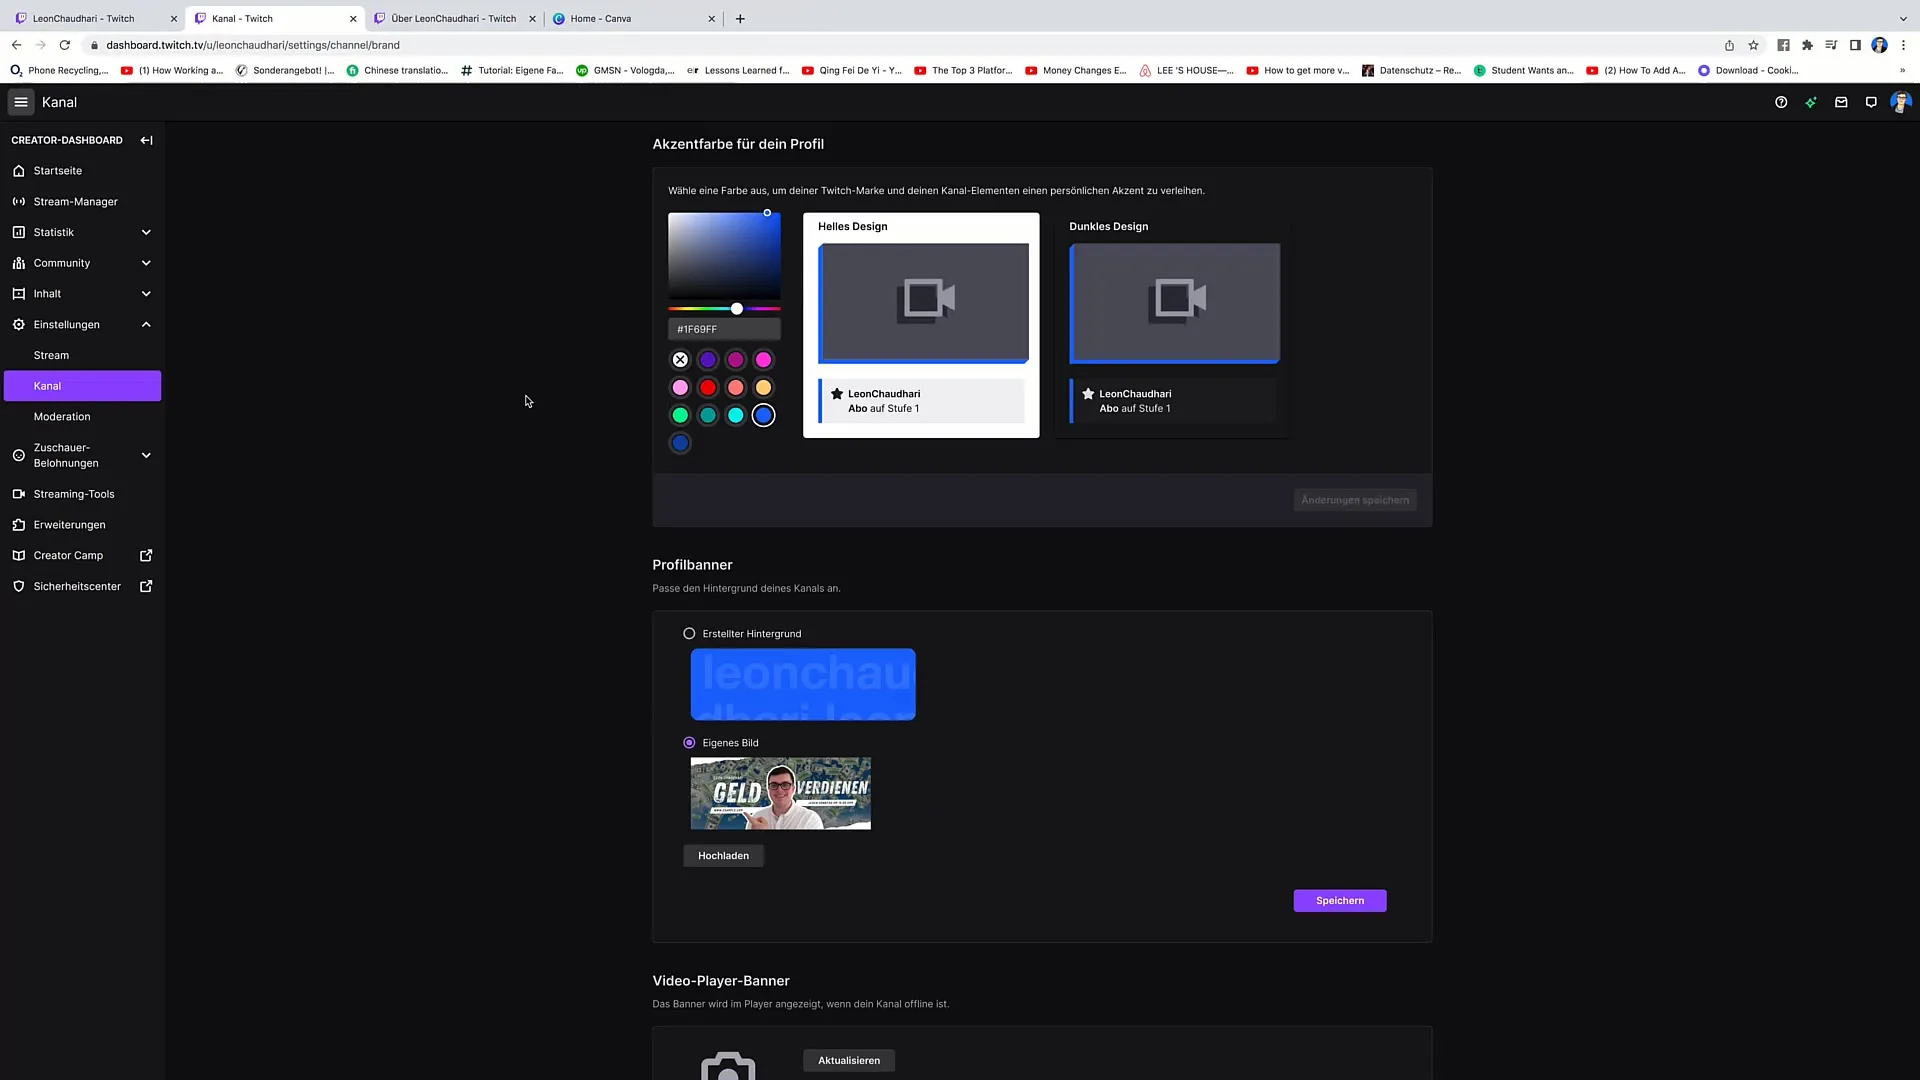
First, we need to find a place where the banner can be uploaded when your stream is offline. When you open your profile on Twitch, you will see a black area where the stream is usually displayed. We want to replace this area with a photo.
Step 2: Uploading the Image
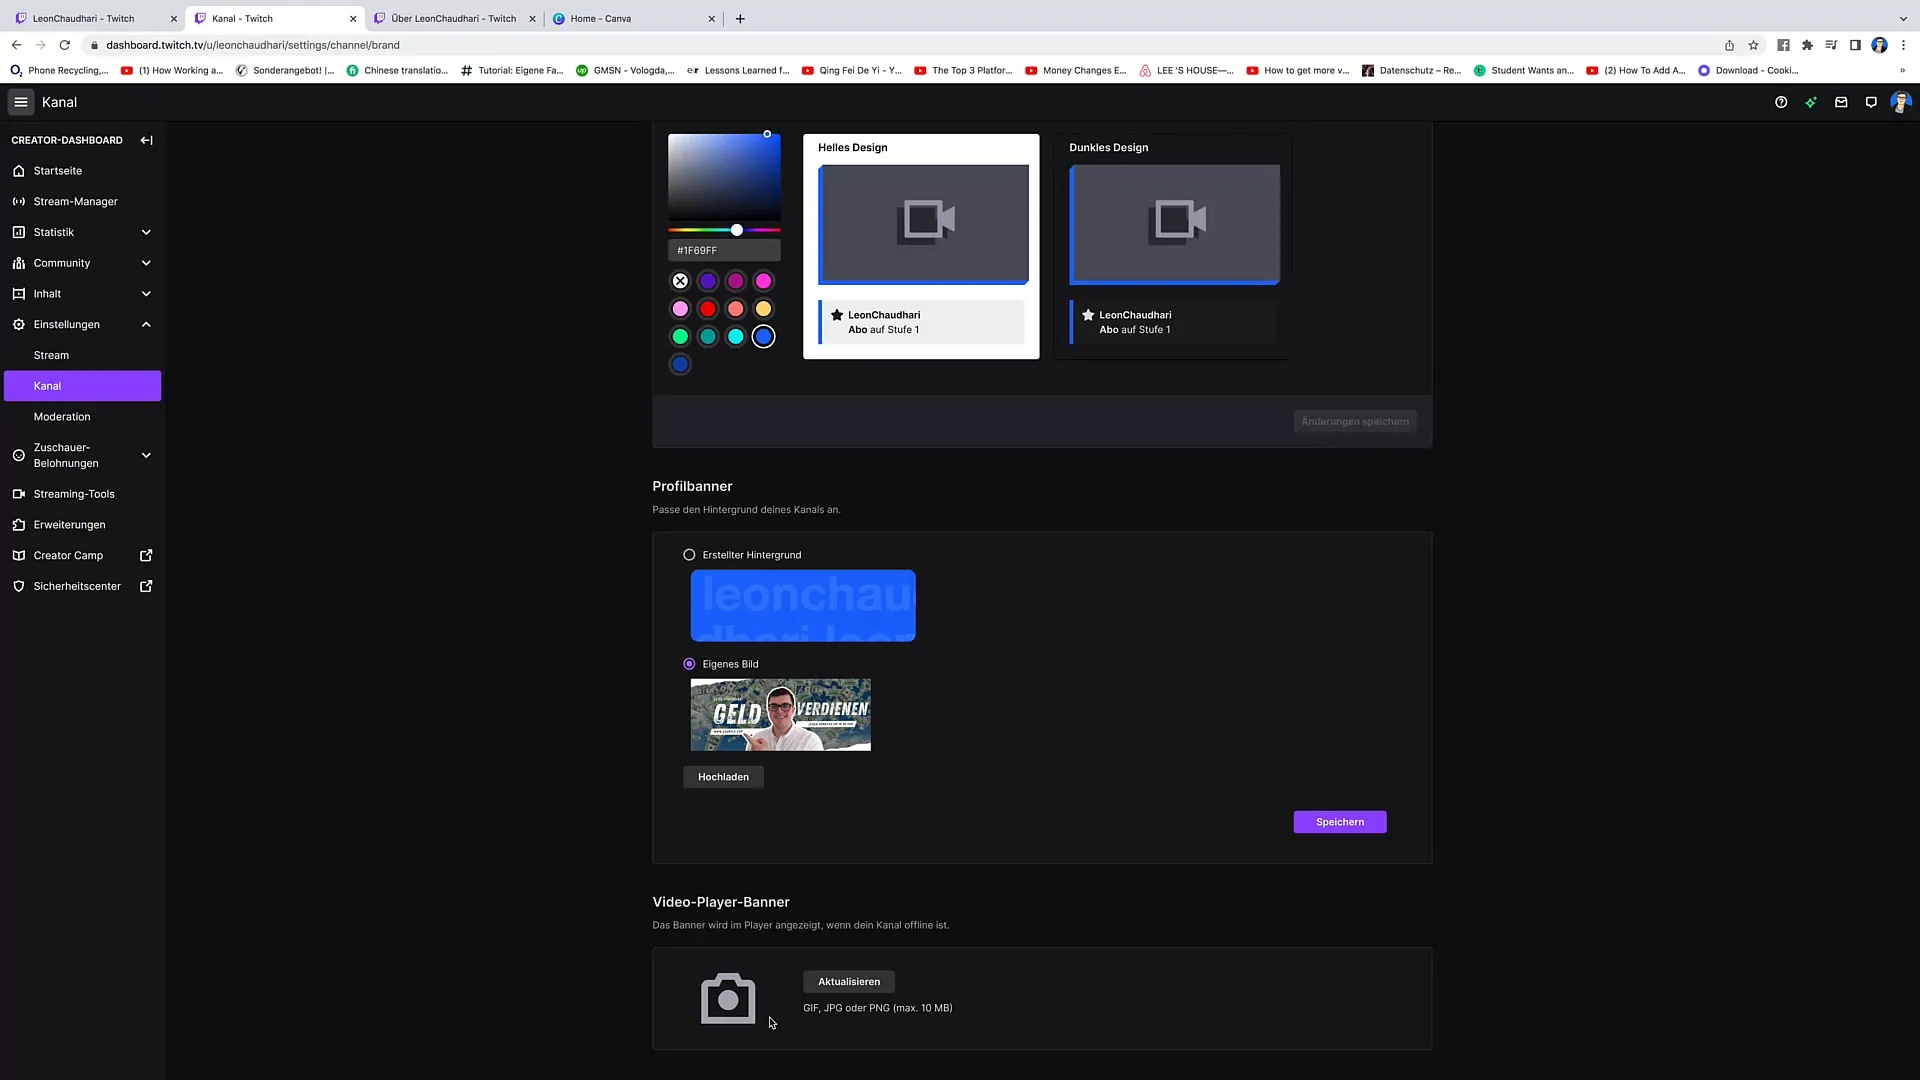
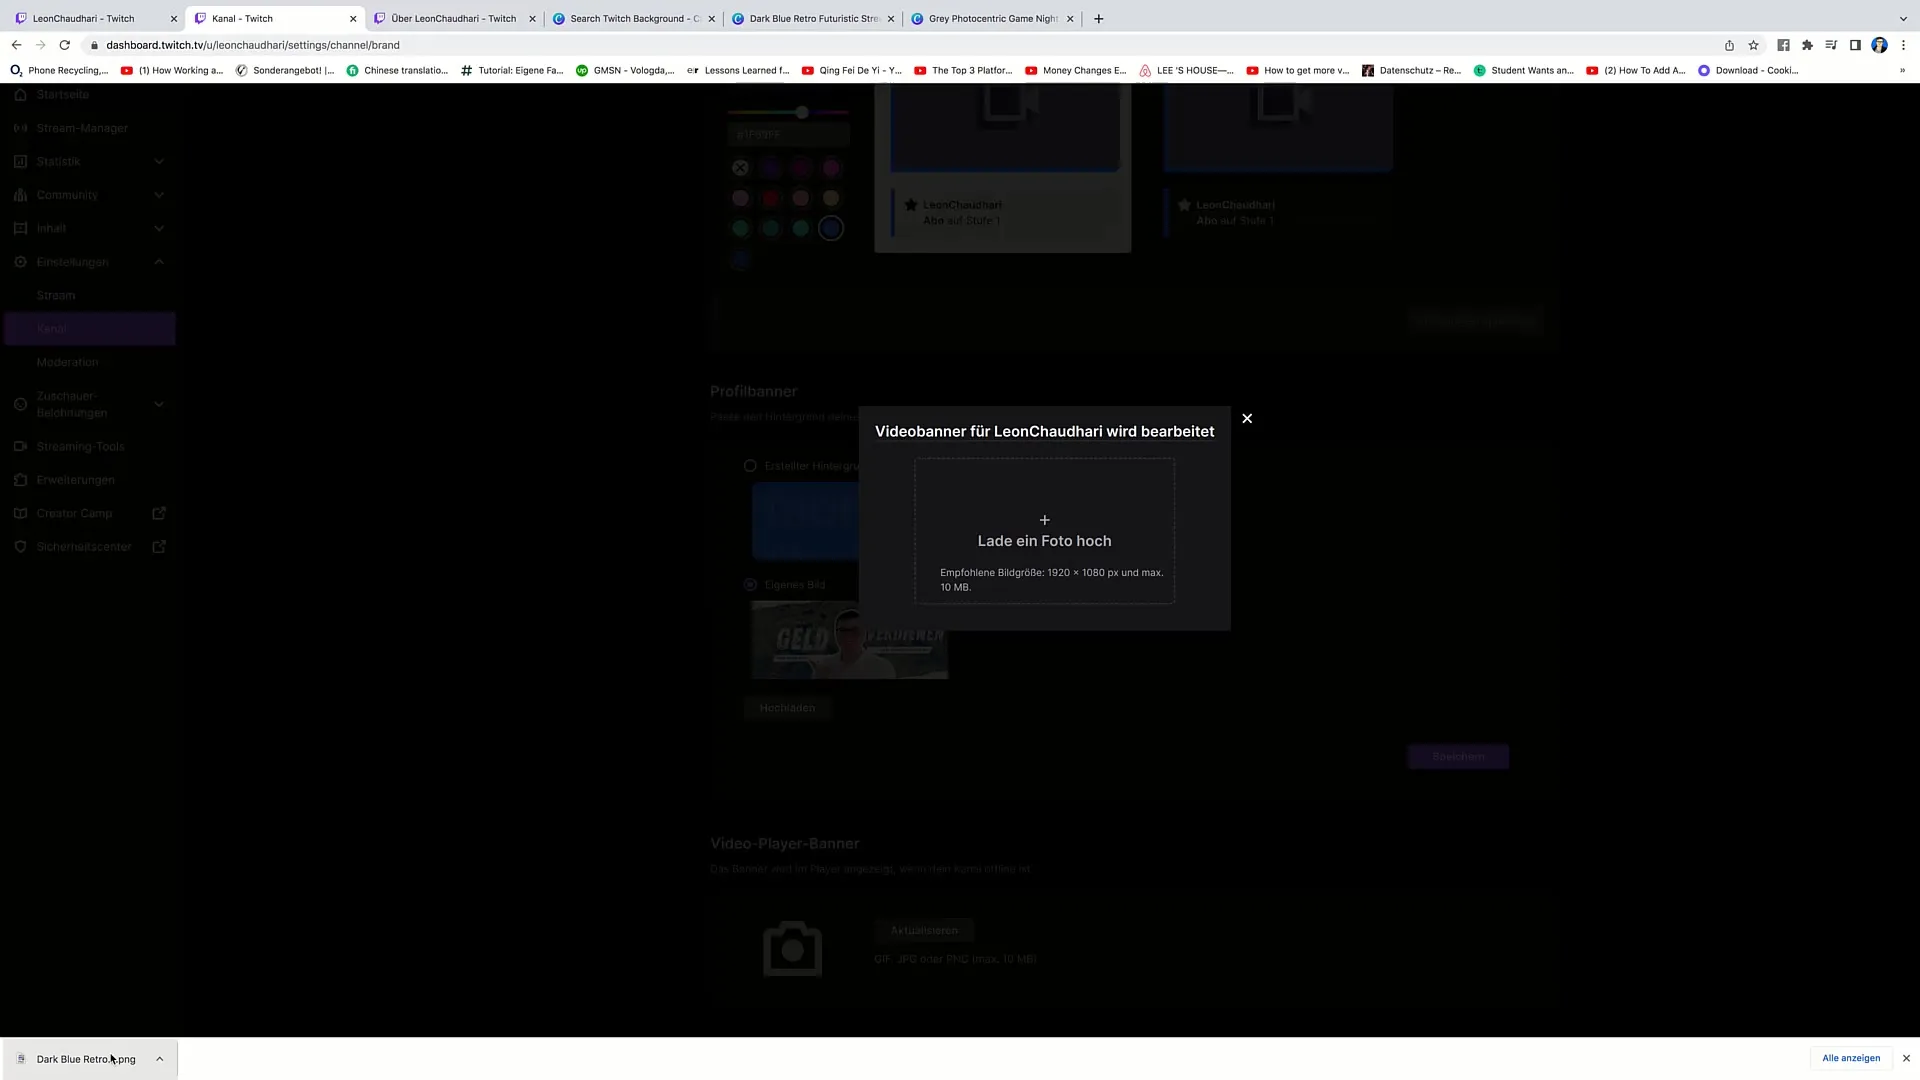
Go to your channel and click on “Update.” Here, you have the opportunity to upload a photo. The photo should be engaging and thematically relevant.
Step 3: Using Canva
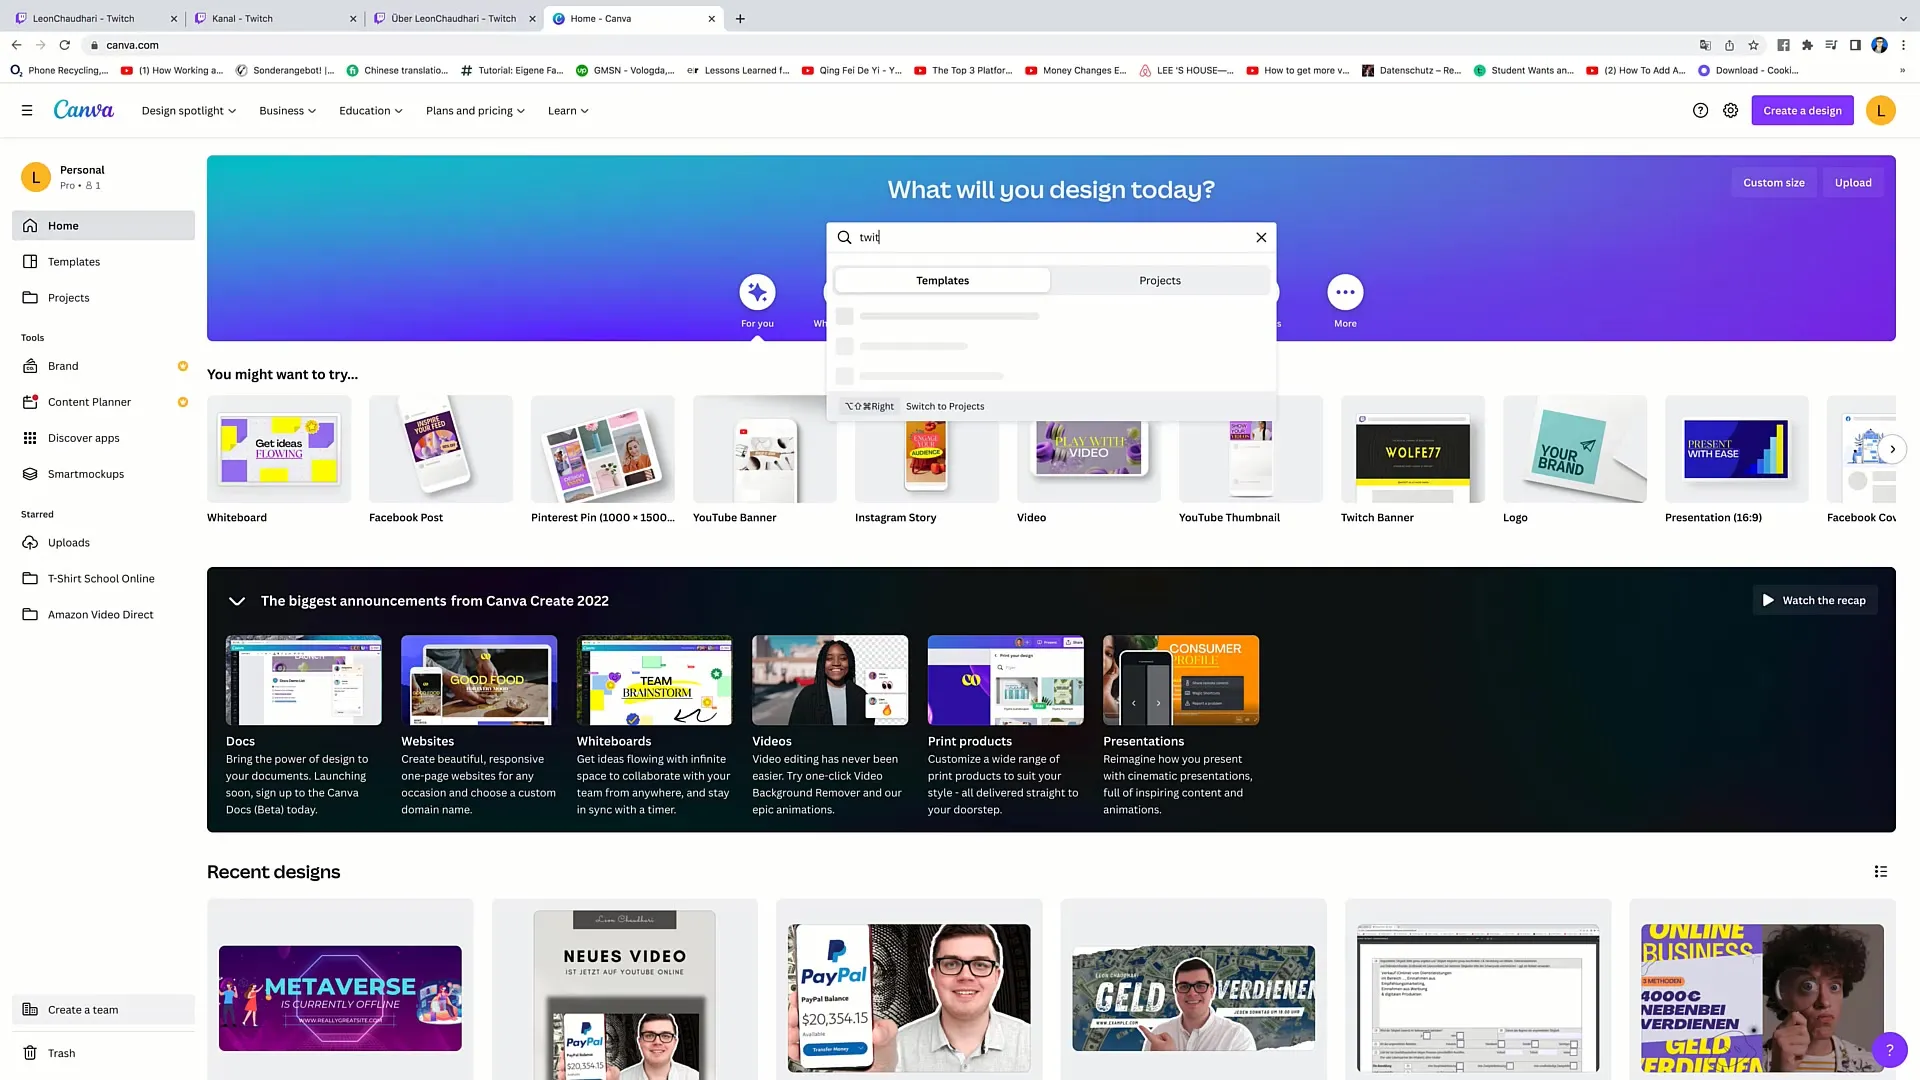
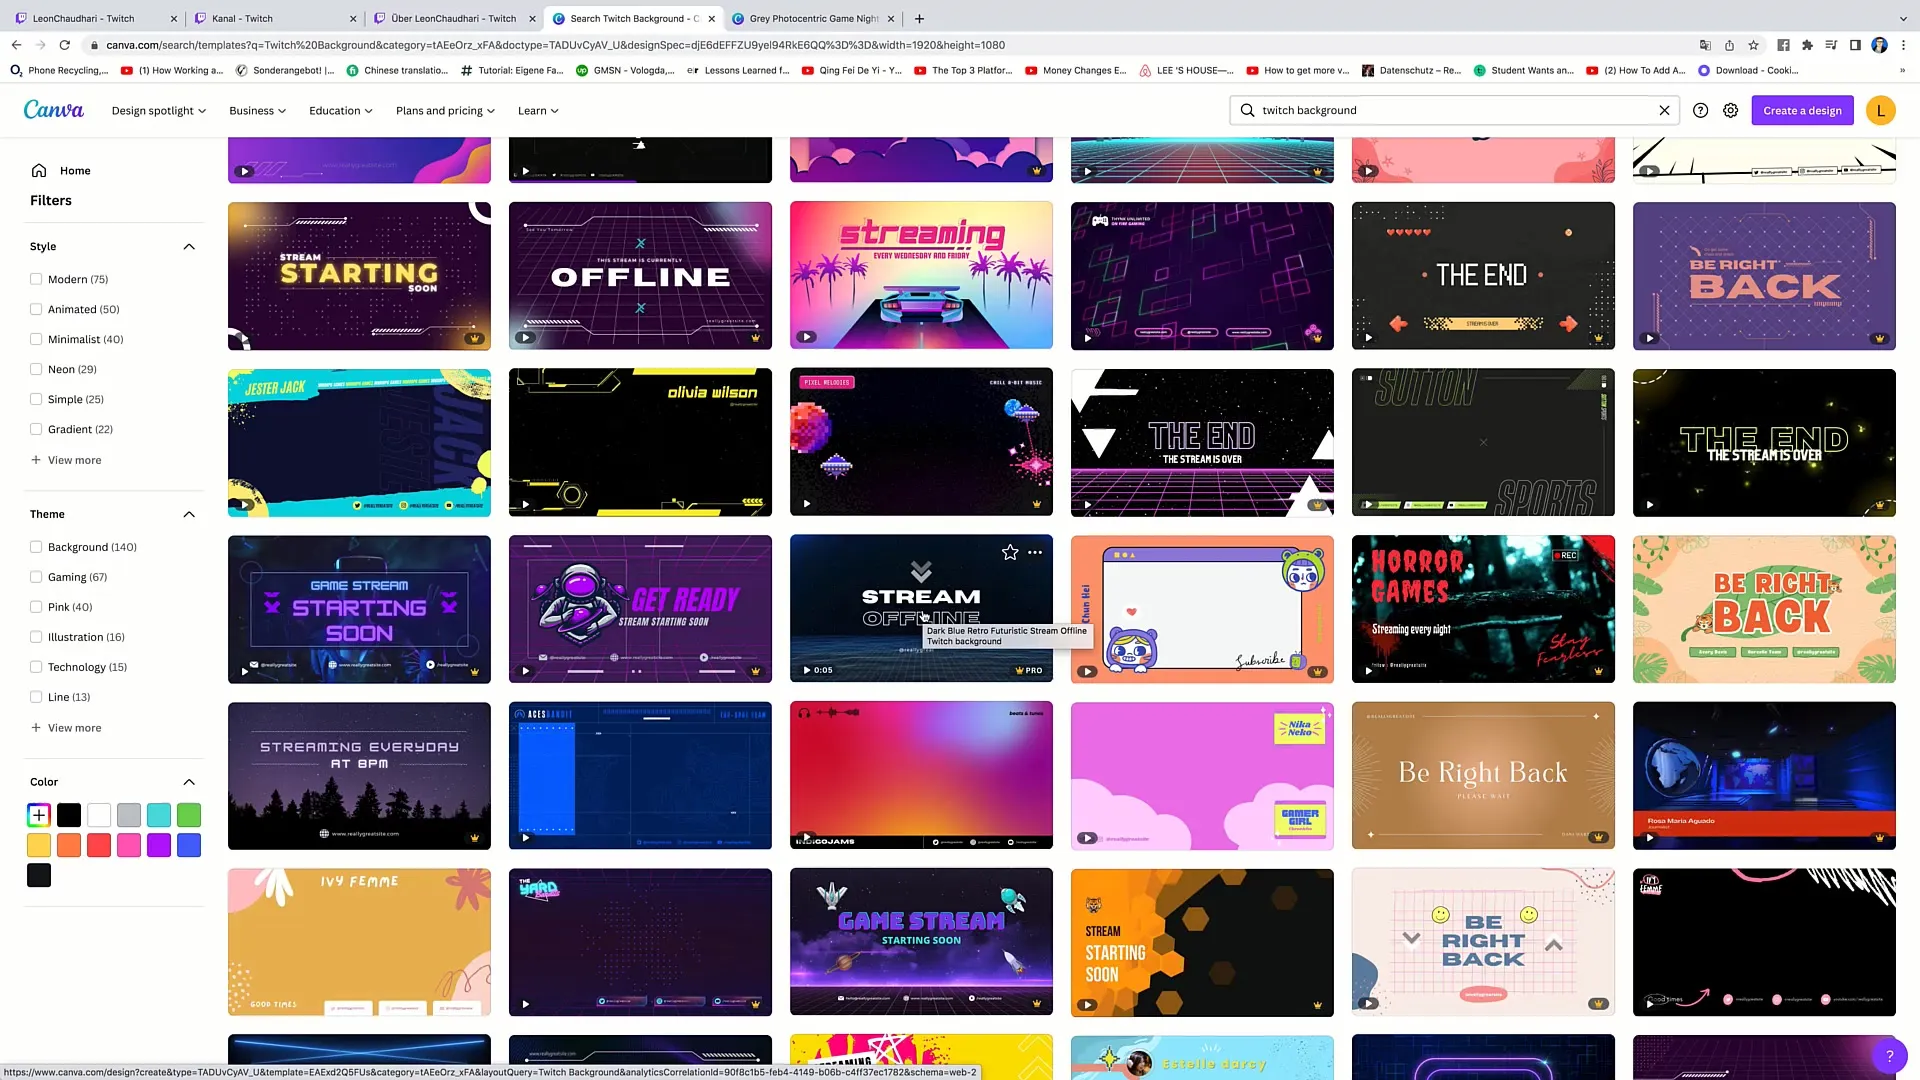
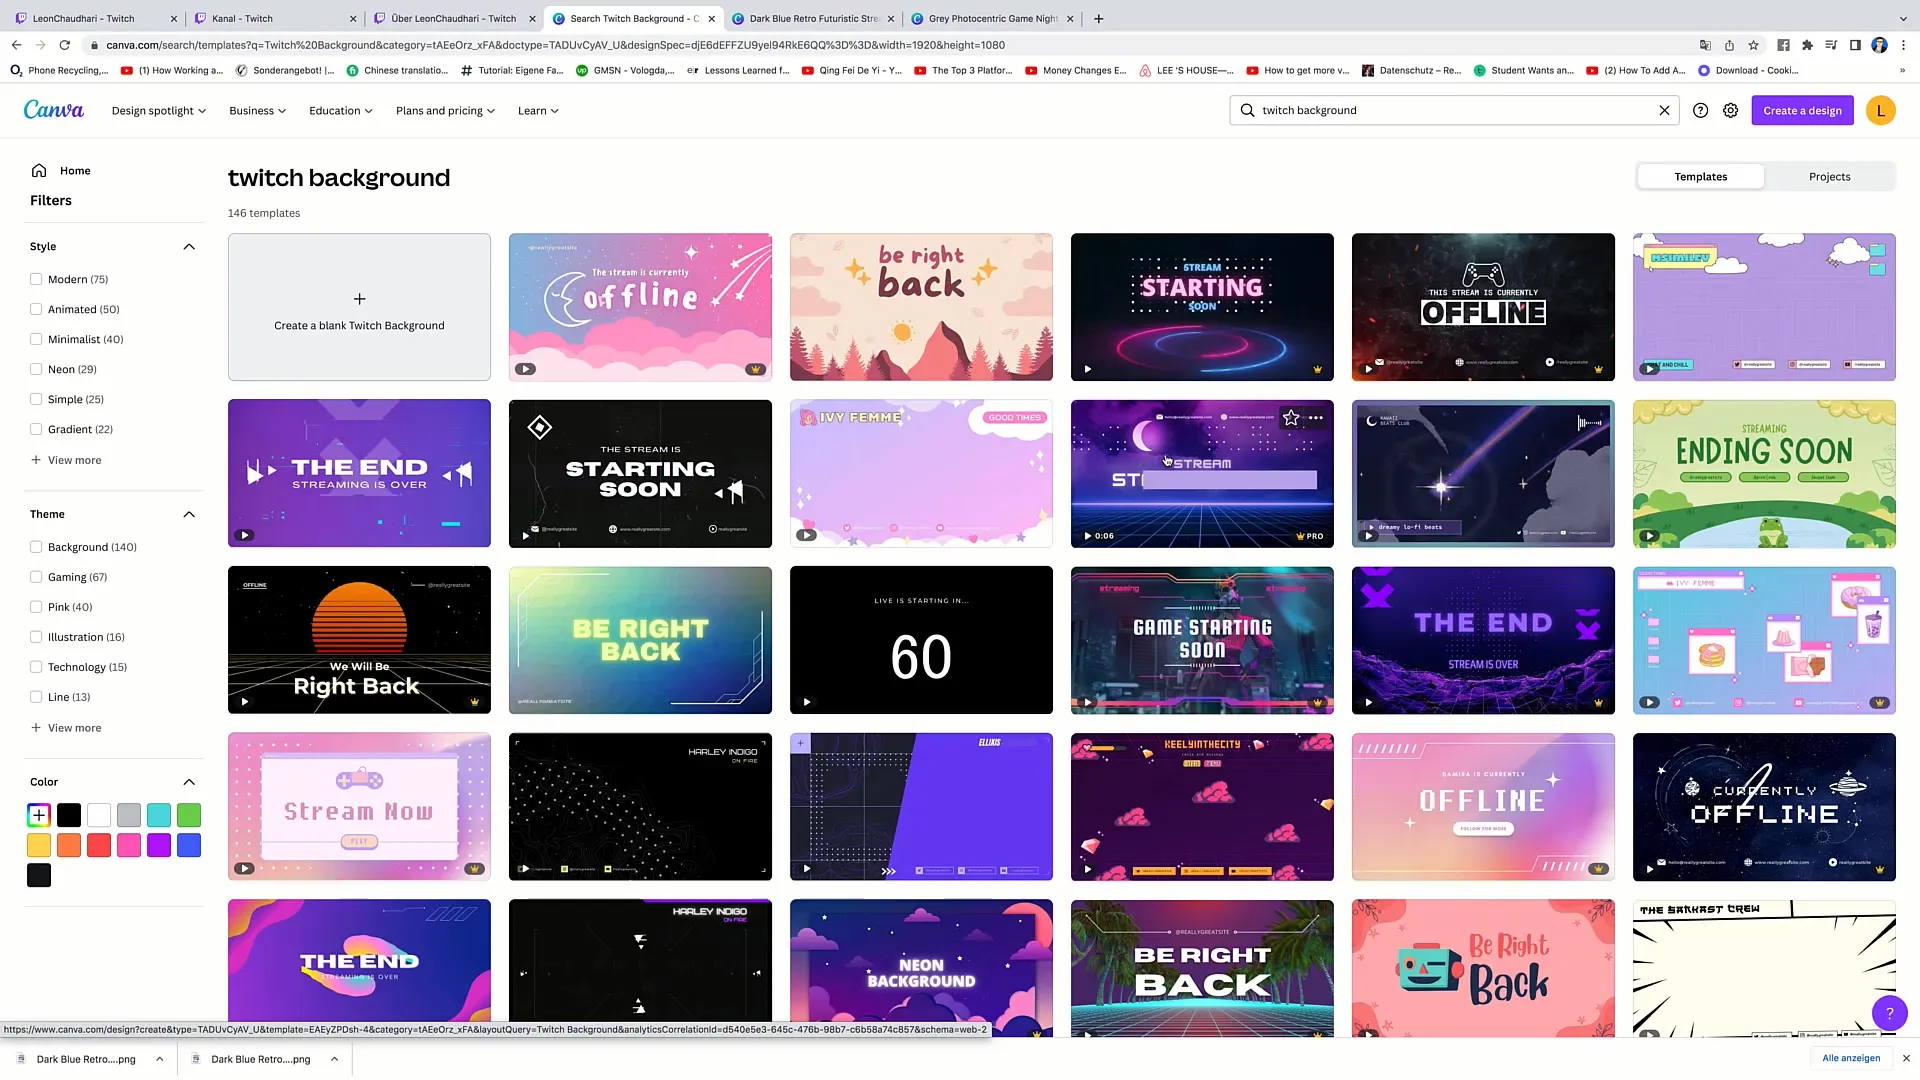
To create a suitable image, you can use the platform Canva. Go to Canva and search for “Twitch.” I recommend selecting the “Background” option to see various templates.
Step 4: Selecting a Template
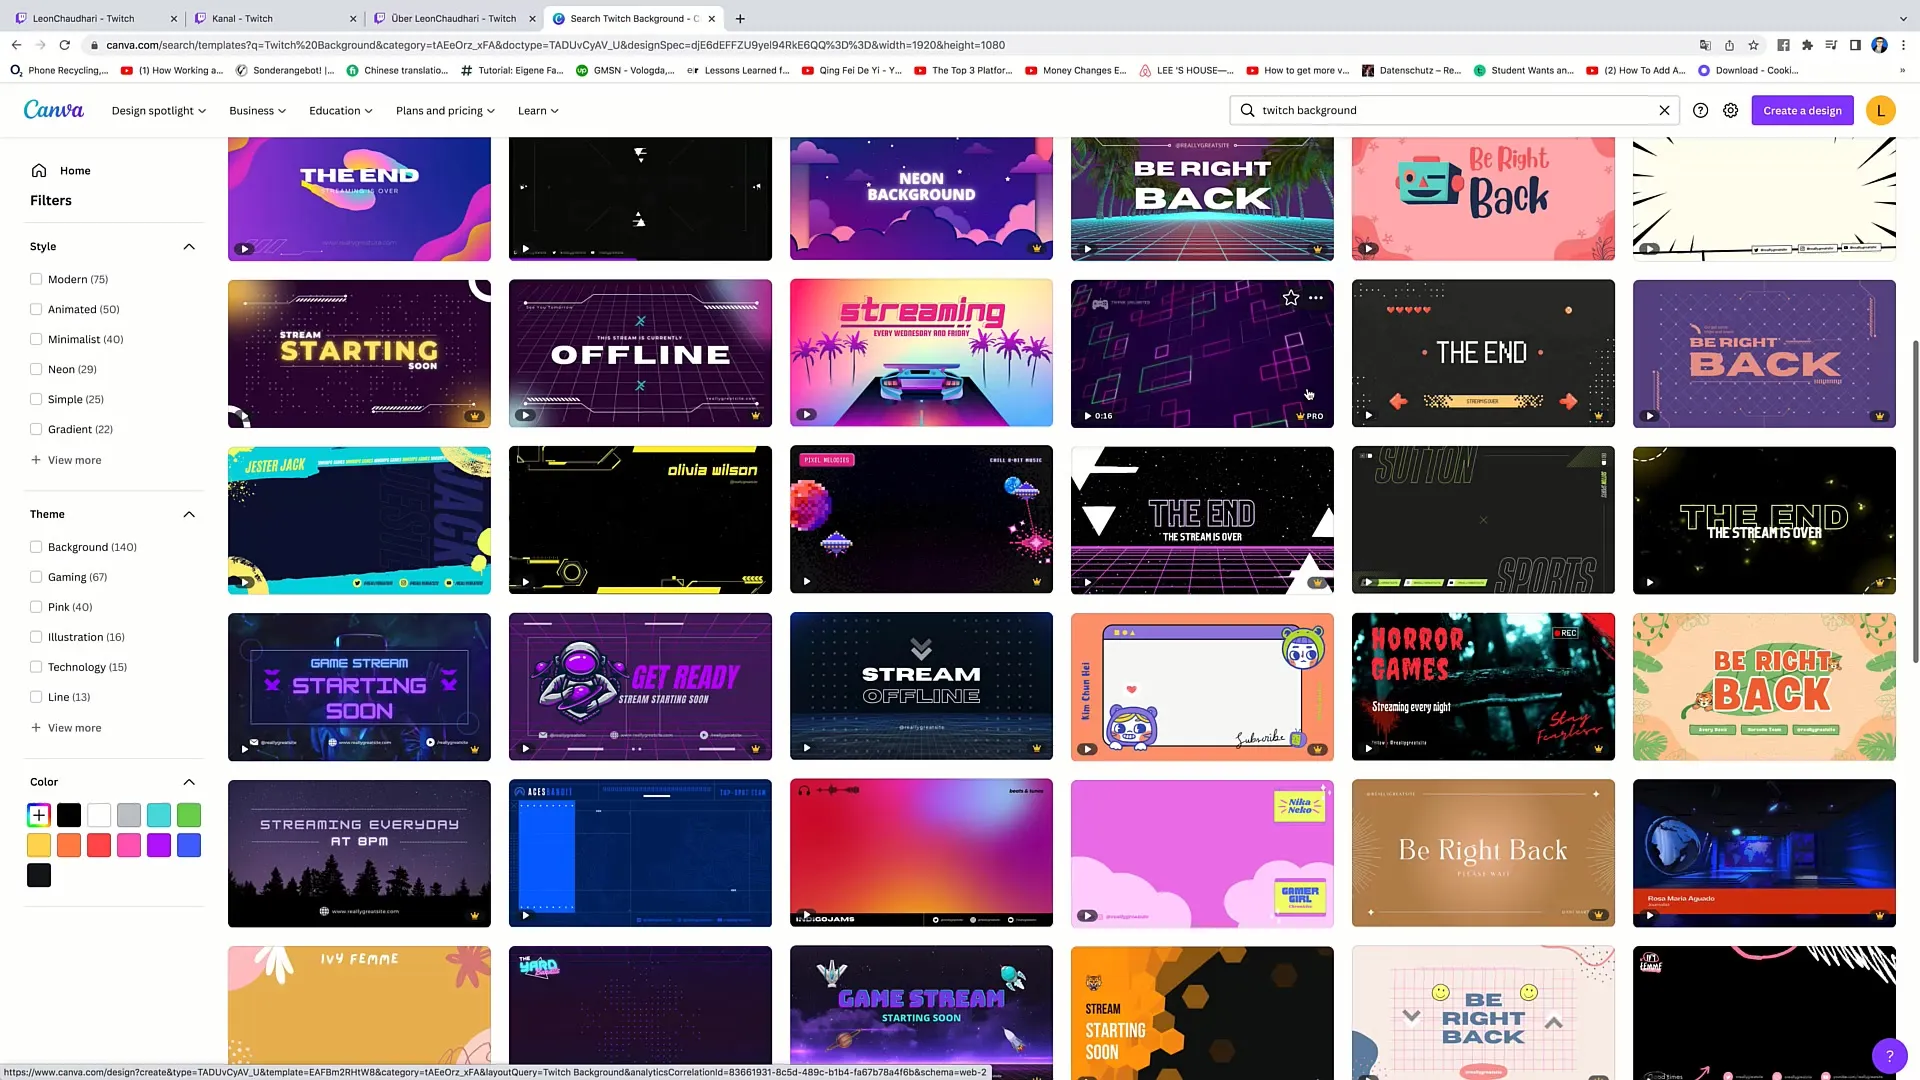
Browse through the available templates. Make sure the design language and color combinations align with your channel. You can use an existing design or take inspiration to create your own.
Step 5: Customizing the Design
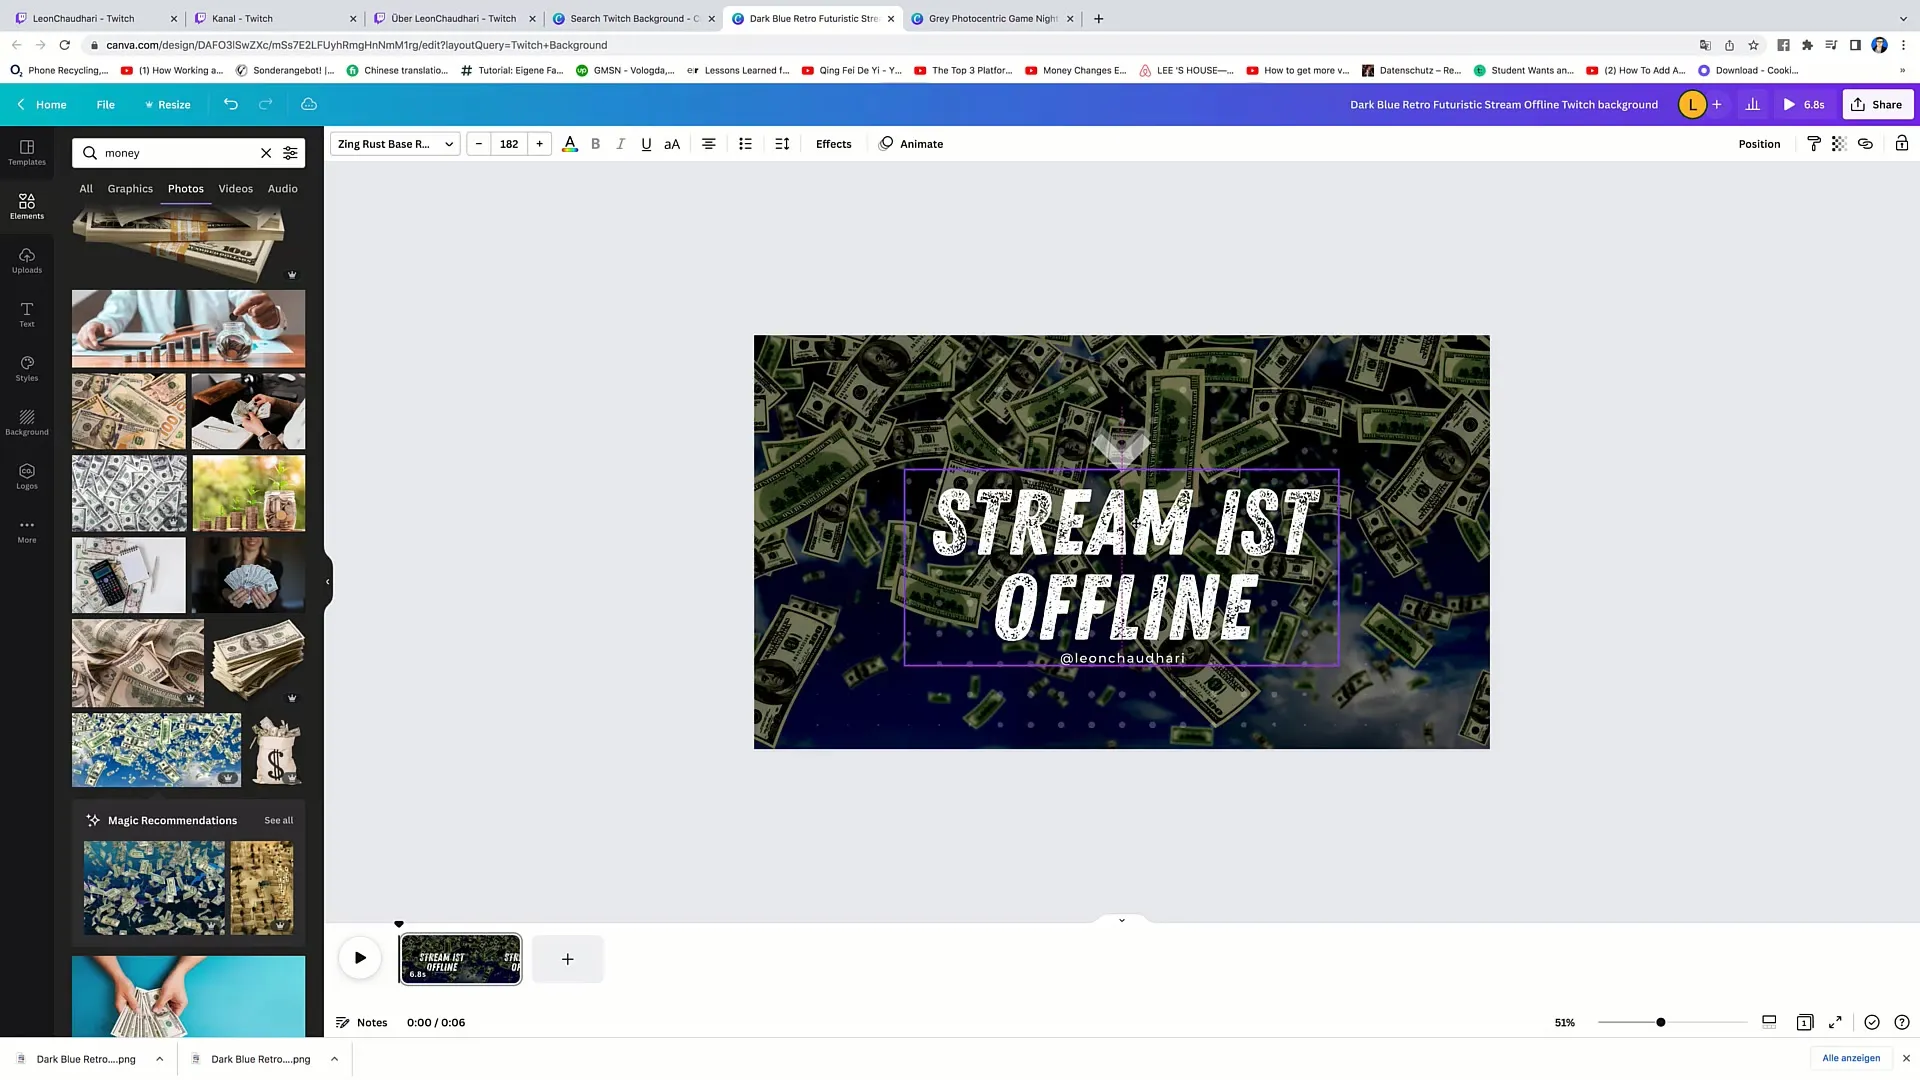
Choose a template that you like. You can customize the template to align with your preferences to ensure it fits your branding. Check the font size and structure to ensure everything looks clear and understandable.
Step 6: Exporting the Design
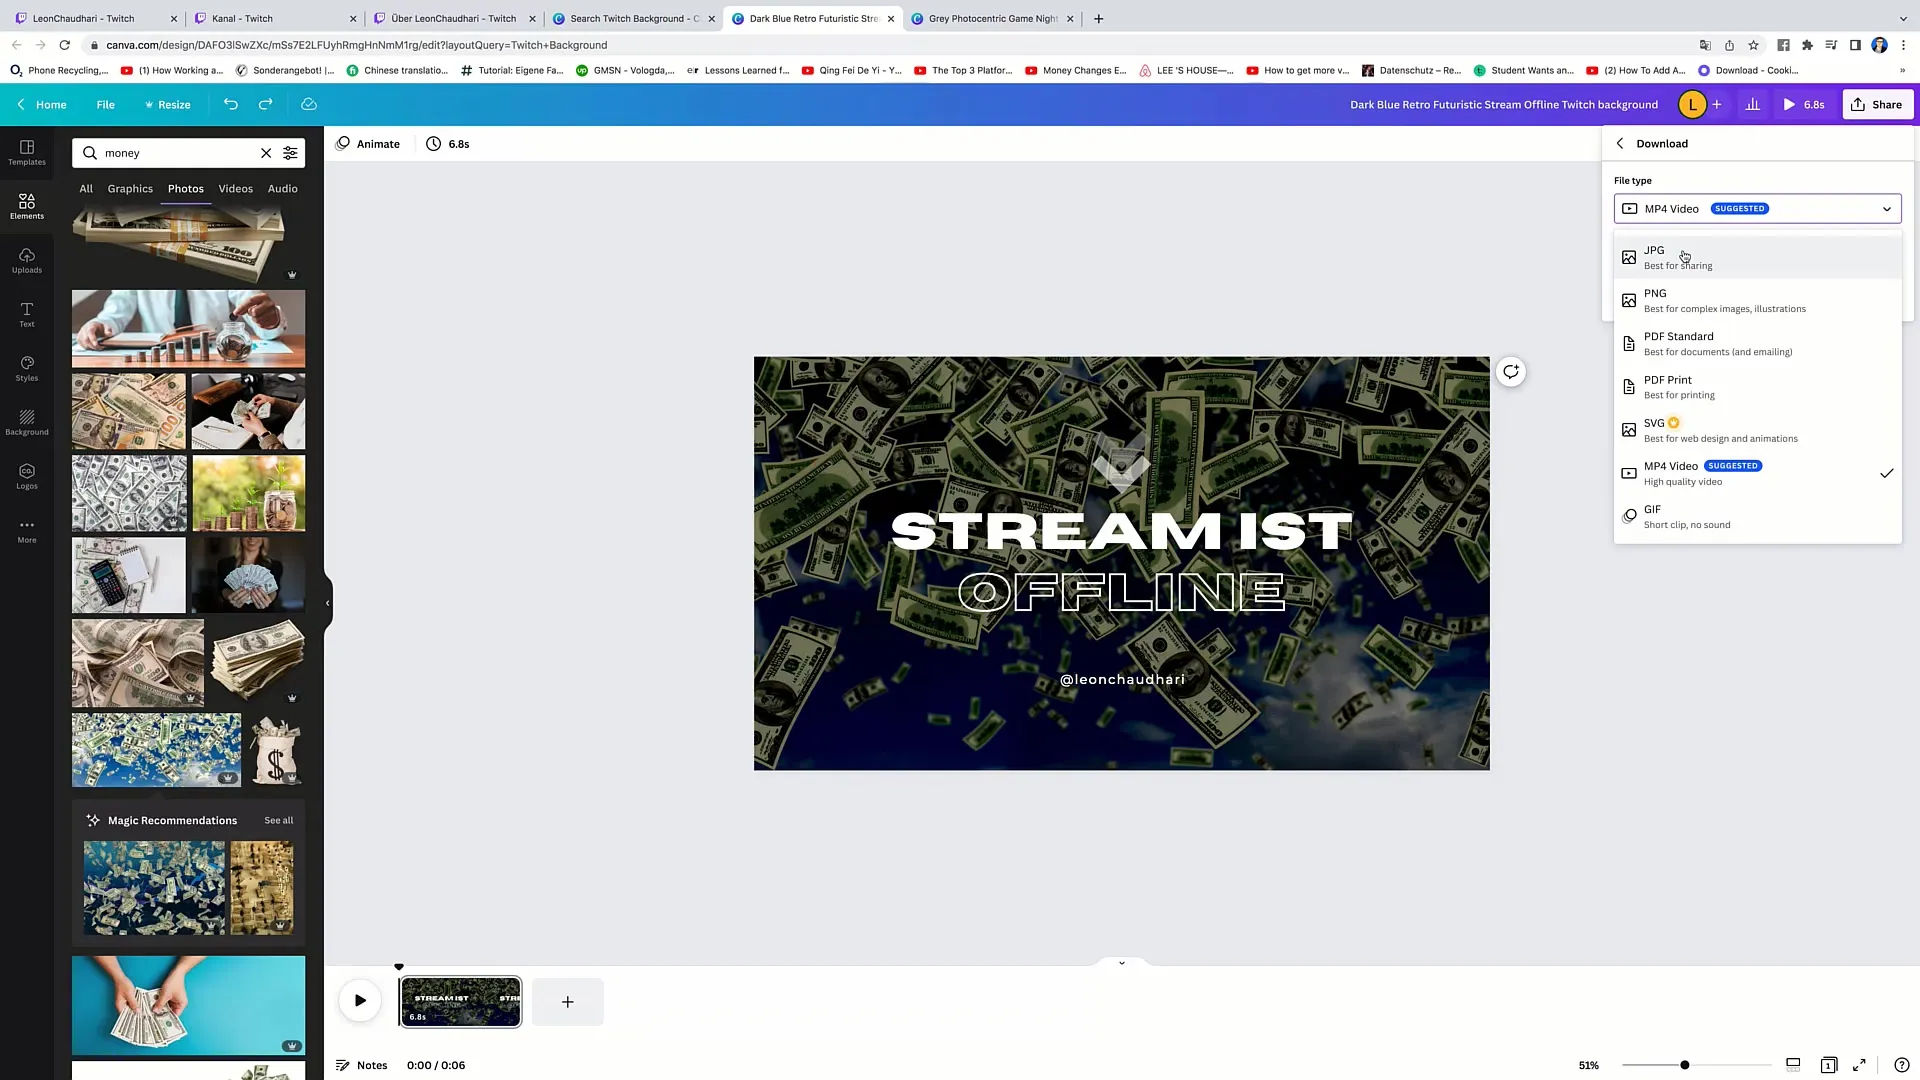
Once you are satisfied with the design, click on the “Share” button and select “Download.” Ensure you download the image in the highest quality as PNG.
Step 7: Uploading the Image on Twitch
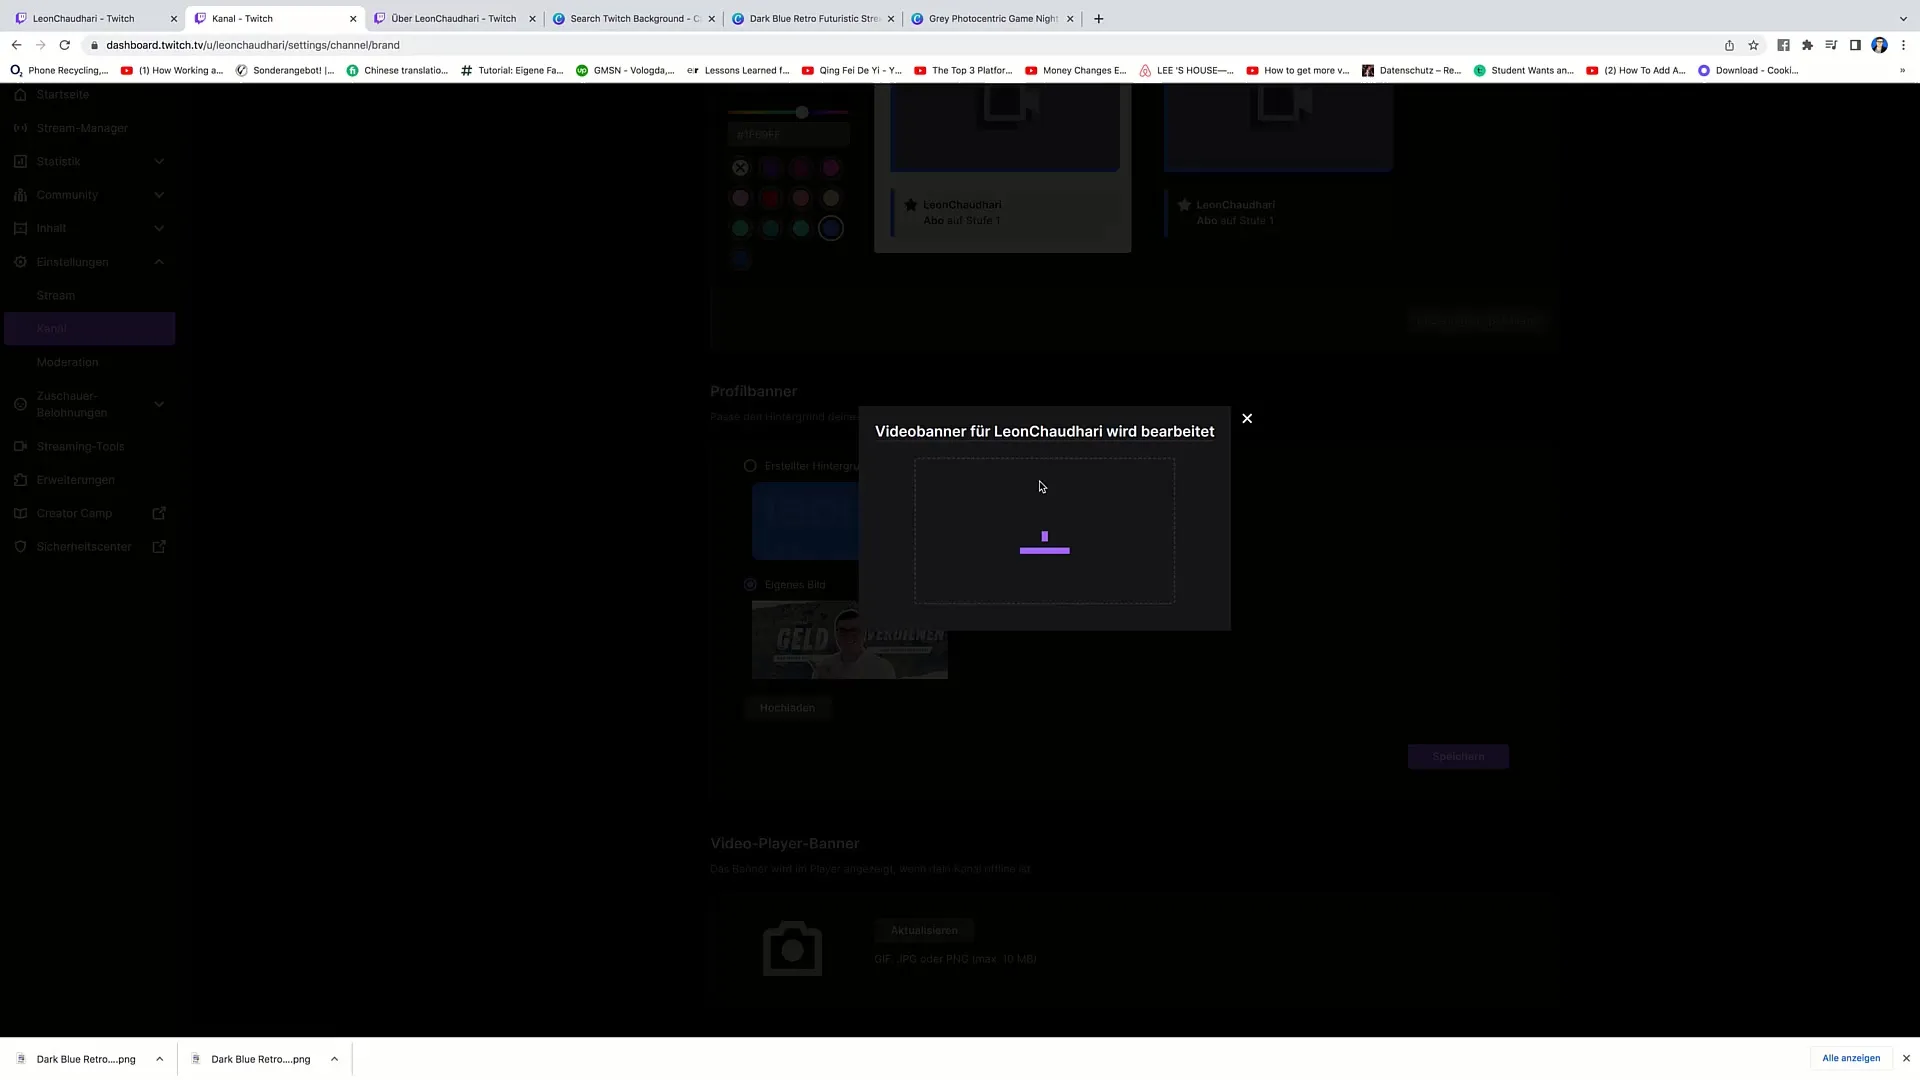
Go back to your Twitch account and upload the downloaded image. You can do this by clicking on “Update” and then dragging the image into the designated area. Wait for a moment until the image is uploaded.
Step 8: Adjusting Image Size
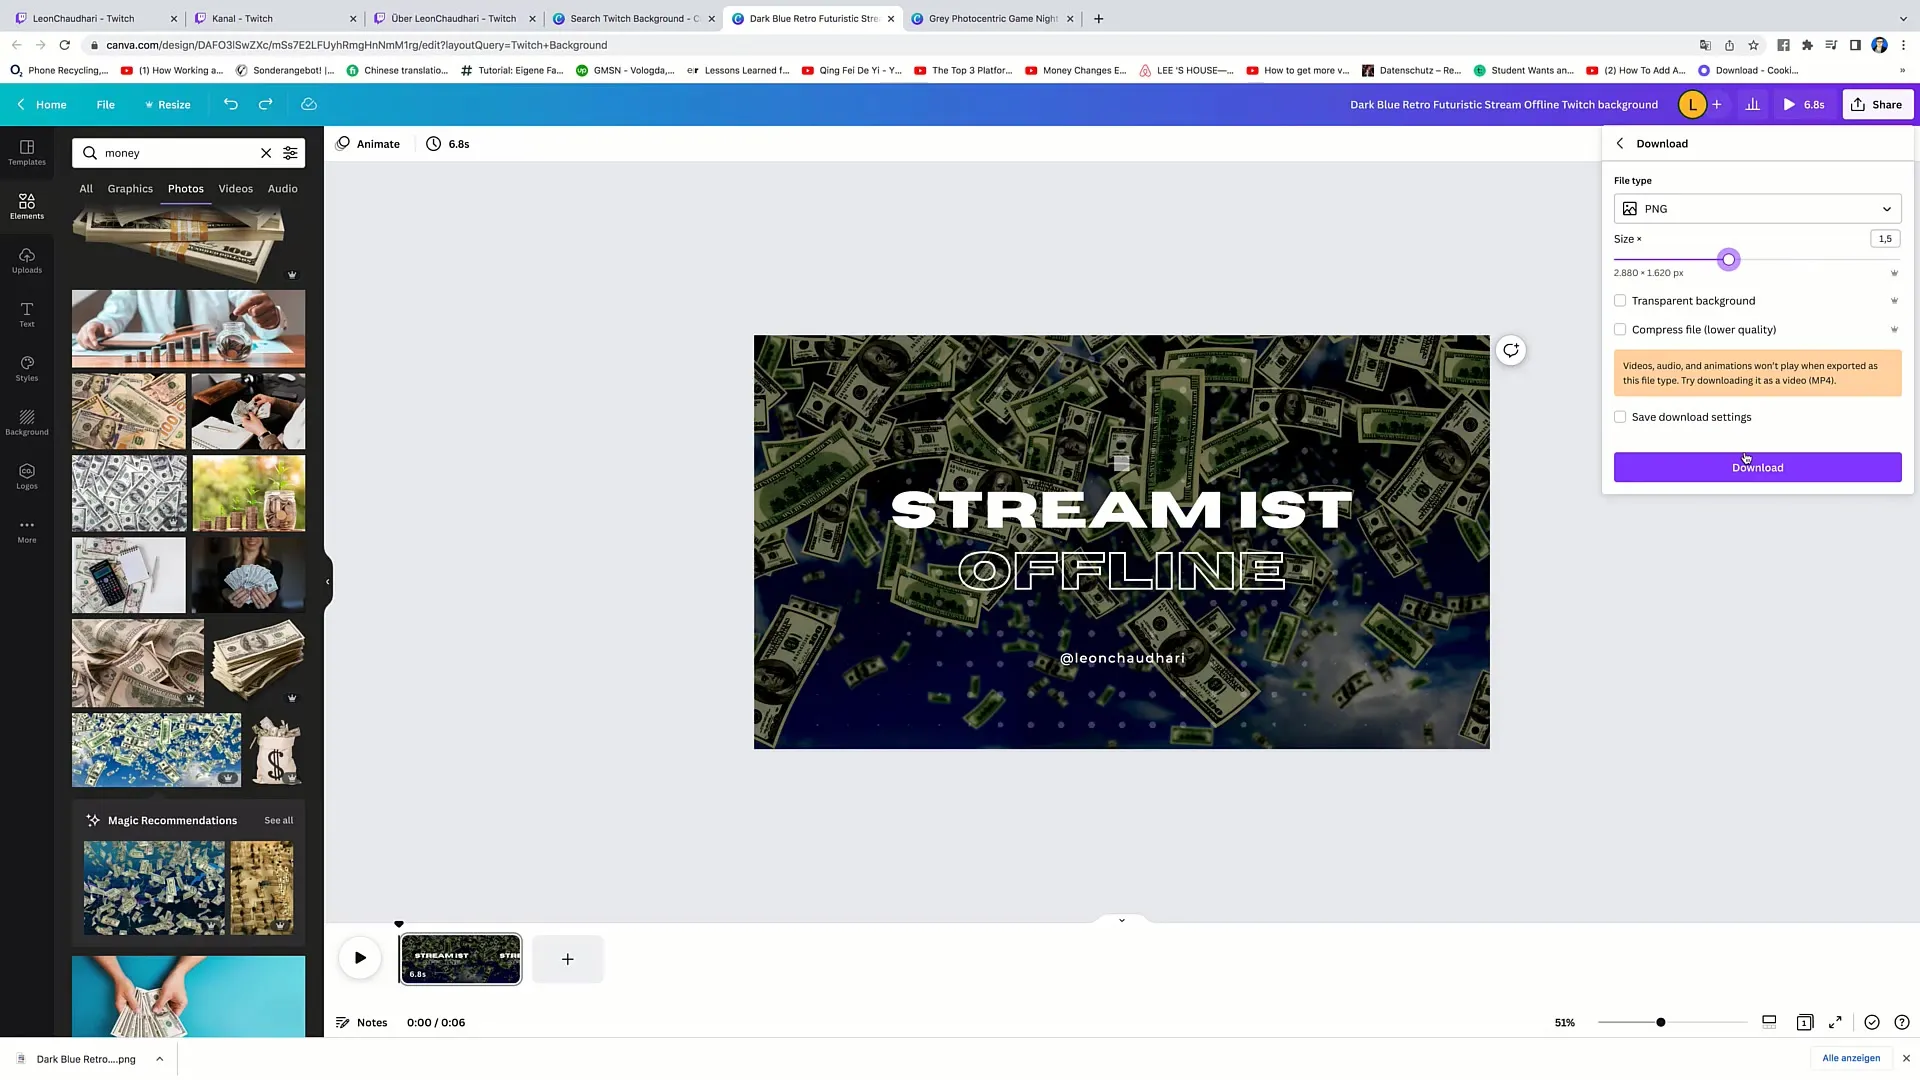
If the image is too large (over 10 MB), go back to Canva, click on “Share” and select “Download” and then “PNG.” Resize the image, for example, to 2880 x 1620.
Step 9: Final Upload
Upload the resized image again to your Twitch account. Check if the image is now accepted. Once successfully uploaded, it will appear on your channel.
Step 10: Final Checks
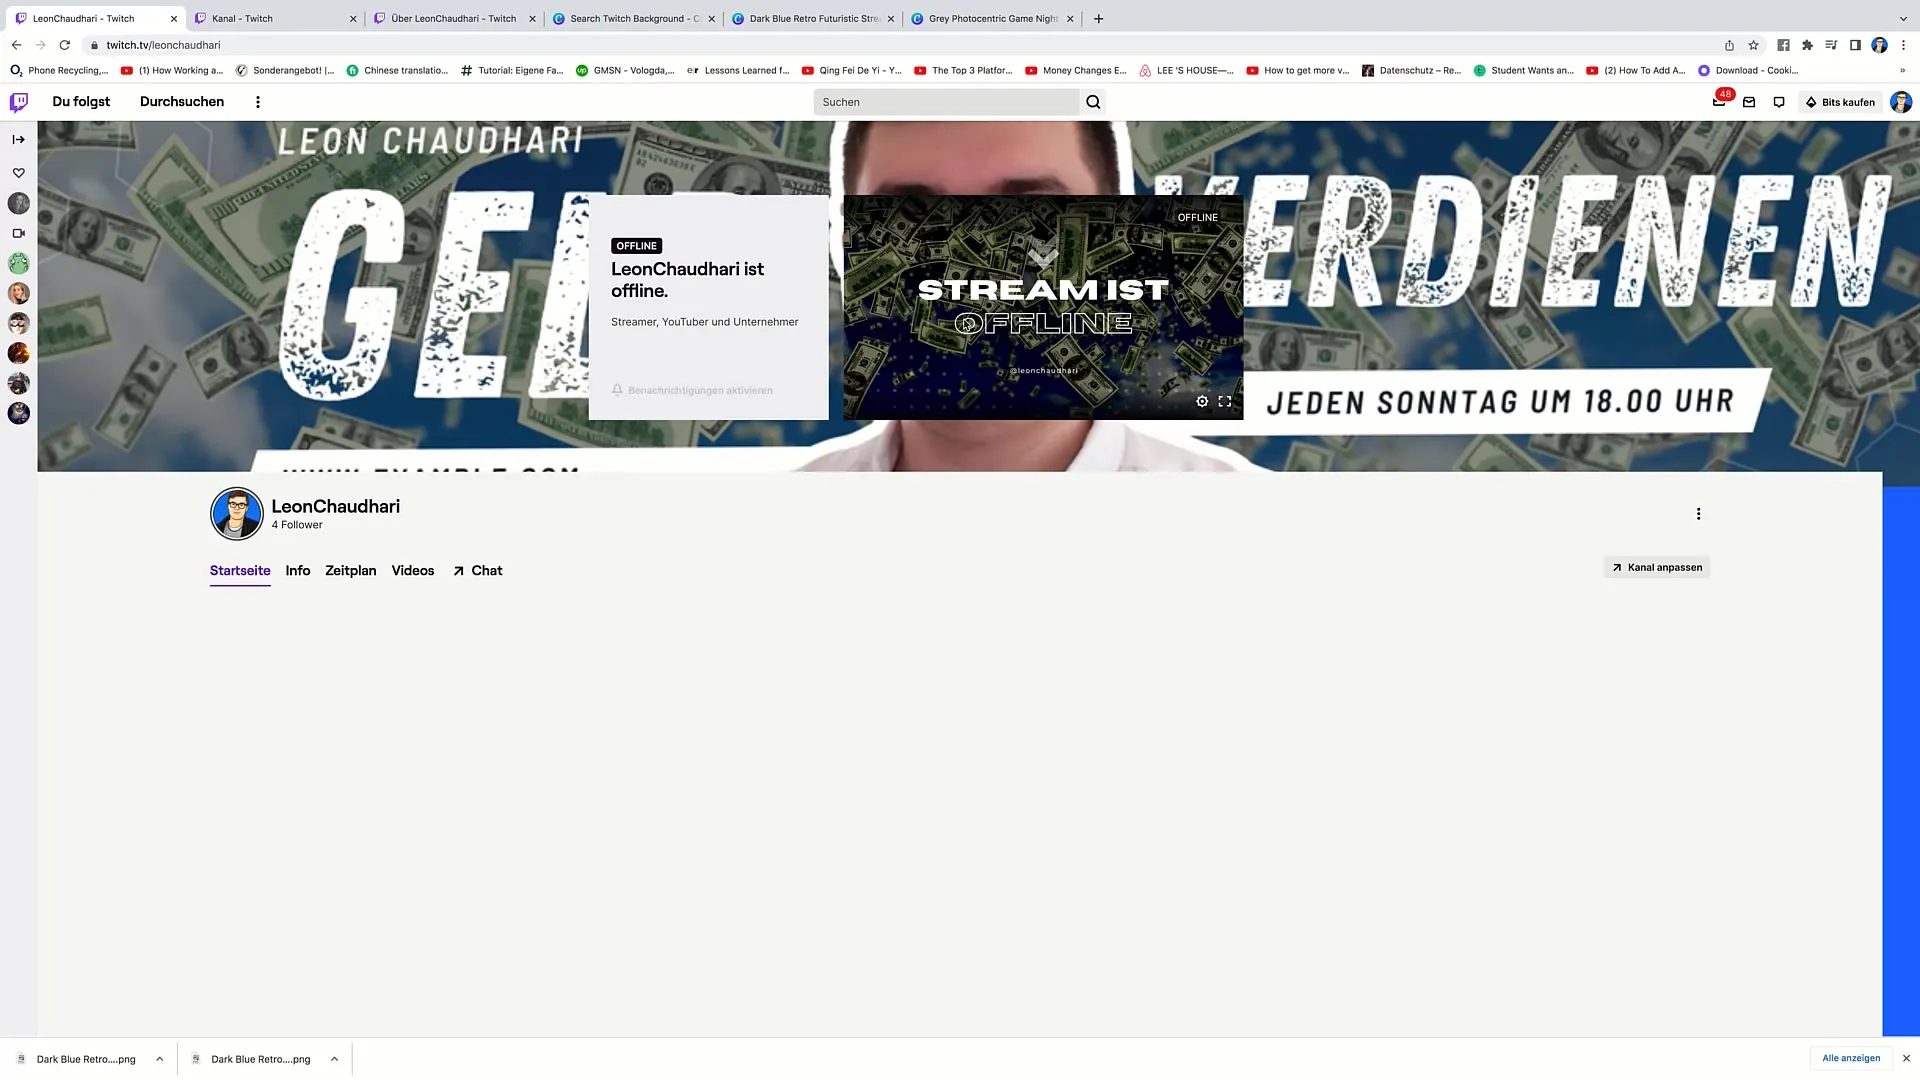
Go to your Twitch account and refresh the page to make sure everything is displayed correctly. The banner should now look appealing and indicate that the stream is offline.
Step 11: Branding Options
If you are not satisfied with the design, you can try out different fonts and designs. Also, make sure to maintain readability and visual harmony.
Step 12: Get Feedback
Have friends or viewers rate your new banner. Feedback is valuable to ensure that your channel is sending the right message.
Summary
In this guide, you have learned how to create a custom video player banner for your livestream on Twitch. We have gone through the individual steps, starting from choosing a template on Canva to the final upload to your Twitch channel. Ensure that your banner is clear, appealing, and in line with your branding.
Frequently Asked Questions
How do I upload a banner to my Twitch channel?Go to your channel, click on "Refresh," and upload the image to the designated area.
What if my image is too large?Try adjusting the size of the image in Canva and download it again.
Where can I find templates for Twitch banners?Find templates on Canva by searching for "Twitch" and selecting the "Background" category.
What should I consider when choosing the colors for my banner?Make sure the colors harmonize with the rest of your design and do not impair the readability of the text.


