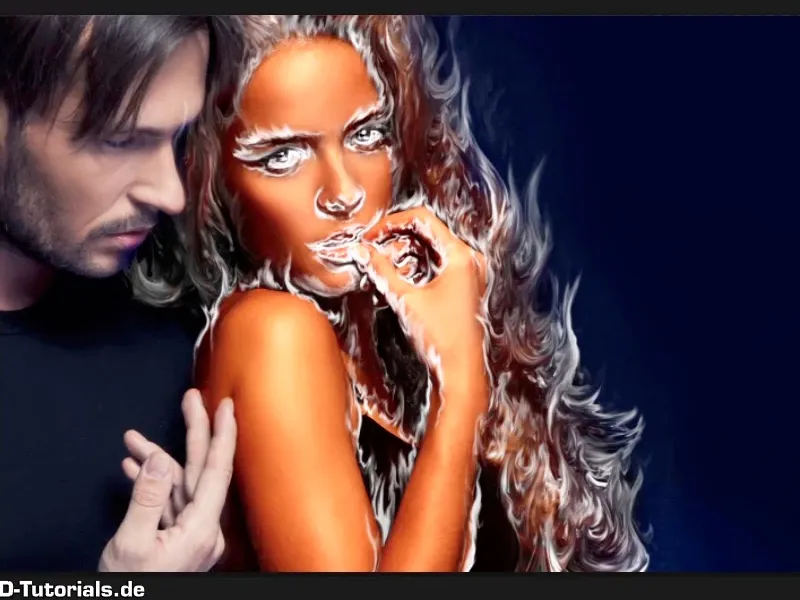
Note: The tutorial "Darkening the background and preparing the color" is a text version of the accompanying video training by Marco Kolditz. The texts may therefore have a colloquial style.
Steps 1-10
Step 1
The next step is to improve the color of the background a little; to do this, click on the "Blur hair" layer and create a colored area adjustment layer.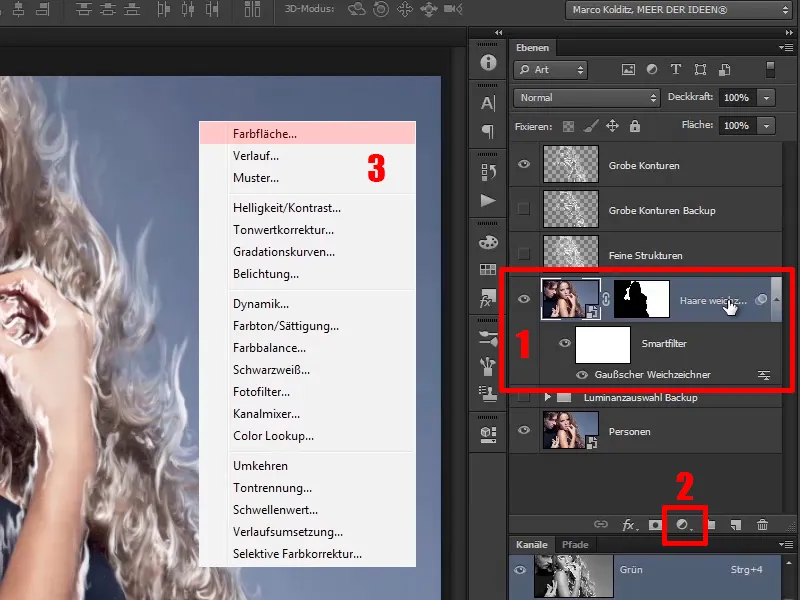
Step 2
Select a shade of blue; Marco has already prepared one here, exactly this one: #00056d. Then click on OK.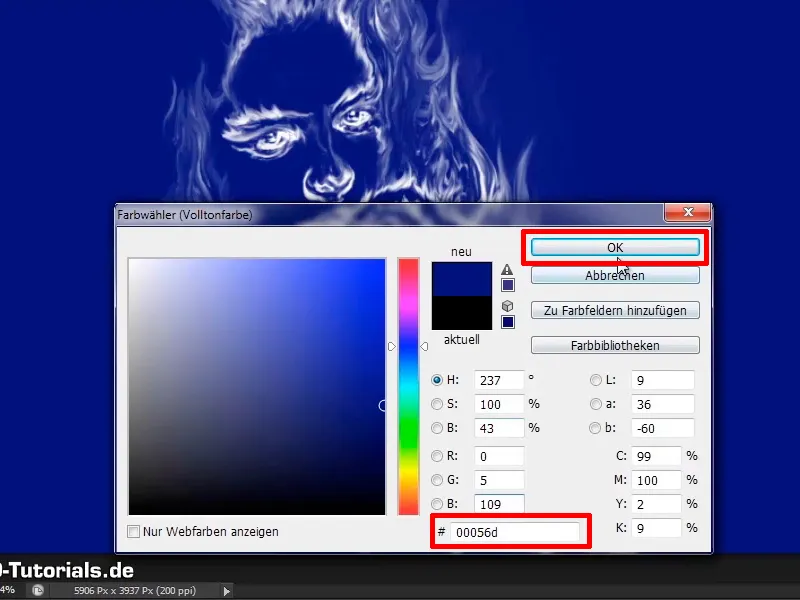
Step 3
Now rename the layer to "Color look background".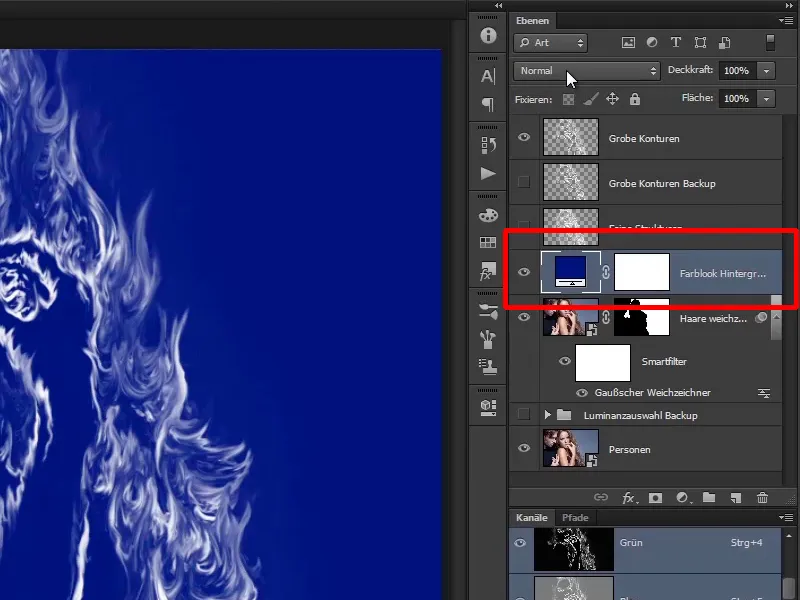
Step 4
And if you now set this layer to soft light using the layer mode, the following will happen: the background will become really nice and bluish. The people too, of course.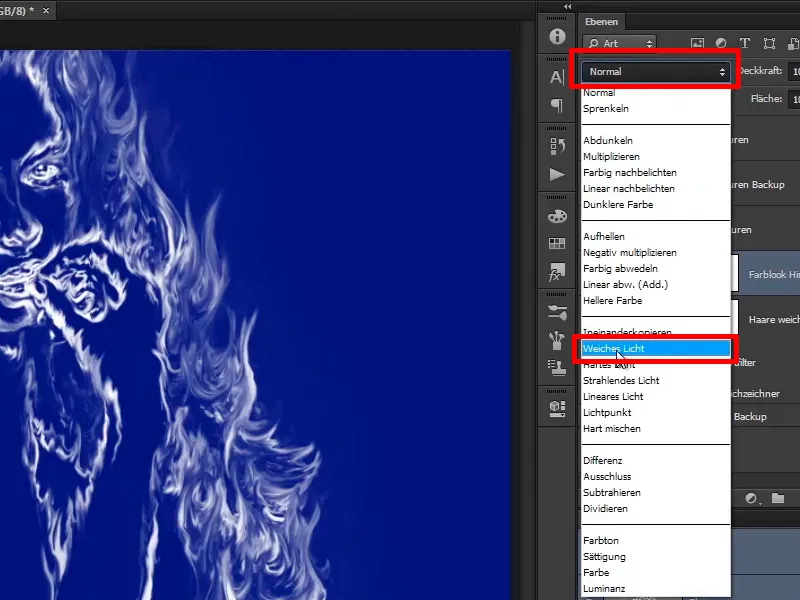
Step 5
Here, only the man should be exempted from the change, i.e. he should not be affected by this color. To do this, click on the mask again, take a brush with a black foreground color...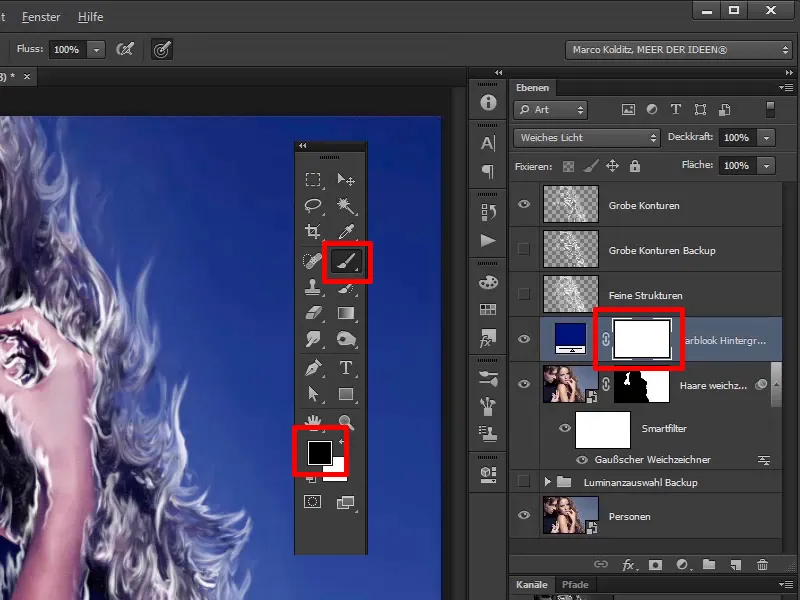
... and simply paint over the man.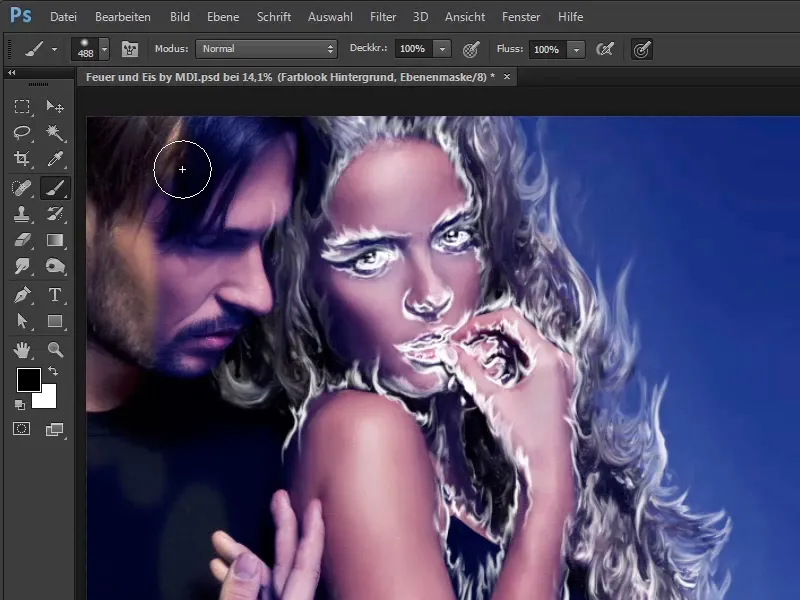
Step 6
Leave out the woman's hair, of course. You don't have to work 100% exactly along the woman's hair here. As I said, if you have painted too far, then simply change the foreground and background color with the X button and you can always easily paint away areas or mask them out again or bring them back into view.
You need to be a little more careful in the finger area.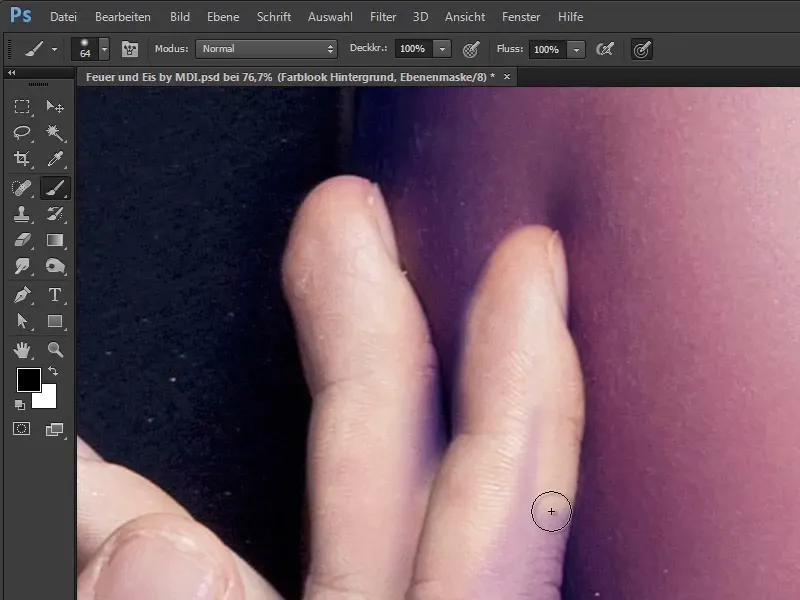
Step 7
Here you need a relatively soft brush to make the transitions look nice. In this case, Marco Kolditz uses a hardness of just 9%. This means that you paint along the finger and bring the man's color back into the picture. Although you will color him blue again later anyway, but in a completely different blue, as you want it to be icy.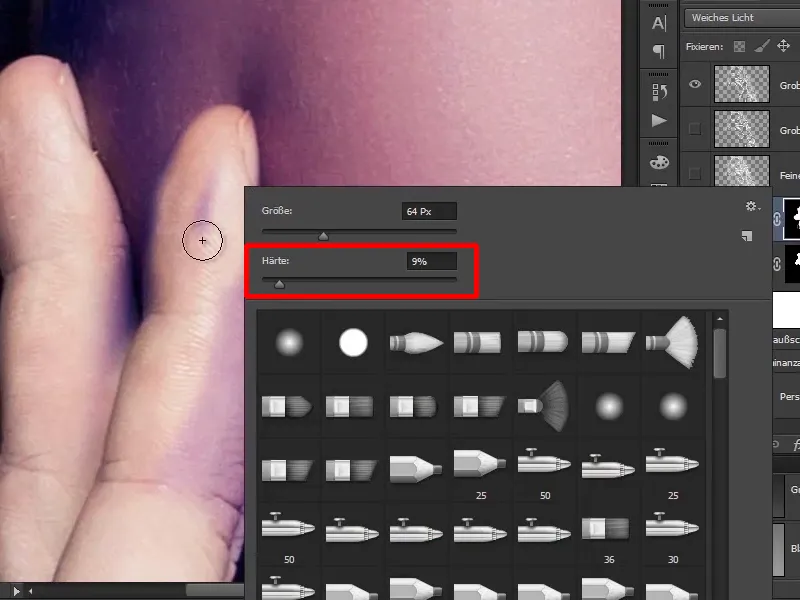
Step 8
Alt-click on the "Background color look mask" to check whether you have filled everything on the man with black. Click on the mask to restore the original.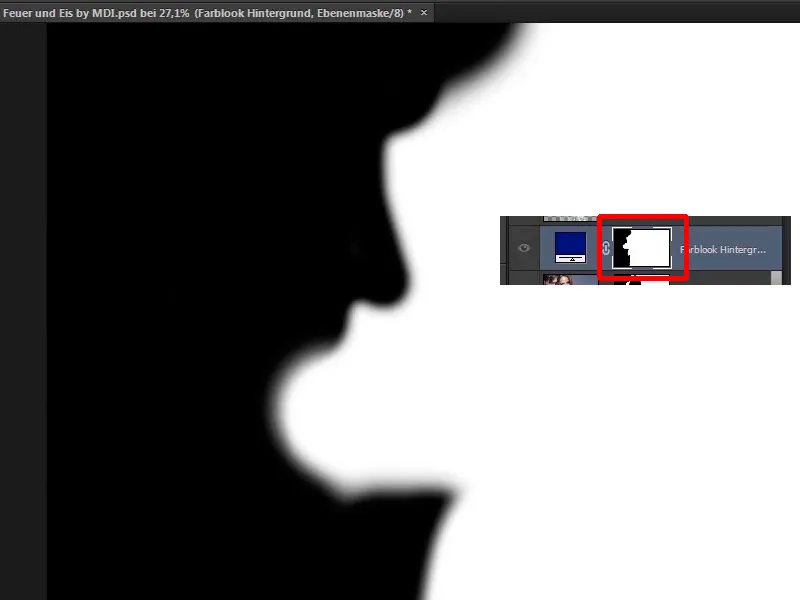
Step 9
Now you can continue working. Now you have colored the background and the woman a little blue. Why? You want to have a few more shades of blue in this area later.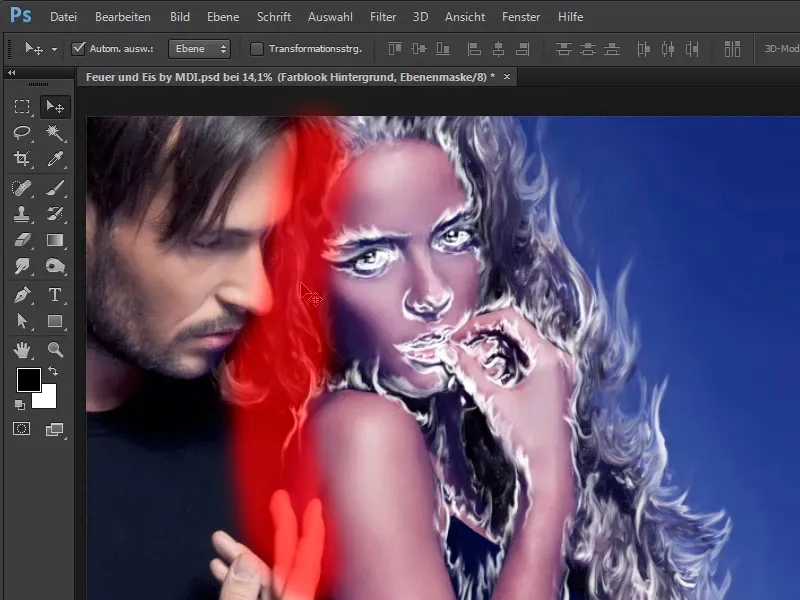
Step 10
Generally speaking, you're going to paint the woman orange again right now anyway, so don't worry, everything is exactly as it should be.
Next you will darken the background, it is still far too light for the fire to really come into its own later on.
To do this, you will now place a tone correction layerover the "Color look background layer". To do this, select the "Color look background layer" and then click on the Adjustment layer icon and select Tone correction.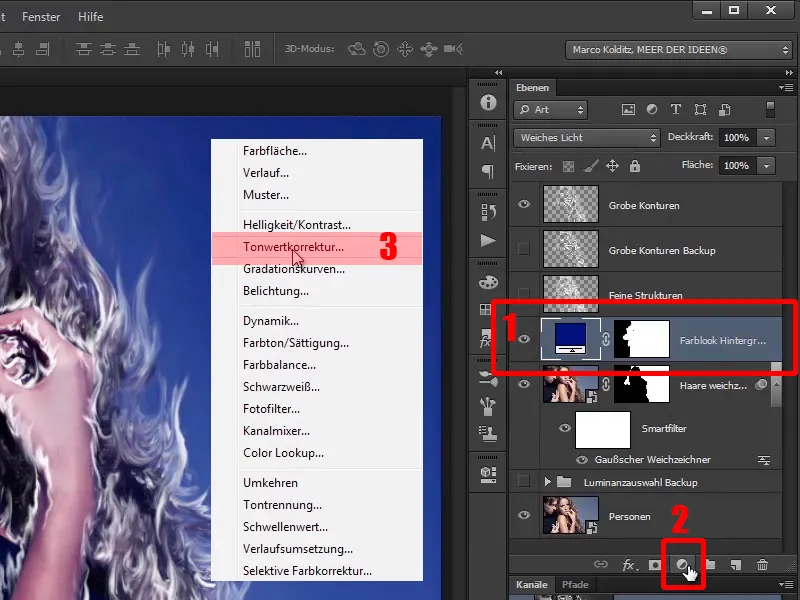
Continue: Steps 11-20
Step 11
Immediately set this tonal correction layerto the Luminance layer mode. Why?
Well, if you apply a tone correction layeror a gradation curve layer, e.g. to get more contrast into the image, then the saturation values in the image will also change. In other words, the more contrast you add to the image, the more saturated the colors will appear. You can counteract this by selecting the Luminance layer mode, which means that all changes really only affect the brightness areas, i.e. the luminance in the image.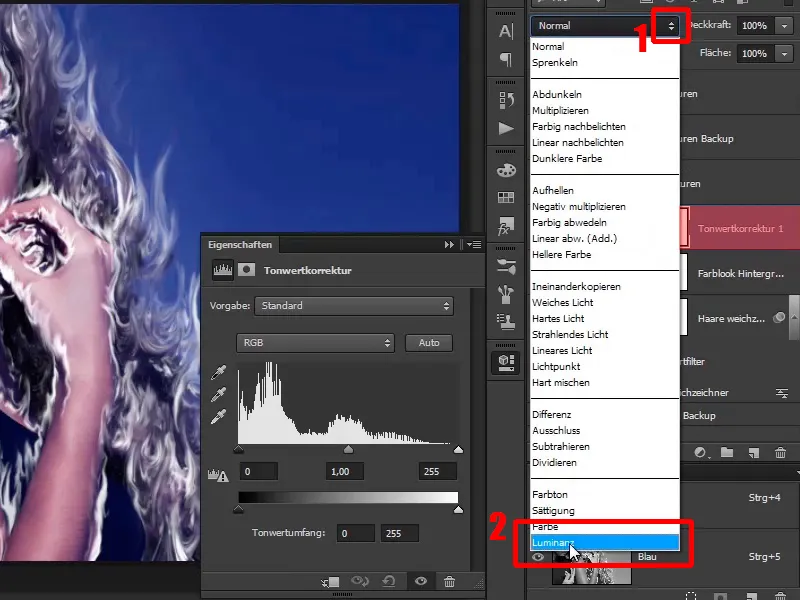
Step 12
Now set it up like this. Rename the layer directly to "Darken background" and move the black slider to the right to a value of 139. You can make the gray area or the midtones a little lighter.
- Black value: 139
- Gray value: 1.22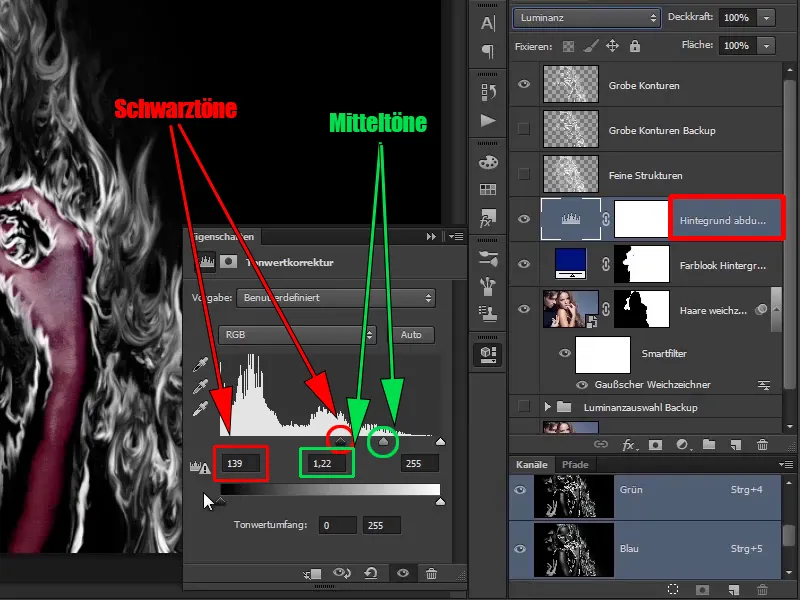
Step 13
And now you even crop the black areas in the image, i.e. (1) is everything that is black in the image and (2) is everything that is light in the image.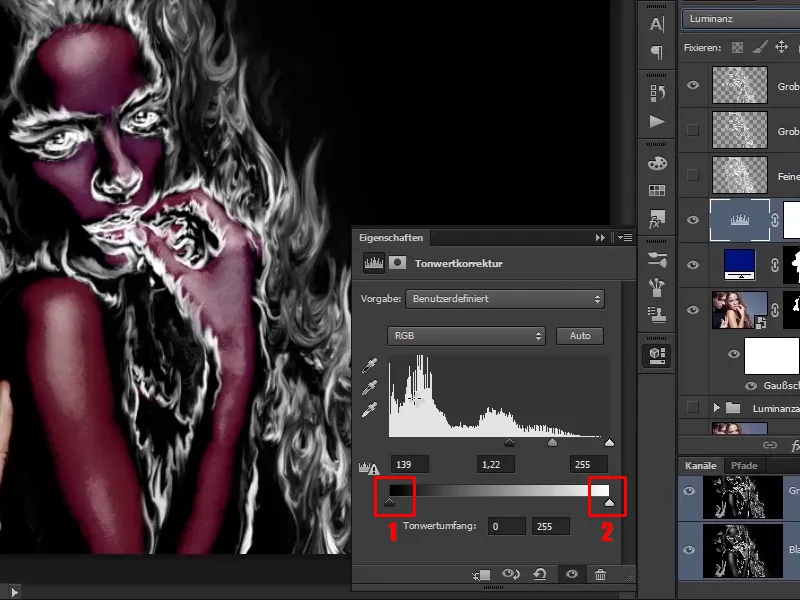
Step 14
And as soon as you drag this to the right, everything that is black in the image becomes a little lighter. And that's quite good in this area at 6.
Tonal range: 6
Then close the window.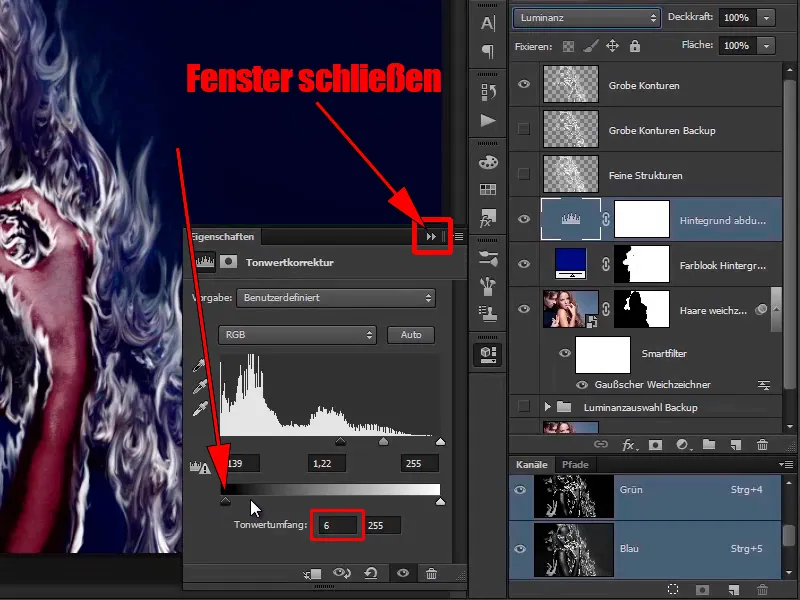
Step 15
This effect, this darkening, should of course only affect the background. This means that you invert the mask with Ctrl+I. This reverses the layer mask from a white mask to a black mask.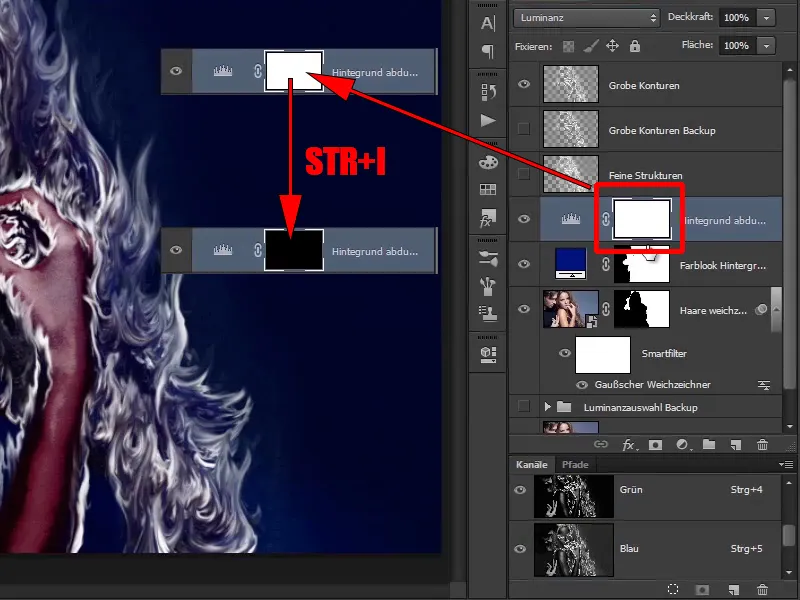
Step 16
Now select the layer again with a soft brush, in this case a white foreground brush, and then paint the changes into the image.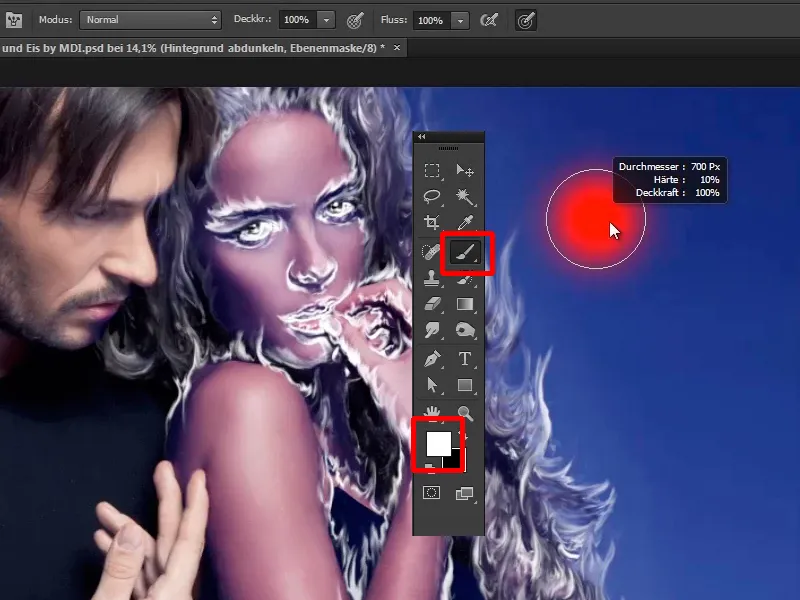
Step 17
As you can see, Photoshop sometimes takes longer per brush stroke because the brush is relatively large. It is best to reduce the opacity to 55%. This will allow you to paint better in the hair area.
It doesn't matter if you paint over the hair a little, because you'll be placing really blazing fire here, which won't be noticeable at all.
You've darkened the background nicely this way. And by reducing the opacity a little, you can click here more often.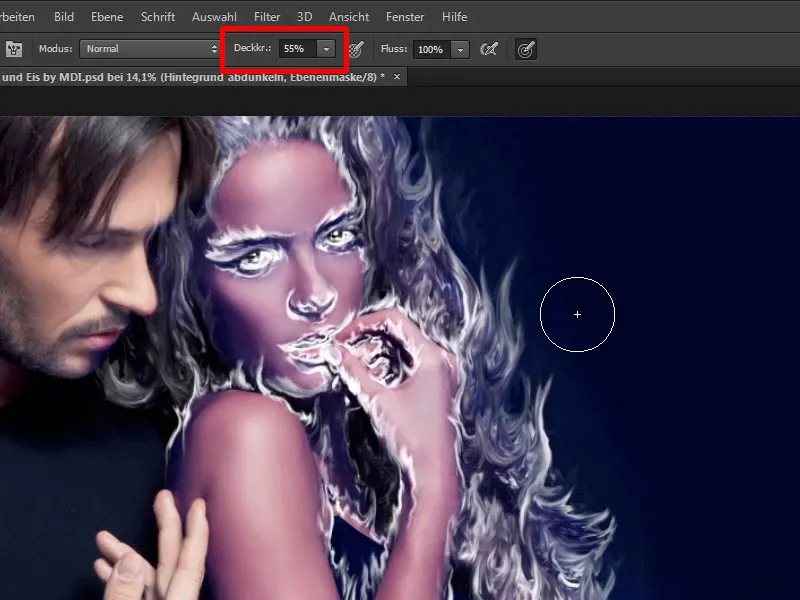
Step 18
Now take a look at the mask - it looks pretty good.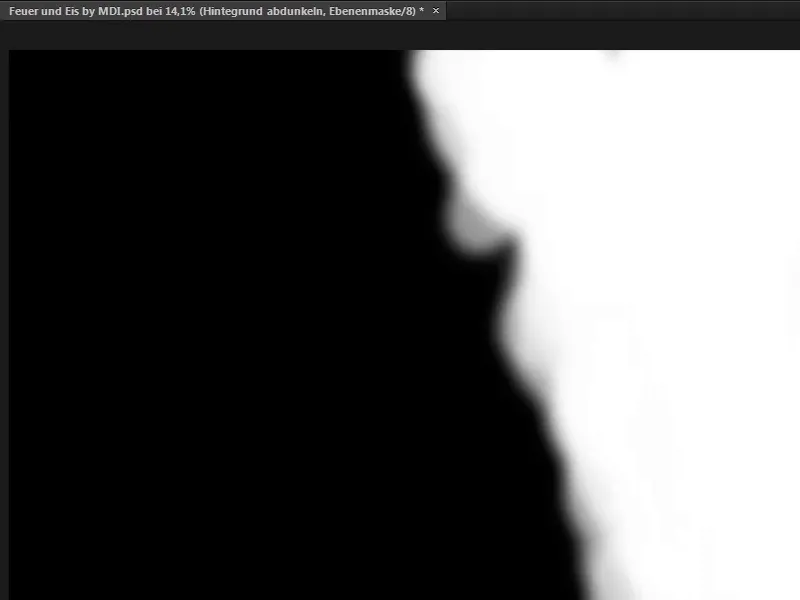
Step 19
Now it's time to add a little more fire to the woman's skin. To do this, create a color balance layerdirectly above the "Darken background" layer. Click on the "Darken background" layer again and then select the color balance using the New adjustment layer icon.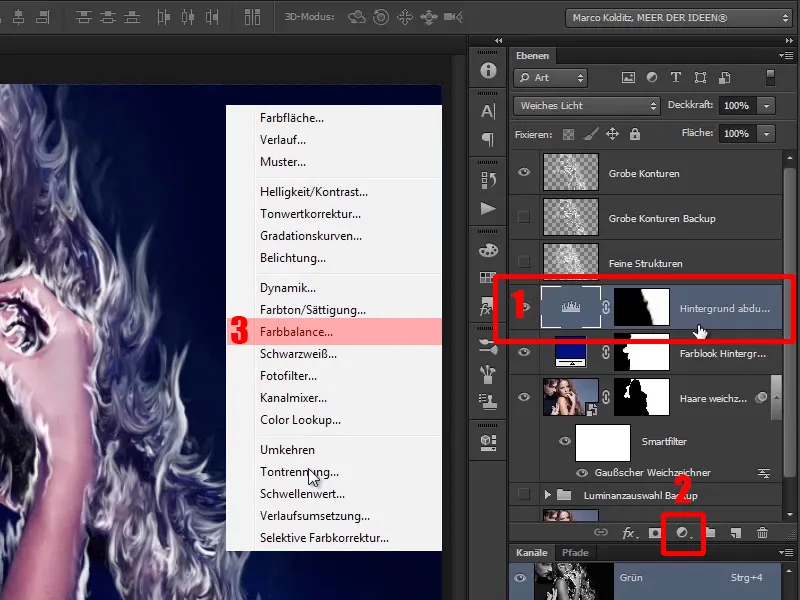
Step 20
And there you set the following values, first in the depths, i.e. the depths, i.e. the dark areas in the image, you will adjust the color, and there you already have finished values, namely a red value of 16, i.e. you pull the dark areas in the image slightly into the red area. Leave magenta and green at 0 and yellow at -53.
Now you go to the mid tones, i.e. you will adjust the gray values, i.e. the middle tones that are not too light and not too dark, but exactly in the middle. Make these a little red 21 again , then go a little into magenta -8 and for yellow to -51.
And finally, the highlights, the bright areas in the picture, you also adjust them again and, although you also add a little more red (19), you can leave magenta and green as they are. But add a little more yellow (42) and you can already see that it will really glow.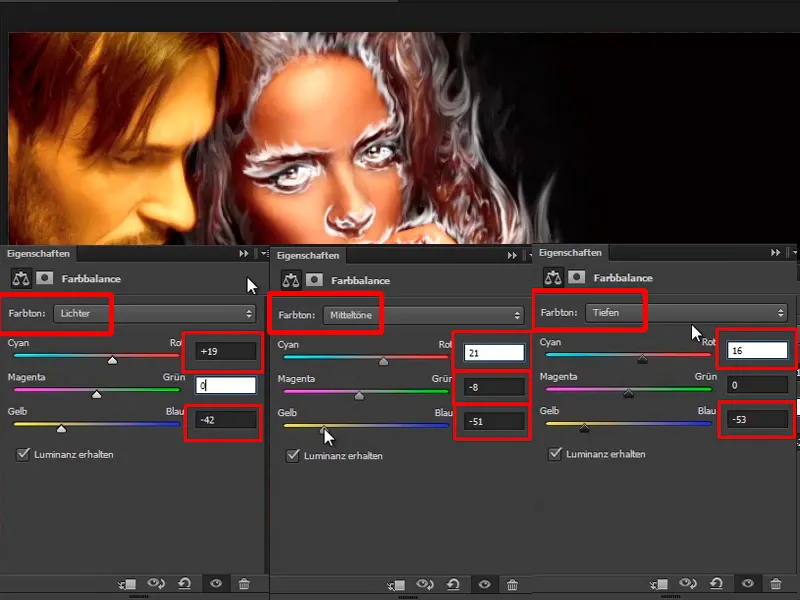
The following are steps 21 to 28
Step 21
This looks quite good; rename the layer to "Woman redder again", and of course this should only affect the woman. You have already made the selections for the man and the background, so you can use these layer masks in the same way.
Now click on the mask in the "Color look background" layer with the Ctrl key to select only this mask as the selection.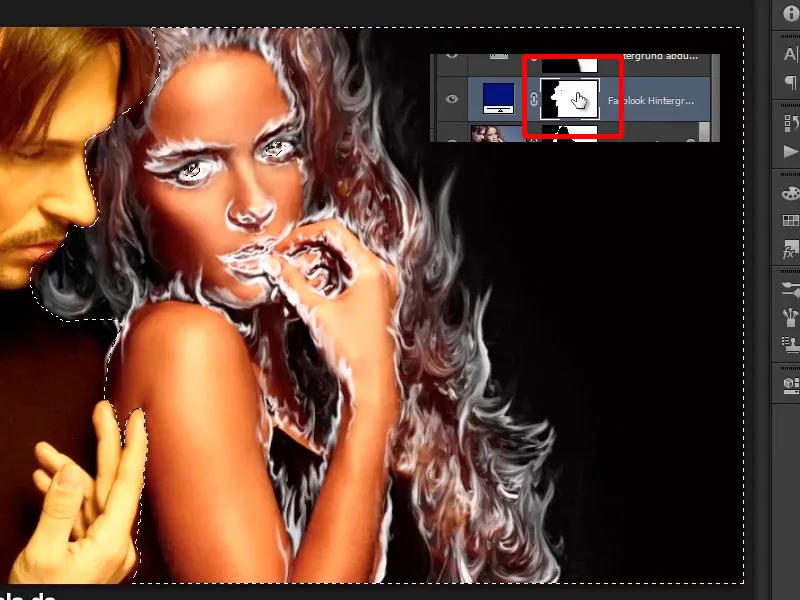
Step 22
This means that you have basically only selected the right-hand area, but you want the man. Go to Selection>Invert selection and now you have basically only selected the man. You can also do this with Ctrl+Shift+I, so you can invert selections at any time.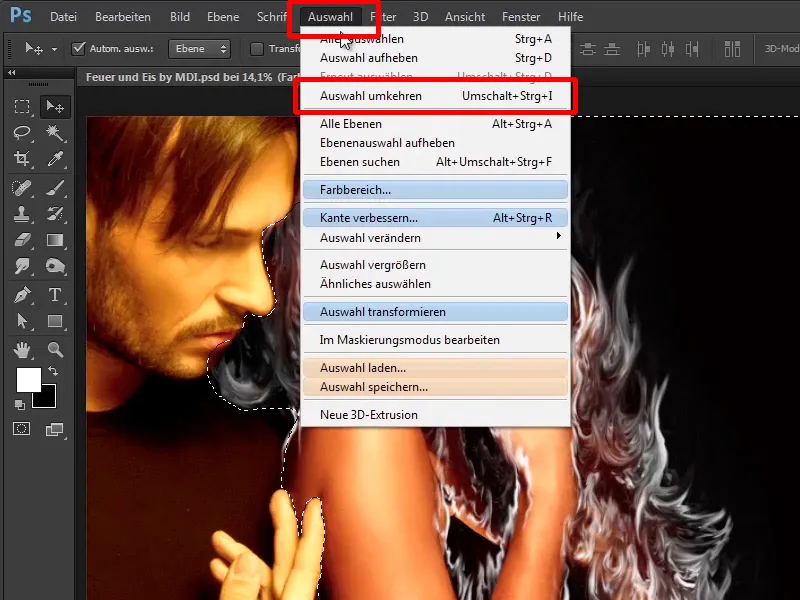
Step 23
Now add this selection to the "Woman reddish again" layer and mask it out with black, i.e. you have a black background color again, i.e. press Ctrl+Backspace.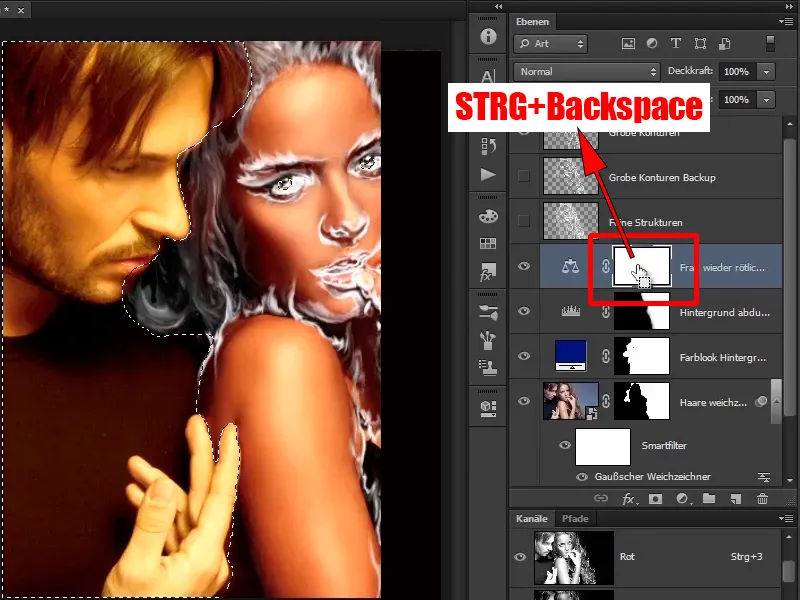
With Ctrl+D you can cancel the selection again and have thus already excluded the man from this effect of these color values.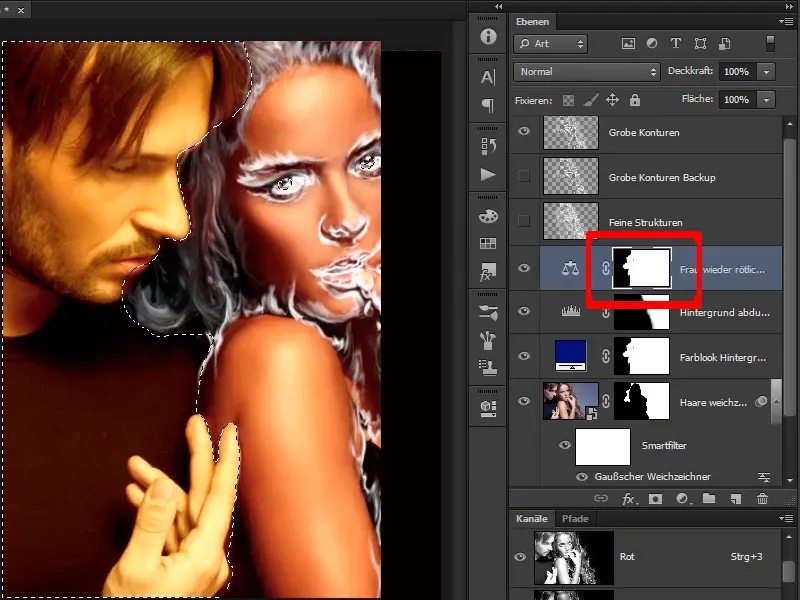
Step 24
Zoom into the picture for a moment, correct the mouth a little, a little bit of the color has gone over, it shouldn't be like this.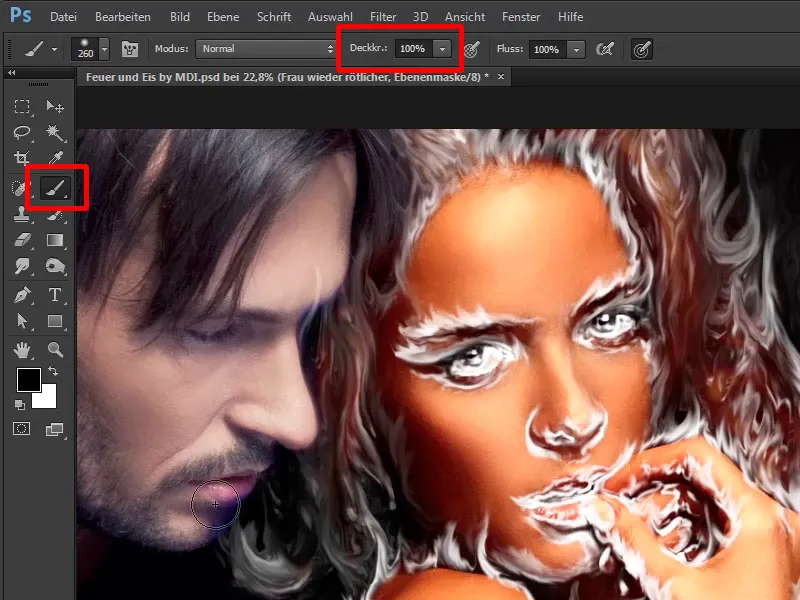
You can leave it like this.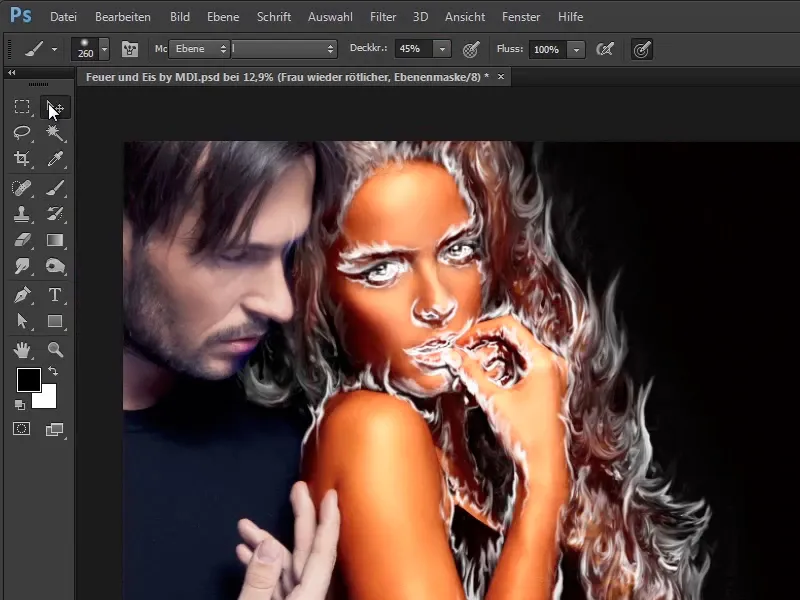
Step 25
Of course, you can now also remove the background, as you already have the "Darken background mask". So click on it with the Ctrl key.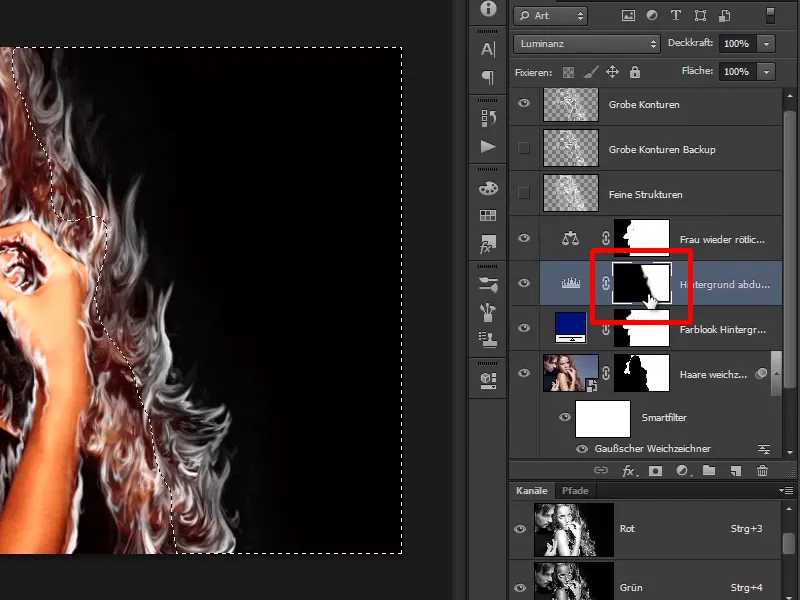
Step 26
Now the area on the right is already selected, then click on the color balance layeragain and press Alt+Backspace, because in this case you have the color black as the foreground color.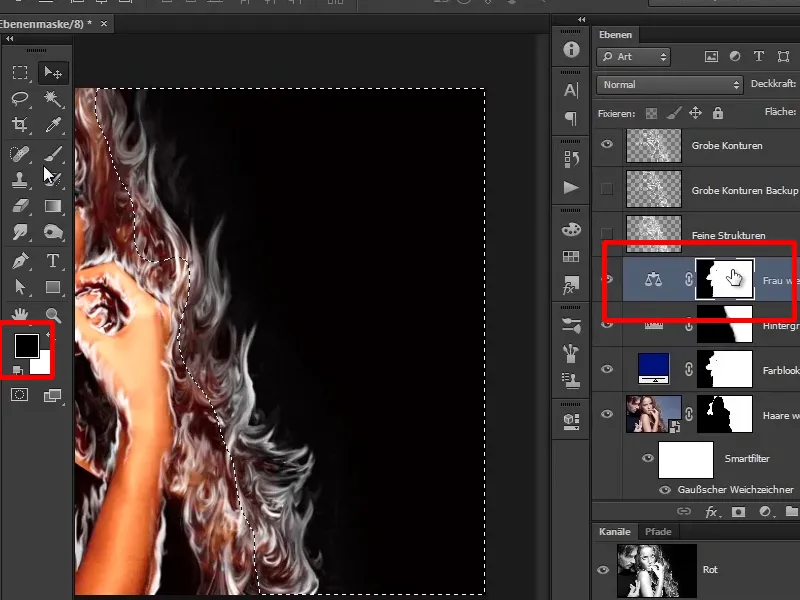
Step 27
Now you've just made the woman a nice reddish color, and if you want, you can go over this area here with the brush to paint the reddish tone back into the hair.
But you don't have to, because as I said, the entire fire will be over it in a moment.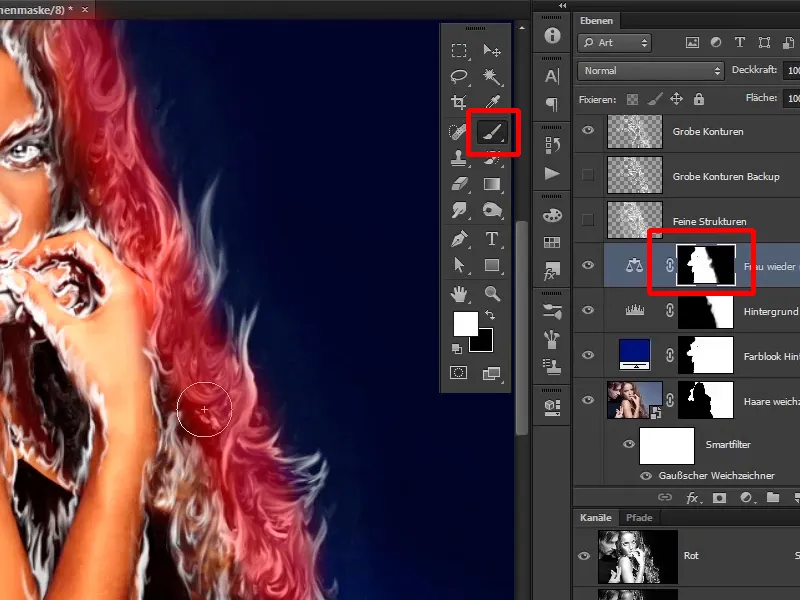
Step 28
In the next tutorial, you will now color in the fire, which currently still appears white.