Nowadays, livestreaming is becoming increasingly popular, both for hobbyists and professional streamers. A flexible and lightweight streaming setup is not only convenient but also crucial if you are often on the go. In this tutorial, you will learn all about my personal streaming setup, which I appreciate for its user-friendliness and portability. I will introduce you to the individual components of my setup and explain why they are important.
Main Insights
- A lightweight streaming setup allows you to stream anywhere without having to carry much equipment.
- Make sure to choose high-quality devices, especially for microphone and camera.
- The setup should be as simple as possible to start immediately.
Step-by-Step Guide
Step 1: Choose a Webcam
Let's start with the webcam. A good webcam is crucial for the quality of your stream. I use a Logitech Streamcam, which is relatively light and easy to handle. Make sure your webcam has a USB connection. This makes installation uncomplicated. The webcam does not need to be installed; rarely do you need additional software or drivers.
Step 2: Microphone Selection
Next, let's talk about the microphone. I recommend a Blue Yeti USB Nano. This is the smaller version of the larger Blue Yeti microphone I am currently using. The microphone is small and light, perfect for a portable setup. Make sure the microphone has various audio settings, such as a setting for karaoke and one for groups.
Step 3: Connect the Microphone
To connect the microphone, you also need a USB port here. Simply plug the microphone into your computer without requiring any software installation. This plug-and-play feature allows you to start streaming immediately.
Step 4: Optimize Audio Quality
Good audio quality is crucial for a clear stream. I recommend using a pop-up filter that dampens explosive sounds like "s" and "p". This makes your audio transmission sound much more natural and pleasant for listeners. This can be purchased for a small price of about 5 euros.
Step 5: Use of a Trackpad
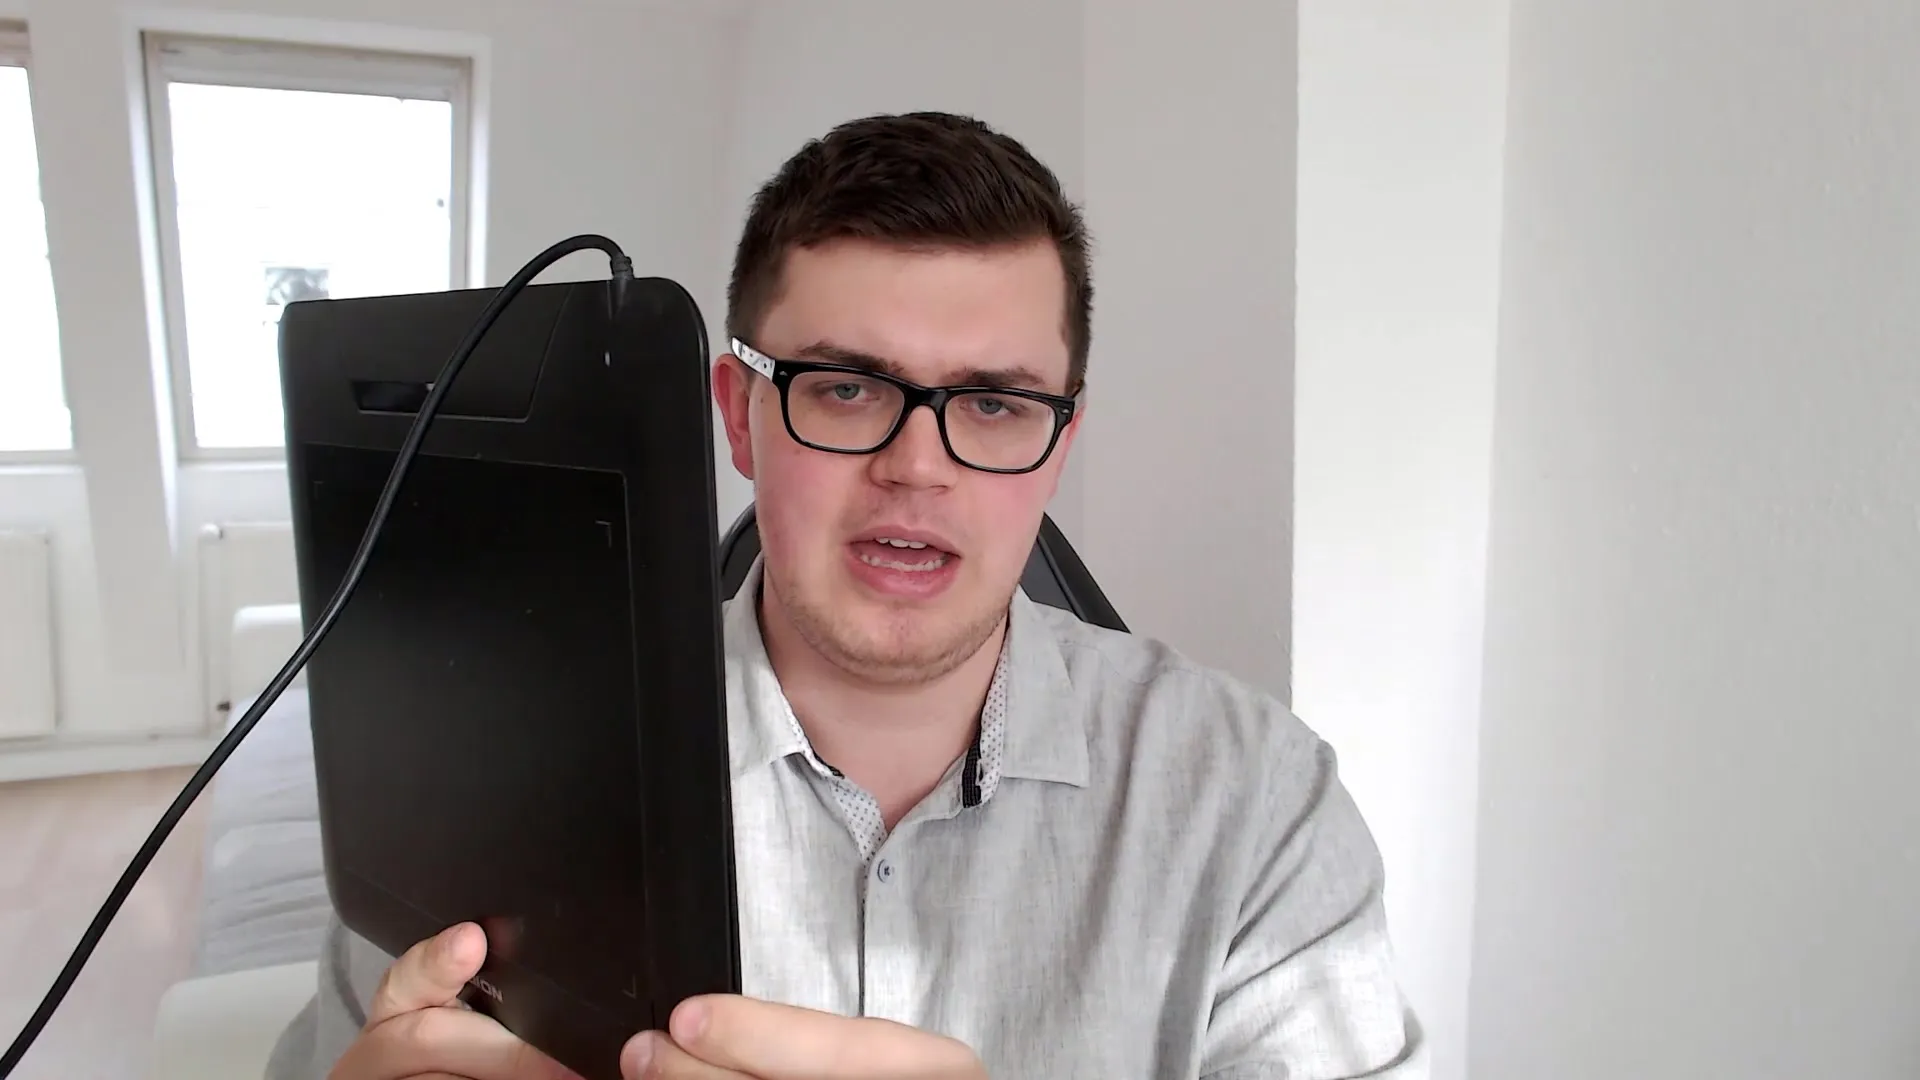
In addition, I use a Huon Trackpad to make drawings or notes during streams. This is also connected via USB and allows you to draw directly on your screen, which is particularly helpful for tutorials or explanatory streams.

Step 6: Lighting Setup
To further enhance my image quality, I use three softboxes strategically placed above me. They provide even lighting and prevent shadows on your face or background. Well-lit streams have a more professional look.
Step 7: Testing and Adjusting
Before you start streaming, test all your equipment. Check camera, microphone, and lights for quality and functionality. It can be helpful to conduct a few test streams to find the best combination of settings.
Summary
In this tutorial, you have learned all about my lightweight streaming setup. From choosing the webcam and microphone to using a trackpad and optimal lighting. A lightweight and effective setup is the key to successful livestreaming.
Frequently Asked Questions
How important is the webcam for my streams?The webcam is crucial for video quality; a good webcam enhances the entire stream.
Which microphone do you recommend?I recommend the Blue Yeti USB Nano for its compact size and good audio quality.
How can I ensure that my setup is lightweight?Pay attention to the size and weight of the devices you choose.
What is the cost of the entire setup?Costs vary depending on devices; a good microphone and webcam usually range between 100 and 200 euros.
Device tests: Do I need to test the equipment?Yes, absolutely. Conducting multiple tests helps you find optimal settings.


