In this guide, you will learn how to download Twitch Studio, an application designed specifically for livestreaming on Twitch. Whether you are a new streamer or simply looking to enhance your streaming experience, this step-by-step guide will show you how to quickly and easily start the download and when you can begin streaming.
Main Takeaways
- Twitch Studio is user-friendly software for livestreaming.
- The download process is simple and straightforward.
- Twitch Studio is integrated directly into the platform, enhancing your streaming experience.
Step-by-Step Guide
Step 1: Finding Twitch Studio Beta
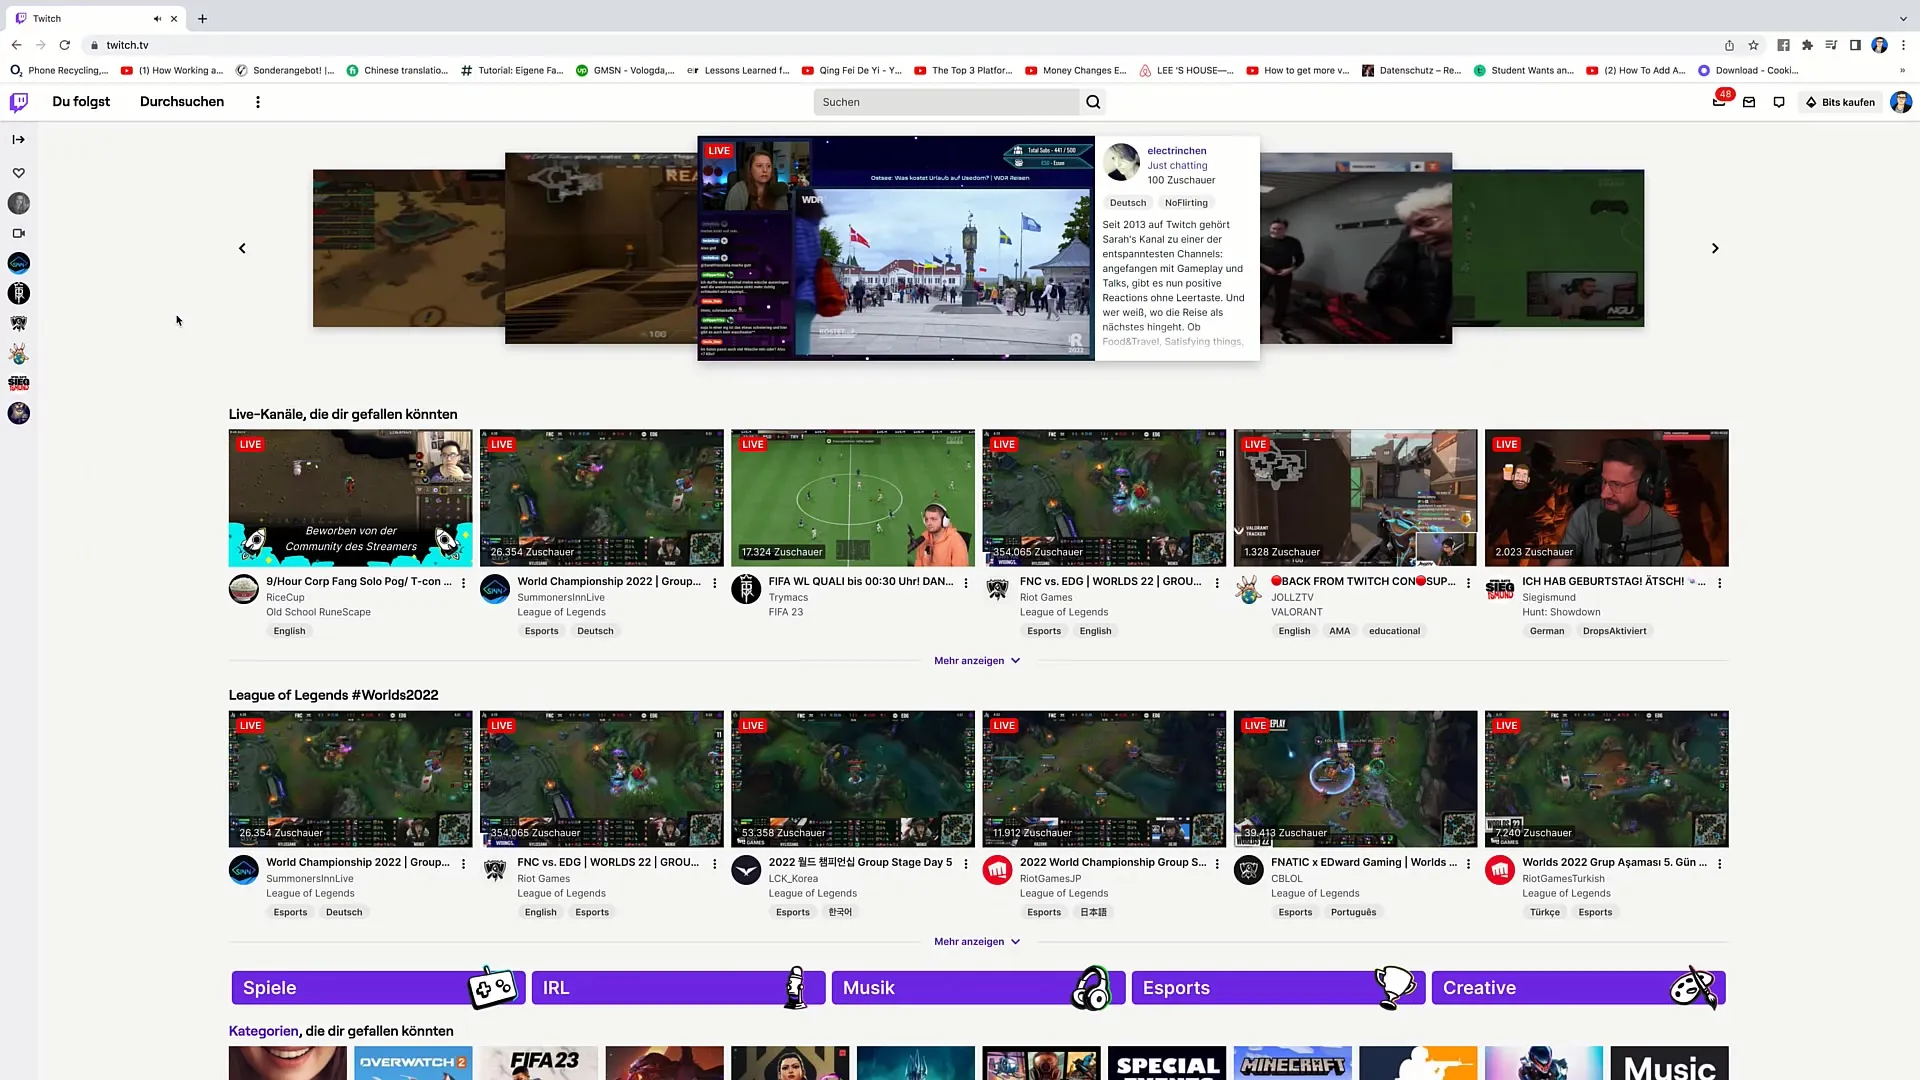
First, you need to find the Twitch Studio Beta. To do this, go to the Twitch website and log in to your account. After logging in, navigate to the top right corner of the website and look for the options for your dashboard.
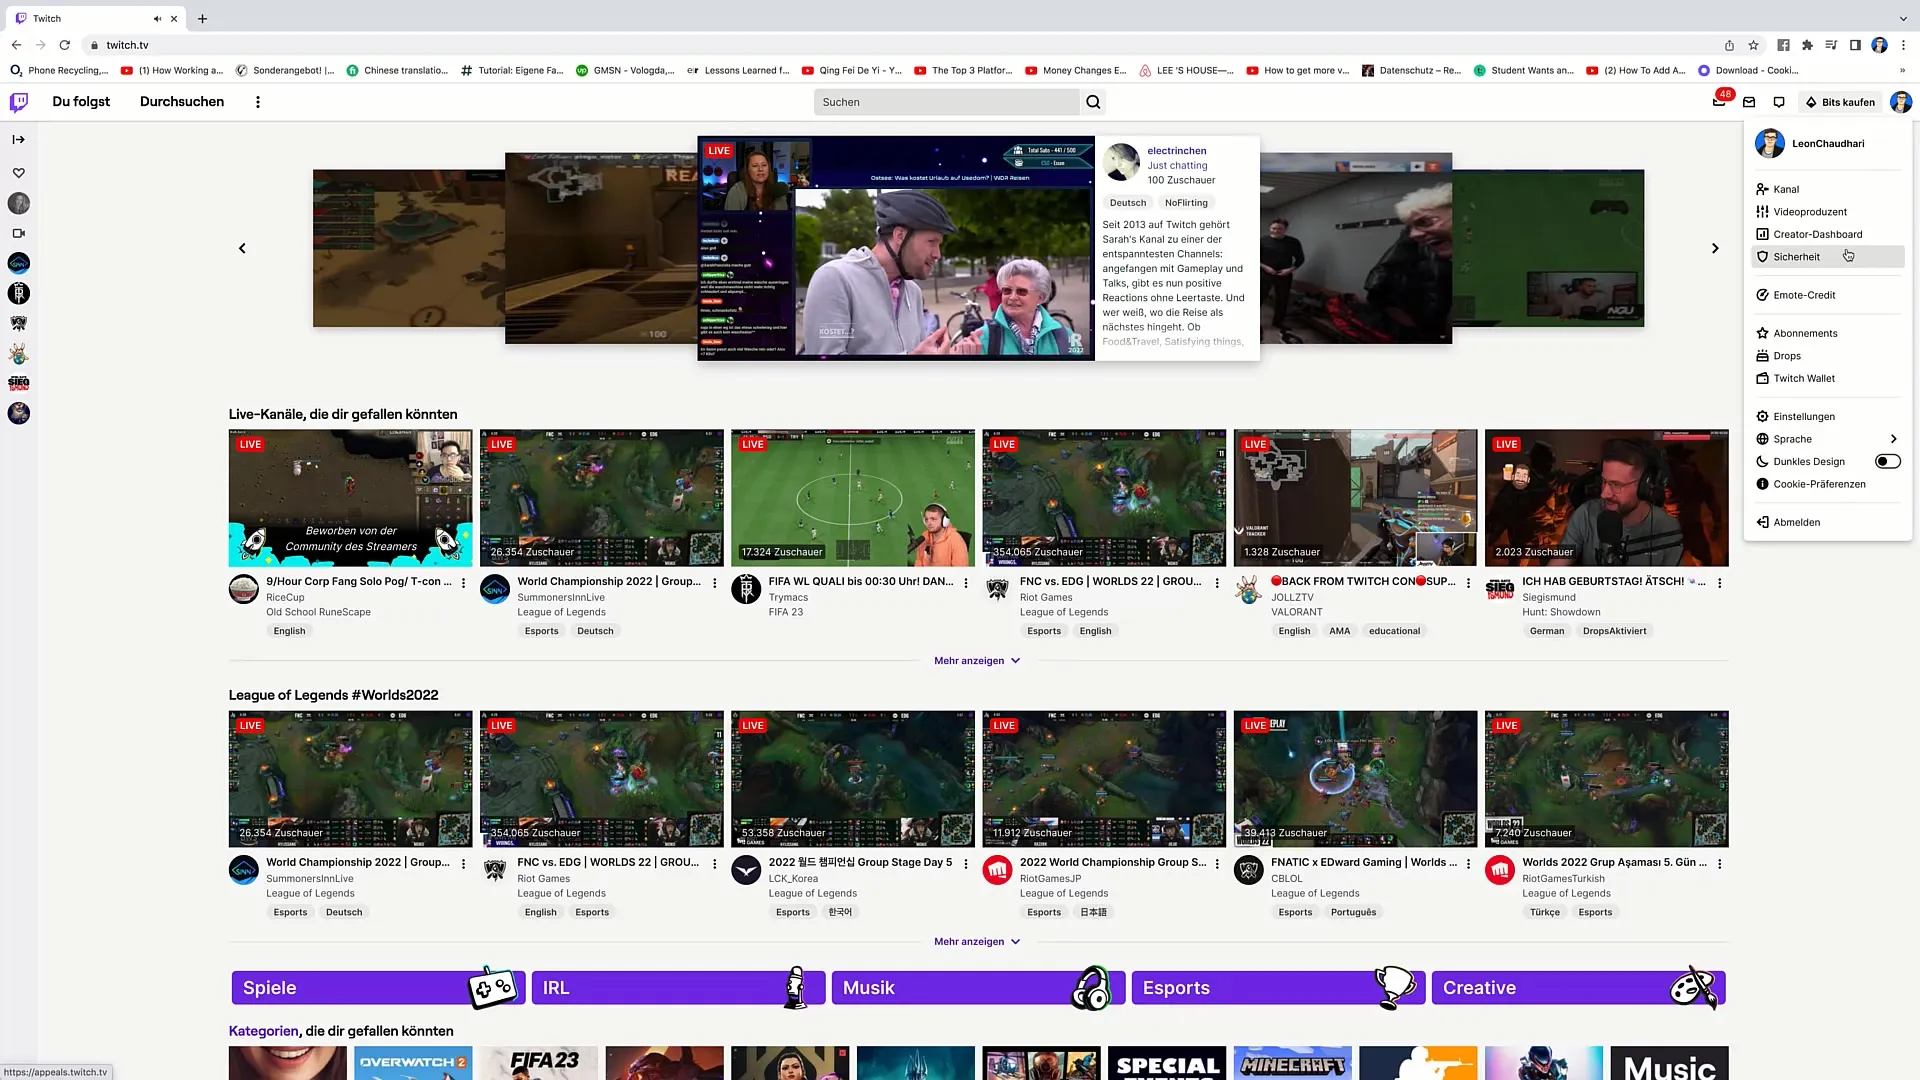
Step 2: Accessing the Dashboard
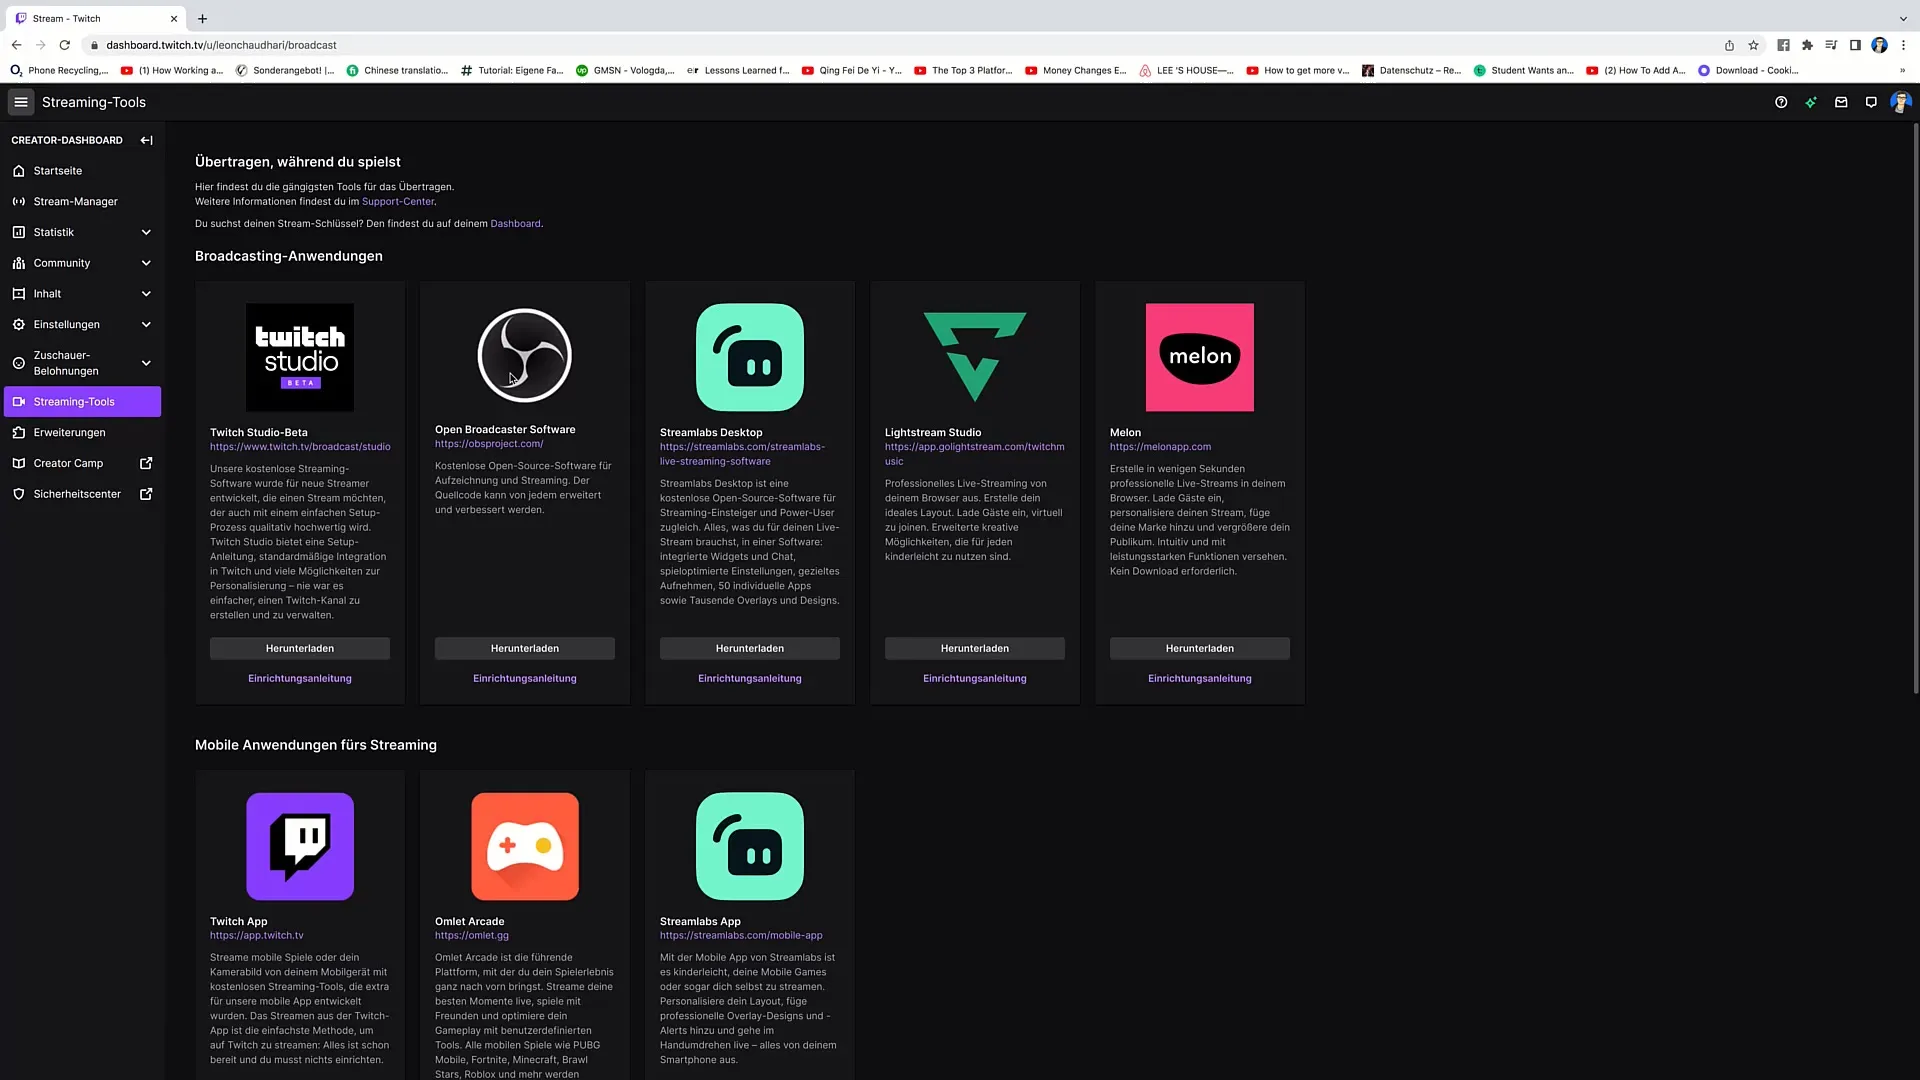
Click on "Create Dashboard". Here you will find all the tools you need for your streaming. Then go to the left side of the dashboard where the streaming tools are located and click on them.
Step 3: Selecting Streaming Tools
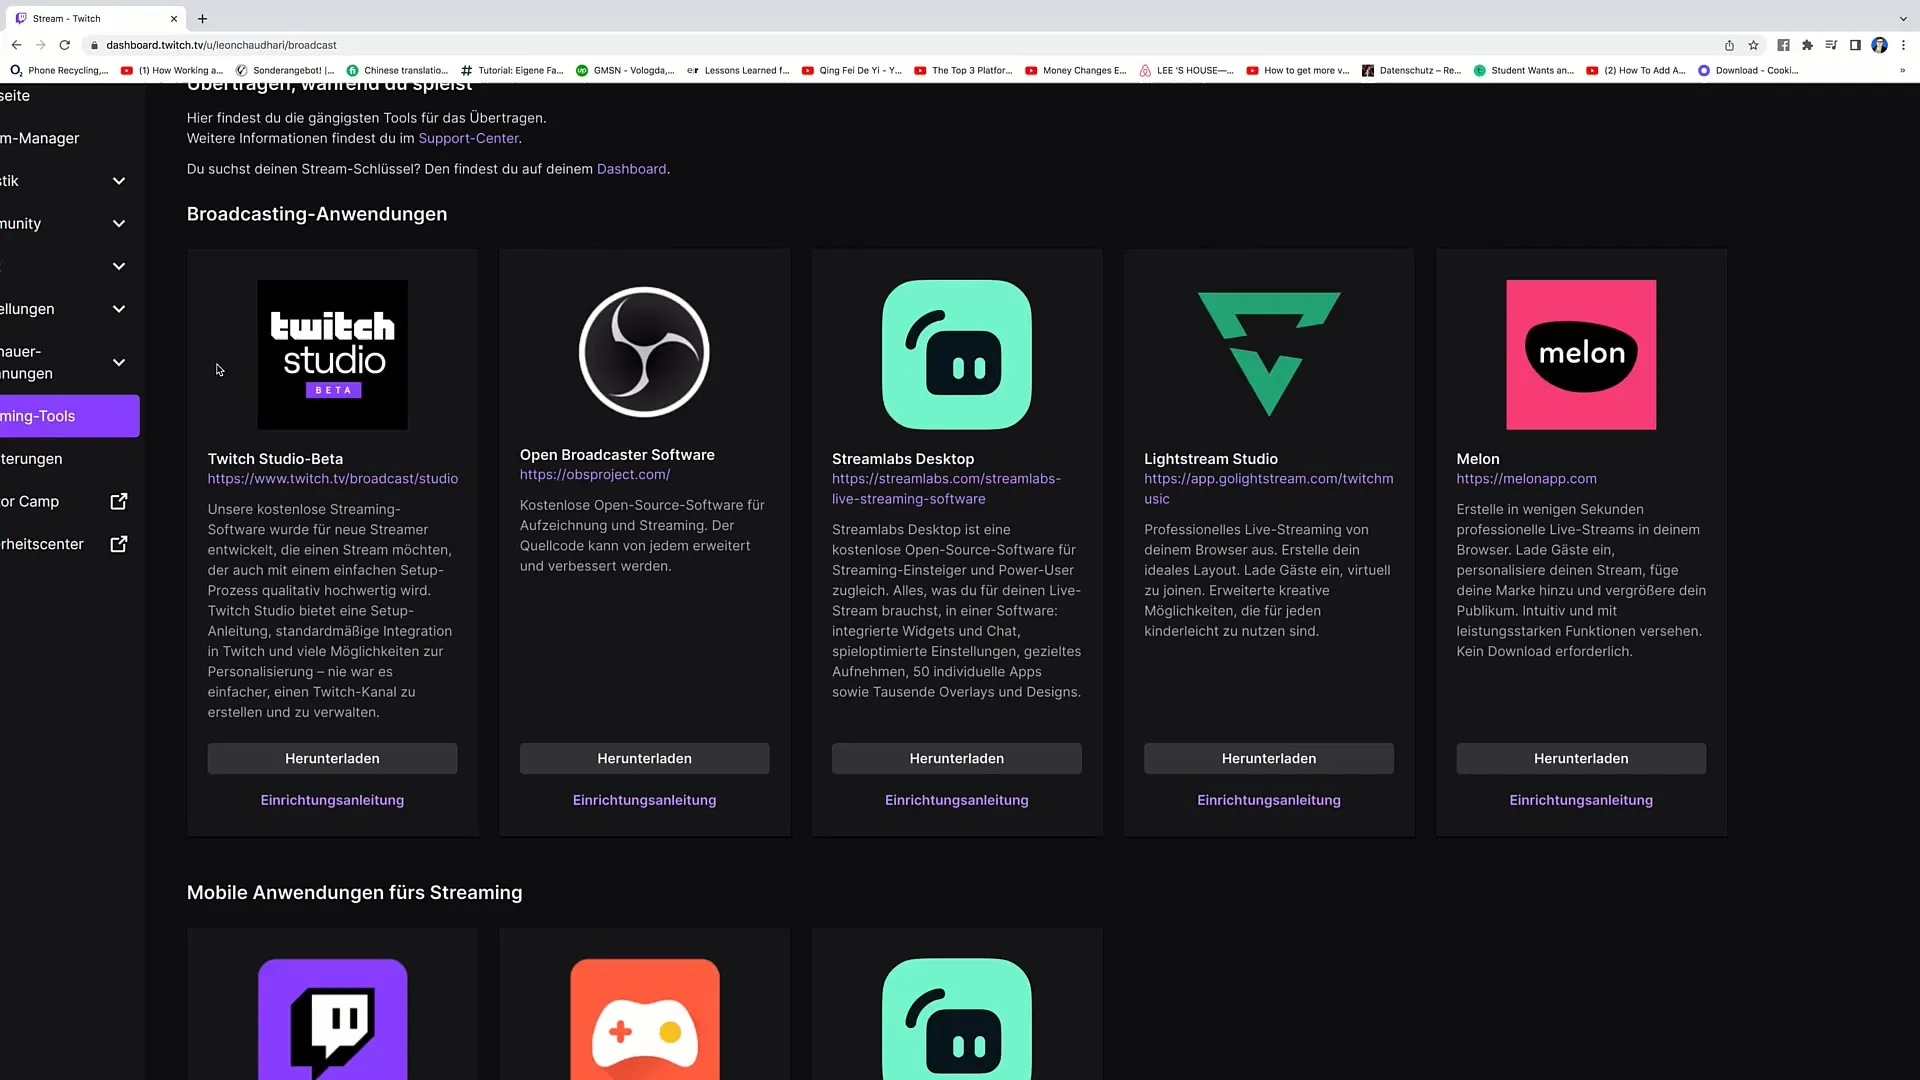
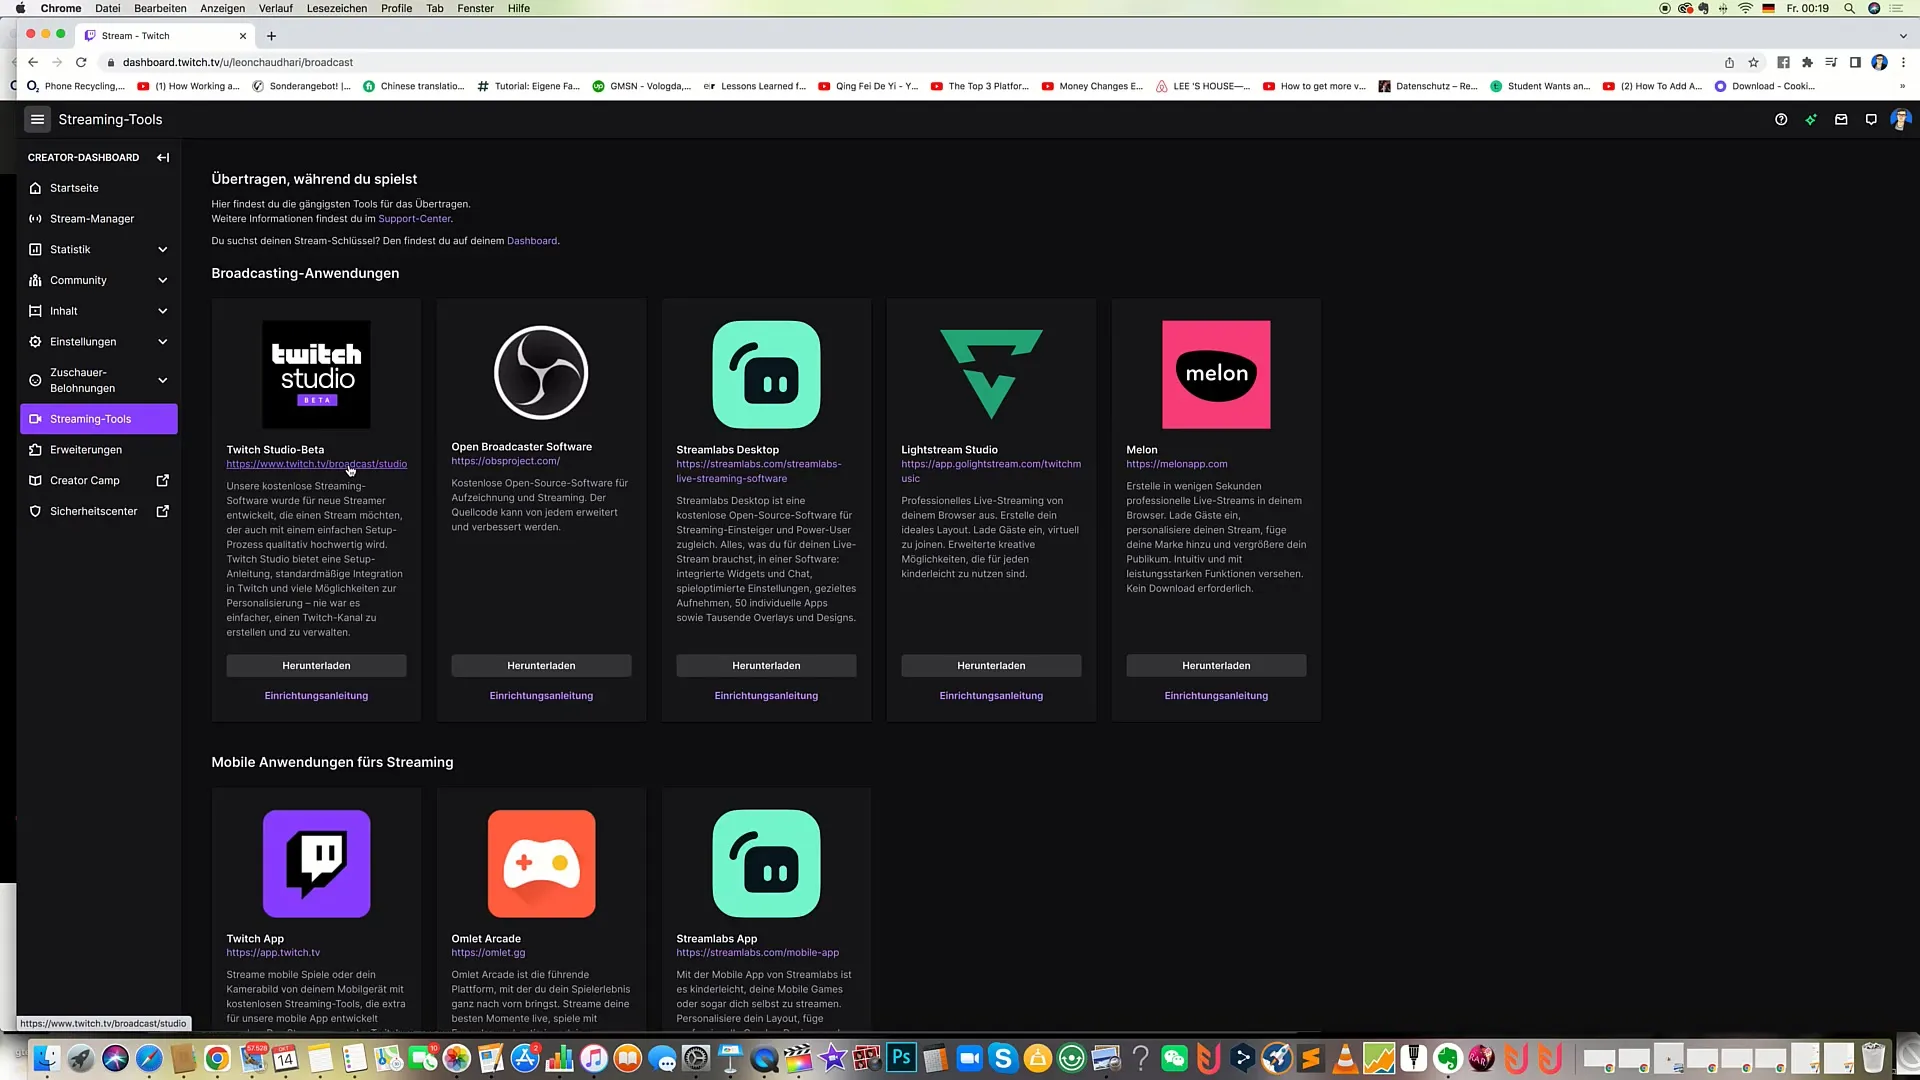
Now you will see different broadcasting applications. Among these options, the Twitch Studio Beta is what we want to use. If you already have experience with other tools such as OBS or Streamlabs, you can also select those, but for most beginners, Twitch Studio is an excellent choice.
Step 4: Downloading Twitch Studio
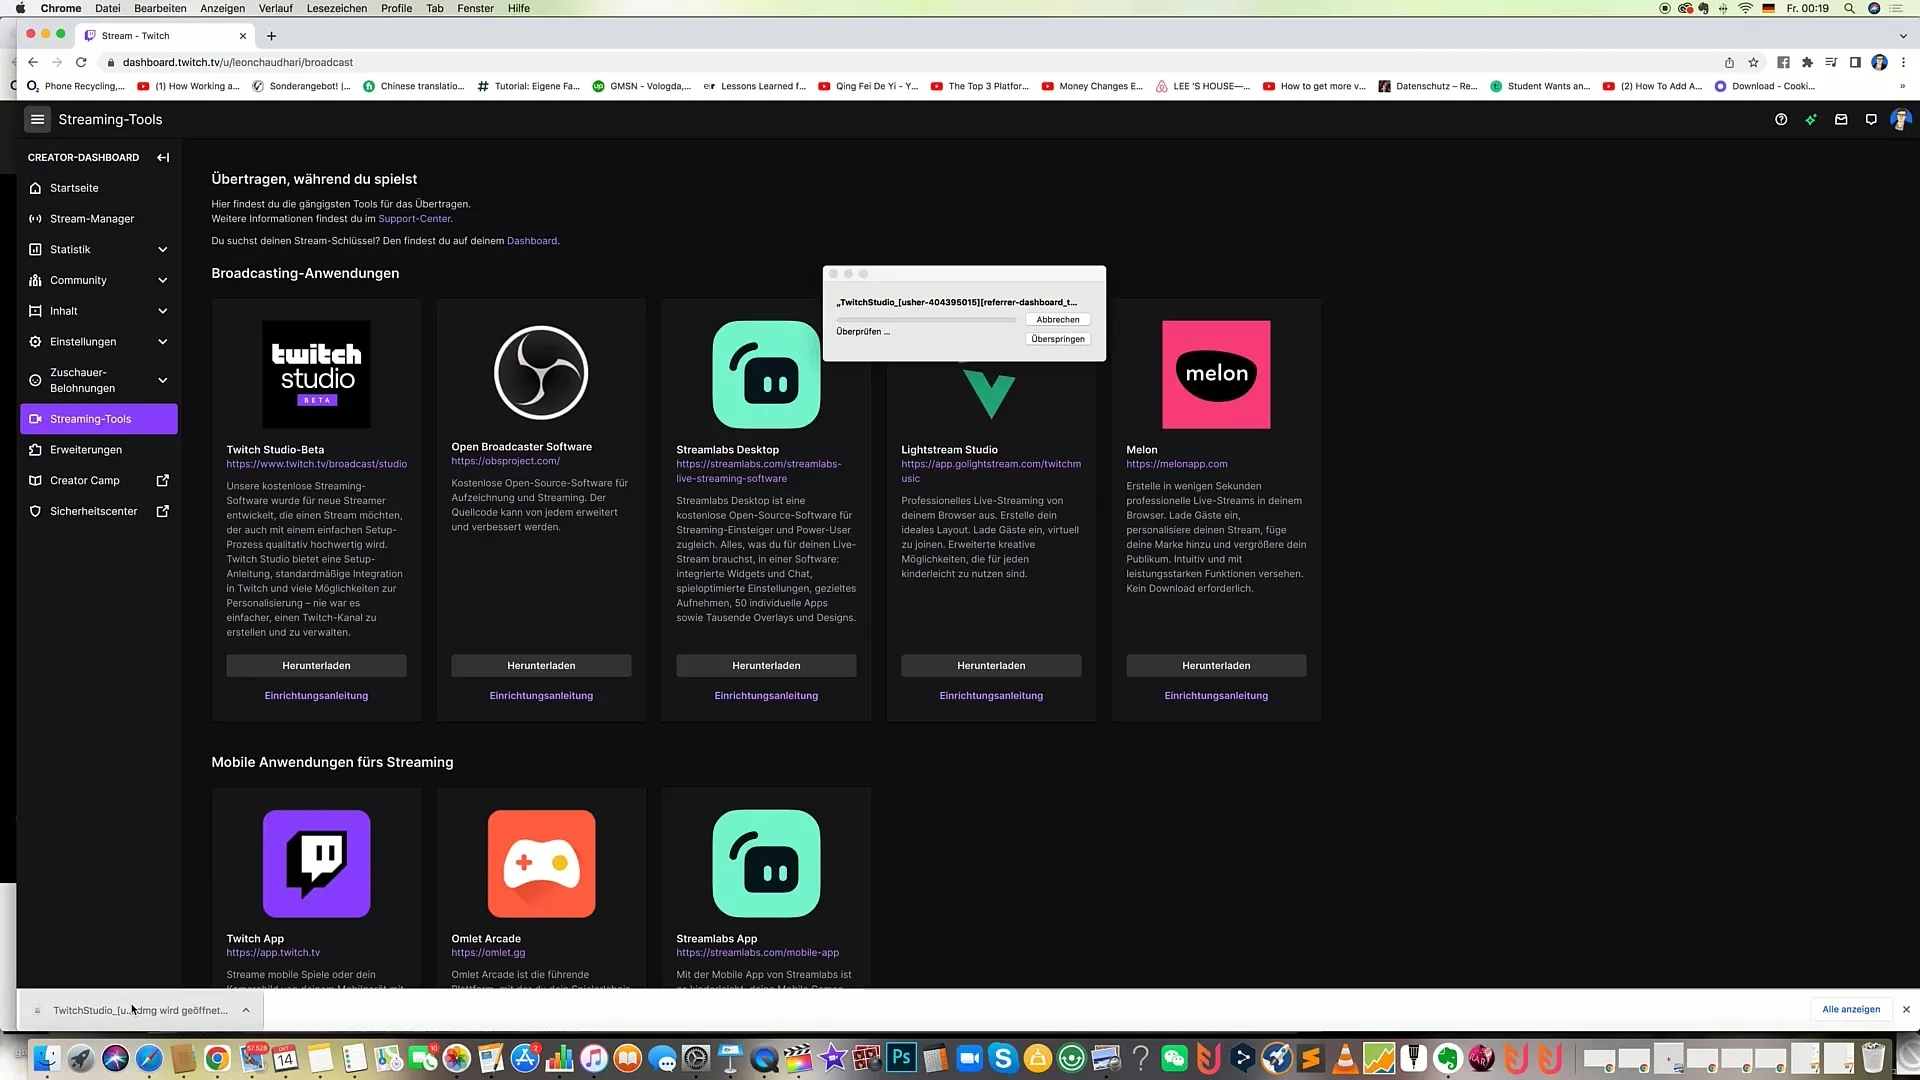
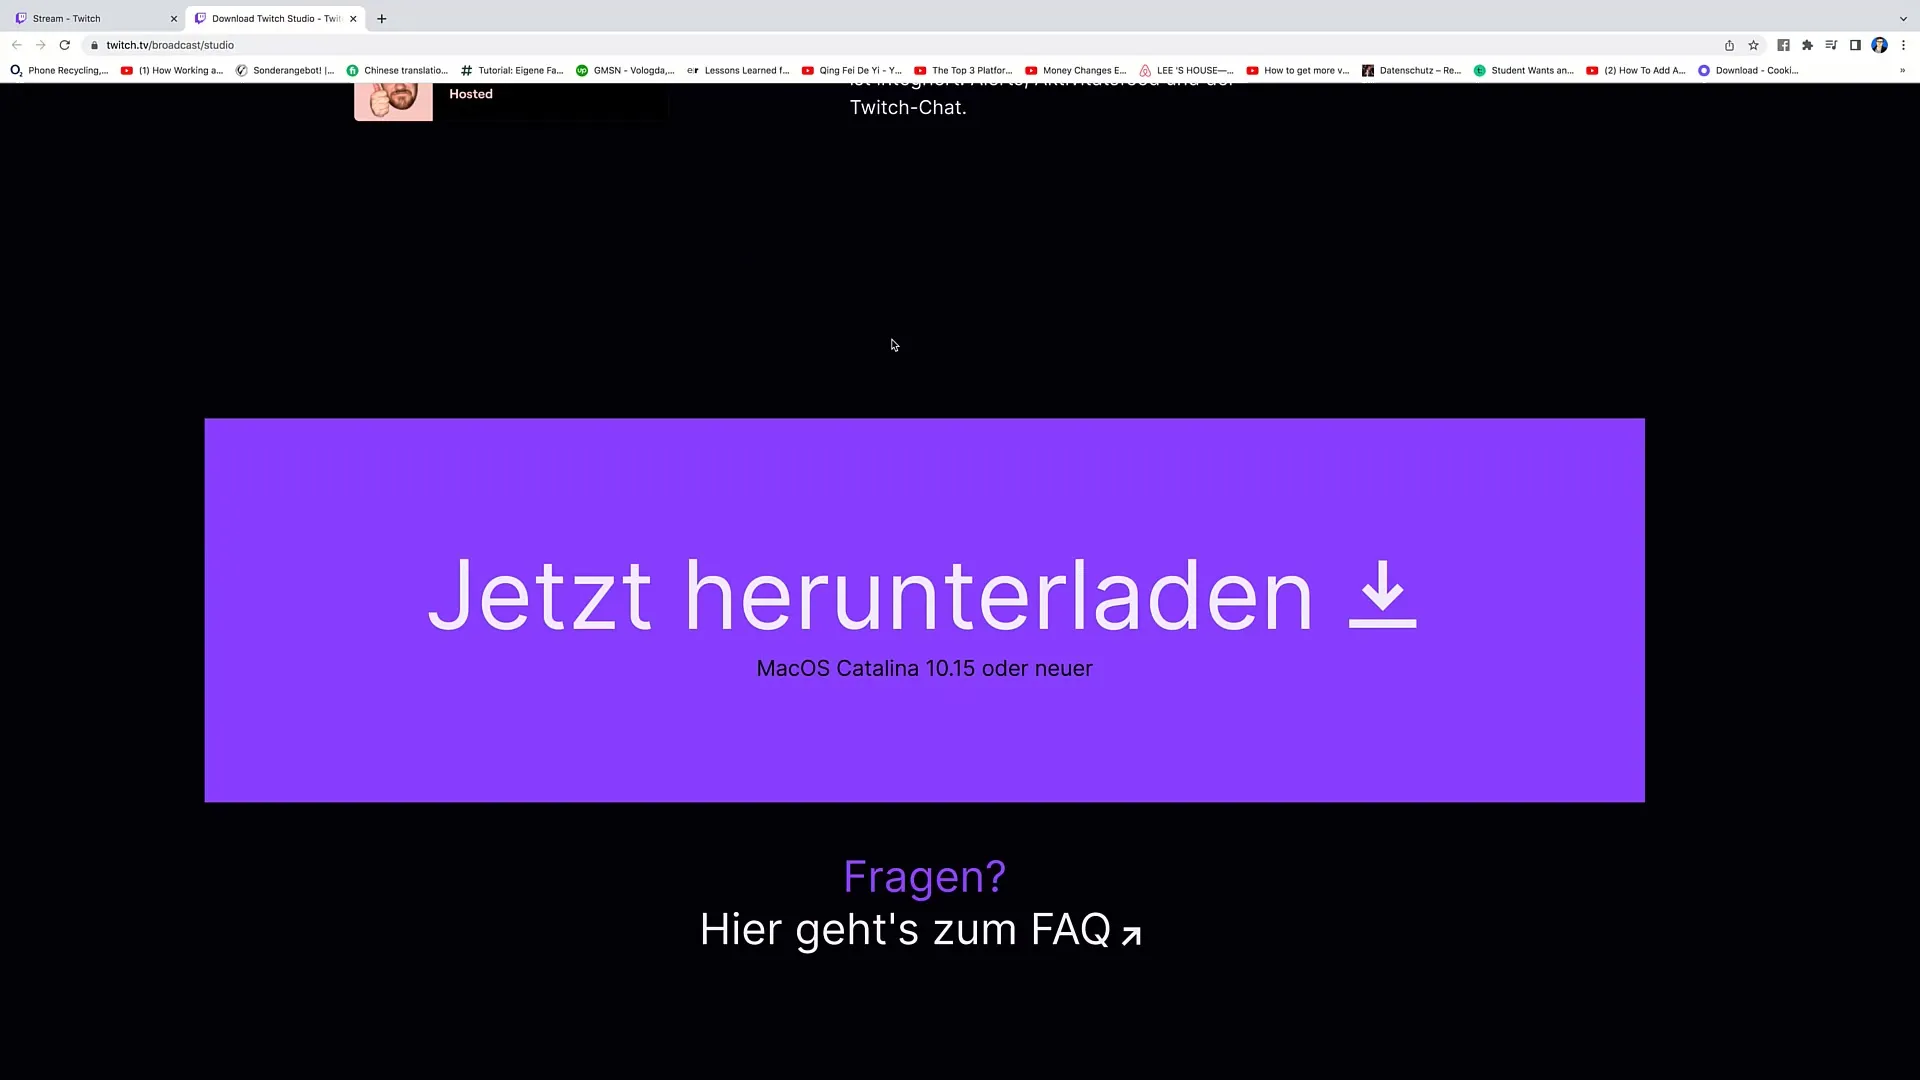
Click on the "Download" option for Twitch Studio. The download will start immediately, and you will need to wait a few seconds while the file is downloading.
Step 5: Unpacking the File
Once the download is complete, you can simply open the downloaded package. It will unpack, and you will see the Twitch Studio icon on your screen.
Step 6: Dragging Installation to Applications
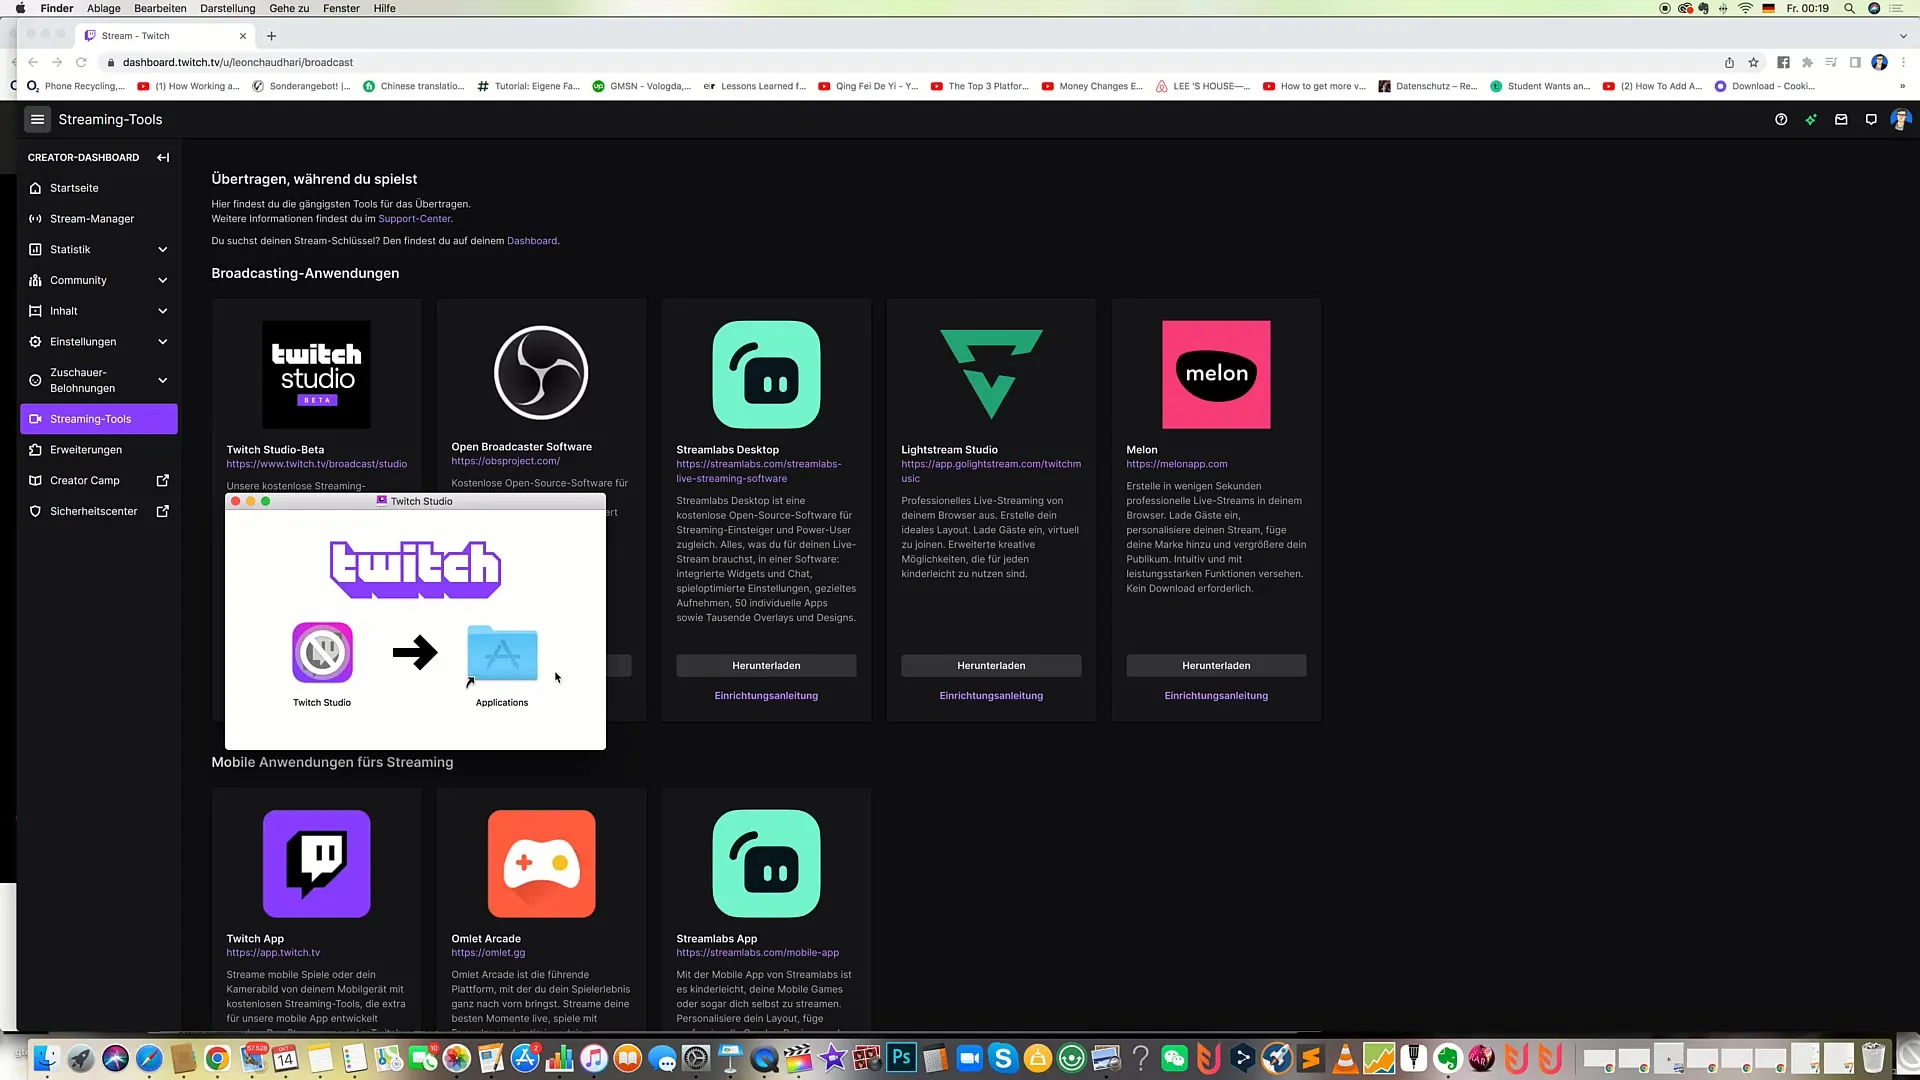
Now it's time to install Twitch Studio in your applications. Simply drag the Twitch Studio icon to the "Applications" folder and drop it there.
Step 7: Opening Twitch Studio
Now open Twitch Studio. You will be prompted to enter the relevant information needed to start your stream directly.
Step 8: Providing Key Information
After opening Twitch Studio, you will need to enter all the necessary information to start streaming. This information includes your Twitch account, stream settings, and other preferences.
Step 9: Additional Information
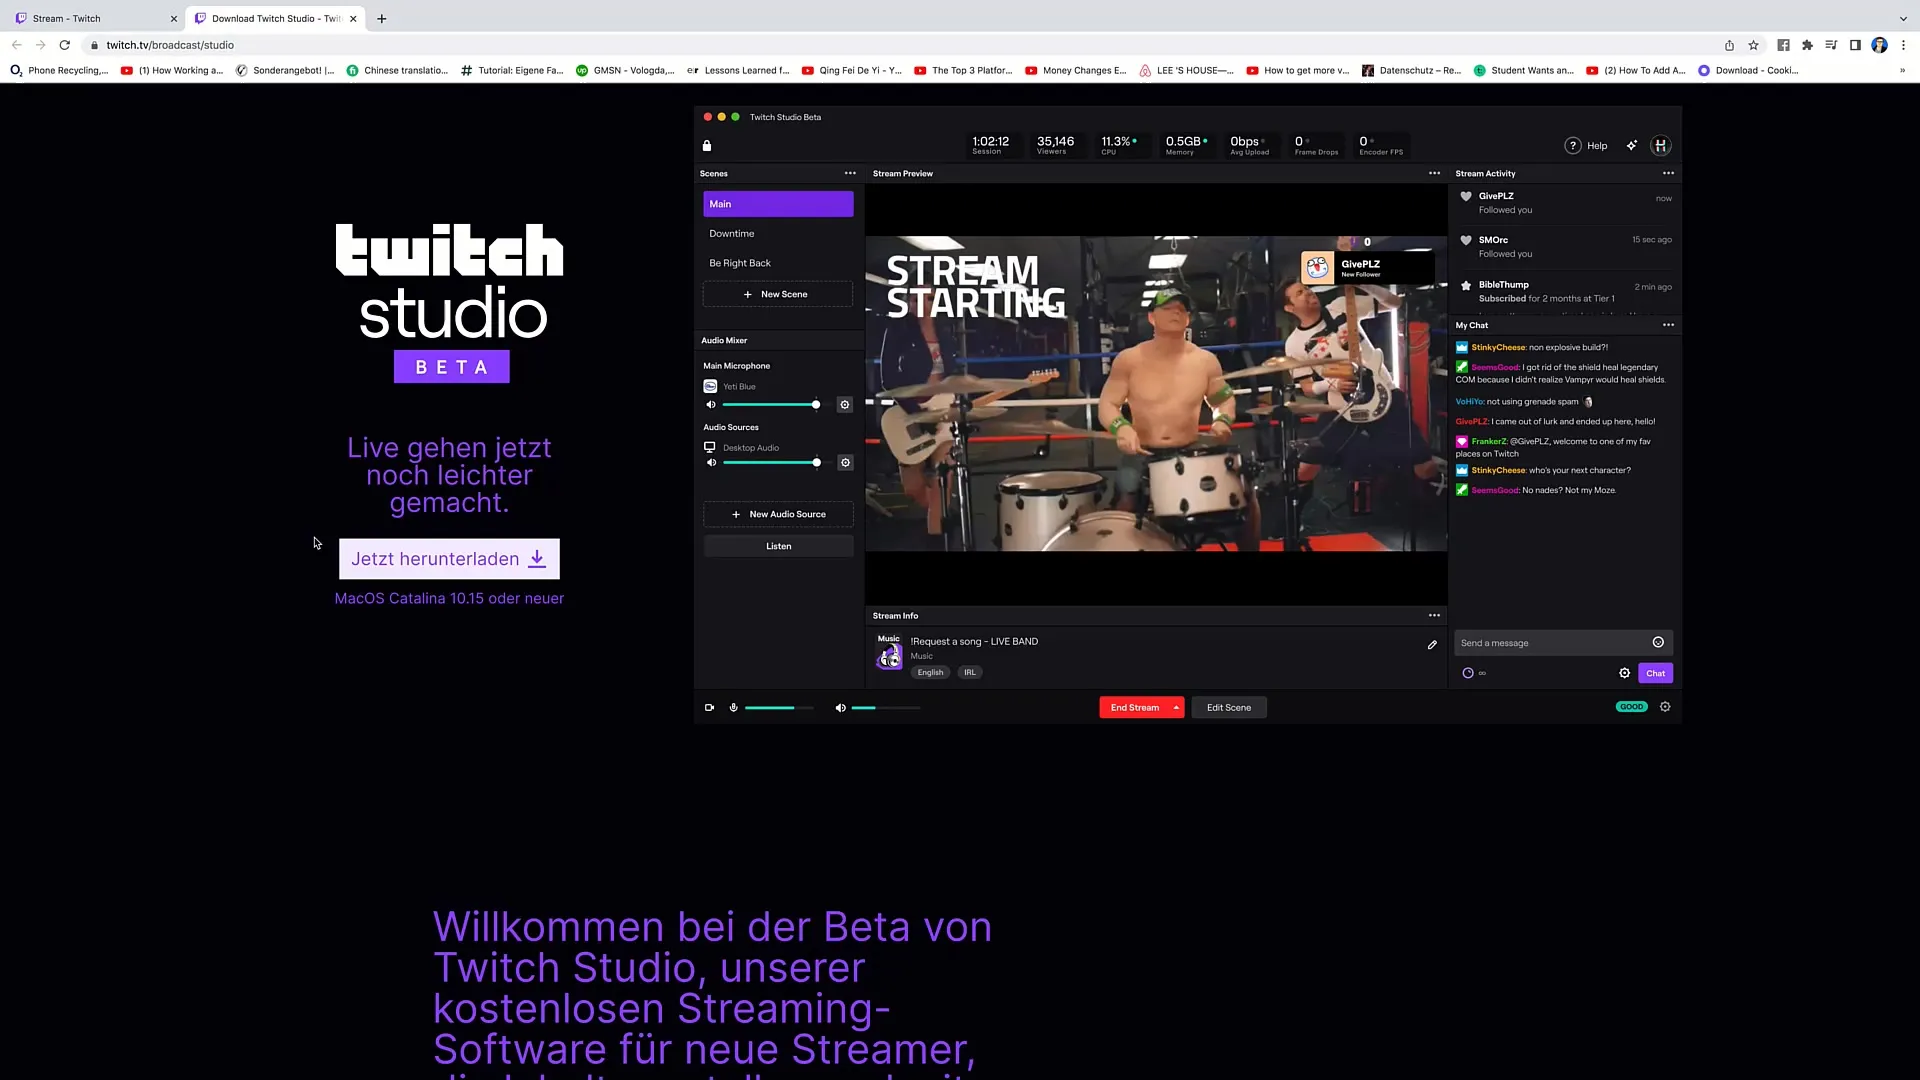
It is important to familiarize yourself with the software. Twitch Studio allows you to optimize your setup and customize your stream as you wish. Furthermore, Twitch ensures that the software remains up-to-date and user-friendly.
Step 10: Final Download
The final step is simple, click on "Download Now" once again to ensure everything is ready. In the upcoming videos, we will delve into the installation and specific requirements further.
Summary
In this tutorial, you have learned how to download and install Twitch Studio. By following the above steps, you are ready to start your streaming adventure.
Frequently Asked Questions
How long does it take to download Twitch Studio?The download of Twitch Studio usually takes only a few minutes, depending on your internet speed.
Can I use other streaming software as well?Yes, you can also use software such as OBS or Streamlabs, but Twitch Studio is particularly beginner-friendly.
What are the system requirements for Twitch Studio?Twitch Studio requires macOS Catalina 10.15 or newer.
What can I do with Twitch Studio?With Twitch Studio, you can optimize your stream setup, personalize your stream, and seamlessly go live on Twitch.
