In this guide, you will learn everything important about the microphone settings in Twitch Studio Beta to make your livestreams professional and enjoyable for your viewers. The correct microphone setting is crucial for the quality of your streams. Whether you are a gaming livestreamer, a creative content creator, or just a hobbyist, the right audio quality is crucial for the overall experience. So let's dive right in!
Key Takeaways
- Correctly adjusting the microphone ensures good audio quality during the stream.
- You can choose and customize different microphones.
- There are ways to filter out unwanted noises and regulate the volume.
- If you encounter issues, there is support available from Twitch.
Step-by-Step Guide
Start by downloading the Twitch Studio Beta software if you haven't already. The first step is to log into your Twitch account. You will encounter a login screen where you need to enter your credentials for the software to locate your account.
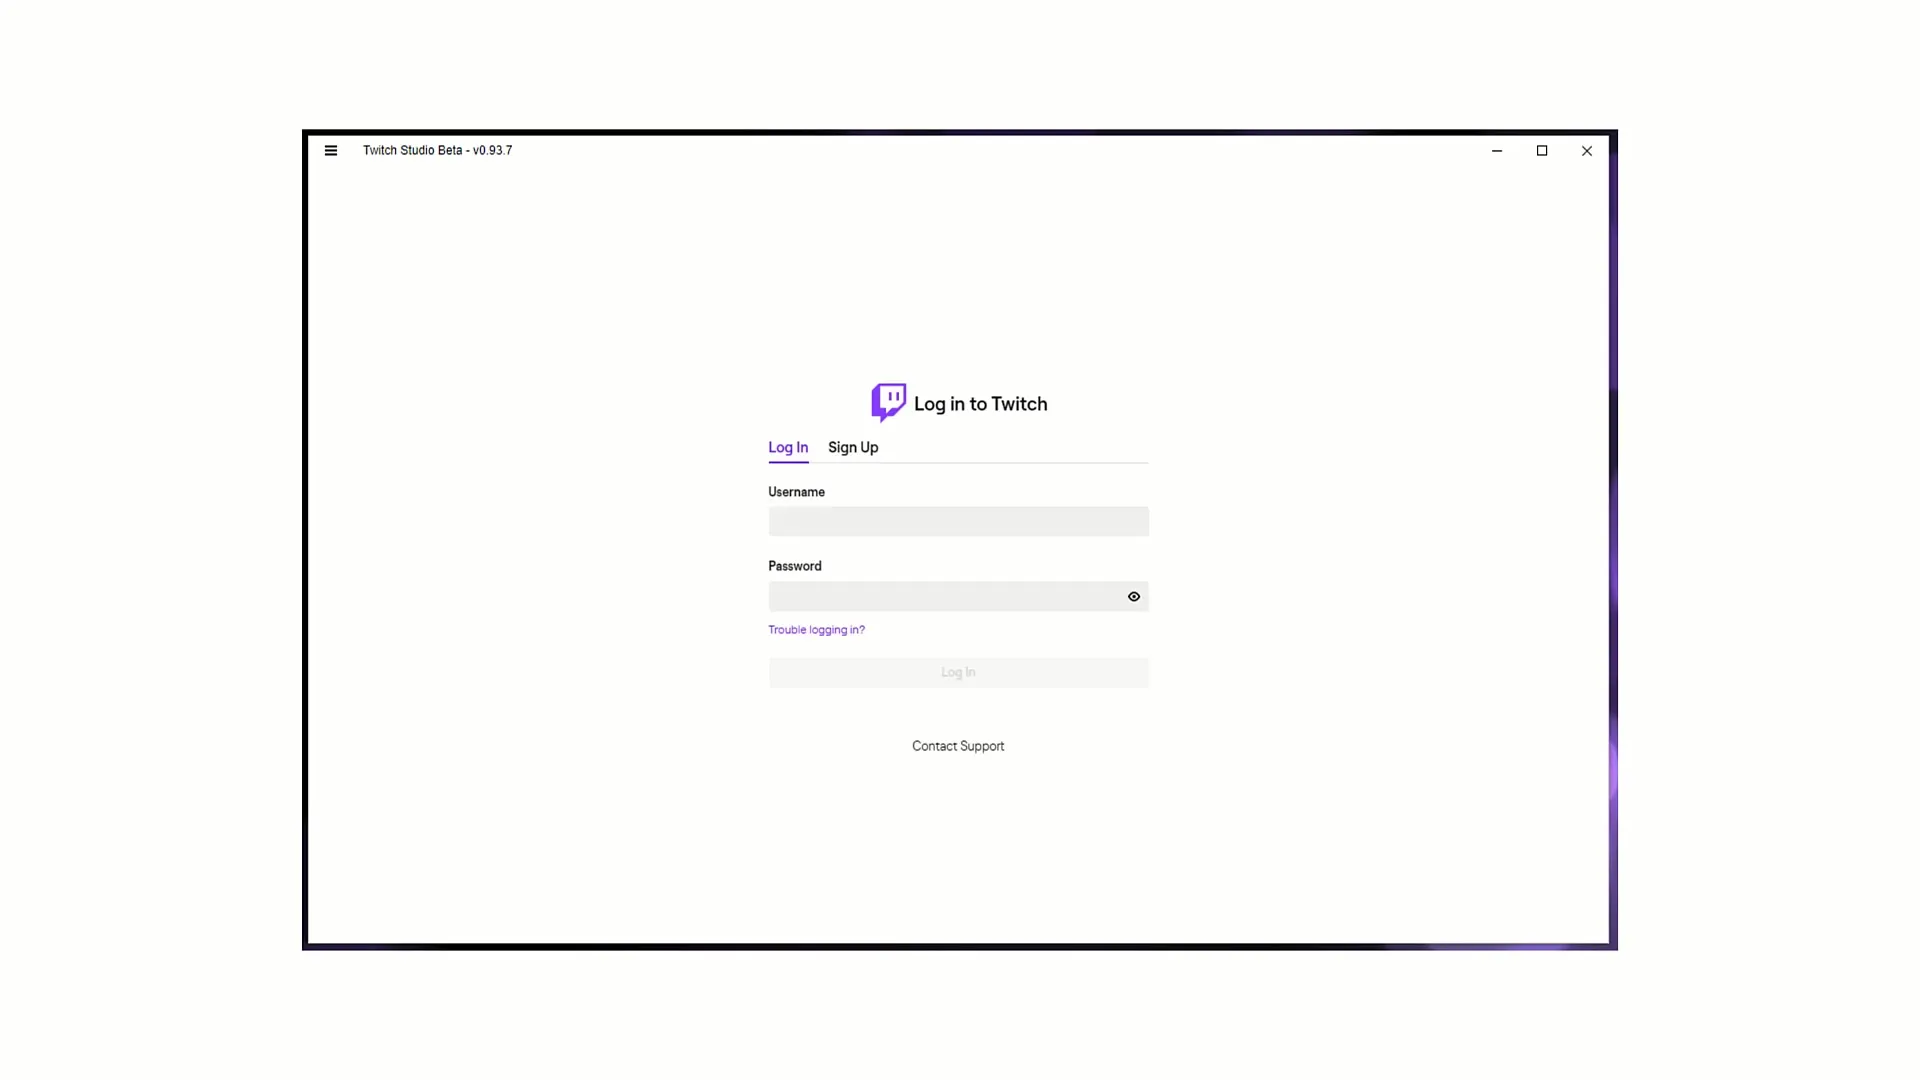
If you do not yet have a Twitch account, you have the opportunity to register directly. After logging in, you will be greeted and asked for authentication.
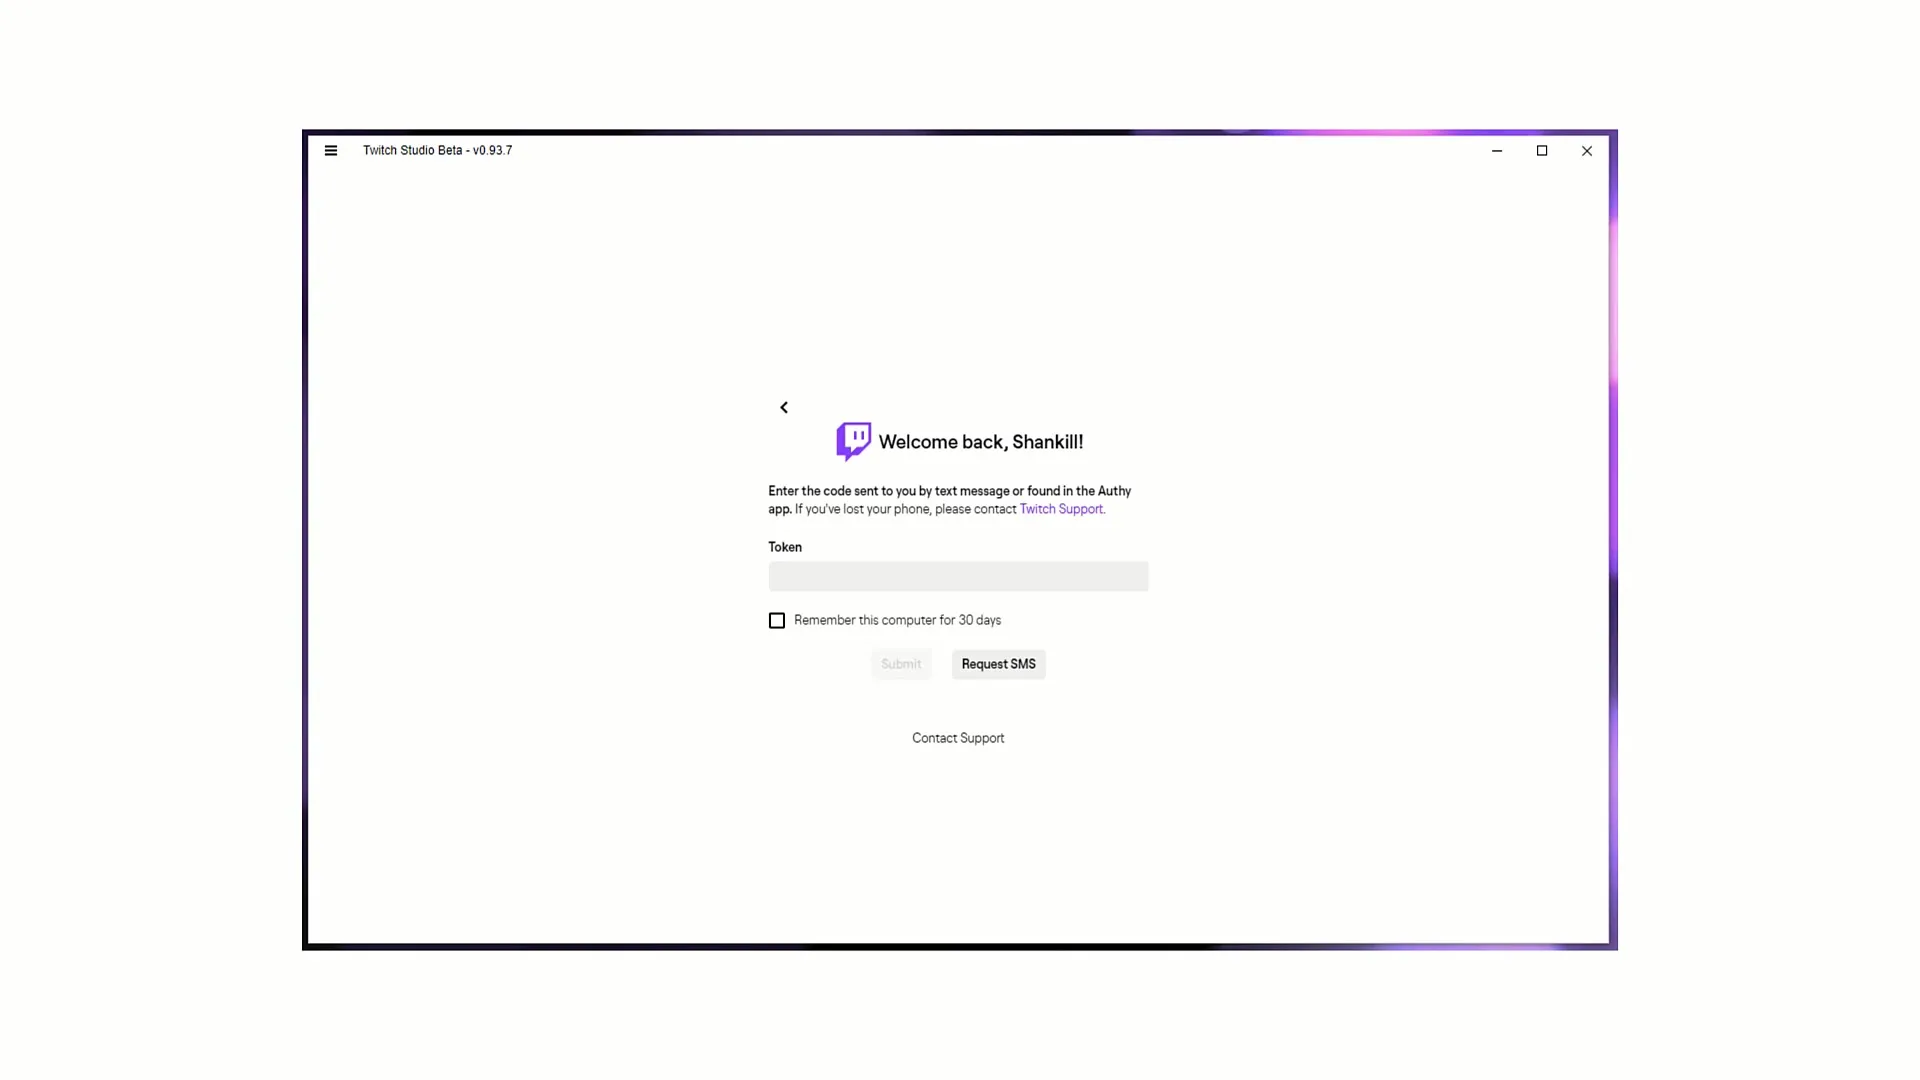
For this, you will receive a code either via SMS or through Twitch's Authenticator app. Enter this code in the appropriate field and click "Submit." This ensures that only you have access to your account.
Now that you have successfully logged in, you will be guided through the setup process. You will be prompted to optimize your microphone and webcam settings to ensure that your stream has the desired quality.
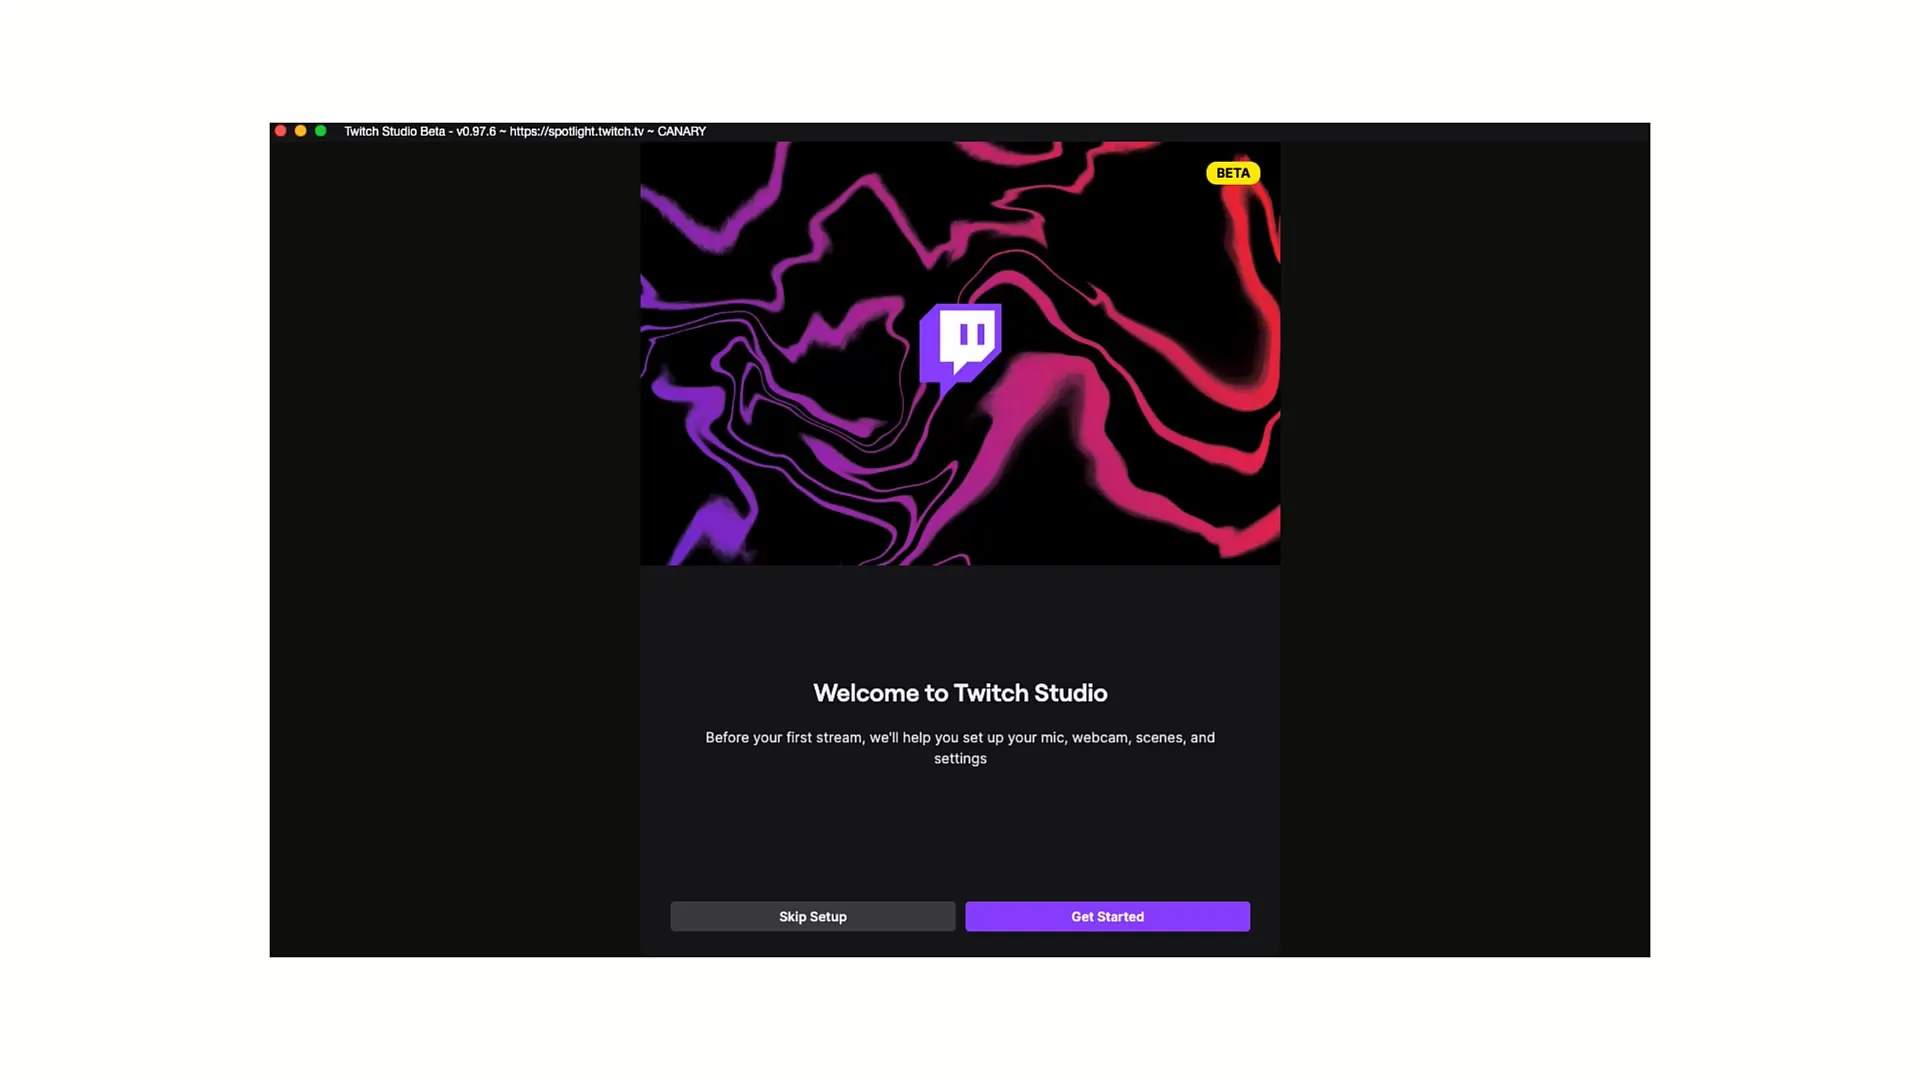
Click on "Get Started" to begin configuring your microphone. It is important to select the right microphone that you want to use for your stream. The default microphone may not be the one you desire, so click on "Change Mic" to see your options.
In this selection menu, all microphones connected to your computer will be displayed. Here, choose the microphone you want to use, such as an external microphone like the Blue Yeti or an internal microphone.
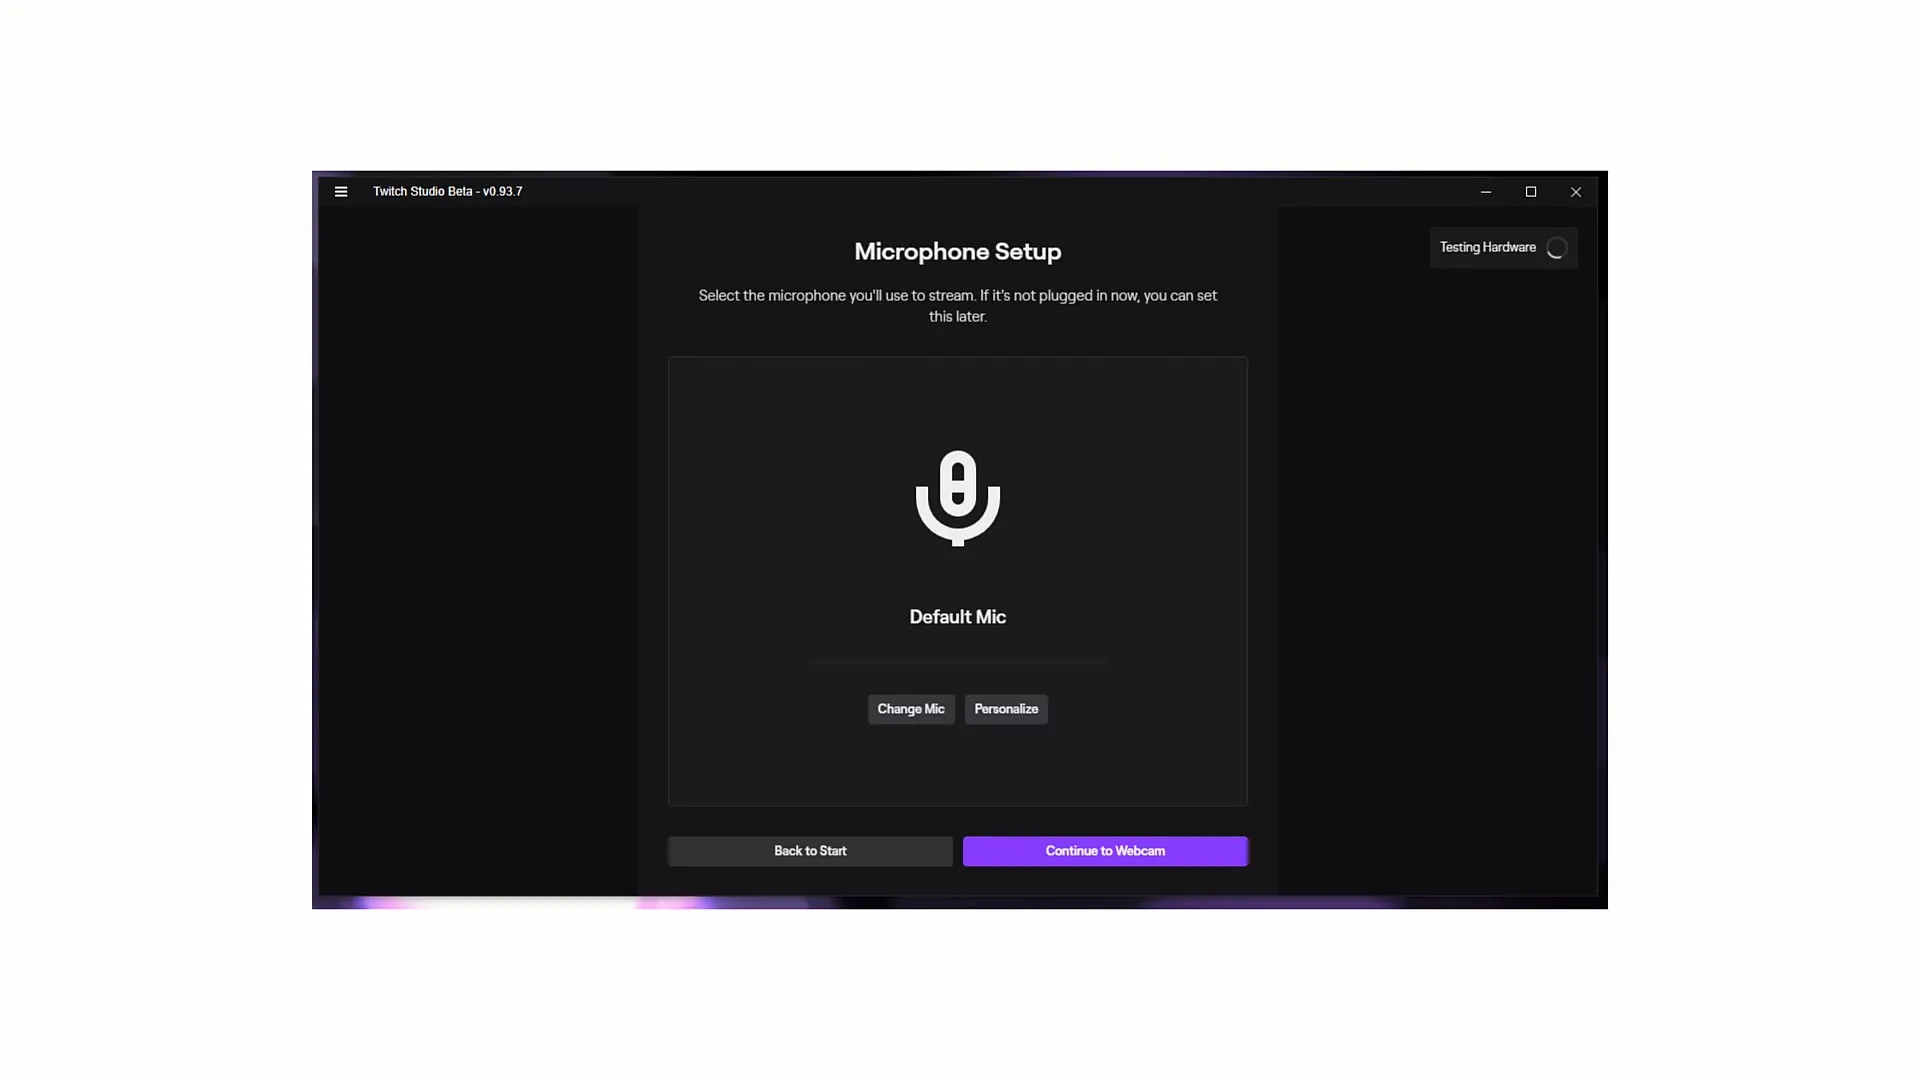
After selecting the microphone, you can proceed to the personalized settings. With "Personalize," you have the option to adjust the audio settings exactly to your liking.
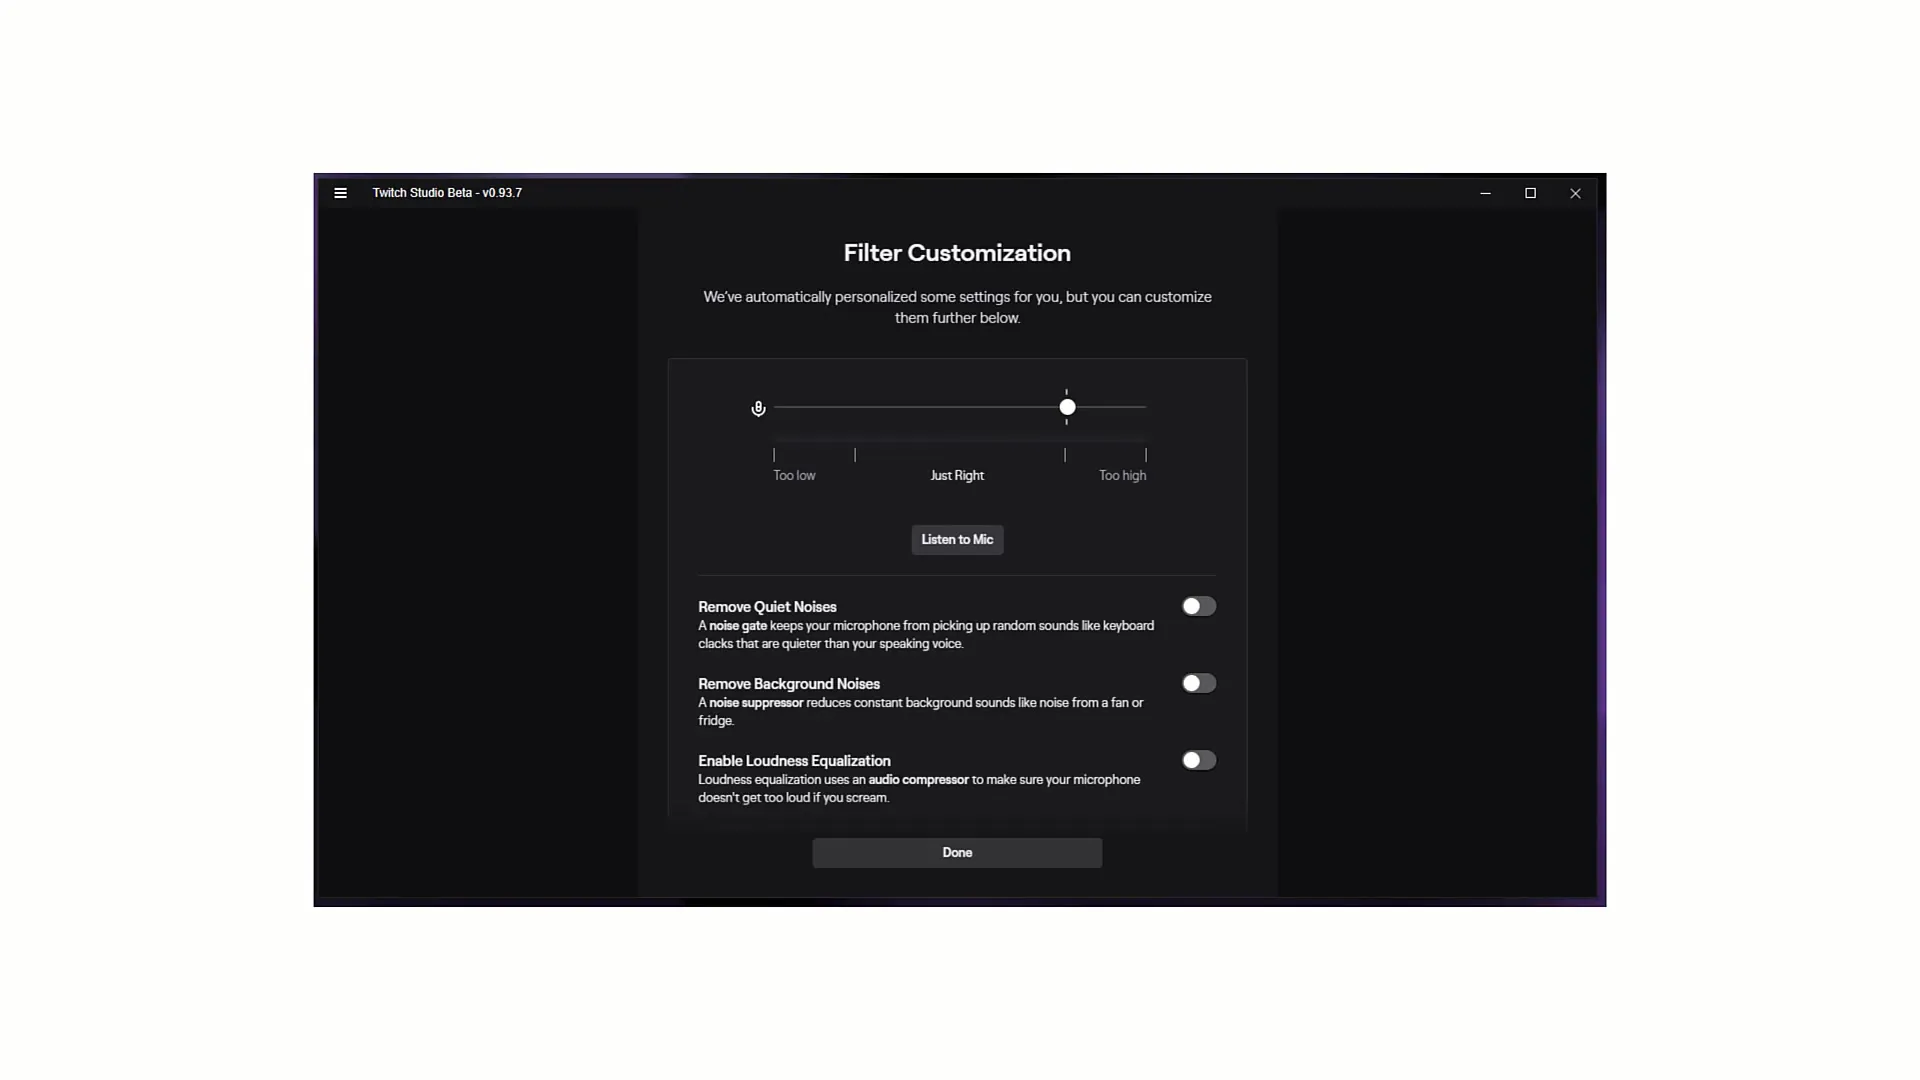
It is important to ensure that your microphone is properly integrated. You will see a level meter when you speak into the microphone. This should not go into the red areas (too high) but ideally remain in the green or turquoise area (just right).
Test your voice volume. Speak normally, then softly, and finally loudly to ensure that your microphone picks up all volumes well and thereby ensures consistent audio quality. The live meter helps you evaluate if your settings are correct.
To adjust the volume, you can move the white dot on the settings line. This directly affects the microphone volume. Consider whether you need to move the dot up or down while speaking.
An important feature is the "Listen to Mike" option. When you activate this, you can hear how you are currently recording. This is a useful way to ensure that the audio quality meets your expectations.
Additionally, you can activate various filters to eliminate noise disturbances. Functions like "Remove Quiet Noises" or "Remove Background Noises" help eliminate unwanted noises from your stream. Activate these options to achieve clearer audio quality.
Another important filter is the loudness equalization control "Enable Loudness Equalization," which ensures that sudden loud expressions do not sound distorted. This is particularly important if you may speak louder in an emotional moment.
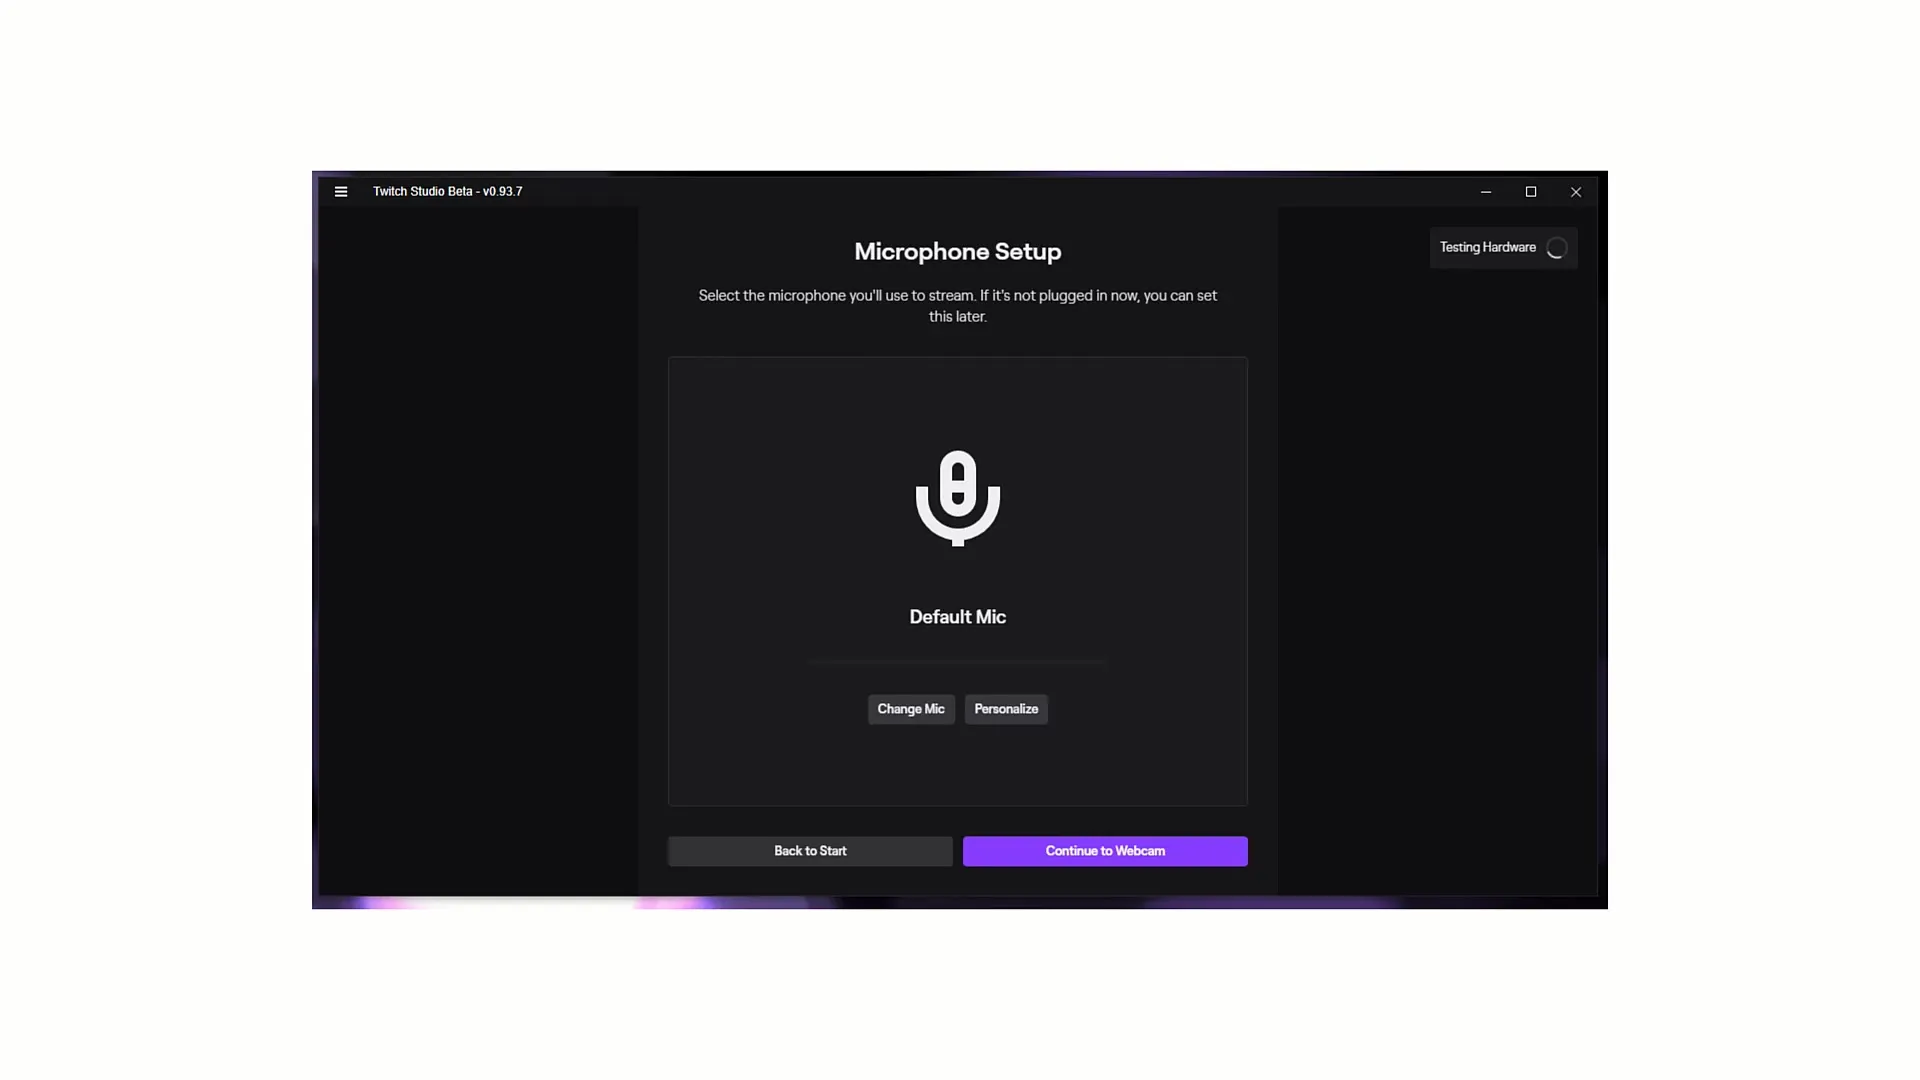
After you have made all settings, checked if your microphone is functioning correctly, and minimized unwanted noises, click on "Continue to Webcam" to start setting up your webcam and finish your settings.
I thank you for your interest in this tutorial and I hope that you can optimize the microphone settings to offer your streams in the best possible quality.
Summary
In this guide, you have learned how to correctly set up your microphone in Twitch Studio Beta to optimize the audio quality of your streams. You have learned the importance of choosing the right microphone as well as various methods for noise suppression and volume control.
Frequently Asked Questions
How do I log in to Twitch Studio?You need to enter your Twitch data to log into your account.
What should I do if I don't have a Twitch account?You can register directly on the login page.
Why are microphone settings important?The correct settings ensure good audio quality and thus a better streaming experience.
Can I adjust my microphone settings after the initial setup?Yes, you can adjust your settings at any time.
What to do if I have trouble logging in?Use the "Contact Support" button to get help.
