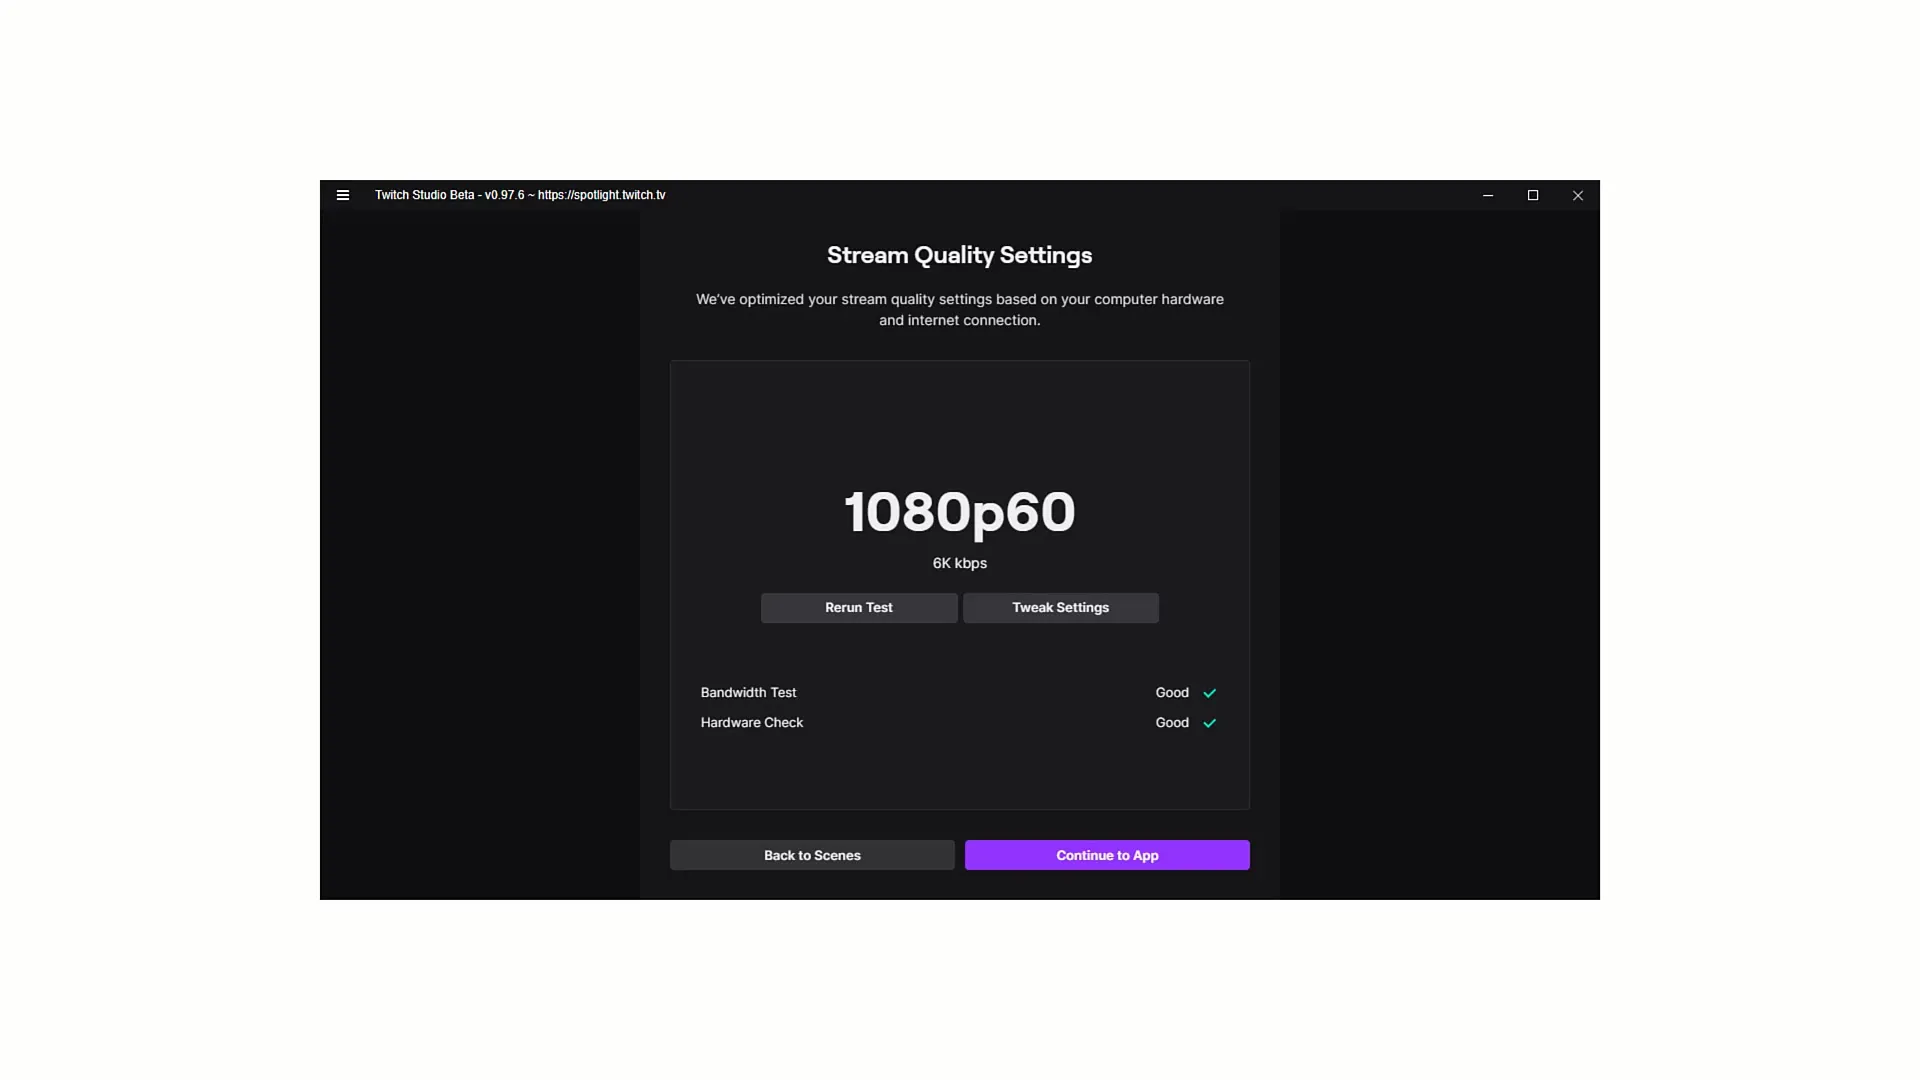
In this tutorial, I will show you how to successfully adjust the Stream Quality Settings in Twitch Studio. Good stream quality is crucial to engage your viewers and ensure a smooth broadcast. In the following section, I will explain the key insights you should consider when setting up your stream quality.
Key Insights
Stream quality depends on your internet connection and the camera you use. The most common settings are 720p and 1080p, with a very high internet speed required for 4K streams. Check your hardware and perform bandwidth tests regularly to ensure that your setup meets the requirements.
Step-by-Step Guide
Checking System Requirements
Before you start adjusting your stream quality, it is important to first check the system requirements. You should ensure that both your internet connection and hardware are suitable to support the desired streaming qualities.
Understanding Resolutions
One of the first decisions you need to make is choosing the resolution. Twitch supports streams in different qualities, with 4K being the highest. 4K means your videos are very high resolution. However, it is advisable to start with 1080p as 4K often requires a very stable internet connection.
Testing Internet Speed
To achieve the best possible stream quality, ensure that your internet speed is sufficient. Use the Bandwidth Test in Twitch Studio to check the speed. If the result is good, you can proceed with configuring your camera.
Adjusting Camera Quality
Your camera quality plays a crucial role in your stream quality. Check your camera settings and ensure that it is configured for the desired resolutions. If you have a camera that can stream in 4K, make sure to set it up. Otherwise, you can also use a 1080p camera.

Conducting the Bandwidth Test
After checking your hardware (camera), it is now time to conduct a bandwidth test. Click on "Rerun Test" to ensure your settings are correct and you can stream in the desired quality.
Adjusting Streaming Settings
If you are not satisfied with the quality or wish to make adjustments, you can do so directly in the settings. Under "Tweak Settings," you can make minor changes to the resolution and frame rate.
Choosing the Optimal Resolution
Generally, I recommend streaming in 1080p as it provides a good balance between quality and required bandwidth. A frame rate of 60 frames per second ensures smooth transmissions.
Considering the Streaming Environment
Especially for IRL streamers who are often on the go, it is important to adapt the stream quality to the circumstances. Consider whether you can ensure a consistent bandwidth even in changing environments.
Internet Connection and Streaming Quality
If your internet connection is not stable enough, it may be advisable to reduce the quality to 720p to avoid interruptions during the stream. It is also recommended to pay attention to the streaming performance when choosing the camera.
Finalizing the Settings
Once you have made your streaming settings, click on "Continue to App" to save the changes and start streaming.
Summary
In this tutorial, you have learned how to properly configure stream quality settings in Twitch Studio. Always keep an eye on the quality of your internet connection and hardware, and regularly conduct tests to ensure a smooth streaming experience.
Frequently Asked Questions
How do I choose the best streaming quality?You should consider your internet connection and camera quality and ideally stream in 1080p.
Do I need a special camera for 4K streaming?Yes, your camera must support 4K, and you also need a very high internet speed.
What can I do if my stream has issues?Reduce your stream quality to 720p to avoid interruptions and test your internet connection.
How often should I check my streaming settings?It is advisable to check your settings before each stream and after making changes to hardware or internet connection.
What is a Bandwidth Test, and how often should I perform it?The Bandwidth Test measures your internet speed. Conduct it regularly, especially before starting your stream.


