It is crucial to have reliable information in order to make informed decisions. The tool "Browse" offers you an excellent opportunity to collect valuable data from competitors and the market. In this guide, you will learn how to easily and effectively use Browse to further develop your business strategy and stay informed about important trends and developments.
Main Insights
- Browse allows the extraction of data from various websites in real-time.
- You can gather information about competitors to stay one step ahead.
- The tool does not require programming knowledge, making it user-friendly.
- With Custom Alerts, you can be notified when important changes occur on the monitored pages.
Step-by-Step Guide
Step 1: Signing Up for Browse
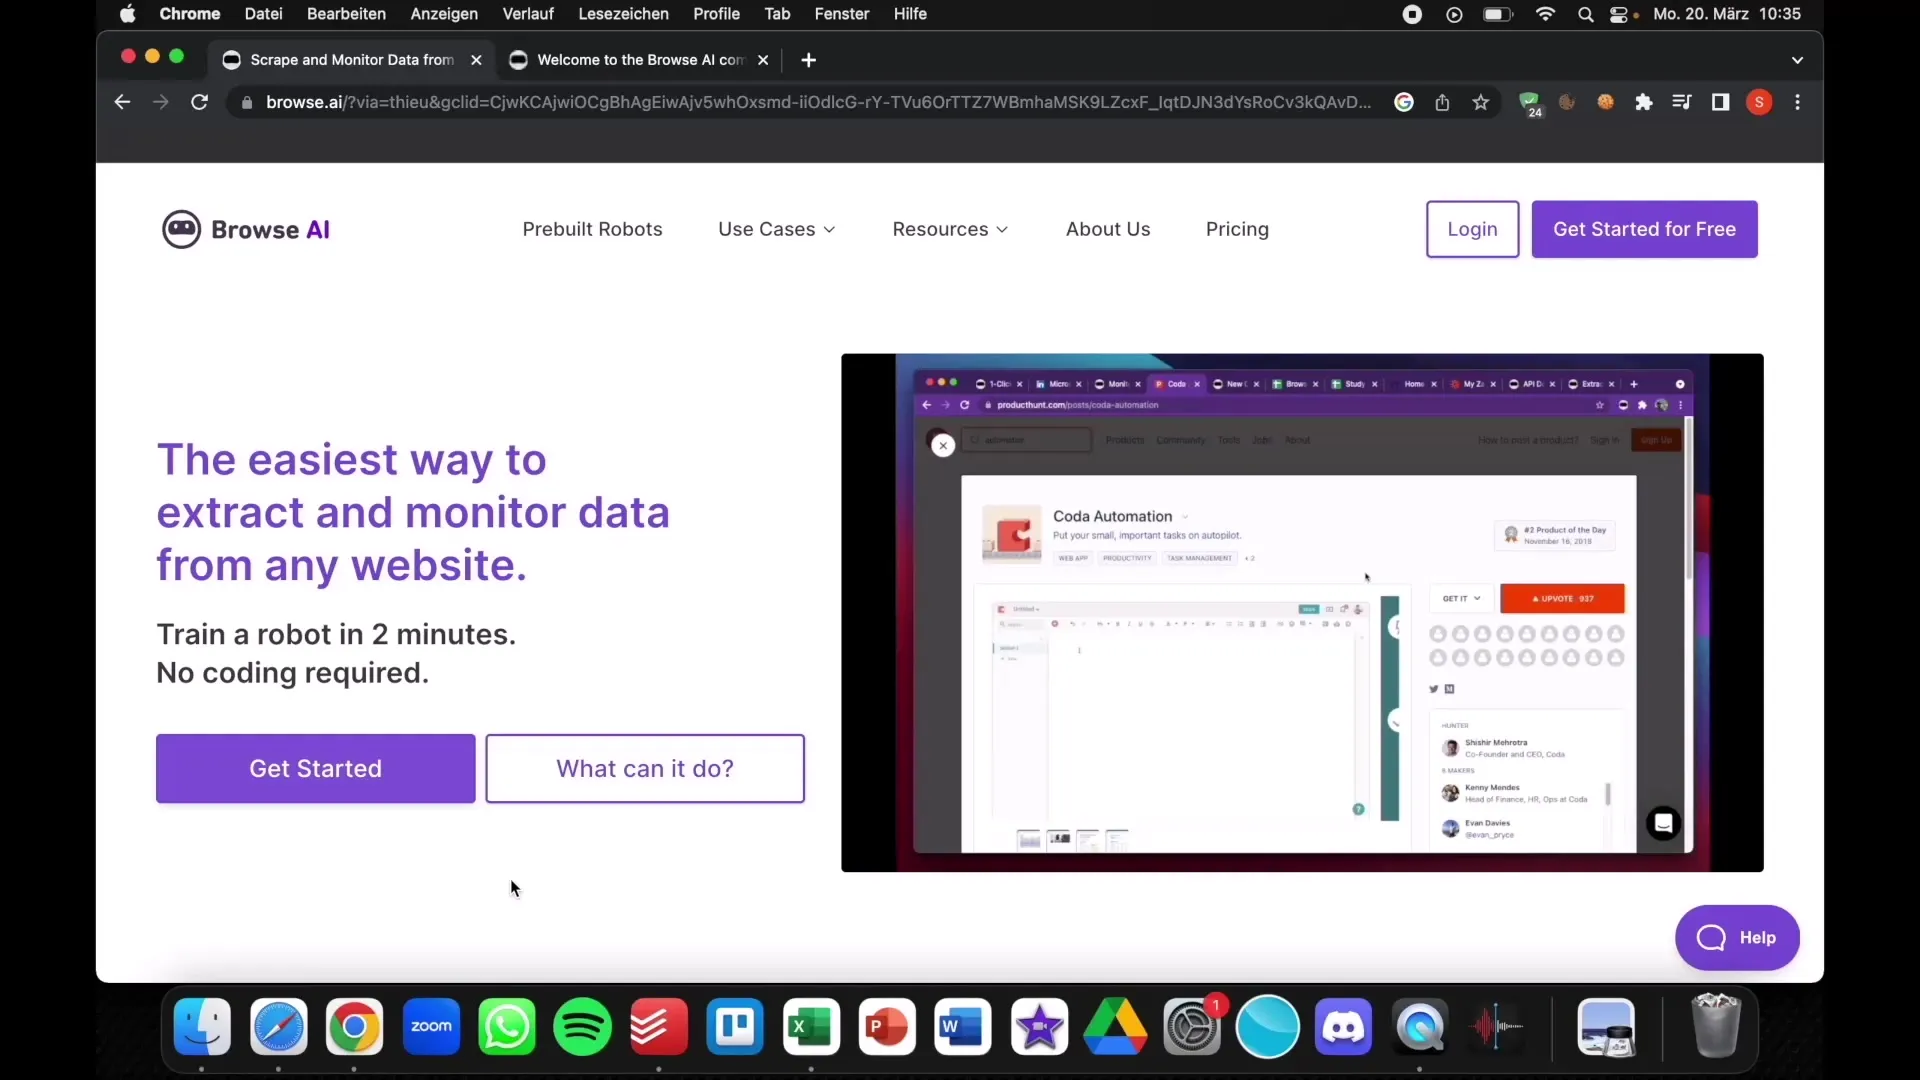
First, you need to sign up for Browse. Simply go to the website and click on "Get Started".

Step 2: Creating a User Account
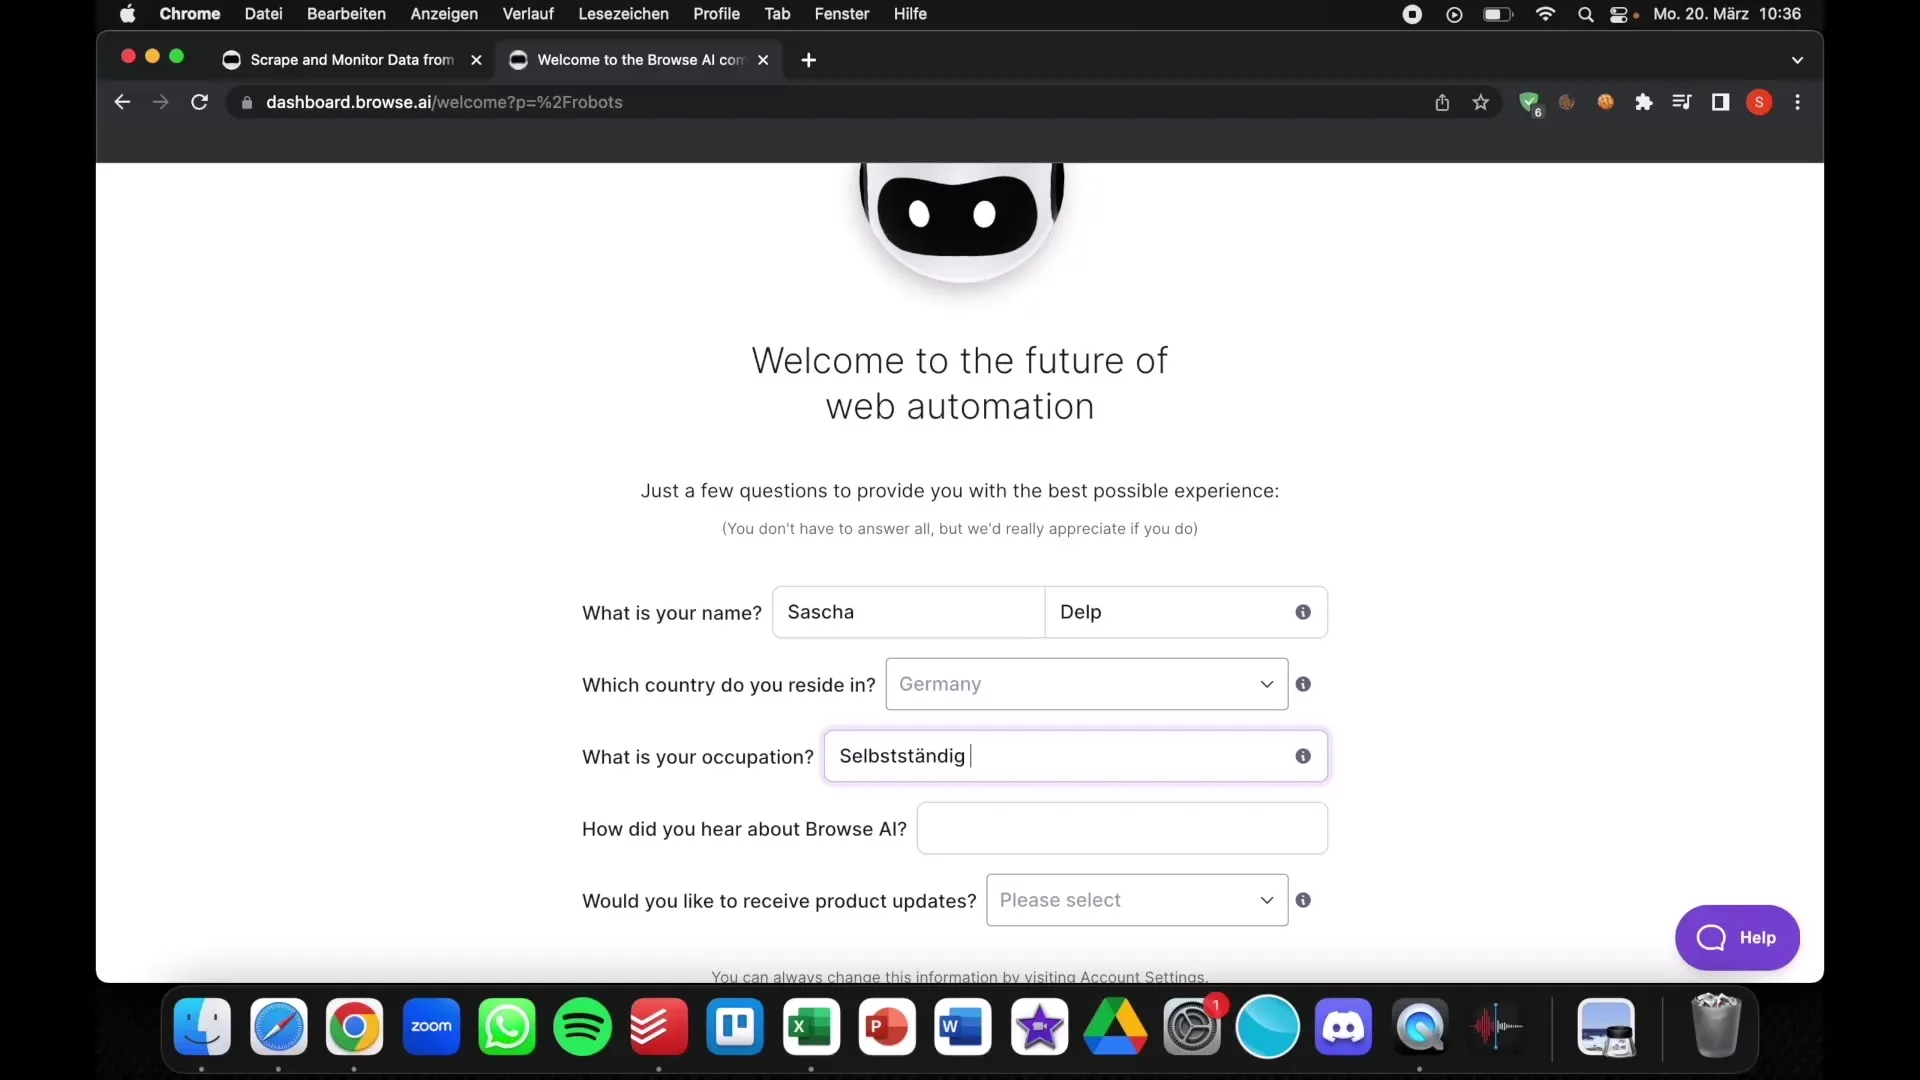
After clicking, you will be asked to sign in with your Google account. Provide the necessary information and select your profession. If you are self-employed, you can fill out the field accordingly.
Step 3: Initial Introduction to the Platform
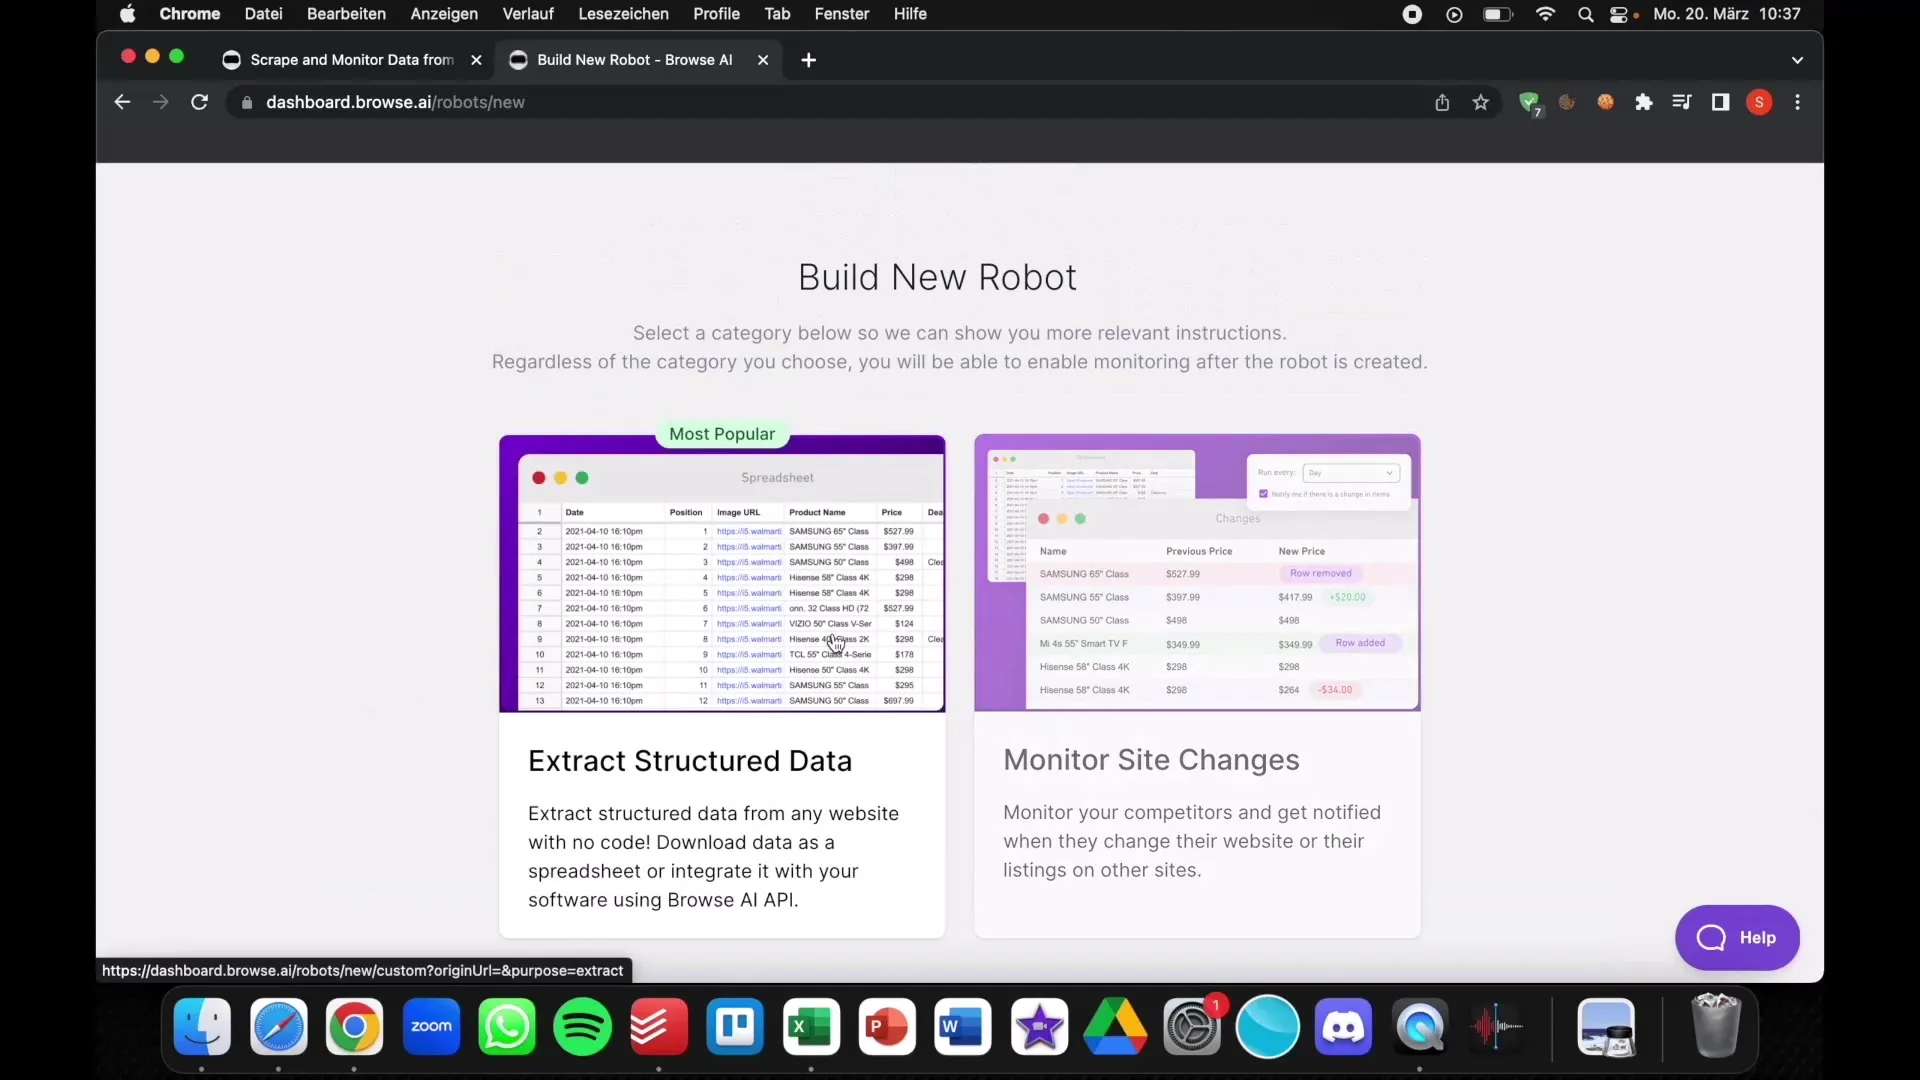
Once you are signed in, you will be redirected to an introductory page. Here you will see the basic functions of Browse and various sample links to help you stay informed.
Step 4: Adding a Website for Monitoring
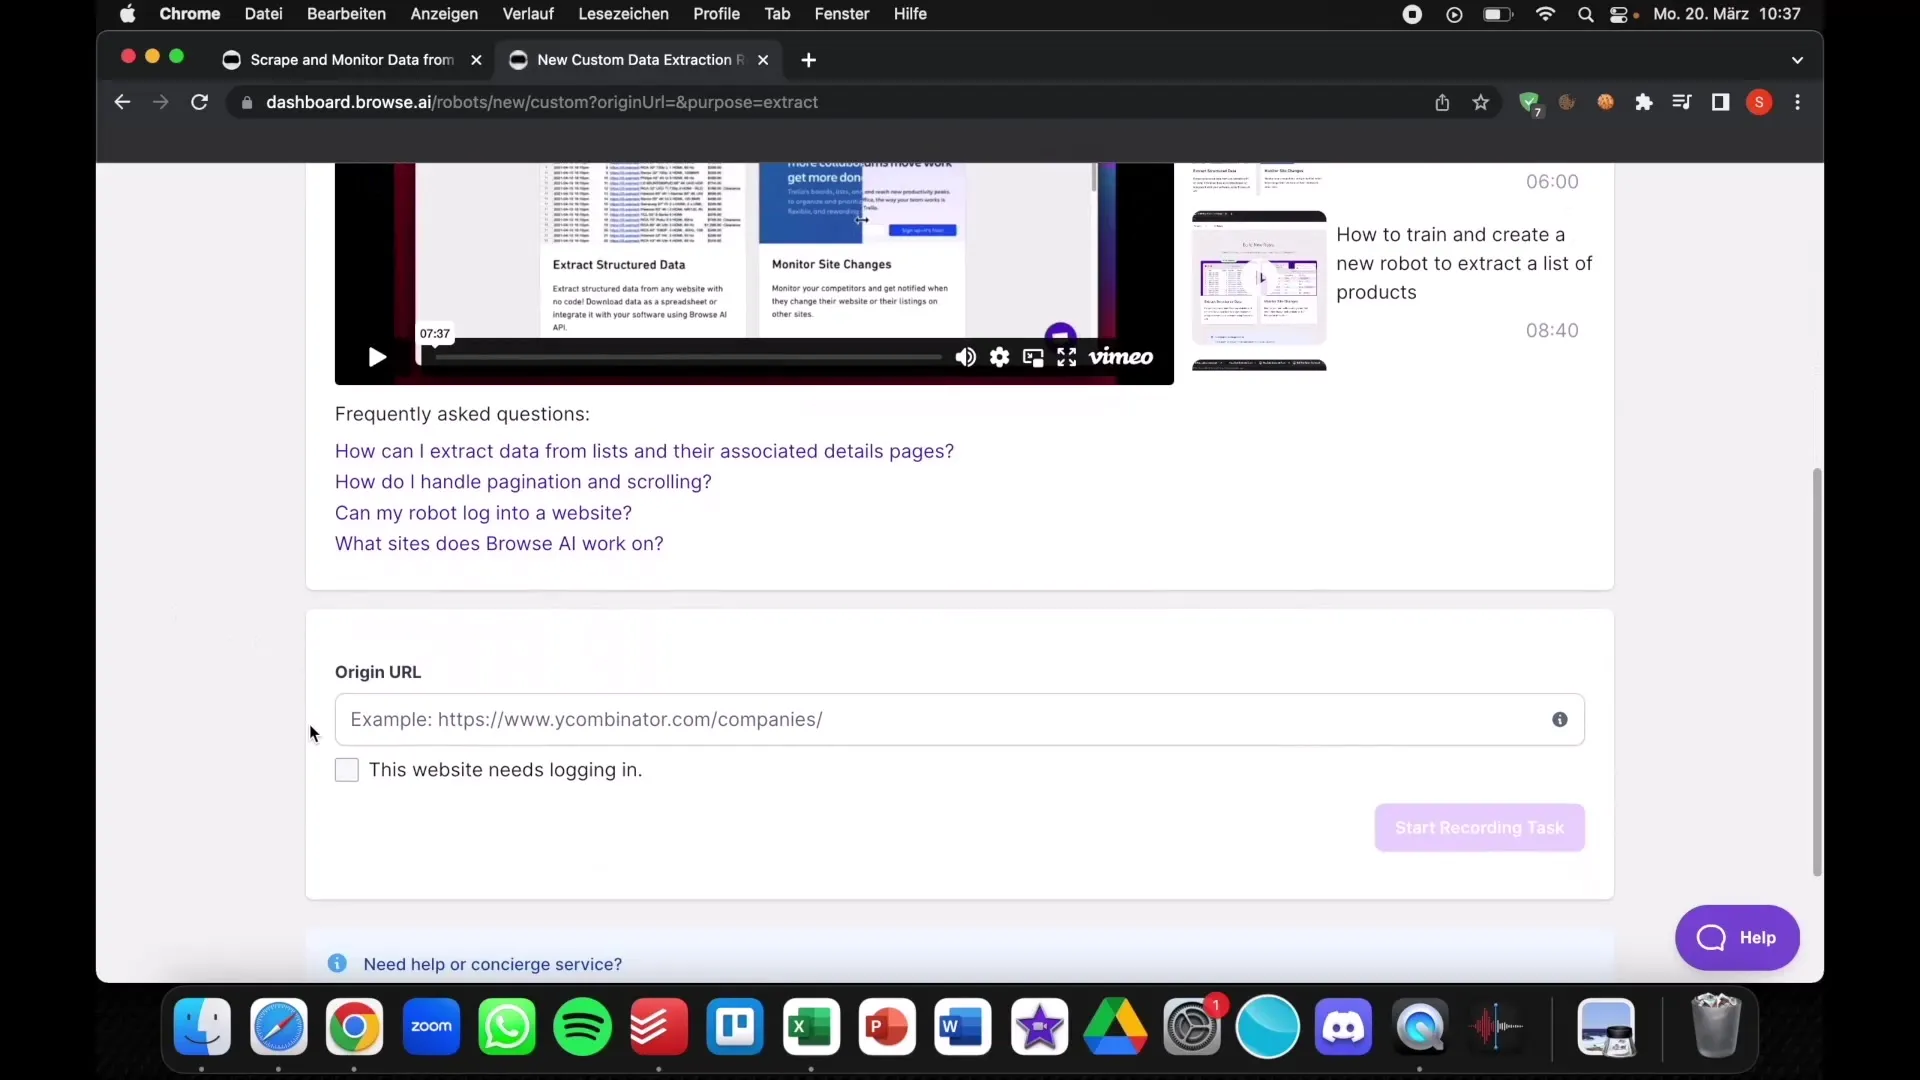
Now you want to add a website from which you want to extract data. Simply scroll to the main page and paste the link of the website you want to monitor. For example, you should add the link of a relevant competitor or product page.
Step 5: Setting Up Data Collection
Now it's about setting up your first data collection. Click on "Start Recording Tasks". This will allow you to download the Chrome extension that will assist you in data collection.
Step 6: Installing the Chrome Extension
After installing the extension, you will need to grant it necessary permissions. This includes permission to use your browser history to access the desired data.
Step 7: Choosing the Data Fields
Now you can select the specific data you want to extract. Click on the area of the webpage from which you need information. Make sure you select the entire relevant area, not just a small part.
Step 8: Naming the Data Fields
After selecting the data, you need to give a name to the saved data field. For example: "Instagram Followers" or "Prices". Click "Enter" to complete the process.

Step 9: Finalizing Data Collection
Now that everything is set, you can end the data collection. You have the option to make further changes or save the collected information.
Step 10: Exporting the Data
The collected information can now be downloaded in various formats, such as CSV. This makes it easy to further process the data in Excel or other tools.

Step 11: Setting Up Notifications
One of the best features of Browse is the ability to set up notifications for changes on the monitored websites. You can choose whether you want to be informed once daily, hourly, or at shorter intervals.
Step 12: Utilizing the Acquired Data
Now you can use the collected and updated data to make strategic decisions. Analyze trends, compare prices, or monitor the activities of your competitors directly on your dashboard.

Summary
In this guide, you have learned how to handle Browse to extract data from websites and leverage this information to your advantage. From signing up and setting up to exporting and analyzing – Browse provides you with the tools to make informed decisions in your industry and stay one step ahead.
Frequently Asked Questions
What is Browse?Browse is a data collection tool that allows you to extract information from websites.
Do I need technical knowledge to use Browse?No, Browse is user-friendly and does not require programming skills.
How often can I receive notifications?You can set up notifications for daily, hourly, or even more frequent updates.
Can I export the collected data?Yes, the collected data can be downloaded in various formats such as CSV.


