In this tutorial, you will learn how to download, edit, and export clips from YouTube livestreams, to then publish them on YouTube or other social media platforms. Creating clips from livestreams not only allows you to increase your reach but can also be a lucrative source of income. The tutorial guides you through every step of the process, from downloading the livestream to editing and uploading the clips.
Key Insights
- You can download livestreams from YouTube and edit them into clips.
- Using professional video editing software facilitates the processing of videos.
- It is crucial to select the right export options to ensure video quality.
- Using text and subtitles can enhance the clarity of your clips.
Step-by-Step Guide
First, make sure you have access to your YouTube Studio, as this is where you can download the livestreams. To initiate the downloads, log in to your YouTube account and open the studio.
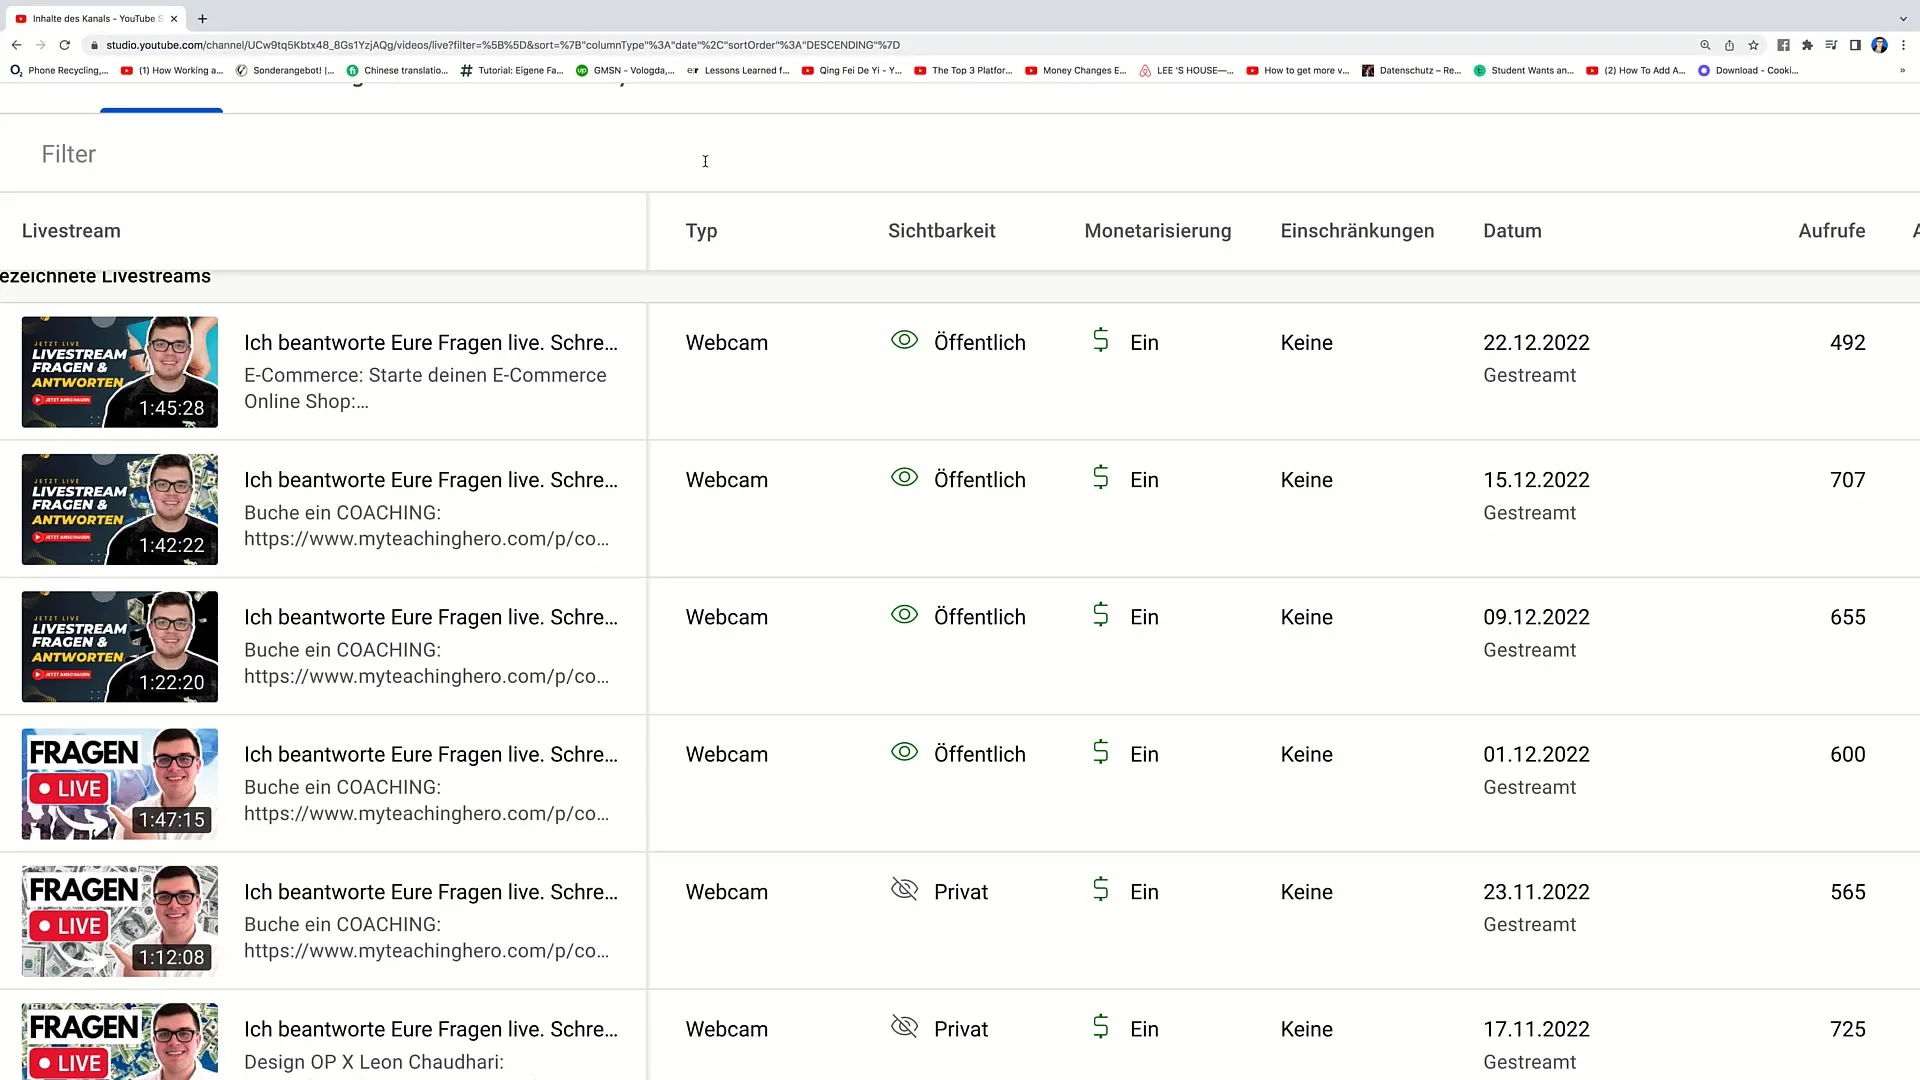
On the left side of the screen, navigate to "Content" and then select the "Livestreams" option. Here you will find a list of your past livestreams.
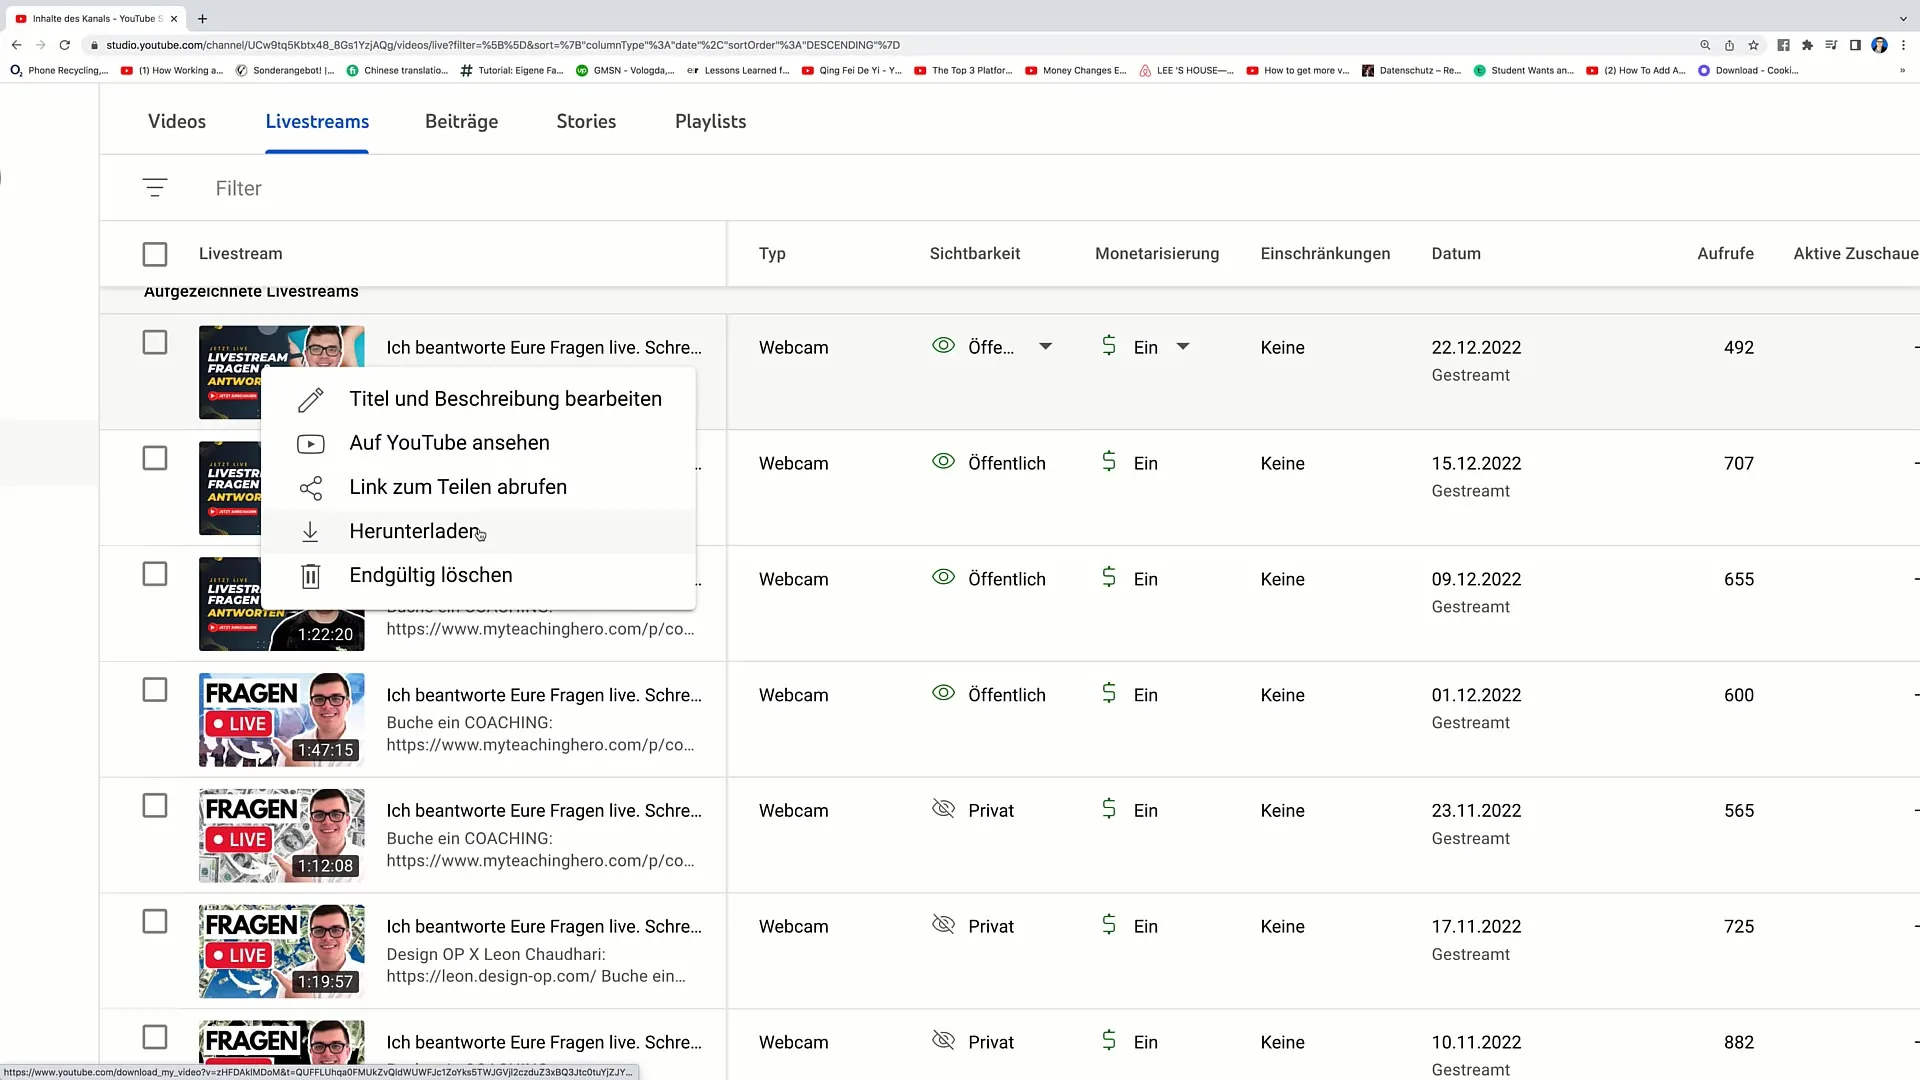
To download the livestream, click on the three dots next to the livestream. Select the "Download" option. Note that the download may take some time depending on your internet connection and the size of the video.
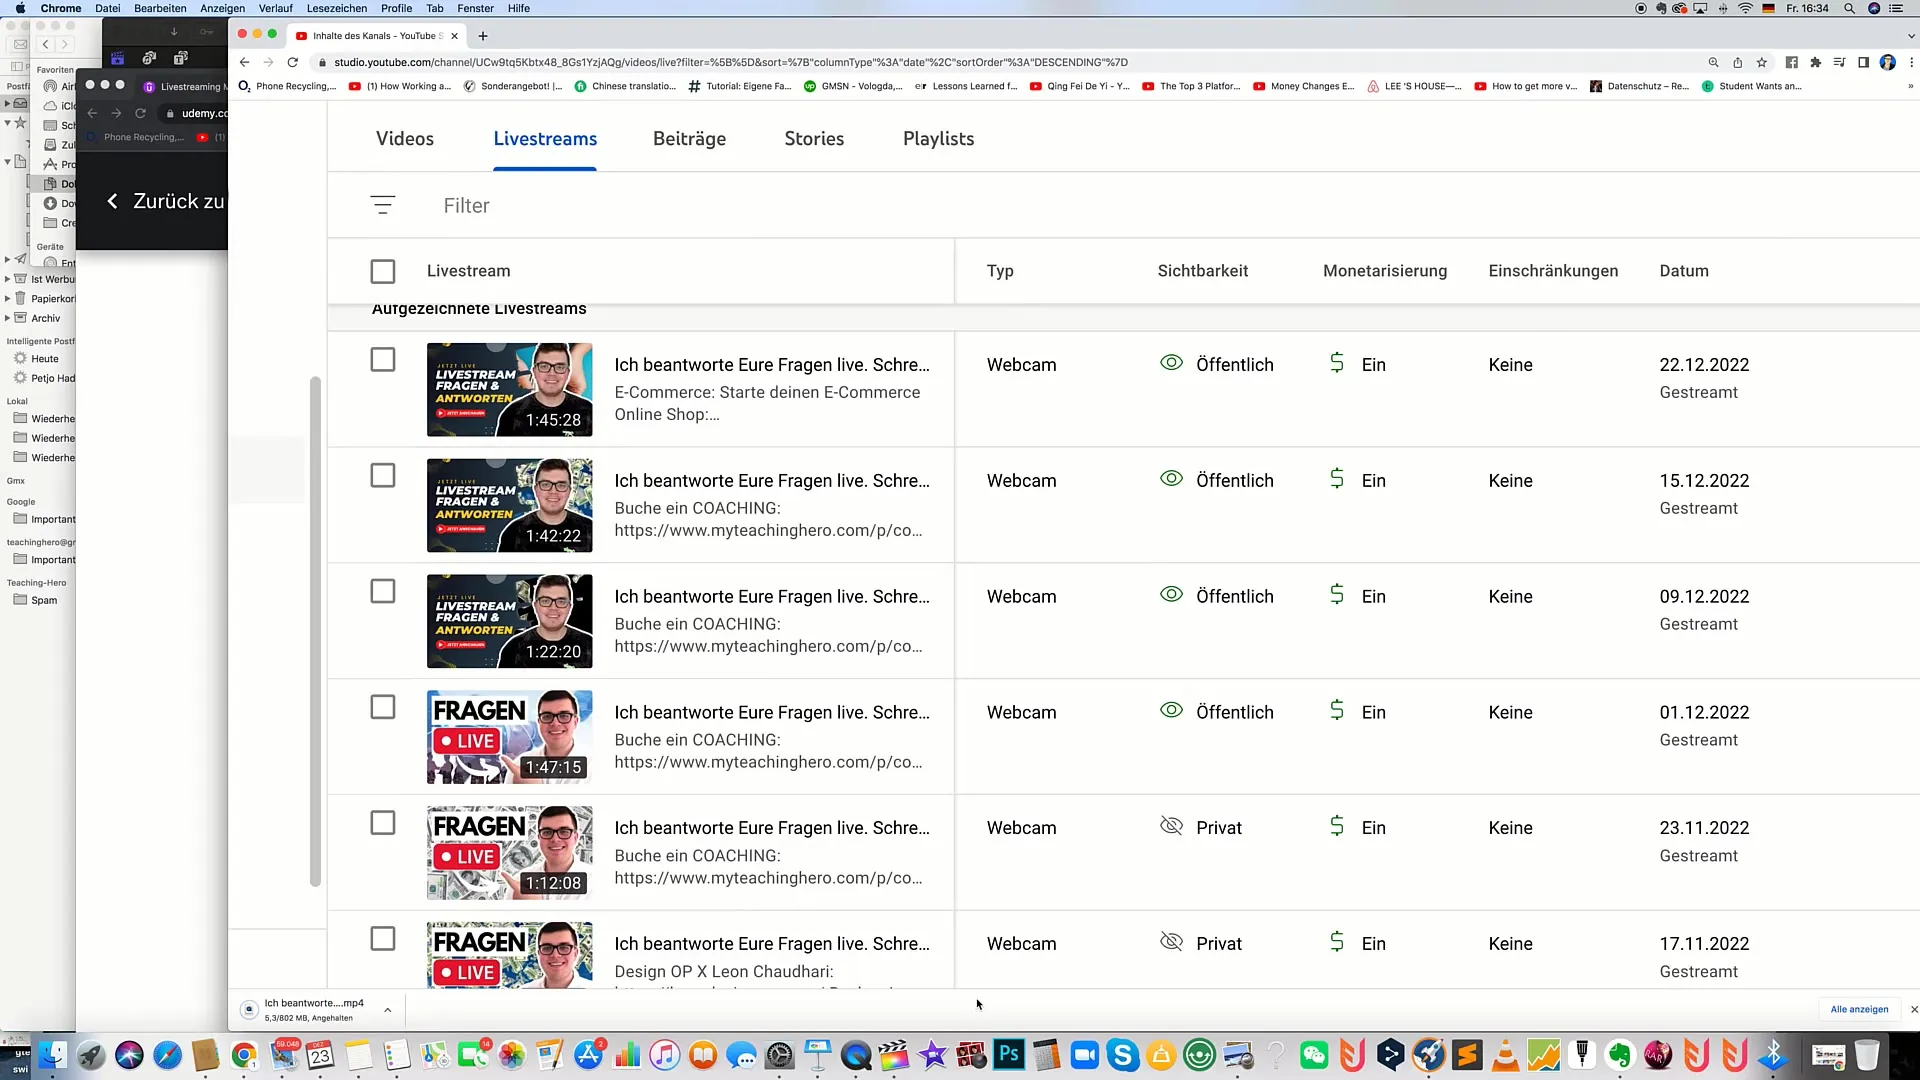
Once the download is complete, you can import the file into a video editing program. In this tutorial, I am using Final Cut Pro, a popular tool for video editing on Apple computers. Alternatively, you can use software like Adobe Premiere Pro or Camtasia, which both offer comprehensive video editing features.
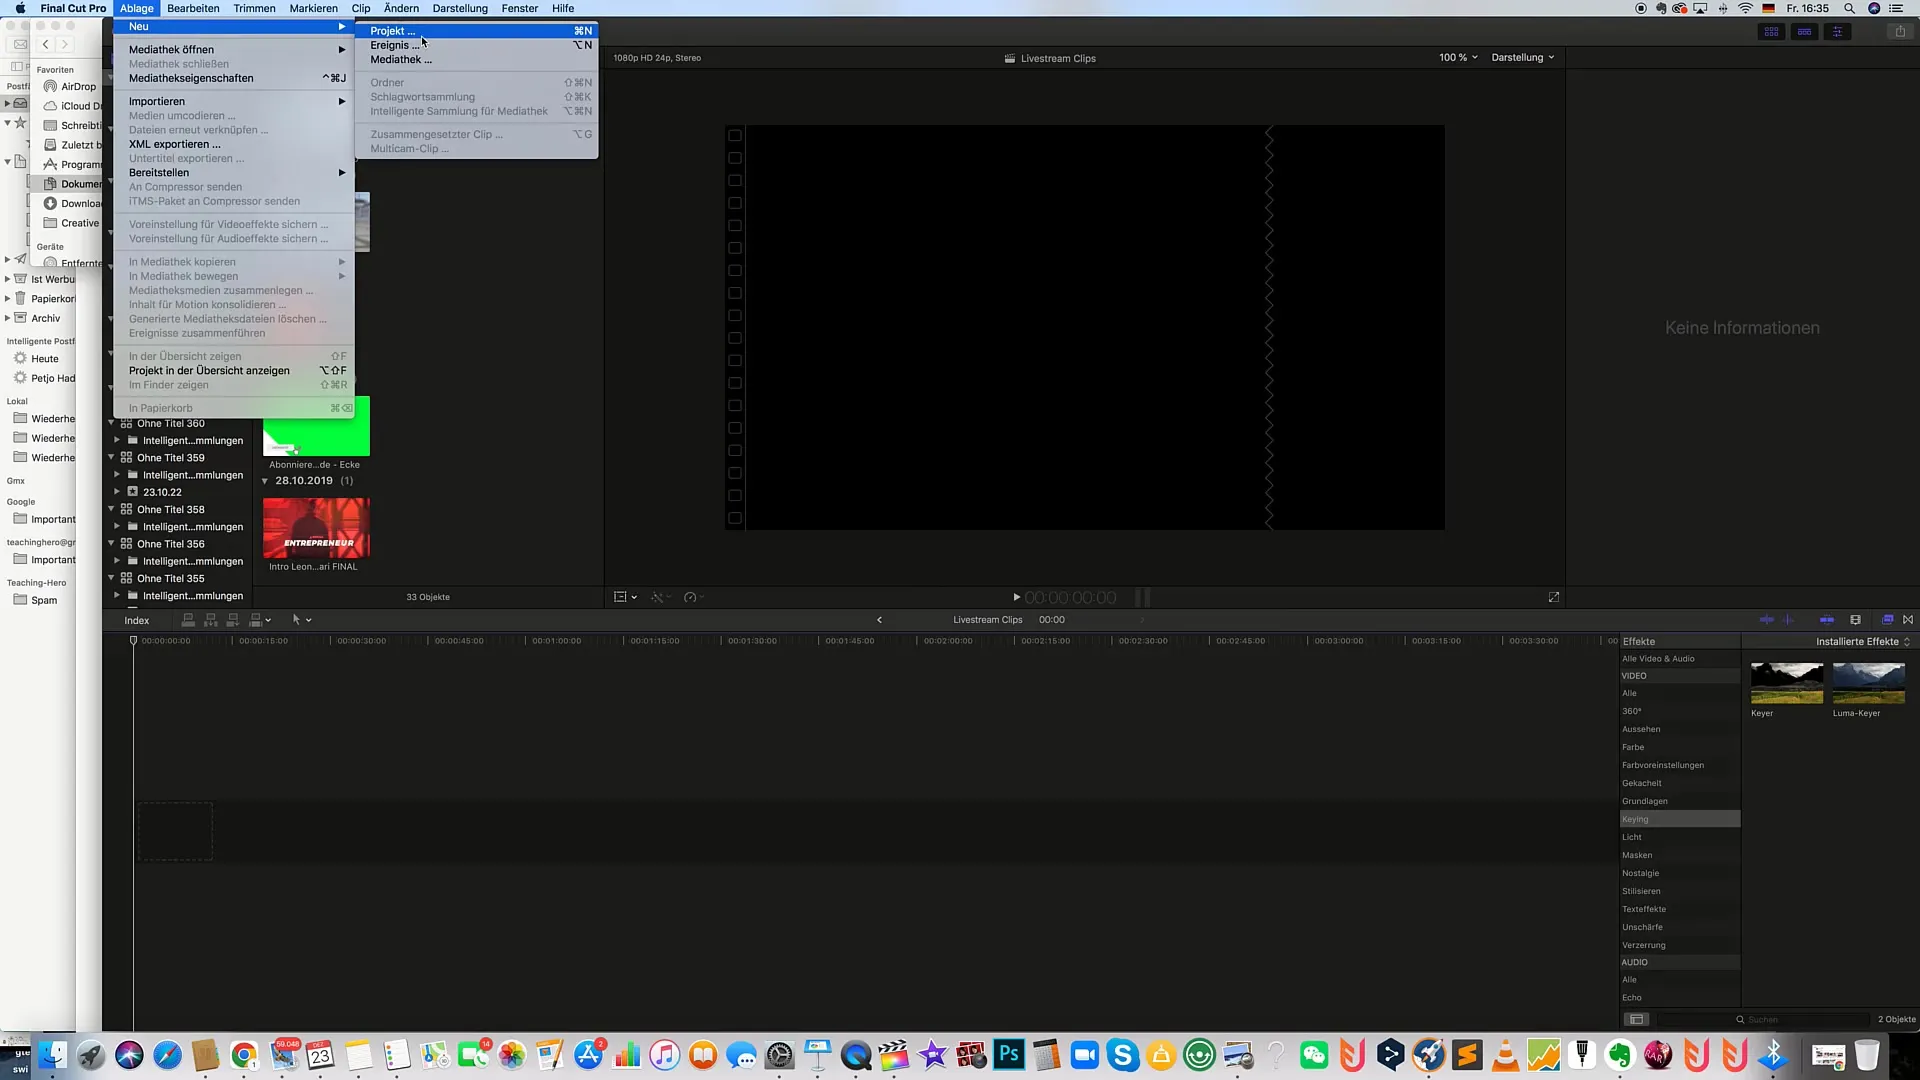
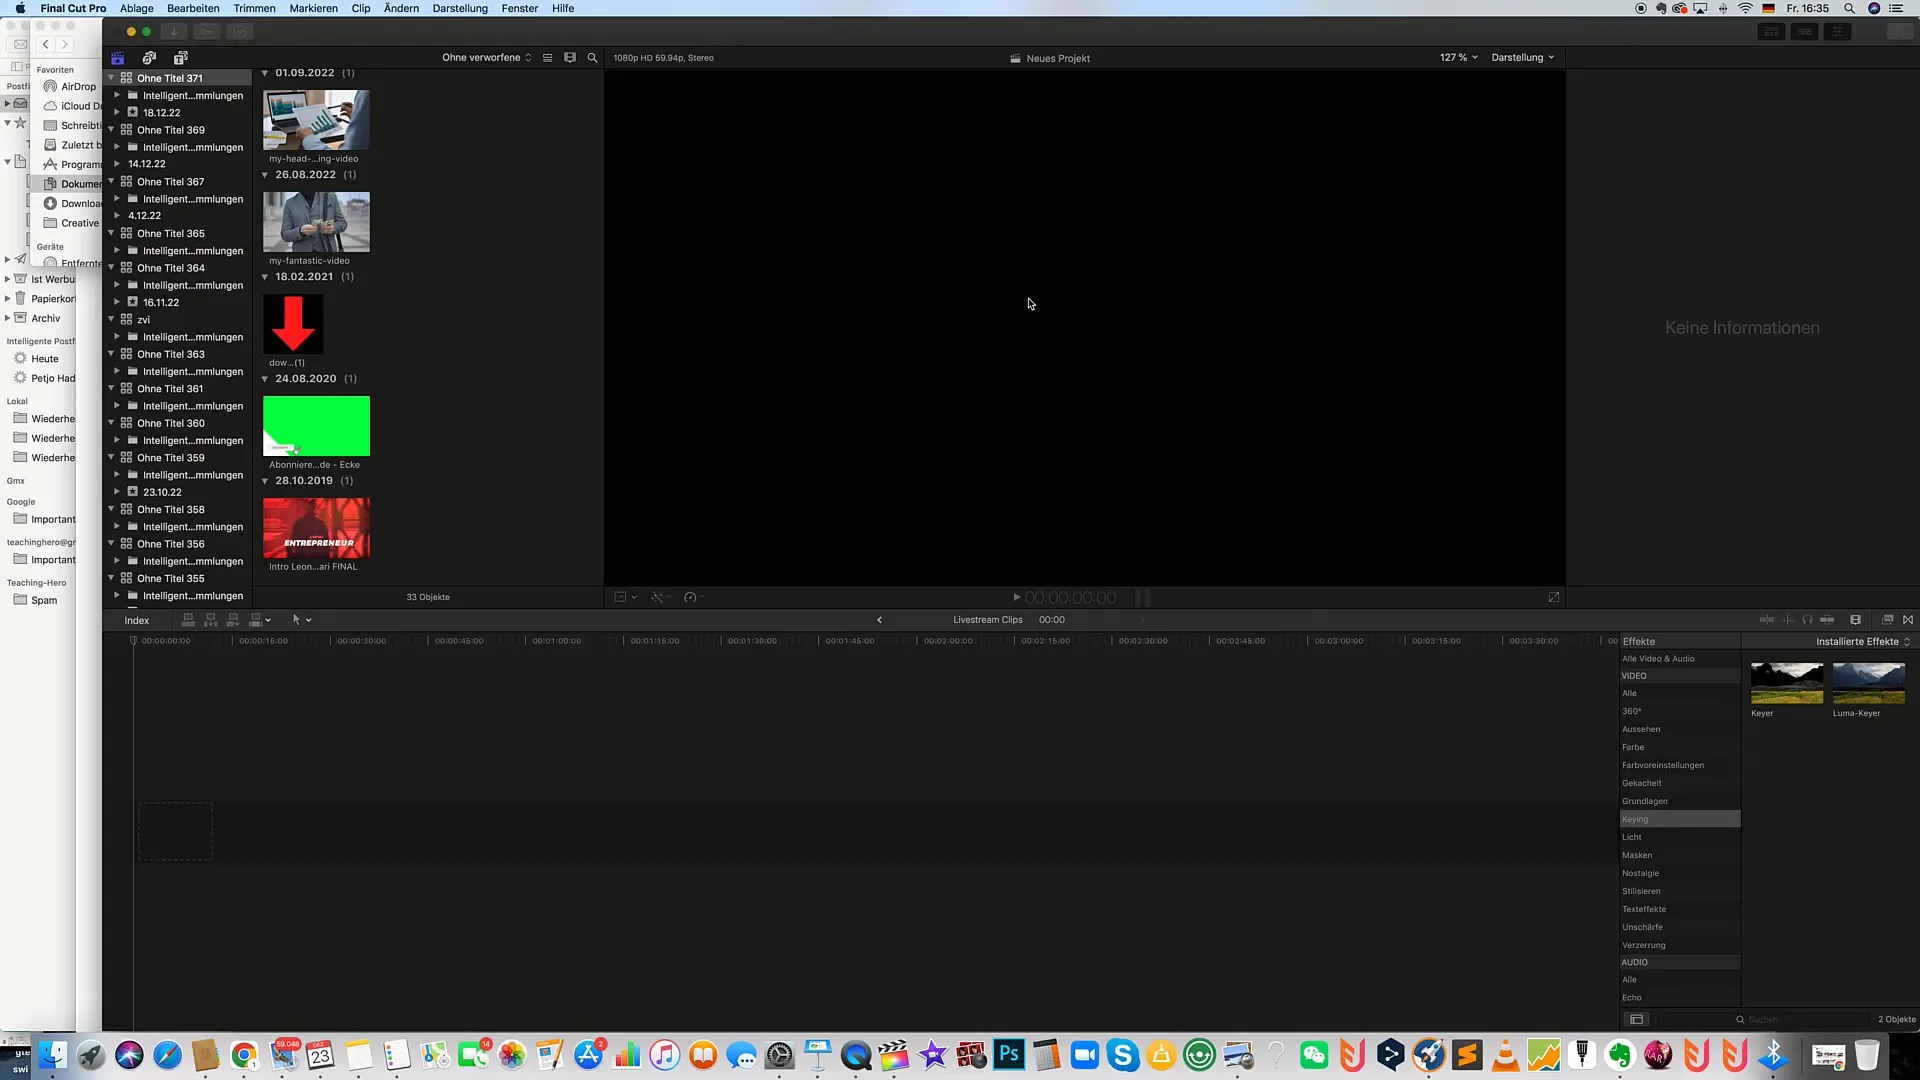
Open your editing program and create a new project. In Final Cut Pro, you can do this by clicking on "File" at the top, then "New," and selecting "Project." Give the project a name, such as "Livestream Editing."
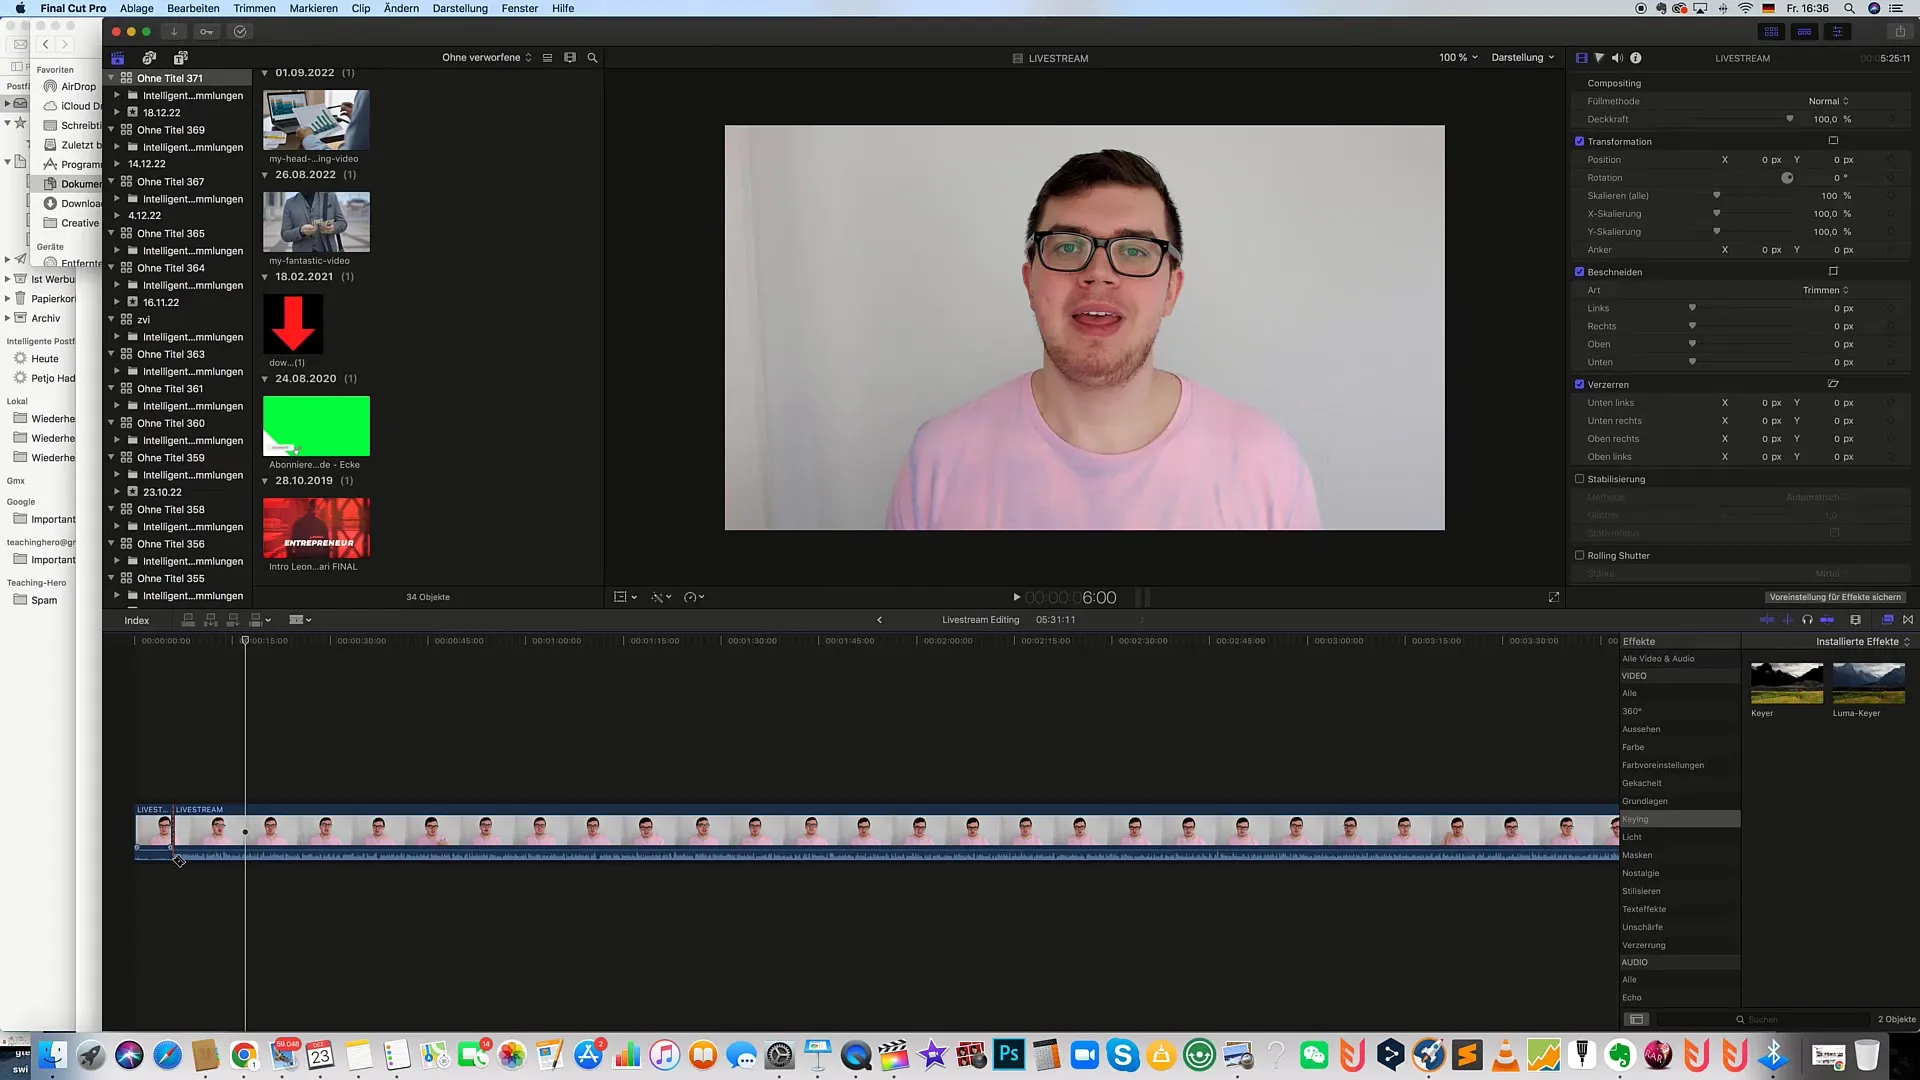
Now you can add the downloaded livestream to the project. Simply drag the file into the timeline. Make sure to adjust the starting position of the livestream and determine where exactly you want to make the cut.
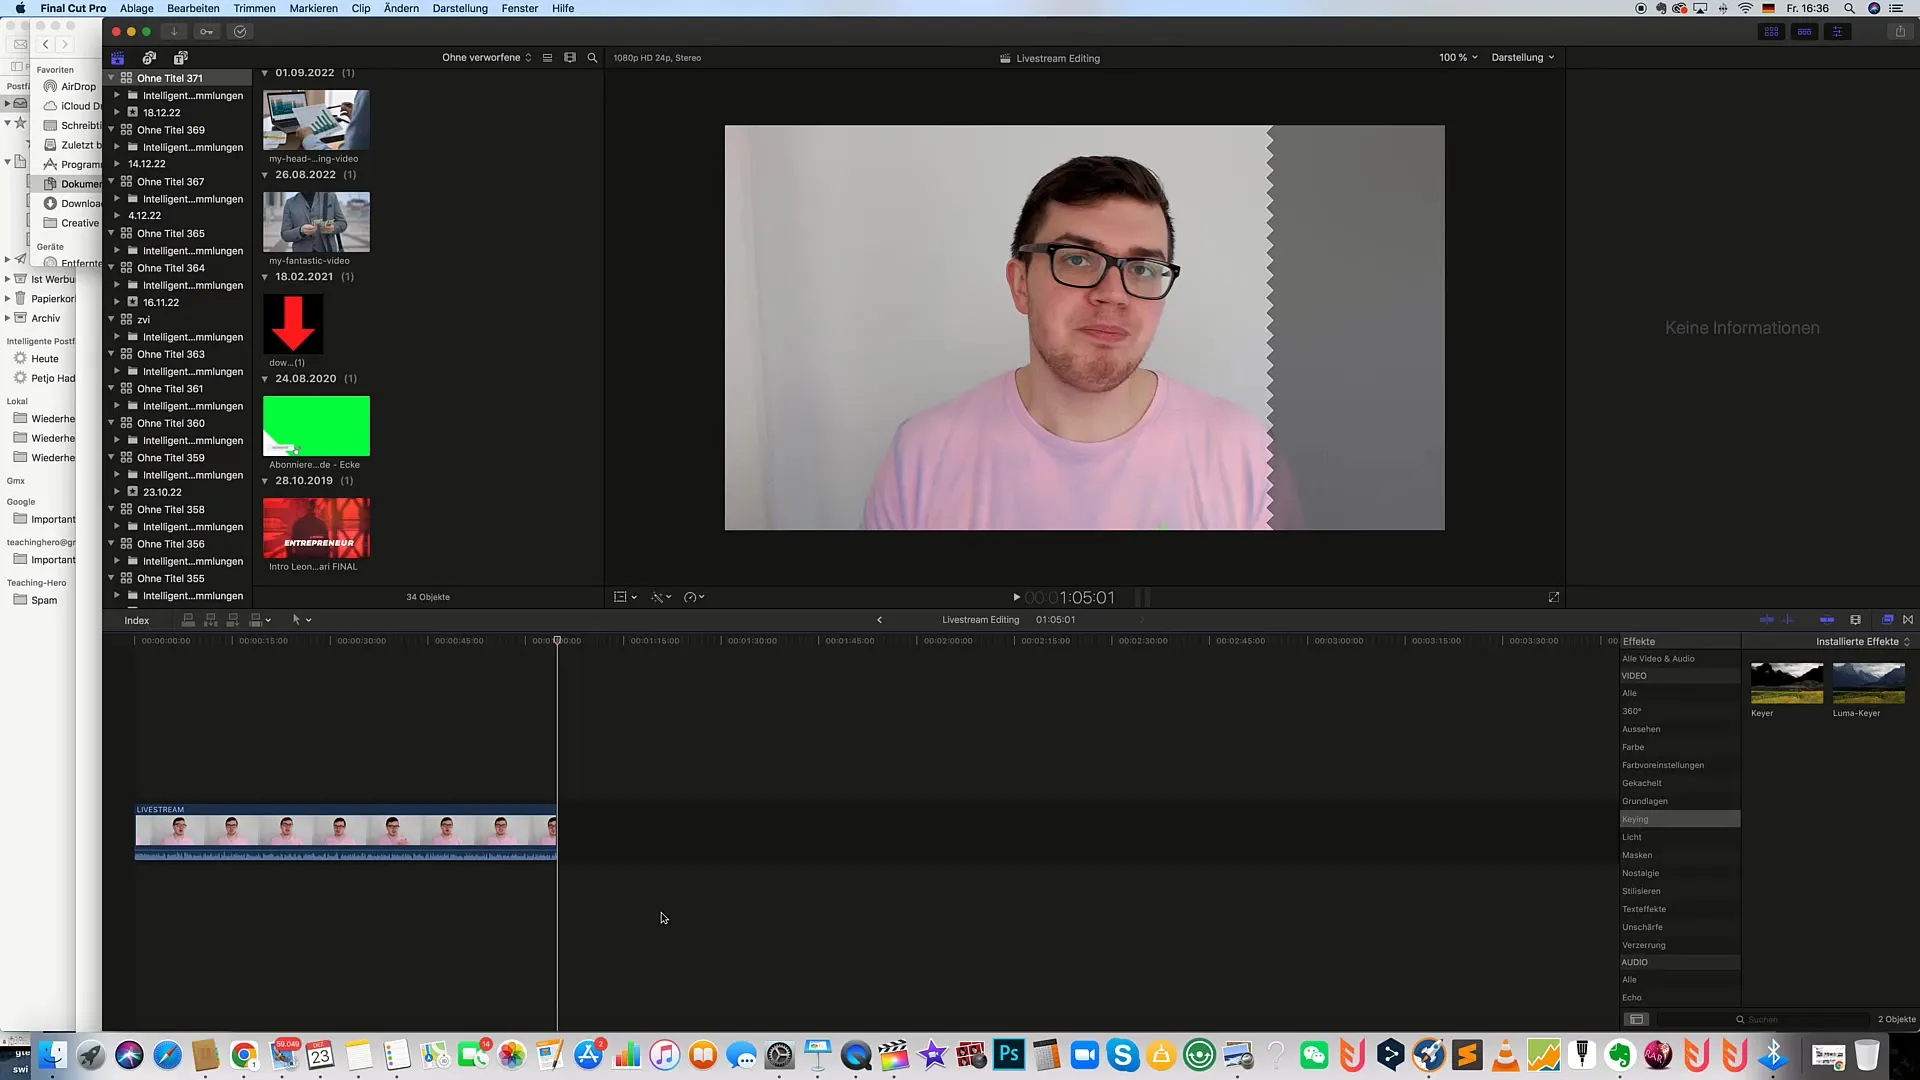
To make a cut, press the "B" key on your keyboard to activate the cutting tool. Place the cut at the desired location where you want the clip to end. Then press "A" to return to the selection tool.
Delete the unnecessary part of the livestream by selecting it and pressing the "Delete" key. When further editing the clip, make sure to review and adjust other parts of the livestream as needed.
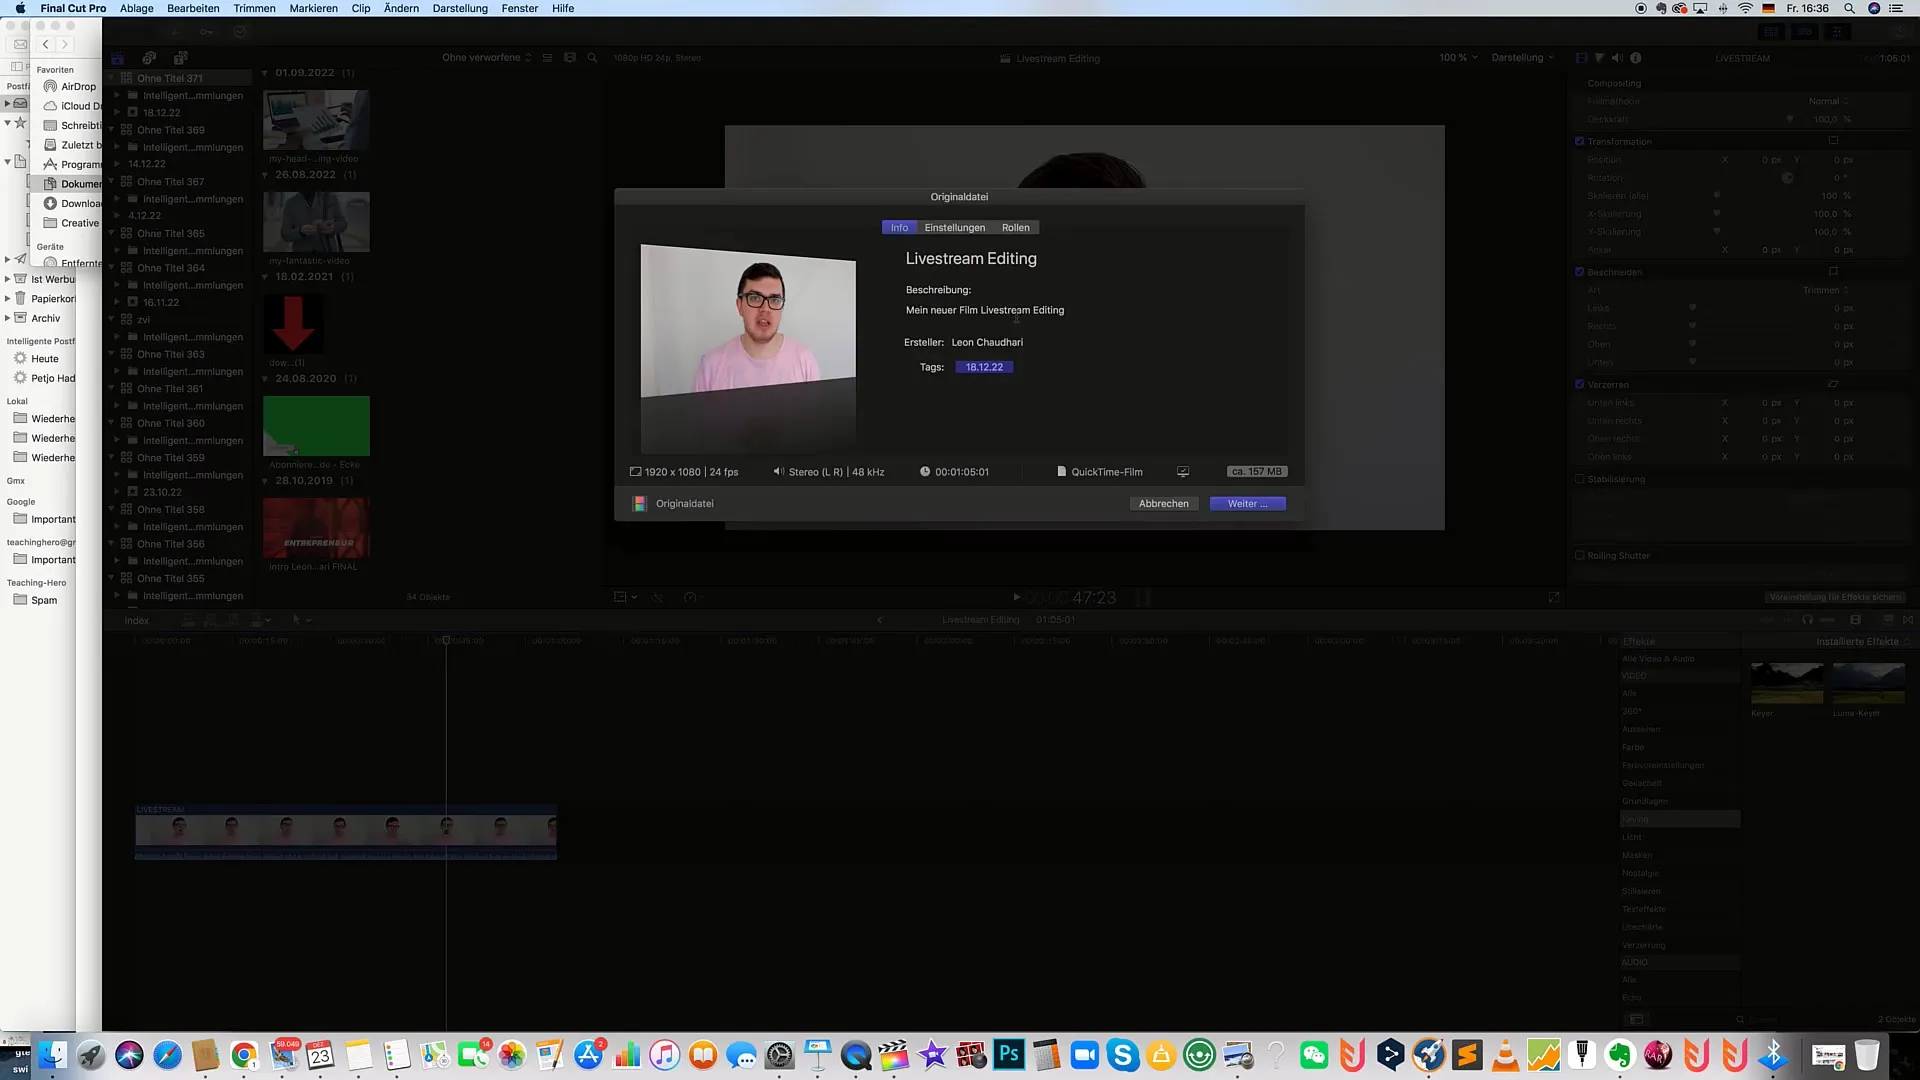
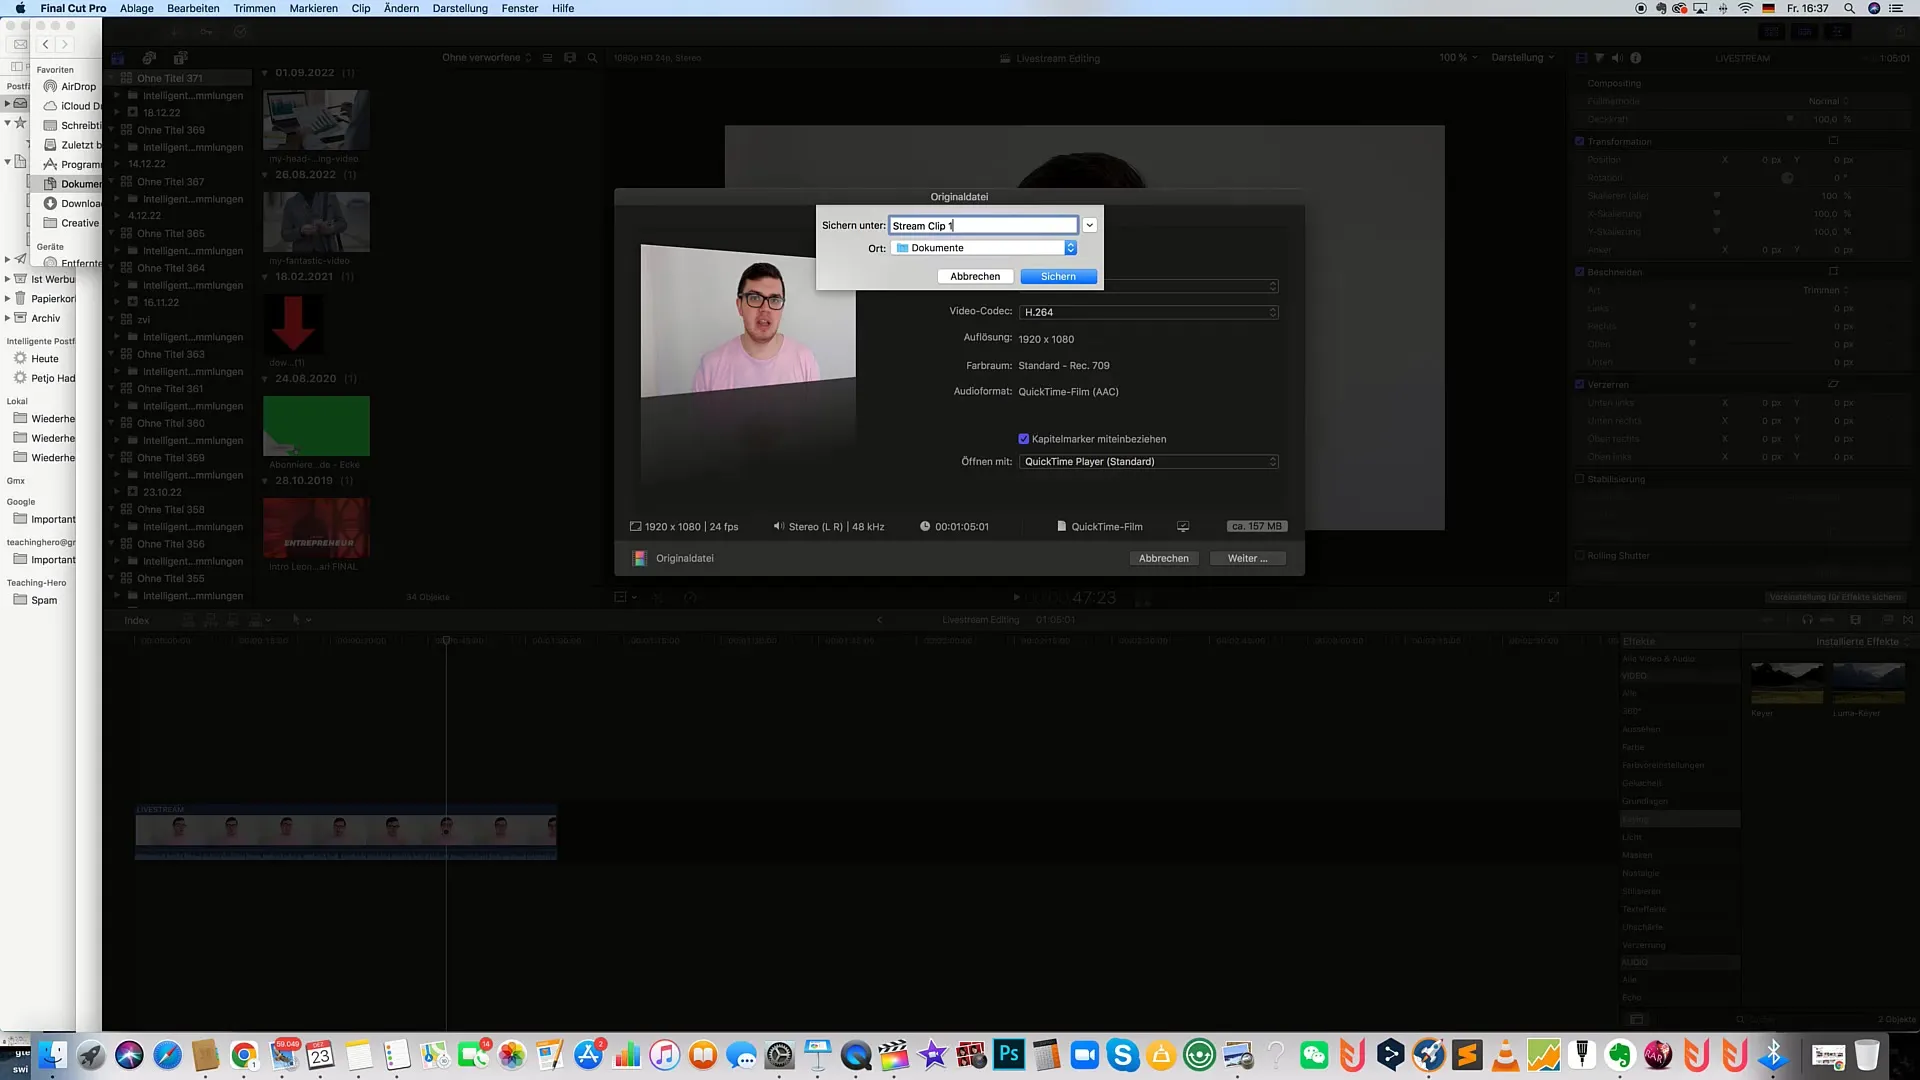
Another important function is to export the edited clip. Go to "File" again, then "Export," and choose "Original File." Make sure to set the settings for video quality and format correctly. I recommend a resolution of 1920x1080 and 24 fps for high-quality videos.
Give the clip a meaningful name, such as "Stream Clip 1." Click "Save" to start the exporting process. This may take a few minutes for the clip to be successfully saved.
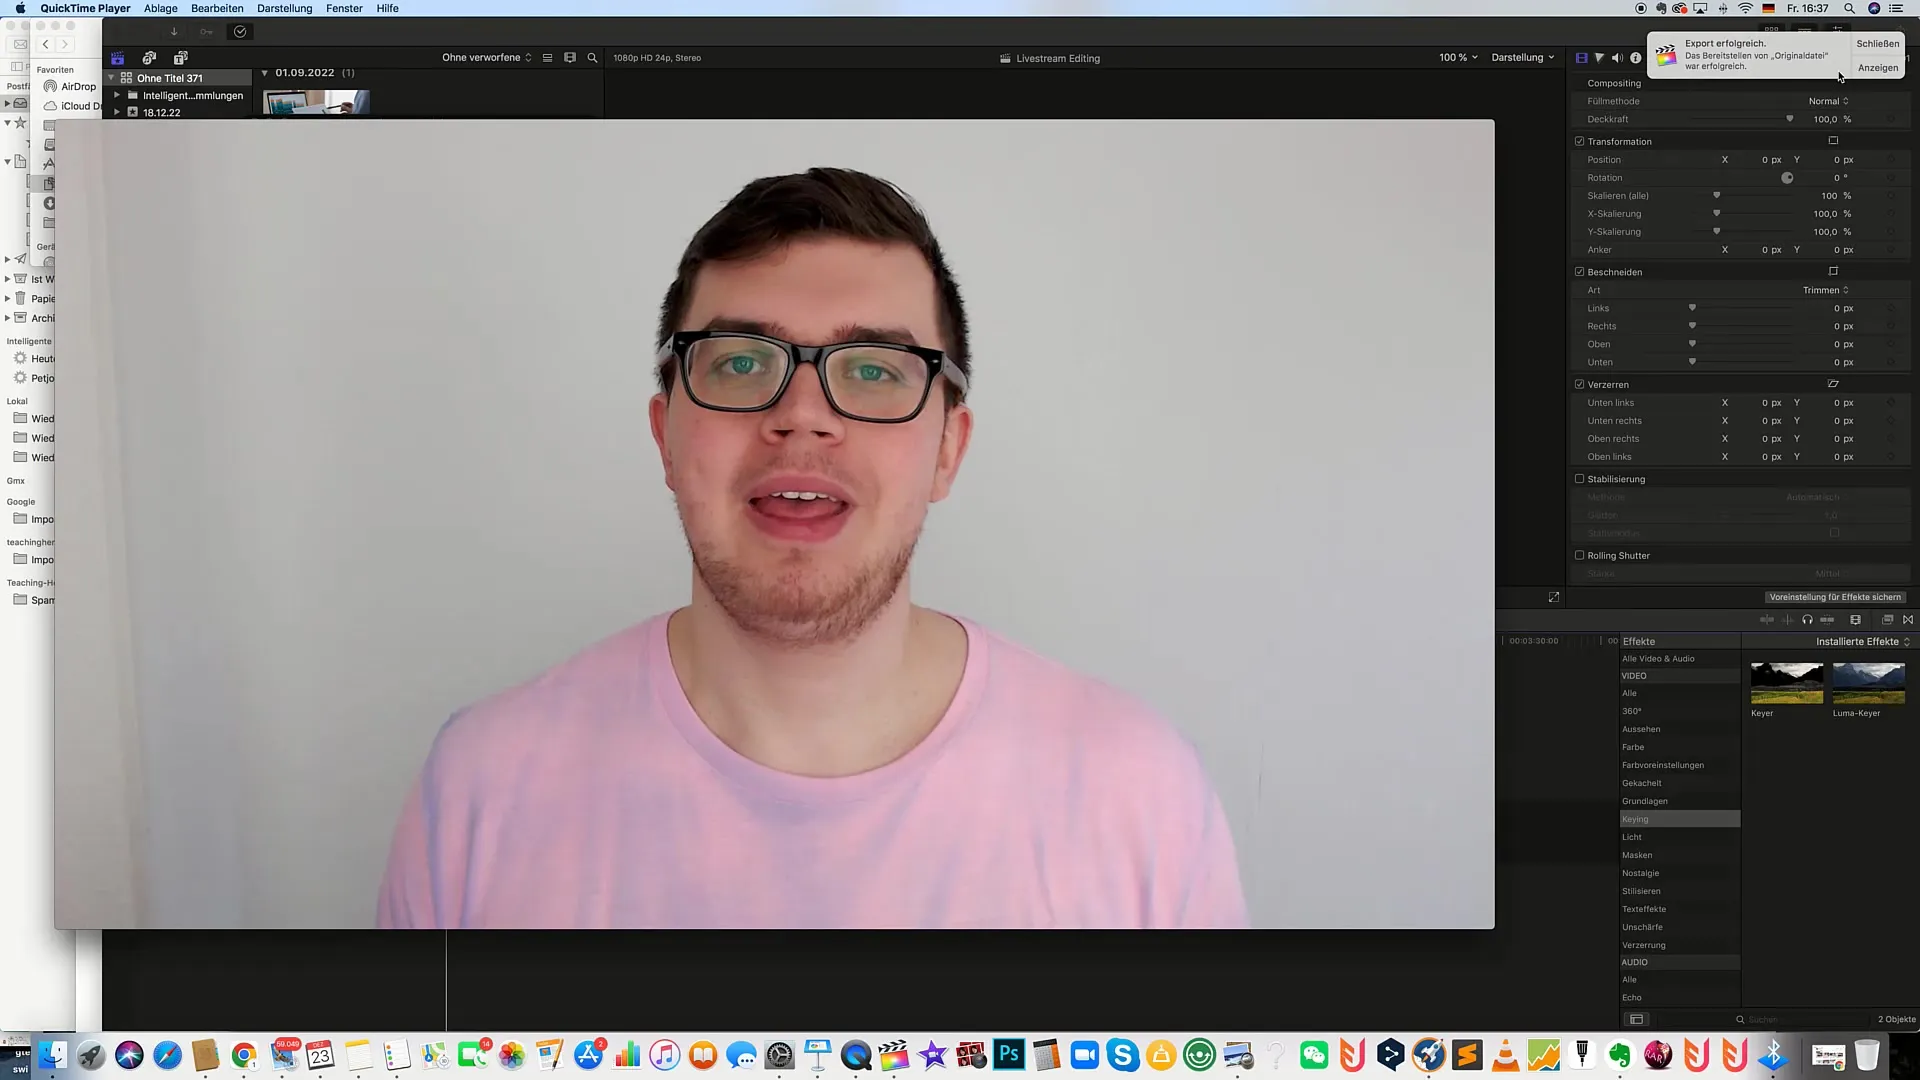
Once the clip is successfully saved, you can find and review it in the Finder on your PC. If you want to upload the file to YouTube, simply open the upload section on YouTube and upload the clip.
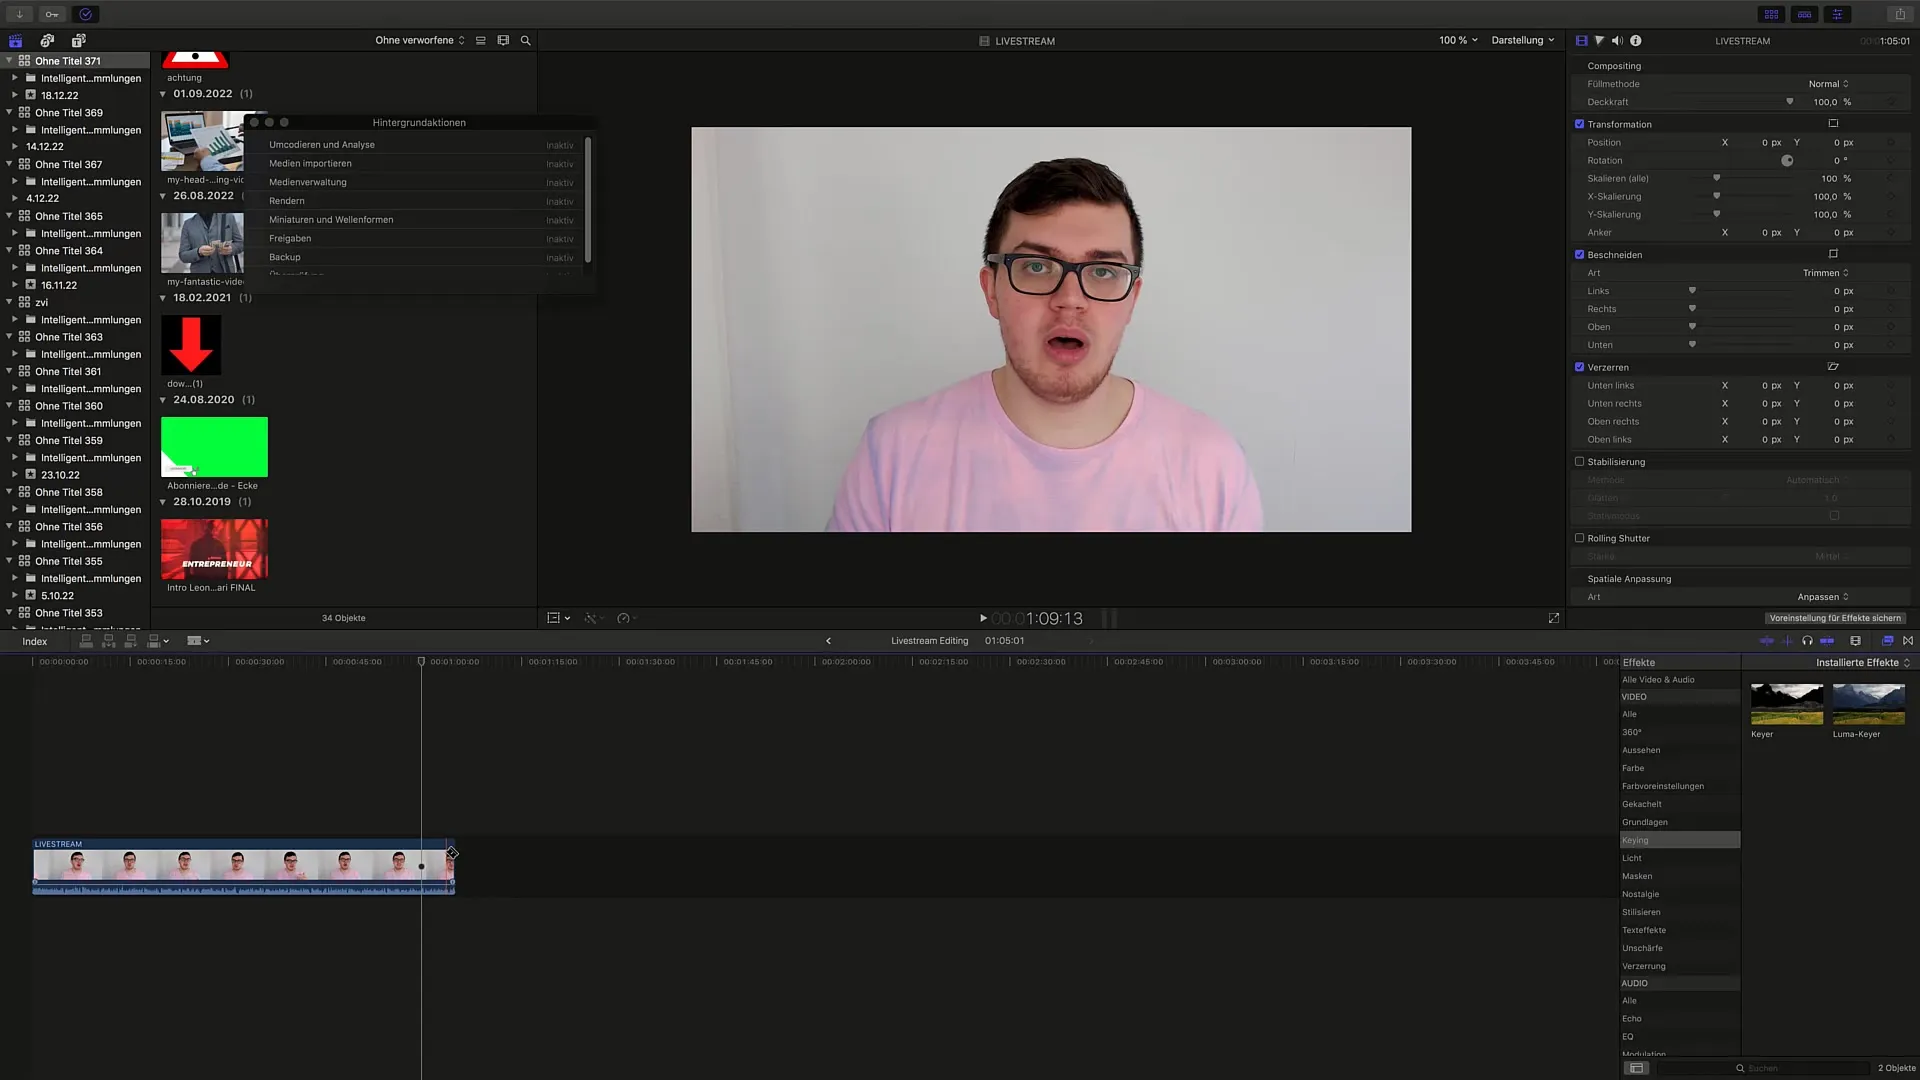
If you still want to make adjustments to your clip, you can do this in the timeline. Drag the edges of the clip to adjust the length or delete any other unnecessary parts.
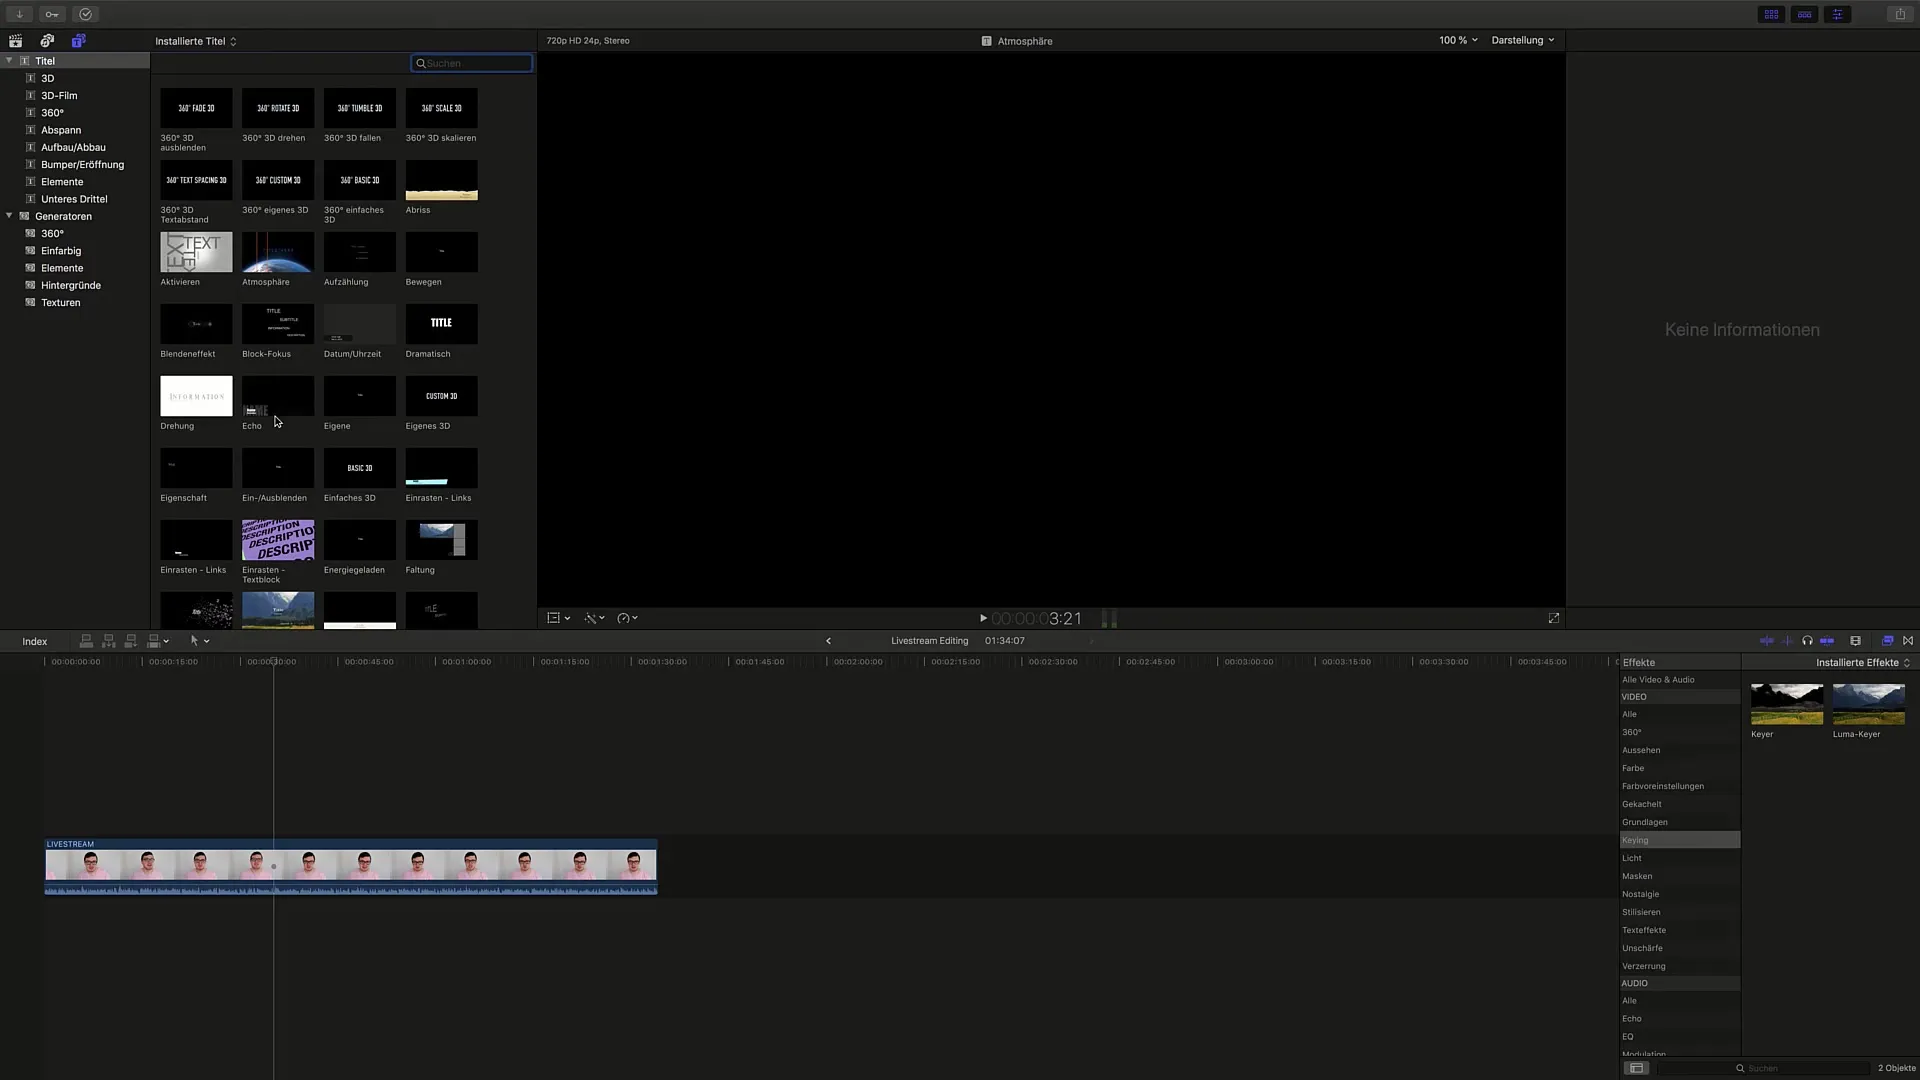
In addition, you can add text to your video to insert information or subtitles. In Final Cut Pro, go to "Text," choose a text template, and drag it into the timeline. You can adjust the size and position of the text at any time.
Editing livestreams into clips is easy and straightforward with these steps. Use your edited clips to reach your audience on YouTube or other platforms.
Summary
In this tutorial, you have learned how to download, edit, and export livestreams from YouTube as clips. You now know the necessary steps to prepare your clips for publication on various platforms.
Frequently Asked Questions
How do I download a livestream from YouTube?Go to your YouTube Studio, select "Content," then "Livestreams," and click on "Download."
What software can I use to edit my livestream clips?You can use Final Cut Pro, Adobe Premiere Pro, or Camtasia.
How do I export my edited clip?Go to "File," "Export," and select "Original File" before saving the file.
What video settings should I choose when exporting?For high-quality videos, choose 1920x1080 and 24 fps.
How can I add text or subtitles to my clip?In the editing program, select the text feature, drag the template into the timeline, and adjust the size and position.


