Affinity Photo offers a variety of features that make editing images not only efficient but also creative. In this tutorial, Stan will share the 30 best tips and tricks to help you get the most out of this powerful tool. Whether it’s about removing unwanted objects or creating fantastic effects, you’ll find everything you need to take your photo editing to the next level.
Key Insights
- Learn how to easily remove objects.
- Discover creative techniques for special effects.
- Save time with quick editing methods.
Step-by-Step Guide
Removing Objects
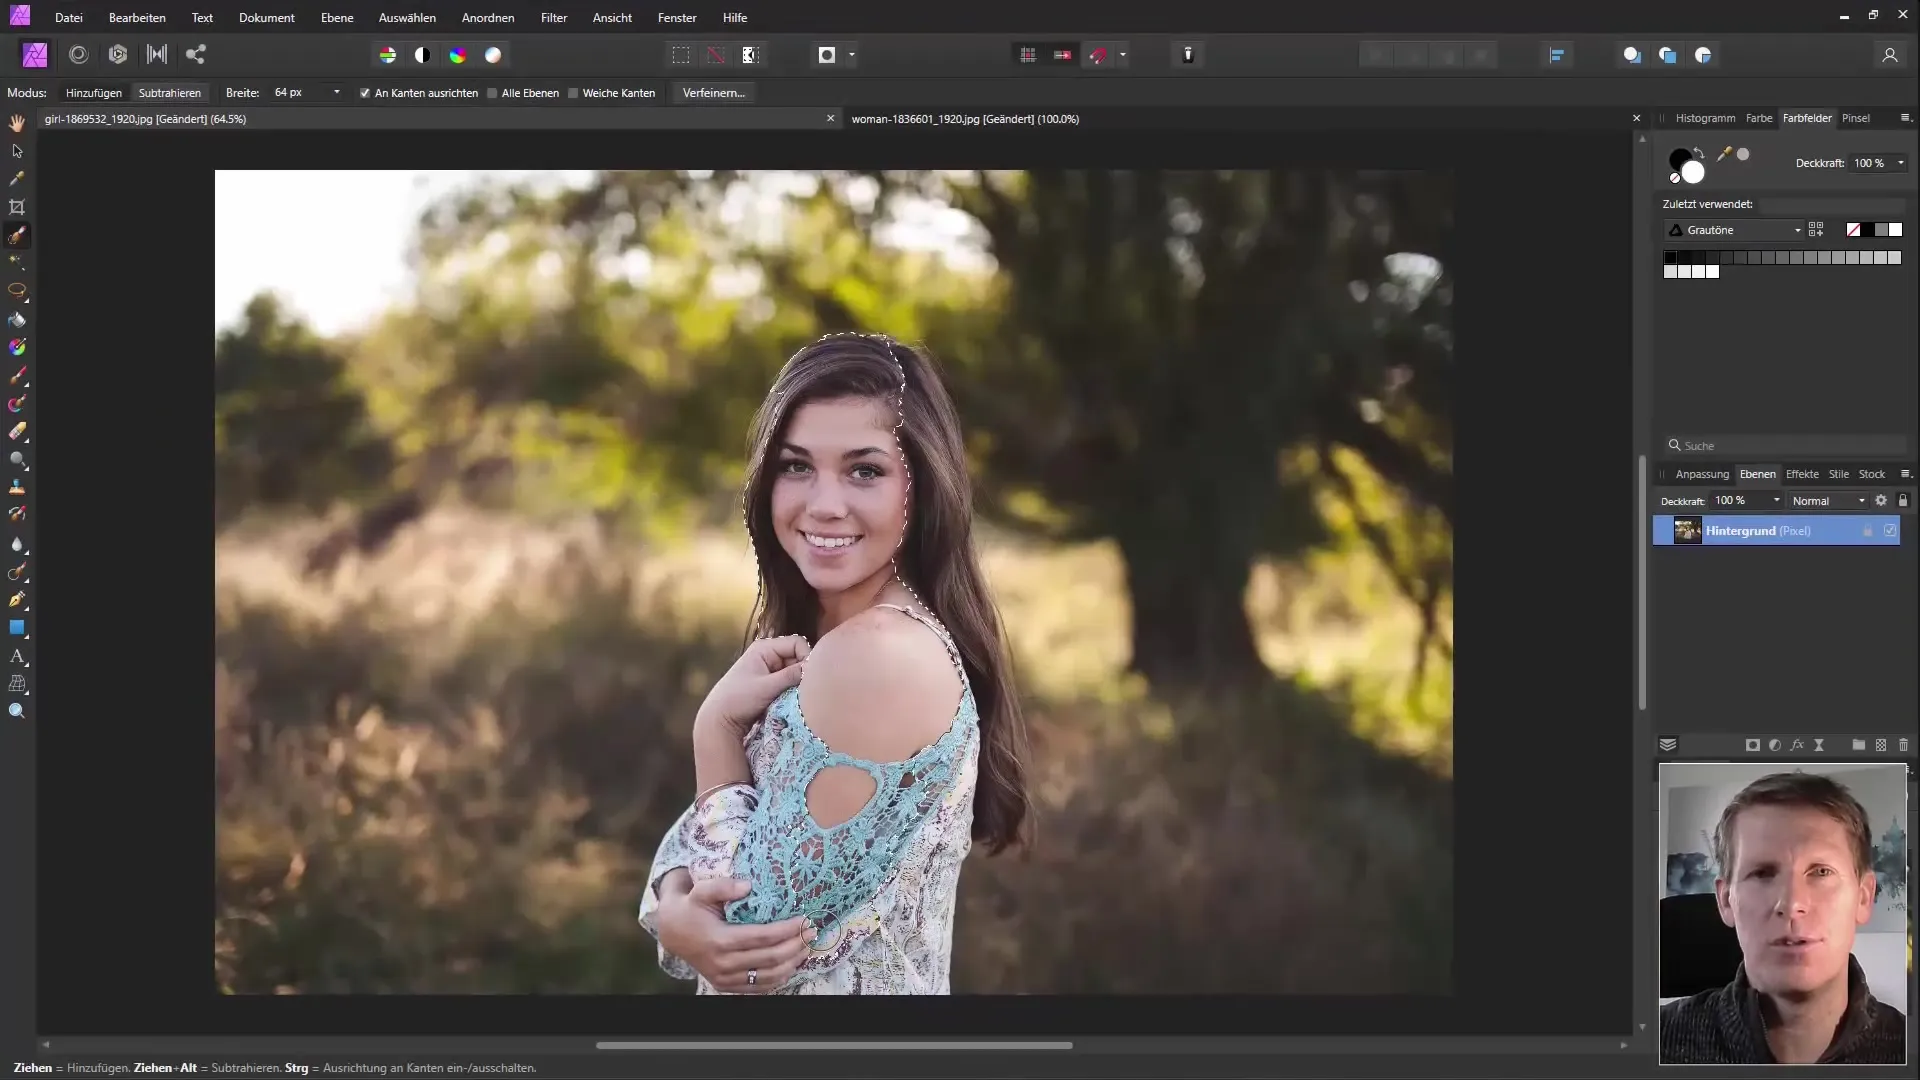
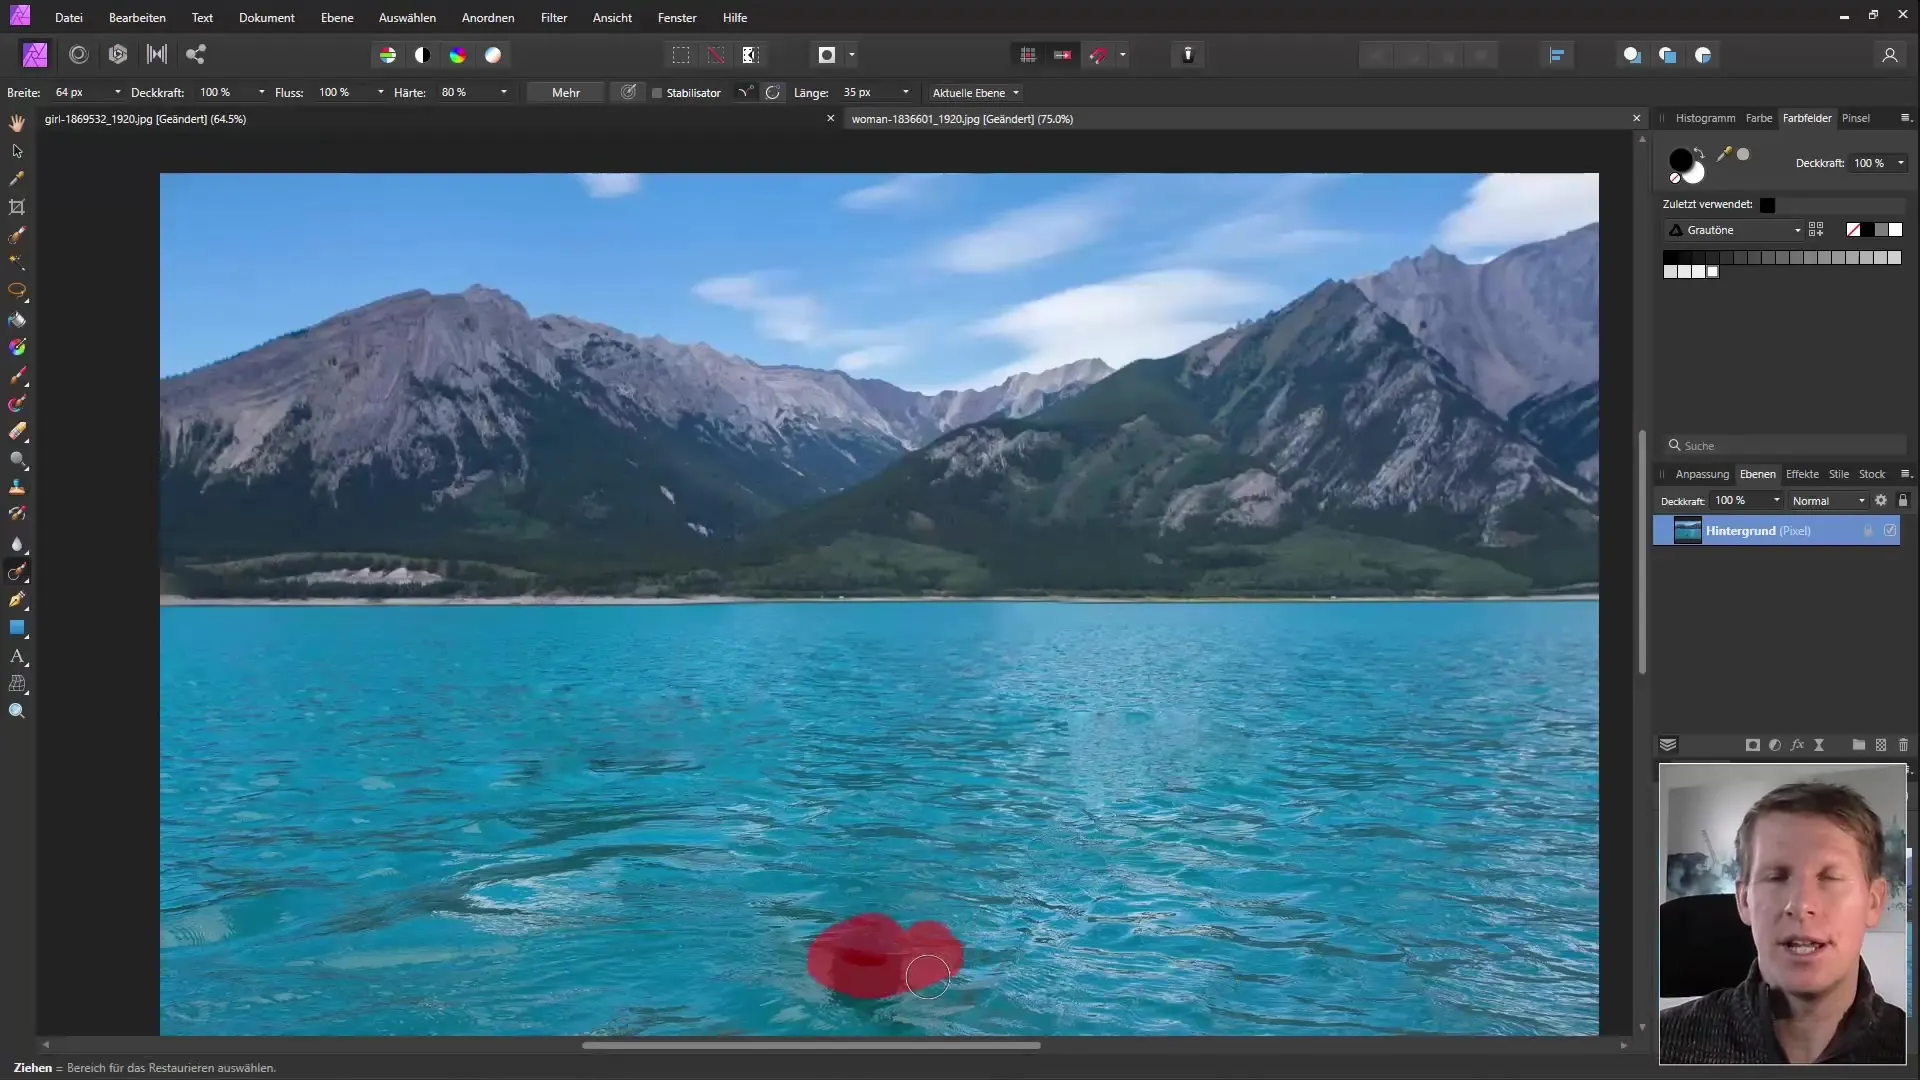
Let’s start with the first and perhaps most commonly used trick: removing unwanted objects. If you have a distracting element in your image that you want to get rid of, you can achieve this in just a few clicks. With the object removal feature, you can significantly speed up the process while maintaining the quality of your image. Make sure to set your selection precisely for the best results.
AI-Powered Editing
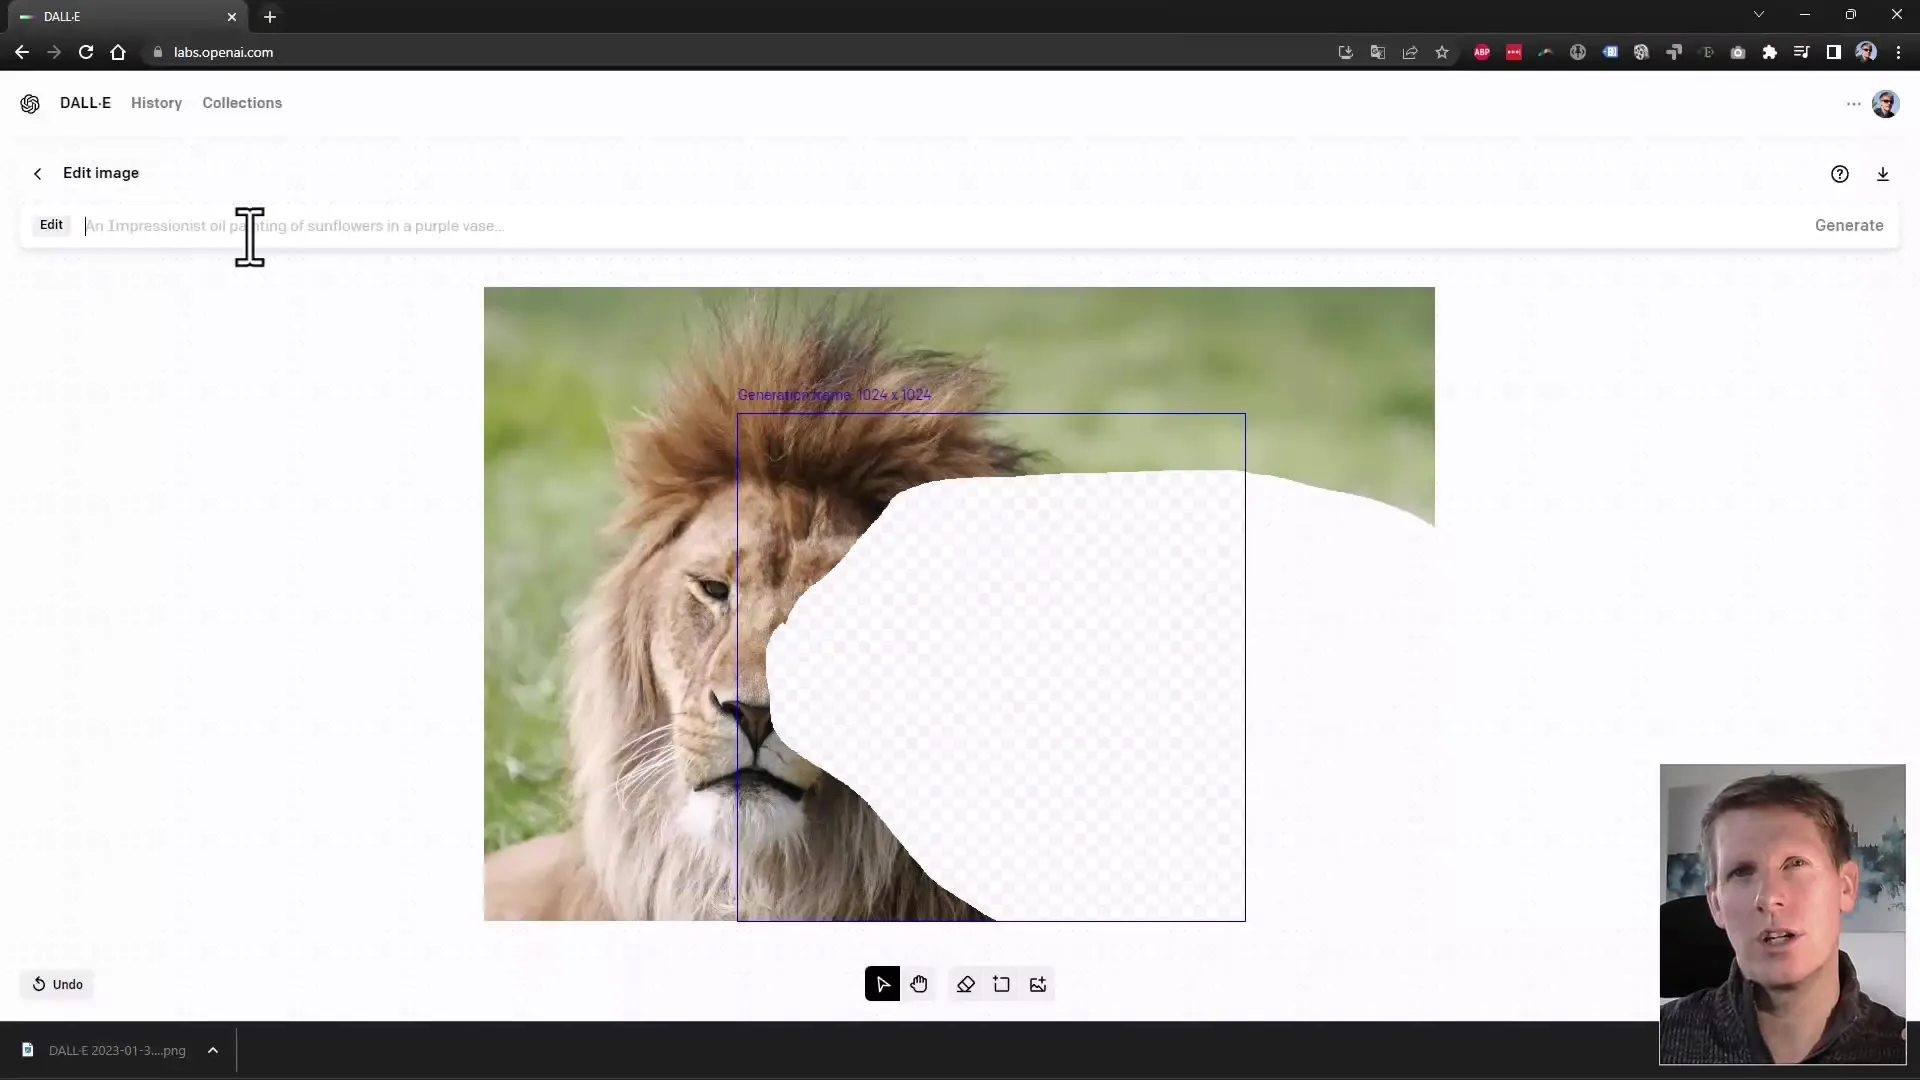
Another noteworthy feature of Affinity Photo is AI-powered editing. If you are struggling with complex object blending, you can utilize the intelligent AI algorithm that takes the tedious work off your hands. This makes the removal of overlapping objects not only easier but also faster.
Painted Effect
Do you want to create a painted look for your image? With Affinity Photo, that's also not rocket science. By combining noise and blurred masking, you can generate this fantastic effect in just a few steps. Experiment with the sliders to find the perfect look for you.
Black and White Effect
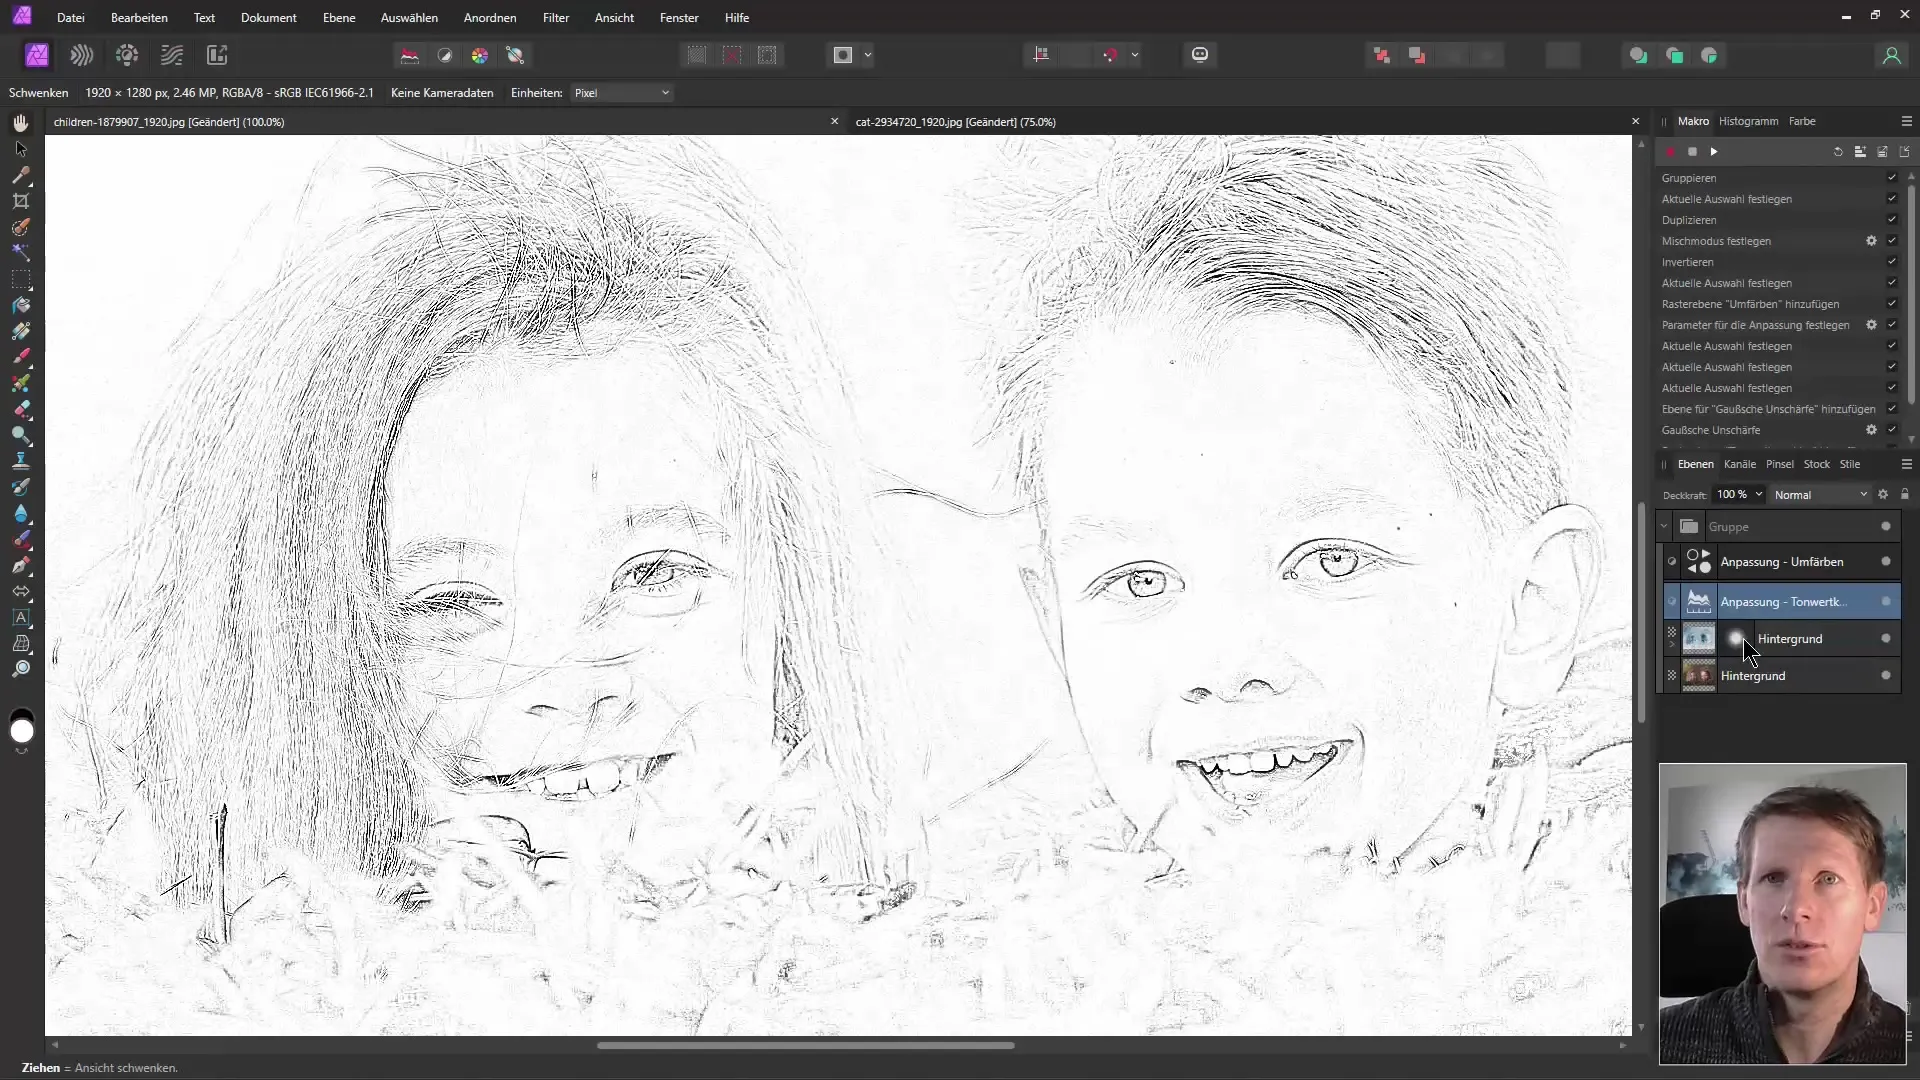
A great effect to experiment with is the black and white effect. With a simple click, you can transform your image into a masterpiece that looks as if it was drawn with a pencil. Use the various filters and settings to play with contrasts and textures.
Color Accentuation
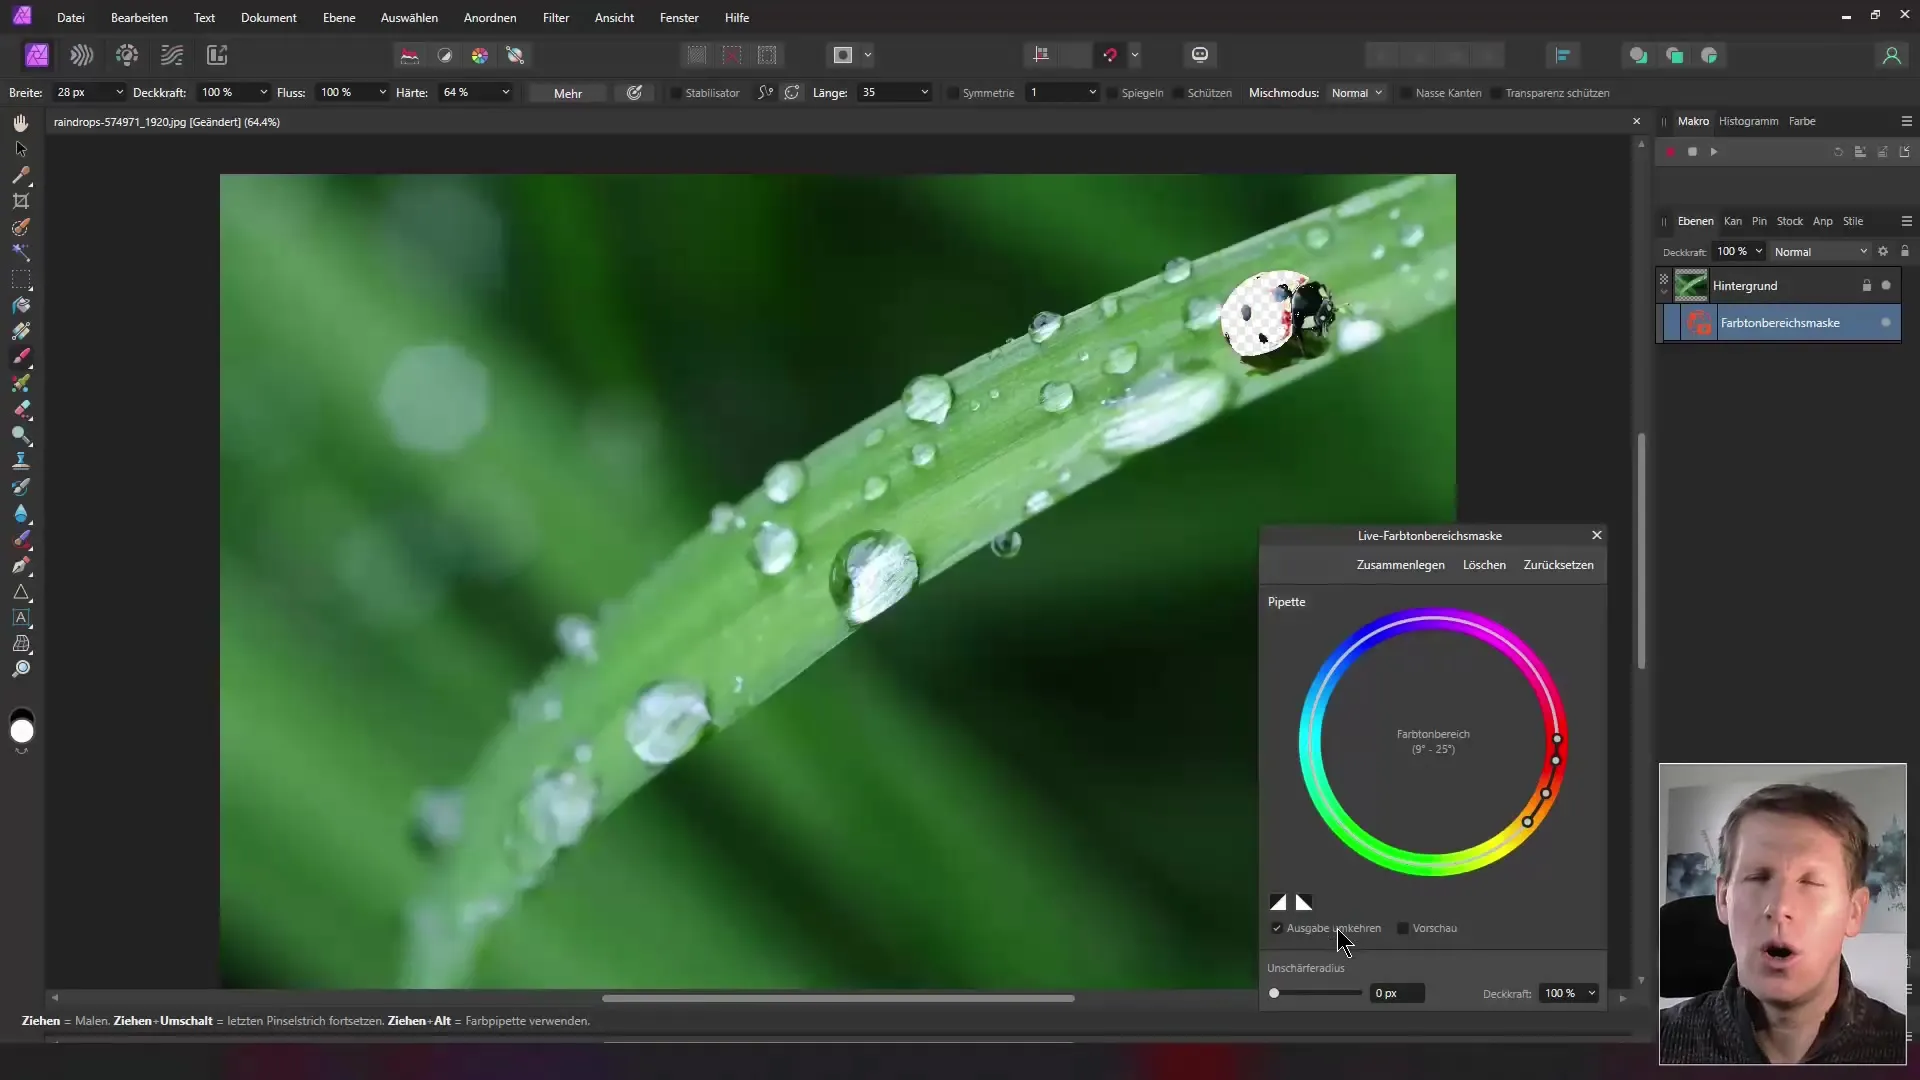
Another effective trick is color accentuation. If you want to highlight a specific area of your image, you can easily do that. Select the areas that should remain colored while converting the rest of the image to grayscale. This way, you can achieve impressive visual effects in just a few minutes.
Time Management
Stan repeatedly emphasizes that it's important to work efficiently in image editing. The strategies you will learn in this video are designed to make your life easier. Don’t expect a long commitment; many tips take no longer than 2 to 3 minutes and will quickly lead to learning success.
Summary
You have now familiarized yourself with the key features that help you use Affinity Photo more effectively. The many tips and tricks presented in this tutorial not only show you how to improve your images, but also how to save time in your workflow.
Frequently Asked Questions
How can I effectively remove objects using Affinity Photo?Use the object removal feature and pay attention to precise selection.
What can I do if objects overlap in my image?Use the AI-powered editing of Affinity Photo for a quick solution.
How do I create a painted look?Combine noise and blurred masking to achieve the desired effect.
How can I convert images to black and white?Use the black and white feature and experiment with the filters for different results.
Can I preserve specific color areas in my images?Yes, make a selection for the color areas you want to keep and convert the rest to grayscale.

