In this tutorial, you will deal with one of the most important aspects of Discord: the text channels and voice channels. Whether you are a new server administrator or simply want to learn more about Discord's functionalities, this tutorial will help you understand and make optimal use of these channels. After all, communication with your community is crucial for the success of your server.
Key Insights
- Text channels enable written communication, while voice channels support voice communication.
- You can create and manage your own text channels to promote specific discussion topics.
- Voice channels provide a platform for audio interactions, where you can also initiate video chats and screen sharing.
Step-by-Step Guide
Create and Use Text Channels
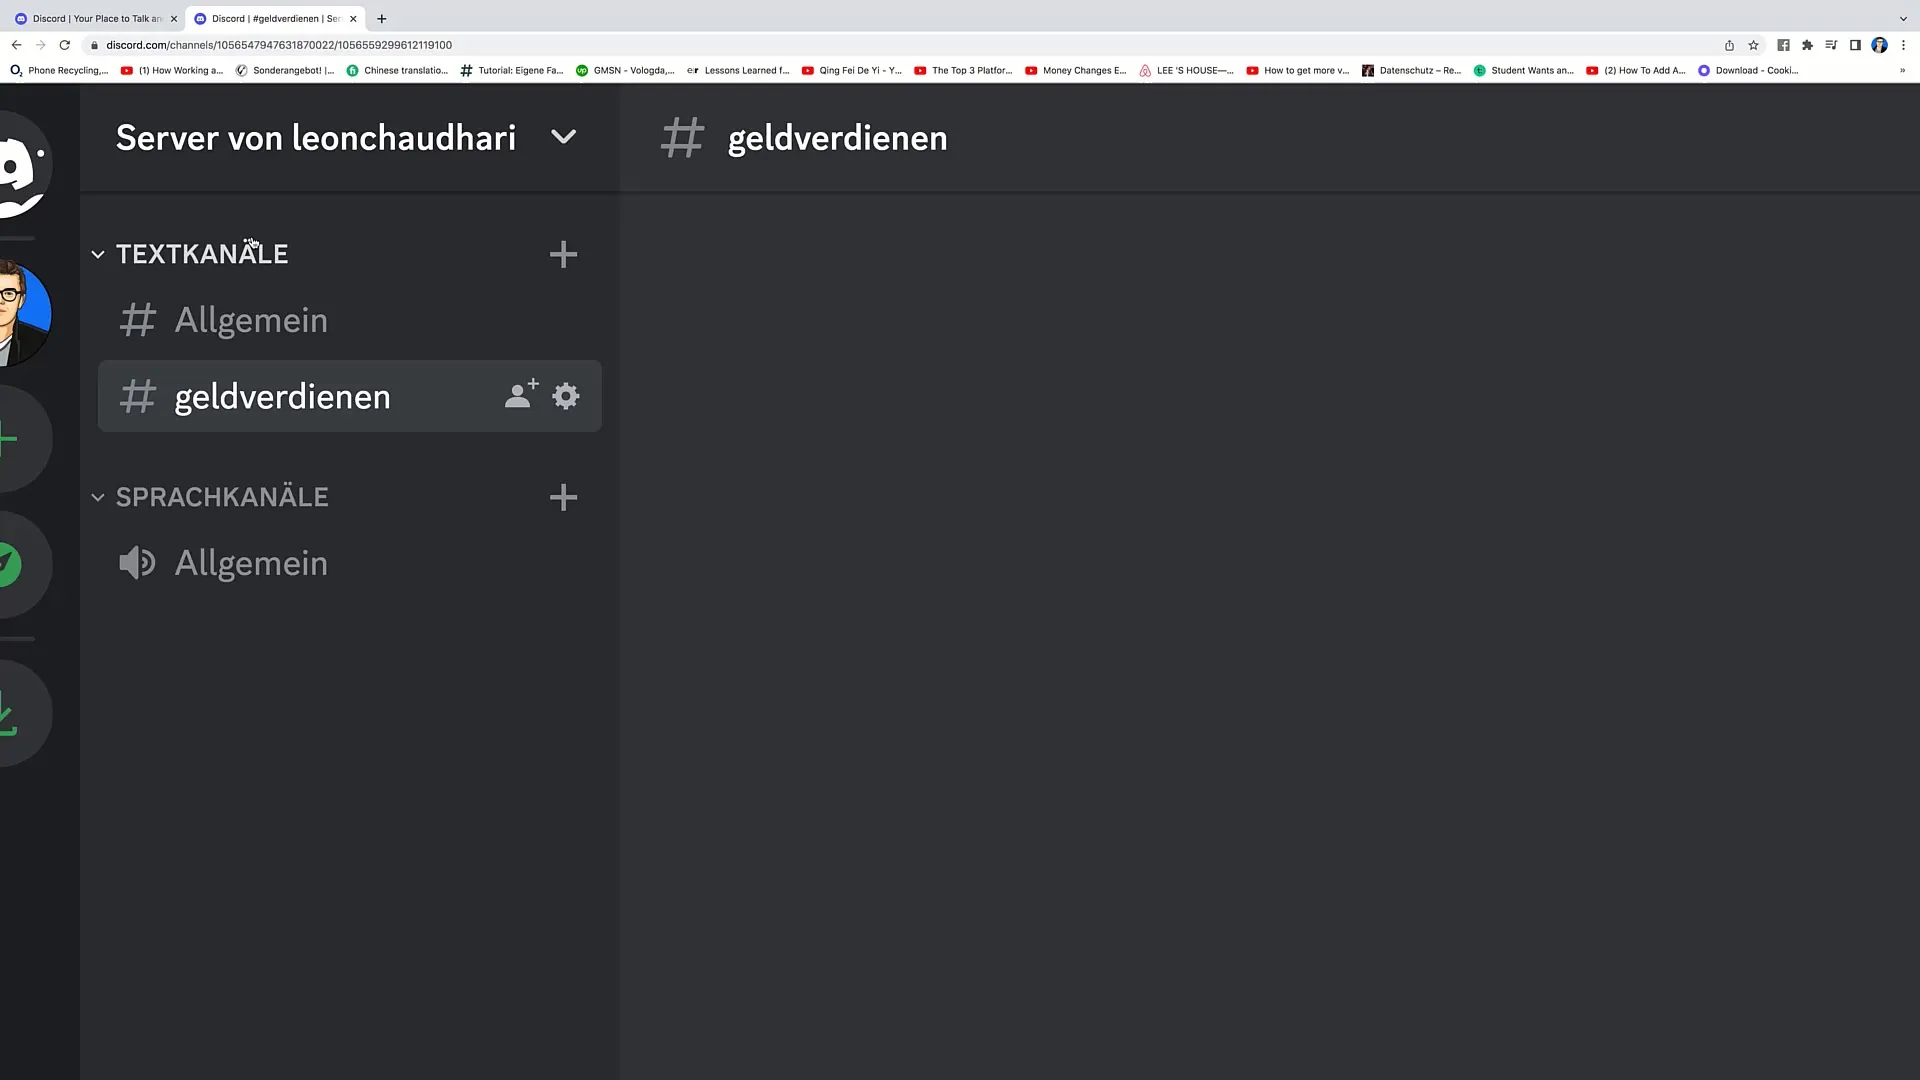
To take the first step, you should familiarize yourself with text channels. Text channels are areas where messages can be exchanged. You can find all text channels on the left side of your Discord server.
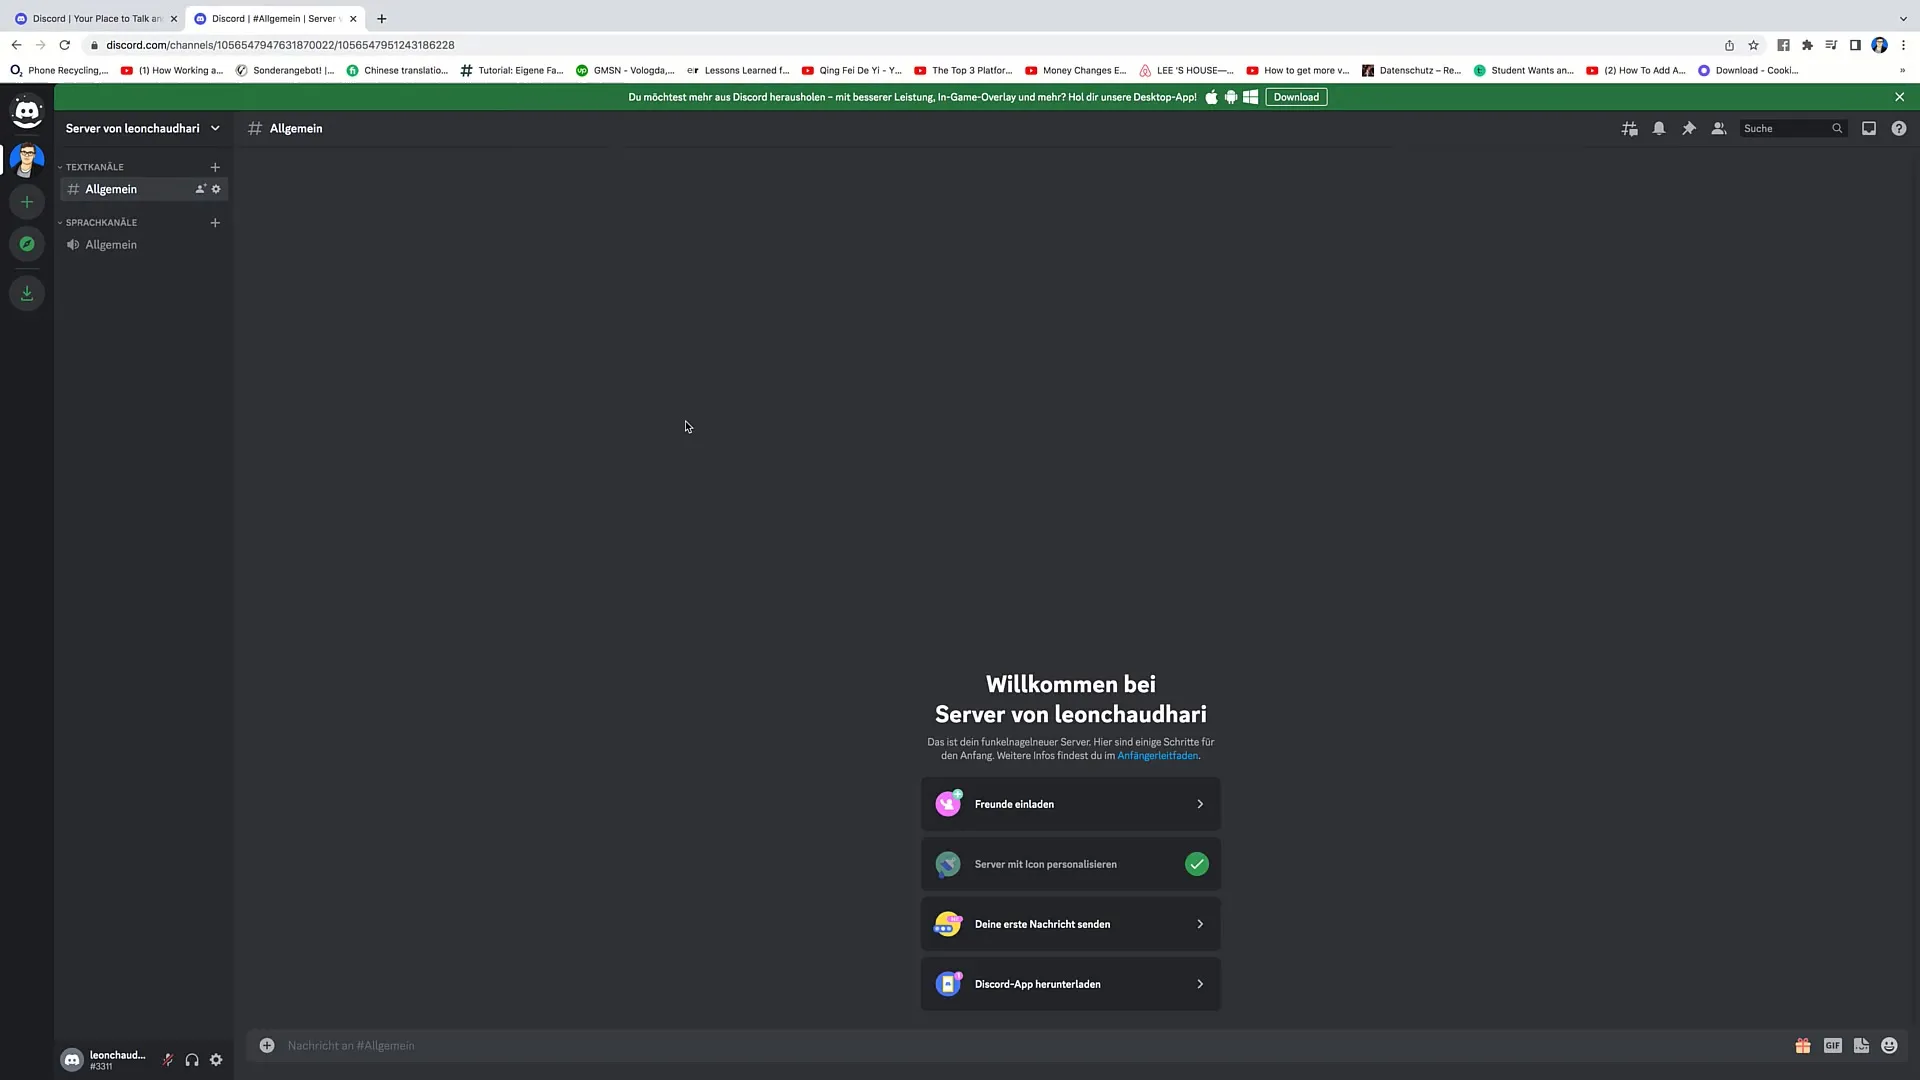
To start communicating, you can simply click on the general text channel. There you have the option to send messages. For example, type "Hello everyone, welcome to my Discord server" in the input field and press Enter. Your message will be posted to the channel immediately.
You can also create invitations to specific text channels by clicking on the plus symbol next to the username. This allows you to invite new members.
If you want to create more text channels, go to "Create Channel." Then choose the type of channel, in this case, "Text Channel." Now you have the option to enter either a name (e.g., "Making Money") or a topic for the channel.
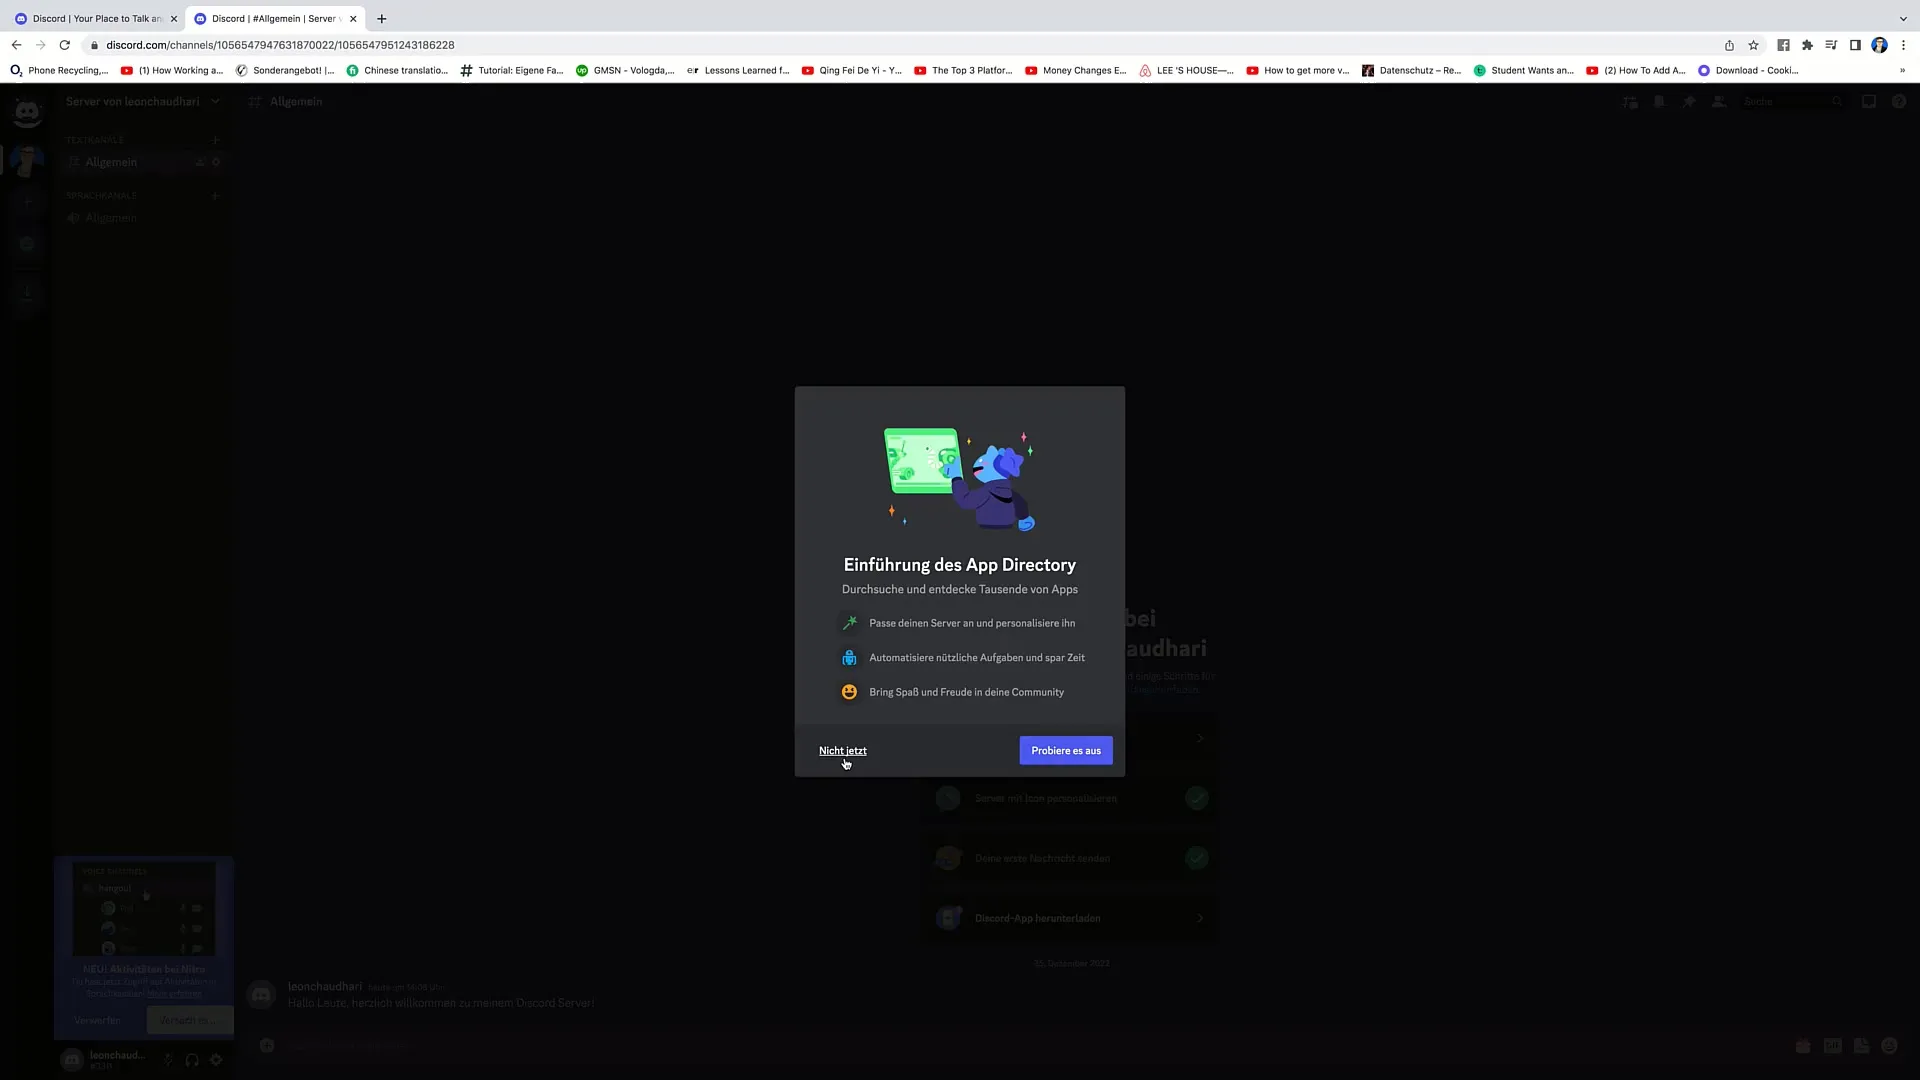
After entering the channel name and clicking on "Create Channel," it will be automatically added. Remember whether you want to make the channel private or not. In most cases, it is advisable to create public channels so that a larger number of users can participate.
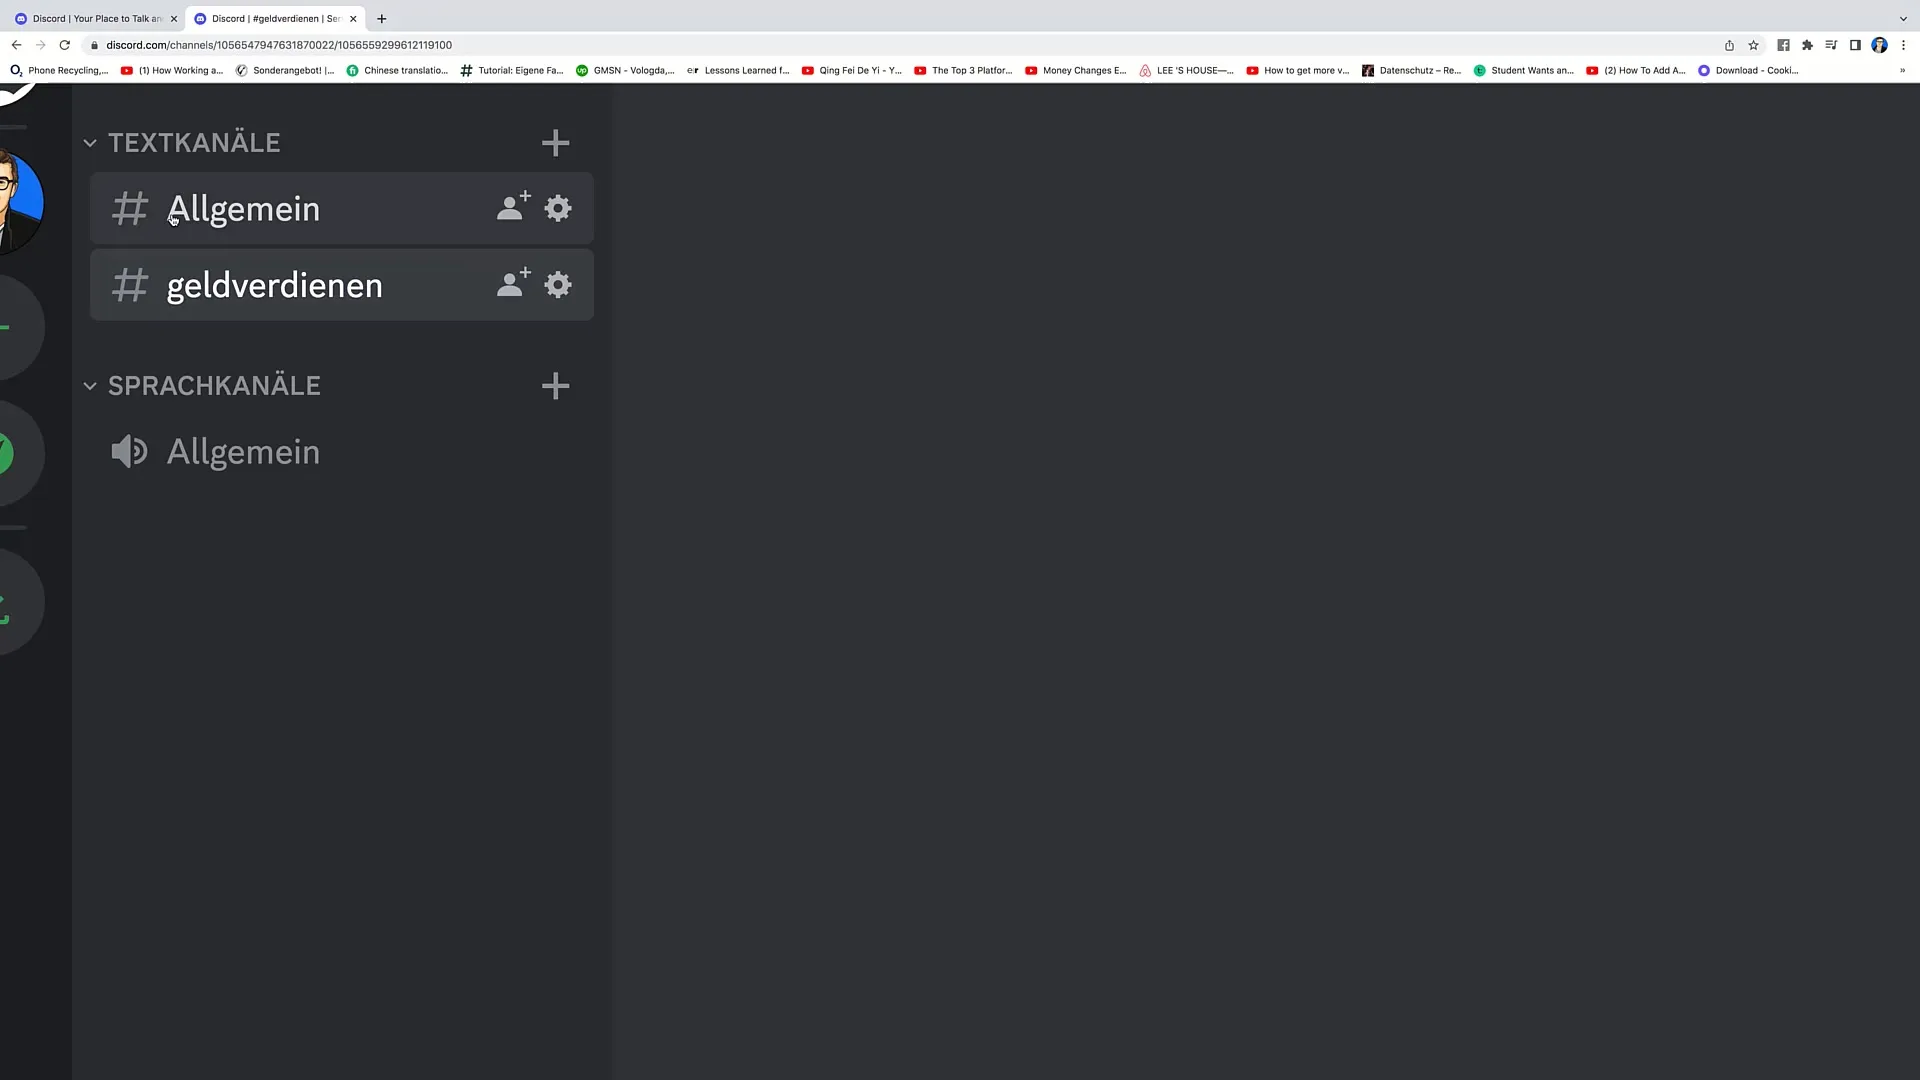
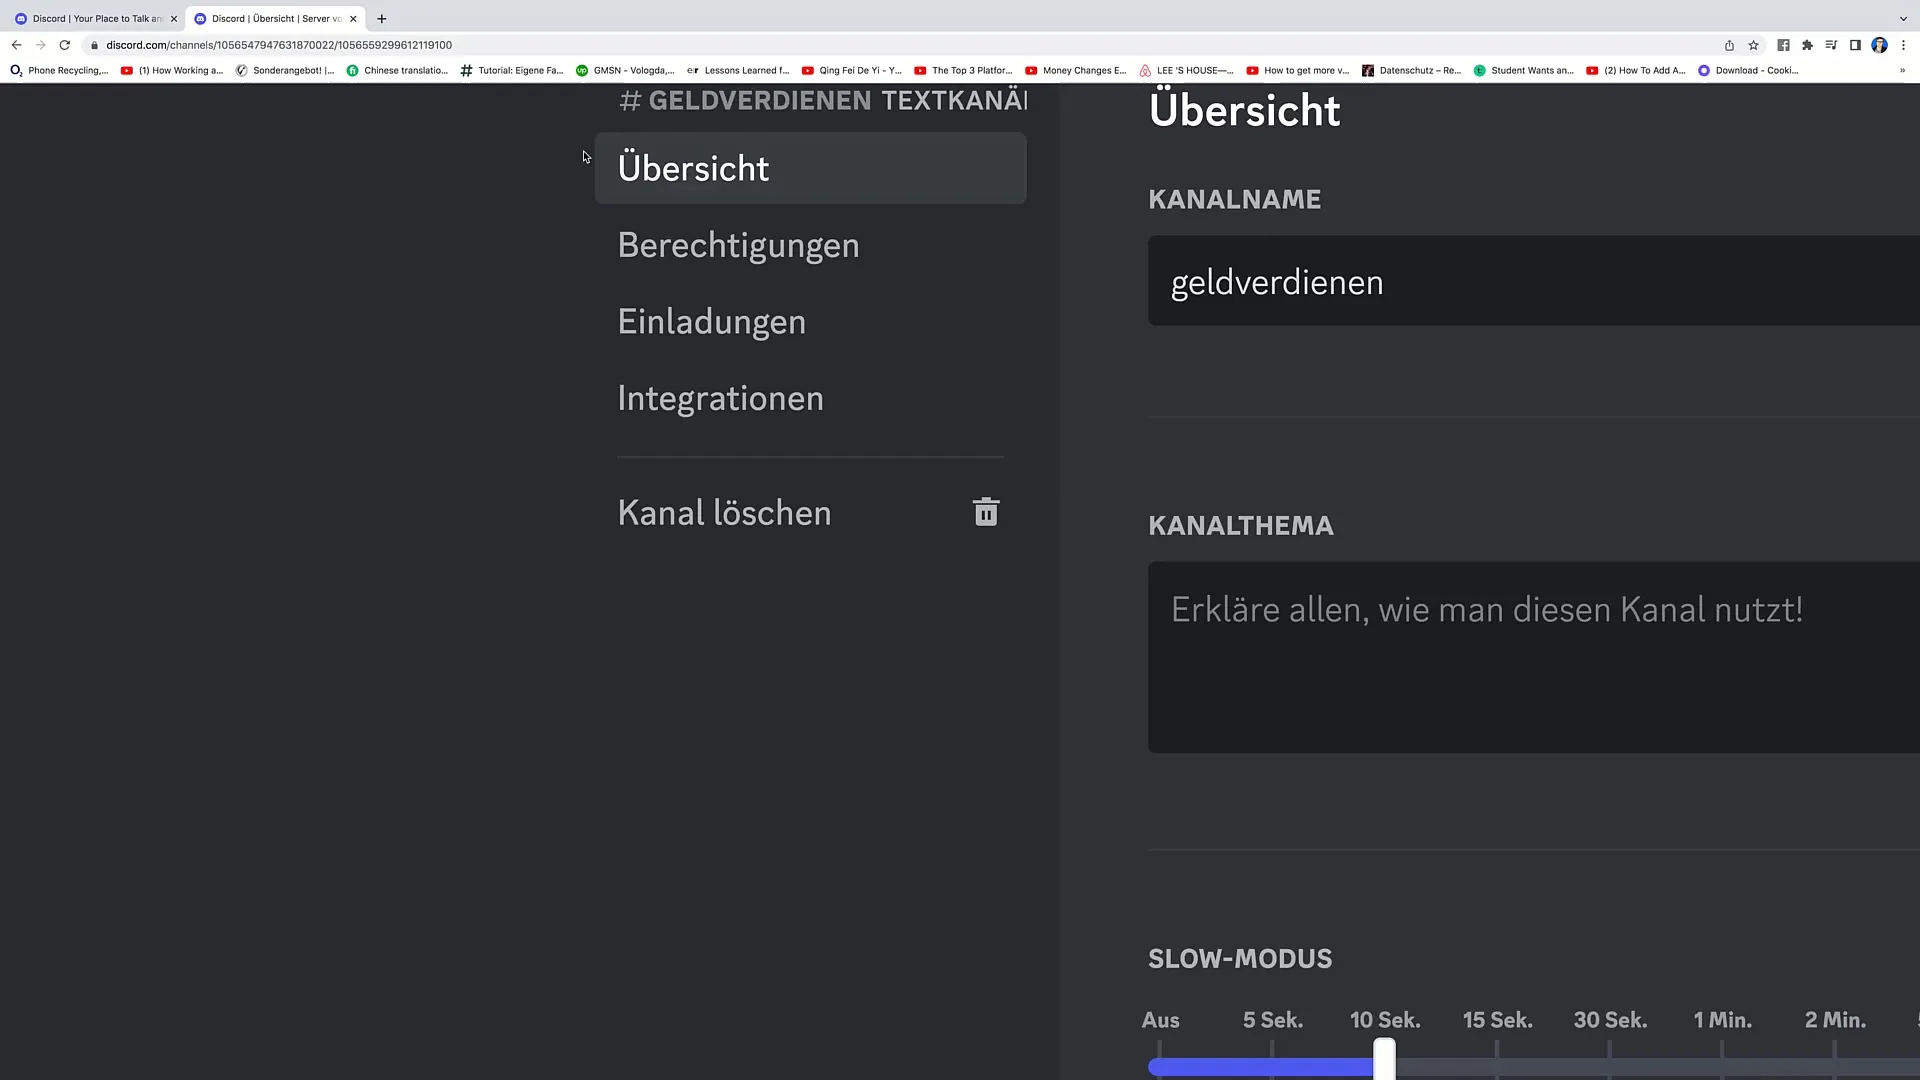
Once the channel is created, members can exchange messages. You also have the option to edit the channel. Click on "Edit Channel" to adjust the name, topic, and other settings.
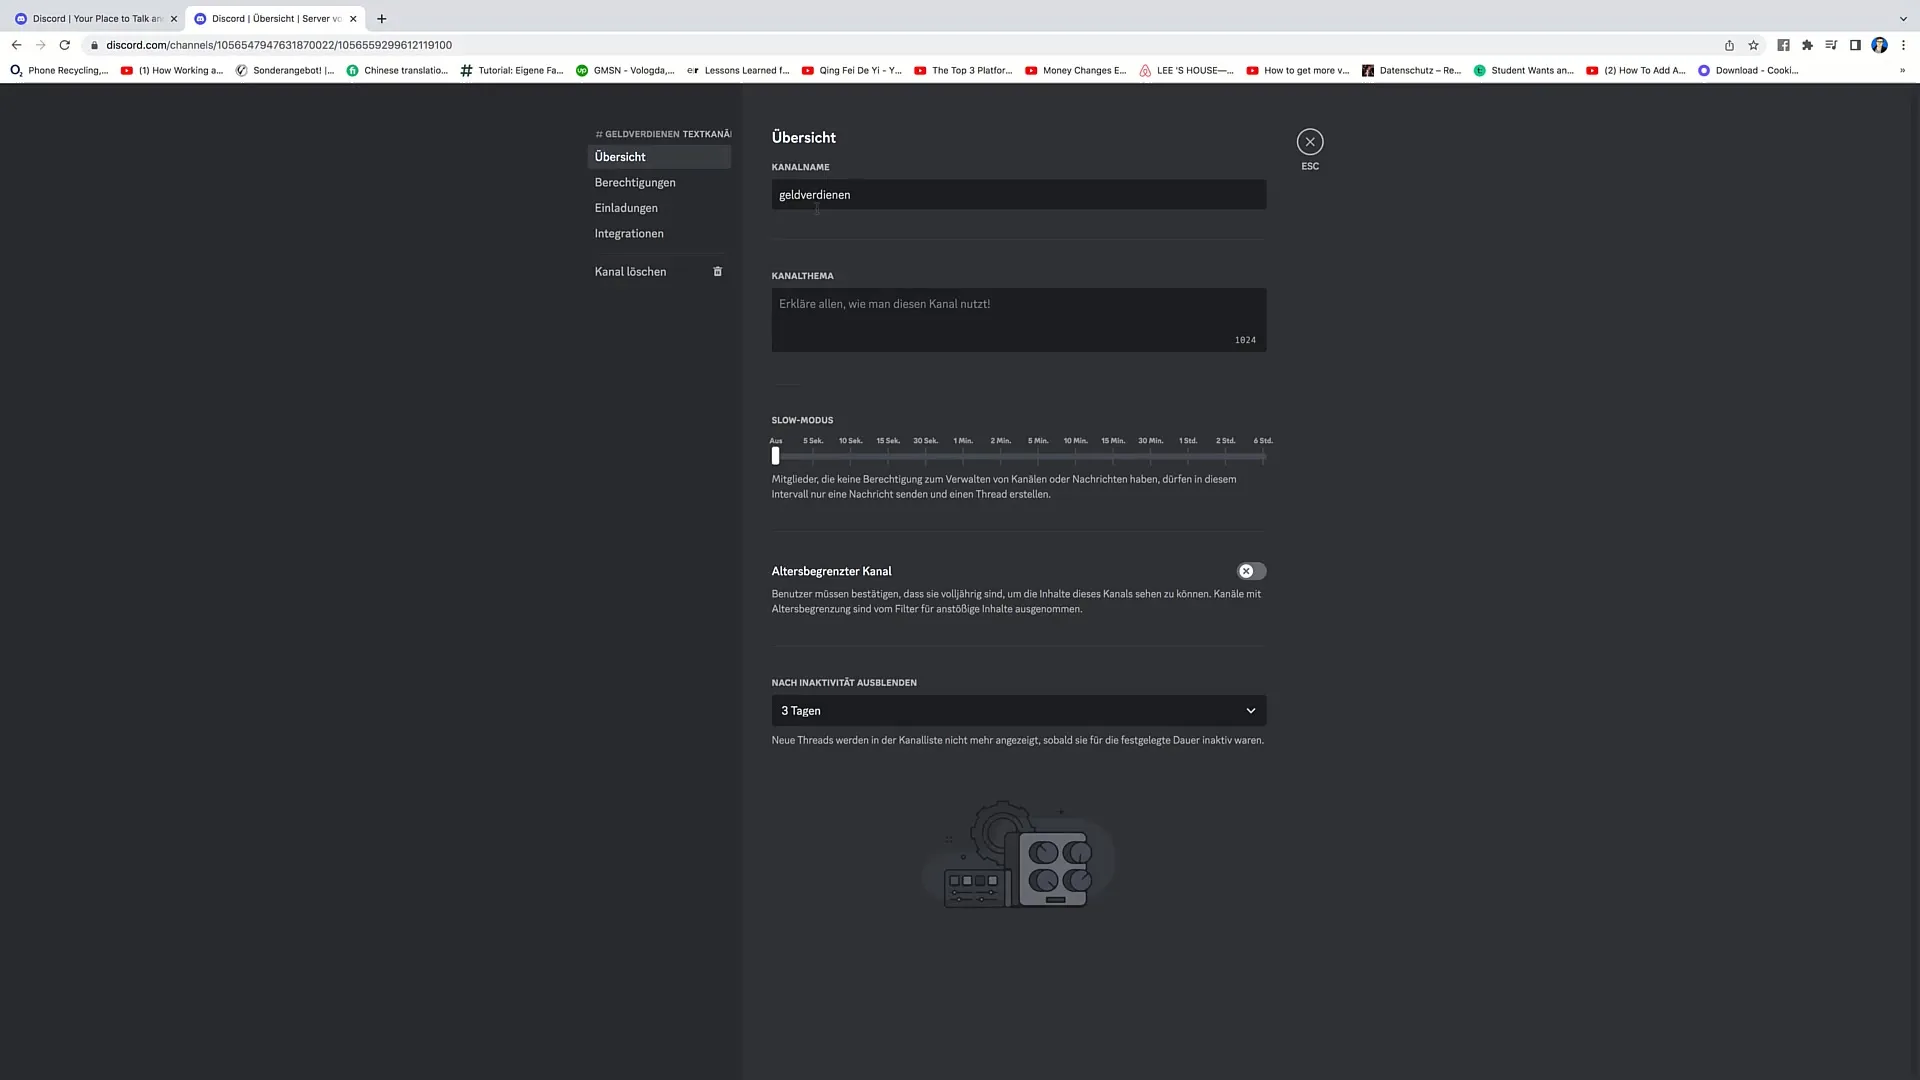
One important point you can adjust is the likelihood of spam messages. For example, you can specify that members are only allowed to send a message every 30 seconds. This feature helps keep the conversation organized and clear.
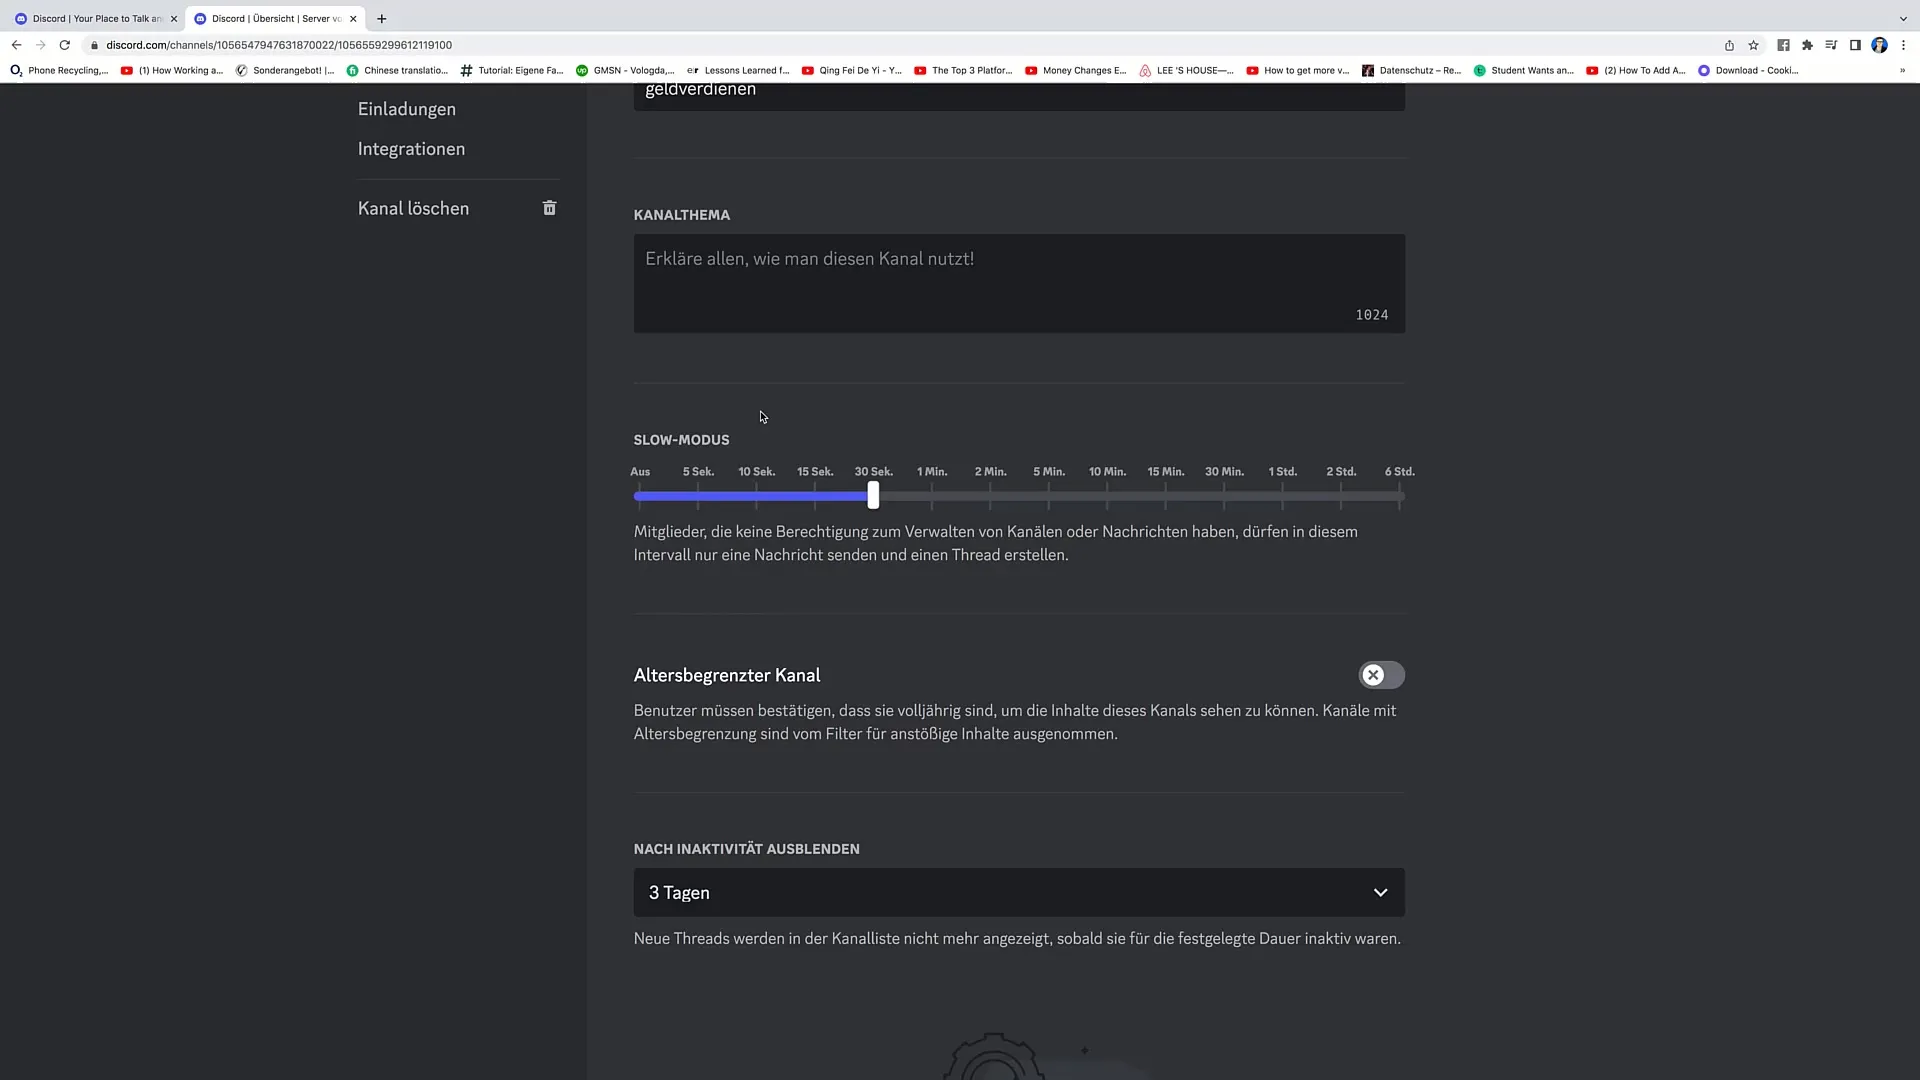
In addition, you can manage options such as age restrictions or automatic hiding of the channel after a certain period of inactivity. This feature can be useful for protecting content from members who do not meet the requirements.
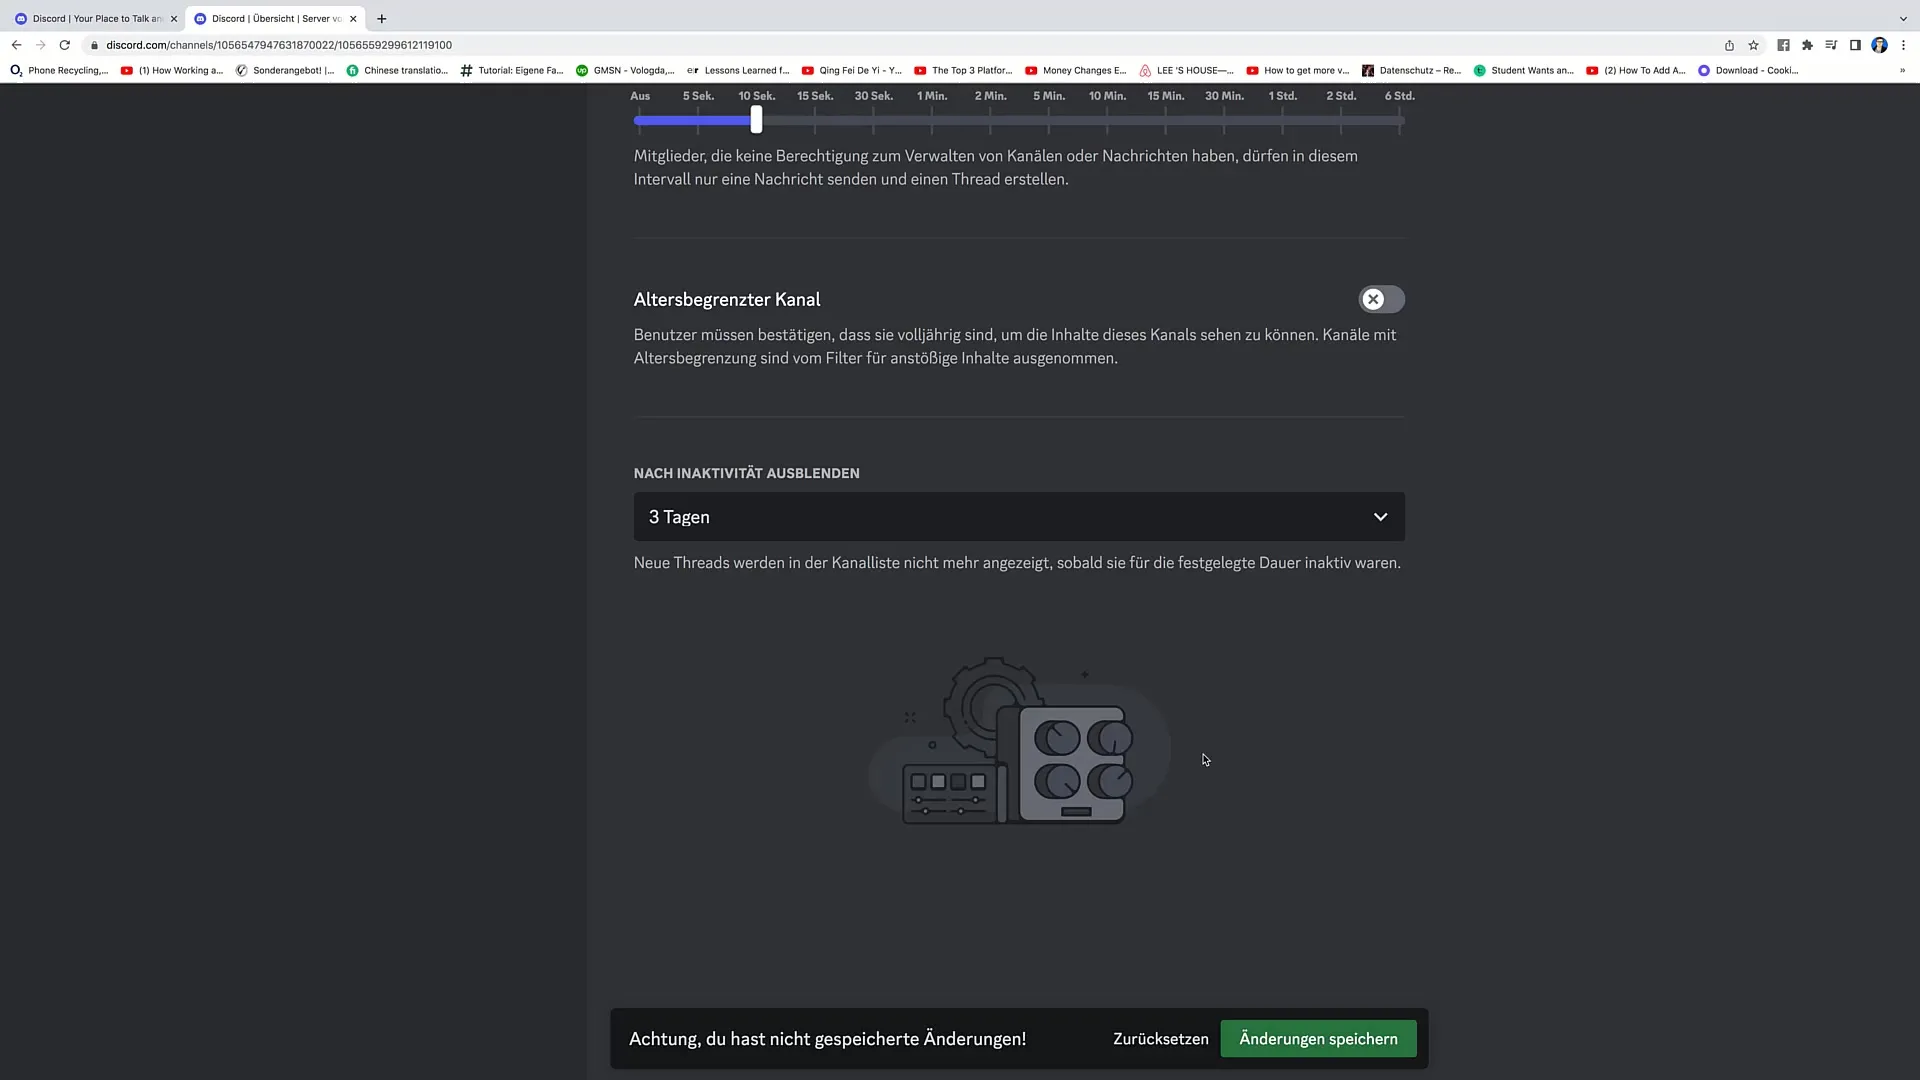
After editing the settings, click on "Save Changes" to apply your adjustments.
Remember that it is useful to set up different text channels for different topics. This ensures a structured discussion and allows users to focus on relevant topics.
Using Voice Channels
After setting up your text channels, you should also familiarize yourself with the voice channels. Voice channels are intended for members to speak directly. You can also find them on the left side of the server, below the text channels.
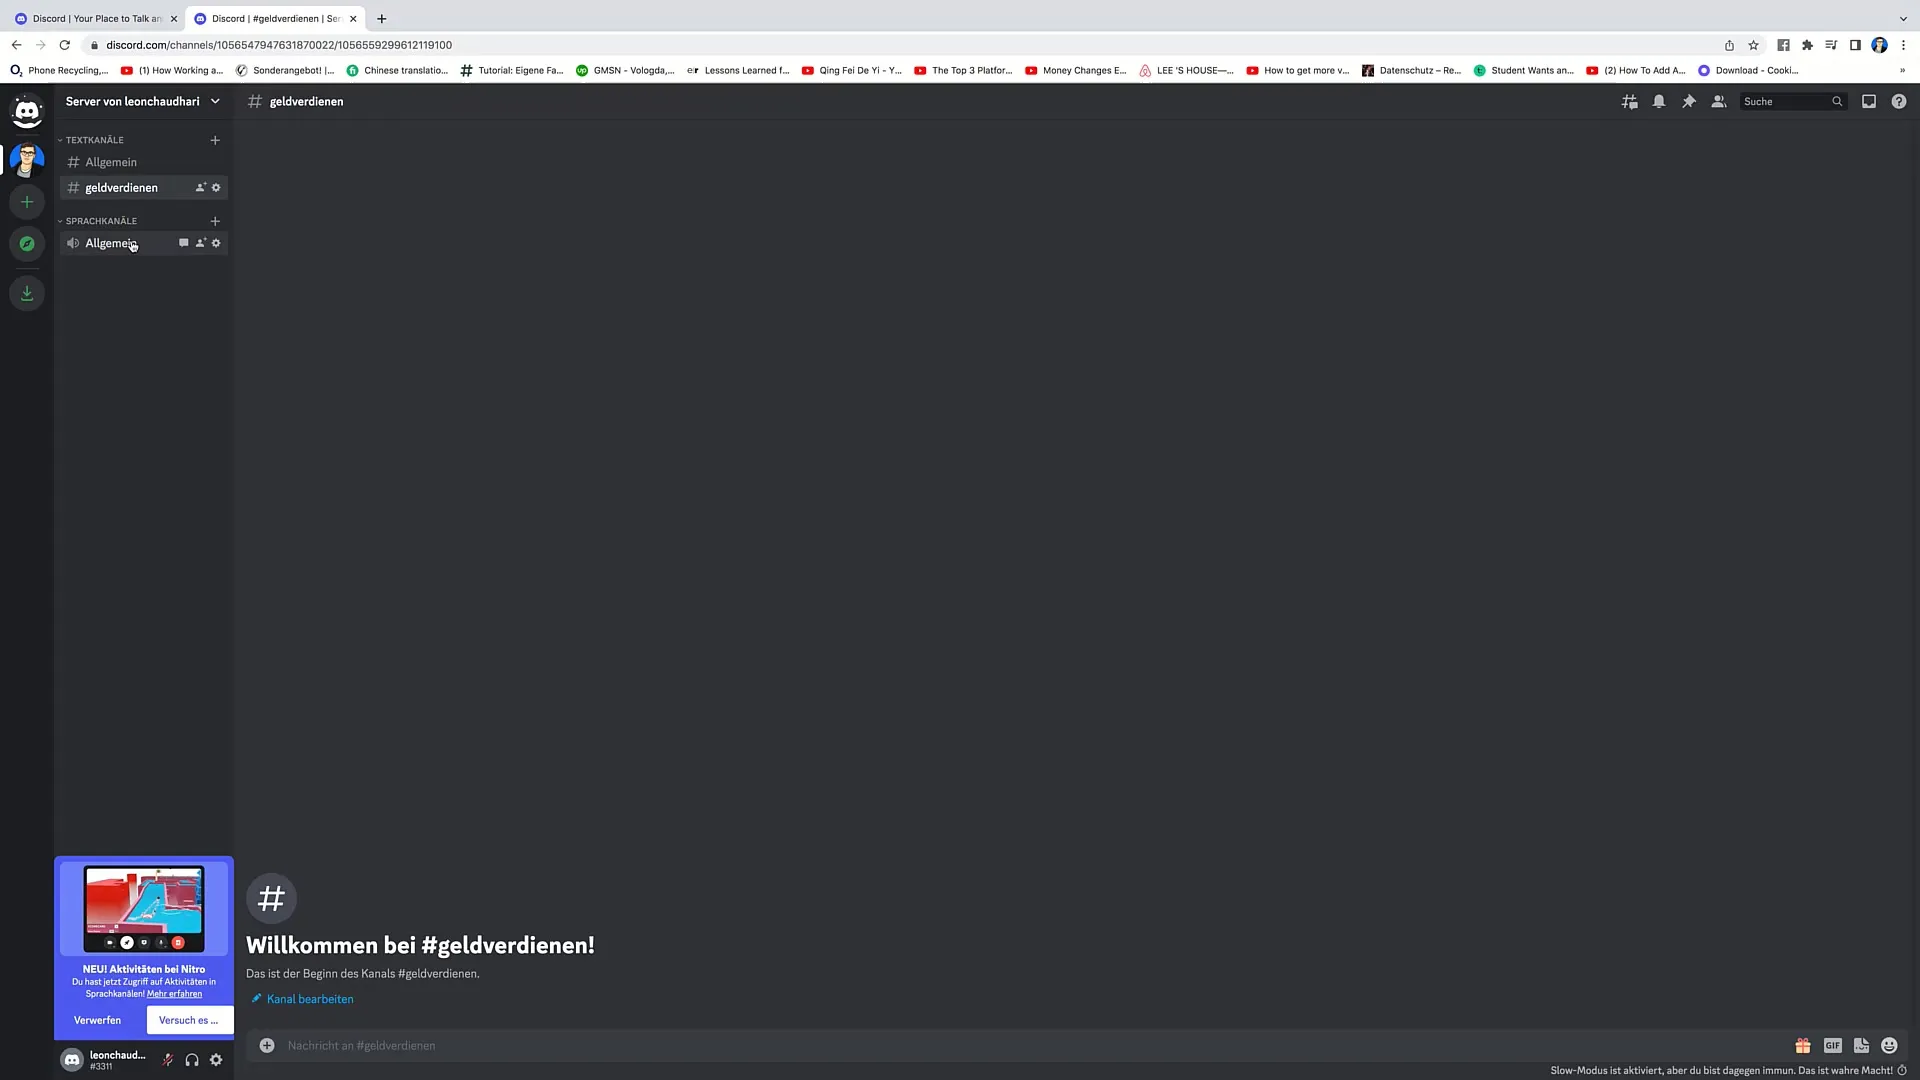
To enter a voice channel, simply click on the channel, e.g. "General". Discord will then only ask you if you agree to microphone access. Grant permission, and you will be in the channel.
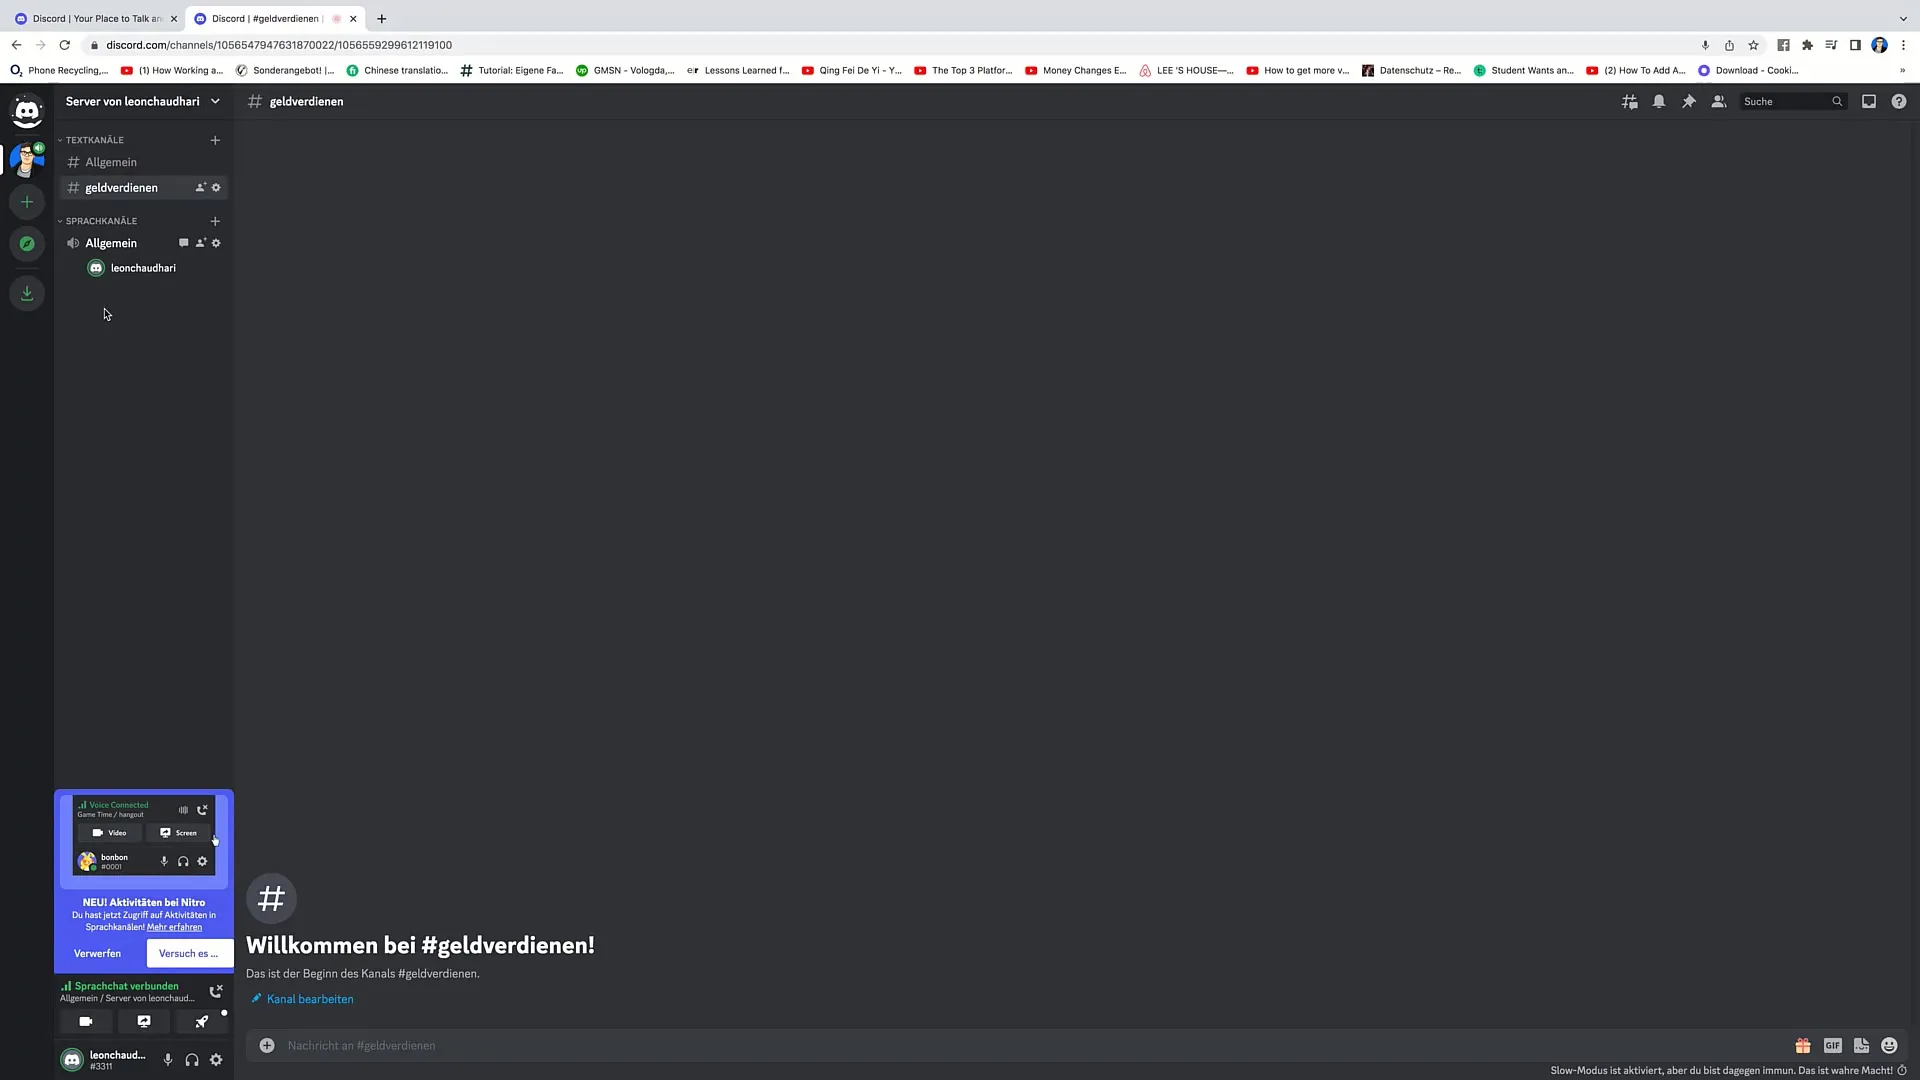
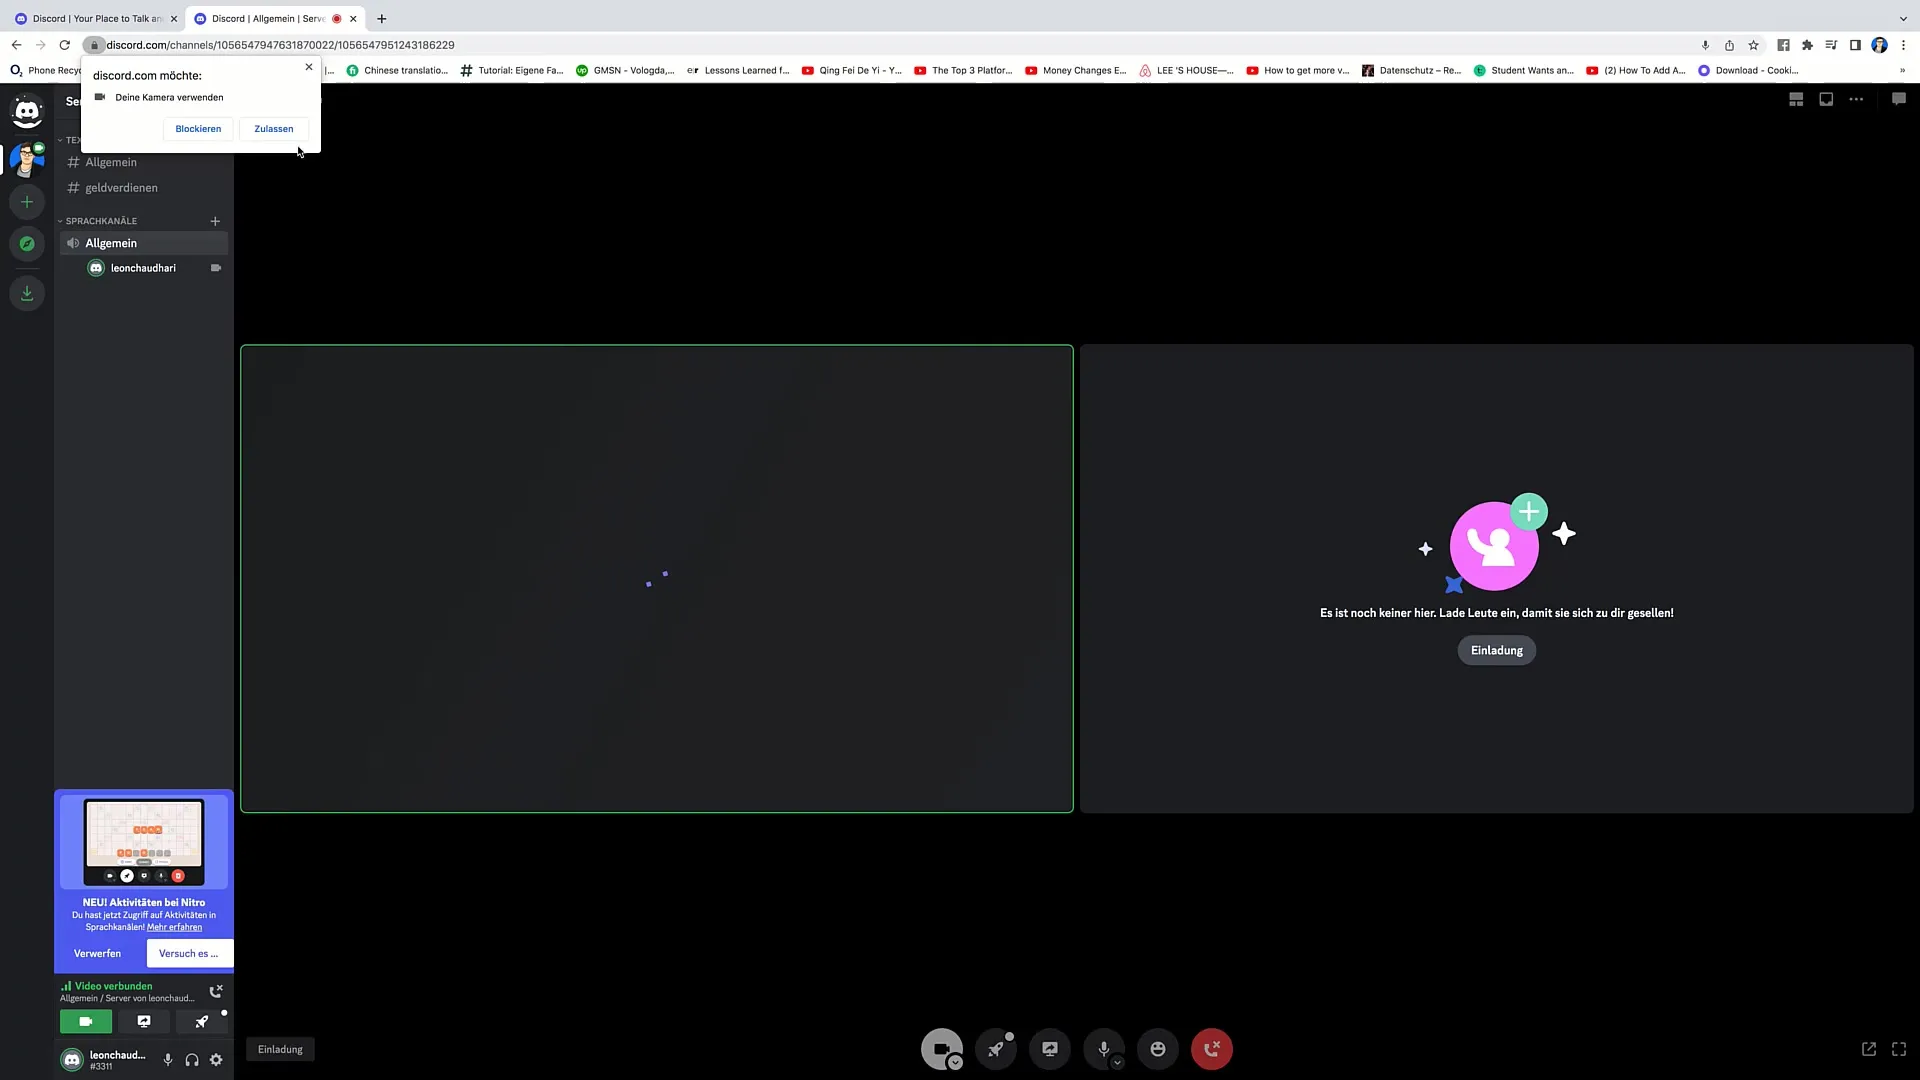
Once you are in the voice channel, you have the opportunity to interact with other members. You will also see that you can activate your camera if you wish. By clicking on "Turn on Camera", you can make video calls.
Just like in the text channel, you can also create additional groups and channels here by clicking on "Create Channel" and selecting the type "Voice".
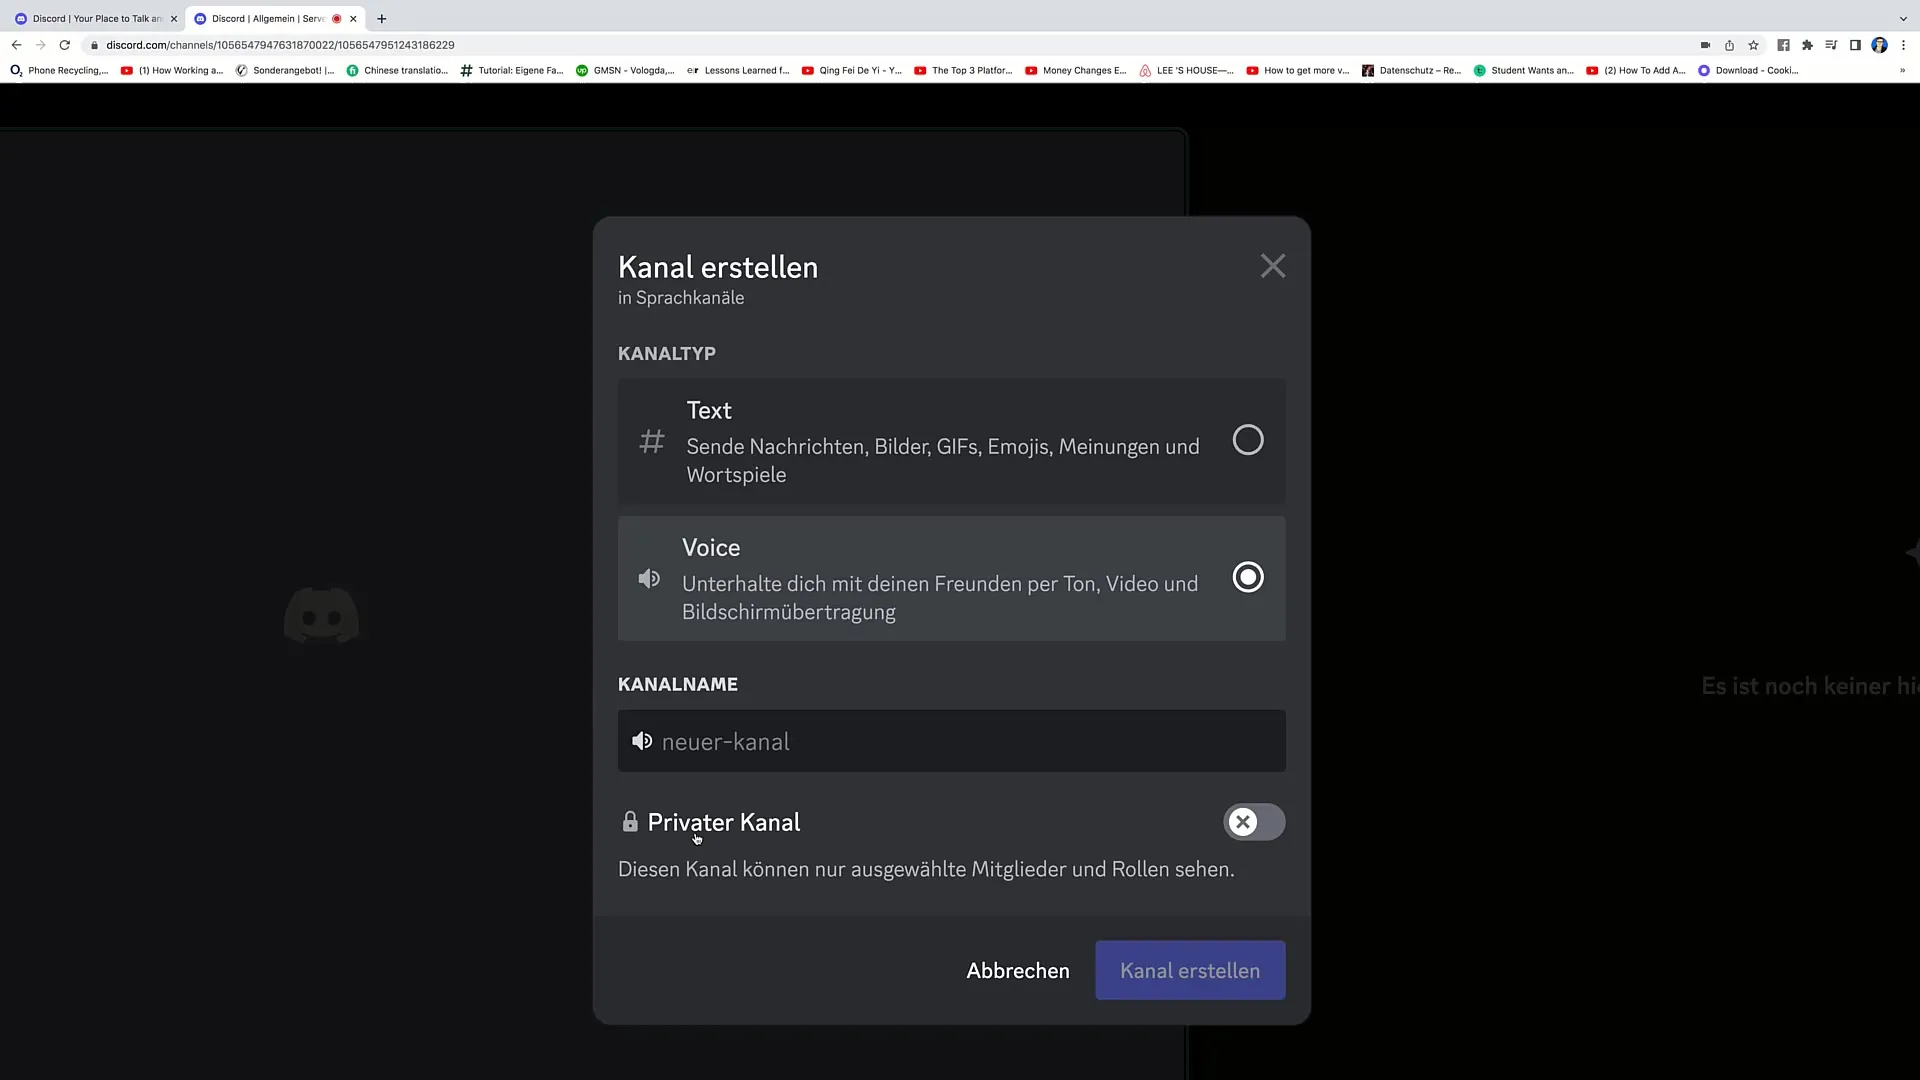
Don't forget to enter the channel name here as well and decide whether it should be a private or public channel. This is especially important if you want to control access to certain groups.
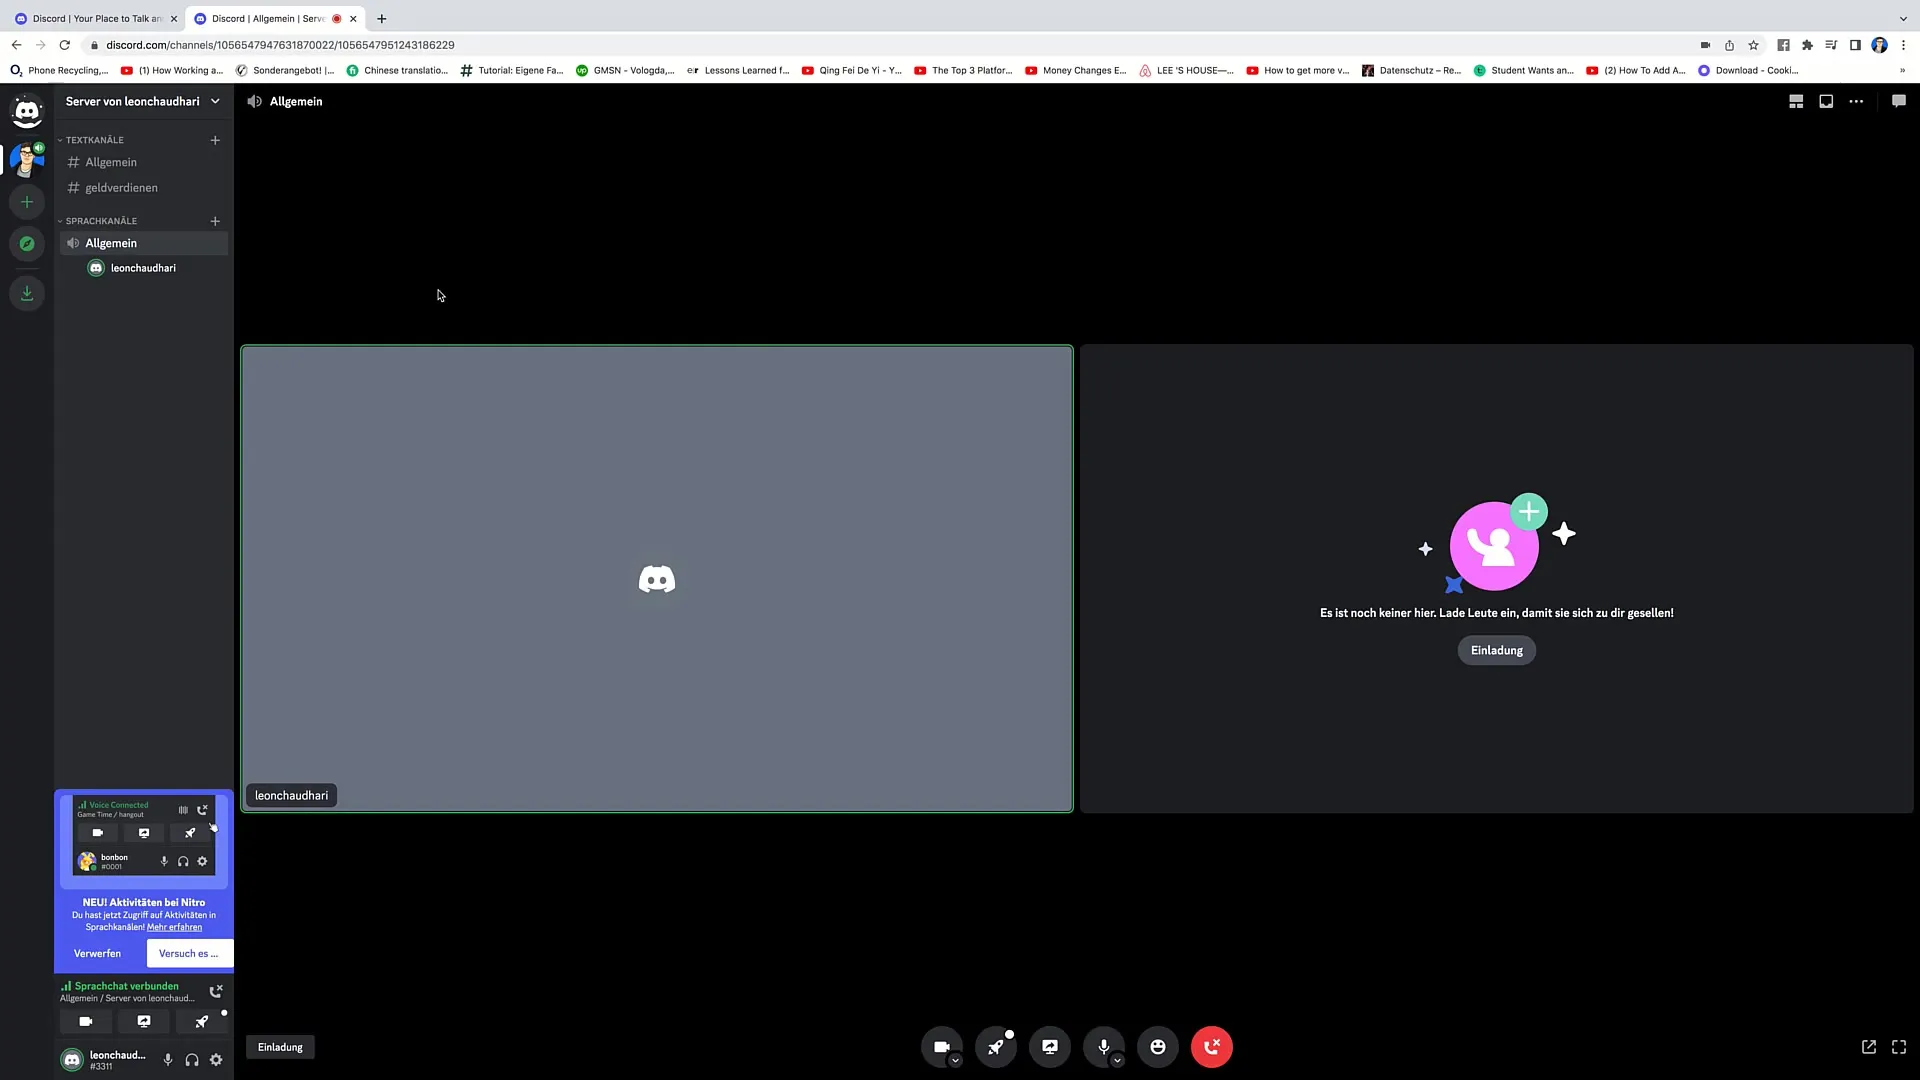
And you are now ready for an active exchange with your community, whether it be in writing or verbally!
Summary
In this tutorial, you have learned how to create and manage text and voice channels on Discord. Text channels are for written communication, while voice channels are used for audio and video interactions. By creating specific channels for different topics, you promote effective discussions within your community.
Frequently Asked Questions
How do I create a text channel?Click on "Create Channel", choose "Text", enter the name, and click "Create Channel" again.
Is it possible to limit the message frequency?Yes, you can set how often members can send messages to avoid spam.
What are voice channels?Voice channels allow members to speak directly to each other and also conduct video chats.
Can I activate my camera during a voice channel?Yes, you can activate the camera by clicking on "Turn on Camera".
What do I do if I no longer need a channel?You can edit the channel and choose the option "Delete Channel" under settings.
