The creation of an Audience in Mailchimp is not just a technical task, but also a strategic step for your marketing. By creating an Audience, you lay the foundation for targeted campaigns and communication with your contacts. Below, I will explain the necessary steps to create an Audience in Mailchimp and how you can segment it effectively to achieve your marketing goals.
Key insights
- The definition and purpose of your Audience are crucial for successful email marketing.
- A "Double Opt-in" and consideration of the General Data Protection Regulation (GDPR) are important aspects when creating your Audience.
- By segmenting your Audience, you can provide targeted and relevant content.
Step-by-step guide to creating an Audience in Mailchimp
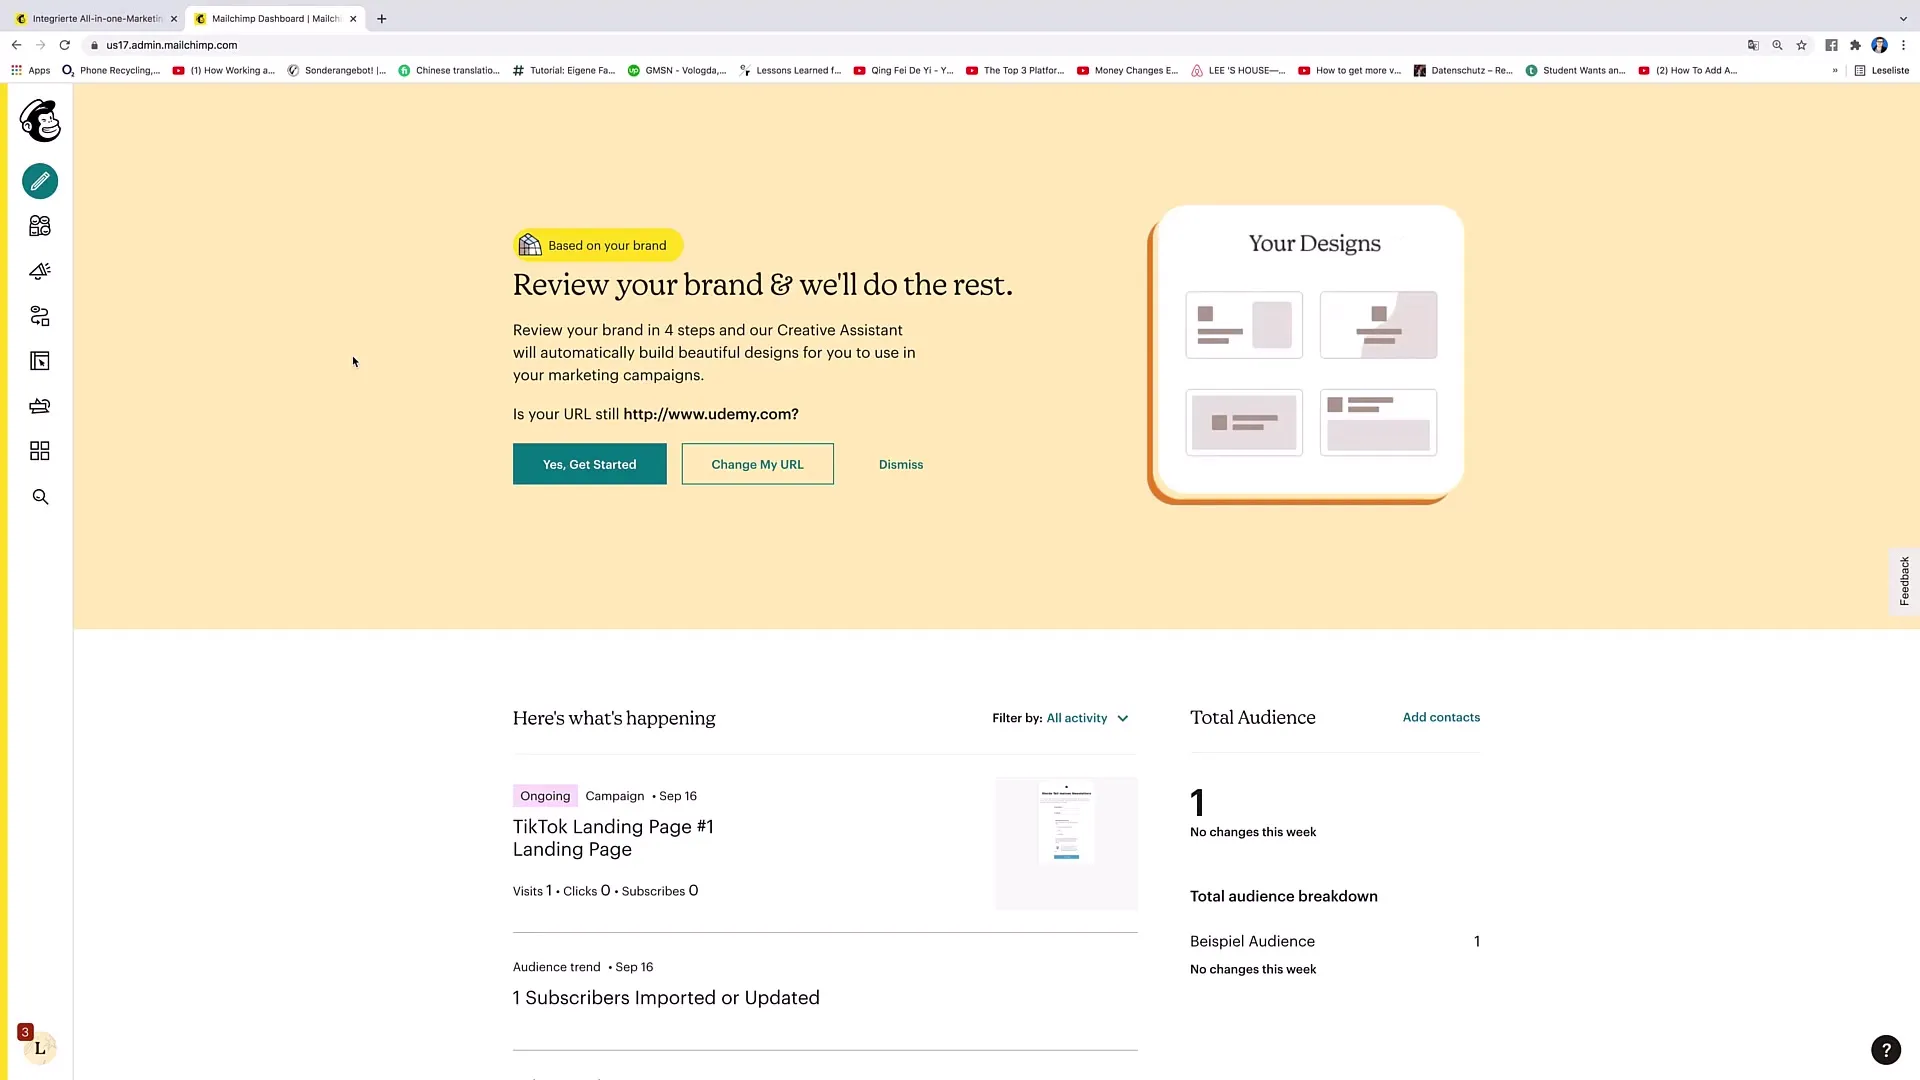
First, you need access to your Mailchimp account. Log in to get started with the process.
Step 1: Navigate to the Audience page
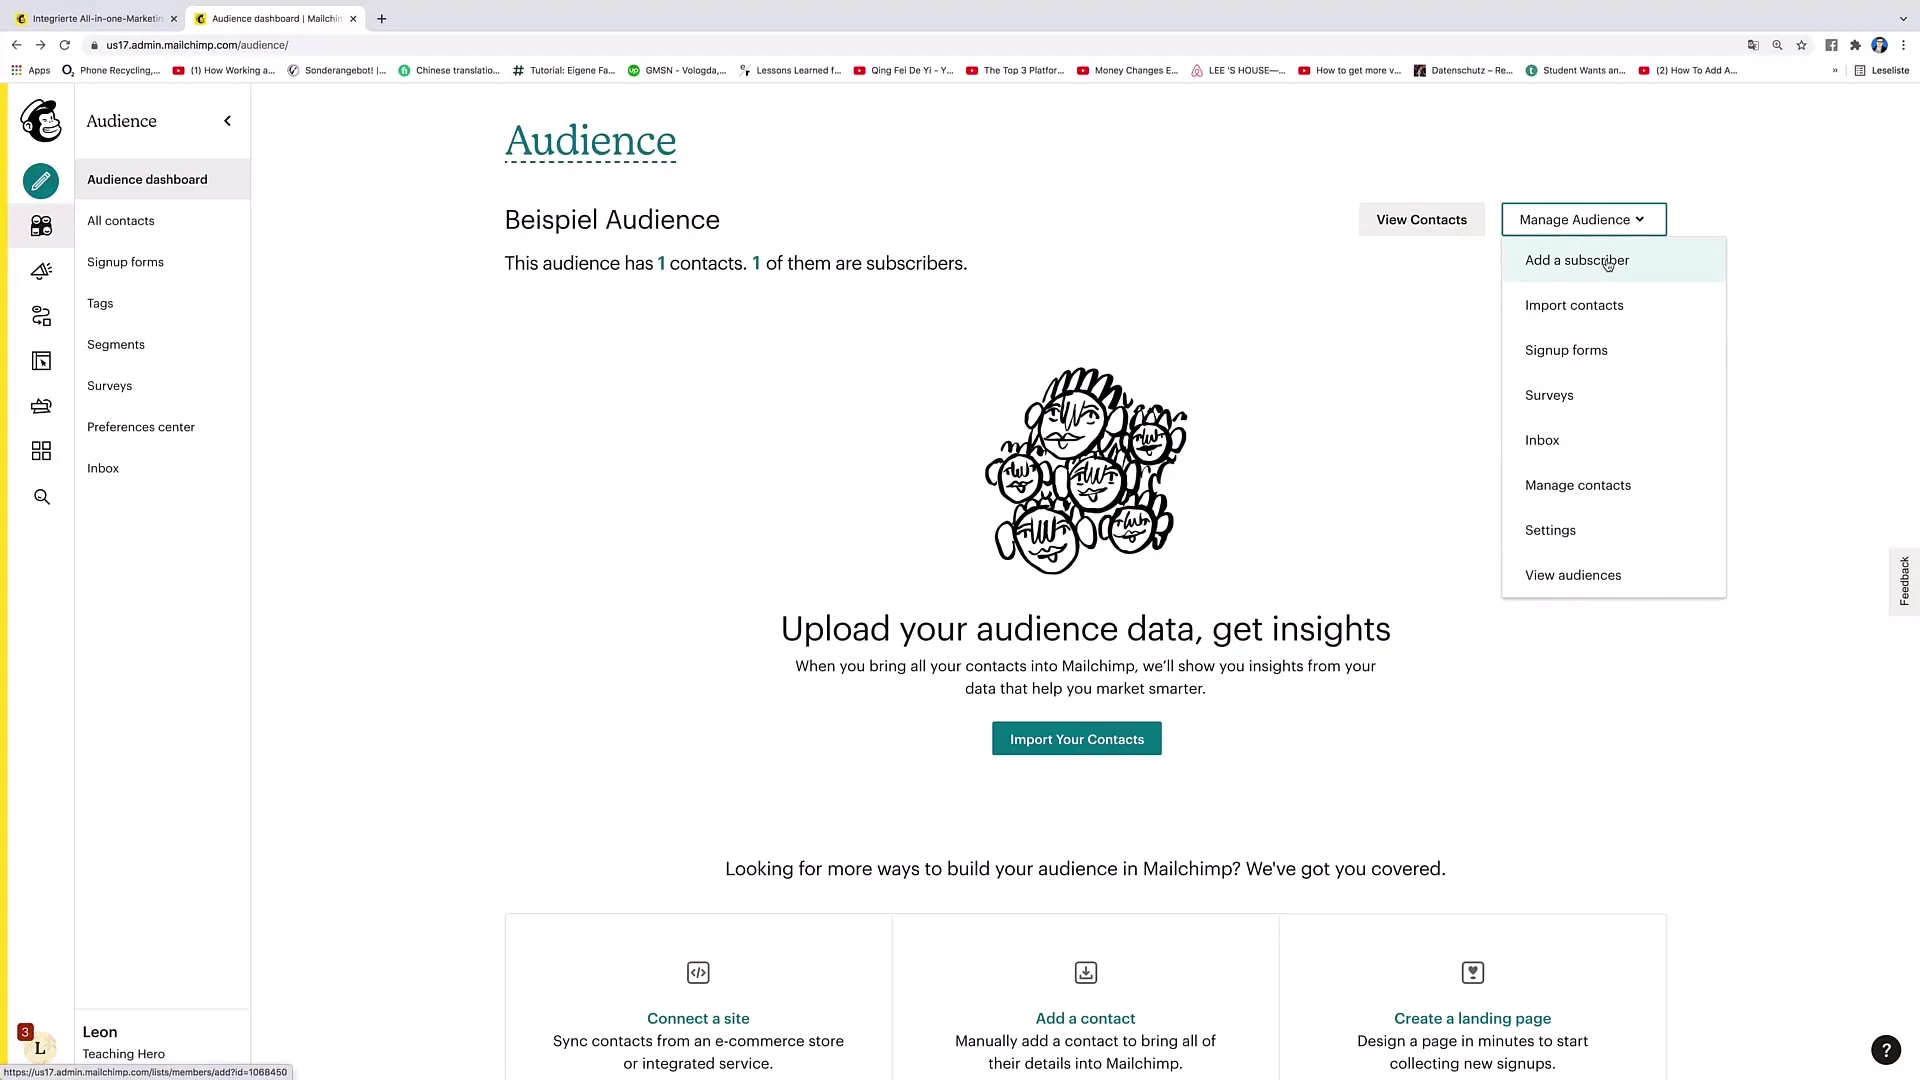
To create a new Audience, first go to the left sidebar and click on the "Audience" menu. This is the central place to manage your contacts and create new Audiences.

Step 2: Manage Audience
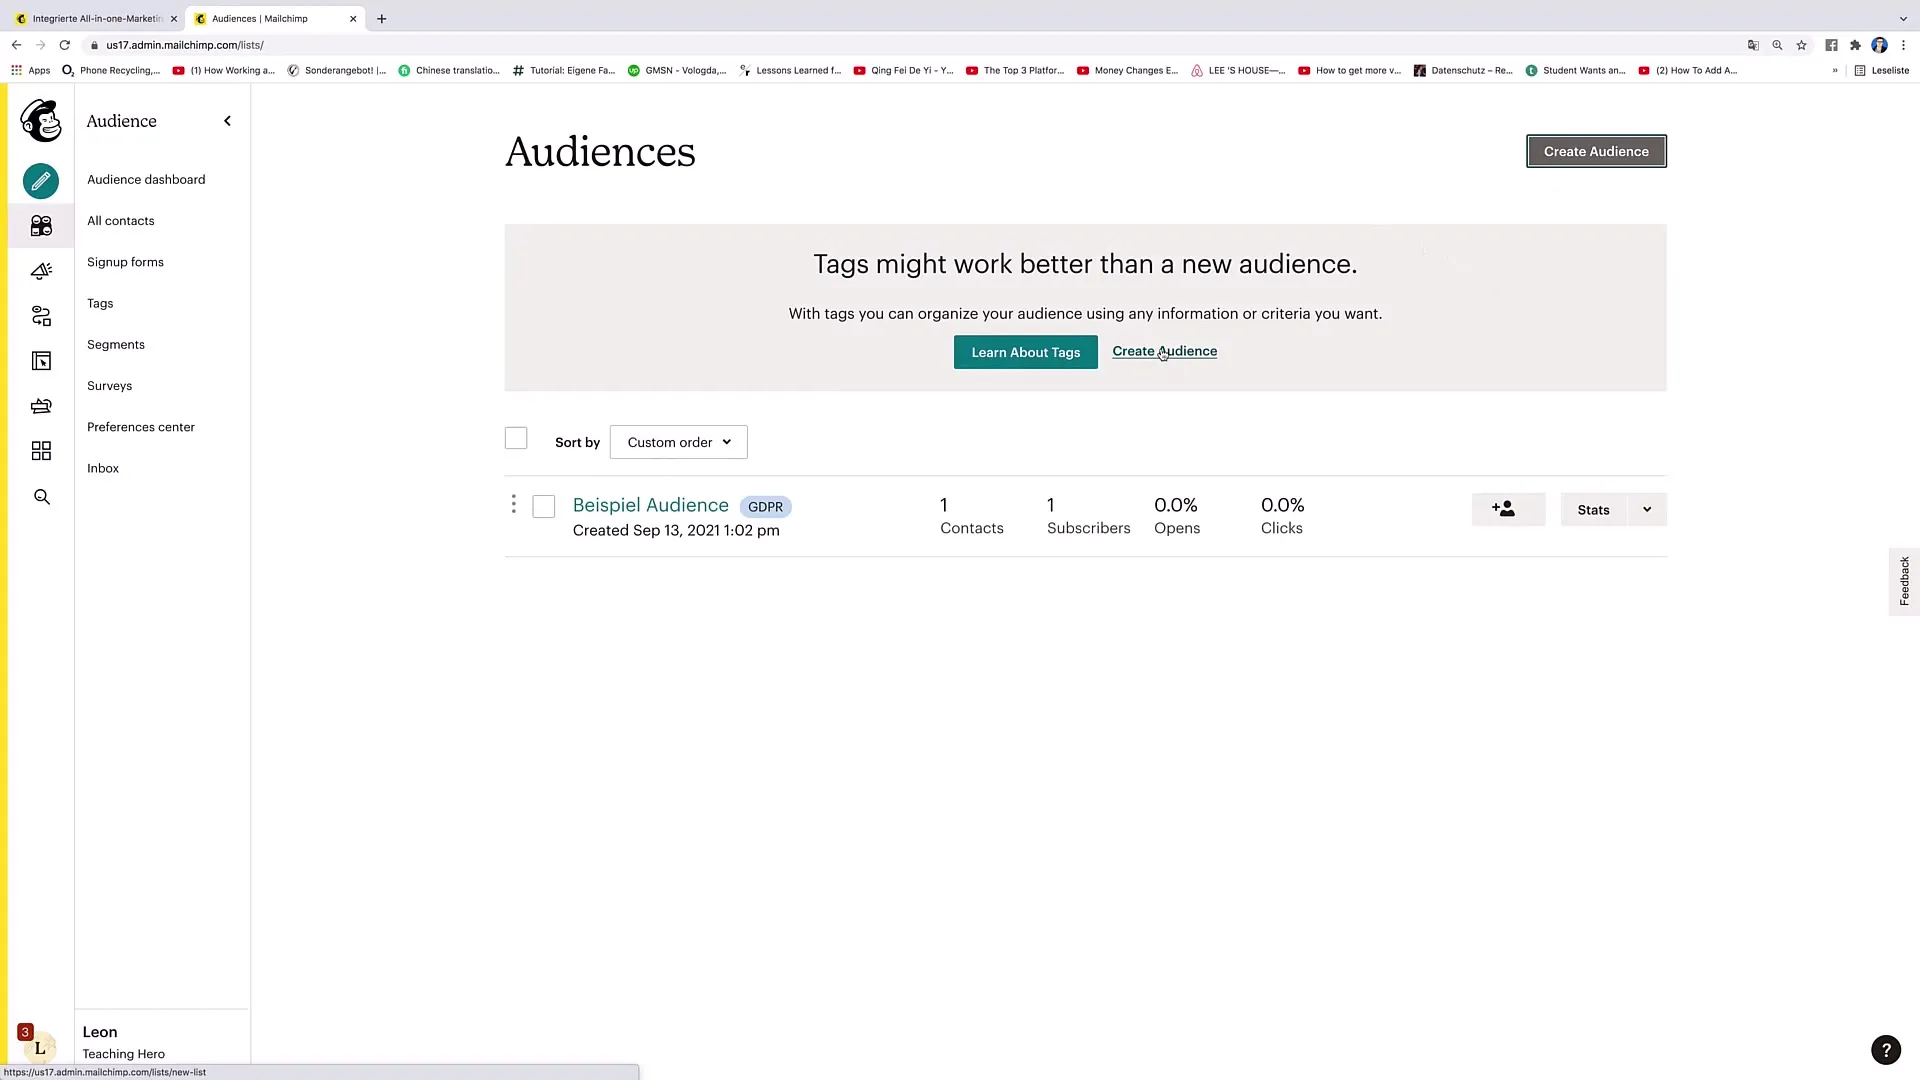
Within the Audience page, you can utilize various options. Click on "Manage Audience". Here you can add new subscribers, import contacts, or create signup forms. At the bottom of the page, you will find the link "View Audiences," which you should click now to access your existing Audiences.

Step 3: Create a new Audience
Once you are in the view, you can click on "Create Audience" on the right side. This is the first step to creating your specific Audience.

Step 4: Define Audience details
Now you need to specify the details of your new Audience. Name your Audience according to the benefit or topic you are addressing. For example: "Healthy Eating". You can also enter a standard email address from which emails will be sent to the contacts.
Step 5: Additional information
Now optionally add your name as the sender that will be displayed in the emails. To enhance transparency, explain how the contacts became part of your Audience. This could look like: "You are part of this Audience because you signed up for my newsletter."
Step 6: Add company information
Next, complete important company details such as the company name and address. This information is important for legal requirements and personalizing your email marketing.
Step 7: Subscriber consent settings
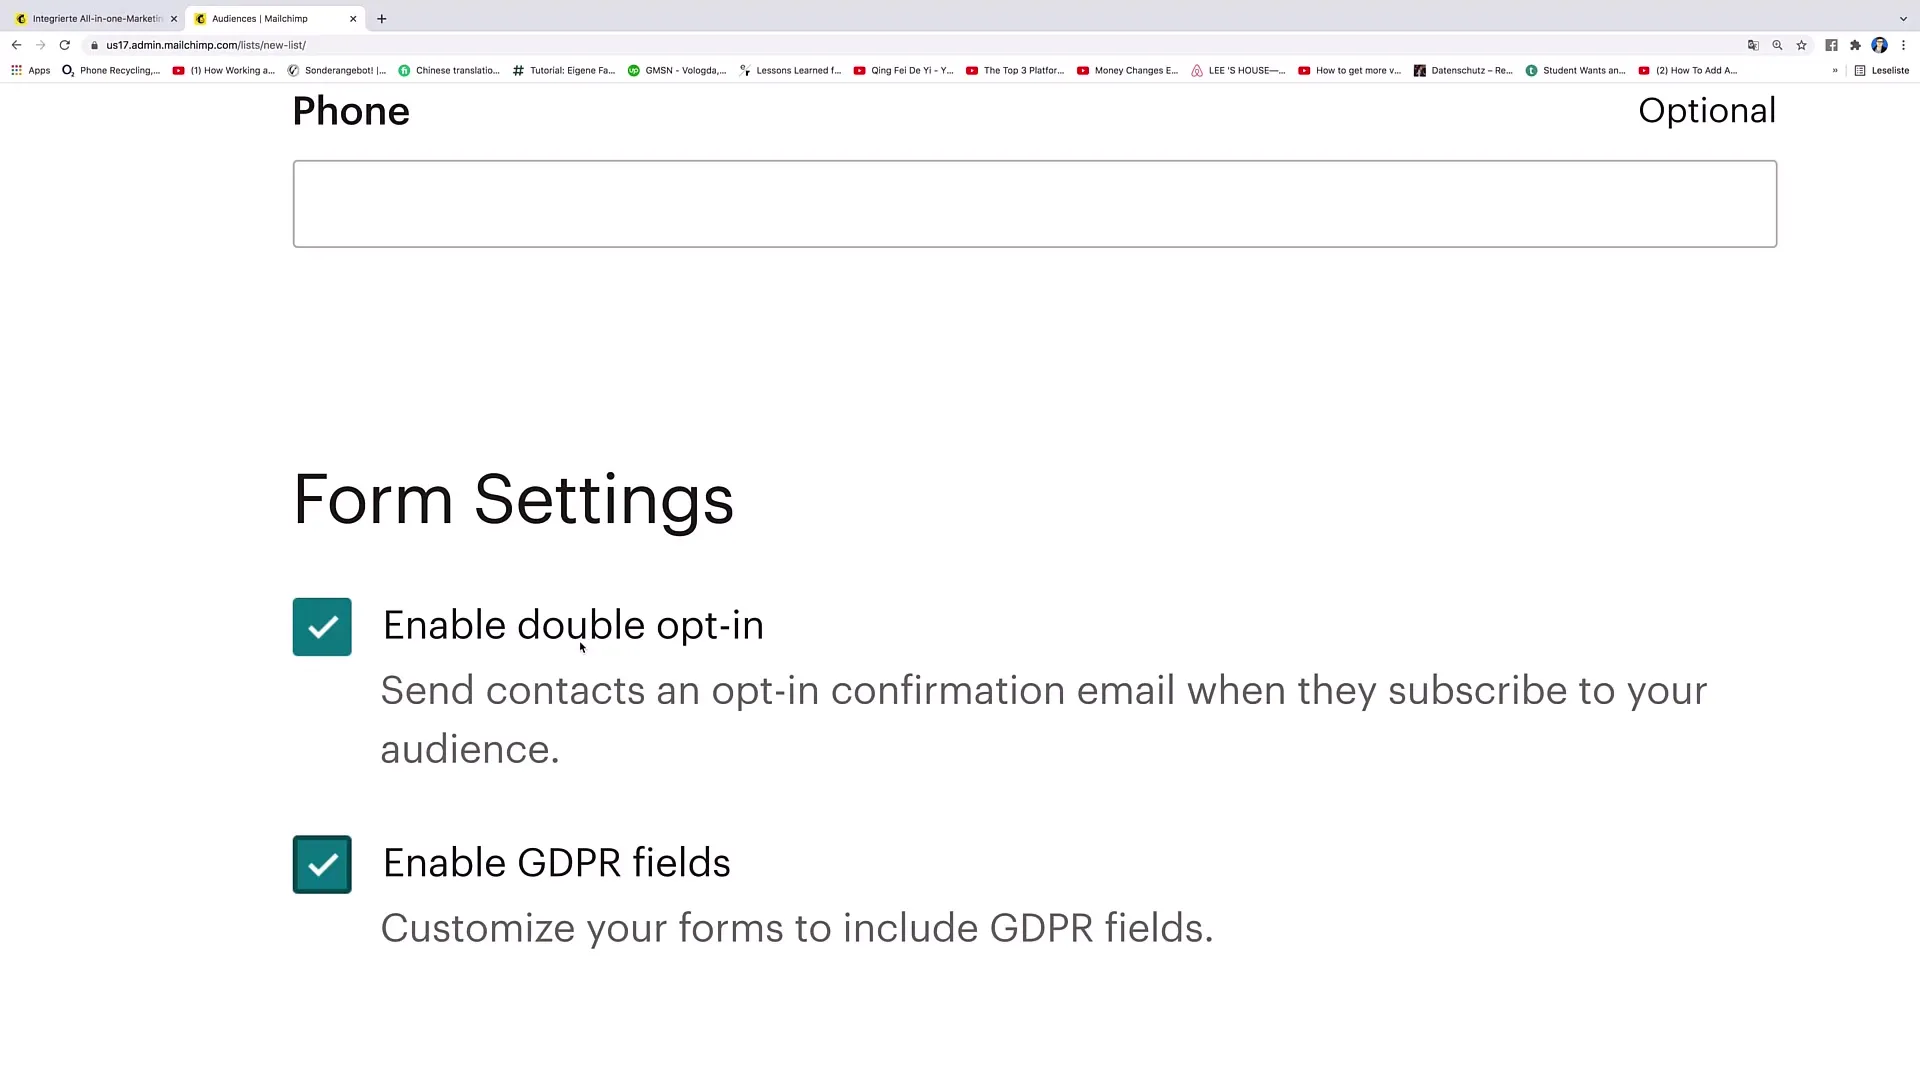
Here are two essential settings that you should activate: "Enable double opt-in" and "Enable GDPR fields". These options ensure that your Audience is handled correctly and in compliance with data protection regulations.
Step 8: Double Opt-in and GDPR
By activating the Double Opt-in, you ensure that the email address is actually used by the person who is interested in the newsletter. After signing up, a confirmation link is sent to the specified email address, which the person must click to complete the sign-up process.

Step 9: Set notifications
At this step, you can decide how often and in what form you want to be notified when new contacts sign up or existing subscribers exit your Audience. I recommend choosing fewer notifications here to avoid being overwhelmed with unnecessary emails.
Step 10: Save Audience
After entering all required information, simply click on "Save," and your Audience is now created! Check everything once more before saving to ensure that all information is correct.
Summary – Creating an Audience in Mailchimp
Creating an Audience in Mailchimp is a simple yet crucial process for your email marketing. You have now learned how to name your Audience, define individual details, and ensure that you consider data protection requirements.


