Do you want to efficiently import contact information into Mailchimp? In this guide, you will learn how to manually add email addresses and other important contact details. This involves not only copying and pasting email addresses but also integrating additional information such as names and addresses. Let's dive right in.
Key Insights
- Contacts can be easily imported into Mailchimp, either by entering them manually or by uploading a CSV file.
- A clear structure of the import data is crucial; start with the email address, followed by first name, last name, and other information.
- The import via CSV file is the fastest and easiest method, as it allows for automated processing of the data.
Step-by-Step Guide
1. Manually add contacts
Start the import process by manually entering your contacts' email addresses. Begin with the email address and then add the first name, last name, and other relevant information. This detailed entry is crucial for accurately shaping your contact list.

2. Use the import option
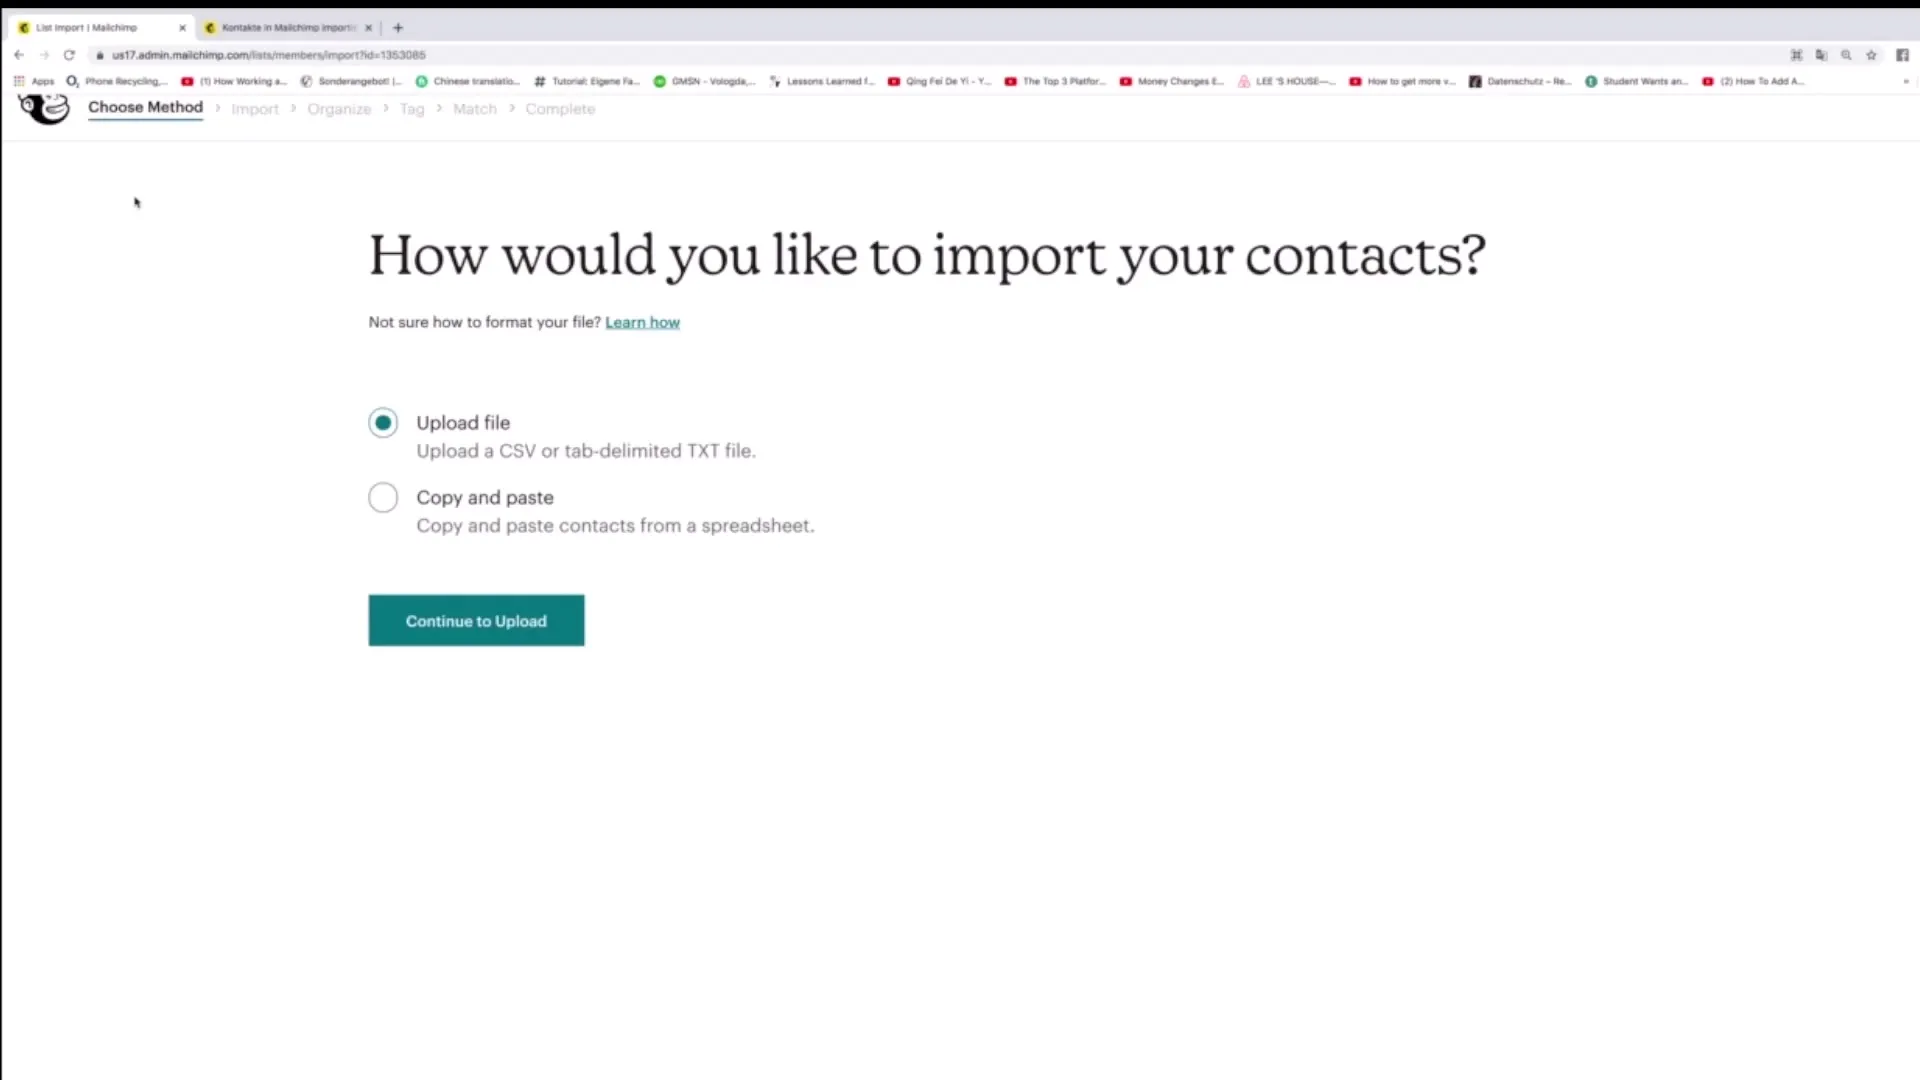
If you are already familiar with adding contacts and want to use a faster method, you can use the import option in Mailchimp. Click on "Import contacts" and choose the "Upload File" option.
3. Create a CSV file
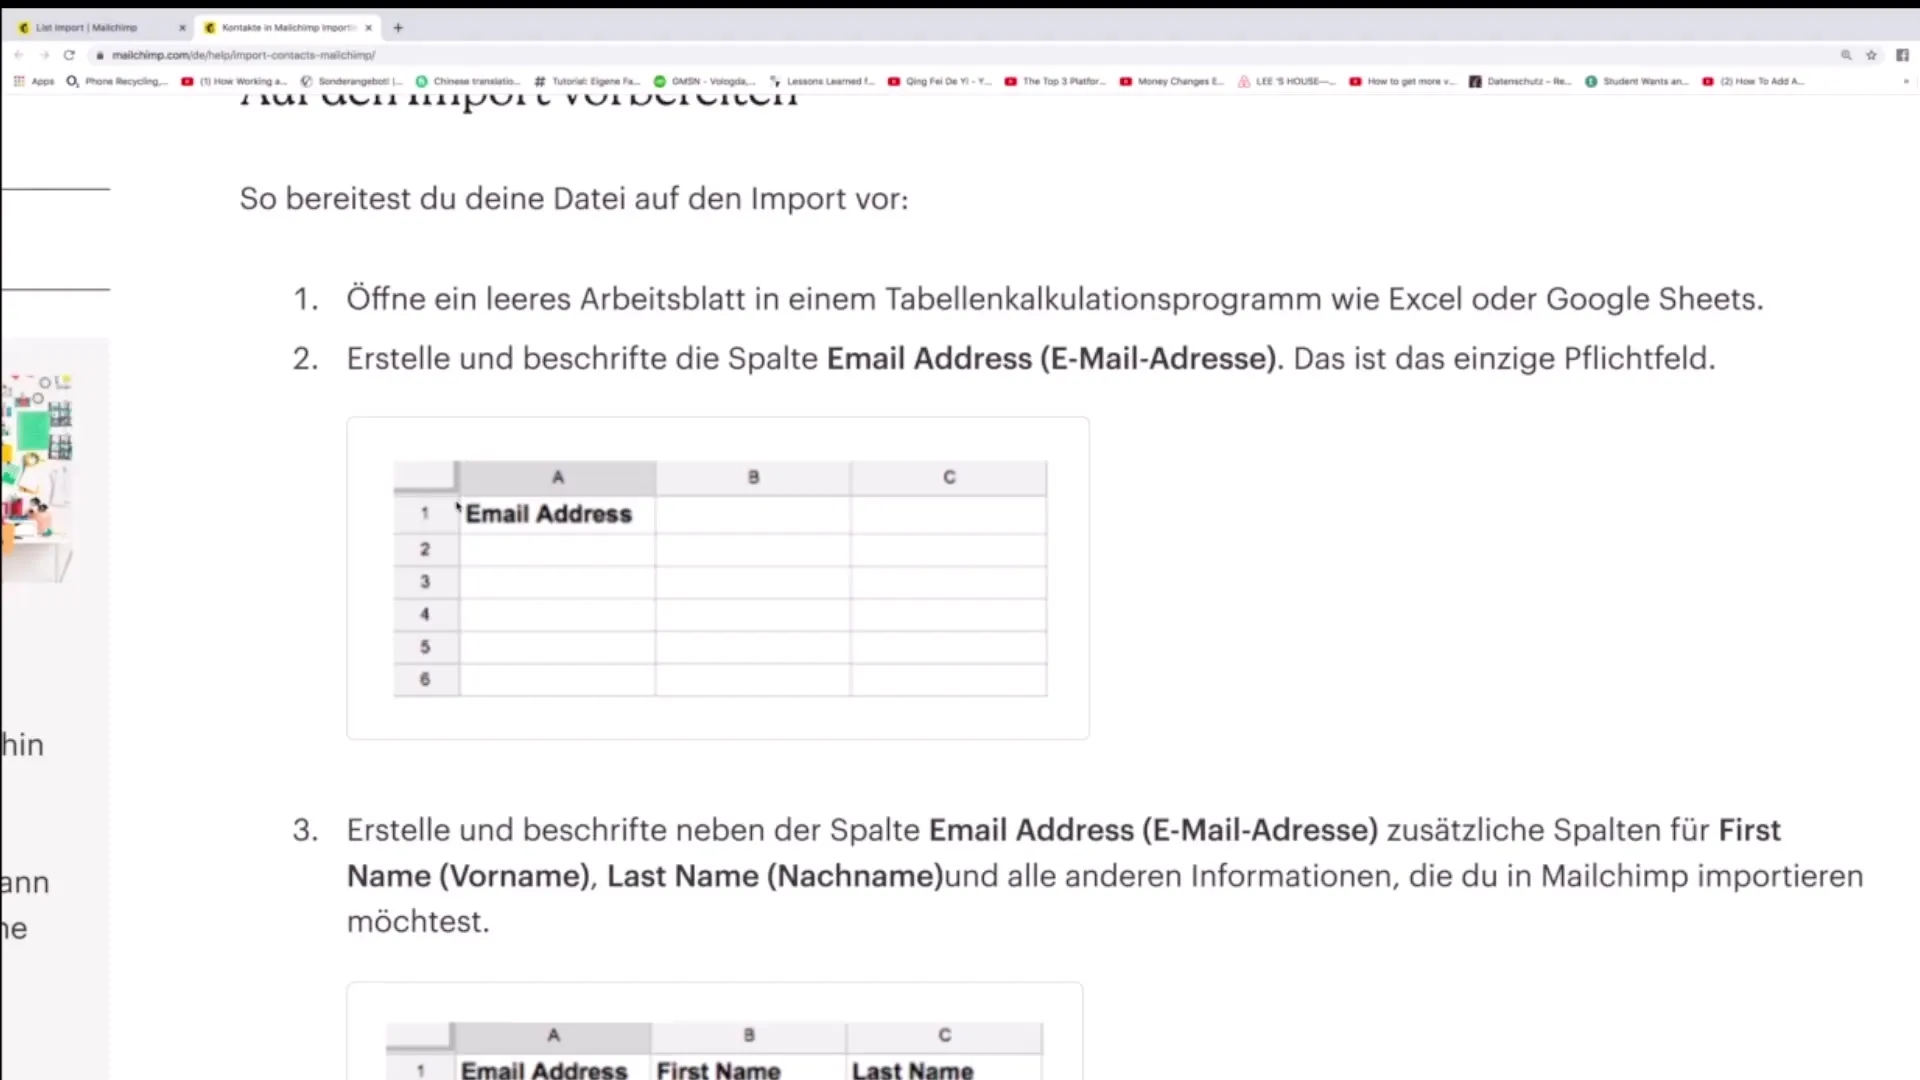
To import your contact list from Excel into Mailchimp, create a spreadsheet where you set up the necessary columns. The first row should contain "Email Address," followed by "First Name," "Last Name," and any other information you wish to add.

4. Upload the CSV file
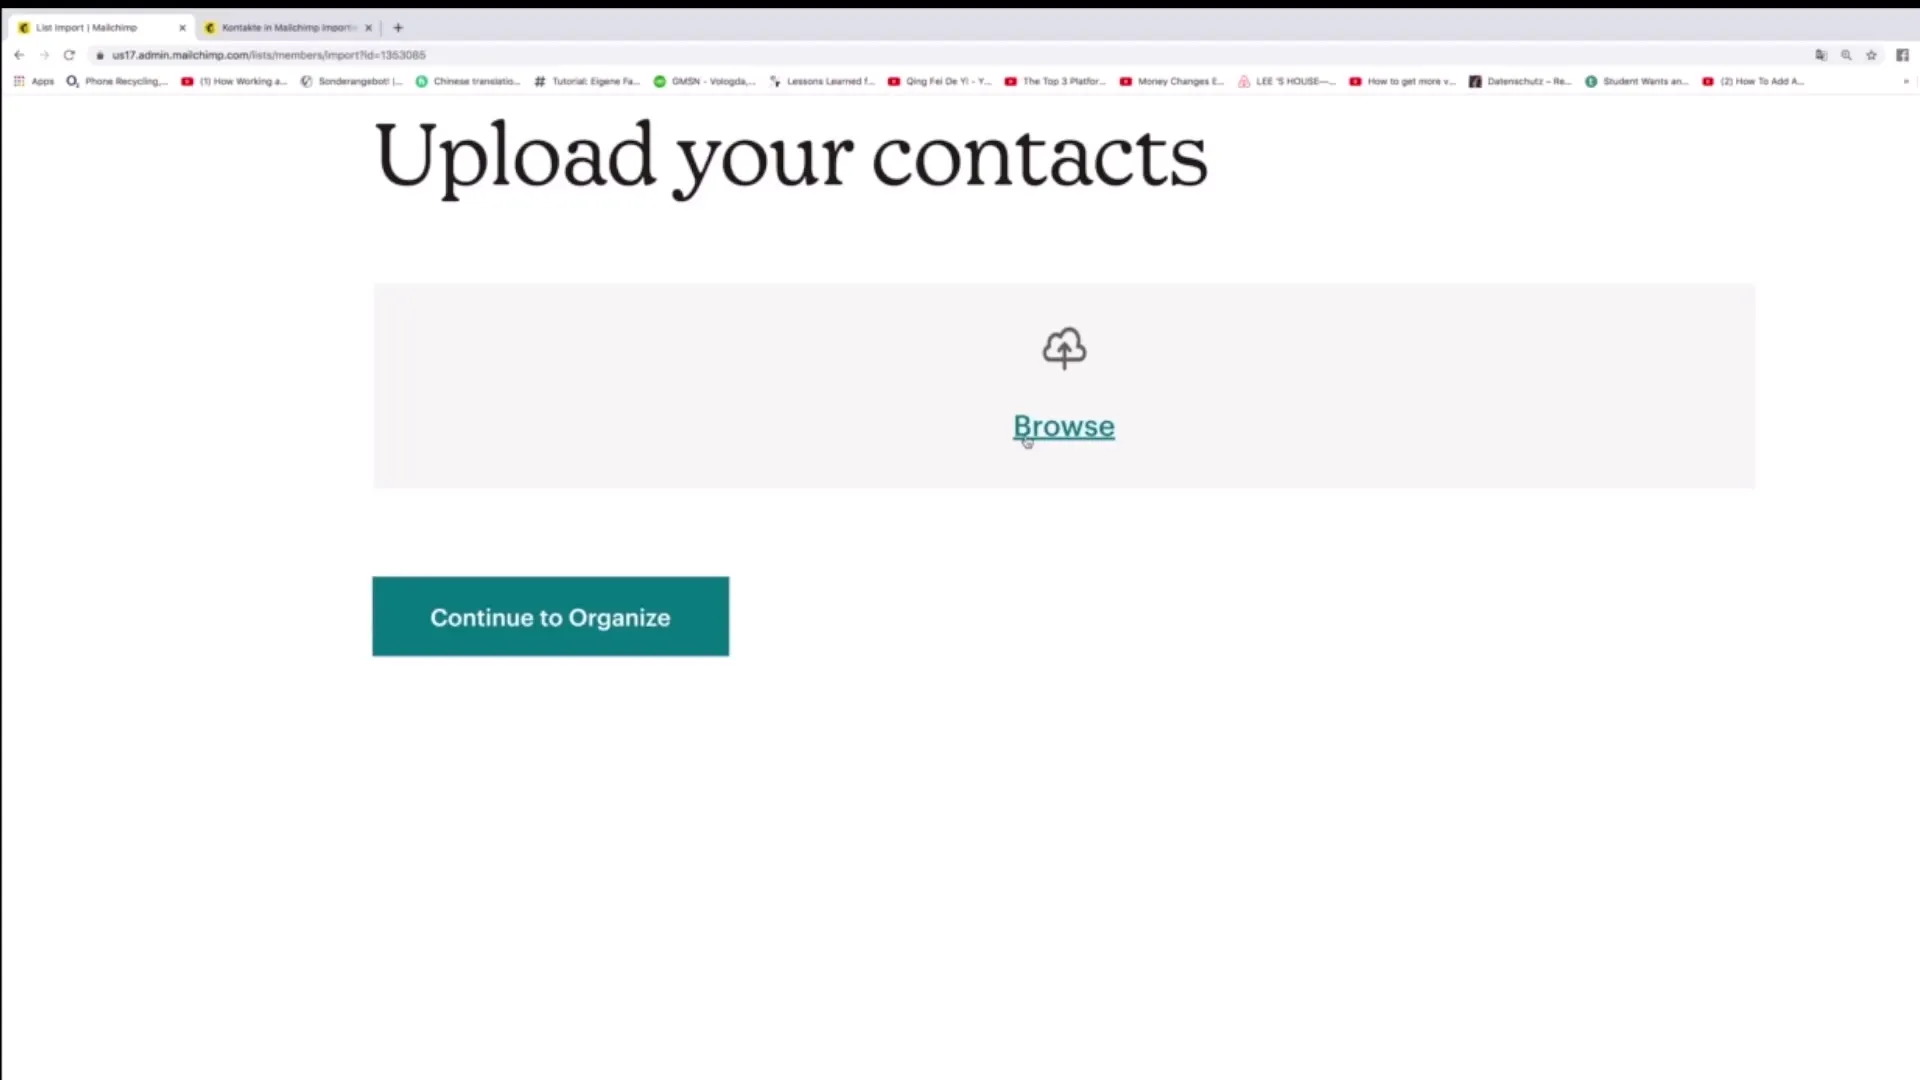
After you have created your Excel spreadsheet, save it in CSV format. Go back to Mailchimp and upload the CSV file. Click on "Continue to upload" to proceed with the process.

5. Check the data
Before the import is completed, Mailchimp will prompt you to check the entries. Ensure all data is correct to avoid errors. After confirmation, the import process will be completed, and all information will be integrated into your Mailchimp account.
Summary - Manual Email Address Import in Mailchimp: A Precise Guide
In this guide, you learned the steps to manually import email addresses and other important information into Mailchimp. From creating the CSV file to uploading and verifying the data, you have received all the necessary instructions. With this structured approach, importing your contacts becomes simple and efficient.
Frequently Asked Questions
How can I add contacts manually?Contacts are added manually by entering the email address and additional information directly into Mailchimp.
What file formats can I upload?You can upload CSV files and TXT files.
What should I consider in the table for import?The first row of the table should contain the column headers such as "Email Address," "First Name," and "Last Name."
Which method is faster: manual entry or CSV upload?Uploading a CSV file is faster as it allows for automated processing.
How do I check the data before import?Mailchimp will show you a summary of the data to be imported, which you can review again before confirmation.


