Creating and managing tagging and segmentation strategies is crucial for the success of your marketing campaigns. Especially in Mailchimp, powerful tools are available to precisely target your audience. In this tutorial, you will learn how to connect Tags with Segments to specifically deliver campaigns to certain target groups.
Key Insights
- You can create specific segments from your tags, thus optimizing your marketing approach.
- Mailchimp allows you to create multiple segments and use them specifically for campaigns.
- By combining tags and segments, you gain valuable insights into your subscribers and their behavior.
Step-by-Step Guide
First, you orient yourself in the Mailchimp dashboard. To start creating a new segment, navigate to the "Segments" area.
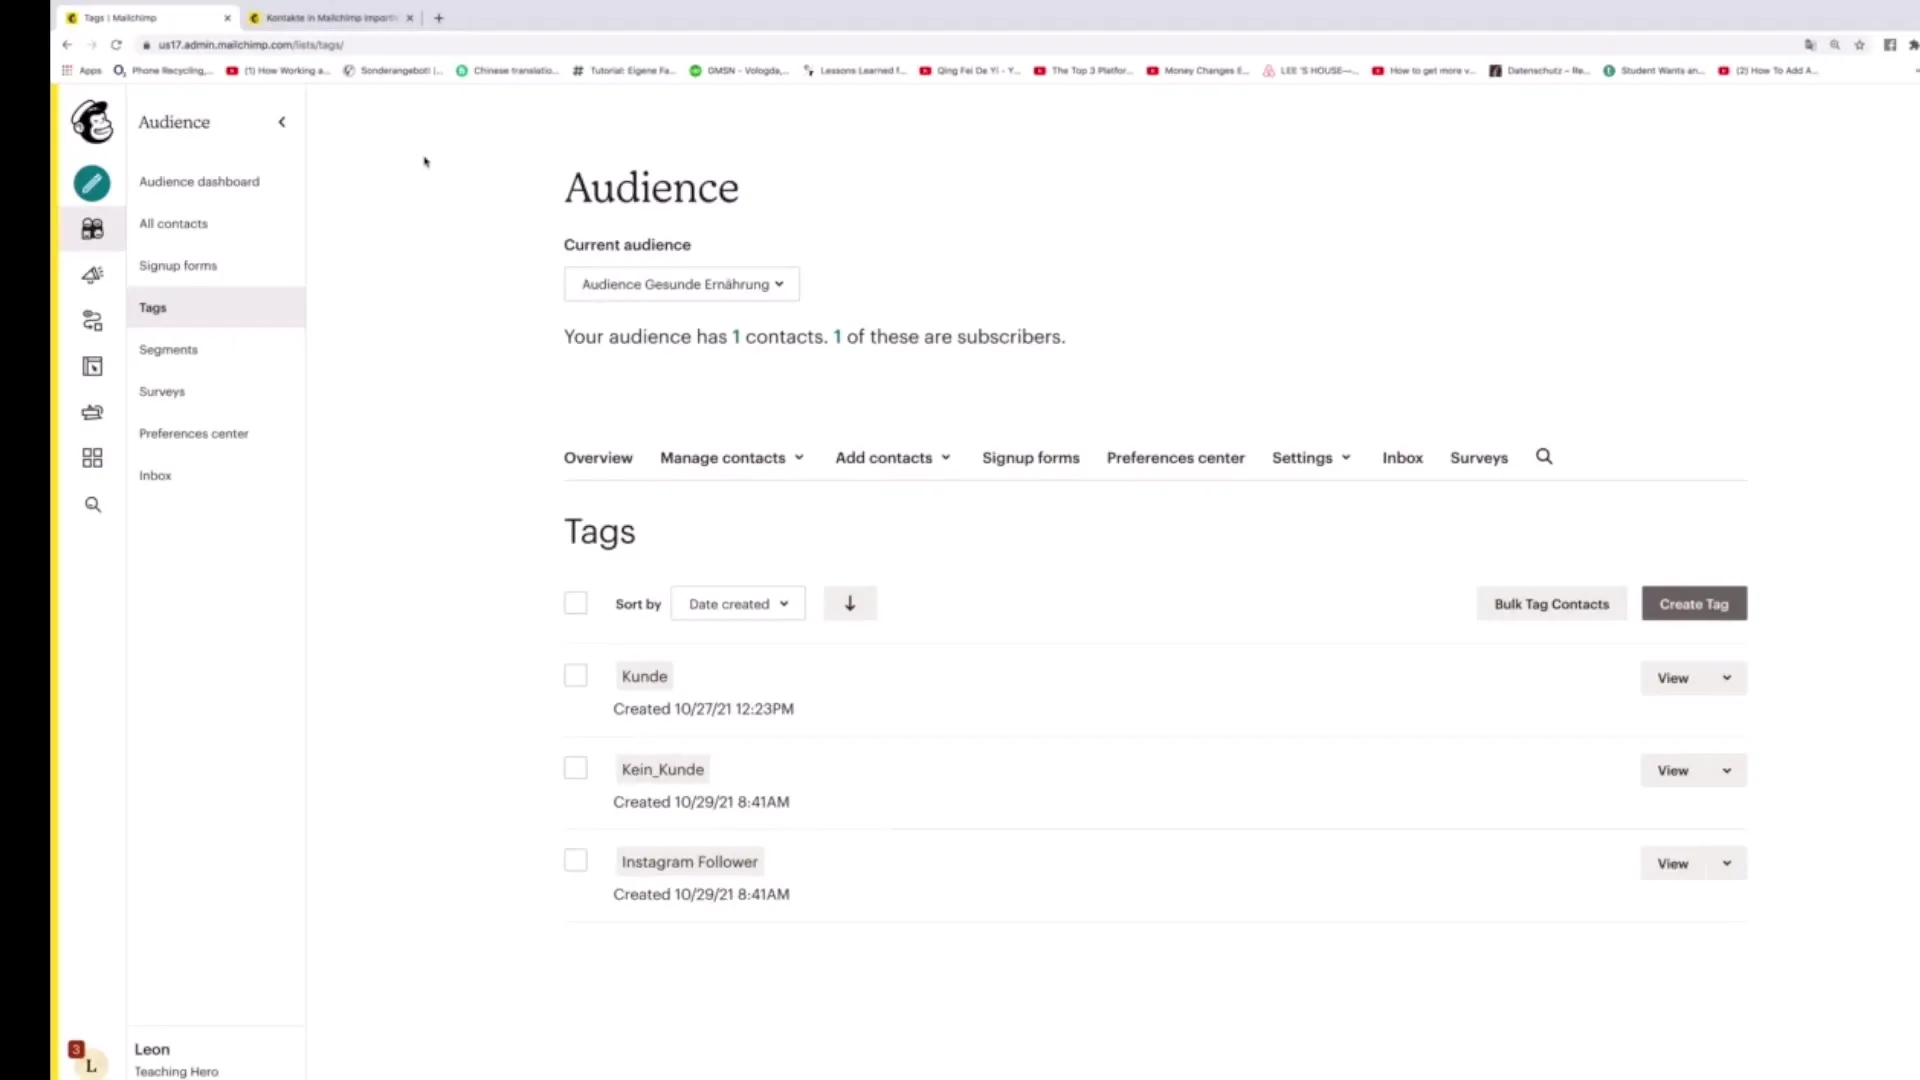
Once you are in the Segments area, you can click the "Create Segment" button to create a new segment.
When creating the segment, you have the option to set the conditions for the segment. Select the option “Context match any of the following conditions”. This gives you more flexibility in segmenting your subscribers.
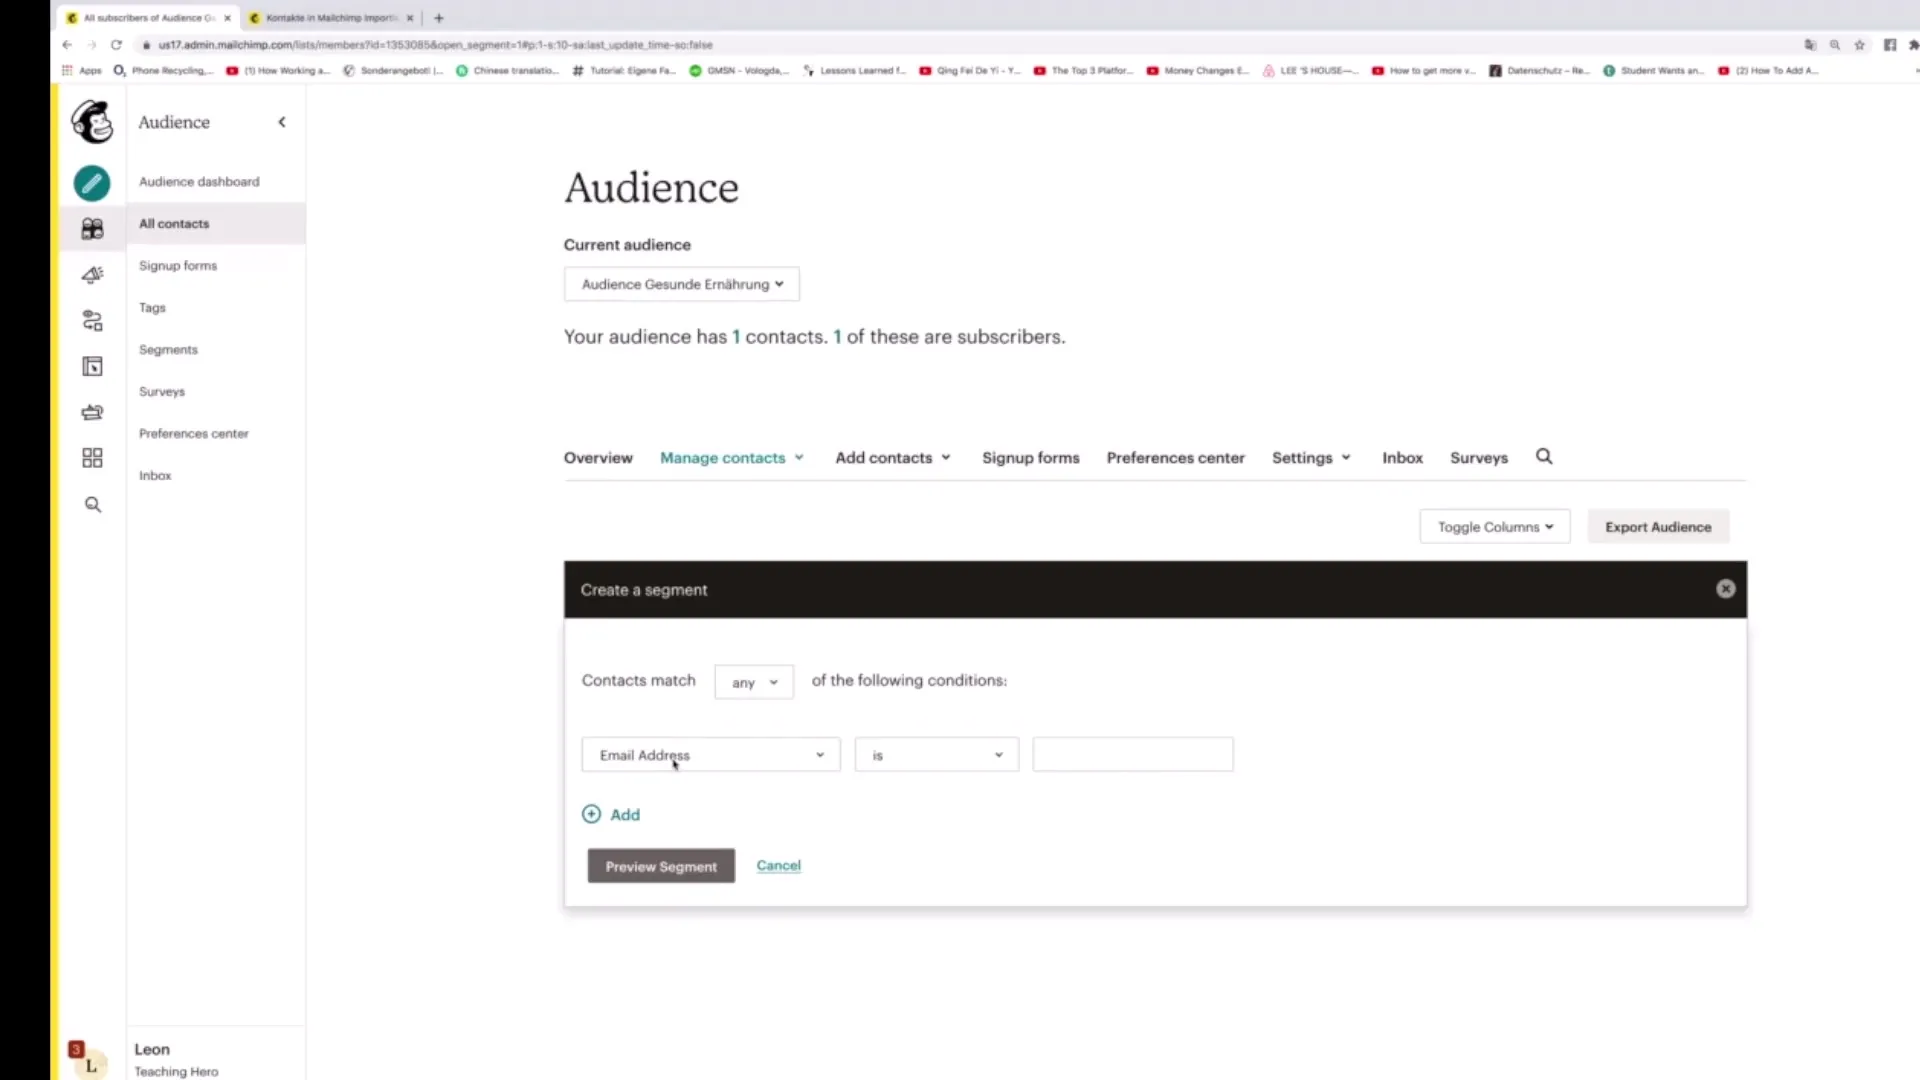
In the next step, click on “Tags” to select the tags for which you want to create a segment. You can now, for example, choose the tag “Instagram Follower” to create a segment of users who have this tag.
To review the segment, click on “Preview Segment”. Here you can see if there are people in this segment. If the segment shows no people, you may add further conditions.
After reviewing the desired subscribers, click on “Save Segment”. You can name the segment something like “Instagram Follower Segment”.
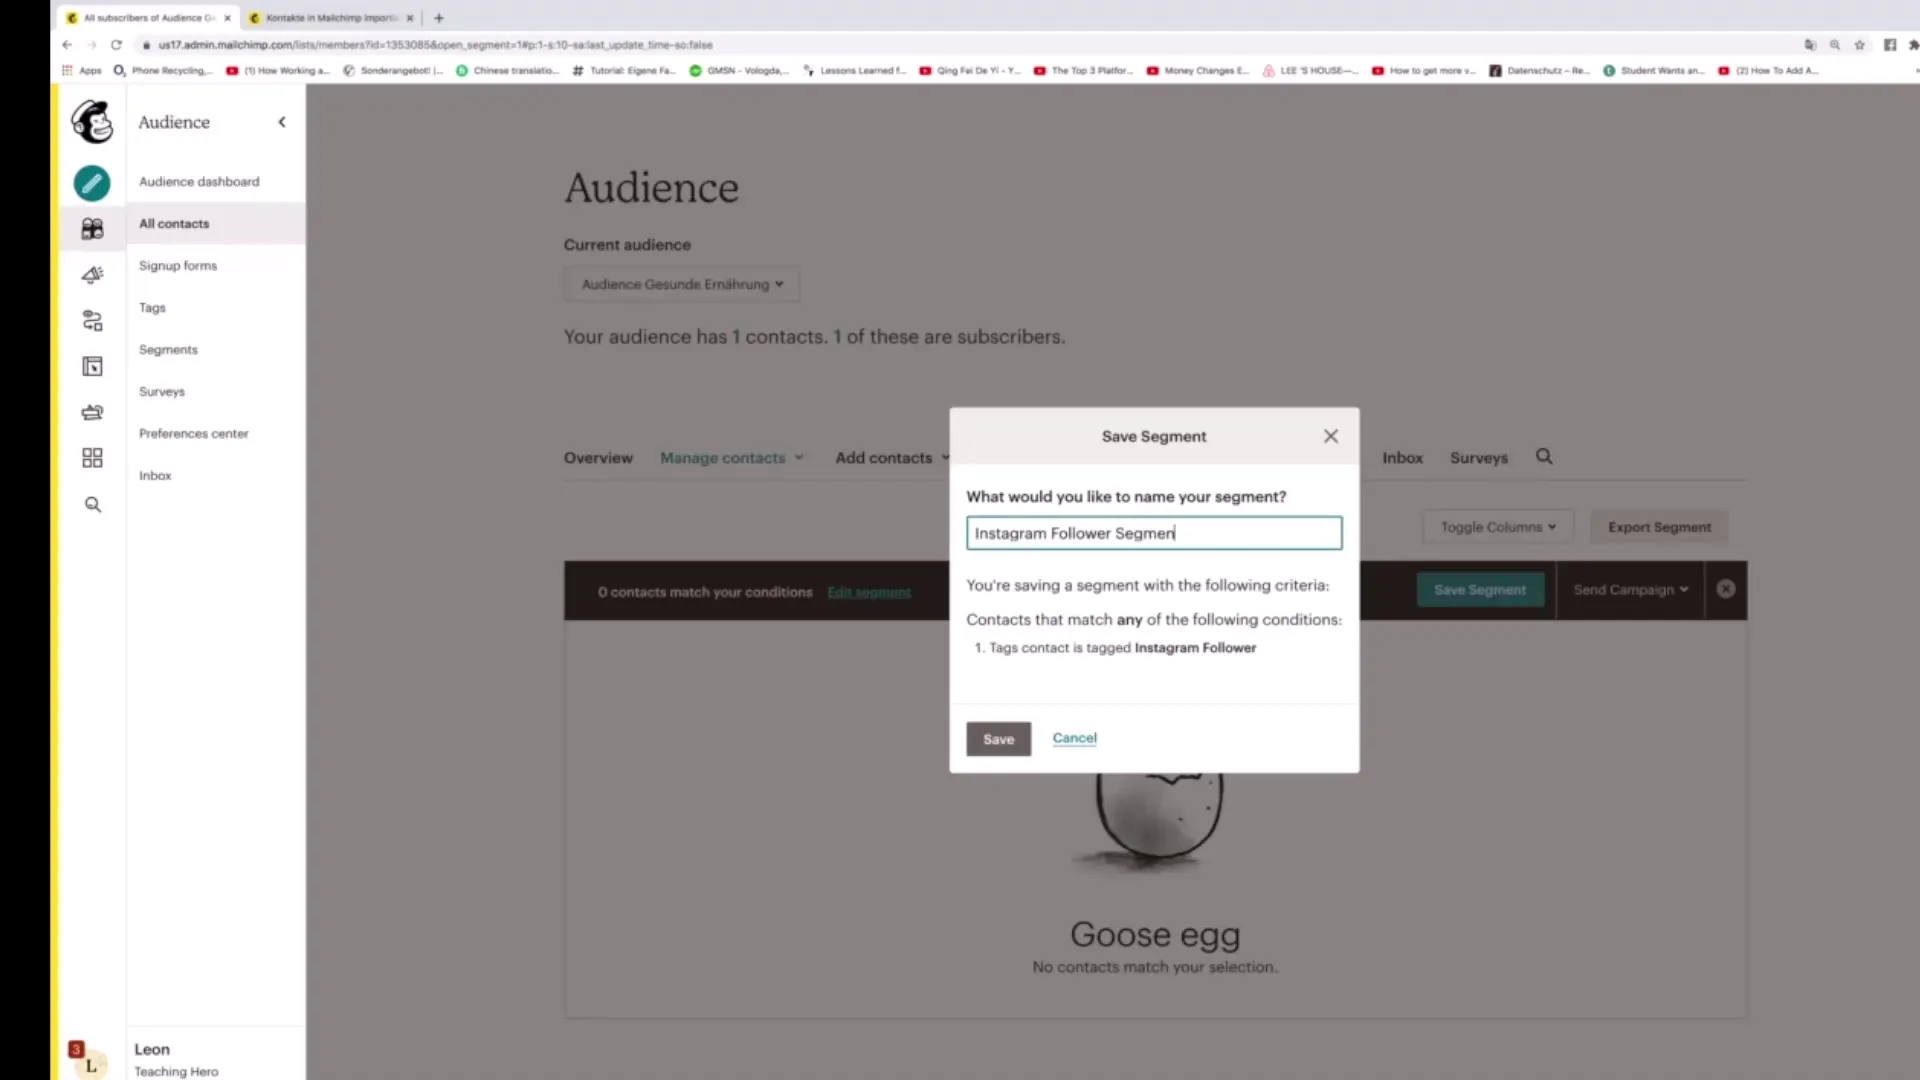
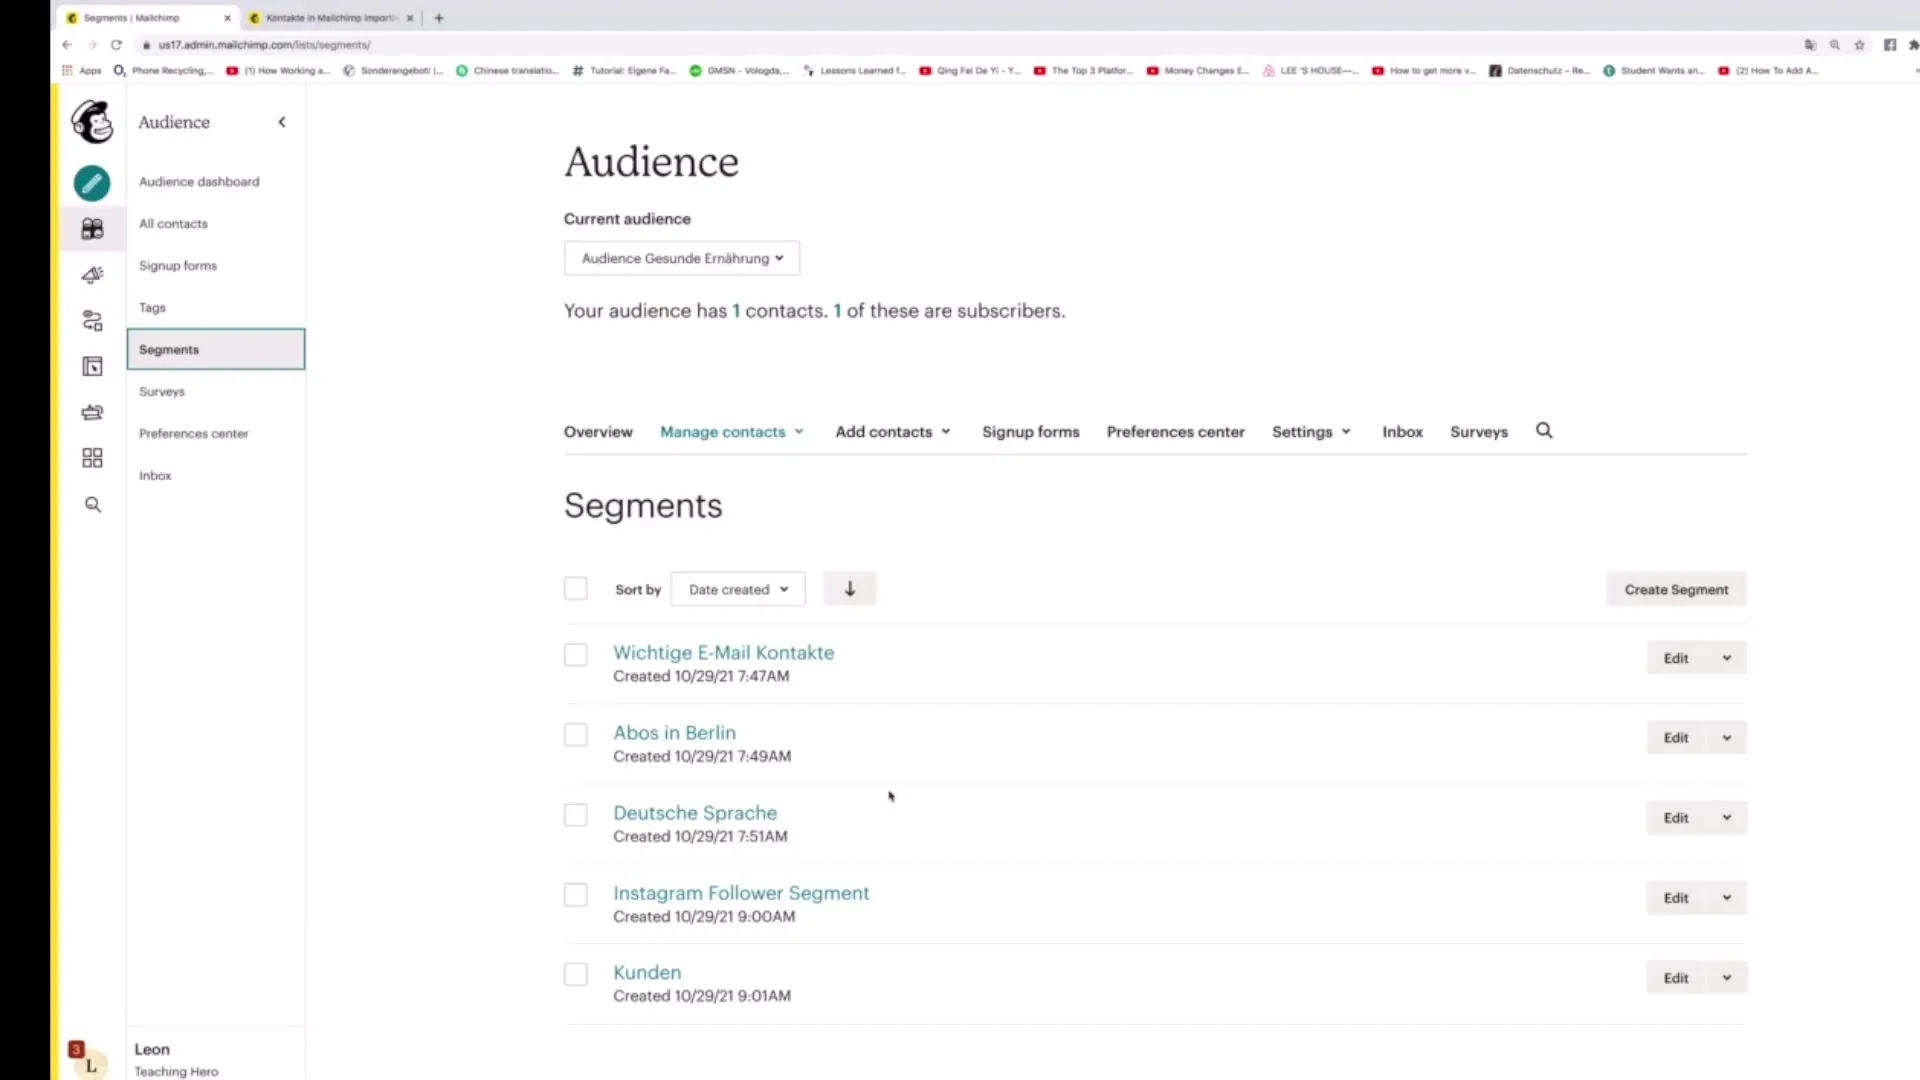
Once your segment is saved, you can navigate back to the "Segments" section to view your new segment there. It will show you that you now have subscribers with the tag “Instagram Follower”.
If you want to create another segment, you can click the “Create Segment” button again and search for another tag, such as “Kunde”.
Select the option “Context match any of the following conditions” again. Then click on “Tags” and then on “Kunde” to create this segment.
After setting the conditions, you can click on “Preview Segment” again to check the subscribers who have this tag.
If you are satisfied with the selection, click on “Save Segment” and name it something like “Kunden”.
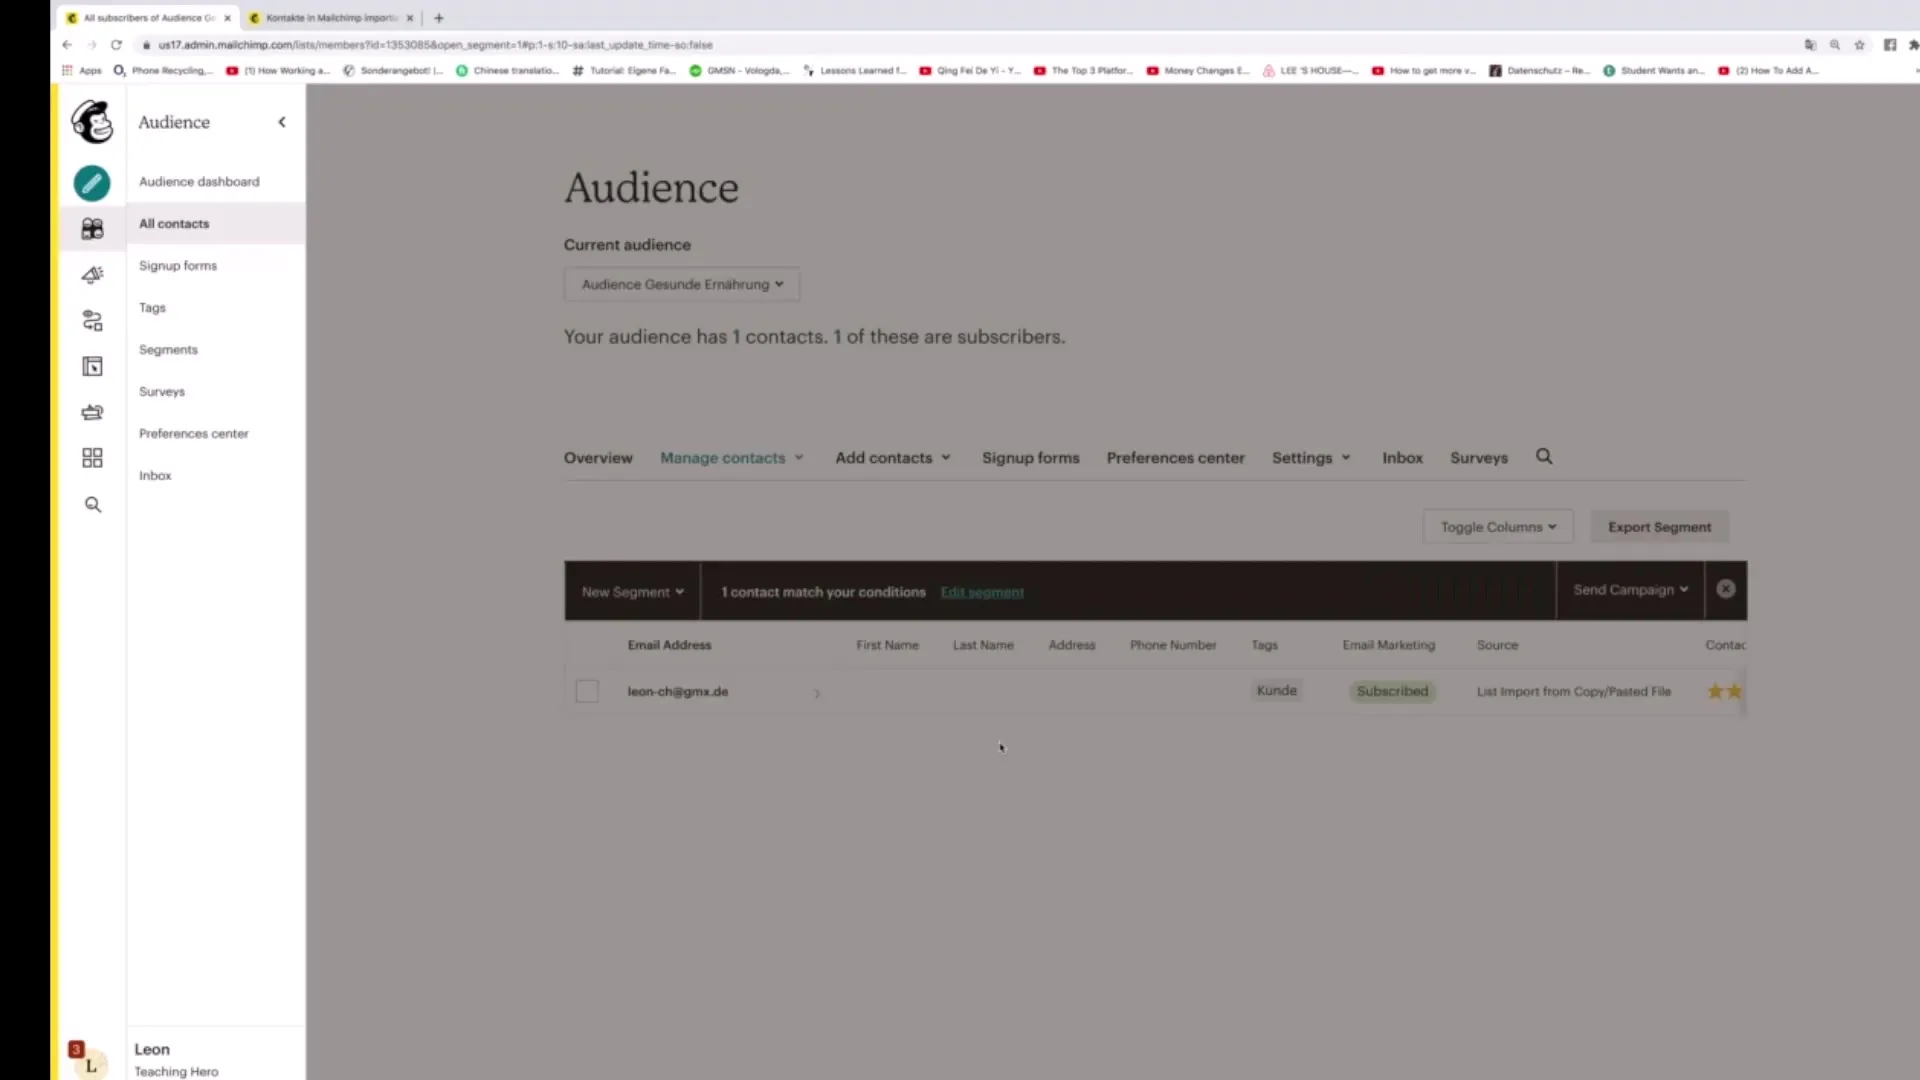
You have now successfully created and saved the customer segment. You can also use this segment later for campaigns.
To use the segment in a campaign, simply click on the “Sent” button in the upper right corner and select “Regular Campaign”.
This way, you have successfully connected tags and segments in Mailchimp and are now able to deliver your campaigns specifically.
Summary - Effectively Connecting Tags and Segments in Mailchimp
Learning how to connect tags with segments in Mailchimp allows you to create your marketing strategies more precisely, target audiences specifically, and thus increase the success of your campaigns.
Frequently asked questions
How do I create a new segment in Mailchimp?To create a new segment in Mailchimp, go to the “Segments” area and click on “Create Segment”. Then select the desired tags and save the segment.
What are the benefits of segmentation in Mailchimp?Segmentation allows you to target different audiences specifically, thus increasing the response rate of your campaigns.
How can I use the created segment in a campaign?After creating a segment, you can use it in a campaign by clicking on “Sent” and selecting the “Regular Campaign” option.


