Mailchimp is one of the leading platforms for email marketing and offers you numerous possibilities to edit your content in the Content Studio. Whether you want to customize texts, upload images, or change the design – in this guide, I will show you how to carry out all these steps in the Content Studio of Mailchimp. With precise control over your content, you can capture your audience's attention and optimize your campaigns.
Key insights
- Customization of texts and fonts in Mailchimp Content Studio
- Uploading and editing images
- Saving and downloading your designs
Step-by-Step Guide
1. Access the Content Studio
First, you need to access the Content Studio. In your Mailchimp dashboard, you will find the corresponding options on the right side. Click on it to see all available settings and options.
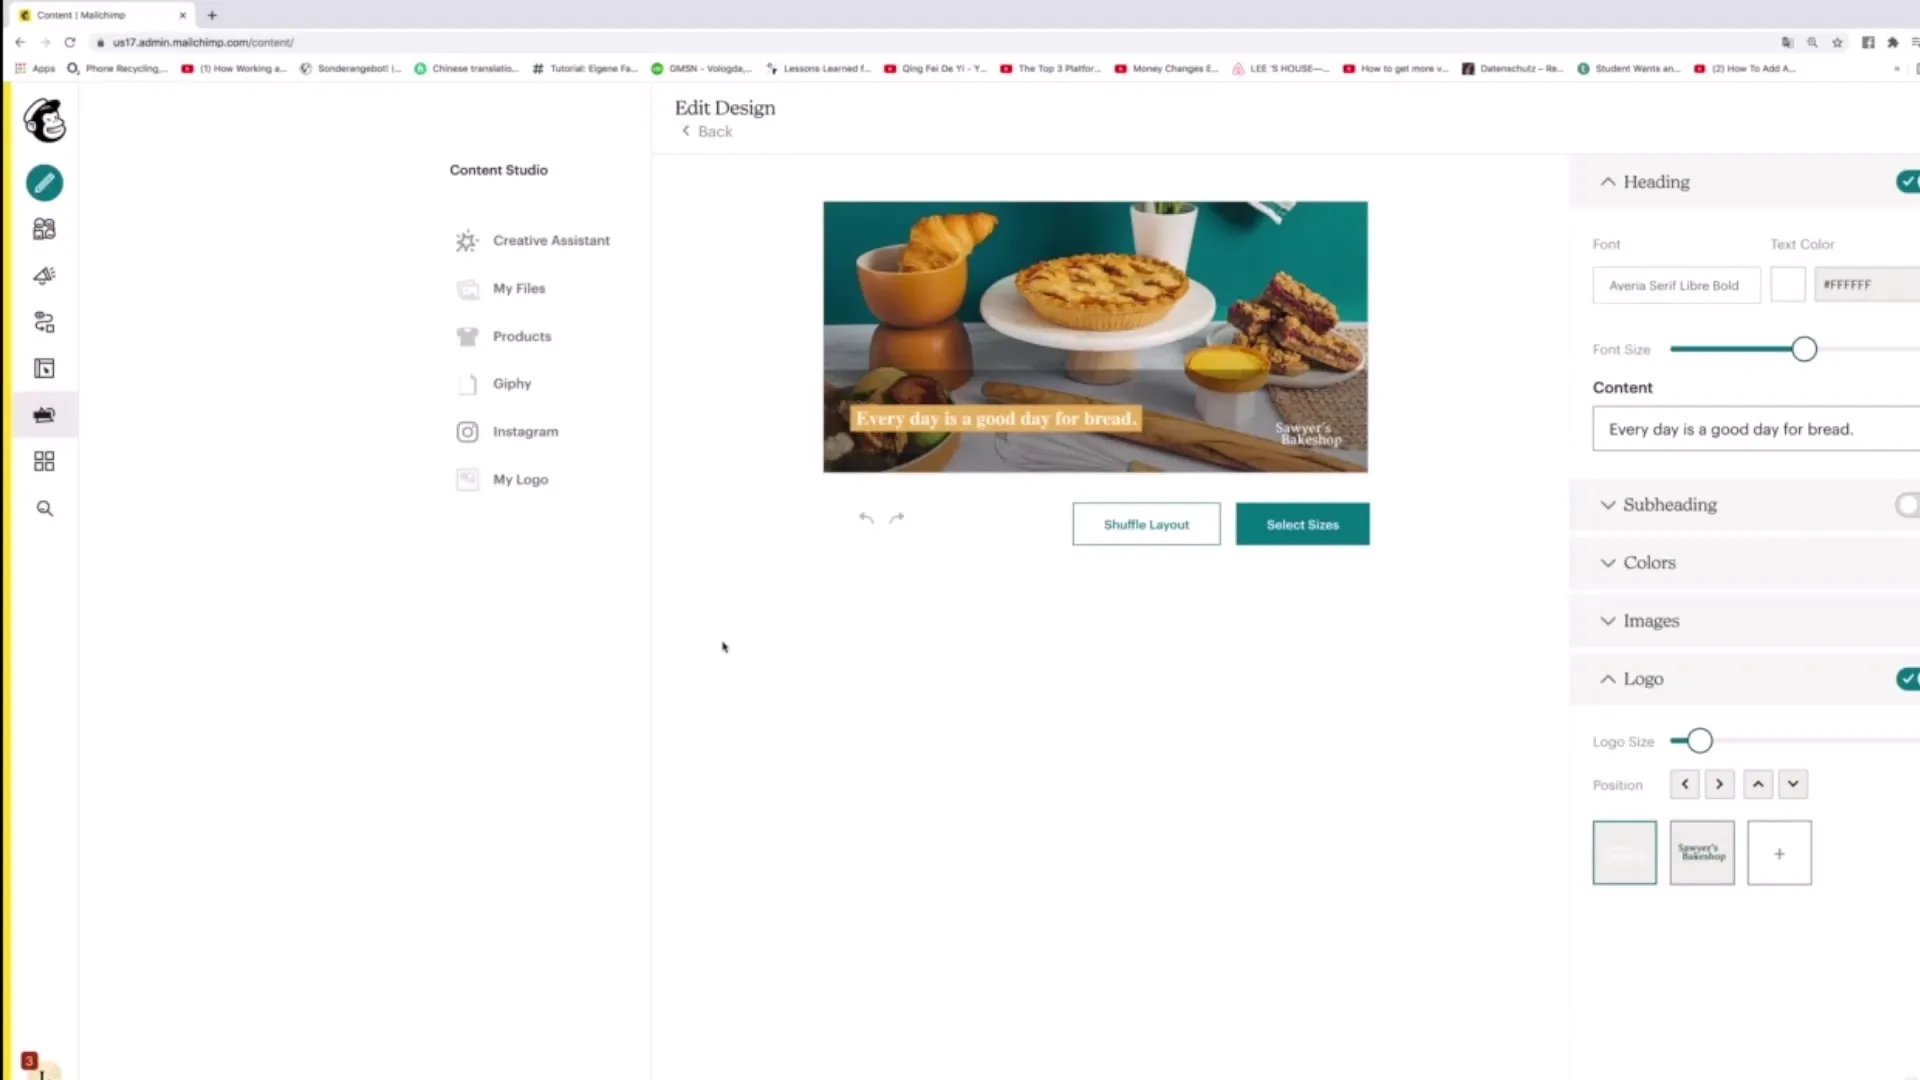
2. Editing the Heading
Now you can customize the main text, also called "Heading". Click into the text field and enter, for example, "Learn more about Mailchimp". The content on the left side will be updated instantly as you type.
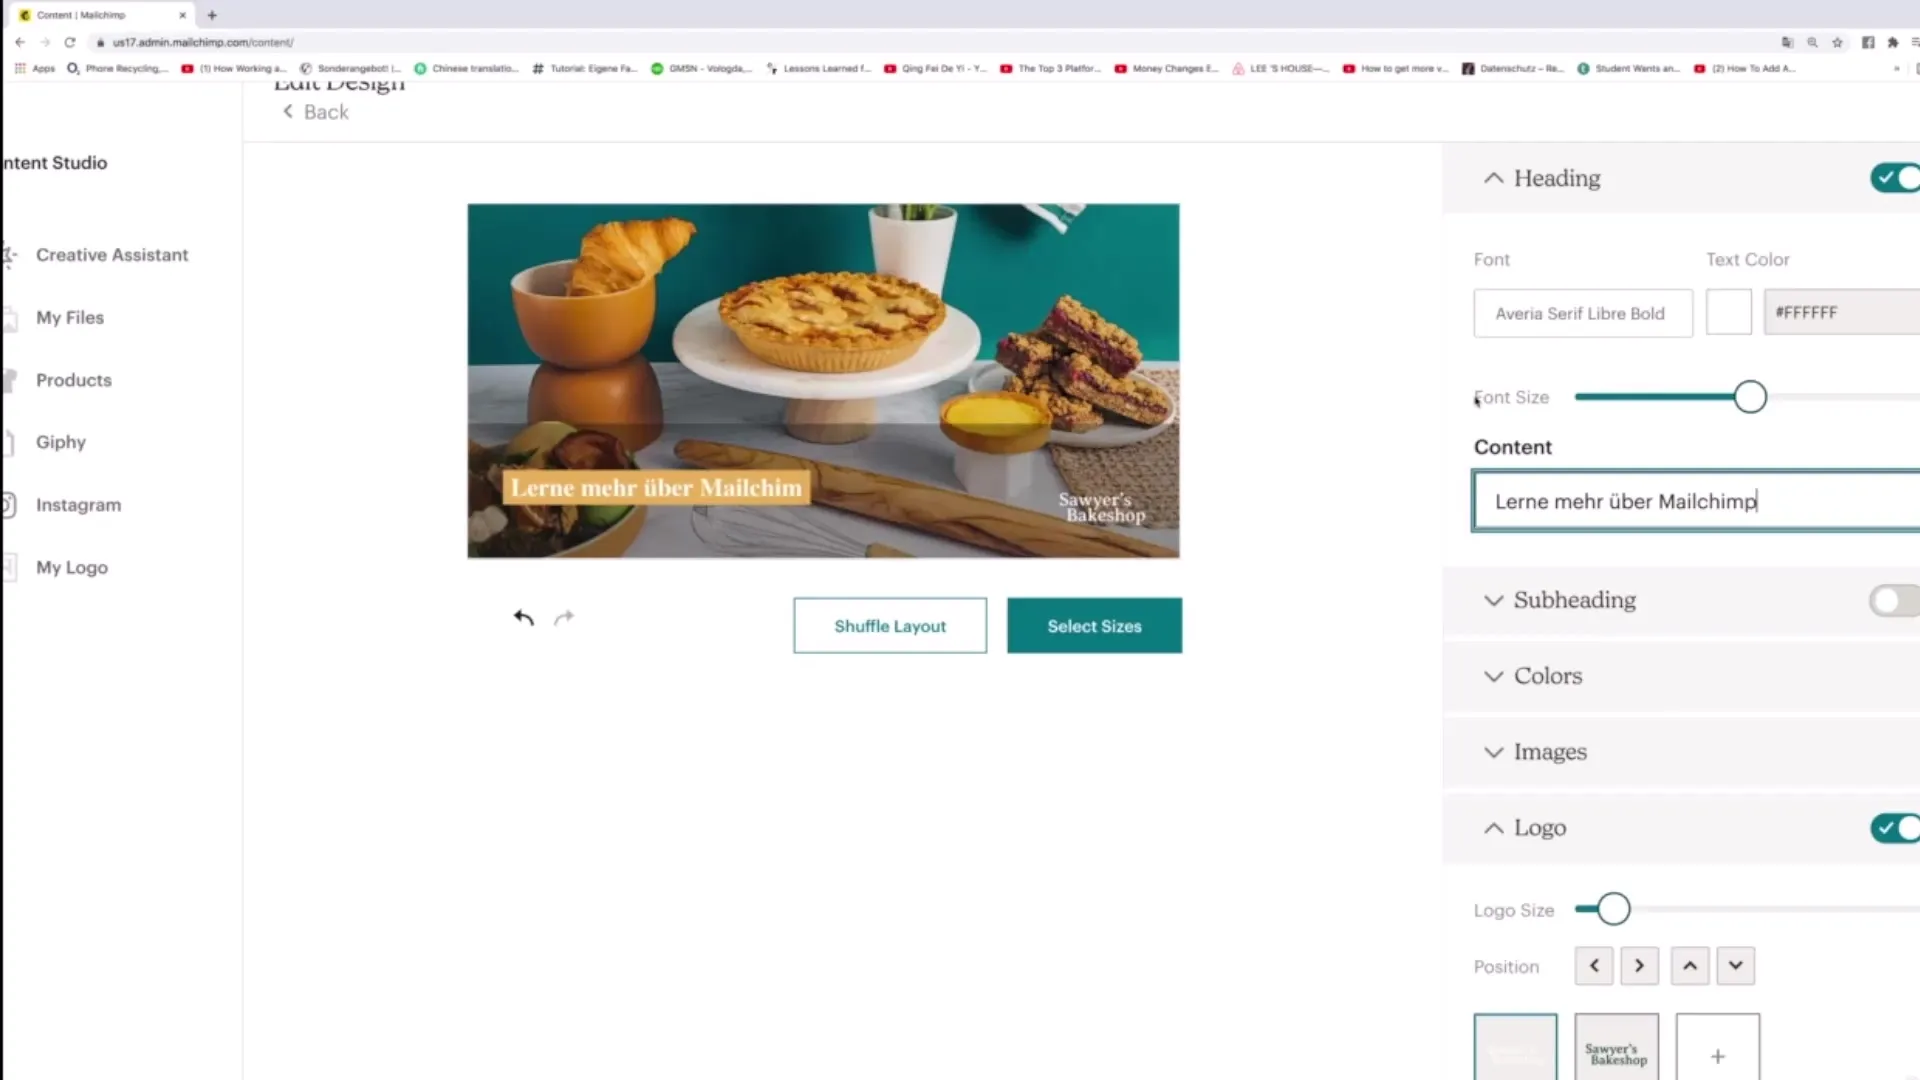
3. Adjusting the Font
After entering the text, you can adjust the font. Do you need a larger font to improve readability? Adjust the size and be careful not to leave any unwanted spaces at the end of the text, as this can make the layout unsightly.
4. Choosing the Font
Mailchimp offers a variety of fonts. Choose a font that fits your campaign. For example, you could choose a more streamlined font. Click on it to apply the changes.
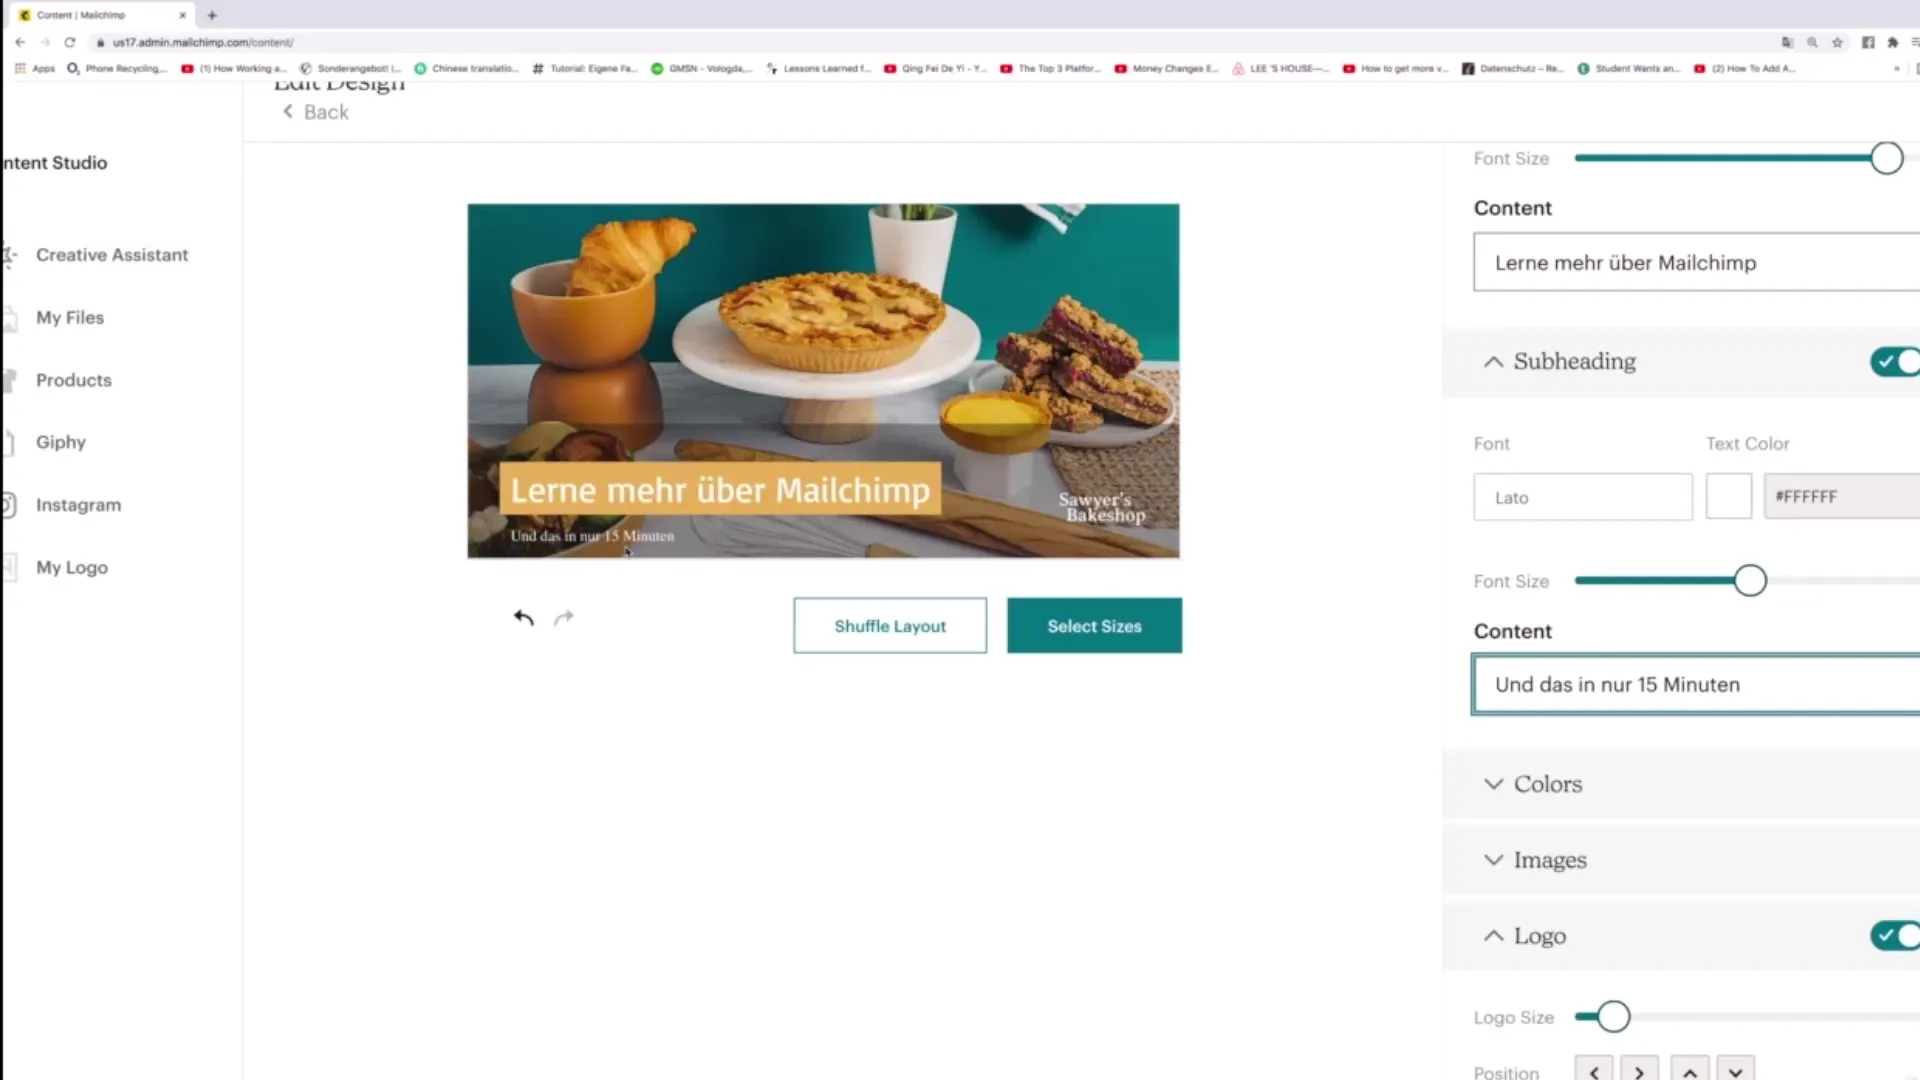
5. Editing the Subheading
The subheading, or "Subheading", can also be edited. Add an additional description here, such as "and that in just 15 minutes". You can also change the font and color here.
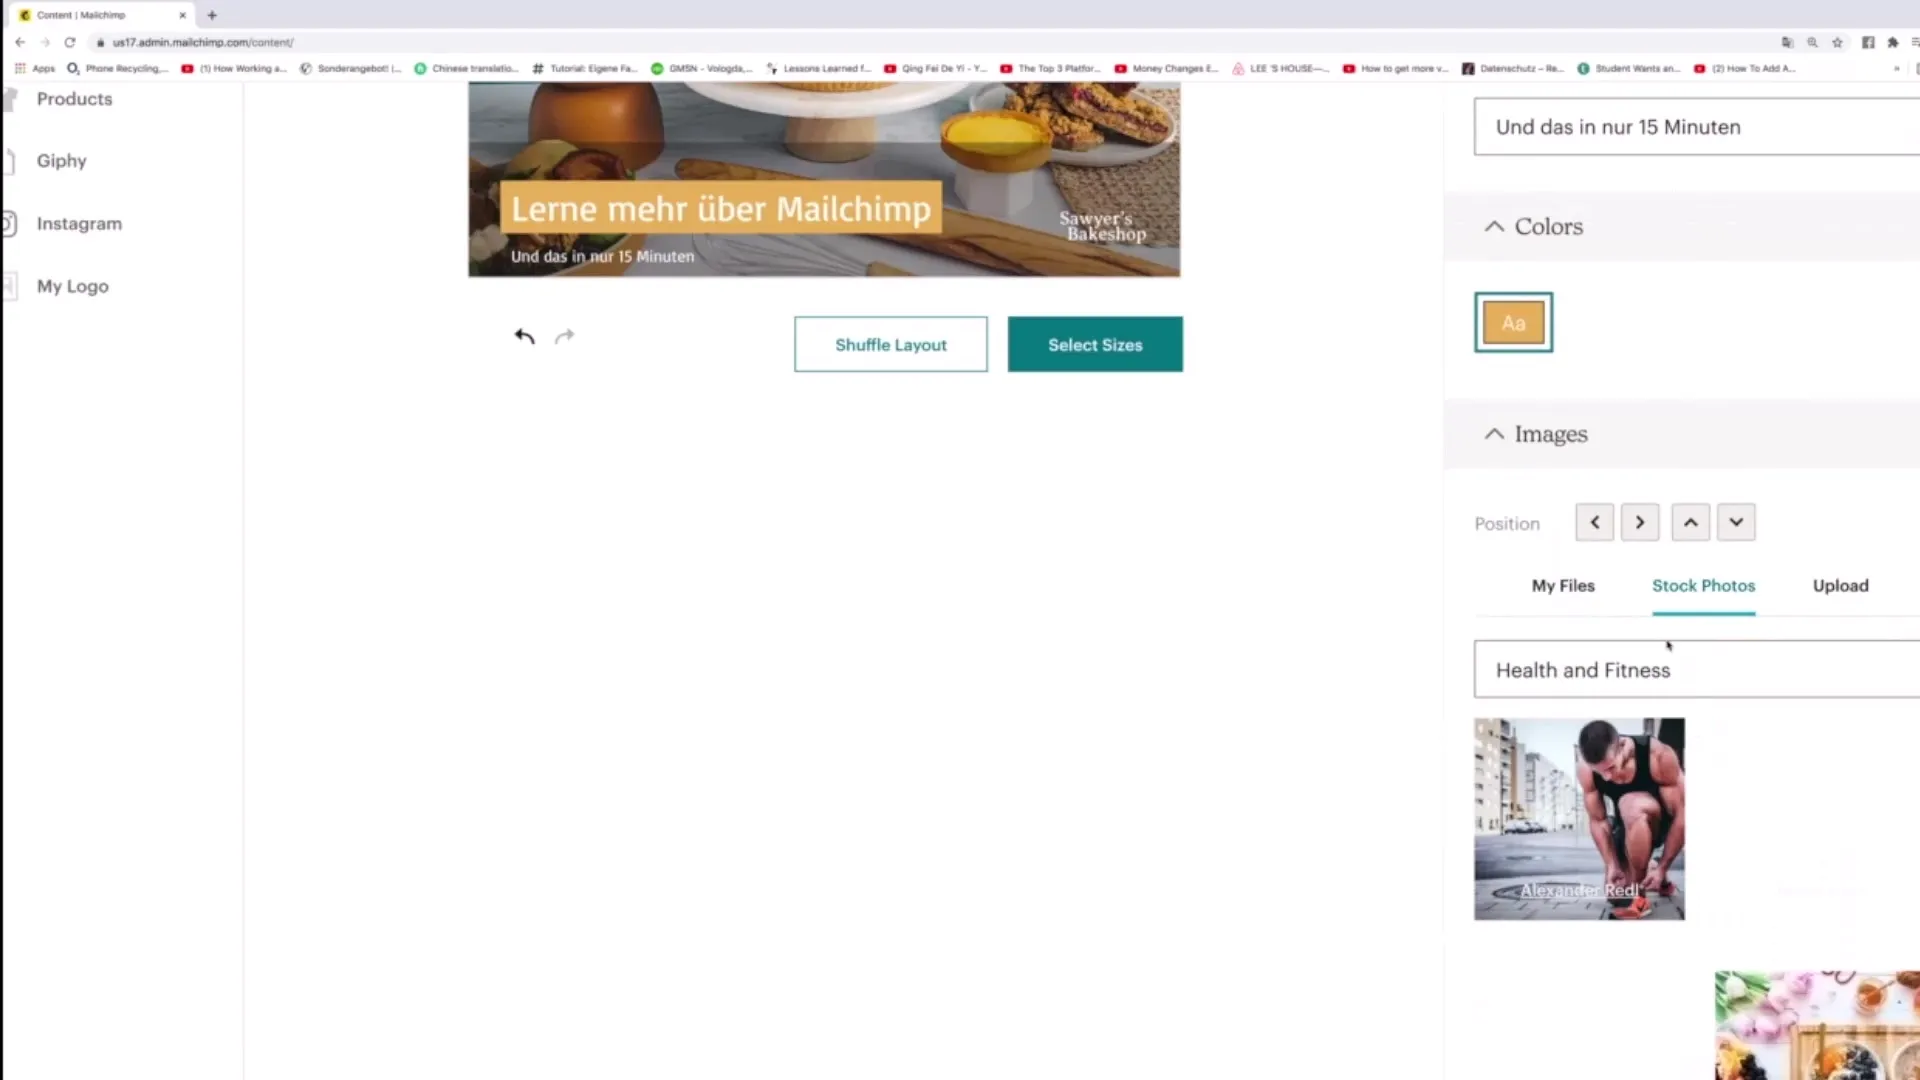
6. Adding Images
For images, you have the option to upload your own images or access stock photos. Click on the upload option or use the stock photo search function to find suitable images for your topic, such as email marketing.
7. Adding a Logo
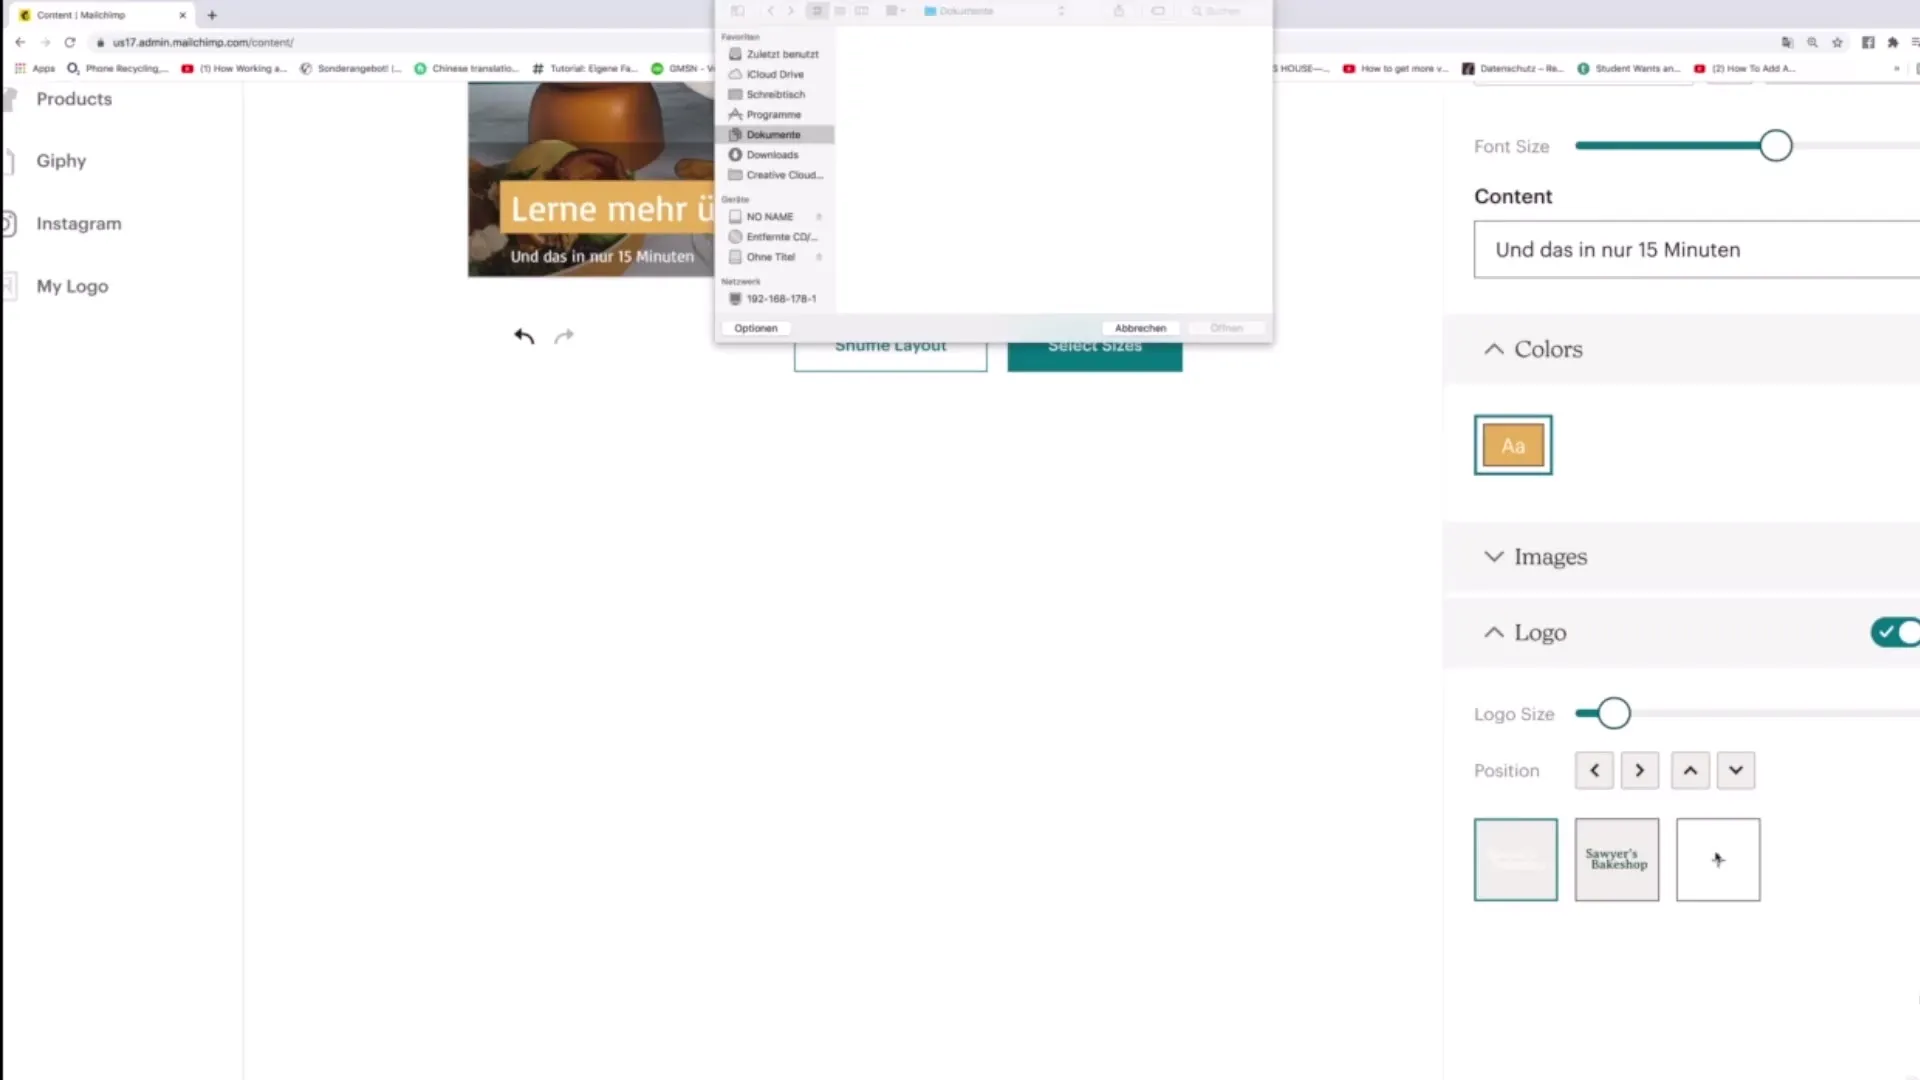
A logo can often be important for brand identity. Activate the logo option and upload your logo from your computer. This can easily be done using the plus button, which gives you the option to upload.
8. Selecting Design Sizes
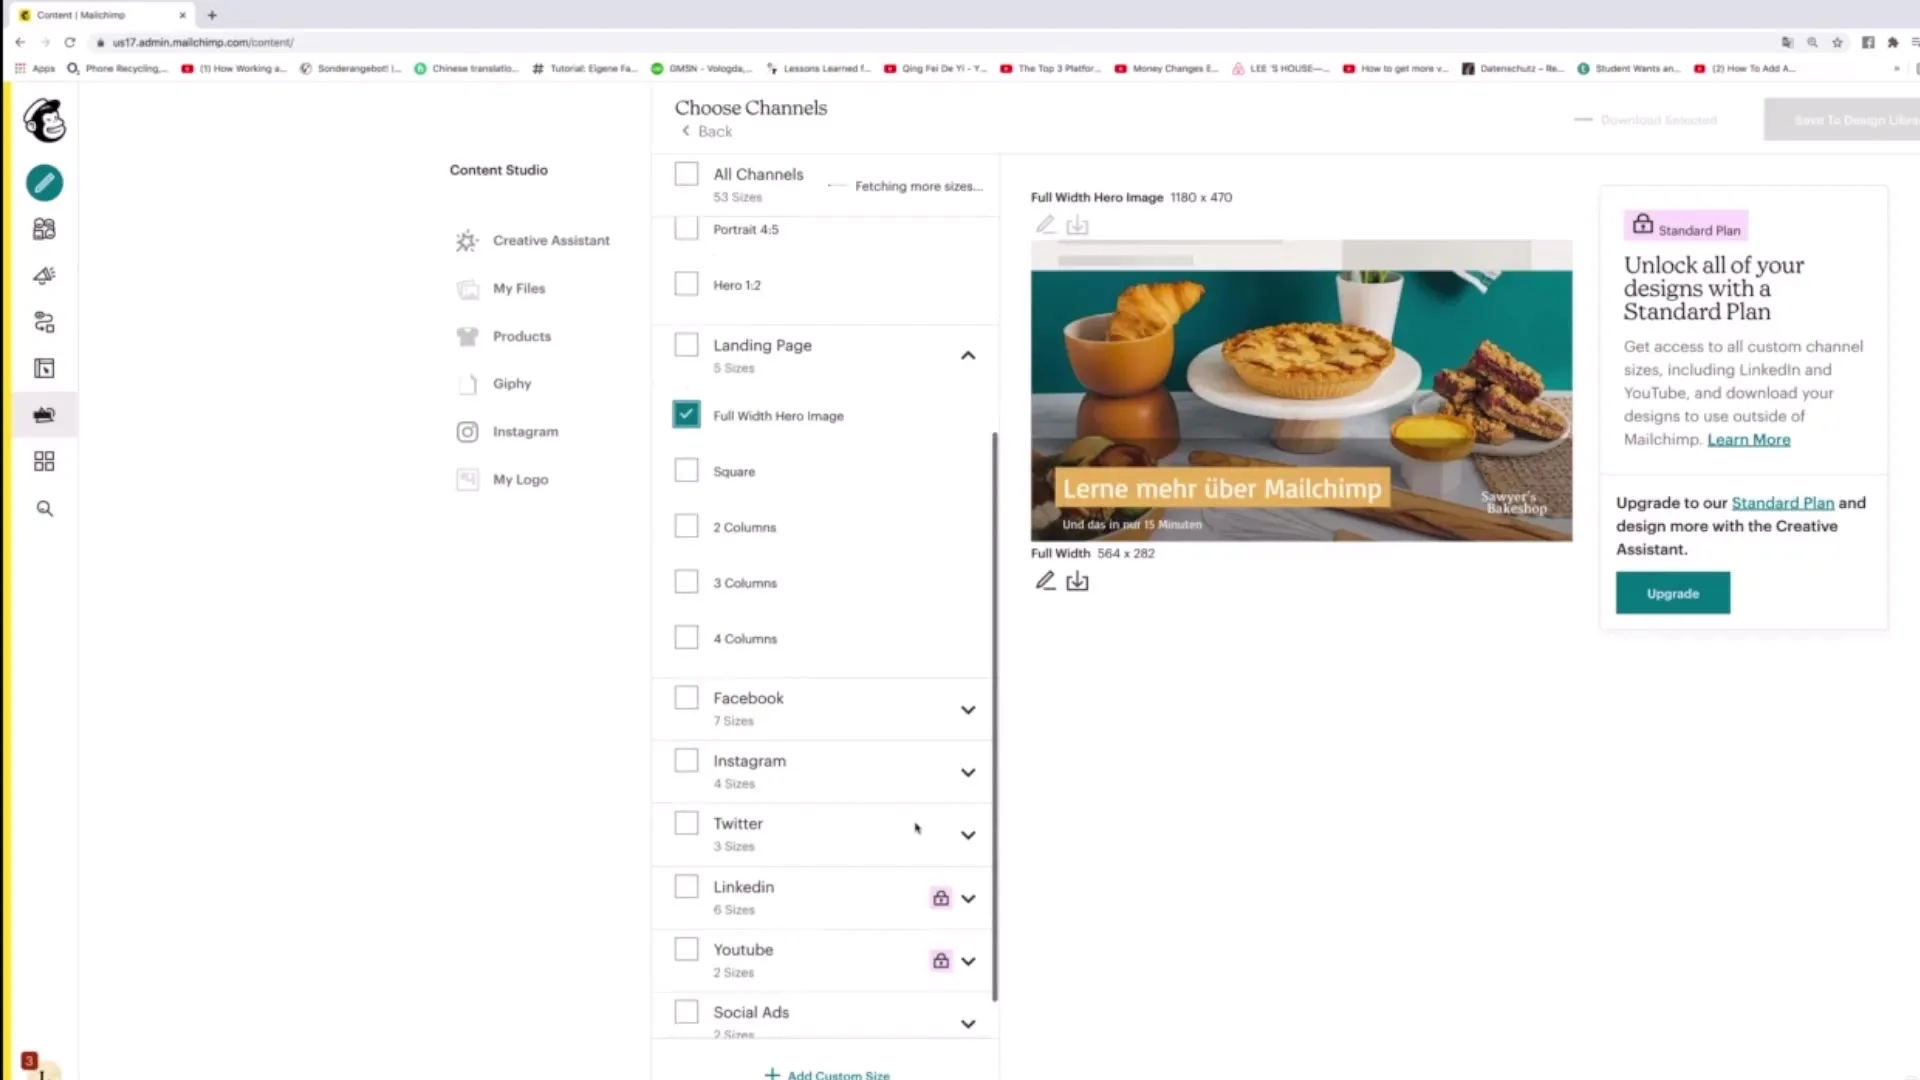
Once all content is adjusted, you can select the size of the design. Click on "Select sizes" to see different options, such as "Full width" or optimized formats for Google Ads. This ensures that your design looks appealing across different platforms.
9. Saving the Design
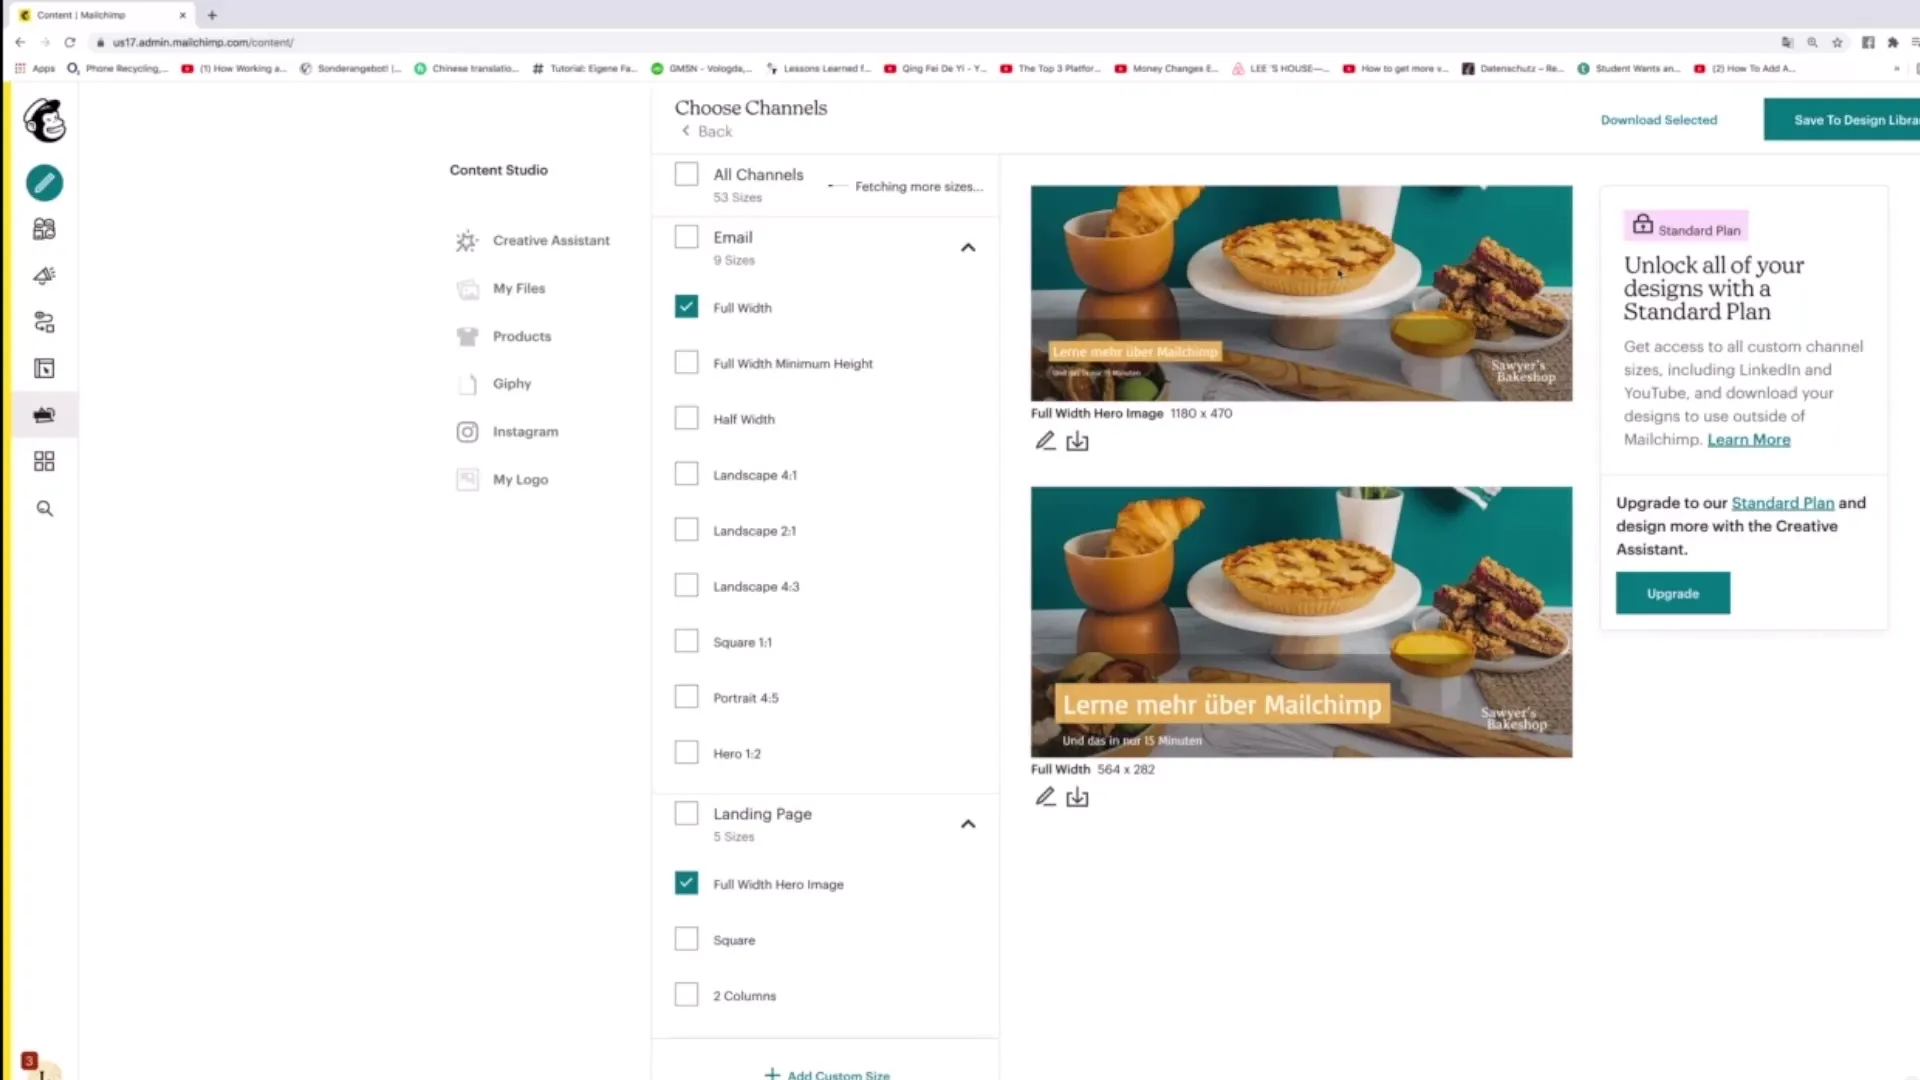
To save your changes, click on "Save to design library." This is especially helpful if you want to use similar designs in the future.
10. Making Downloads
If you want to download your designs, use the "Download selected" function. This allows you to save your creations in various formats and use them offline.
Summary – Effectively Editing Content in Mailchimp Content Studio
In this guide, we covered the essential steps for editing your content in Mailchimp Content Studio. From customizing texts to uploading images and saving and downloading your designs, you can creatively and effectively shape your content.


