In this guide, you'll learn how to successfully publish your Patreon page and make additional settings. Patreon is a platform that enables creatives to receive support from their followers in the form of subscriptions. Publishing your page is a crucial step to engage with your audience and showcase your offerings. Let's get started!
Main Insights
- You must enter your full name to publish the page, but it will not be publicly displayed.
- After publishing, you will have access to numerous new features for managing your Patrons.
- You can view posts and statistics to monitor the success of your page.
Step-by-Step Guide
Step 1: Publish Page
First, you need to click on "Publish Page" in the upper right corner. This step is crucial to make your Patreon page live. Once you click this button, you will be prompted to enter your first and last name.

Step 2: Enter Names
Enter your real name when prompted. This is important for tax purposes and payouts. Don't worry, your name will never be publicly displayed. In my example, I'm using the name "Leon Schari". Then click "Continue" to proceed.

Step 3: Actually Publish Page
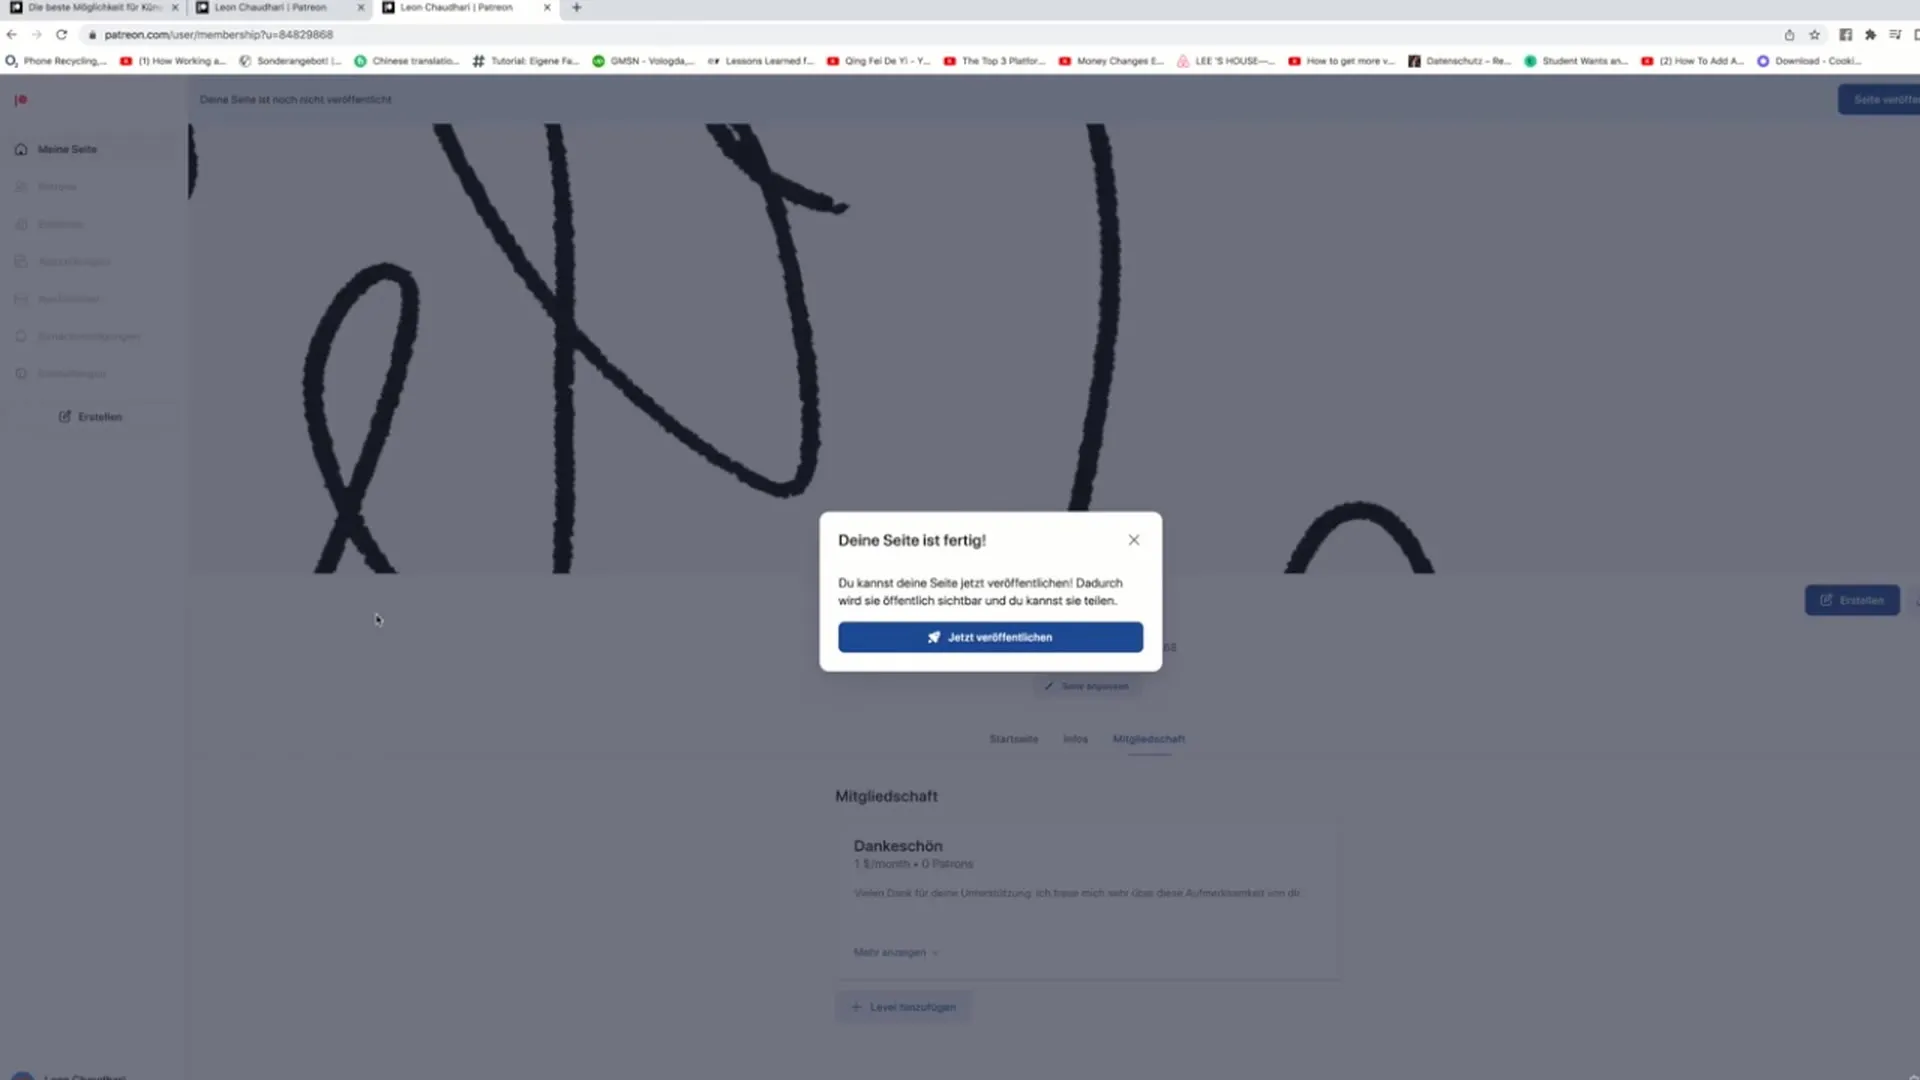
Now you will see the option to officially publish the page. Click on "Publish Now". Once you do this, your Patreon page will be accessible to the public. Visitors can now offer their support through payments starting from one euro.
Step 4: Share Link
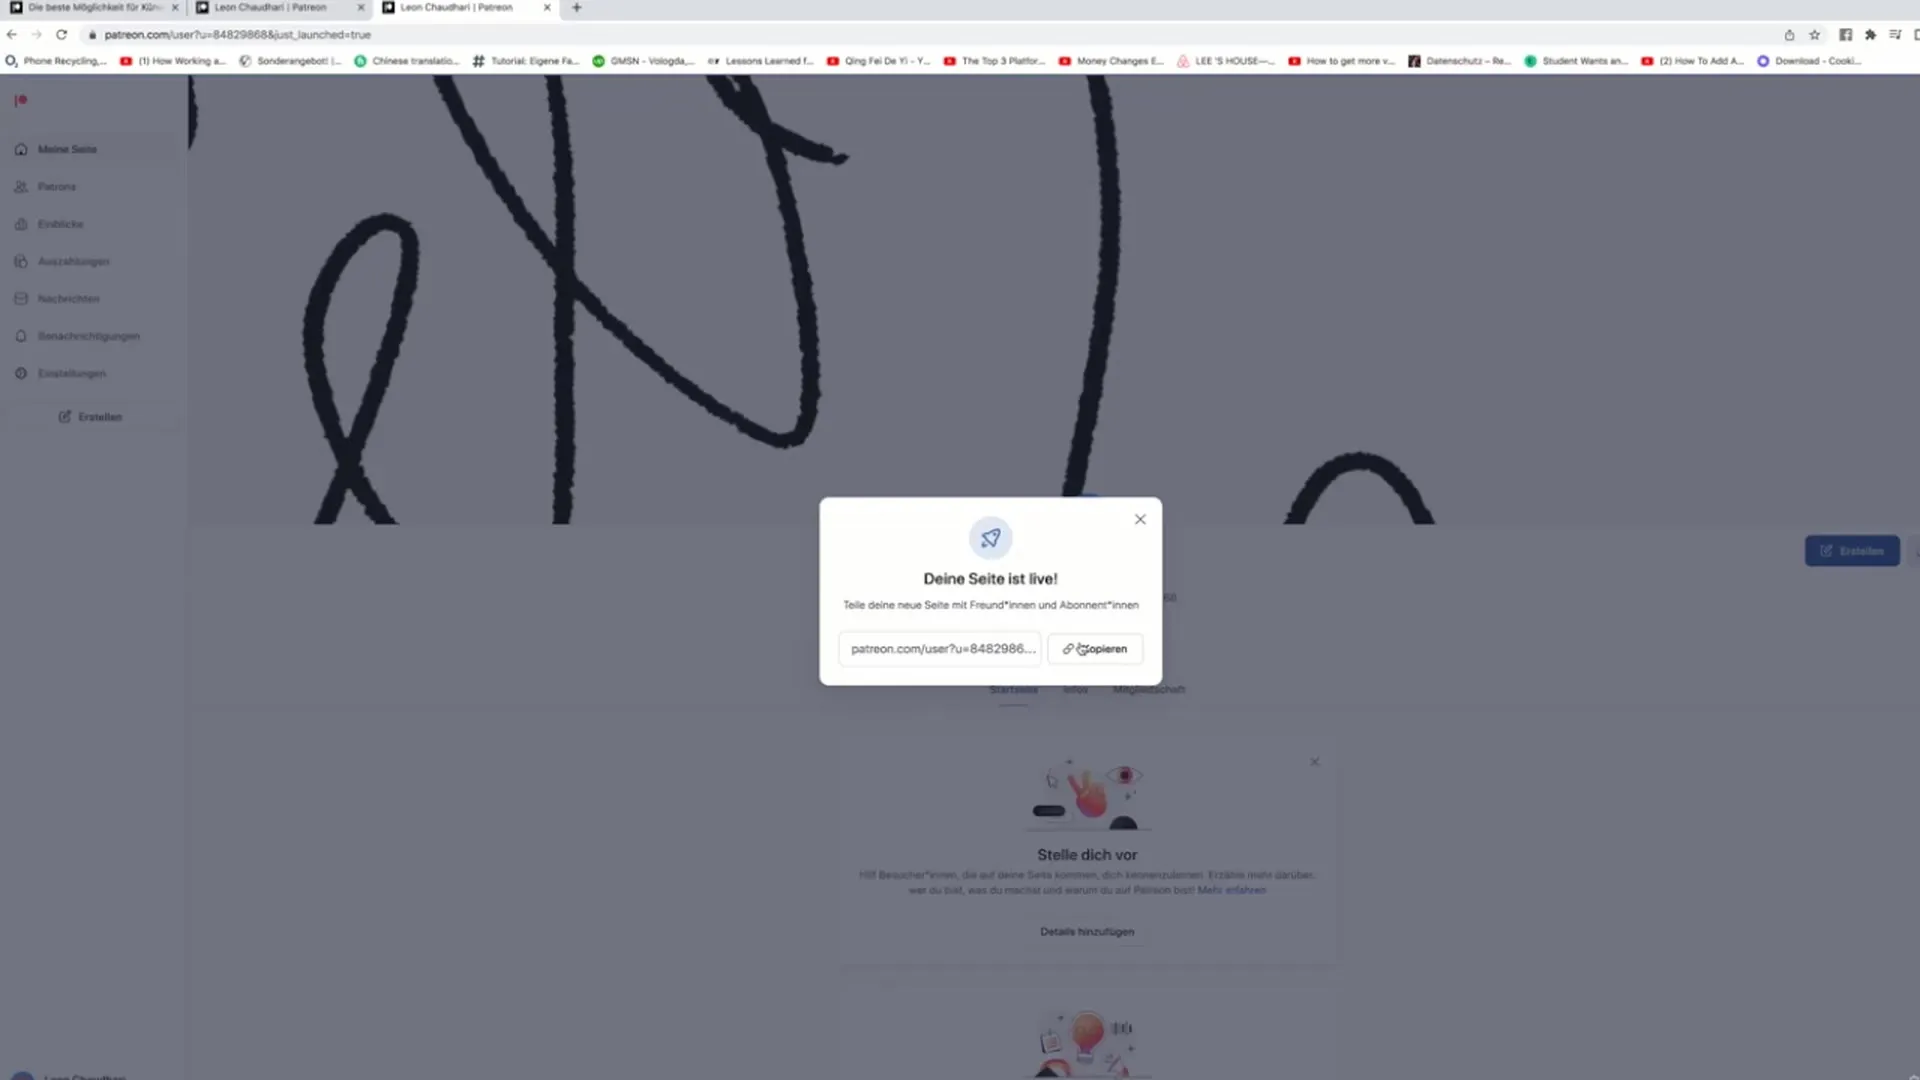
After your page has been published, you have the opportunity to share the link to your Patreon page. Use this chance to bring attention to yourself and attract new Patrons.
Step 5: Explore New Features
On the left side, you will now find a variety of new features available to you. This includes options to manage your Patrons and discover the benefits they can receive. Click on "Patrons" to see all supporters who pay monthly for your content.

Step 6: Manage Benefits
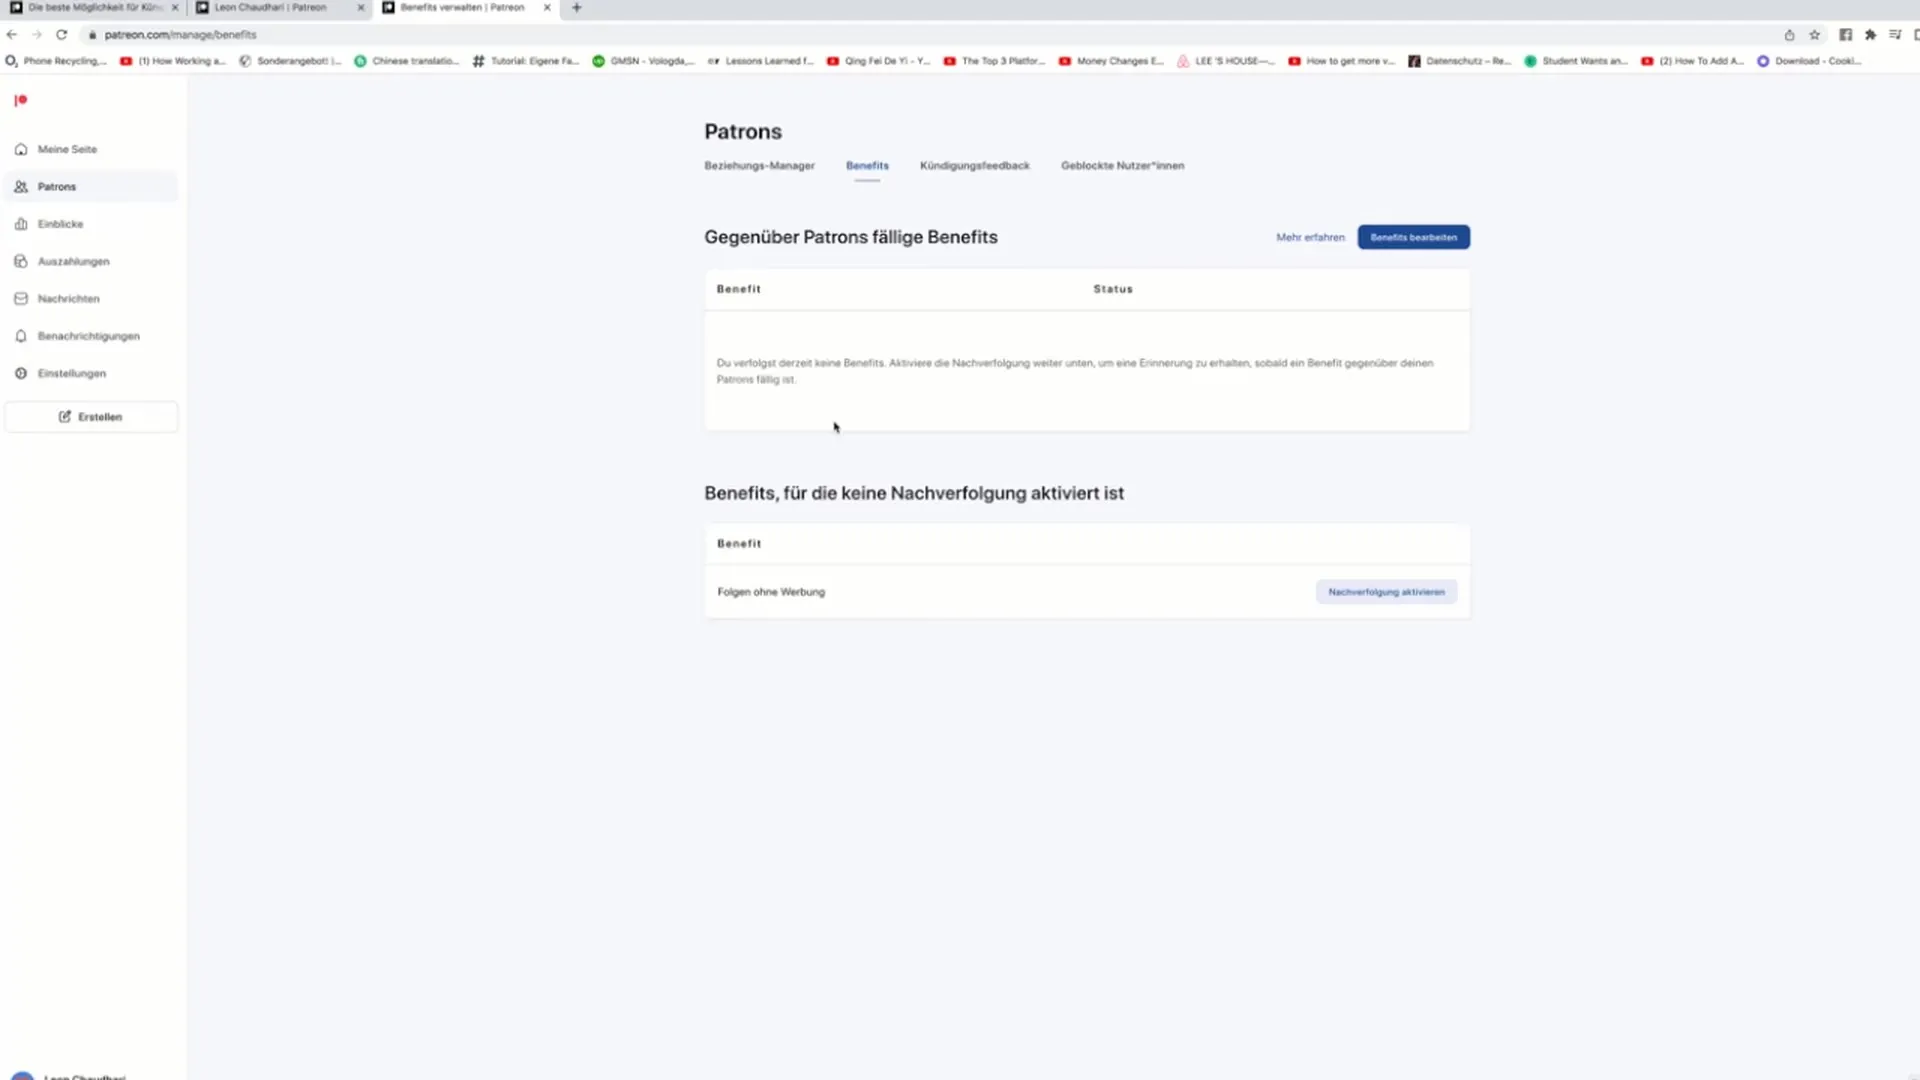
Under the "Benefits" section, you can specify the advantages your supporters will receive. Here you can also see if certain benefits are active or not. This is important for designing your offers and ensuring your Patrons receive the incentives they desire.
Step 7: View Cancellation Feedback
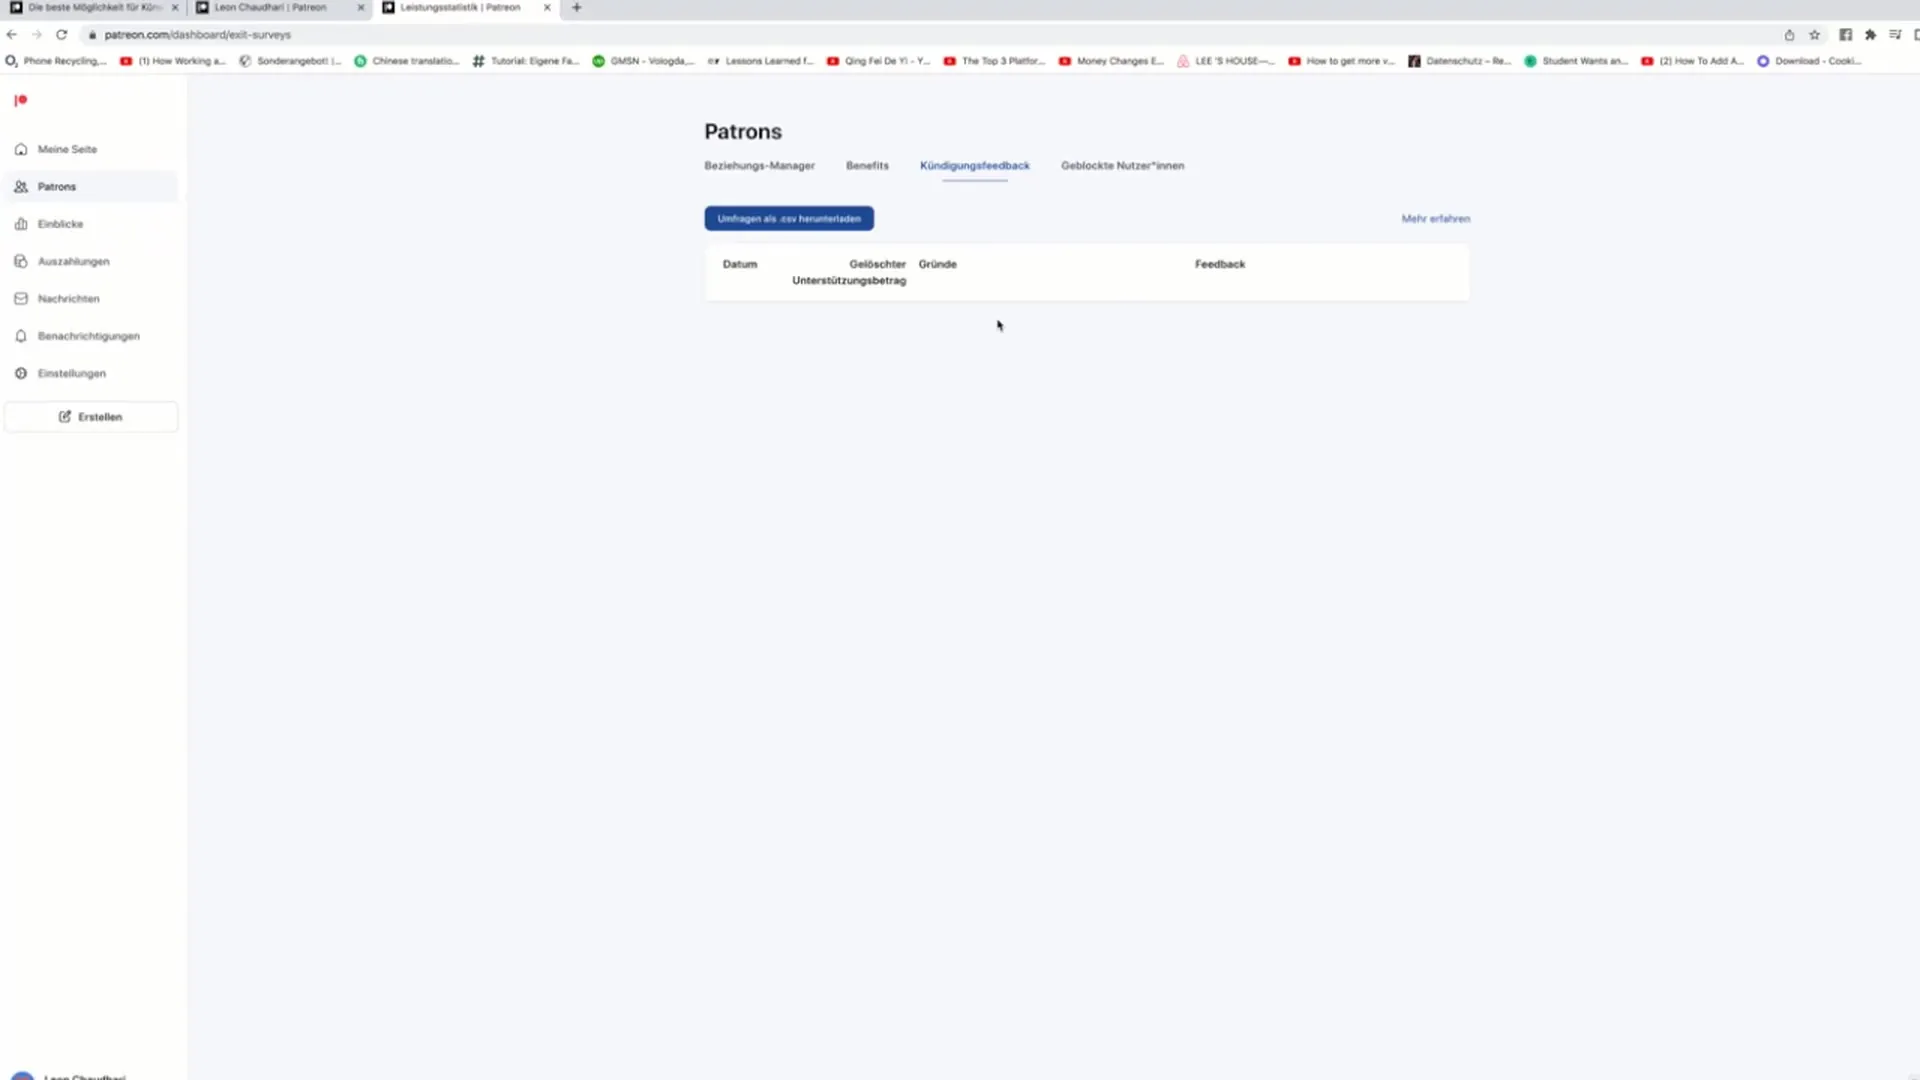
You also have the option to read the cancellation feedback. When Patrons cancel their subscription, they can inform you why they took this step. This information can provide you with valuable insights and help make improvements.
Step 8: Manage Restricted Users
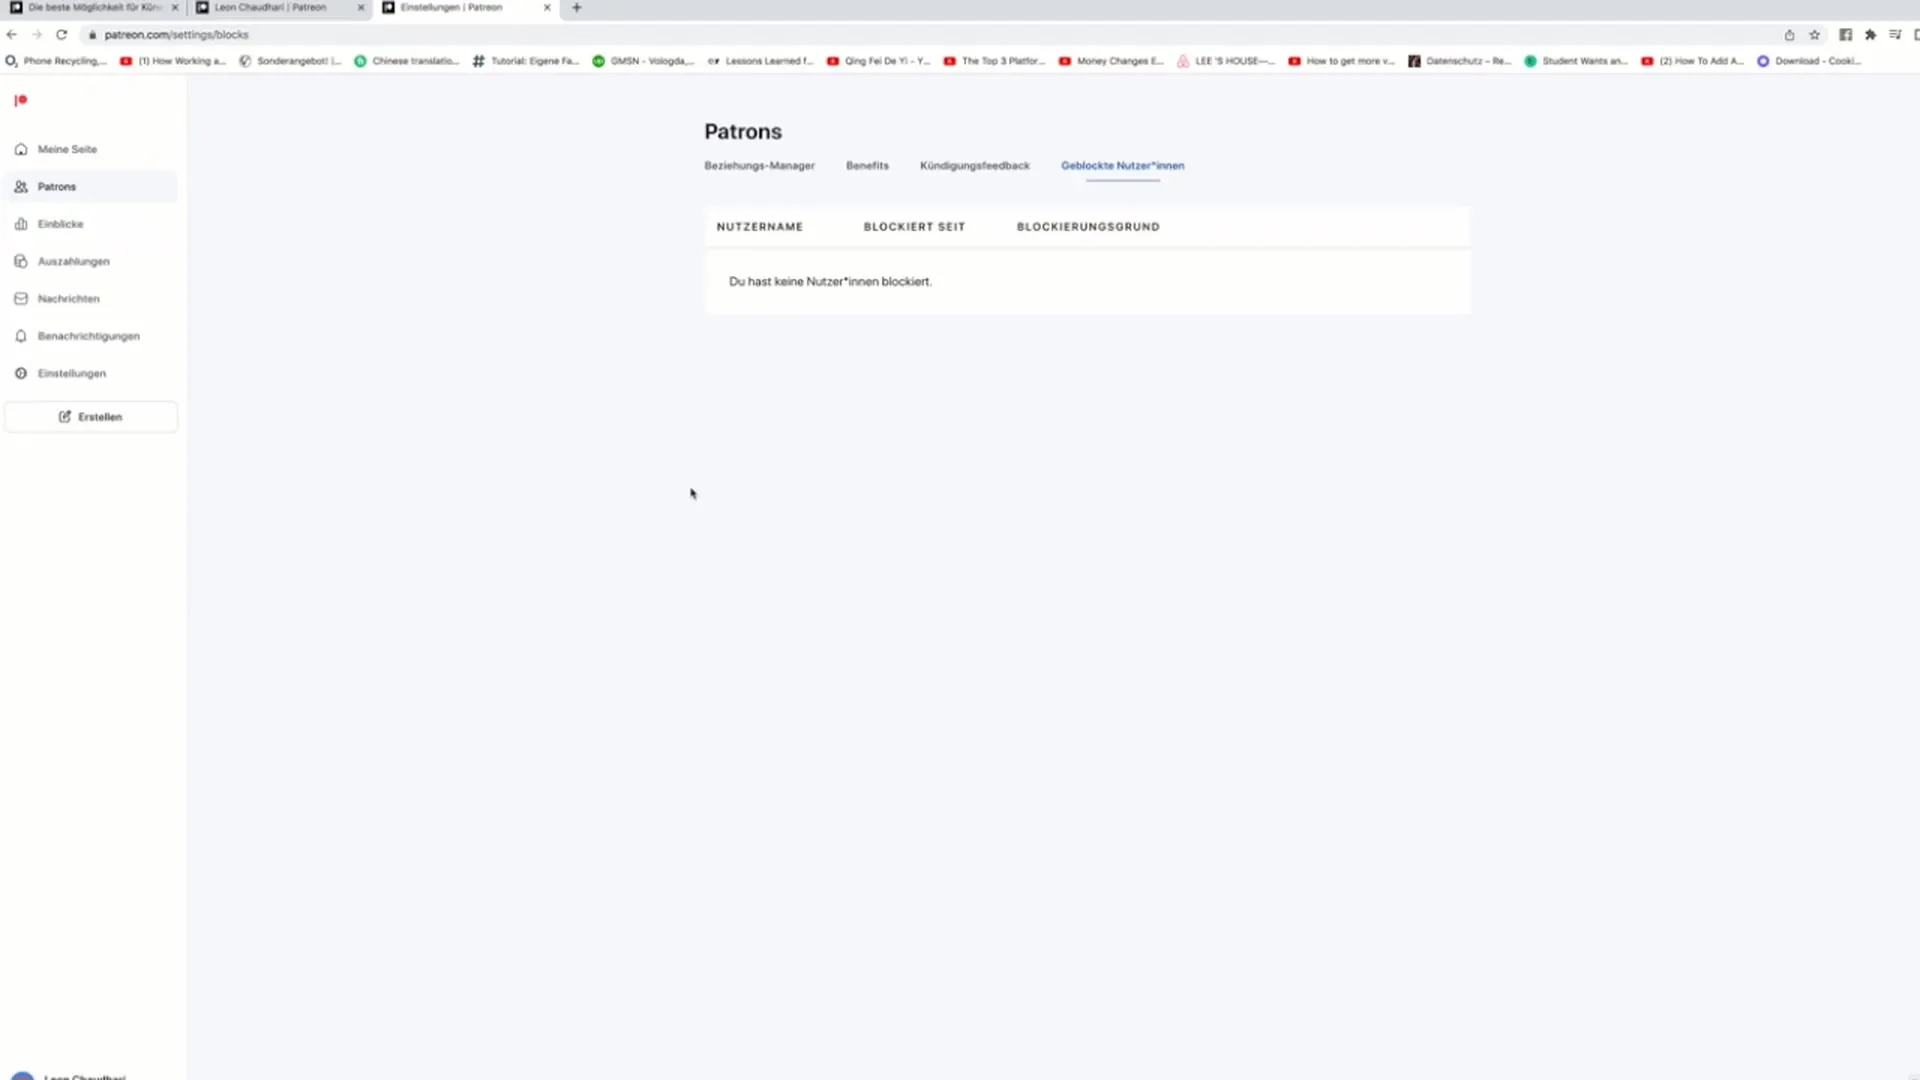
On the "Blocked Users" page, you can see which individuals may have shown inappropriate behavior and whom you have thus blocked. This helps promote a positive community.
Step 9: Statistics and Insights
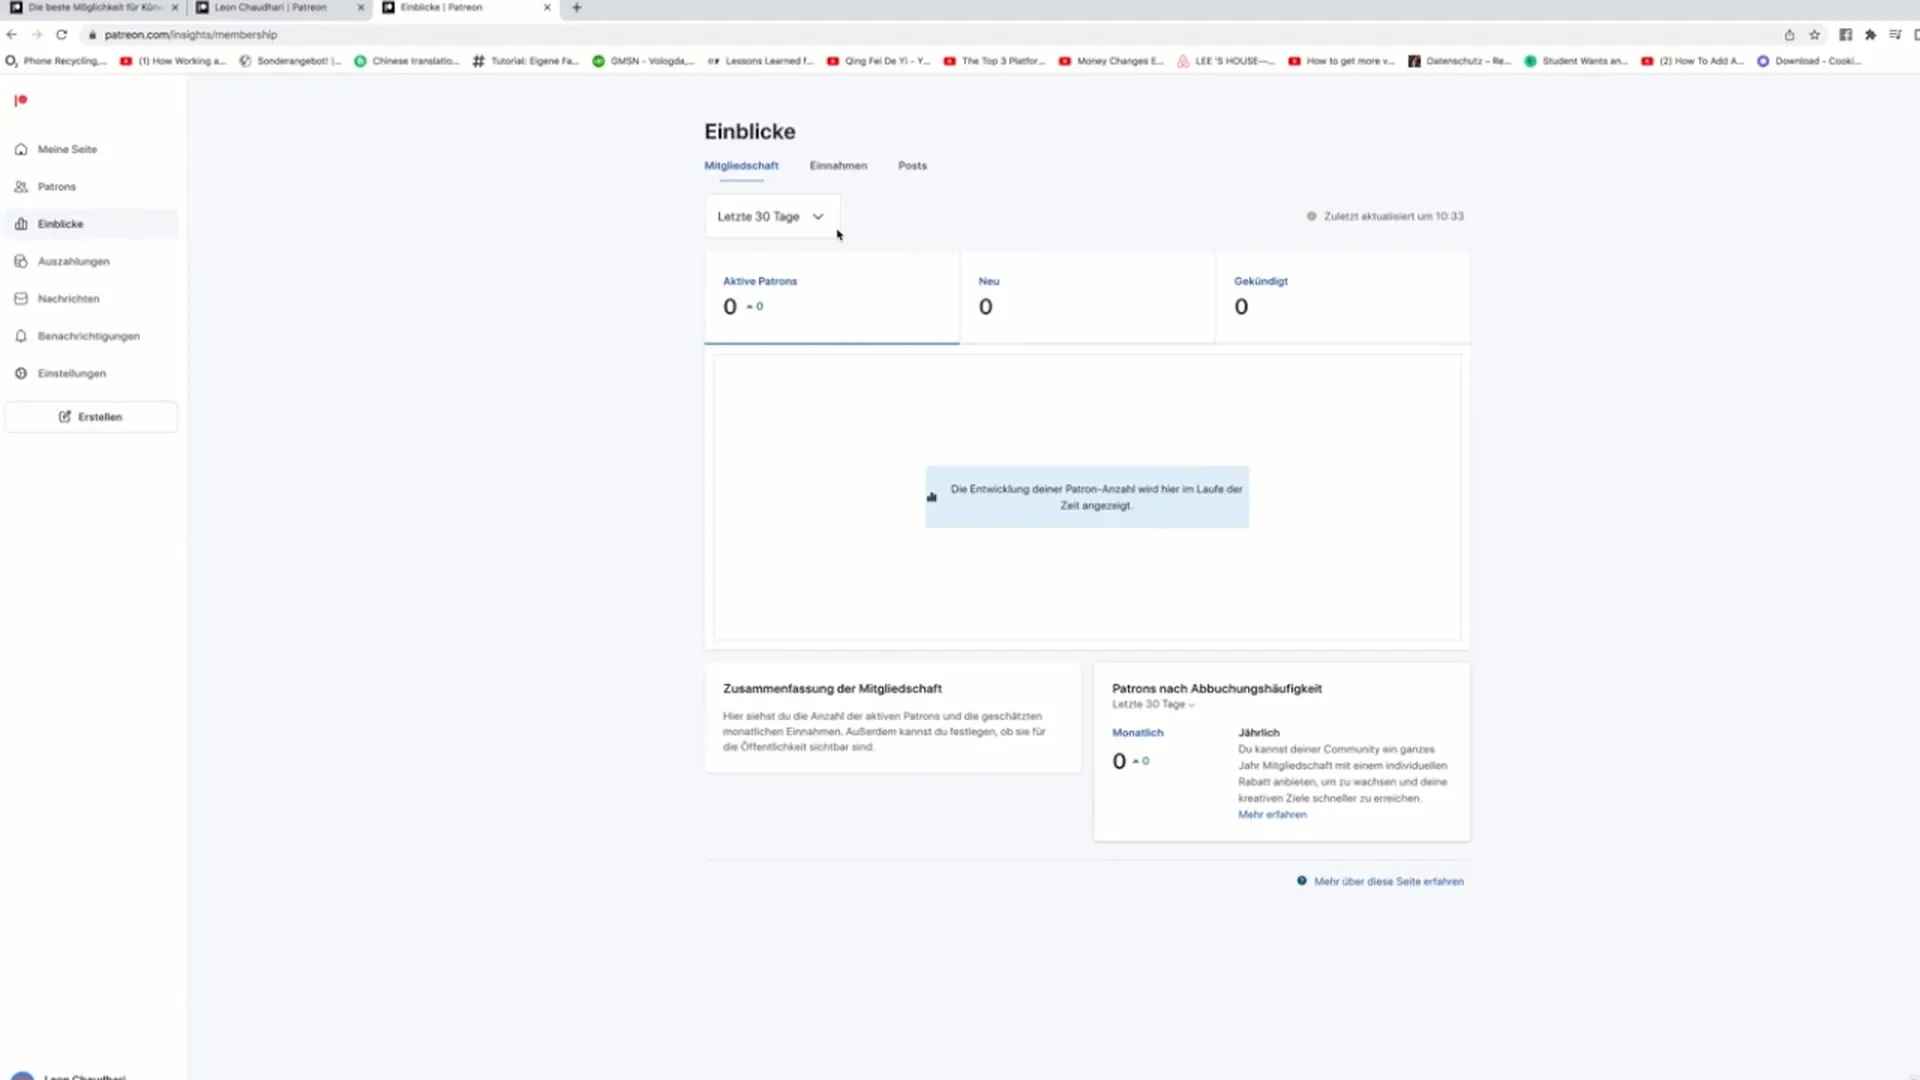
Under the "Insights" section, you can view statistics. Here, you can access information on active Patrons, new subscribers, and the cancellation rate. You also get insights into your earnings over different periods – whether it's the last month or the entire year.
Step 10: Request Payouts
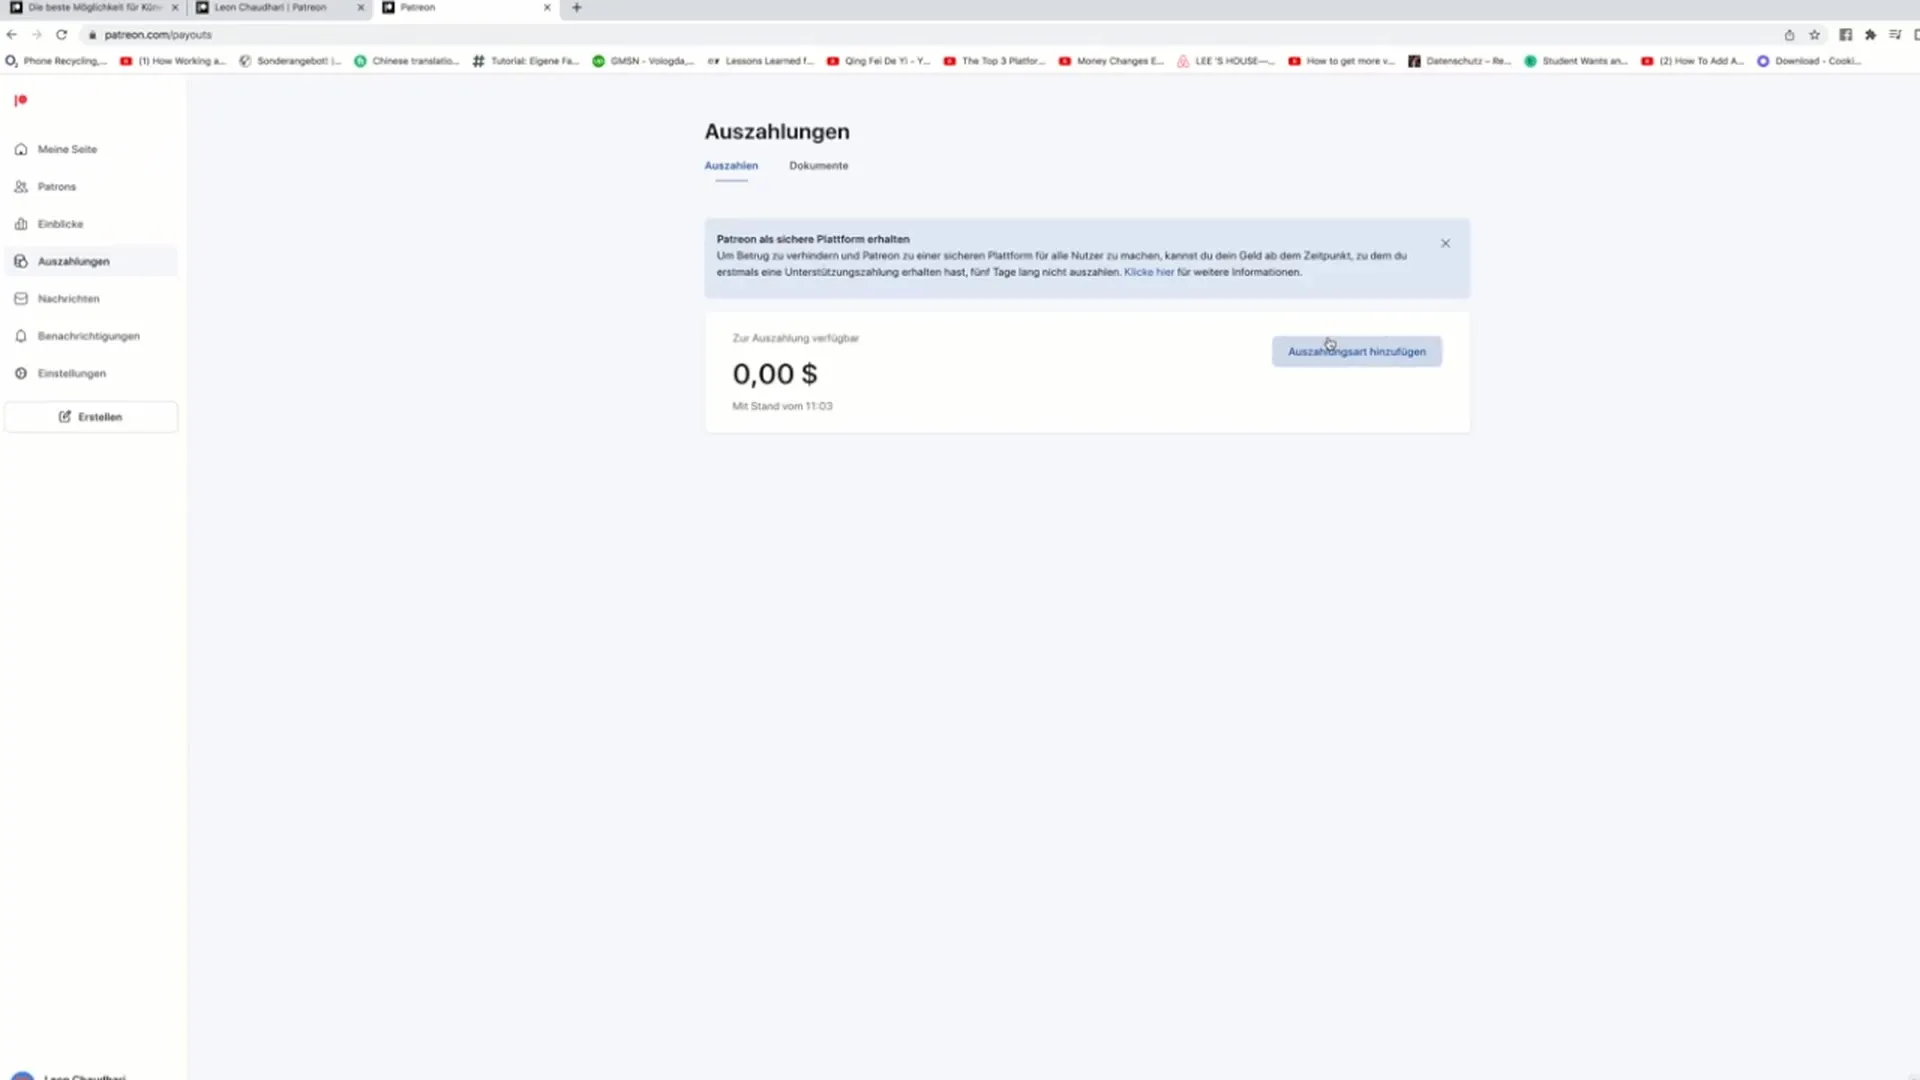
To withdraw your money, you must first specify a payout method. Click on the relevant location to fill out the W8 form. This form is especially important for tax purposes regarding the American platform Patreon.
Step 11: Manage Messages
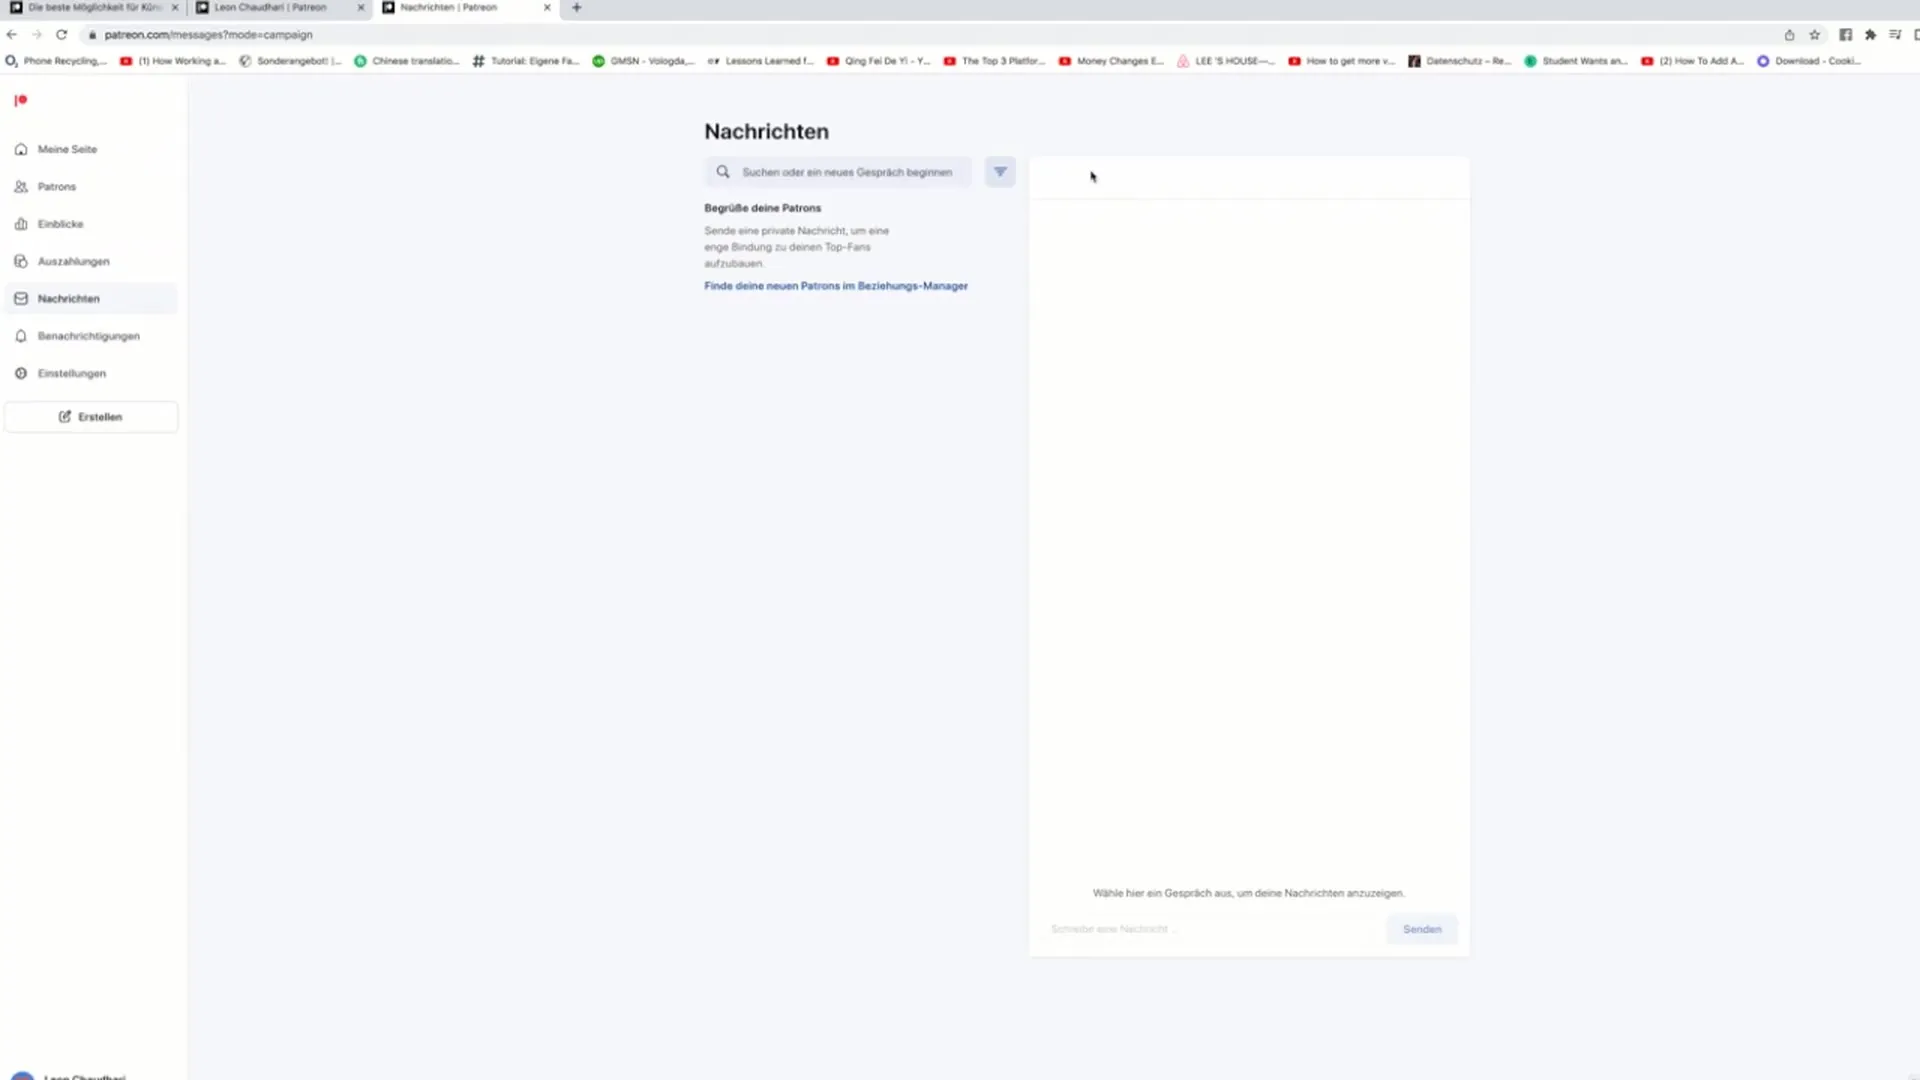
The messaging feature allows you to receive personal messages from supporters. You can view and respond to these at any time, enhancing your communication with your community.
Step 12: Check Notifications
Don't forget to check the notifications as well. Here you will be informed about important updates and events related to your page. This will keep you informed about relevant changes.
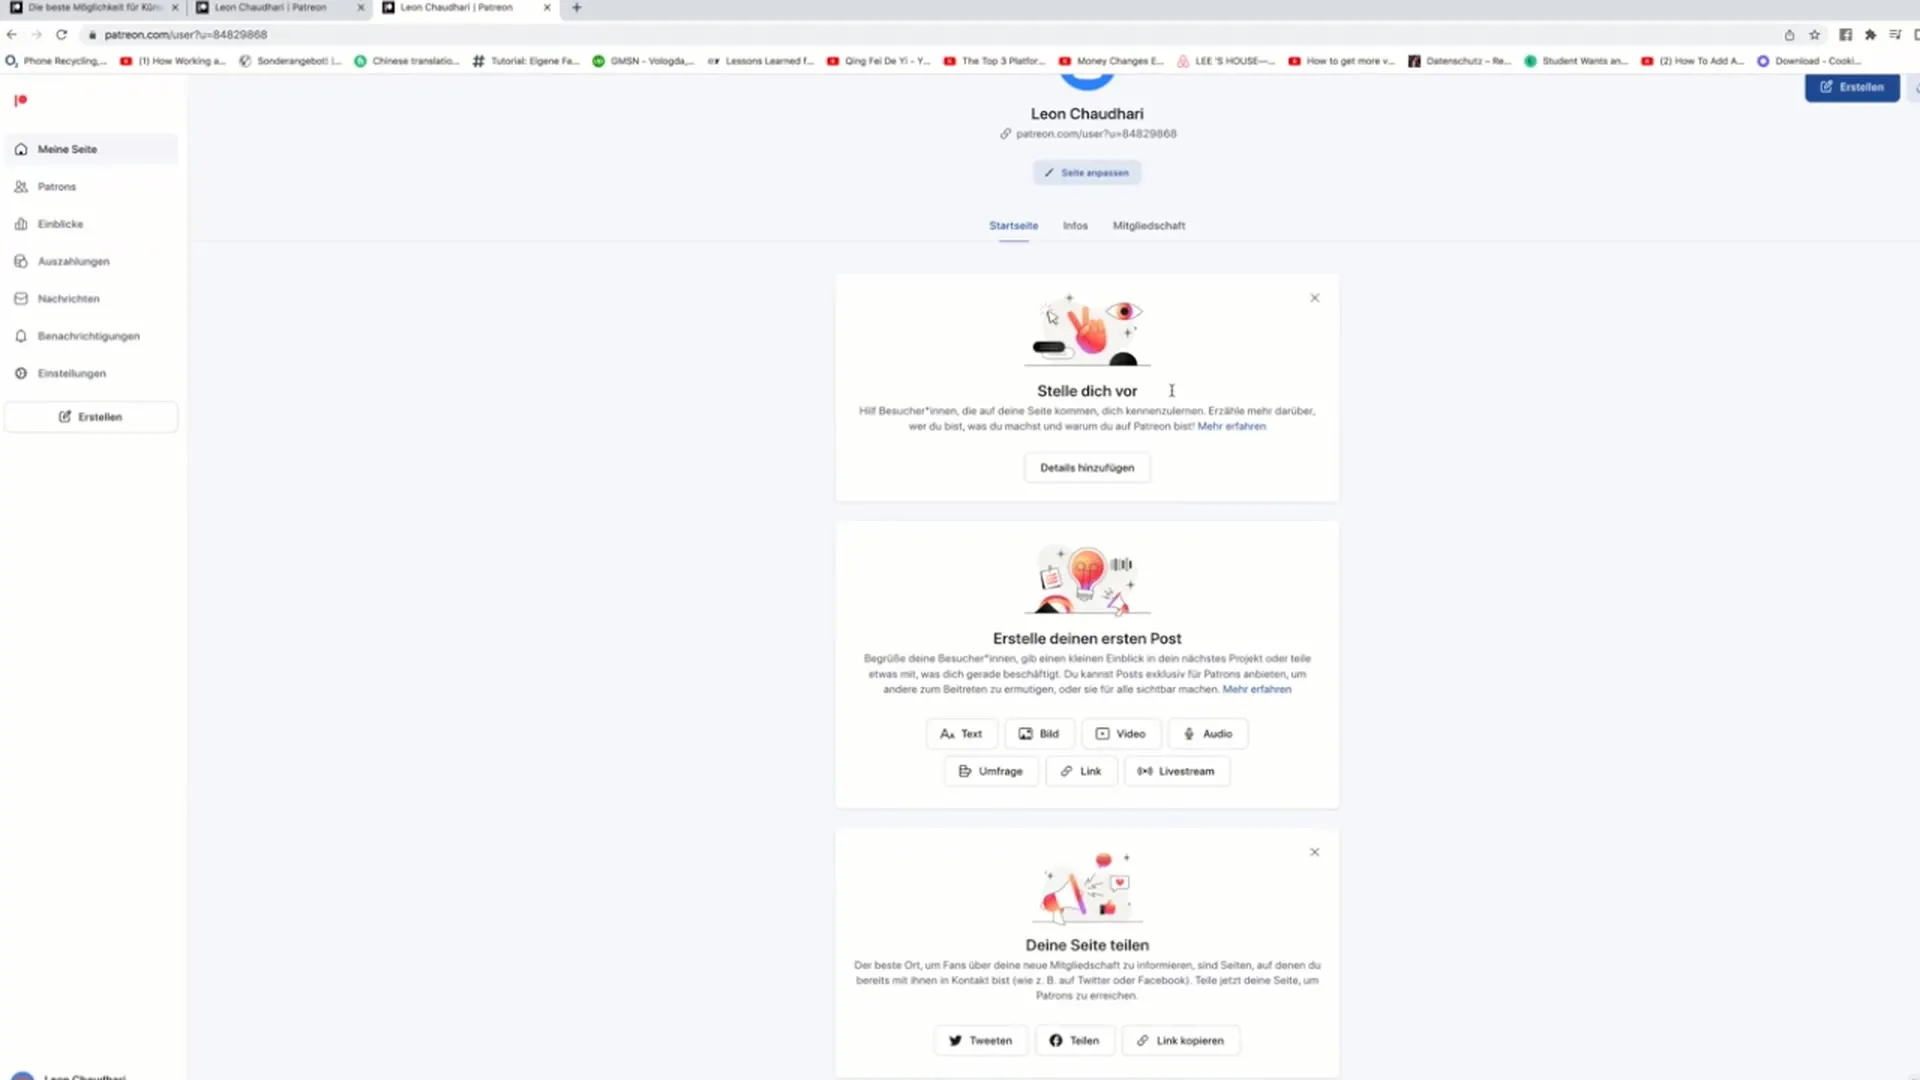
Step 13: Manage Page and Memberships
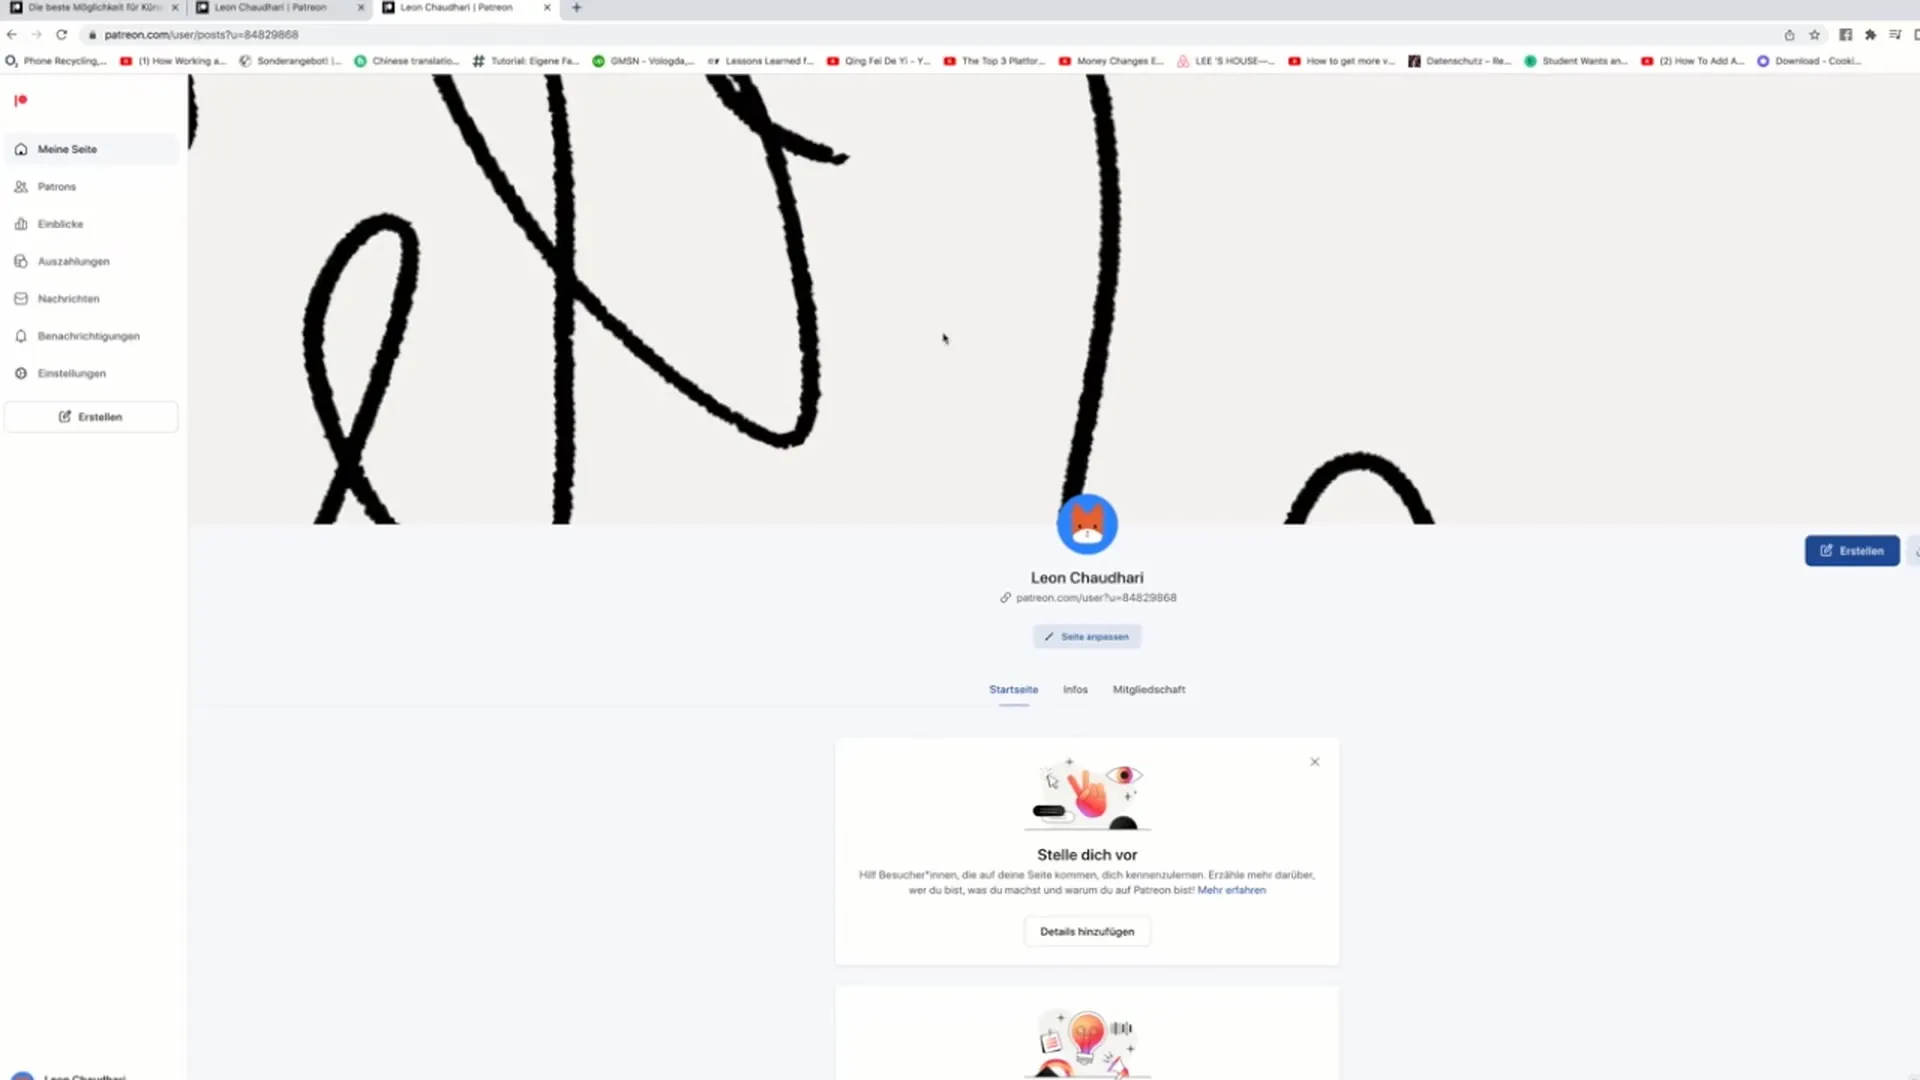
Above, you will find the "My Page" button. Here you can view all information about your memberships and add details at any time. This information is crucial for making your page look professional and appealing to the right audience.
Summary
In this guide, you have learned how to publish your Patreon page, make important settings, and optimize your page management. Remember to regularly check your statistics and use feedback from your Patrons to improve your offerings. This way, you will develop a strong community and maximize your success on Patreon.
Frequently Asked Questions
How long does it take to publish the Patreon page?It only takes a few minutes to create and publish your Patreon page if you have all the necessary information ready.
Are my personal details visible on the page?No, your name is not displayed publicly, it is only used for internal purposes.
Can I change the settings of my page later?Yes, you can adjust settings, memberships, and benefits at any time.


