When you build a scene in CINEMA 4D, it's usually the case that you add the lights at some point while you're still working with it, but after modeling.
Is that how you do it? So you first create a base and then create a very simple scene.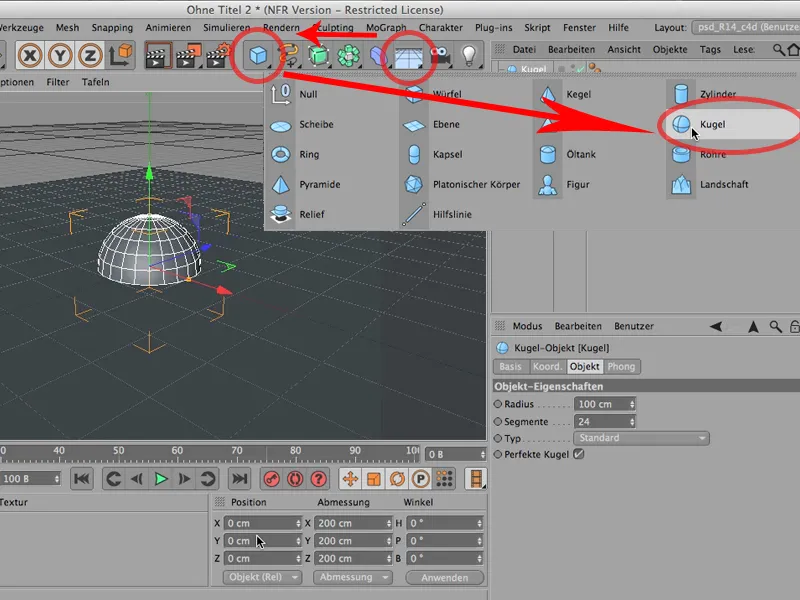
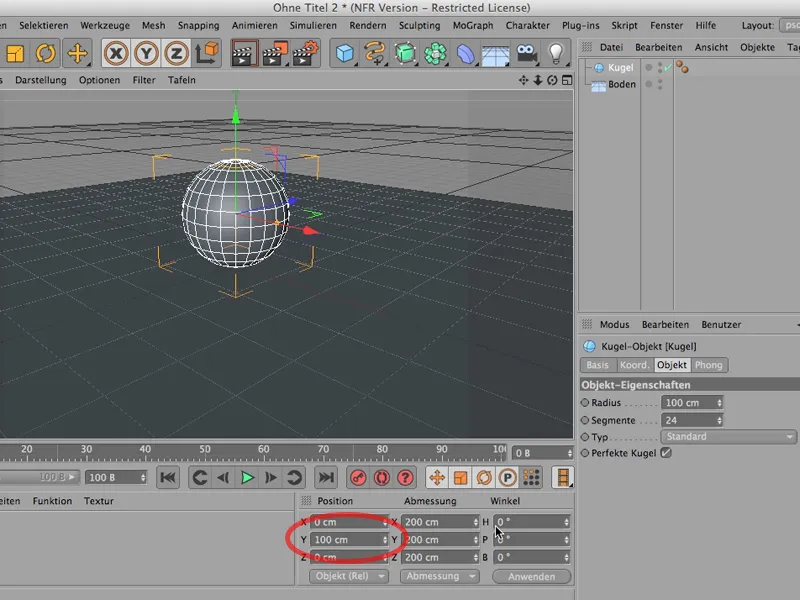
I'll give this sphere a Y-height of 100, so now we have the thing and that's our scene. At the moment we're still using the standard light - that means we haven't set our own light yet.
By the way, if you want to take a look at this, you can see the standard light in the editor options and you can even change its direction.
But as you can see, we still can't get a real shadow. But that's exactly what's so Schick sometimes: you don't always want to render everything.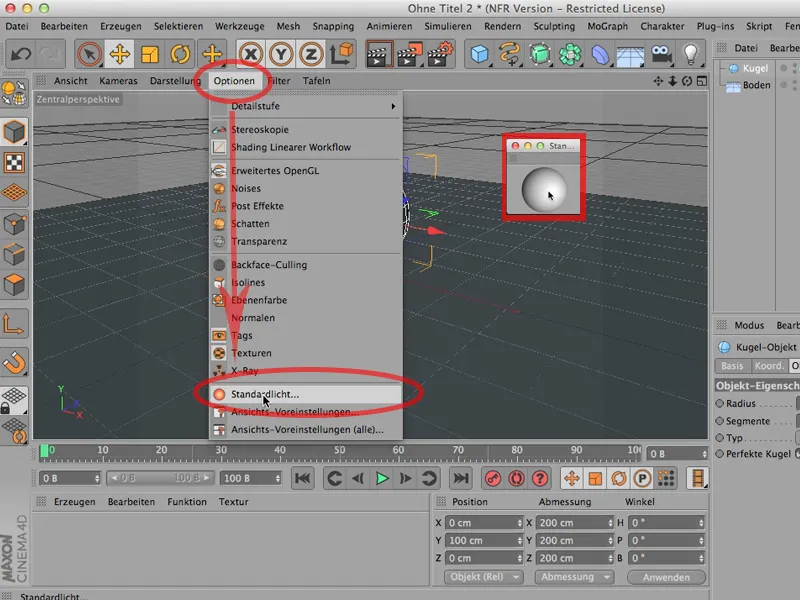
So let's first create a new light source, give it a soft shadow ...
... and then move the light source out of the sphere here. And now you can see that we have a nice light on the sphere. But of course the shadow is not yet there.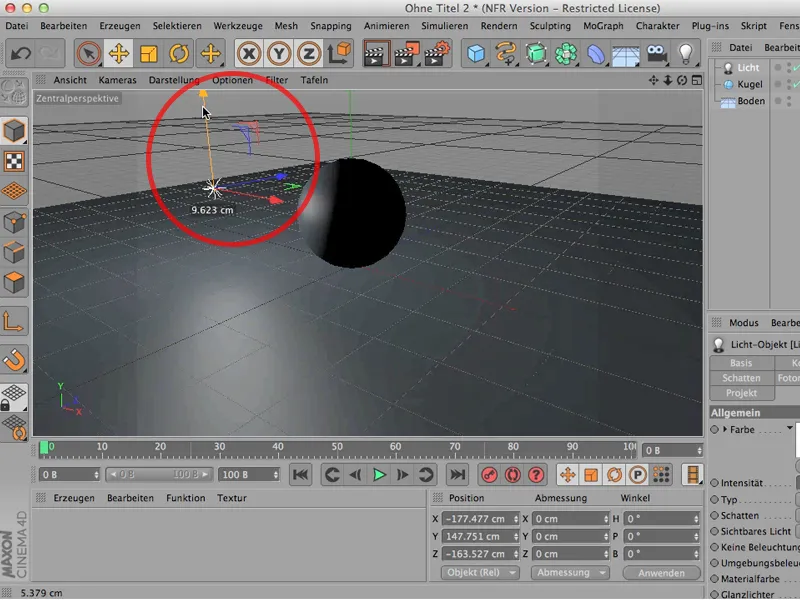
That's not too dramatic, because normally you render something like this and then you can see the shadow.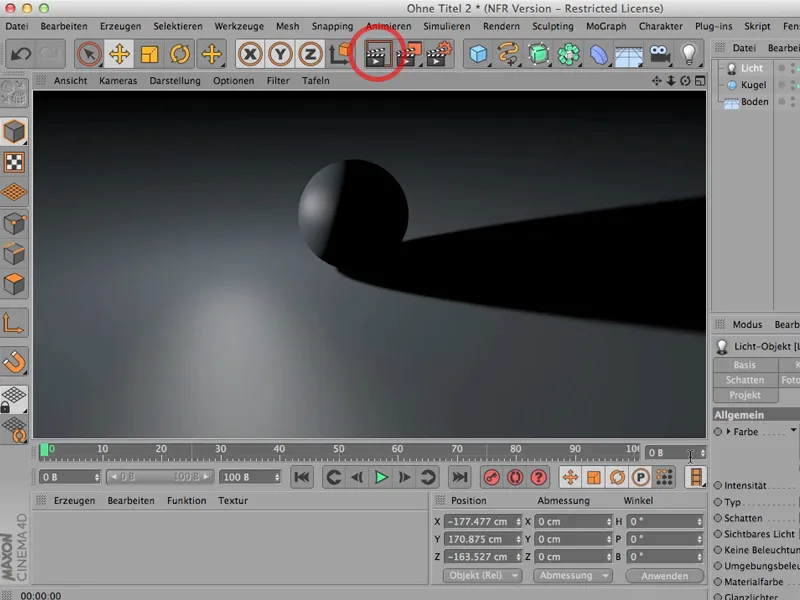
But if I want to see it while I'm modeling so that I can set up my light source, then I should do the following: I go to the options here , Advanced OpenGL is already turned on there (you can see that by the 3 icons being selectable down here), and then I click on Shadows now.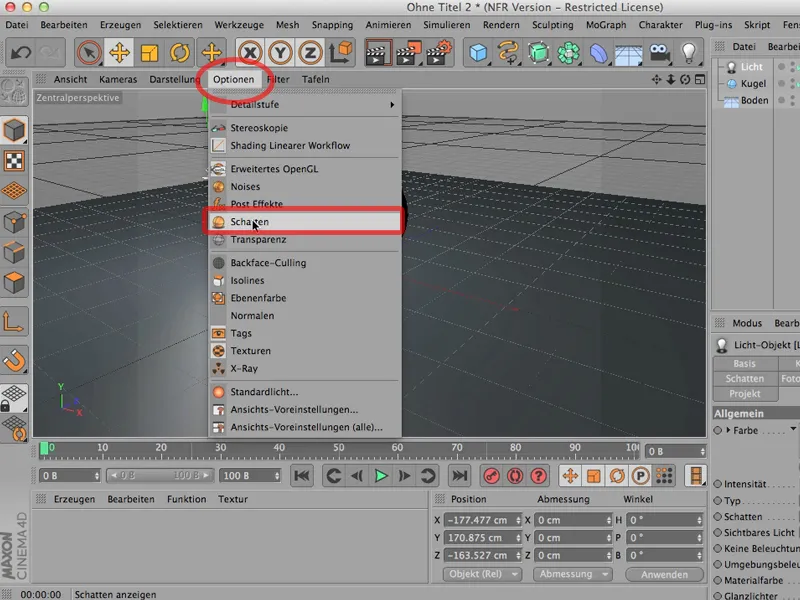
And as soon as I do that, you can see that the shadow is already visible here in the editor, so I can set up my light source so that the shadow that I might need for the design is visible.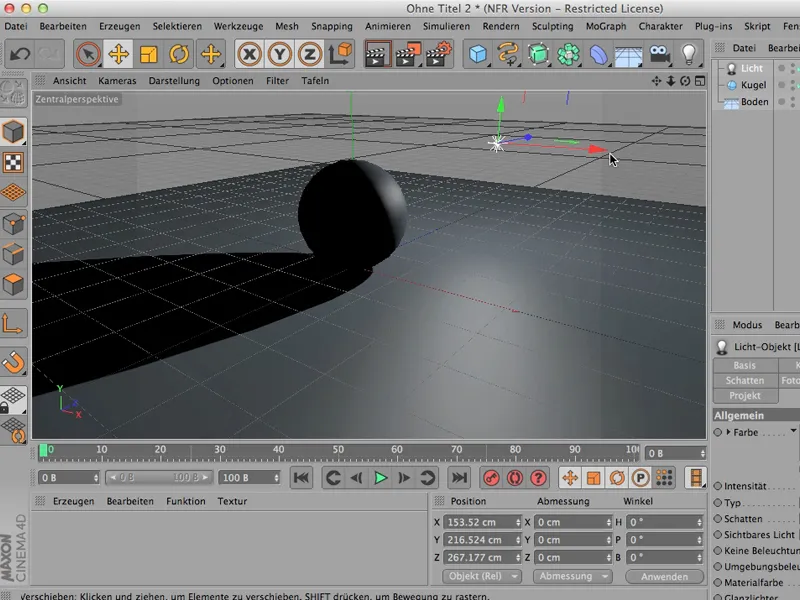
This is sometimes quite useful; of course, you must not forget that this puts a relatively heavy load on the graphics card. So if you have lots and lots of objects or complex, complicated objects, this is only a good idea to a limited extent.
But just to see: What does my light actually look like, what does my light source look like? How does my shadow behave? How important is it? - it's a good idea to have the shadow displayed in the editor while you're still modeling.
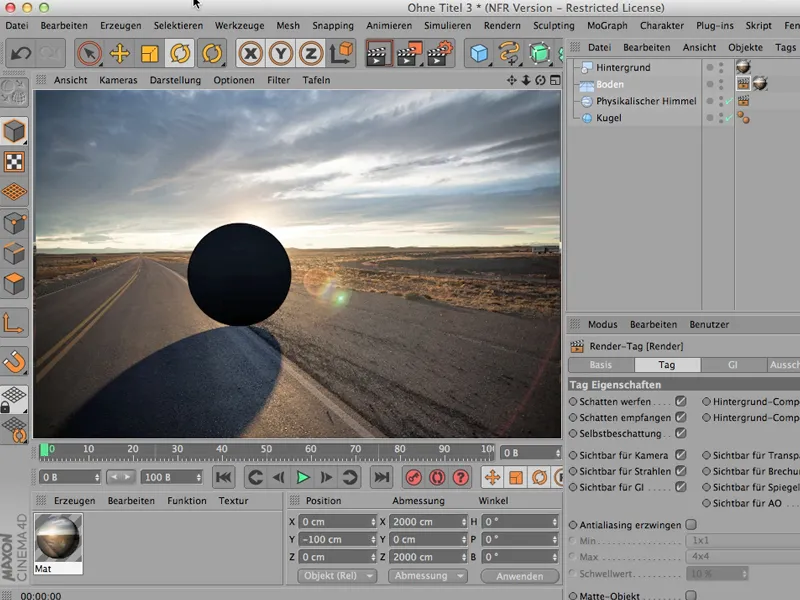
This tutorial is all about shadows. Of course, you would often like to have the shadow cast by a 3D object transferred to a 2D scene, but first you have to get to the point where you can recognize the 2D scene in the background. And that the shadow is visible there.
So - what did I do? I called up a completely normal floor object and placed it at a Y height of -100 so that the sphere with its radius of 100 cm lies exactly on this floor object.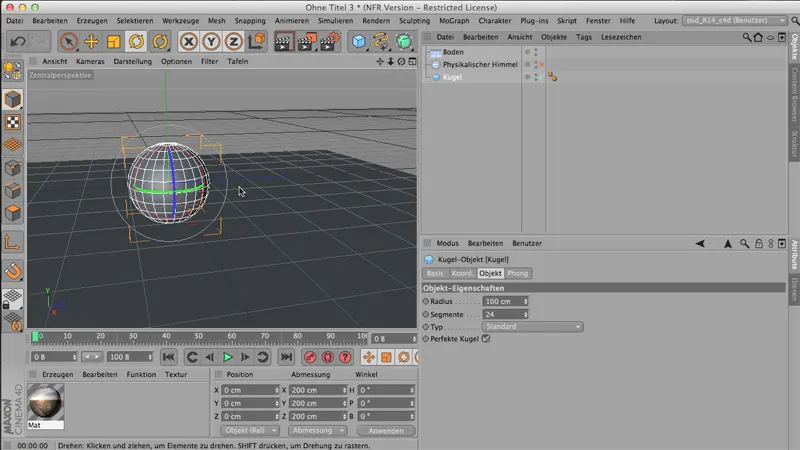
Then I created a material, because this is exactly the 2D scene that I would like to show - you can see it here in small -,.webp?tutkfid=55953)
... and it should now be brought into the picture in such a way that this sphere casts a natural shadow. To do this, you first need a so-called background object. I'll make a little more space here so you can see that you can load the background object here.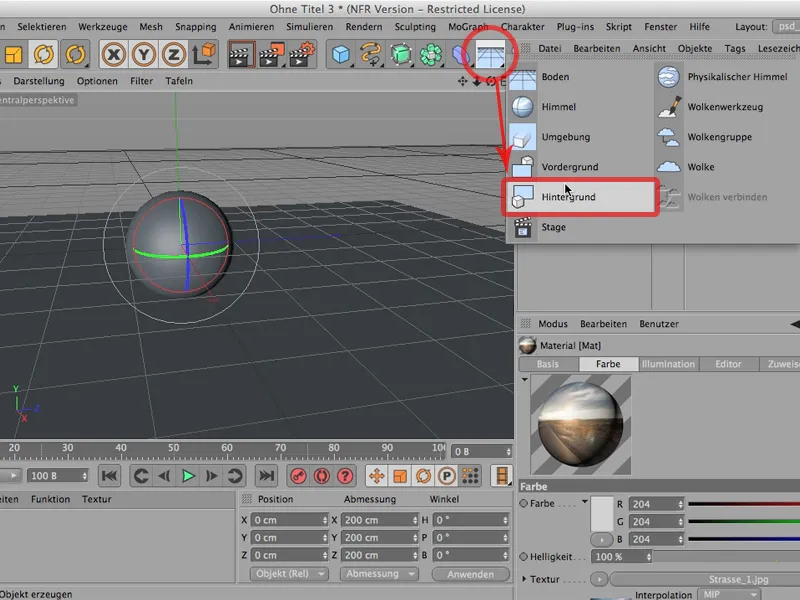
But to make it visible, the background object, it needs exactly the same material. Our street 1 is simply loaded into the color channel, i.e. this image that I have prepared. We don't need a highlight, we don't need anything, we just need that. And I'm going to drag it onto the background here.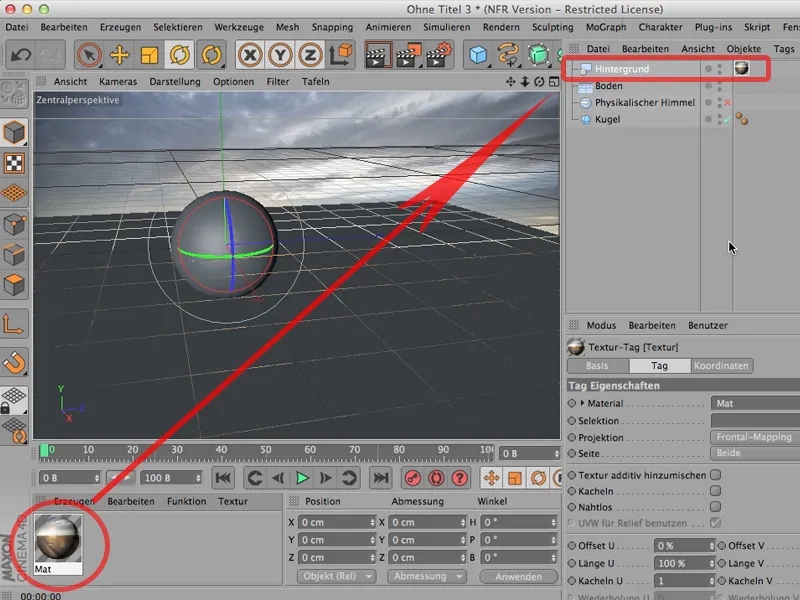
There it is, and now you can see that it doesn't really fit together yet. So first I have to make sure that the horizon is actually on the horizon.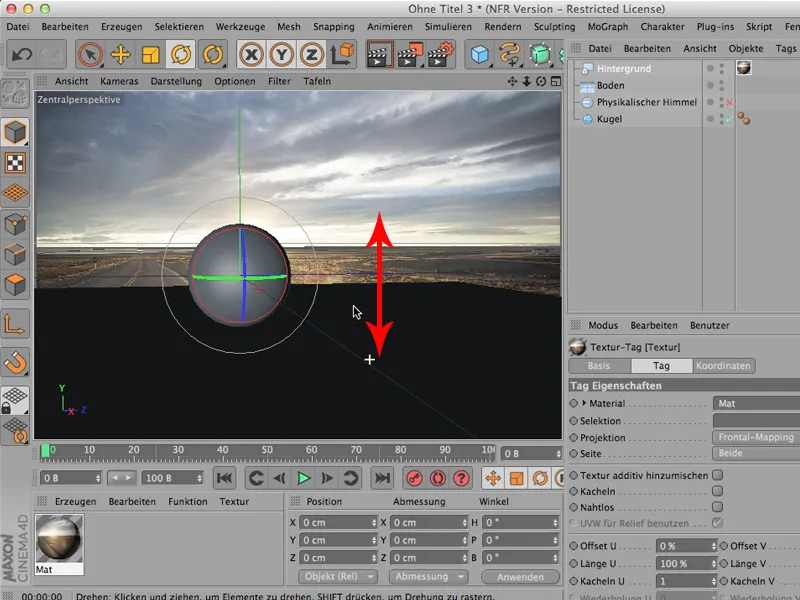
And now I can get on with the lighting. The physical sky is already there. I switch it on again and simply turn it (click on it) so that the sun is shining from approximately the right direction, namely from behind. You can see from the ground reflection here that this should now be the case.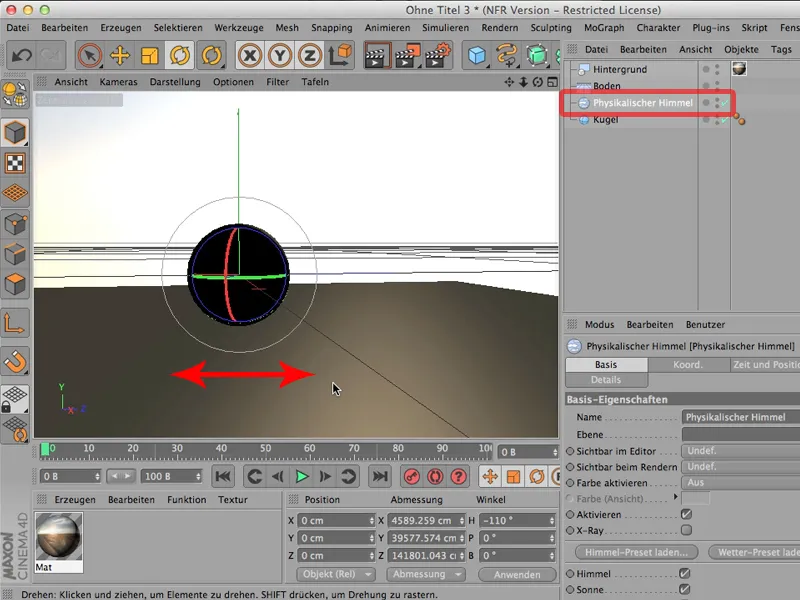
Then all we really need to do is drag the material onto this and I'll just do that by dragging it onto the ground here. And of course you can see that this is repeated many times. There's no way we can use that.
What do we do? We simply have to map it differently and click on it - not in surface mapping, but in frontal mapping.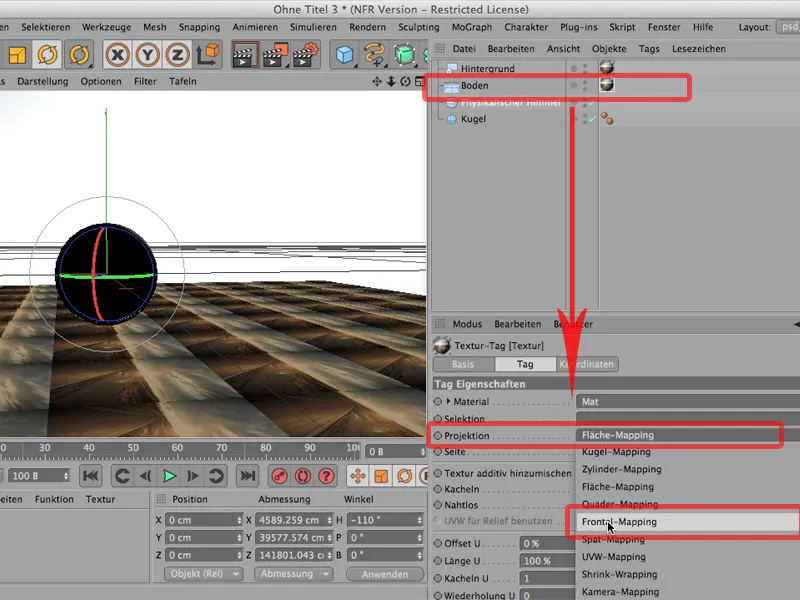
Then it will be mapped onto this floor exactly from our point of view.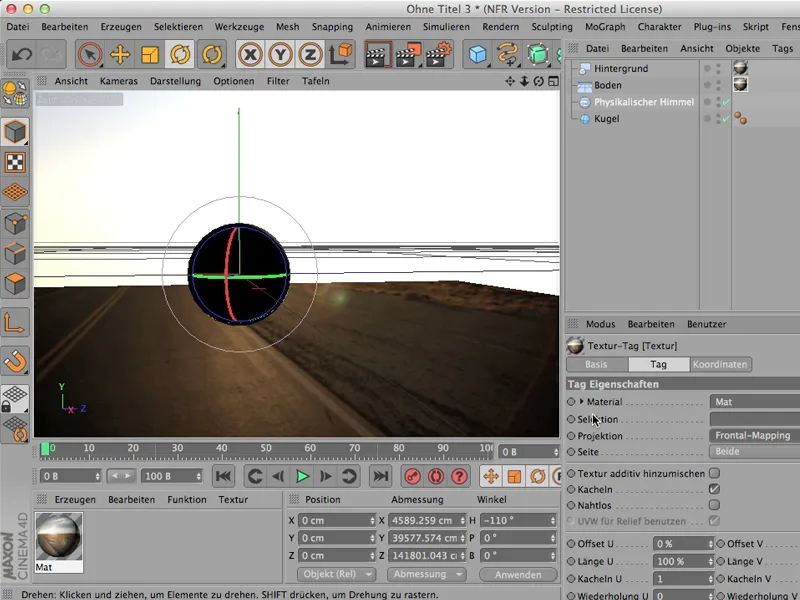
It's already there in the background, but it's still covered by the physical sky. So it needs a so-called render tag; you can get the render tag via Tags>CINEMA 4D-Tags ,...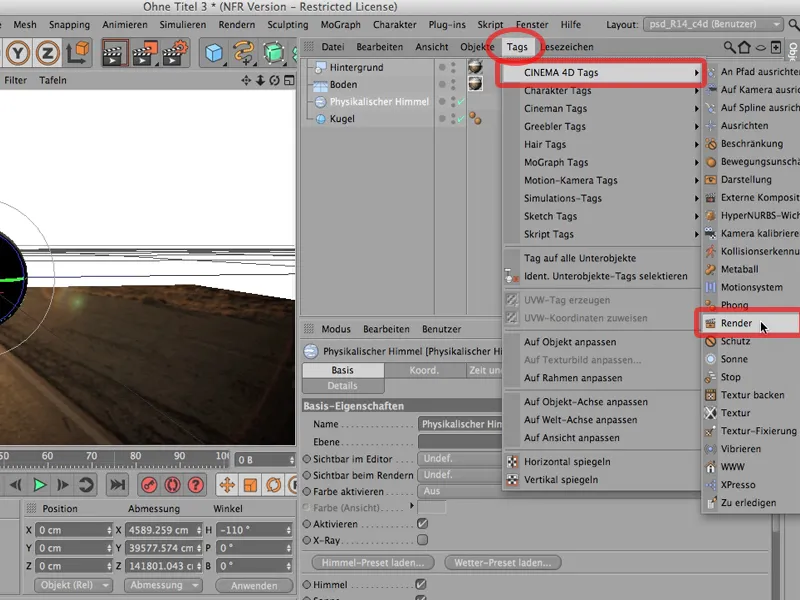
... and there I can specify that I don't want the physical sky to be visible to the camera when it is clicked (it is automatically clicked immediately after it is called up). So - away with it.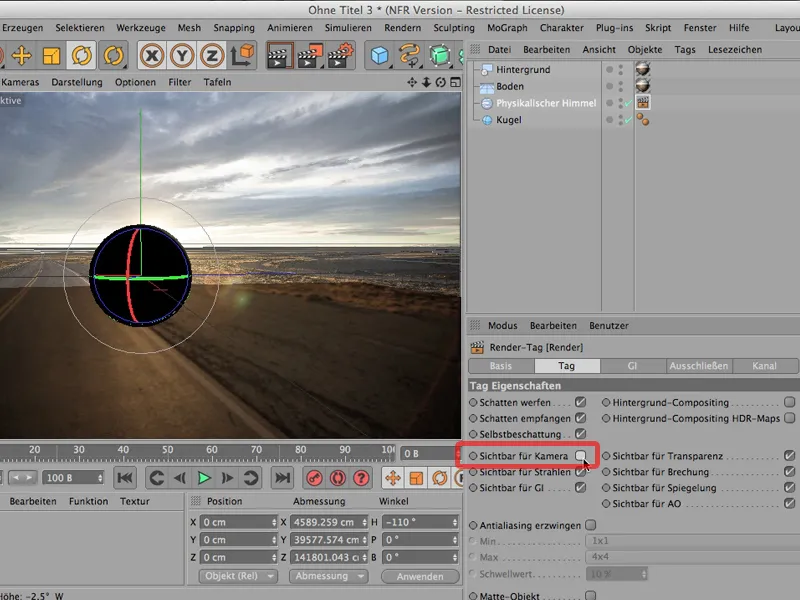
And now things look much better. I'll render the whole thing, we'll take a look at it - and I'd say we're almost there.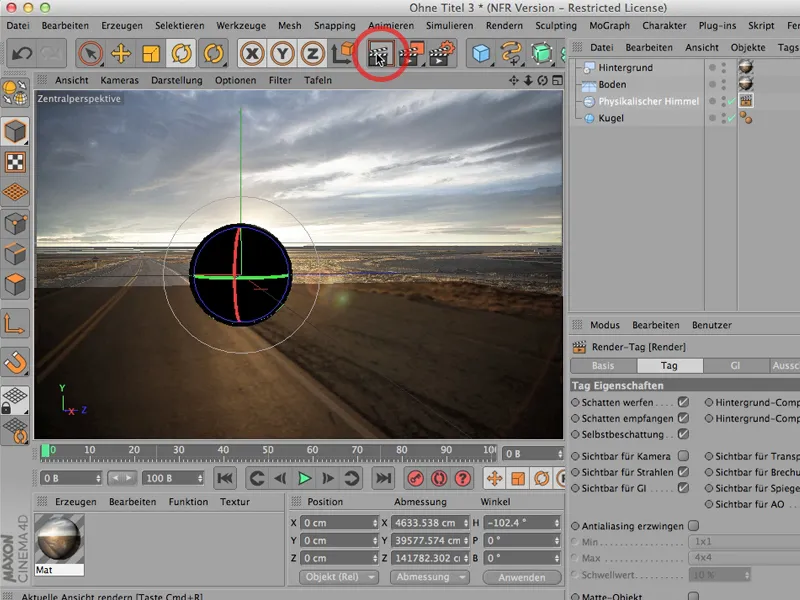
We still have two things to do: We have to rotate the sky a little so that the shadow ... falls like this - it looks better.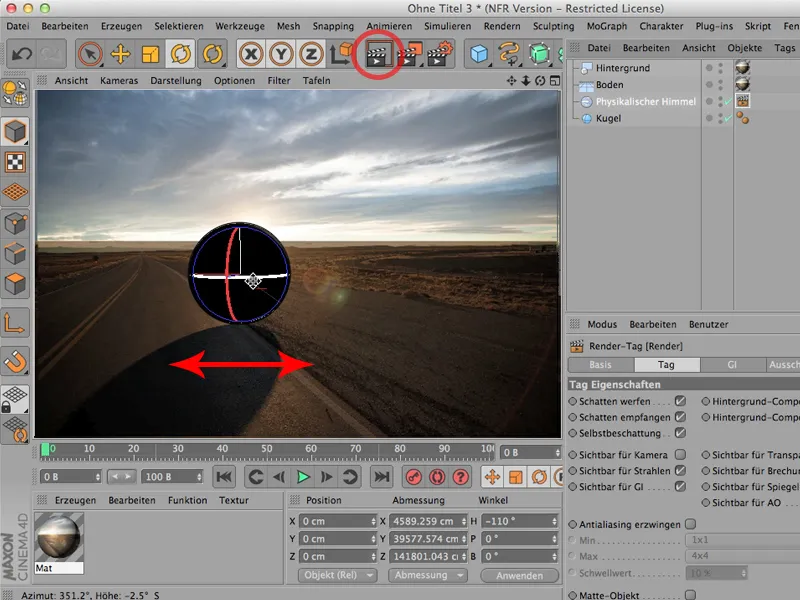
And the second thing we have to do: You can see it very clearly: our ground seems to be much more yellow than the sky. That's because there's still a little something missing here. We also need a render tag for the floor (via Tags>CINEMA 4D-Tags->Render-Tag)...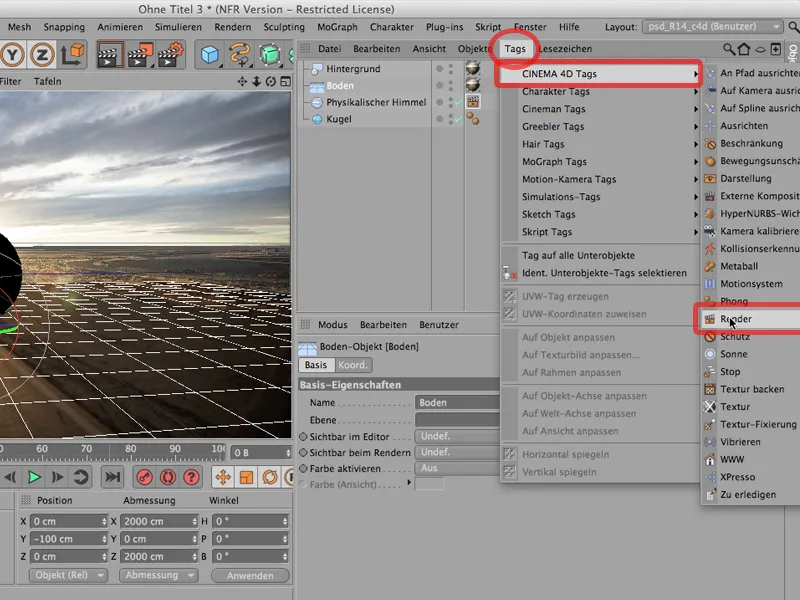
... and we simply have to specify the type of our compositing there, namely that we want to create a background compositing, i.e. a compositing that consists of ground and background. I click on that - then nothing changes in the editor.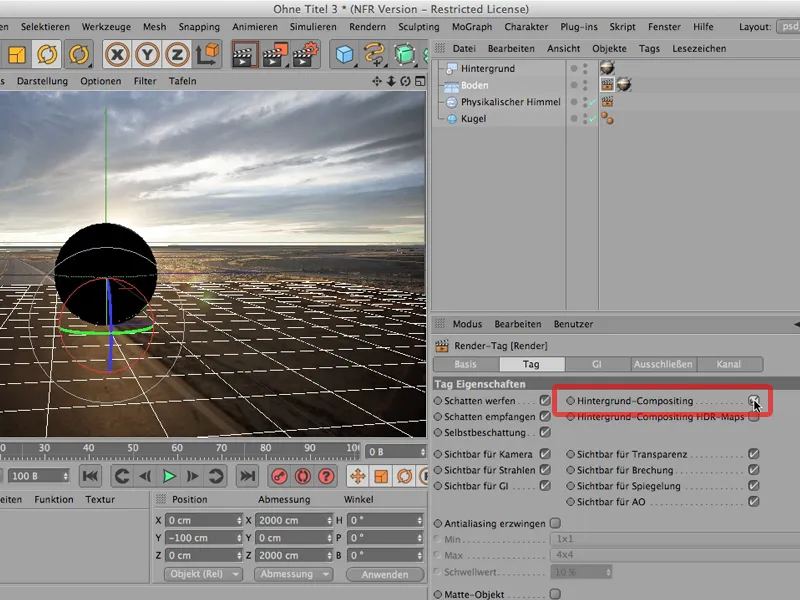
But if I now render it again, you can see that the sky and background merge seamlessly and my shadow falls perfectly as it should.