In this tutorial, you will learn how to create Canva projects to keep a better overview of your designs. If you work with Canva frequently, you will quickly realize that it can be difficult to keep track, especially when many designs accumulate. Creating projects helps you keep everything organized and easily accessible. In the following sections, I will show you how to create folders for your designs, how to save your designs in them, and thus create a clear structure for your work.
Main Takeaways
By creating projects in Canva, you can:
- Organize your designs in thematic folders.
- Ensure that you can quickly access your needed designs.
- Improve the clarity of your designs, even if you have many projects.
Step-by-Step Guide
To effectively organize your projects in Canva, follow these steps:
Step 1: Accessing the Homepage
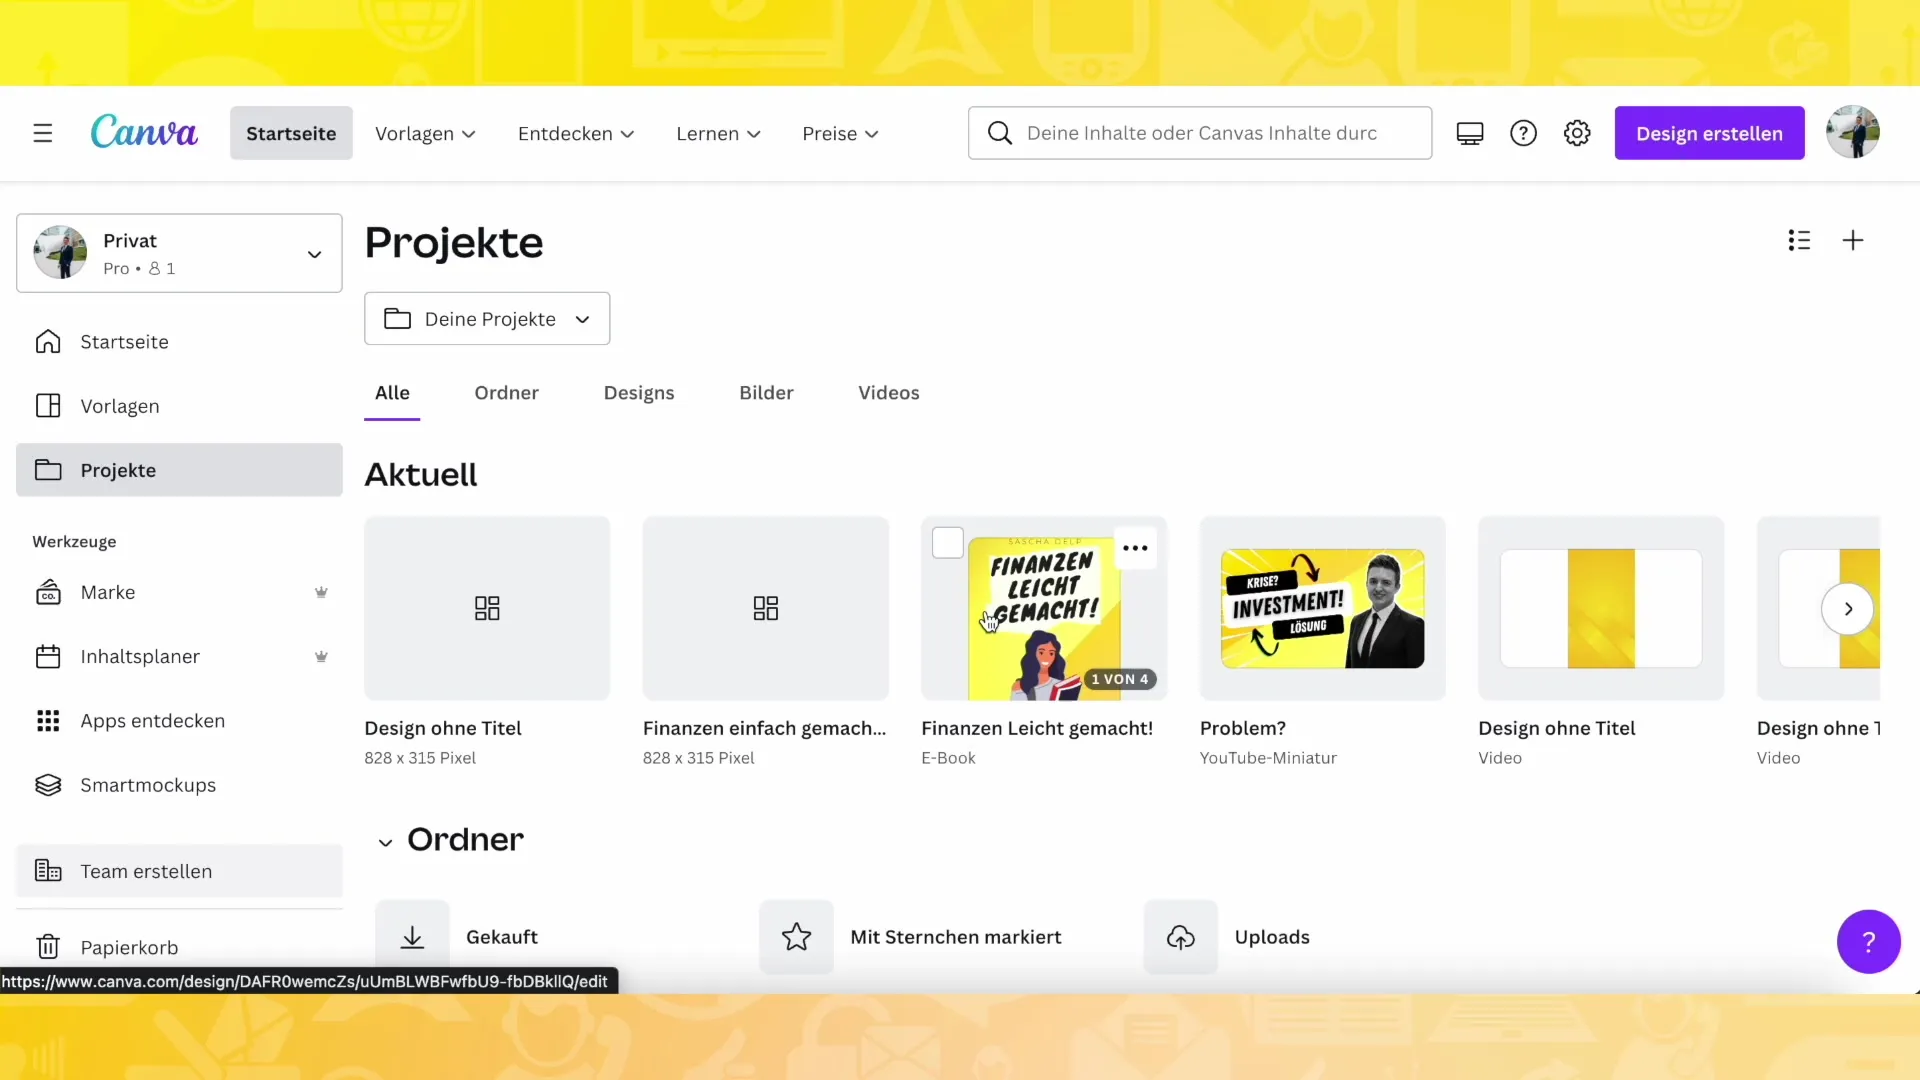
Navigate to your Canva homepage. When you are there, you will see your recently accessed designs, but it can become cluttered over time as only the last designs are displayed.

Step 2: Accessing Projects
To better manage your projects, click on the "Projects" section on the left side. Here, you can see current projects and folders you may have already created.
Step 3: Creating a New Folder
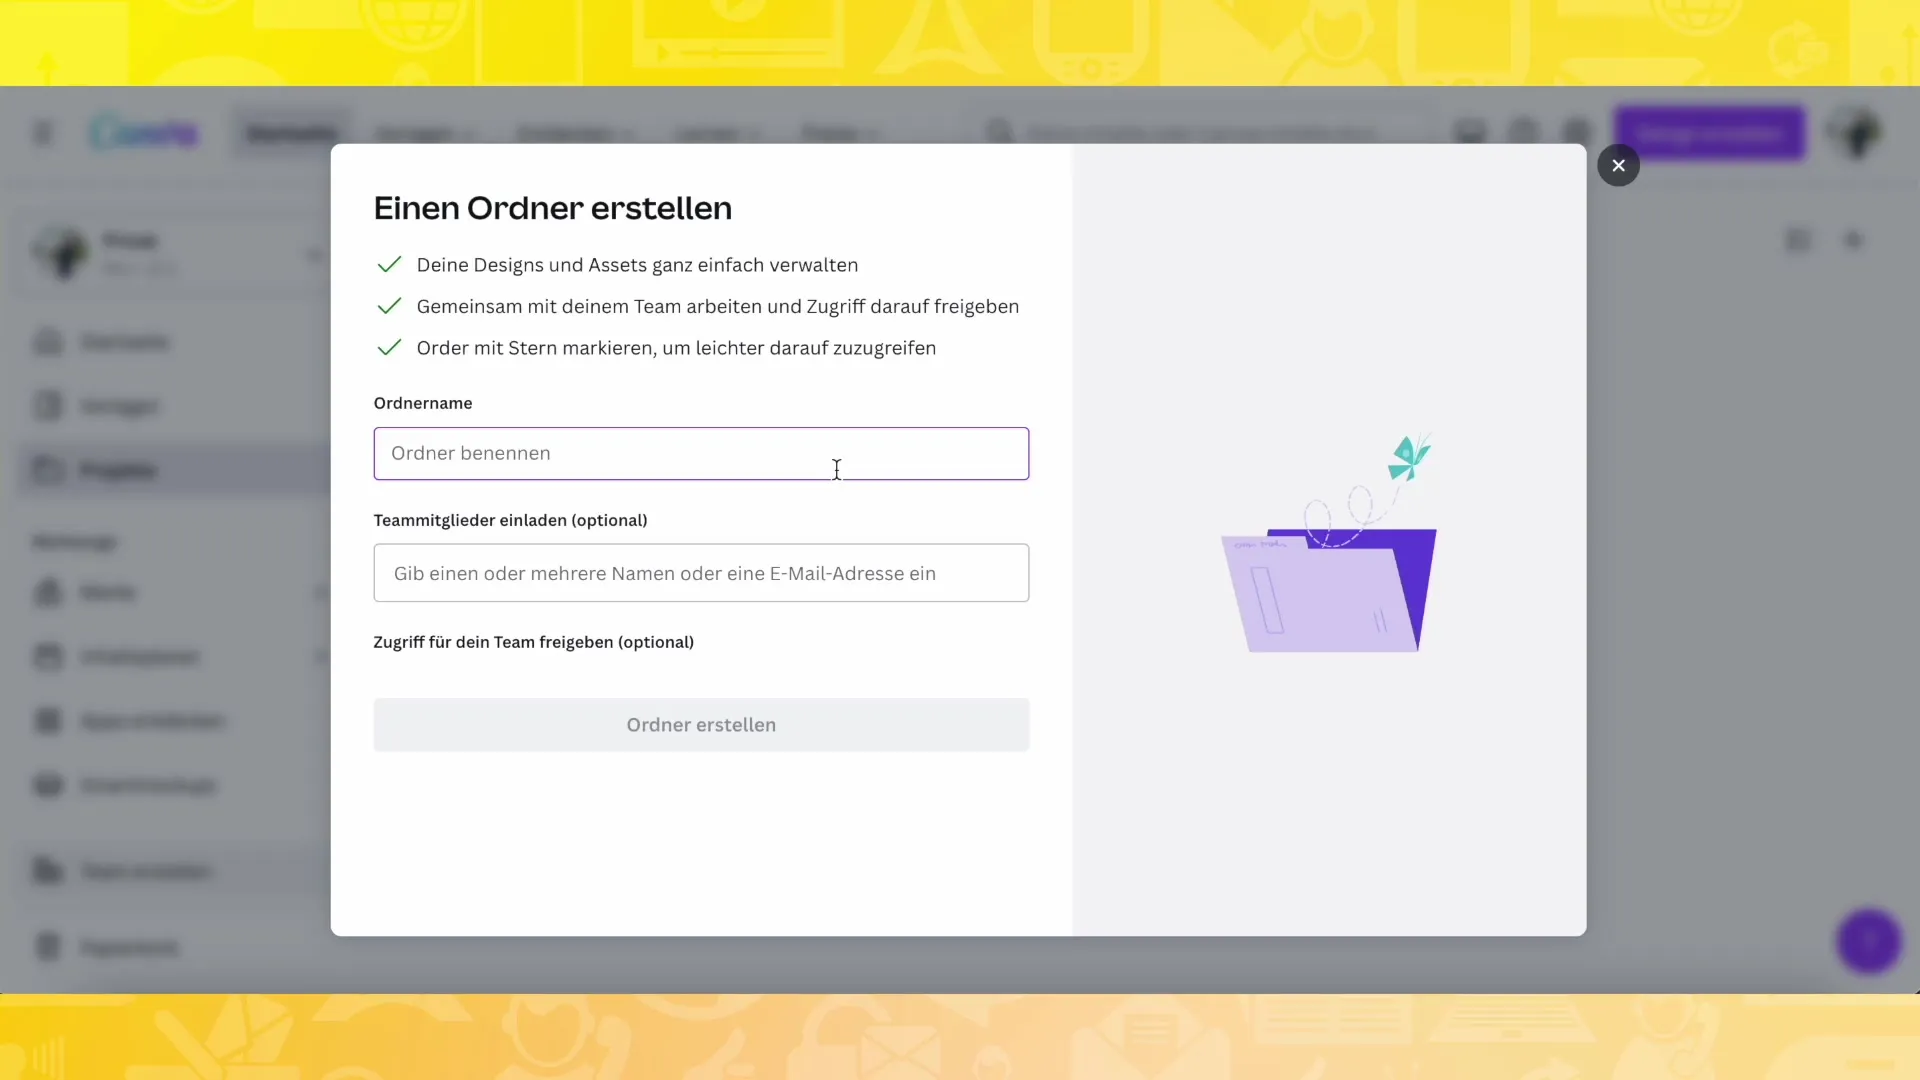
Now it's time to create a new folder. Click on "Folder" and then on the plus sign (+). Give the new folder a meaningful name that reflects the theme of your design. For example, you could choose "Simplified Finances."
Step 4: Saving Design in Folder
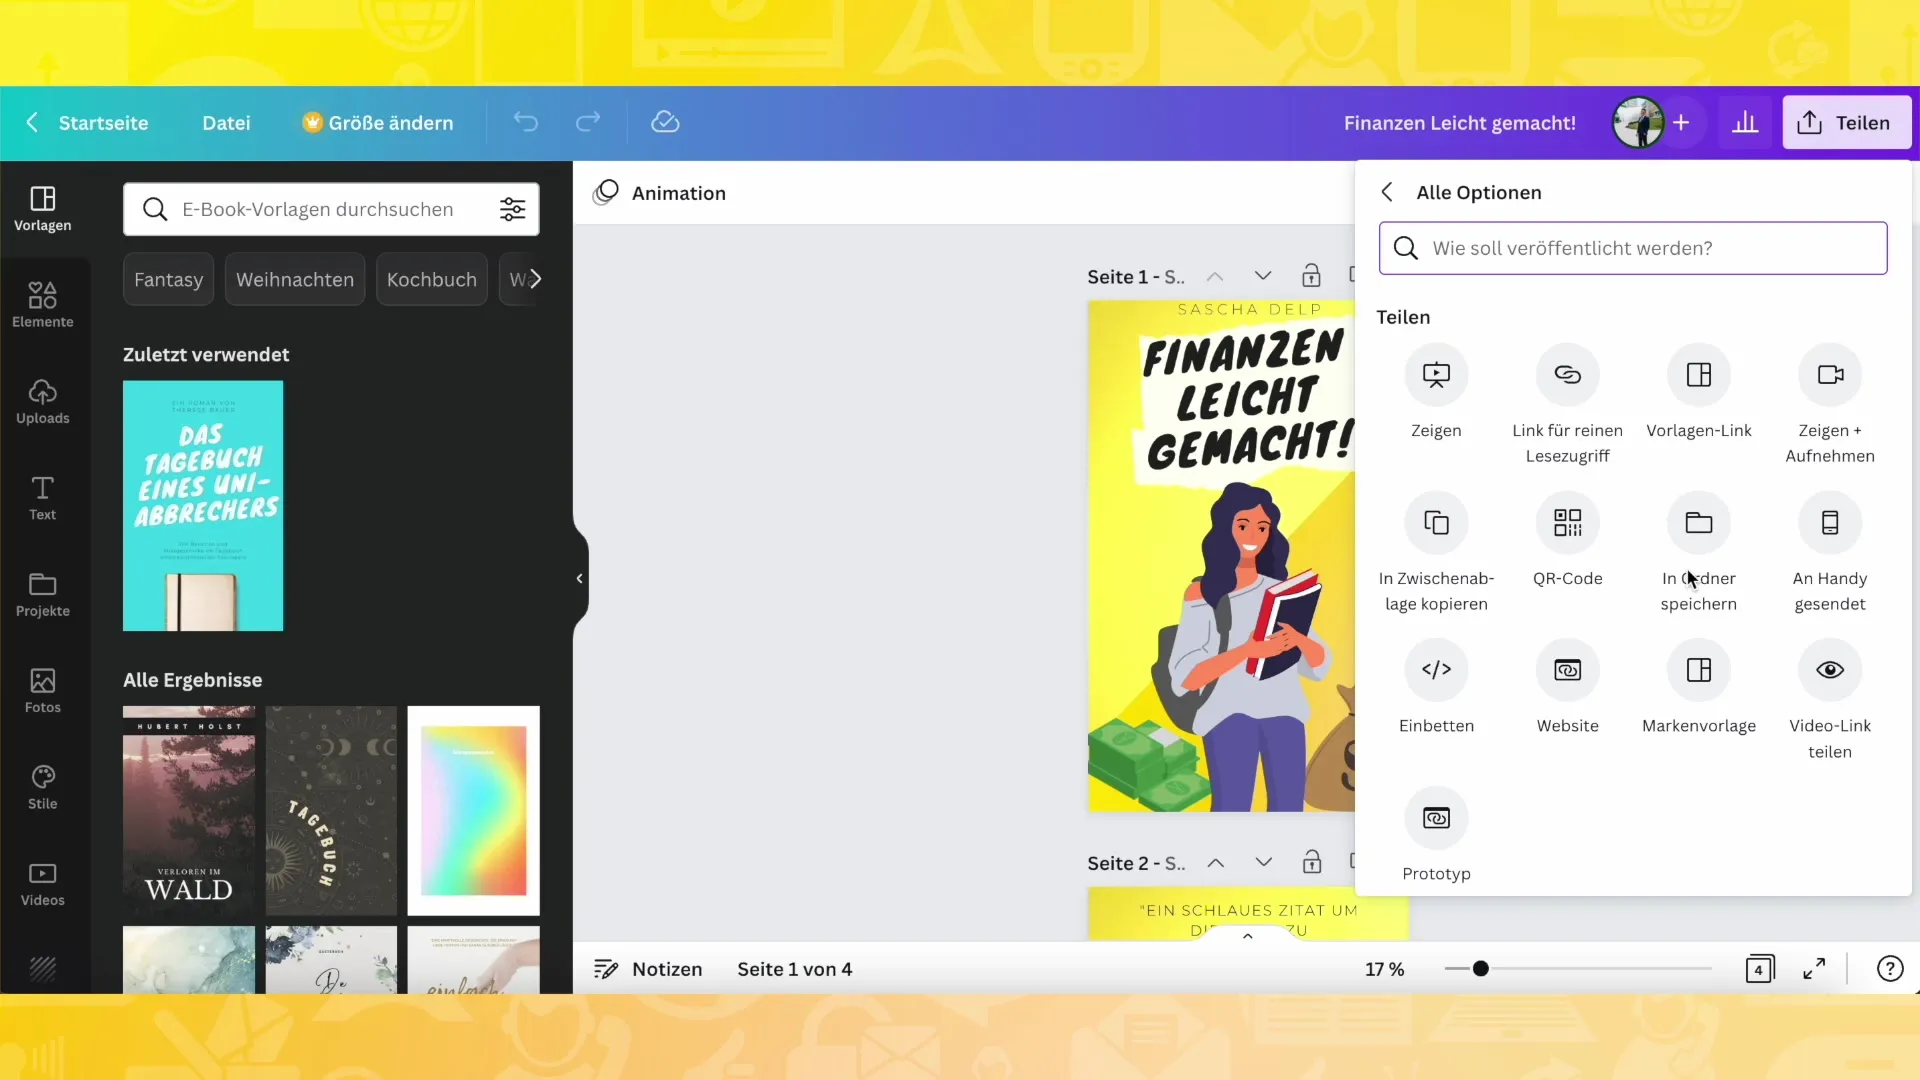
After creating your folder, go back to one of your designs, such as a book cover. To save this project in the newly created folder, click on "Share," then select "More," and click on "Save in Folder." Choose the appropriate folder and save the design.
Step 5: Reviewing Saved Designs
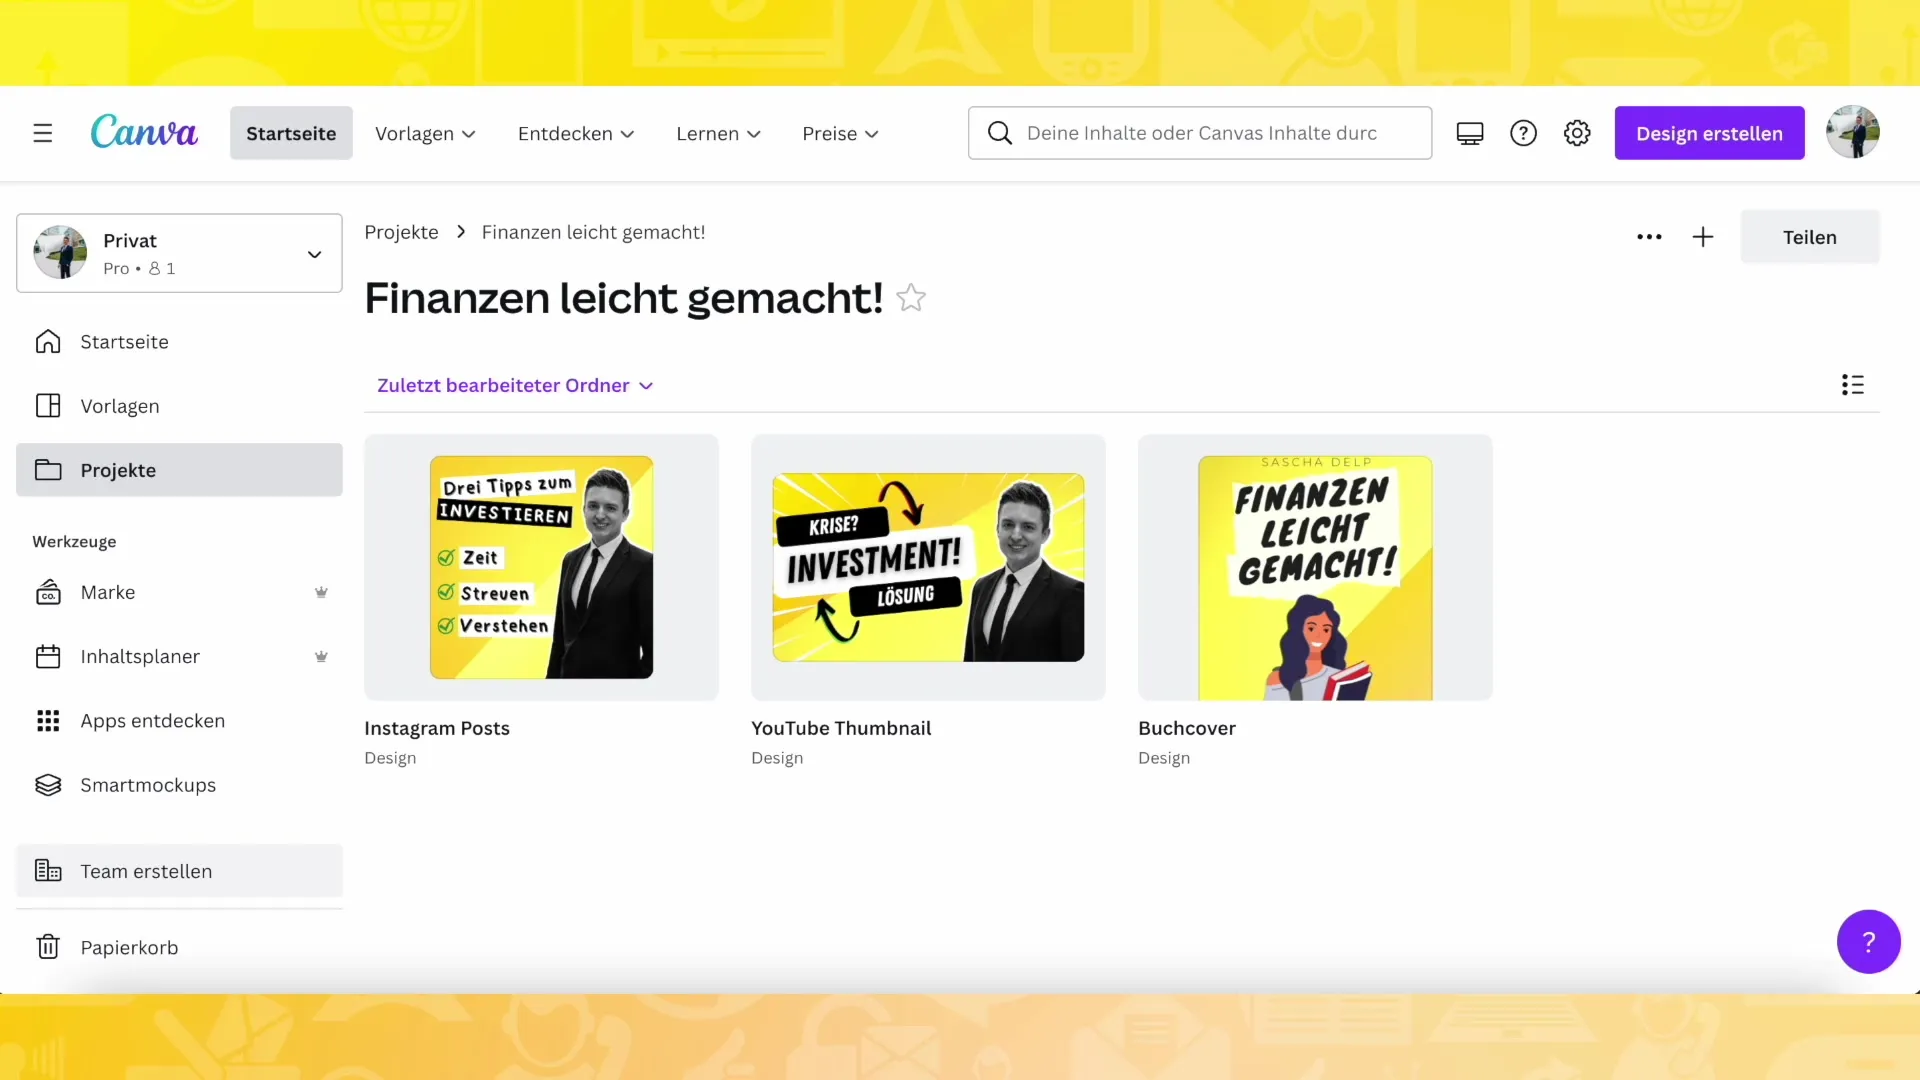
After saving your design, you can check if everything is correct. Access your folder and check if the book cover design was saved correctly and if the name is accurate.
Step 6: Saving More Designs
Repeat this process for more designs. For example, you can create a YouTube thumbnail and save it in the same way. Name it after the design so you will always be reminded later of which thumbnail you created.

Step 7: Customizing Folder Structure
The more designs you add, the more important it is to have a meaningful structure. You can create additional subfolders for different design categories, such as "Instagram posts" or "Logos."
Step 8: Keeping Projects in View
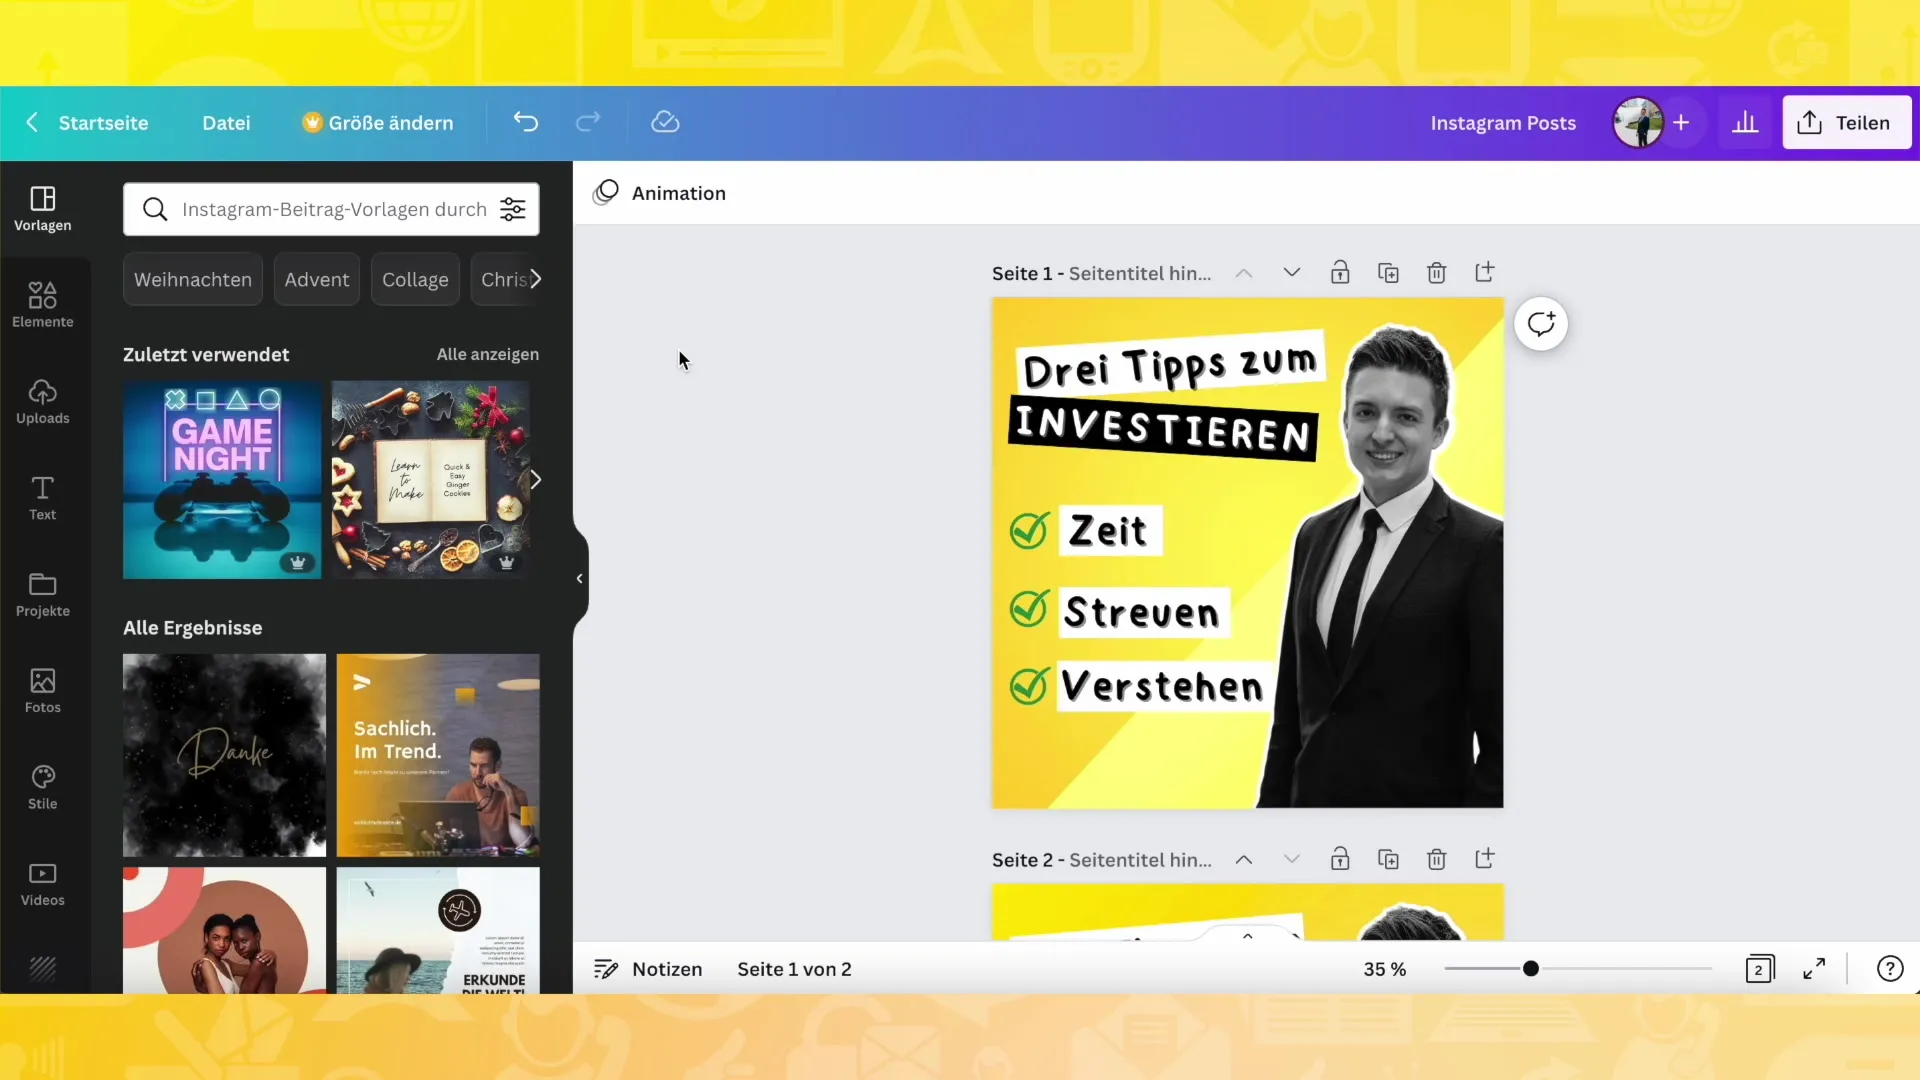
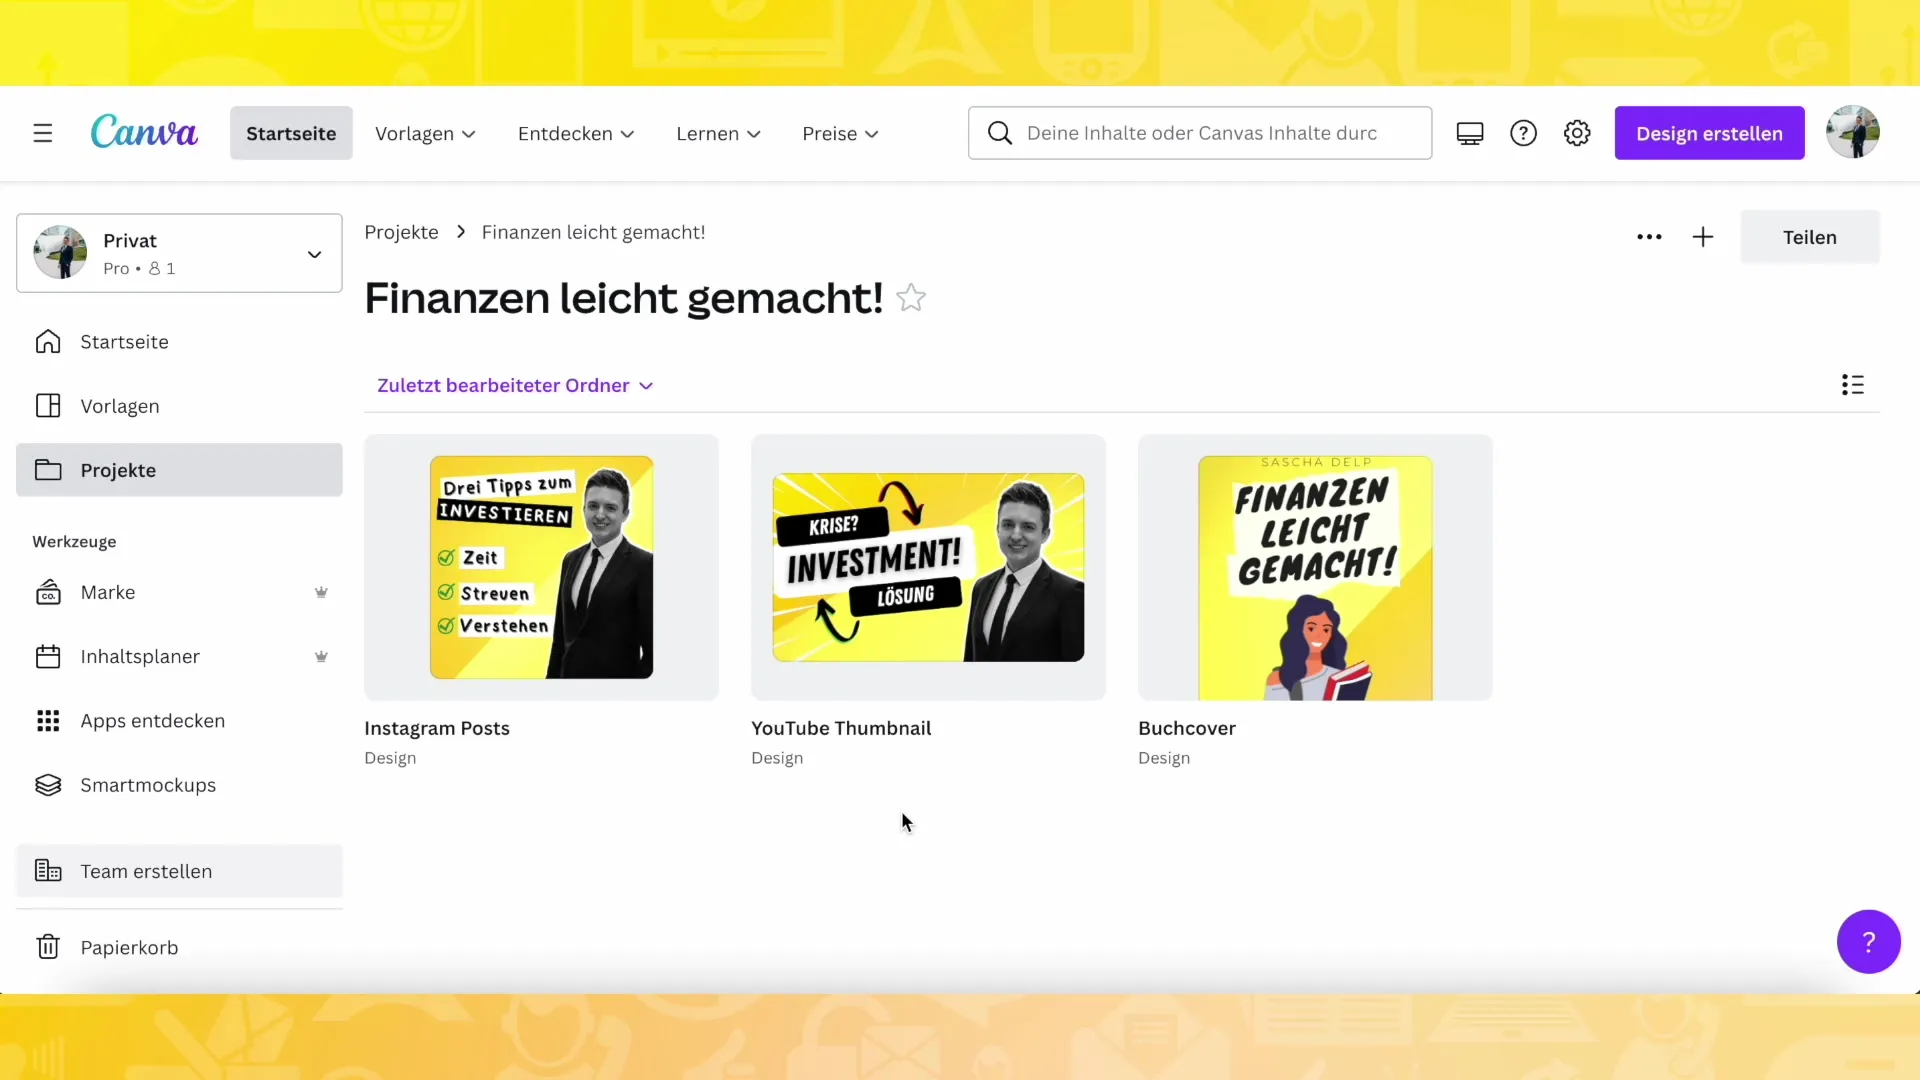
When you later click on "Projects," you will now see a clear overview of all your folders. This way, you can quickly keep track of your different designs. Whether it's book covers, Instagram posts, or other formatting, everything is neatly organized in their respective folders.
Step 9: Using the projects to design a website
In the next step, which I will show you in another video, it's about using your designs to create your own website. This way, you can present your designs in a professional manner and make your work accessible to a broad audience.
Summary
You have now learned how to create and manage projects in Canva. By using folders, you can ensure that your designs are always organized and easy to find.
Frequently Asked Questions
How do I create a new folder in Canva?Click on "Folder" and then on the plus sign (+) to create a new folder.
Can I save my designs in existing folders?Yes, you can save designs in any category you created beforehand.
How do I keep track of many designs?By creating thematic folders, you can organize your designs clearly and structured.


