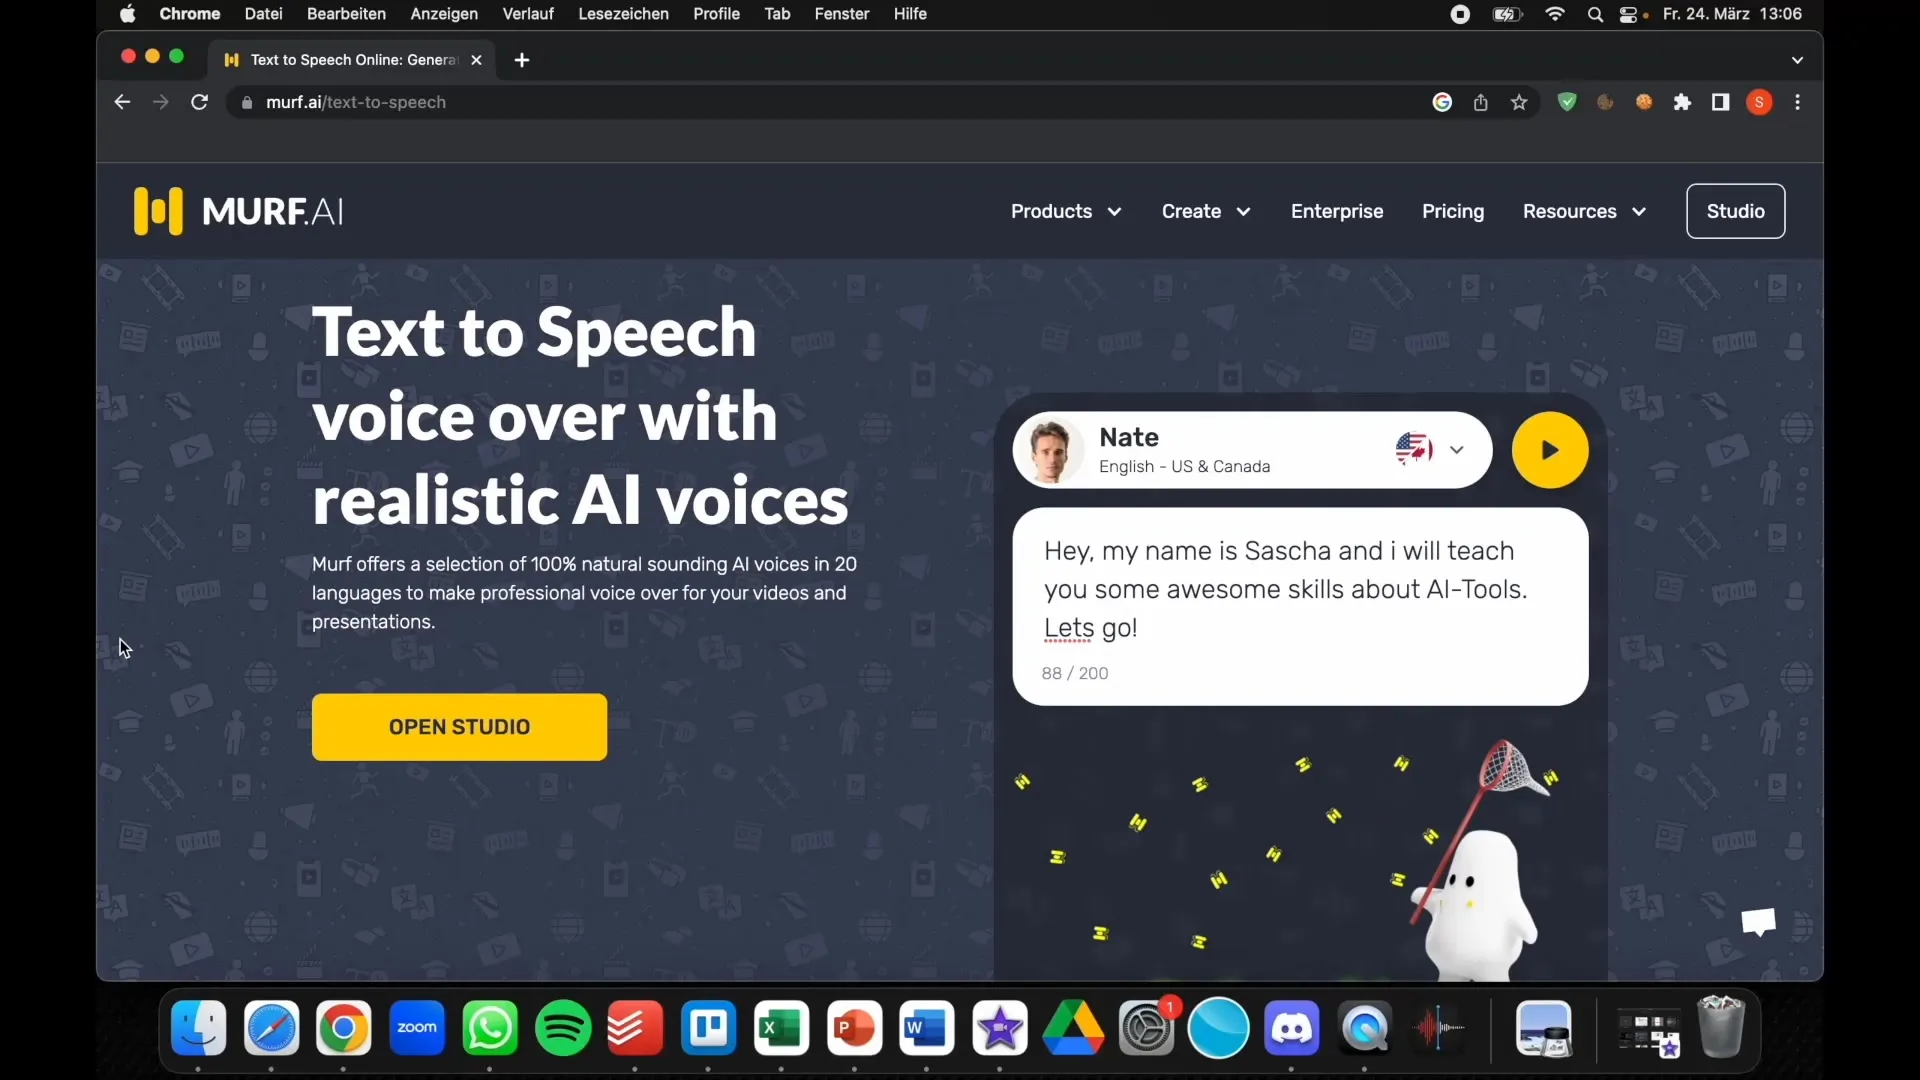
In this comprehensive guide, I will show you how to effectively use the Voice-AI tool Murf to convert your texts into natural language. Murf has established itself as one of the best tools in the market, offering diverse options to make your content lively and engaging. Whether for podcasts, YouTube videos, or other projects — the possibilities are virtually endless. Let's dive right in!
Key Insights
- Murf is a user-friendly tool that helps you create spoken content.
- The quality of the voice output is excellent, allowing for natural sound reproduction.
- You can use Murf internationally to make your content globally accessible.
- Murf supports multiple languages, including English and soon German.
- The tool is particularly suitable for content creators who want to implement their ideas without major hurdles.
Step-by-Step Guide
Step 1: Setting Up Murf
To start with Murf, you first need to create an account. Go to the official Murf website and click on "Register." You will need to provide some basic information to set up your account.

Step 2: Enter Text
After registering, you will be taken to the dashboard. Here you will find a text field where you can enter your text. You can also import texts by uploading them from a file. Make sure your text is clear and well-structured for best results.
Step 3: Choose Voice
Now it's time to select the voice for your speech output. Click on the voice selection options and listen to the different variants. Murf offers a variety of voices in different languages and genders, so you can choose the one that best suits your project.
Step 4: Customize Voice Output
After selecting a voice, you can make various settings to customize the voice output. You can adjust the speed and tone to ensure that the voice matches your content. Feel free to experiment with these settings to find the best match.
Step 5: Convert Text to Speech
Once you have made all the settings, click on the "Generate" or "Speak" button. Murf will now convert your text into speech. This process may take a few seconds depending on the length of the text. You can listen to the generated speech output and make adjustments if needed.
Step 6: Save Recording
If you are satisfied with the result, you can save the speech output. Simply click on the "Download" option and choose the format you need. Murf allows you to download the audio files in various formats – perfect for use in podcasts or videos.
Step 7: Application in Projects
Now that you have created your audio file, consider how you can use it in your projects. For example, you could start the podcast you've always wanted. Simply create the script, generate the speech output with Murf, and upload – it has never been easier!
Step 8: Gather Feedback
When you publish your content, it is helpful to receive feedback from your audience. Analyze the feedback to understand what works well and where improvements are needed. This will help you make your future projects even better.

Summary
Murf is an extremely versatile tool that helps you turn your ideas into audio content with its user-friendly interface and excellent voice output. The steps from setup to final application are clear and simple, allowing you to start creating content quickly. Get inspired and use Murf to bring your thoughts and projects to life.
Frequently Asked Questions
How can I download Murf?Murf is available as a web-based application and does not require any downloads.
Which languages does Murf support?Murf supports multiple languages, including English and soon German.
Can I customize the voices in Murf?Yes, you can adjust the speed and tone of the voice.
How long can the voice output take?The duration depends on the length of the inserted text. Generally, the voice output is generated quickly.
Are the audio files I create free?Yes, you can download the audio files for free as long as you have an active account.


