In this tutorial, you will discover the versatility of the new plugin "Vintage Phaser" in FL Studio. This plugin opens up a variety of possibilities for modulating your sound, adding different characteristics, and enriching the overall sound of your music productions. With the Vintage Phaser, you can integrate the essence of old records and 80s sounds into your modern productions. Let's dive right in and see what you can do with this plugin!
Key Takeaways
The Vintage Phaser allows you to:
- Adjust and customize phaser effects.
- Integrate noise to imitate the sound of old records.
- Manipulate modulation, delay, and levels parameters to create creative sounds.
- Work with automation clips to achieve dynamic effects.
- Utilize not only the stereo but also the mono output to create different sound textures.
Step-by-Step Guide
1. Accessing the Plugin
First, make sure you have the Vintage Phaser plugin in your software. You can find it in the FL Studio Signature Bundle or a higher version. Alternatively, you can also purchase it. Open FL Studio and add the plugin to your project.
2. Making Initial Settings
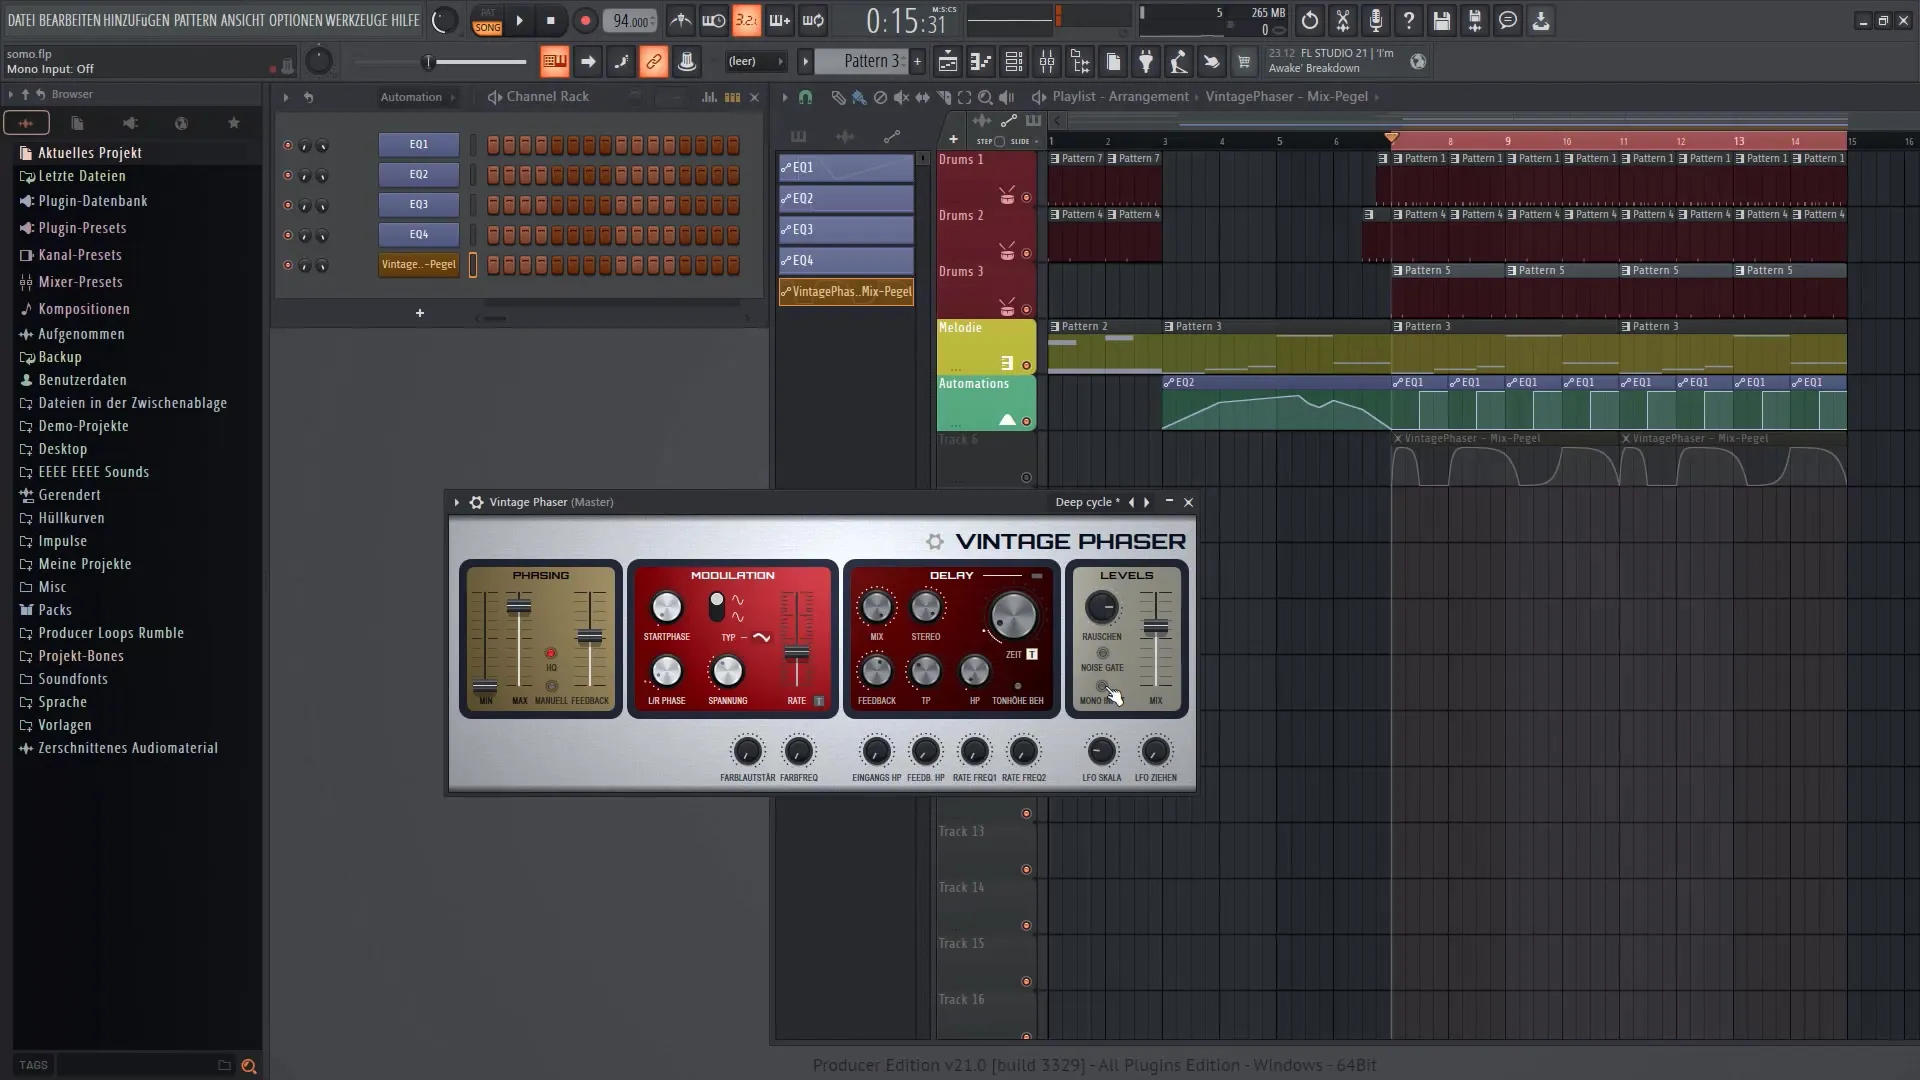
Once you have loaded the plugin, you will see a user interface with several controls. Click on the gear icon to explore the different sections of the Vintage Phaser. You will find the sections "Facing", "Modulation", "Delay", and "Levels". The first step is to boost the "Levels" to activate the modulators.
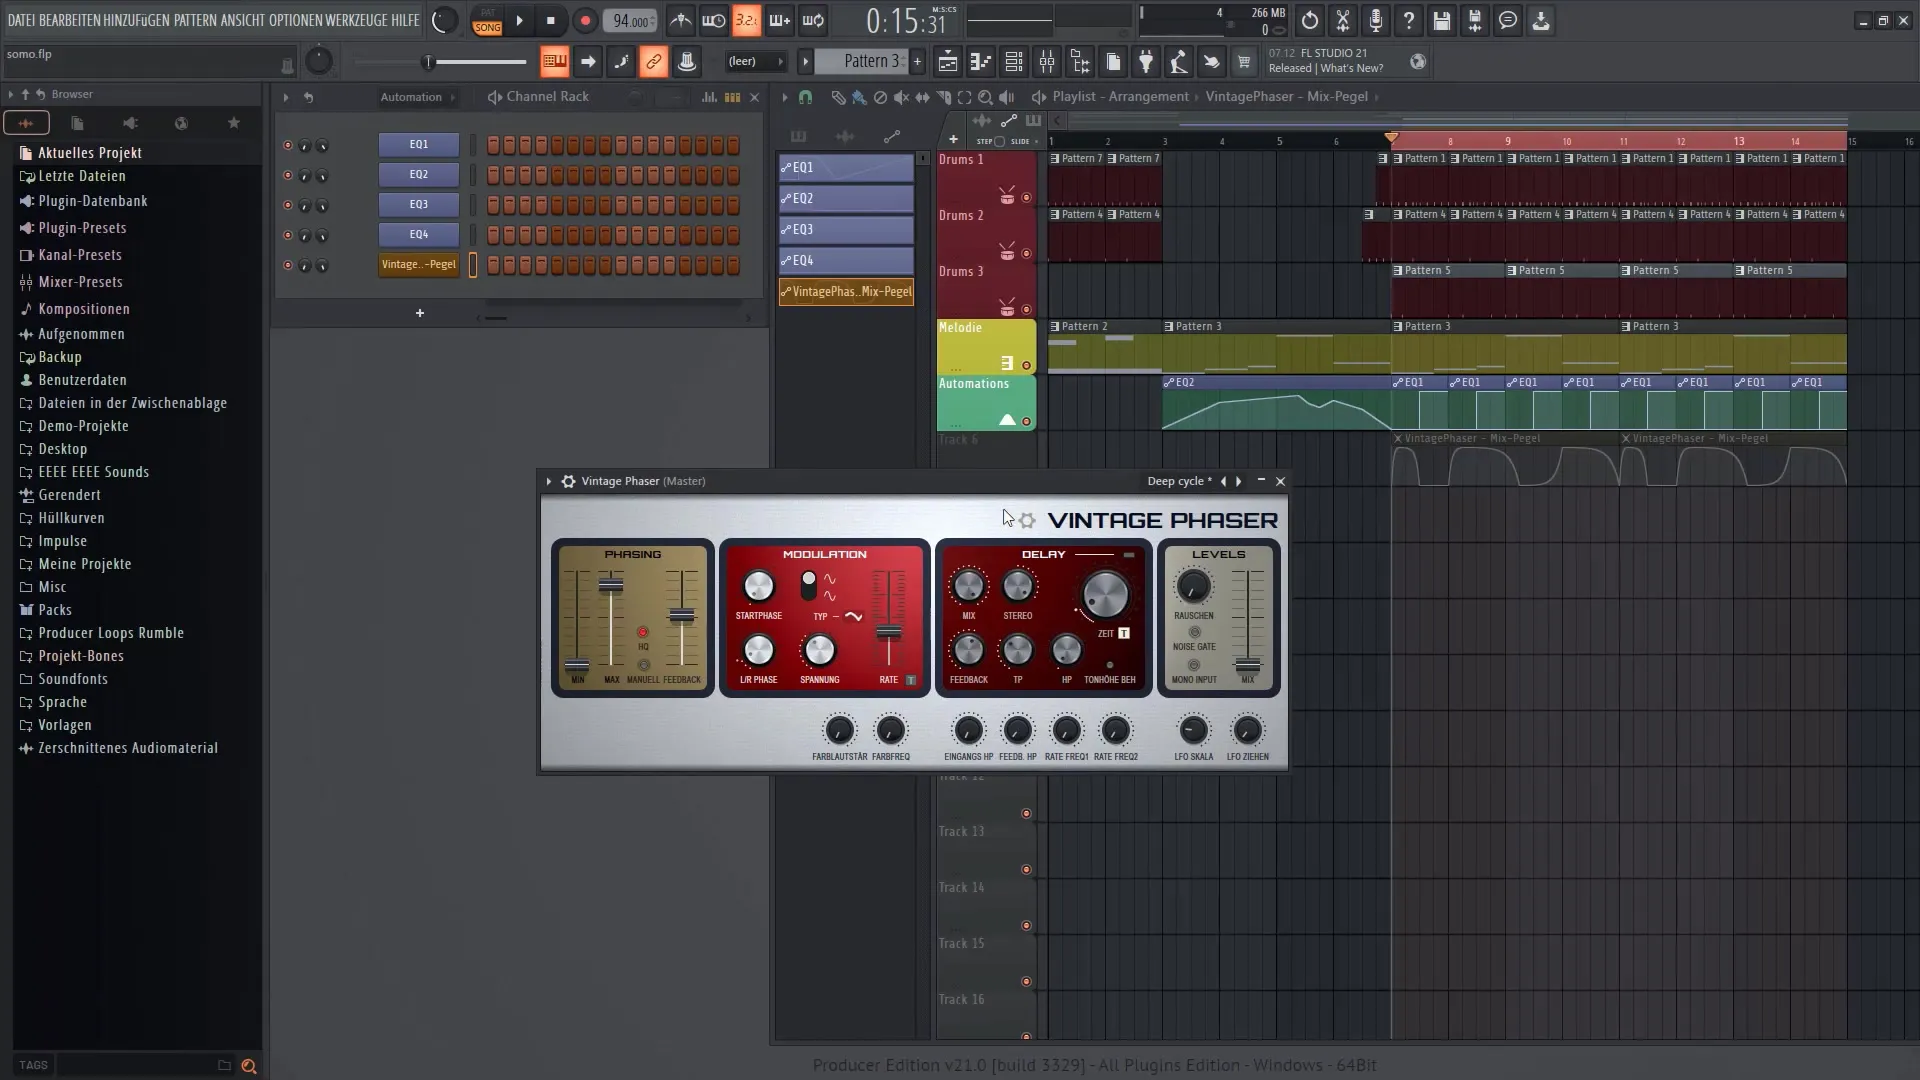
3. Activating Modulation
To make the most of the phaser effect, activate modulation by adjusting the corresponding controls. Experiment with the settings and listen to the changes in your sound.
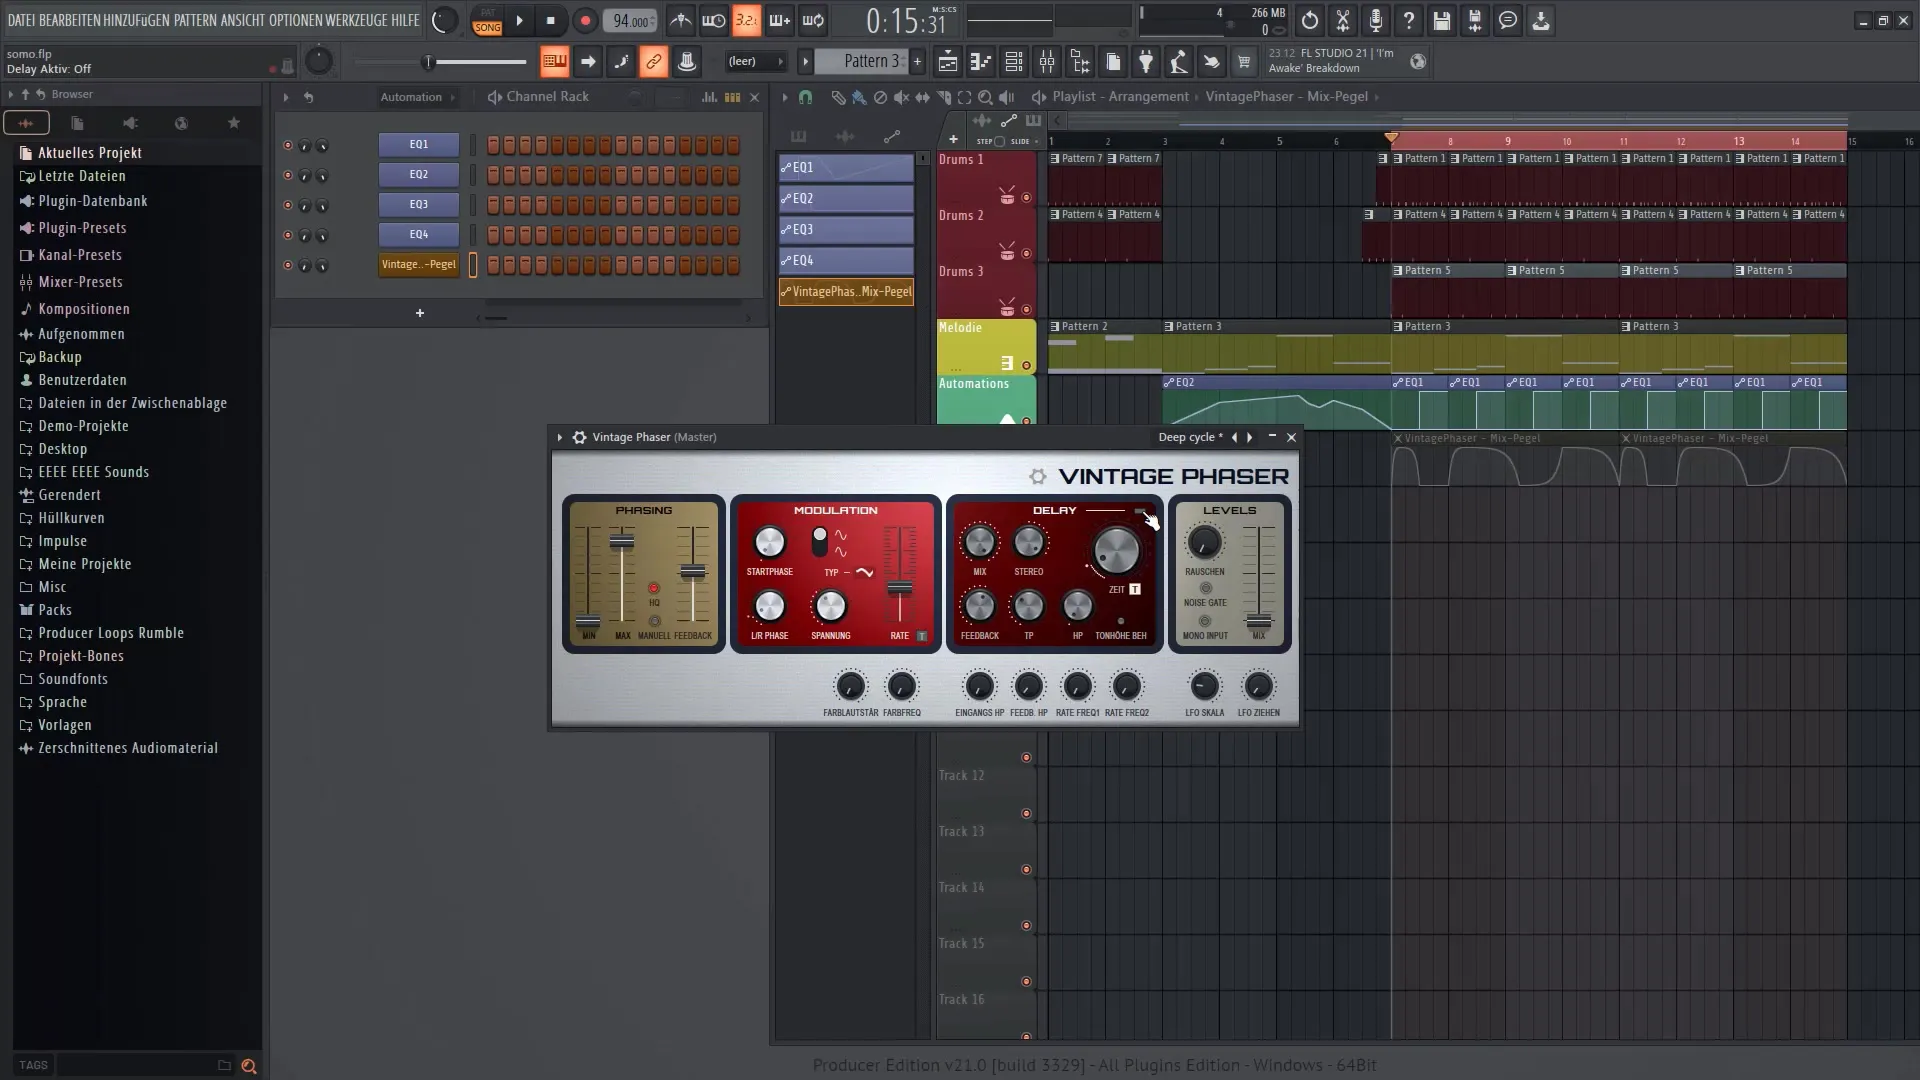
4. Setting Delay
Delay is an important component of the Vintage Phaser. You can add a time delay that creates exciting effects and new rhythms, especially when working with envelopes. Make sure to adjust the delay time correctly to achieve the desired effect.
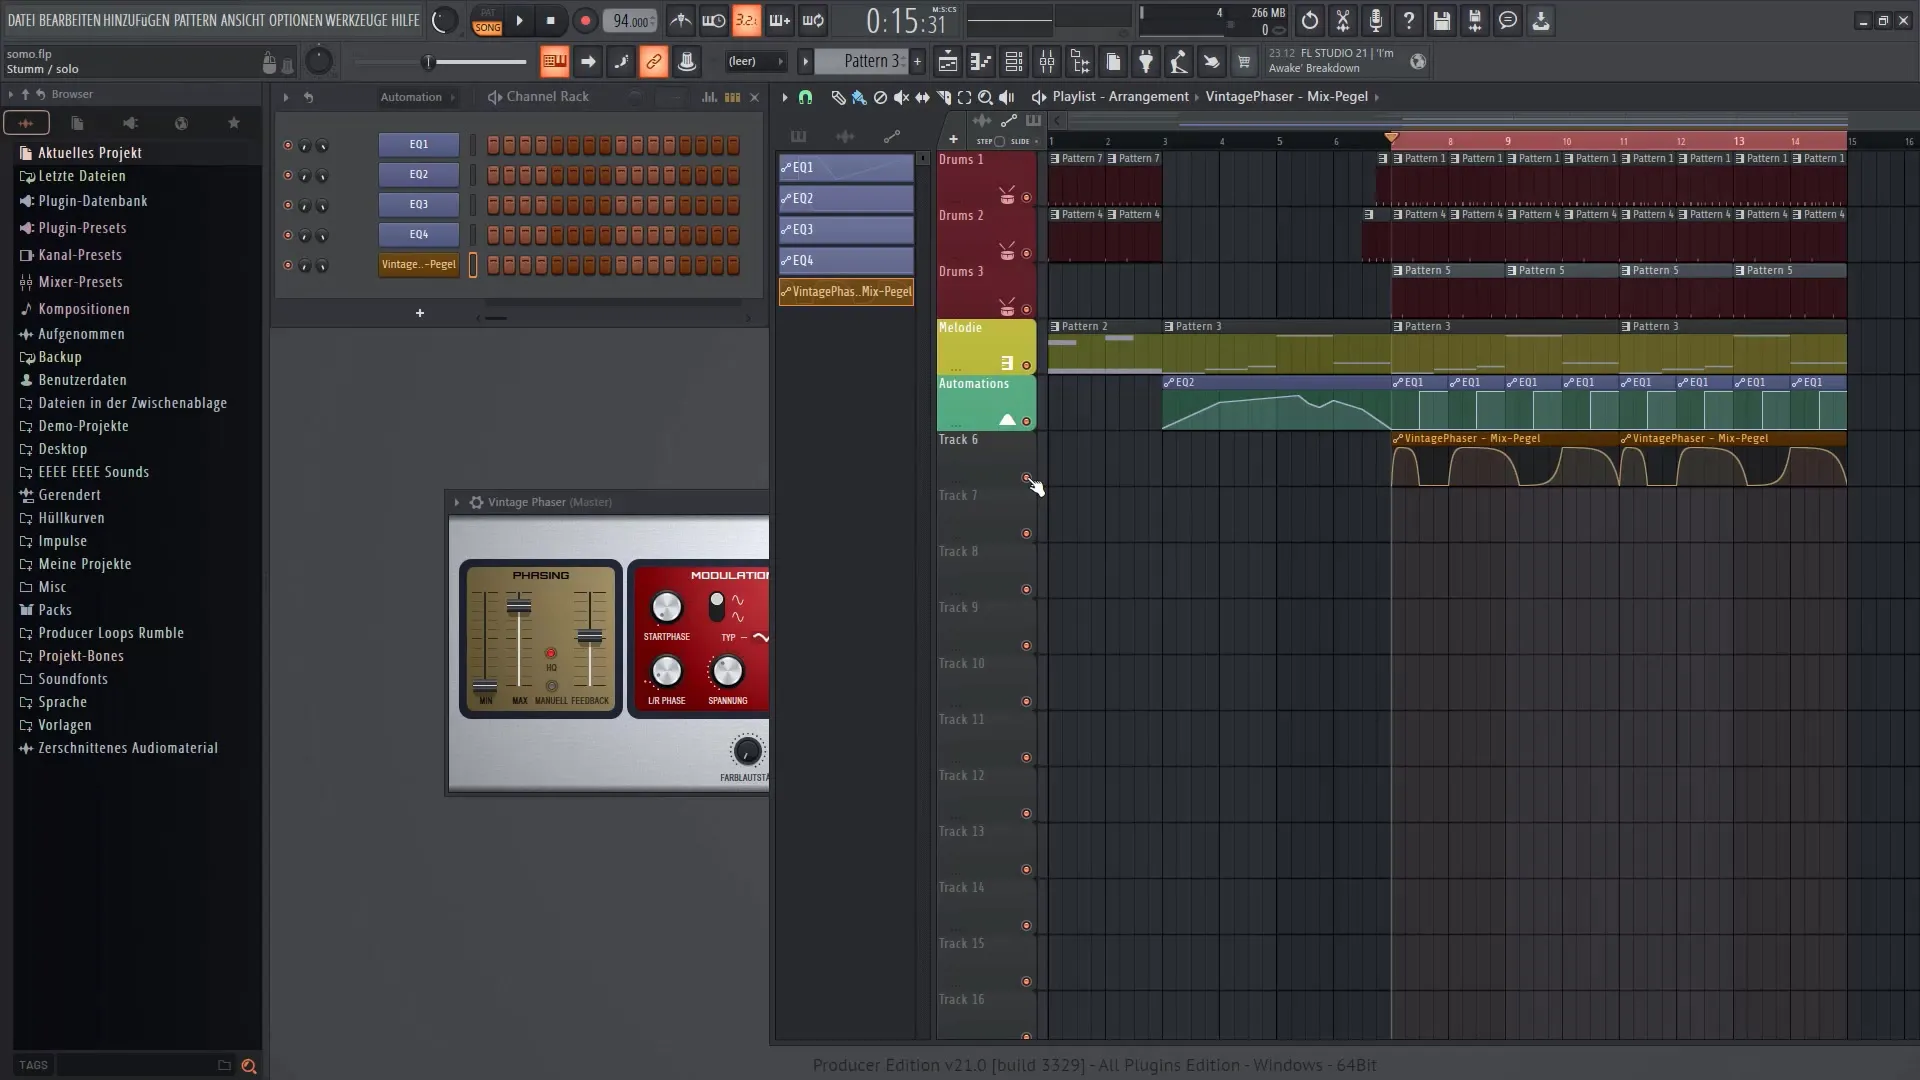
5. Envelopes and Automation
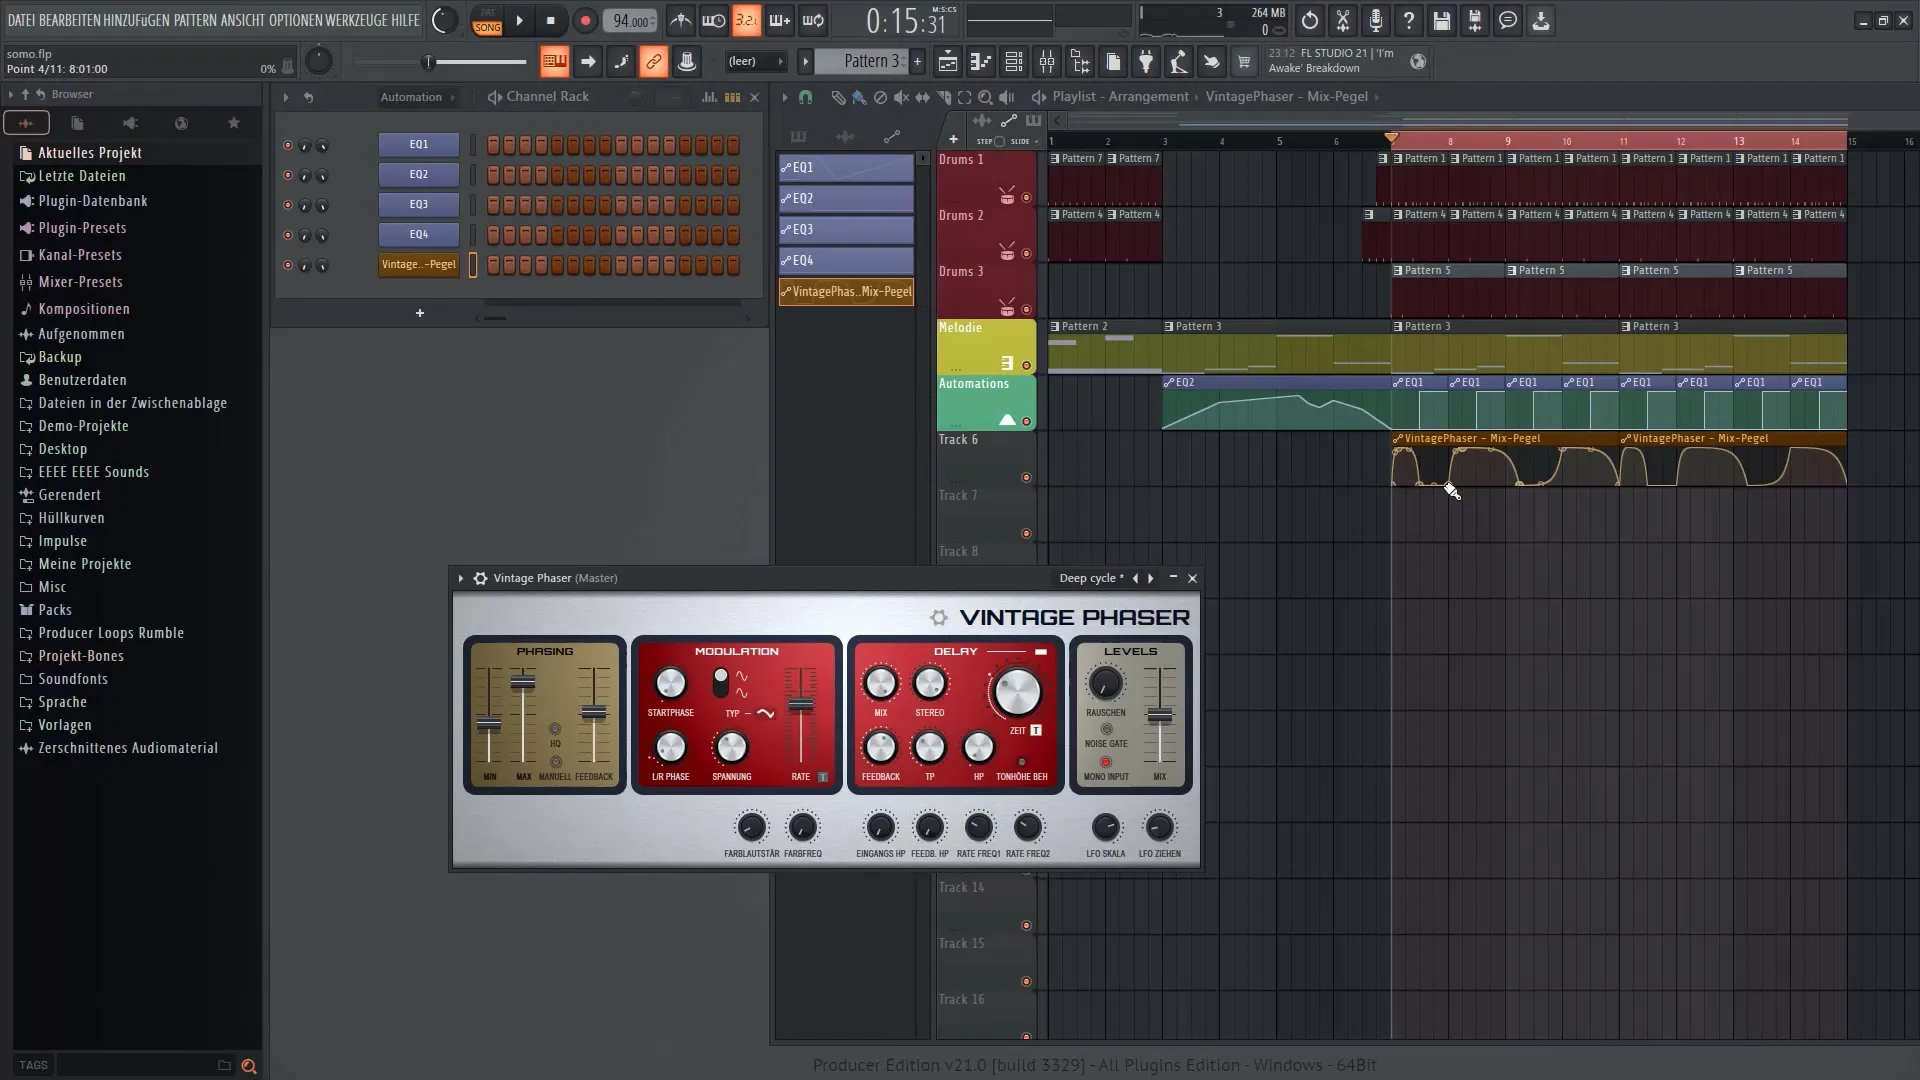
To achieve dynamic effects, you can use automation clips. Create an envelope automation clip for the Vintage Phaser and experiment with the controls to hear how the sound changes. Adding envelopes will give your sound more depth.
6. Noise and Mono Output
Another interesting feature is the ability to generate noise. You can adjust the mixer to turn noise on or off and activate the mono output if you want to switch from stereo to mono sound. This can be particularly useful for enhancing the vintage effect.
7. Fine-Tuning the Sound
Experiment with the additional controls in the lower section of the plugin. Here, you can adjust frequencies and volumes, as well as control the settings for the Low Frequency Oscillator (LFO). This will allow you to create a trance effect that adds a special character to your sound.
8. Adding Variation
My personal tip for you is to not keep the effect running constantly. Work with different curves and pauses. These decisions will add variations to your clip and contribute to its dynamics.
Summary
In this tutorial, you have learned how to effectively use the Vintage Phaser in FL Studio 21. You have explored the various functions of the plugin and discovered tricks for sound editing. With some experimentation, you can elevate your music productions to a new level and expand the expressiveness of your sounds.
