In this tutorial, I will show you how to effectively use the new Plugin Multiband Delay in FL Studio 21. This powerful tool brings a variety of options for sound processing. In particular, it allows you to make delays within the frequency spectrum, so that you can specifically influence and shape certain frequency ranges. If you are ready to expand the depth of your music productions, then let's dive right in!
Key Takeaways
- Multiband Delay allows targeted frequency processing.
- You can apply delay effects to different frequency bands.
- The plugin offers extensive modulation options.
Step-by-Step Guide
Installation and Activation of the Plugin
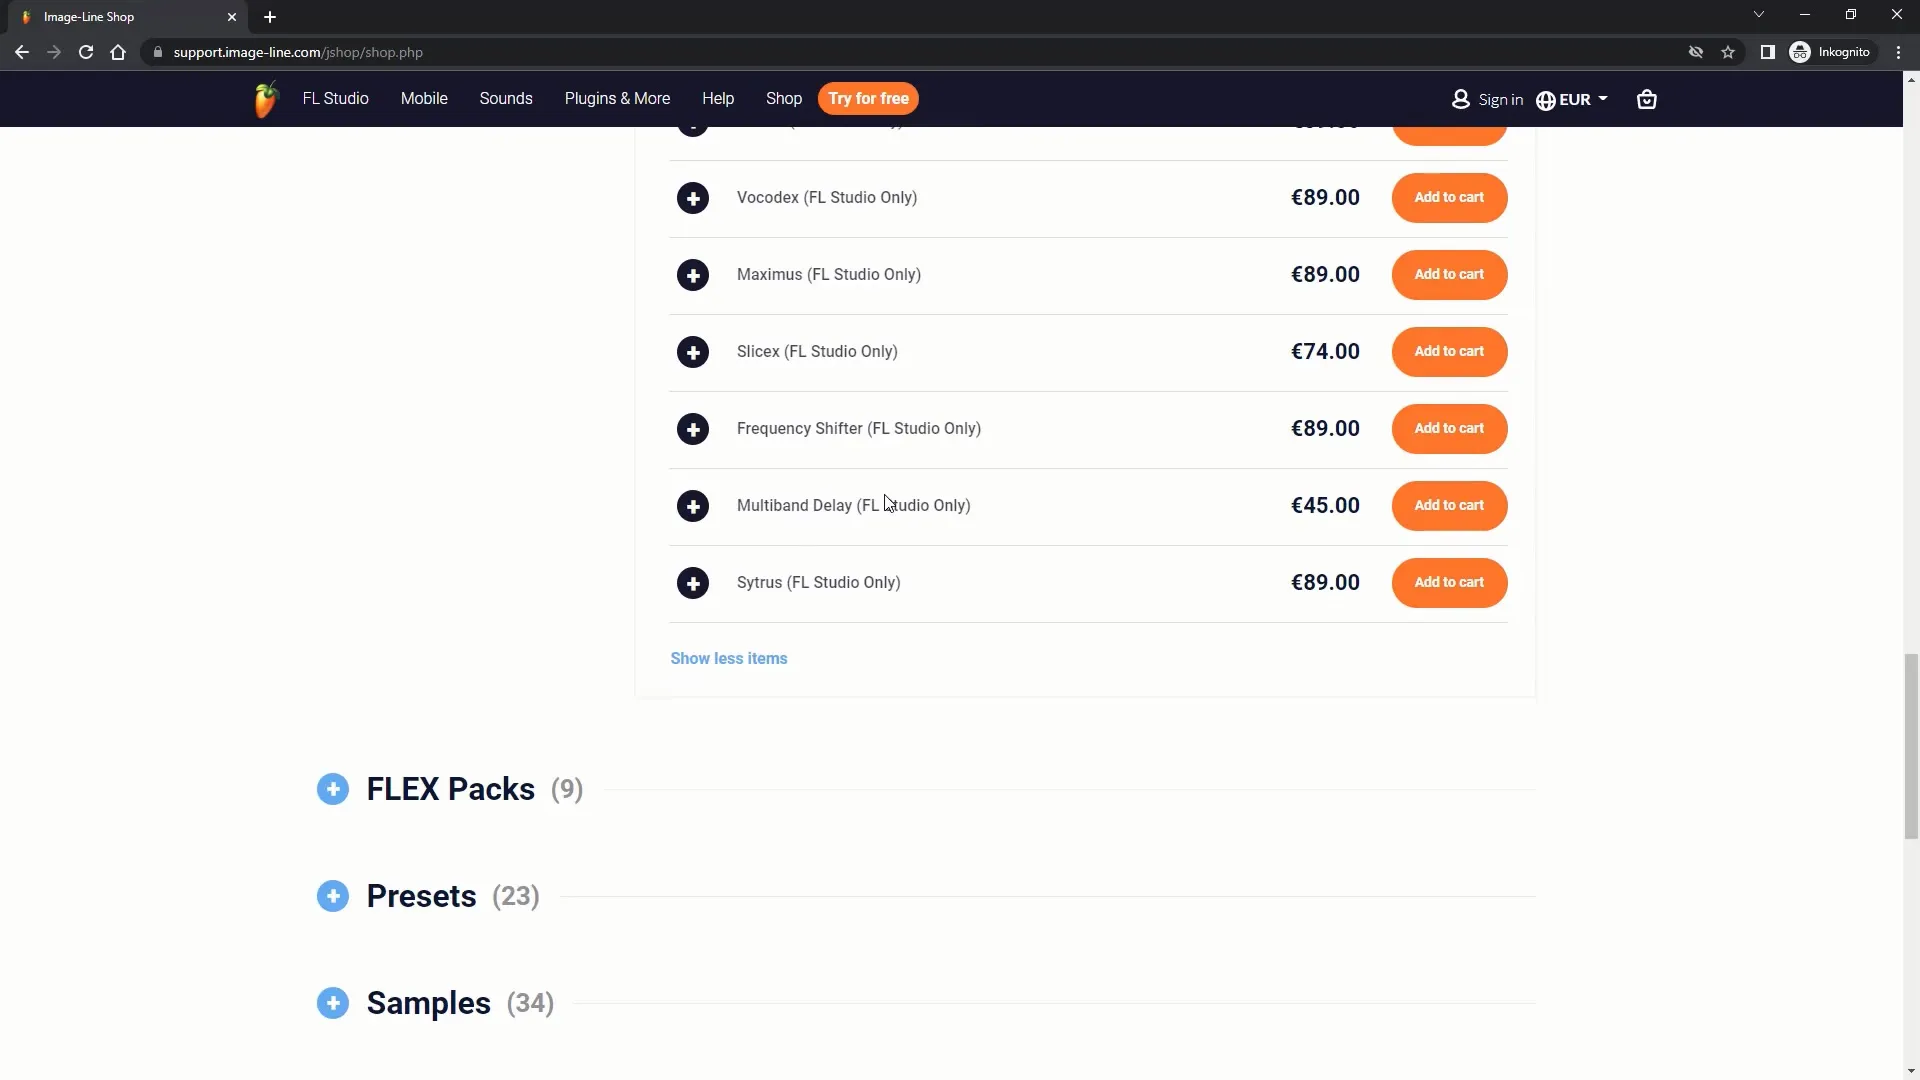
Before you can work with the Multiband Delay, you must ensure that you have it installed. The plugin is included in the FL Studio Producer Edition and all higher versions. If you have the Fruity Edition, you can purchase it separately or even try it for free by downloading the All Plugins Edition.
Basic Layout of the Plugin
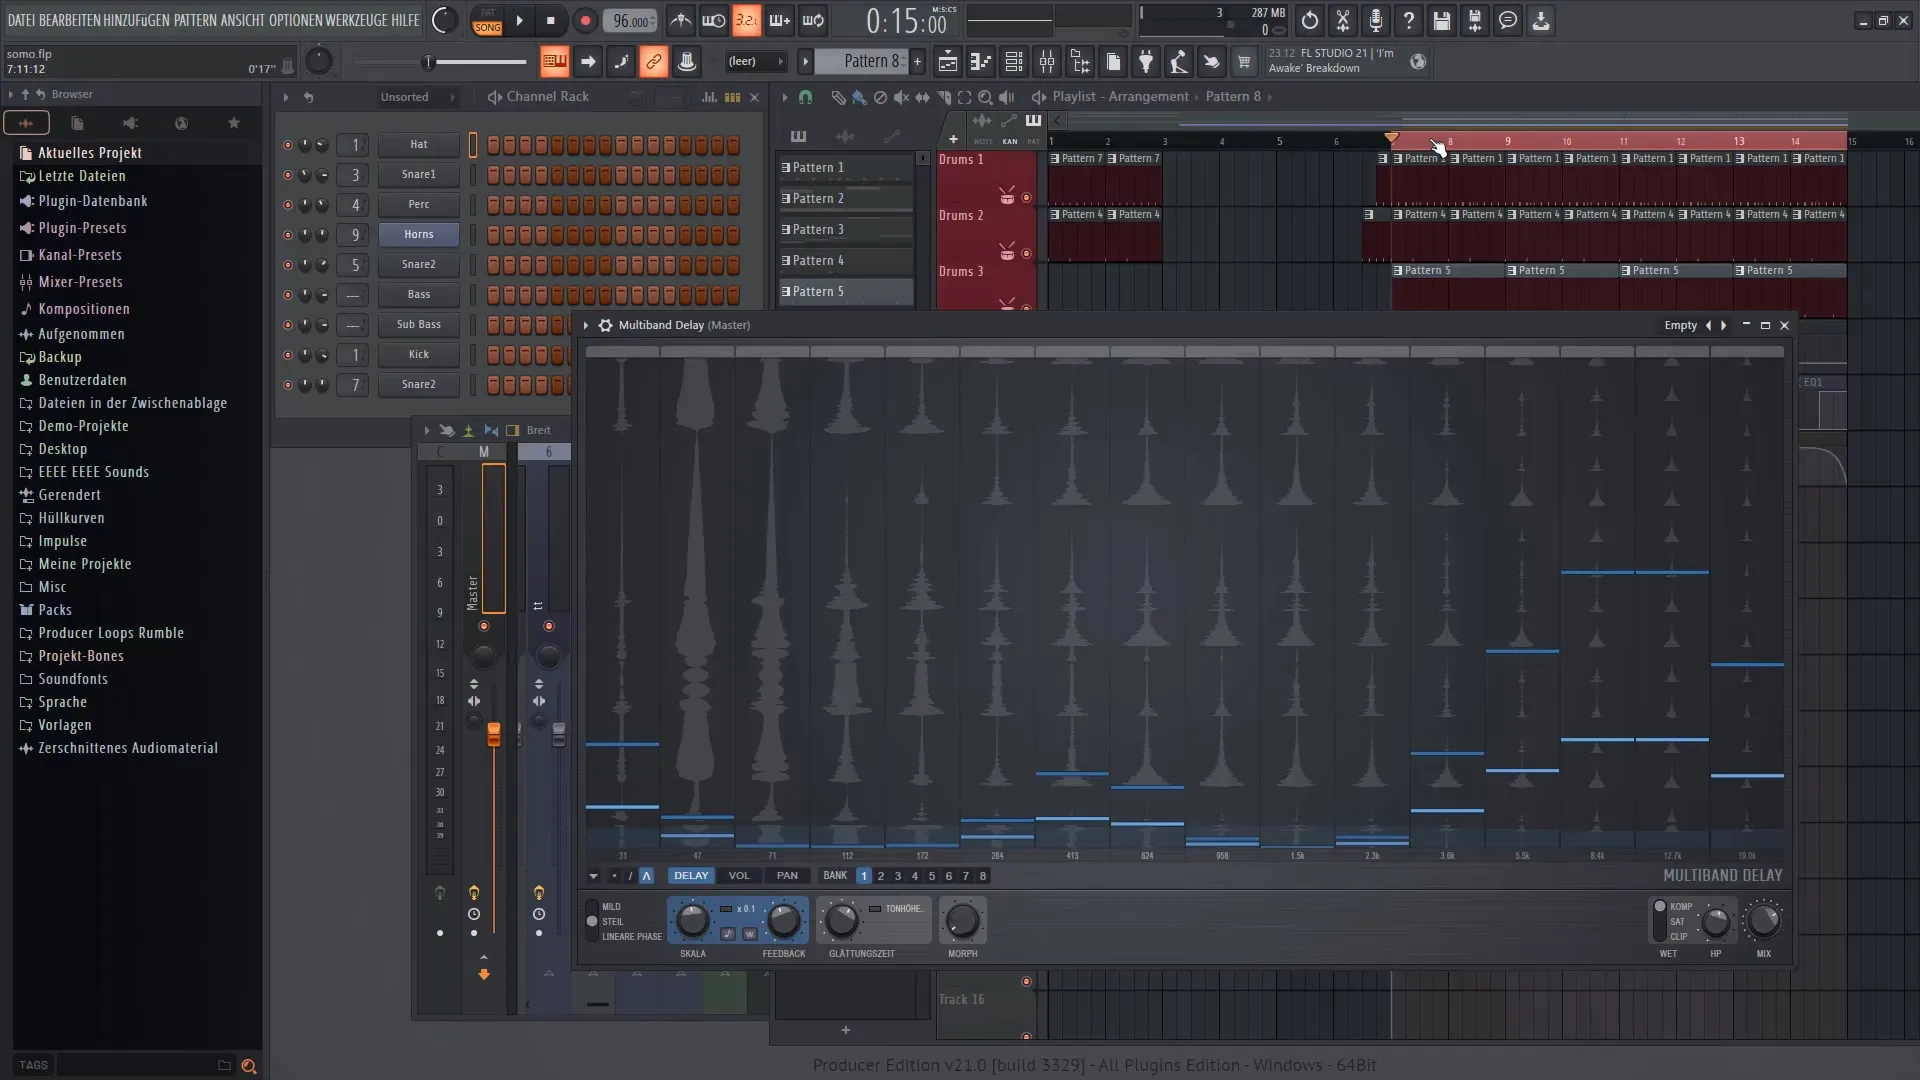
Once you have opened the plugin, you will notice that there are 18 different bands divided into frequencies. These bands offer you the possibility to precisely control sound processing. You will see a visual frequency buffer through which you can adjust parameters such as delay and volume.
Sound Testing with and without Multiband Delay
To better understand the effects of the plugin, play a drum set and listen to the sound with and without the Multiband Delay. The differences will be quite noticeable, especially when certain frequencies are delayed. This will give you a sense of the sound changes that the plugin can produce.
Delay and Volume Settings
In the mixer, you can now adjust the volume of each frequency range. Additionally, you have the ability to modulate the delay time for these bands. Experiment with different delay settings to alter the sound's character.

Adjusting the Intensity
You can vary the intensity of the effect. This feature allows you to make the effect mild, moderate, or intense. Higher delay values may be interesting for melodic elements, while they could lead to an offset in drums.
Morphing Options
The plugin also offers morphing options that allow you to smoothly transition between different settings. This is particularly useful if you aim for dynamic changes in your mixing.

Frequency Adjustments
Go into the individual bands and adjust the volume or delay effect to your liking. For example, you can boost the high frequencies and reduce the lows to achieve a clearer mix. Targeted handling of these frequencies can have a significant impact on your sound.

Automation Options
For even more precise control, you can use automation to dynamically adjust the effects in the mixing process. This allows you to achieve various nuances in sound and make your arrangement more lively.
Utilizing Presets
The Multiband Delay plugin also offers presets that you can simply select and try out from the top menu bar. These are designed to help you experiment and provide inspiration.
Summary
This tutorial has shown you how to effectively use the Multiband Delay plugin in FL Studio 21. From installation to basic adjustments to using presets – you now have the tools to help elevate your music productions to a new level. Experiment with the different settings to bring out the best in your sound!
Frequently Asked Questions
How do I install the Multiband Delay?The plugin is included in the FL Studio Producer Edition or can be purchased separately.
Can I try the plugin without purchasing it?Yes, you can download the FL Studio All Plugins Edition to try it for free.
What does the Multiband Delay do exactly?It allows you to selectively delay and process different frequency ranges in a sound signal.
How can I automate the effects?By using automation clips in the mixer, you can dynamically control the effects.
Are there presets in the plugin?Yes, the plugin contains several presets that you can try out to gather inspiration.


