Welcome to this tutorial on the new VFX Sequencer in FL Studio! In this guide, I'll show you how you can creatively manipulate your linear sounds with this powerful plugin. The VFX Sequencer opens up a whole new dimension for creating and editing music. Whether you're a beginner or an advanced user, you'll appreciate the versatility and benefits of this tool. Let's dive right in for better sound design!
Key Insights The VFX Sequencer allows you to sequence and creatively manipulate source sounds, for example, played with a synthesizer. With the help of Patcher, you can easily make adjustments and create a variety of effects.
Step-by-Step Guide
1. Introduction to the VFX Sequencer
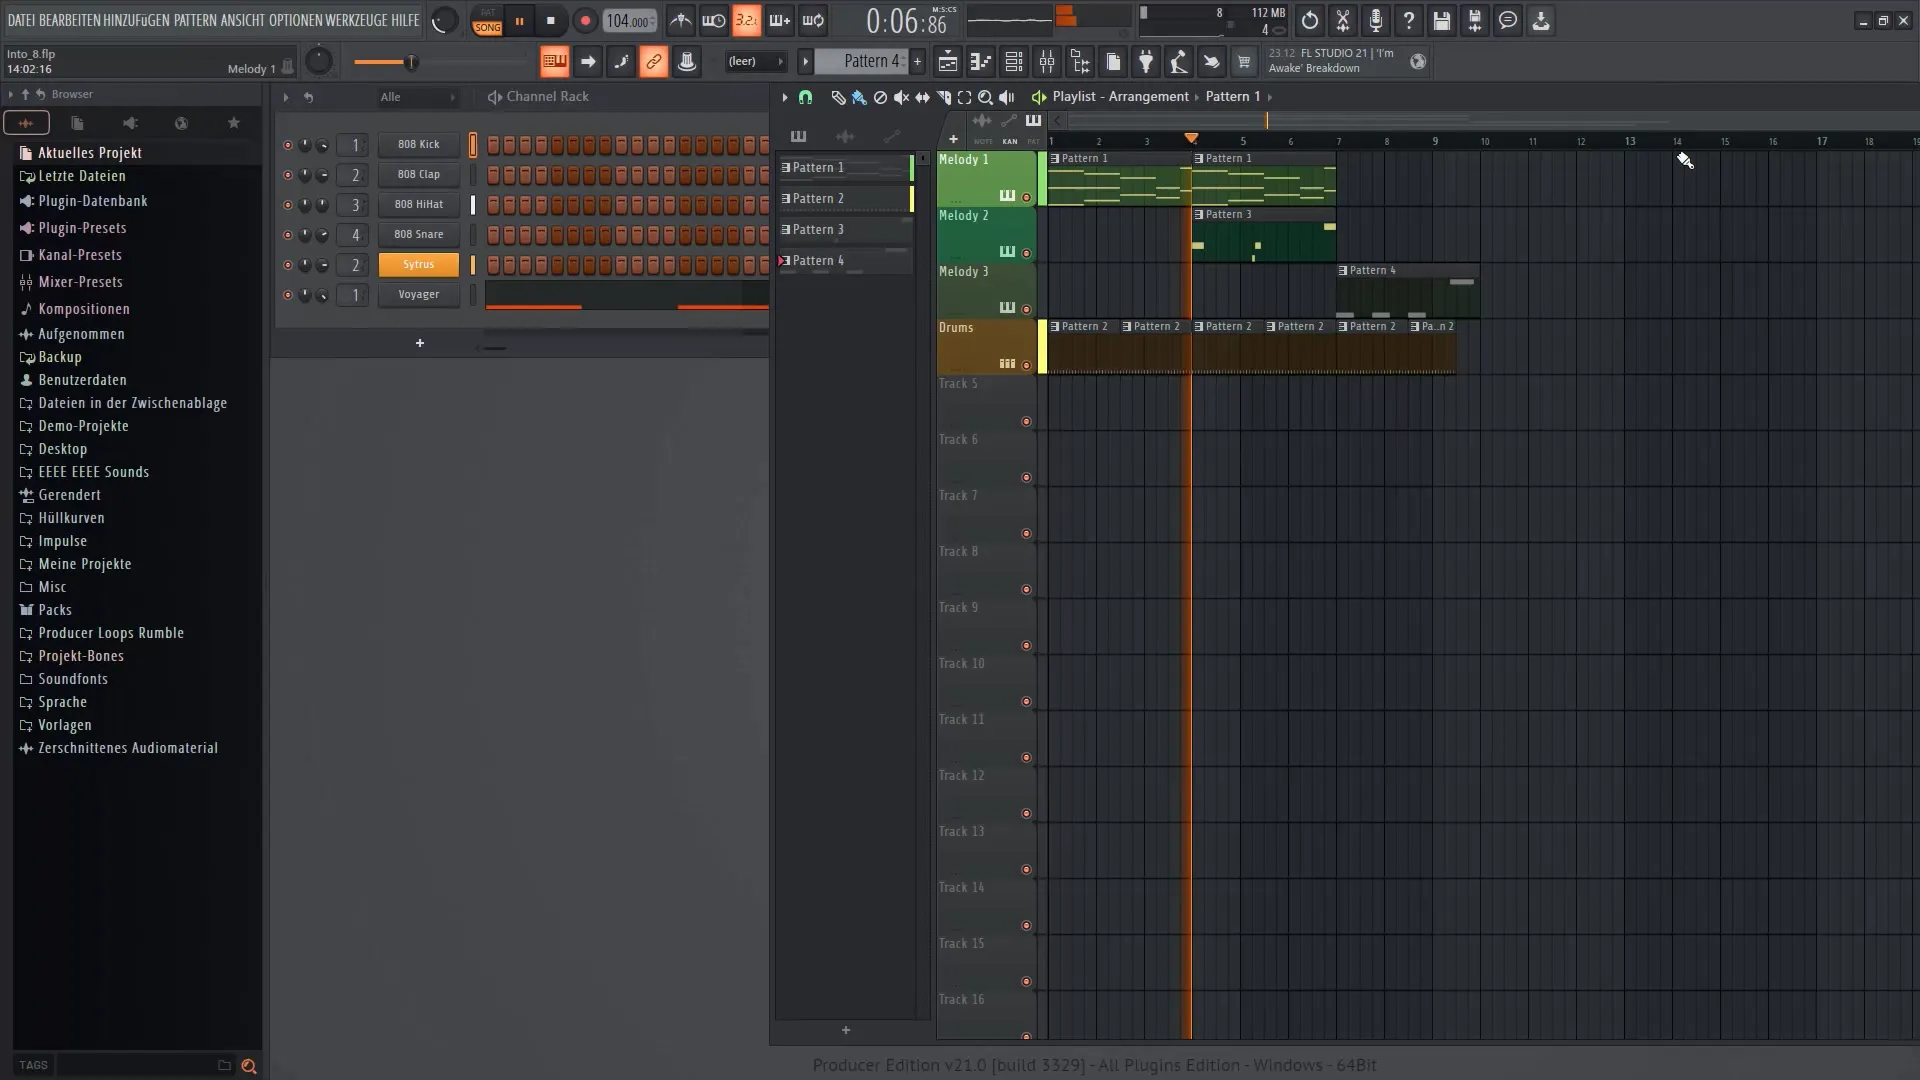
Start by listening to a sample composition that we will later edit with the VFX Sequencer. Launch FL Studio and play the composition.
2. Selecting the Instrument
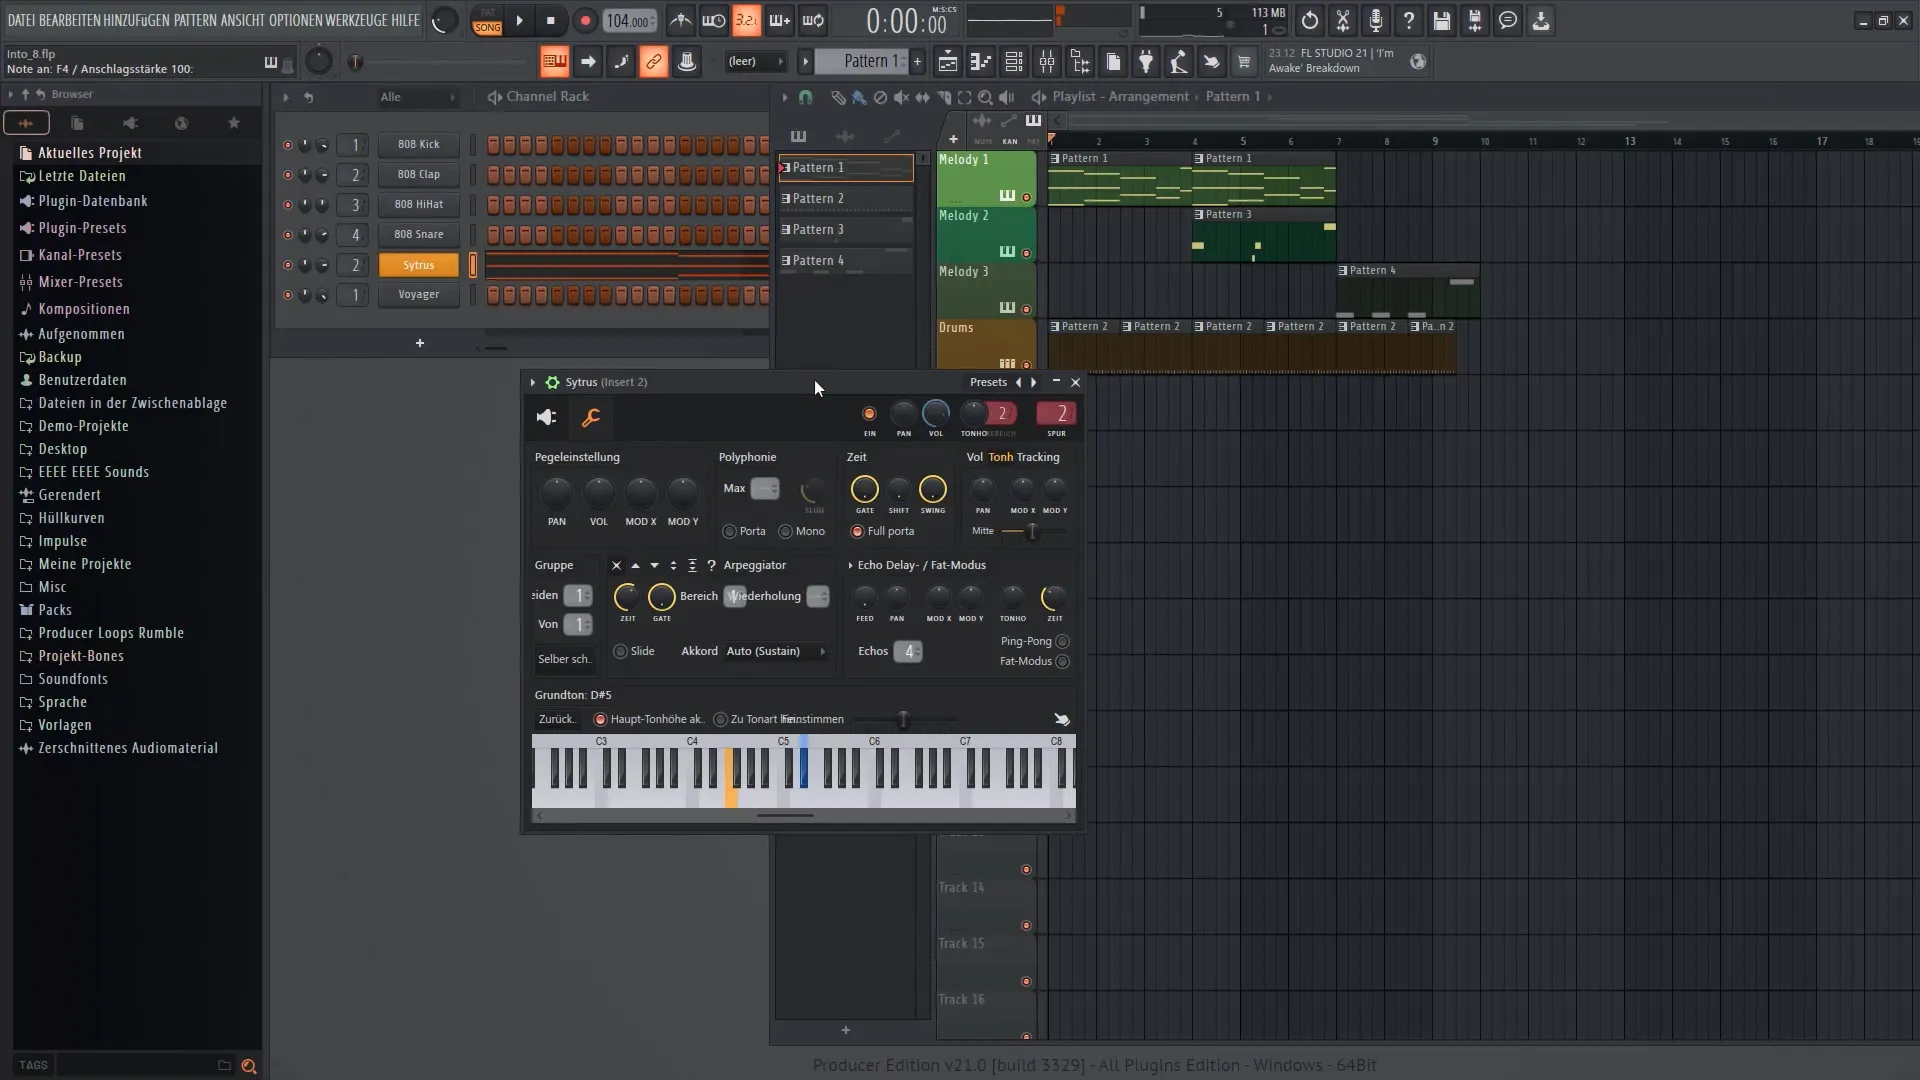
Identify the main synthesizer in your composition. In this case, we are using Sytrus, responsible for the main melody. Listen to the continuous tones it produces.
3. Integration with Patcher
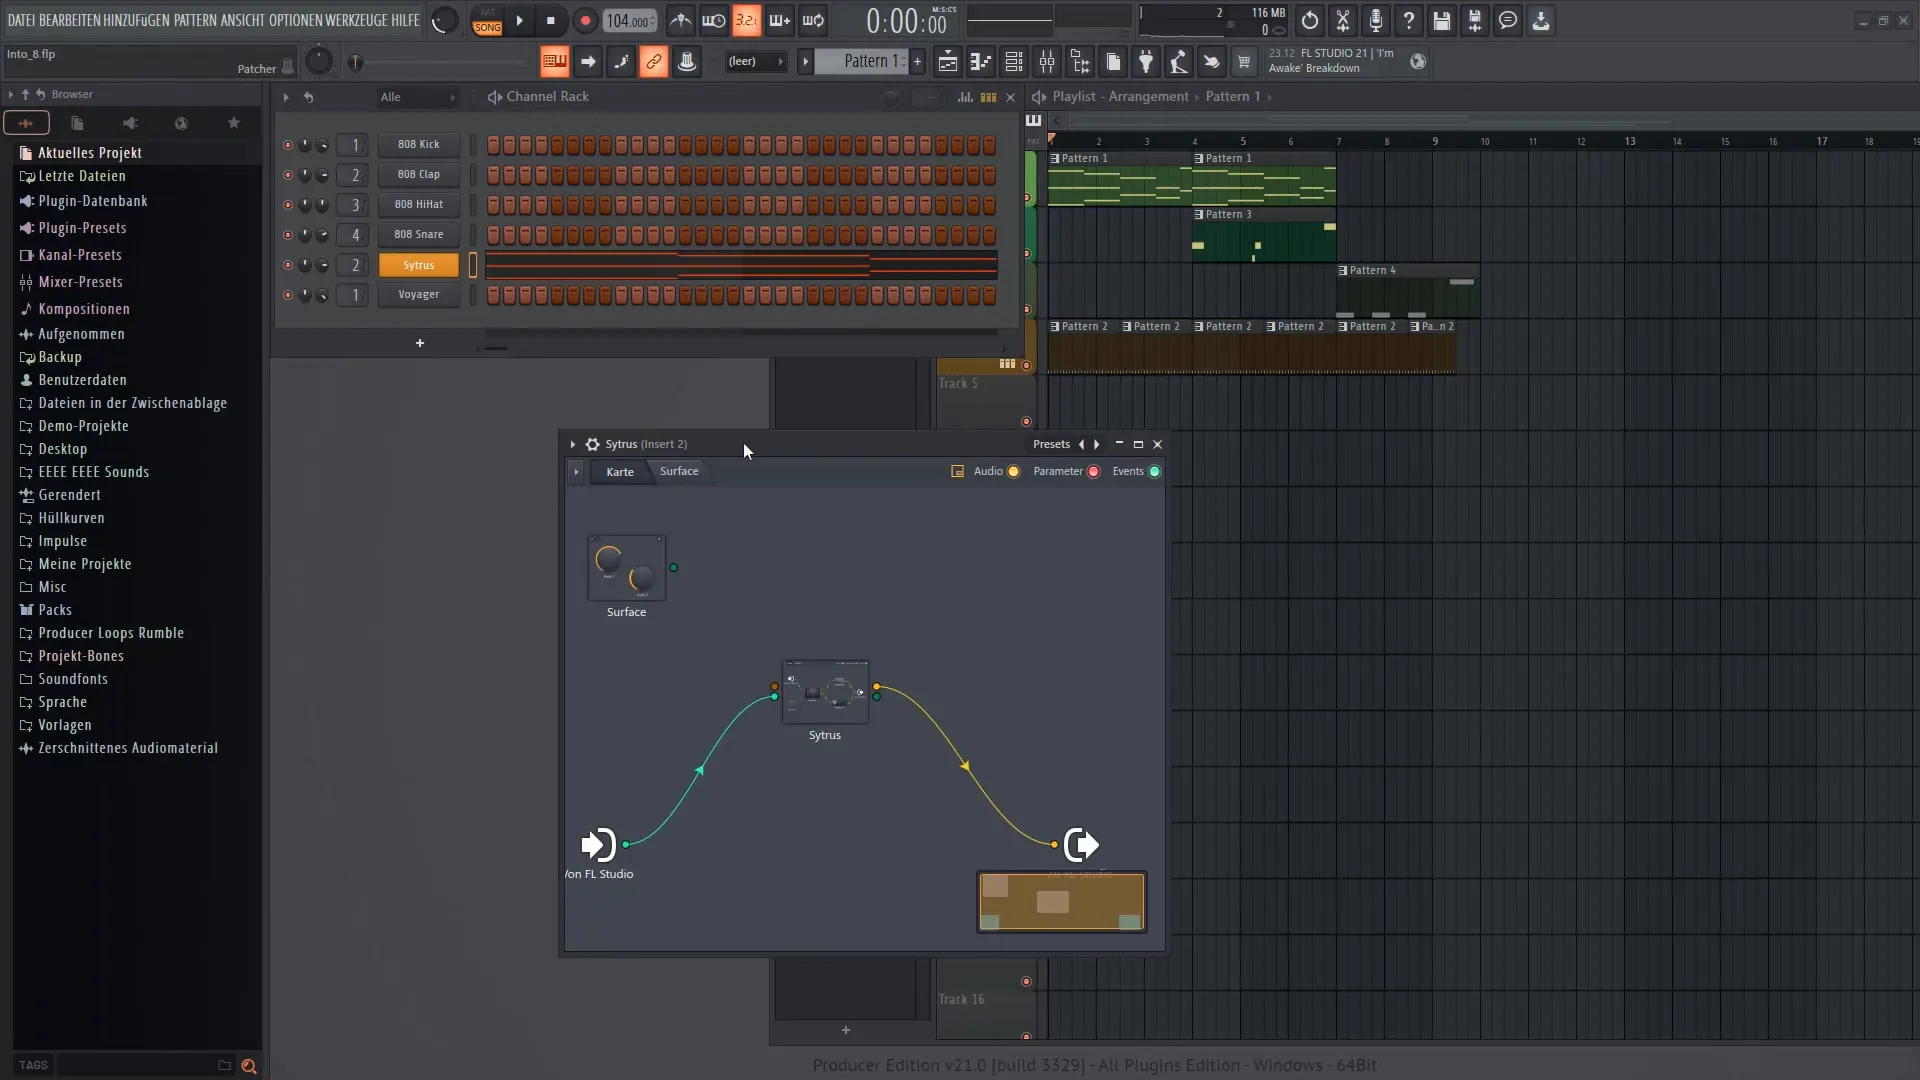
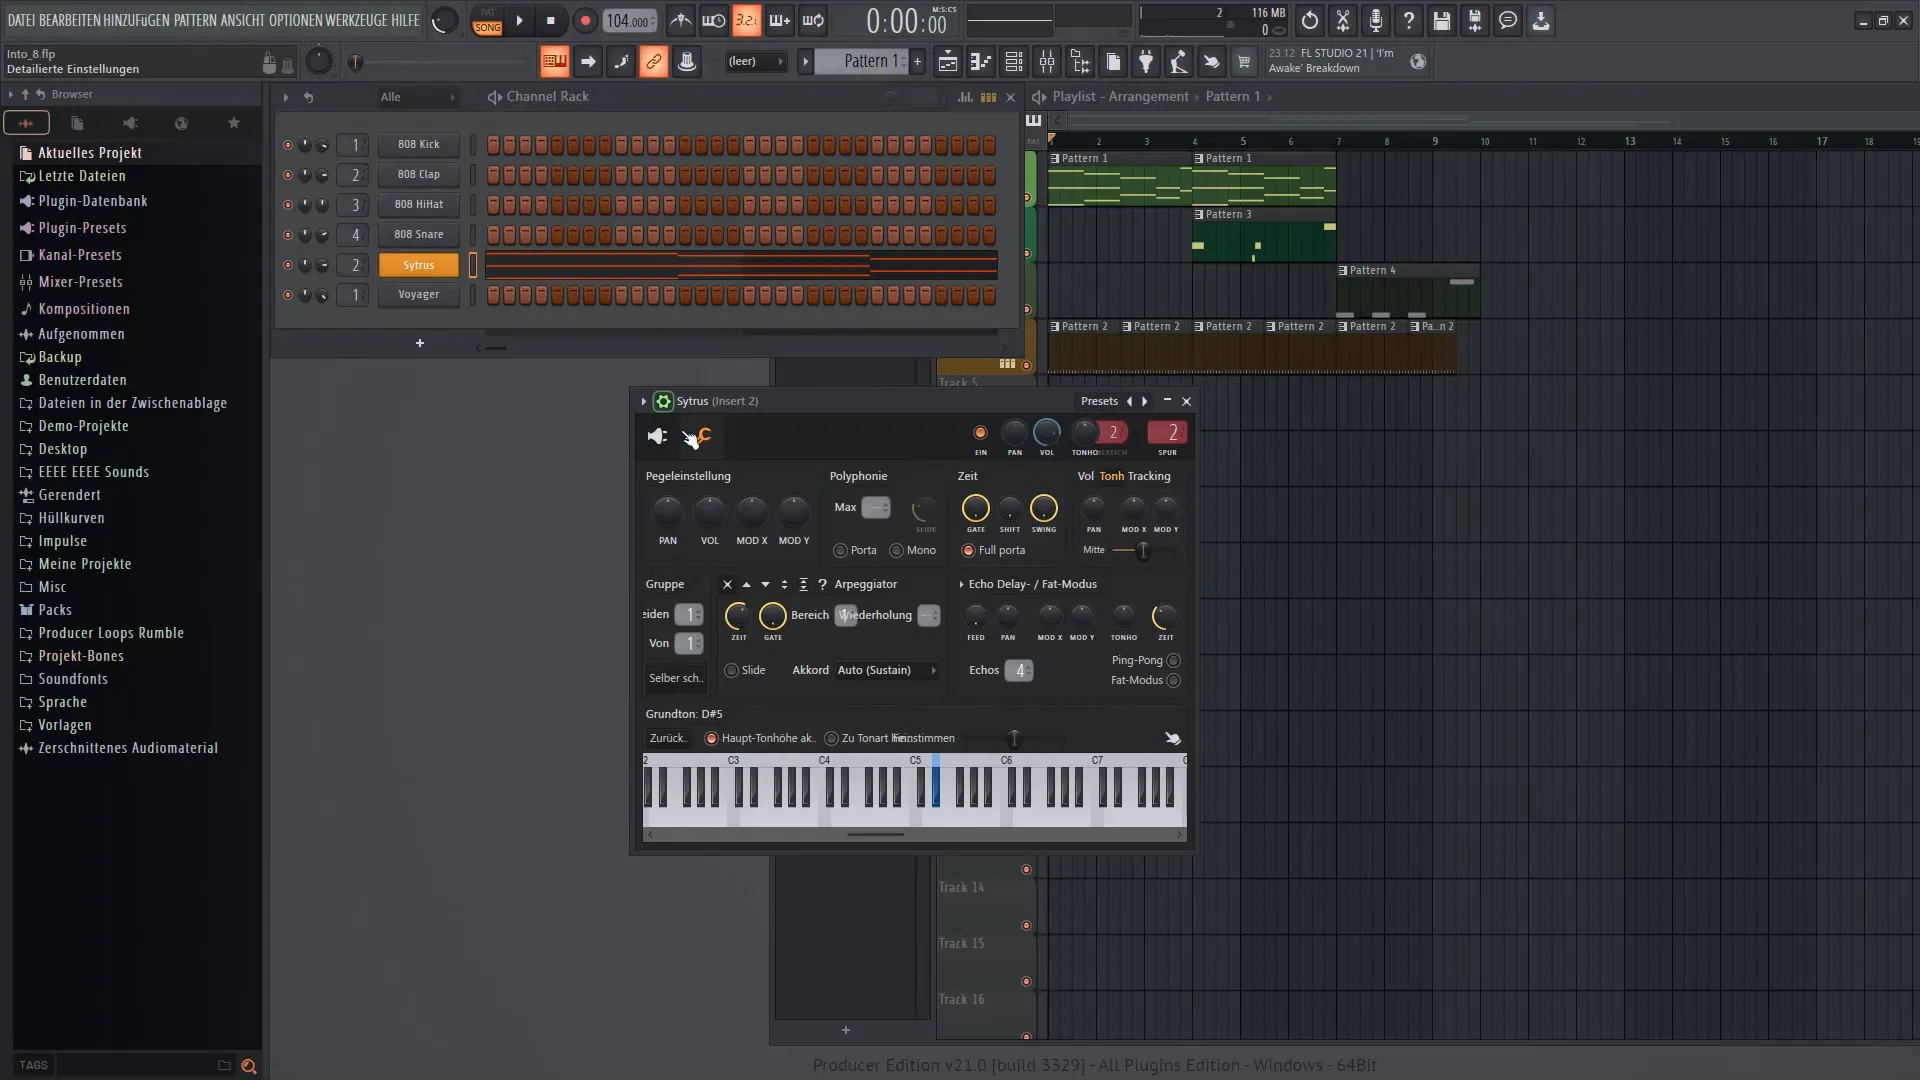
To use the VFX Sequencer, you first need to open Patcher. Right-click on Sytrus in the Step Sequencer and select Patcher. This will provide you with a sandbox environment for editing.
4. Adjusting the Scale
It's important to adjust the scale in Patcher to avoid issues. Go to the options and make the necessary adjustments.
5. Adding the VFX Sequencer
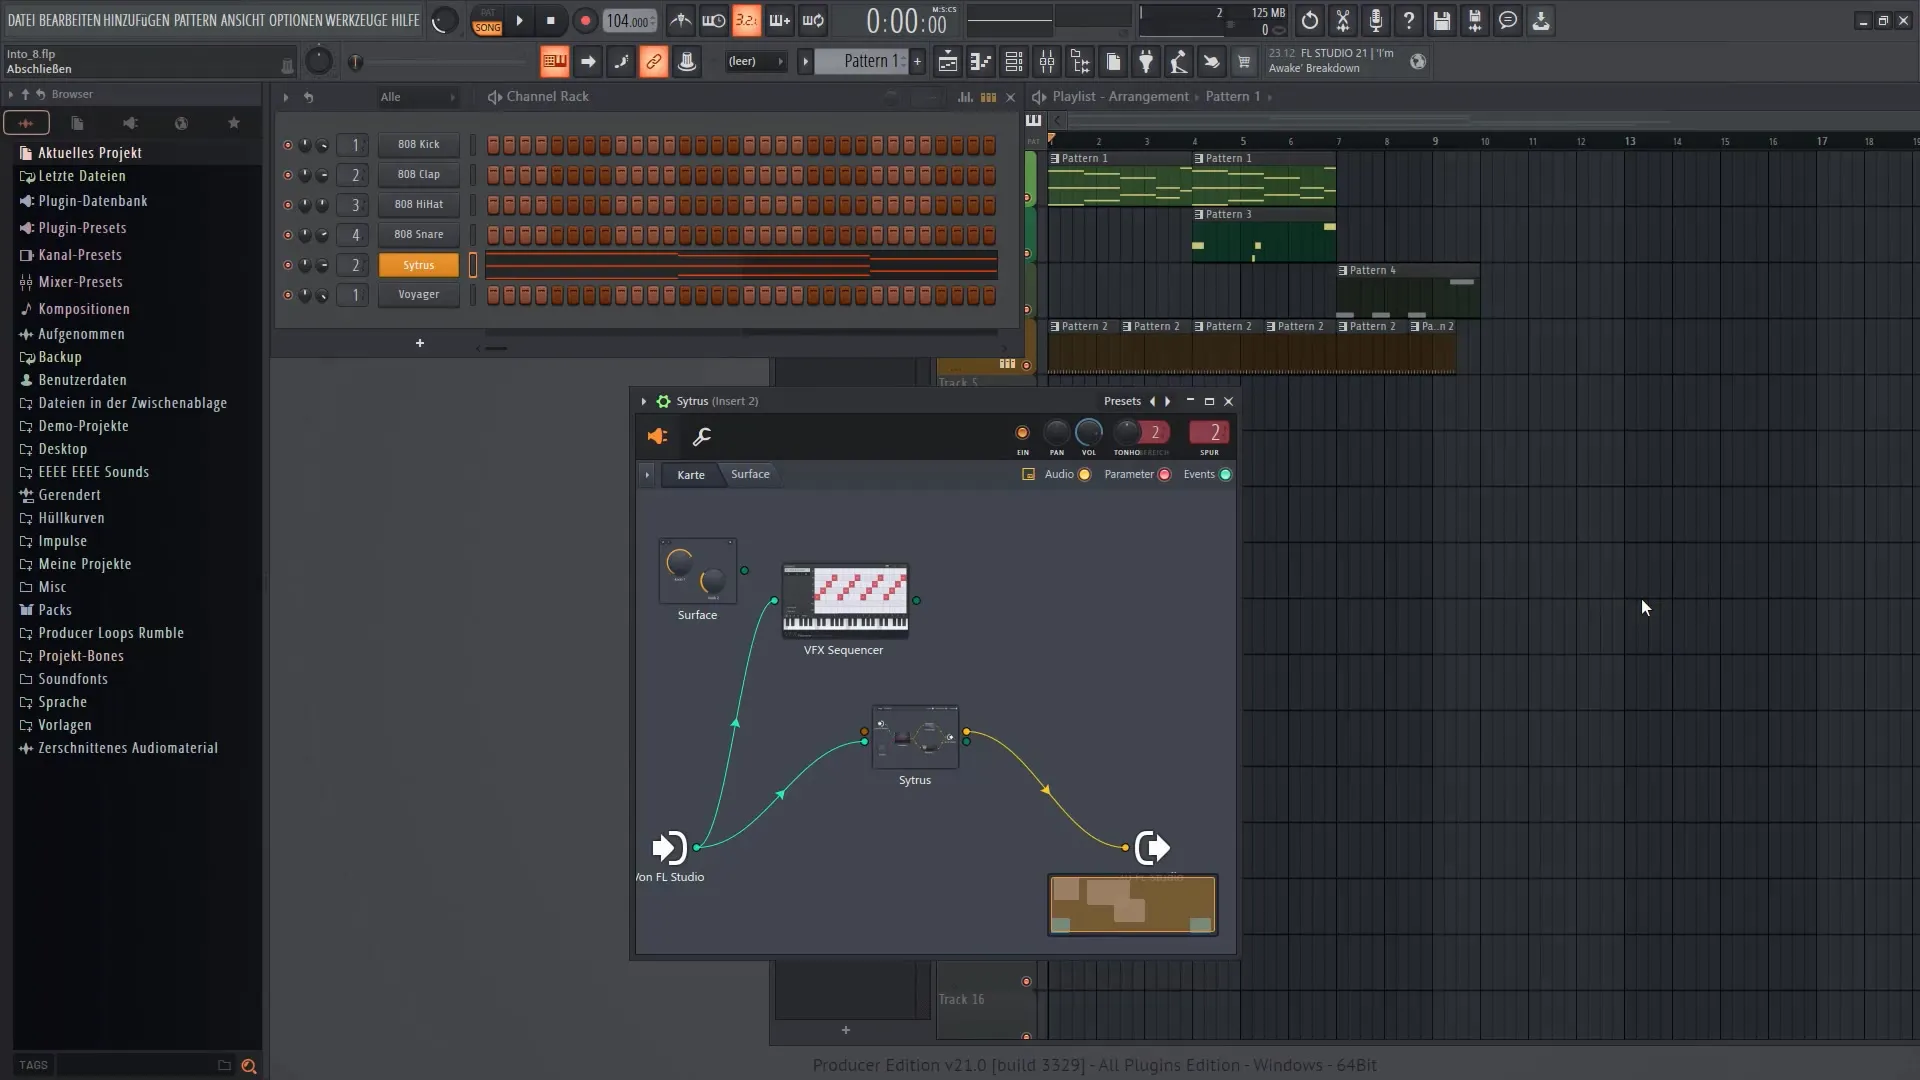
Right-click within the Patcher environment, select "Add plugin," and choose the VFX Sequencer from the list of new plugins. The VFX Sequencer is now ready for use.
6. Establishing Plugin Connections
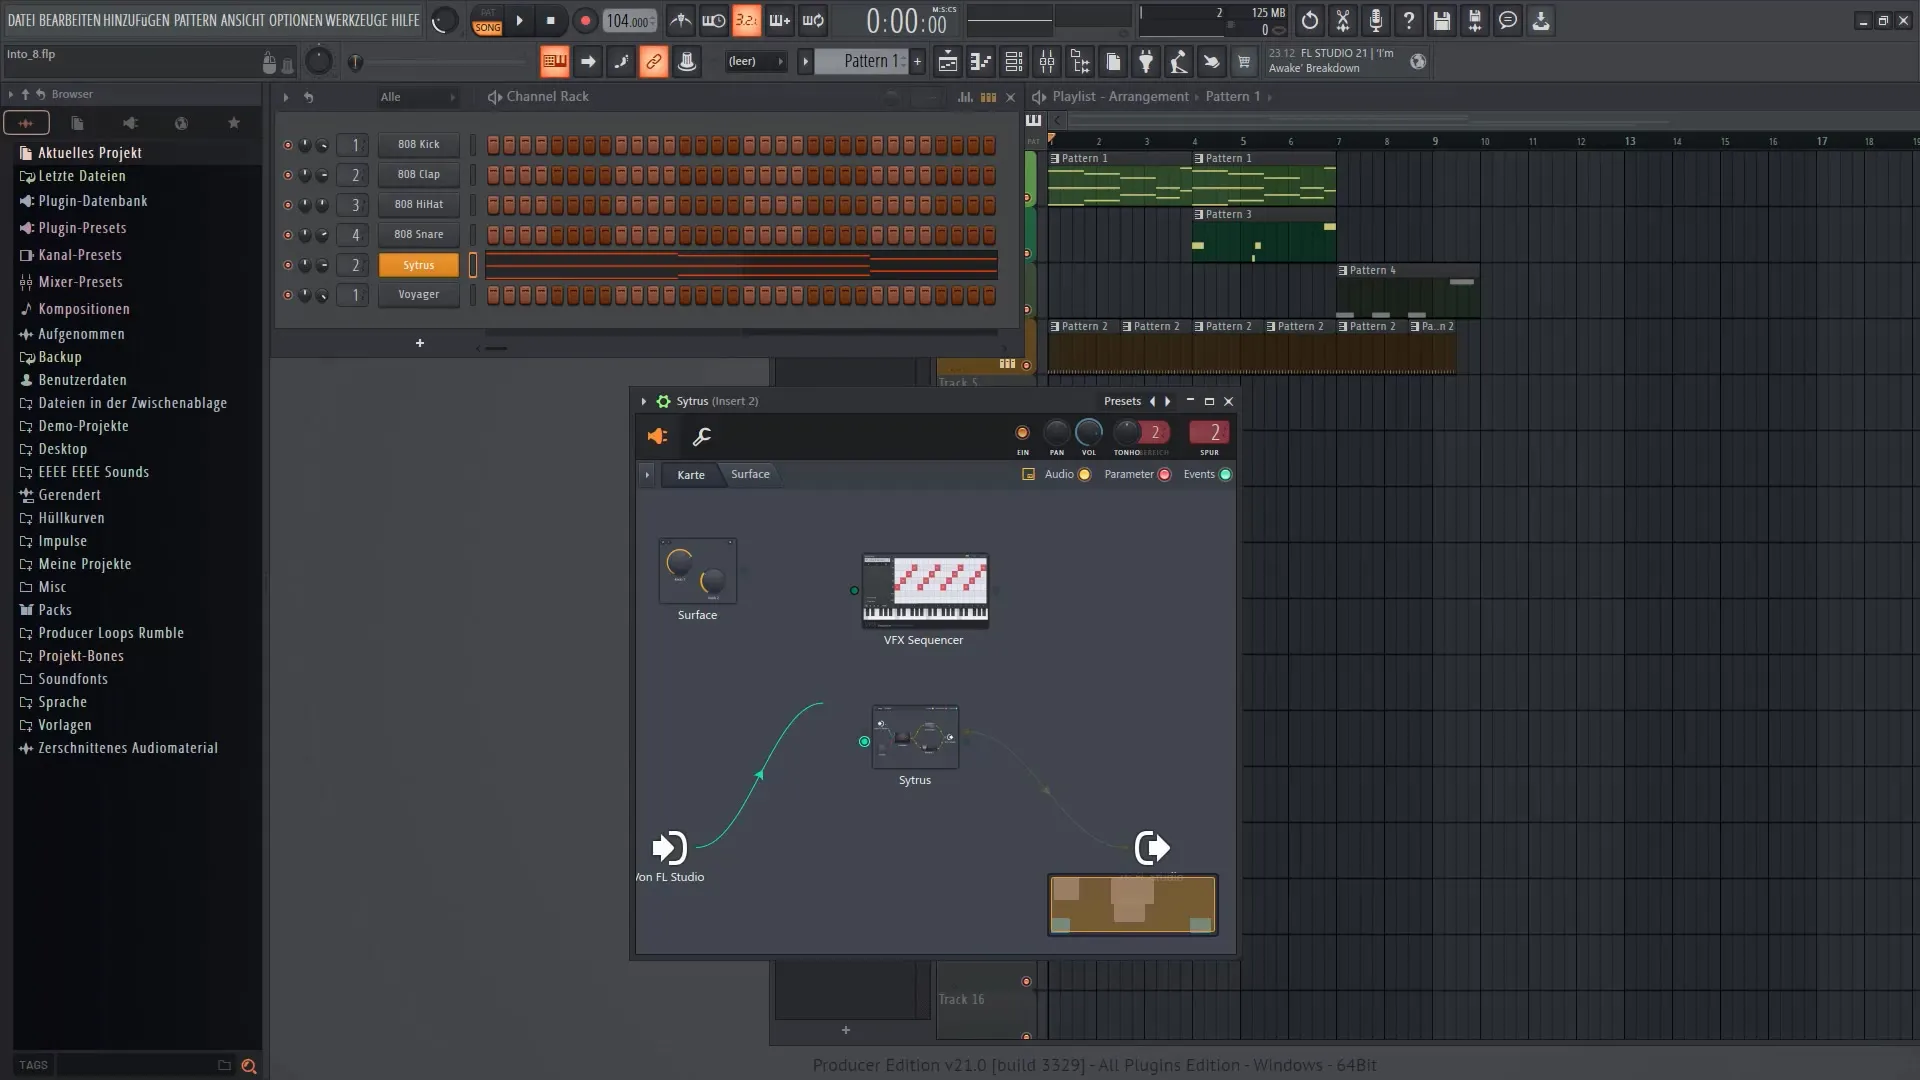
To connect the Sytrus with the VFX Sequencer, you need to set the links accordingly. First, deactivate one of the connection pins and then draw a line to connect the sequencer with the Sytrus.
7. Using the VFX Sequencer
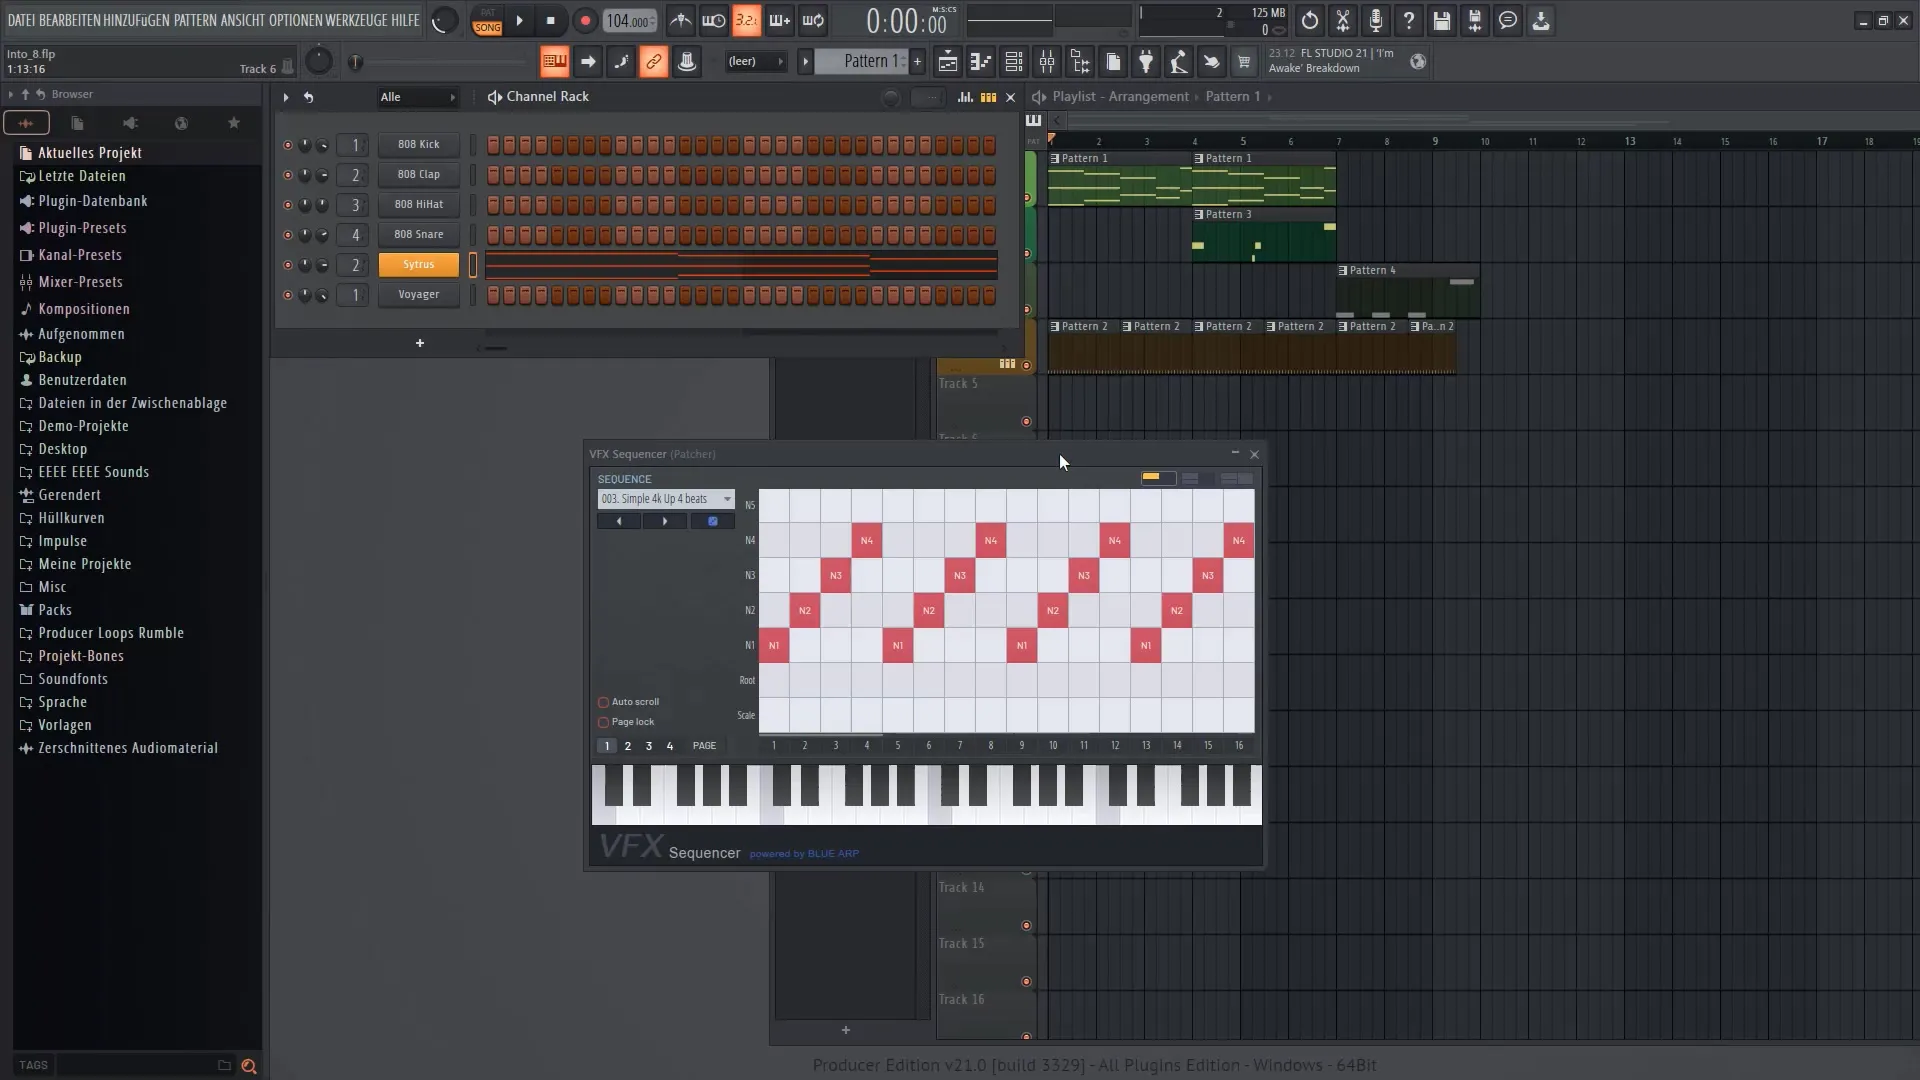
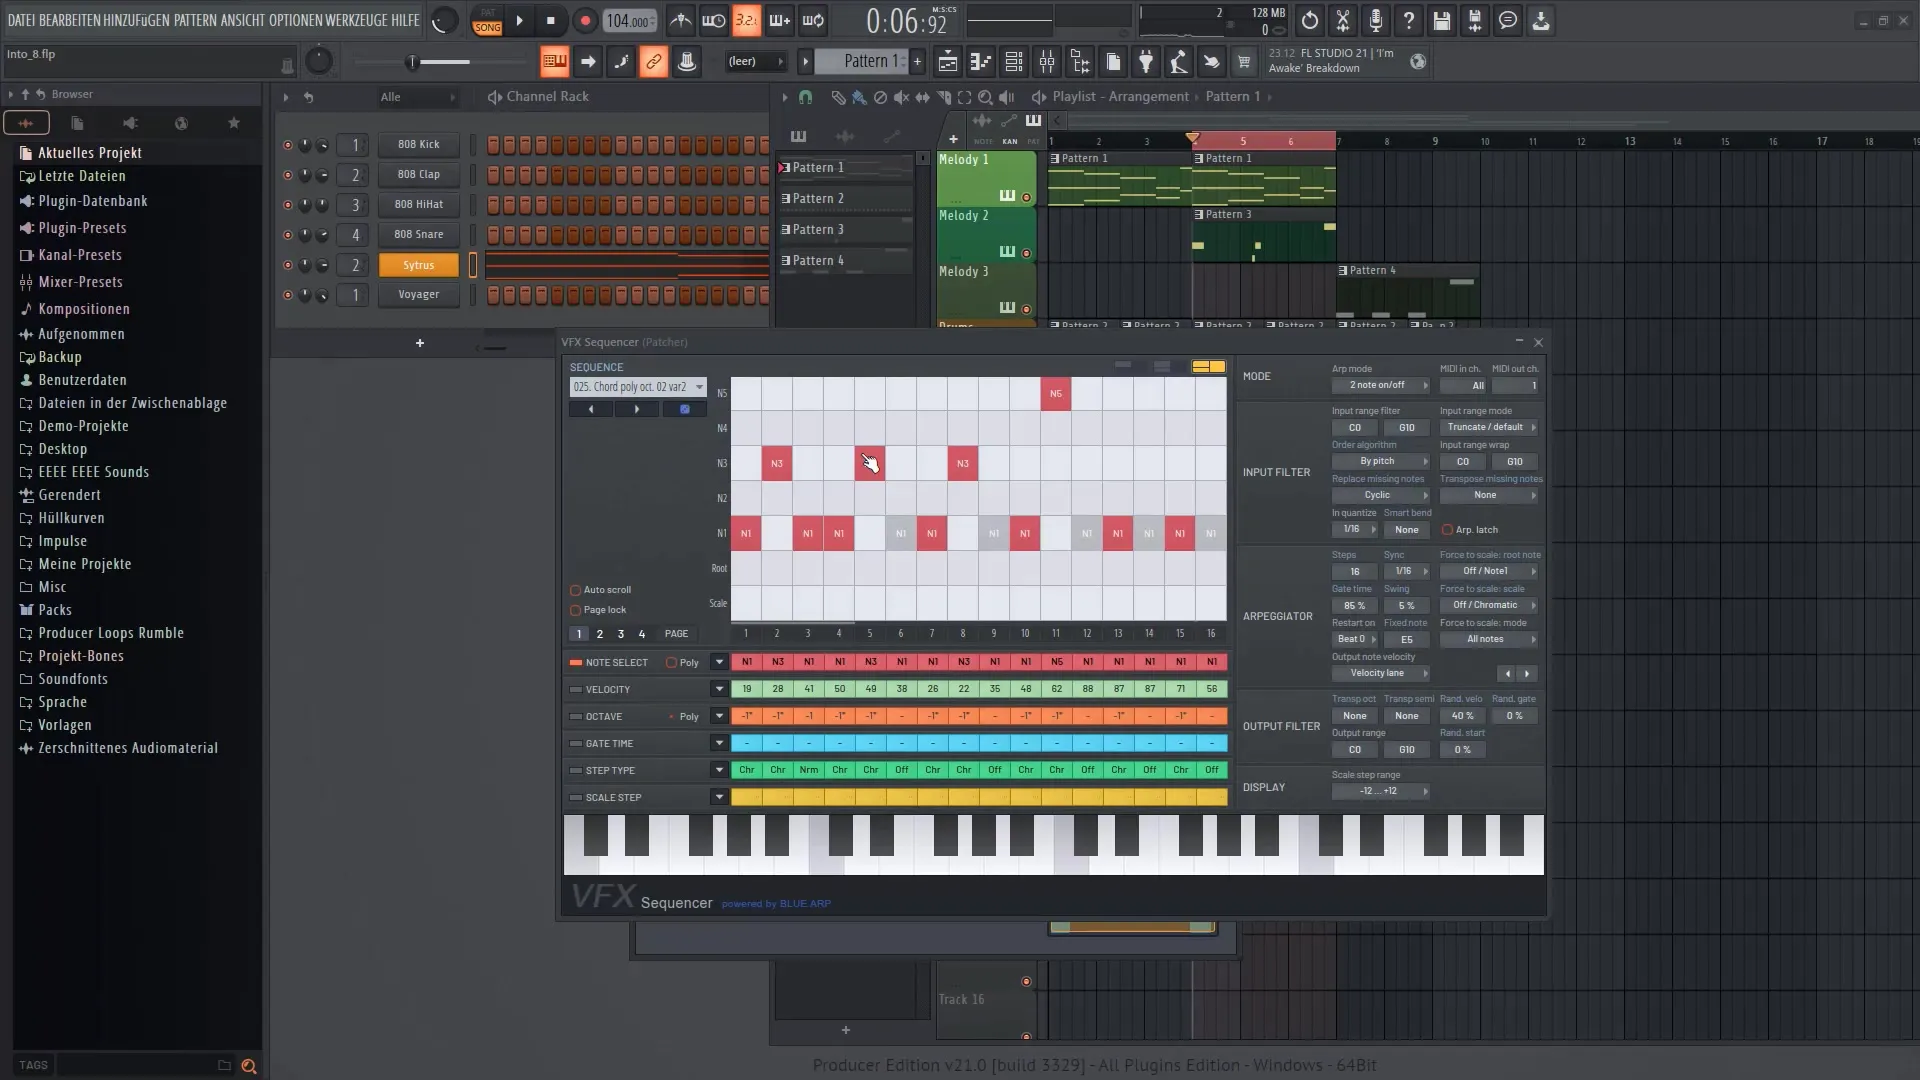
Double-click on the VFX Sequencer to open it and adjust the sequences. You'll discover that you can now create a variety of rhythm variations.
8. Tweaking in the Sequencer
Within the VFX Sequencer, you have the ability to adjust note selection, velocity, and other parameters. Experiment with different presets.
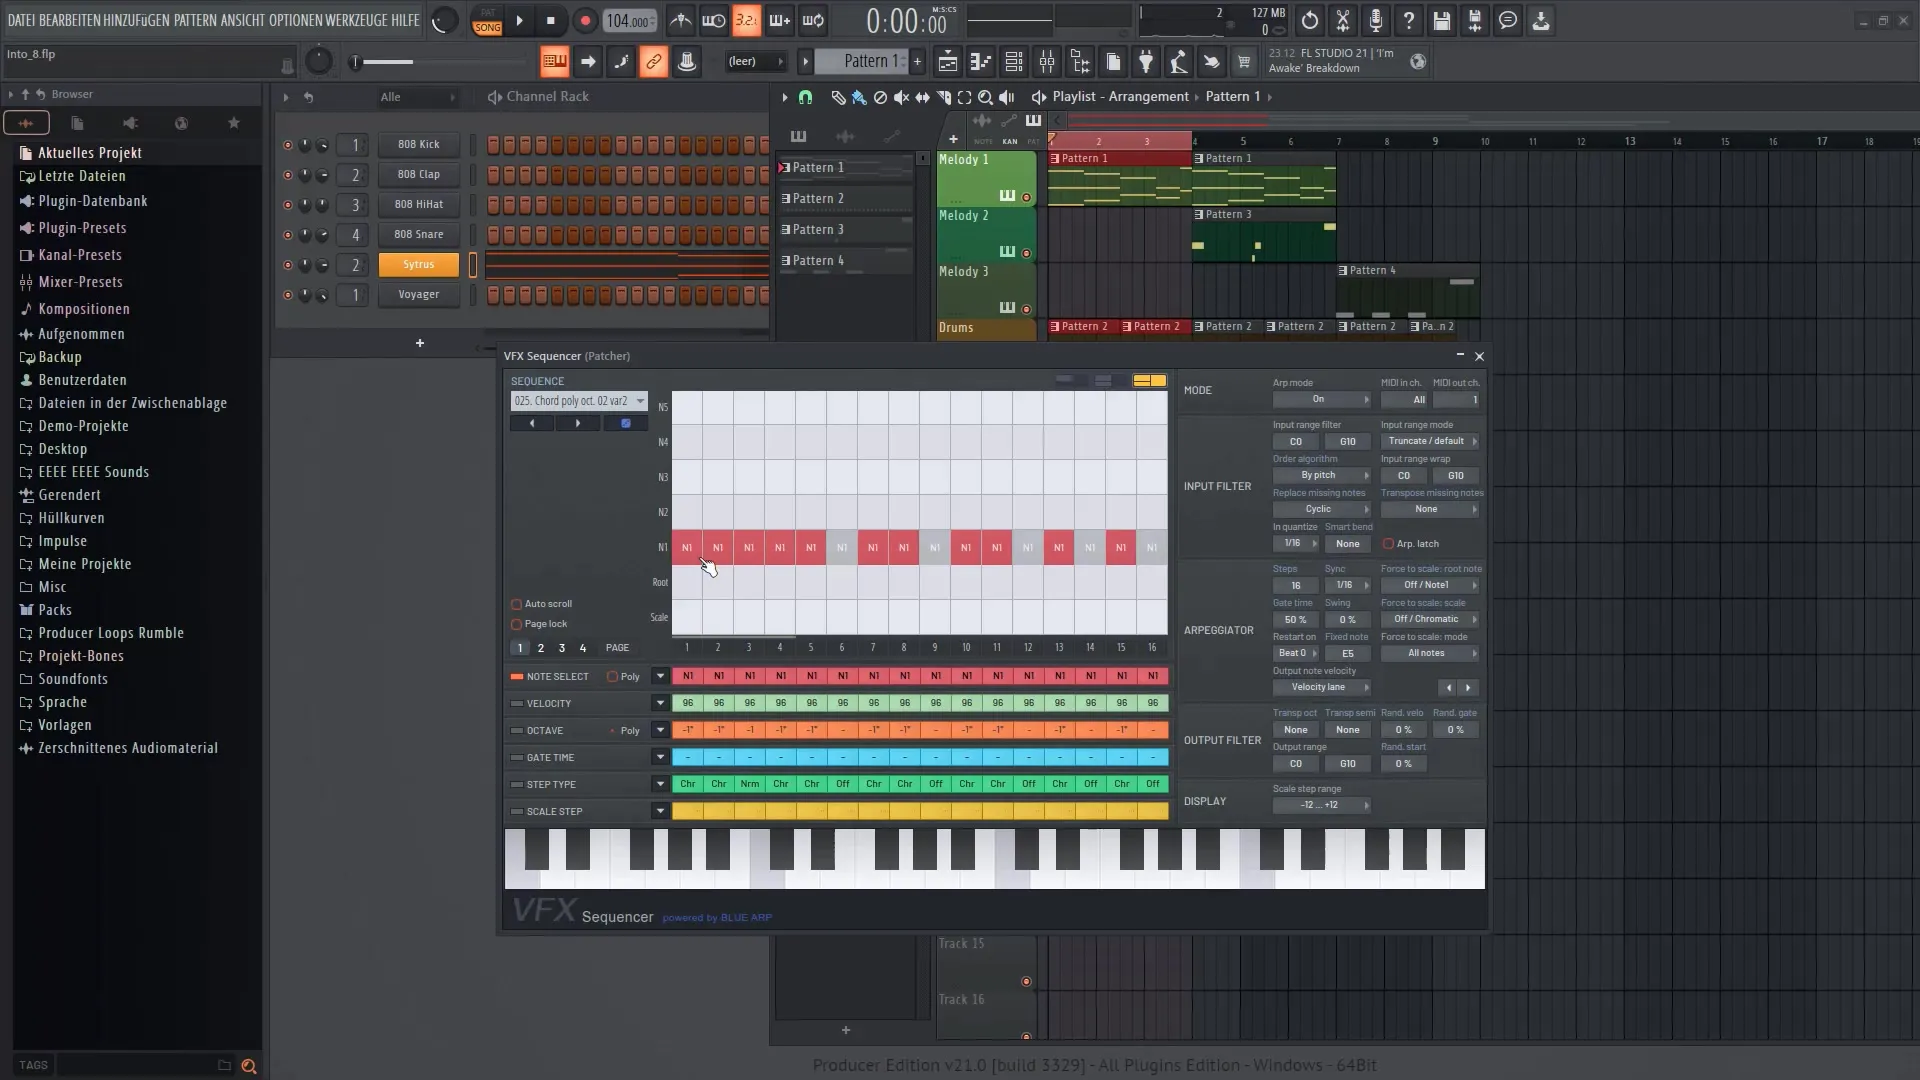
9. Making Further Adjustments
Explore the various mode options to determine how the notes are activated or deactivated. You can adjust specific notes to achieve even more interesting sounds.
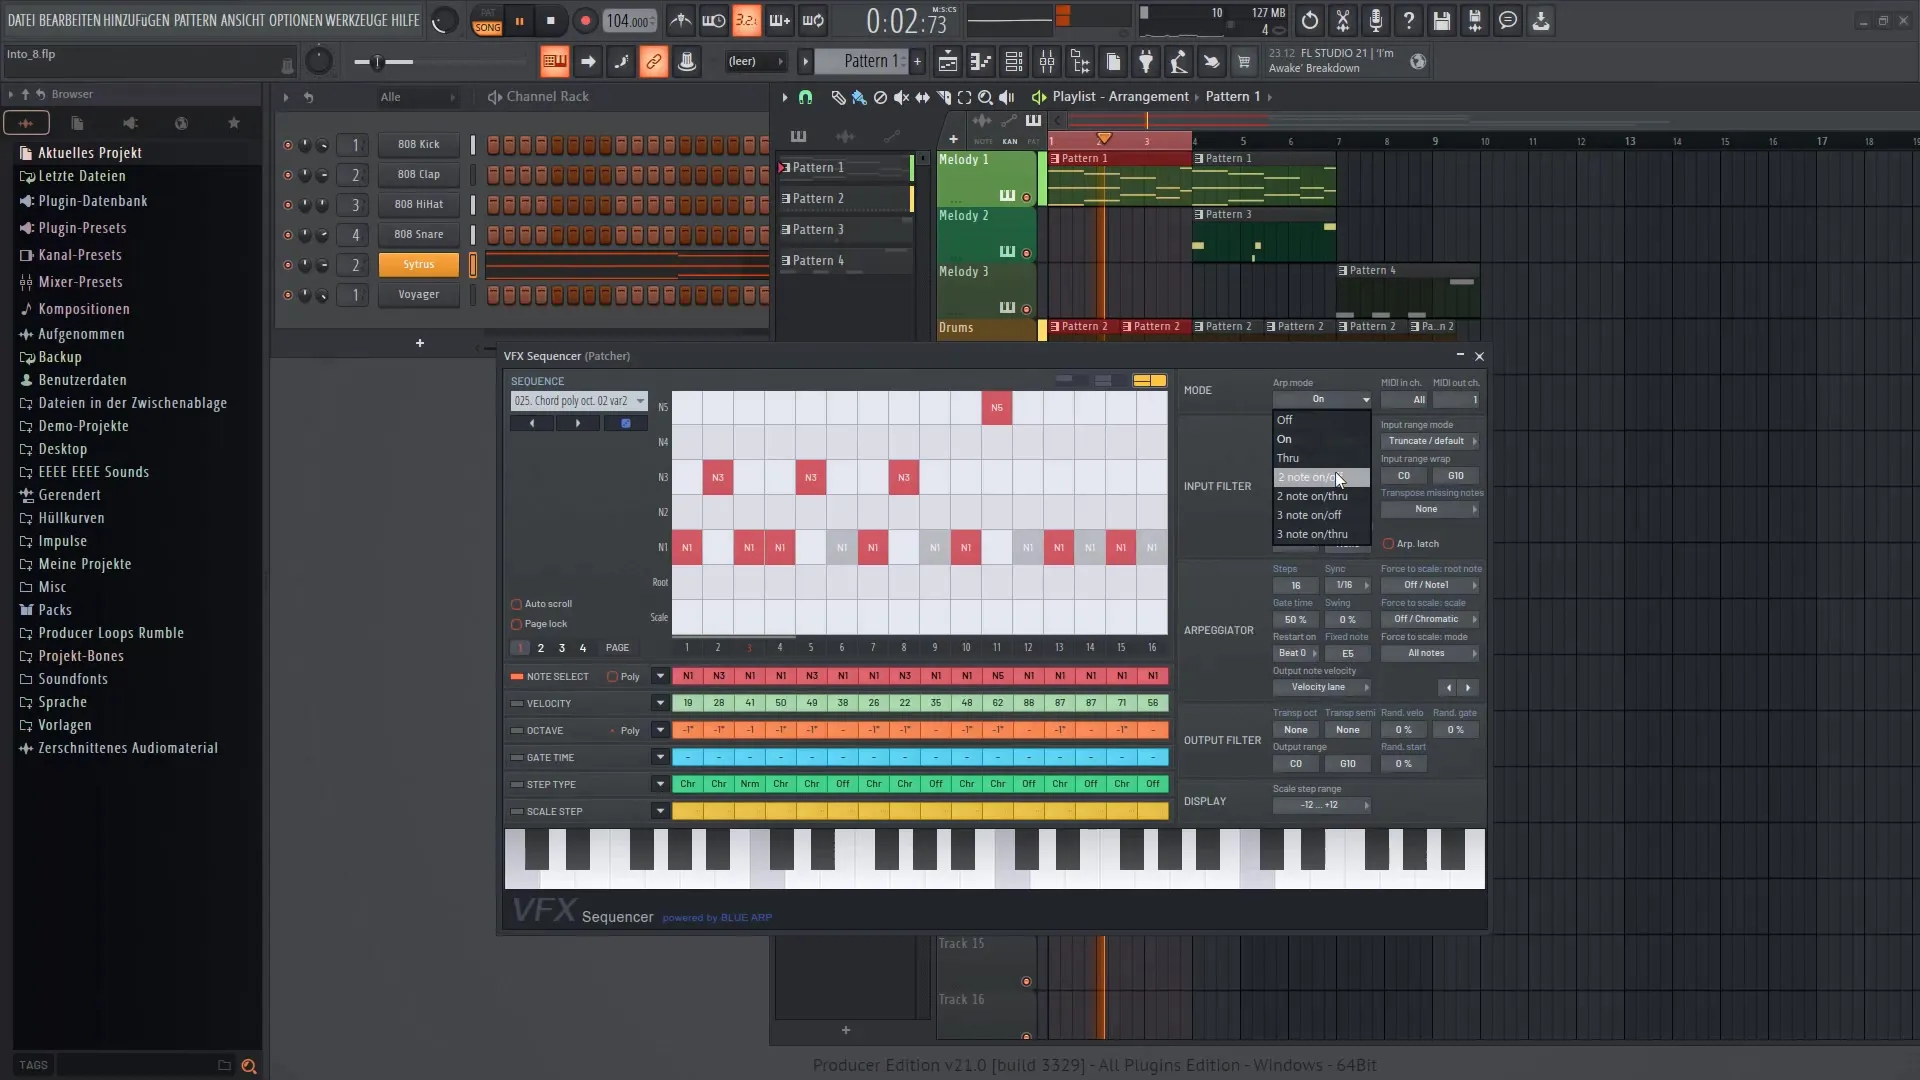
10. Fine-tuning and Optimization
Use the various controls to further optimize the sound quality, such as swing and ratios. Try out different settings to get the best out of your sound.
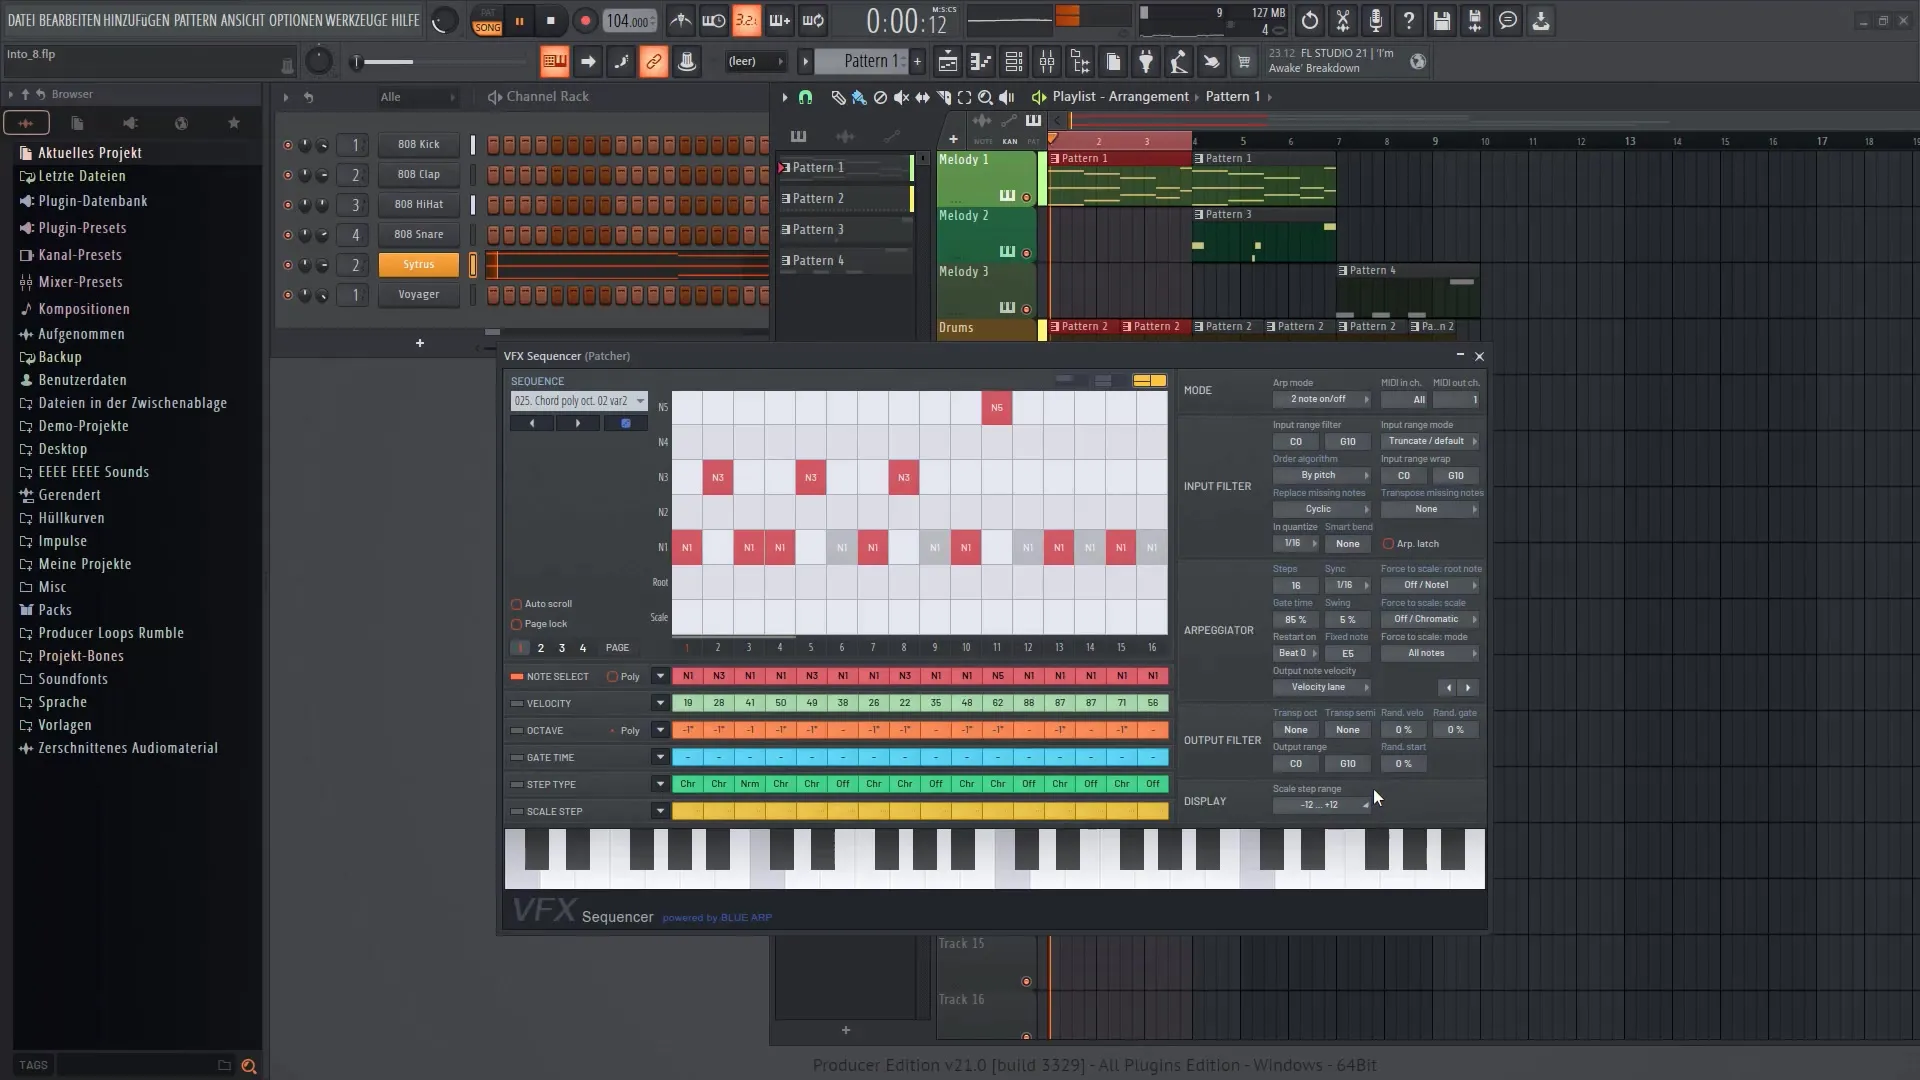
11. Test and refine the sound
After you have made all adjustments, play the sound again and listen to the changes. It is important to test different sounds and decide what works best.
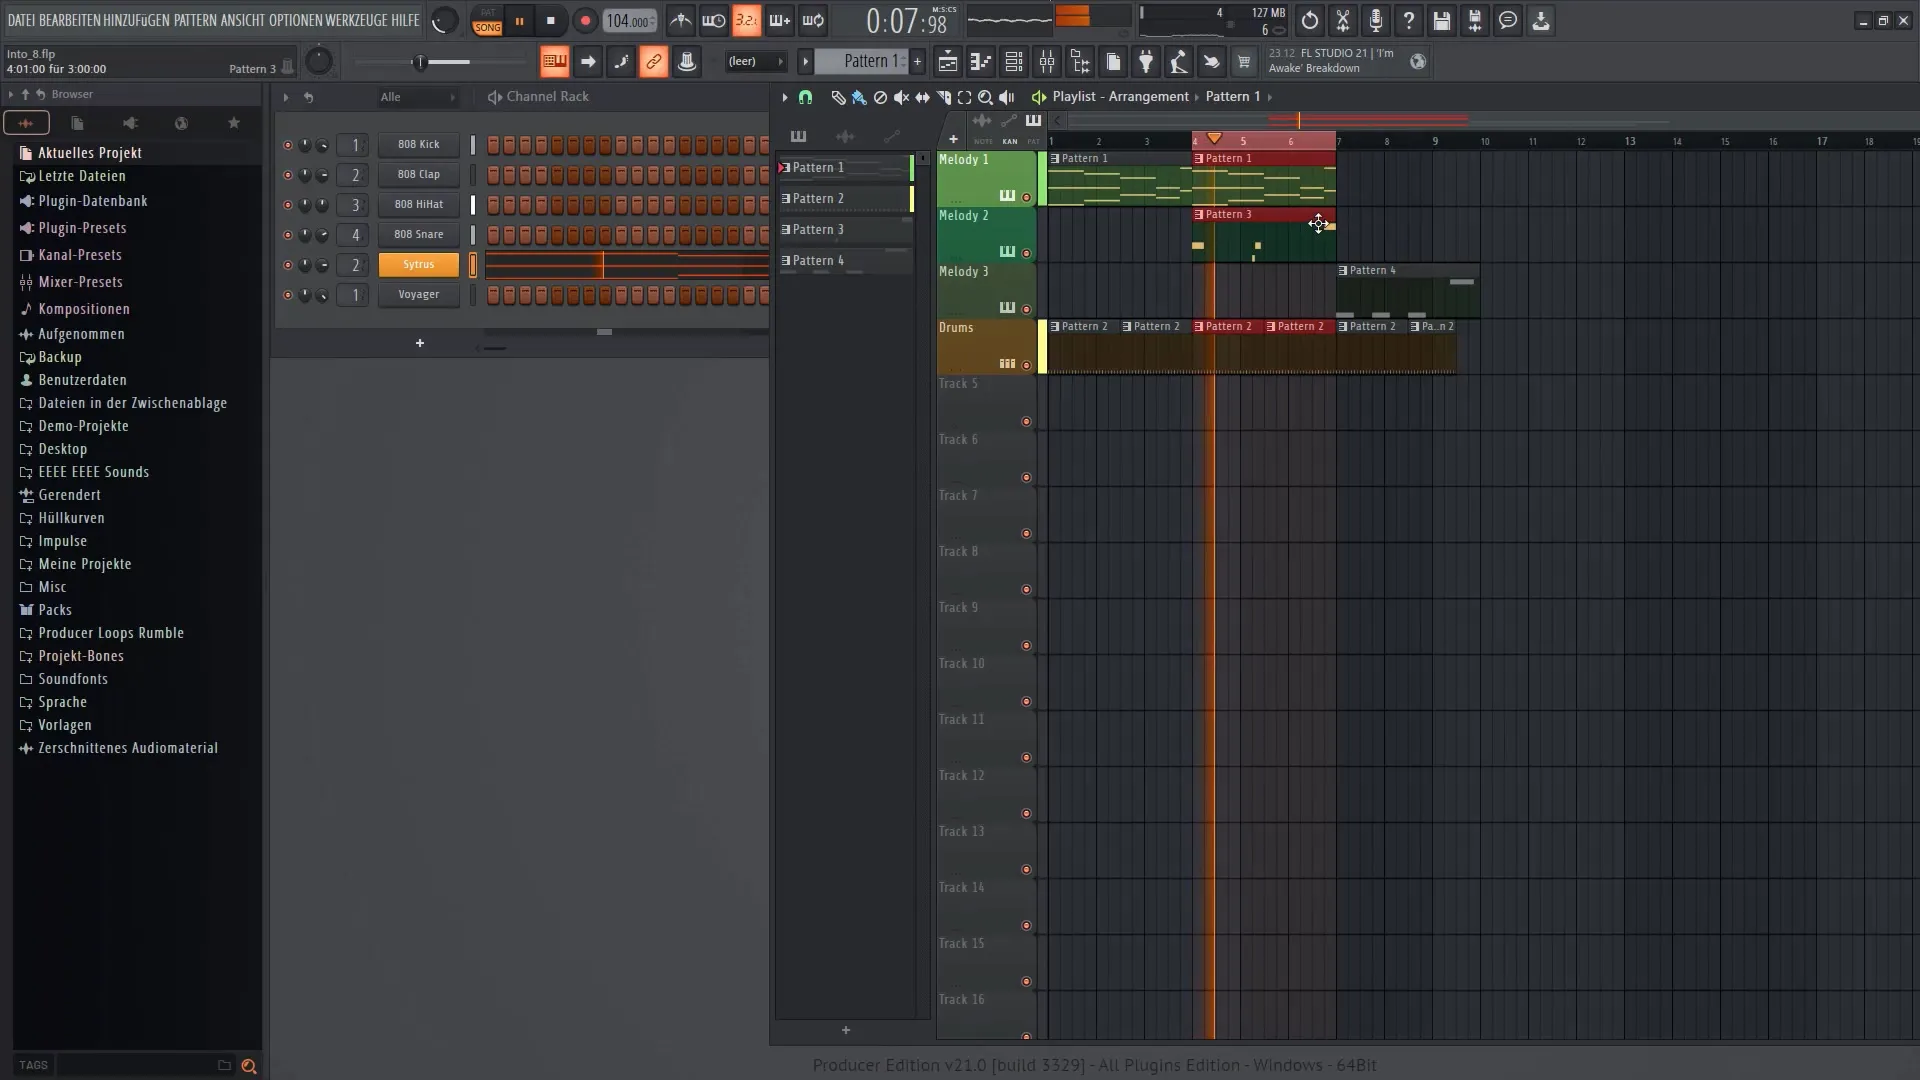
12. Conclusion and Outlook
Finally, I hope that you are now able to efficiently optimize and creatively design your sound with the VFX Sequencer. Keep experimenting with different plugins and settings to take your music to the next level.
Summary
In this guide, you have learned step by step how to effectively utilize the VFX Sequencer in FL Studio 21. From integrating it into your existing projects to adjusting sounds and creating creative sequences, you have refreshed comprehensive knowledge to shape your individual sound.
Frequently Asked Questions
What is the VFX Sequencer?The VFX Sequencer is a plugin in FL Studio that allows you to sequence and creatively modify sounds.
How can I use the VFX Sequencer?You install the VFX Sequencer via Patcher and connect it to your instrument to create different sound and rhythm variations.
Can I save the settings in advance?Yes, you can save your VFX Sequencer settings as presets to quickly reuse them later.
Can I use the VFX Sequencer in an older version of FL Studio?The VFX Sequencer is specific to FL Studio 21, so it is recommended to use the latest version to access all features.
