In this tutorial, you will learn what lies behind the Step Sequencer and the Playlist in FL Studio. These two functions are essential for music production and allow you to create complex rhythms and melodies. Below, you will receive a detailed step-by-step guide on how to effectively use both tools.
Main Insights
- The Step Sequencer allows for the creation of rhythms and melodies by setting steps.
- The Playlist is used to arrange and manage your musical elements within a project.
- Toolsets like the graphic editor and the ability to clone patterns significantly expand your production capabilities.
Step-by-Step Guide
First Steps in the Step Sequencer
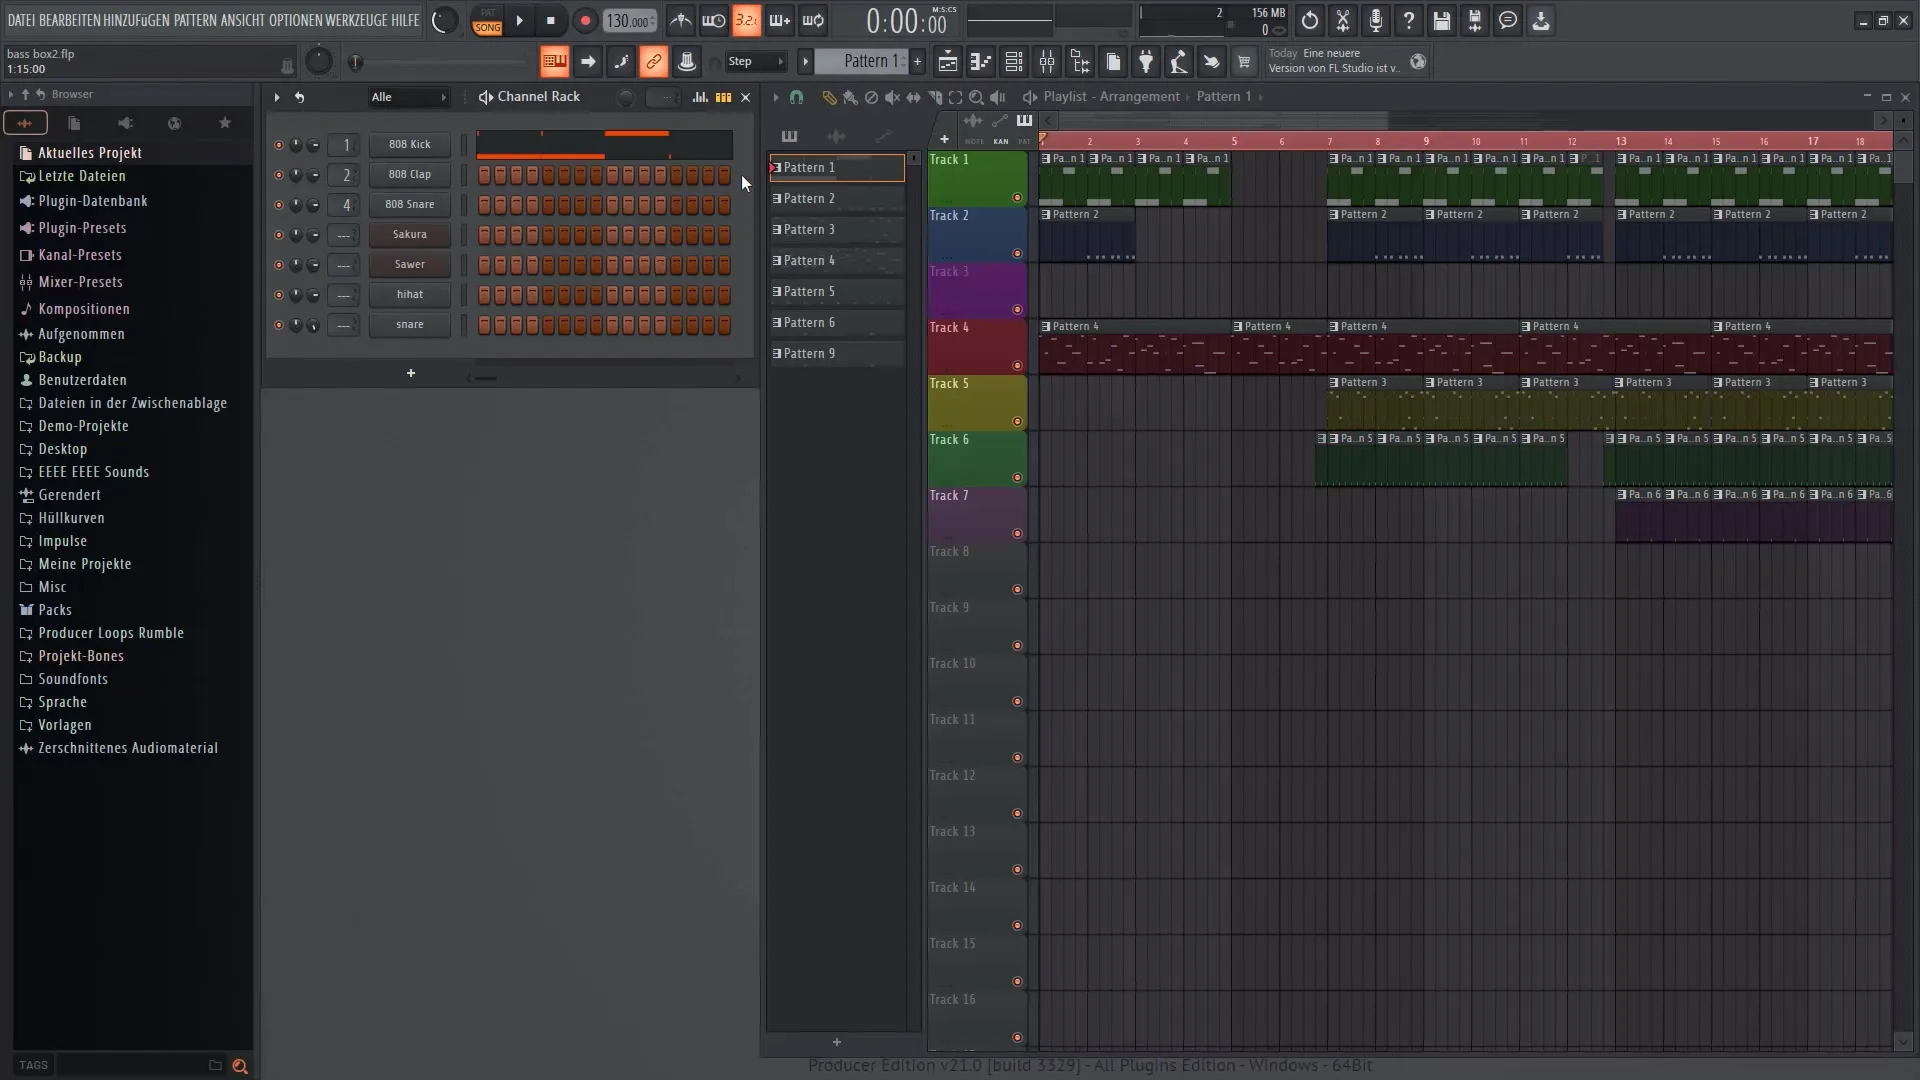
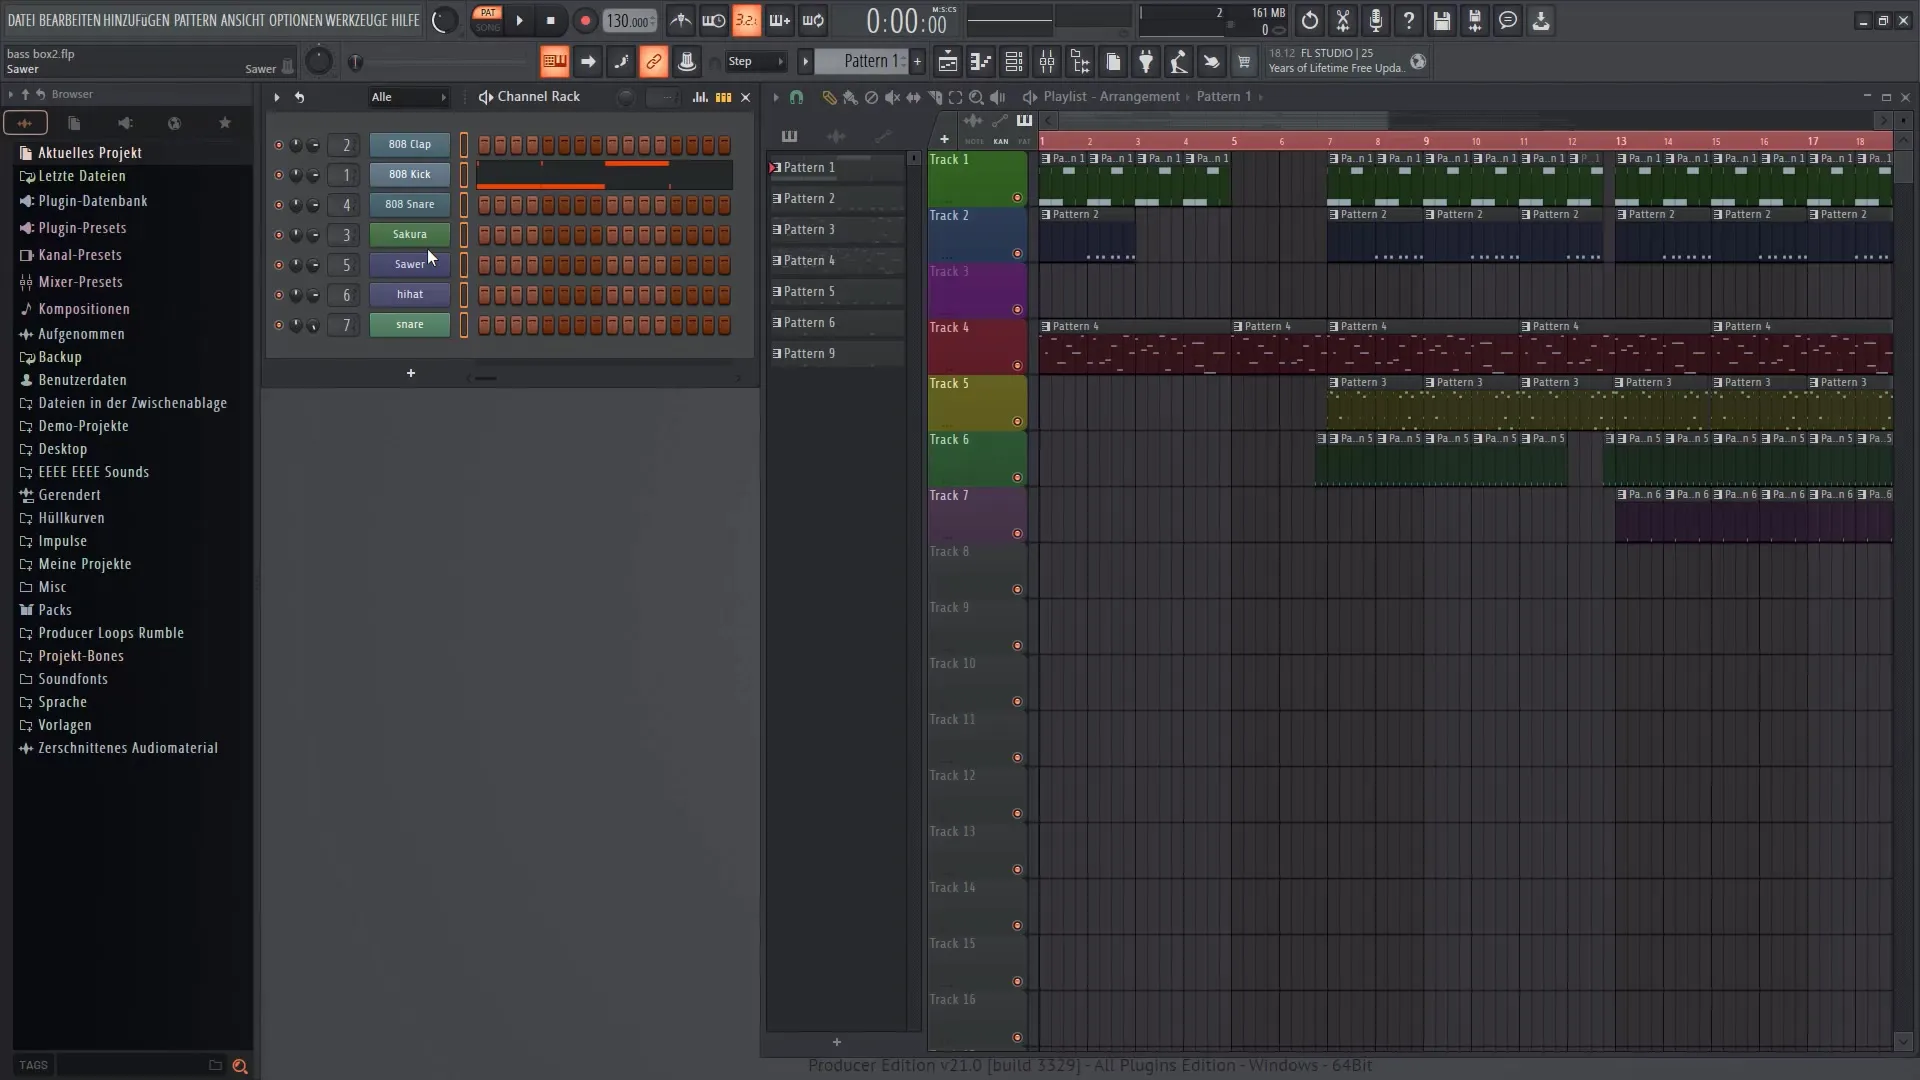
When you open FL Studio 21, you will see the Step Sequencer on the left side. This tool allows you to program notes step by step. The Step Sequencer is used to quickly capture your rhythmic ideas.
To select an instrument, simply click on the desired channel. In this tutorial, we will take a kick drum as an example. By clicking on the corresponding fields, you can determine when and how often the sound is played.
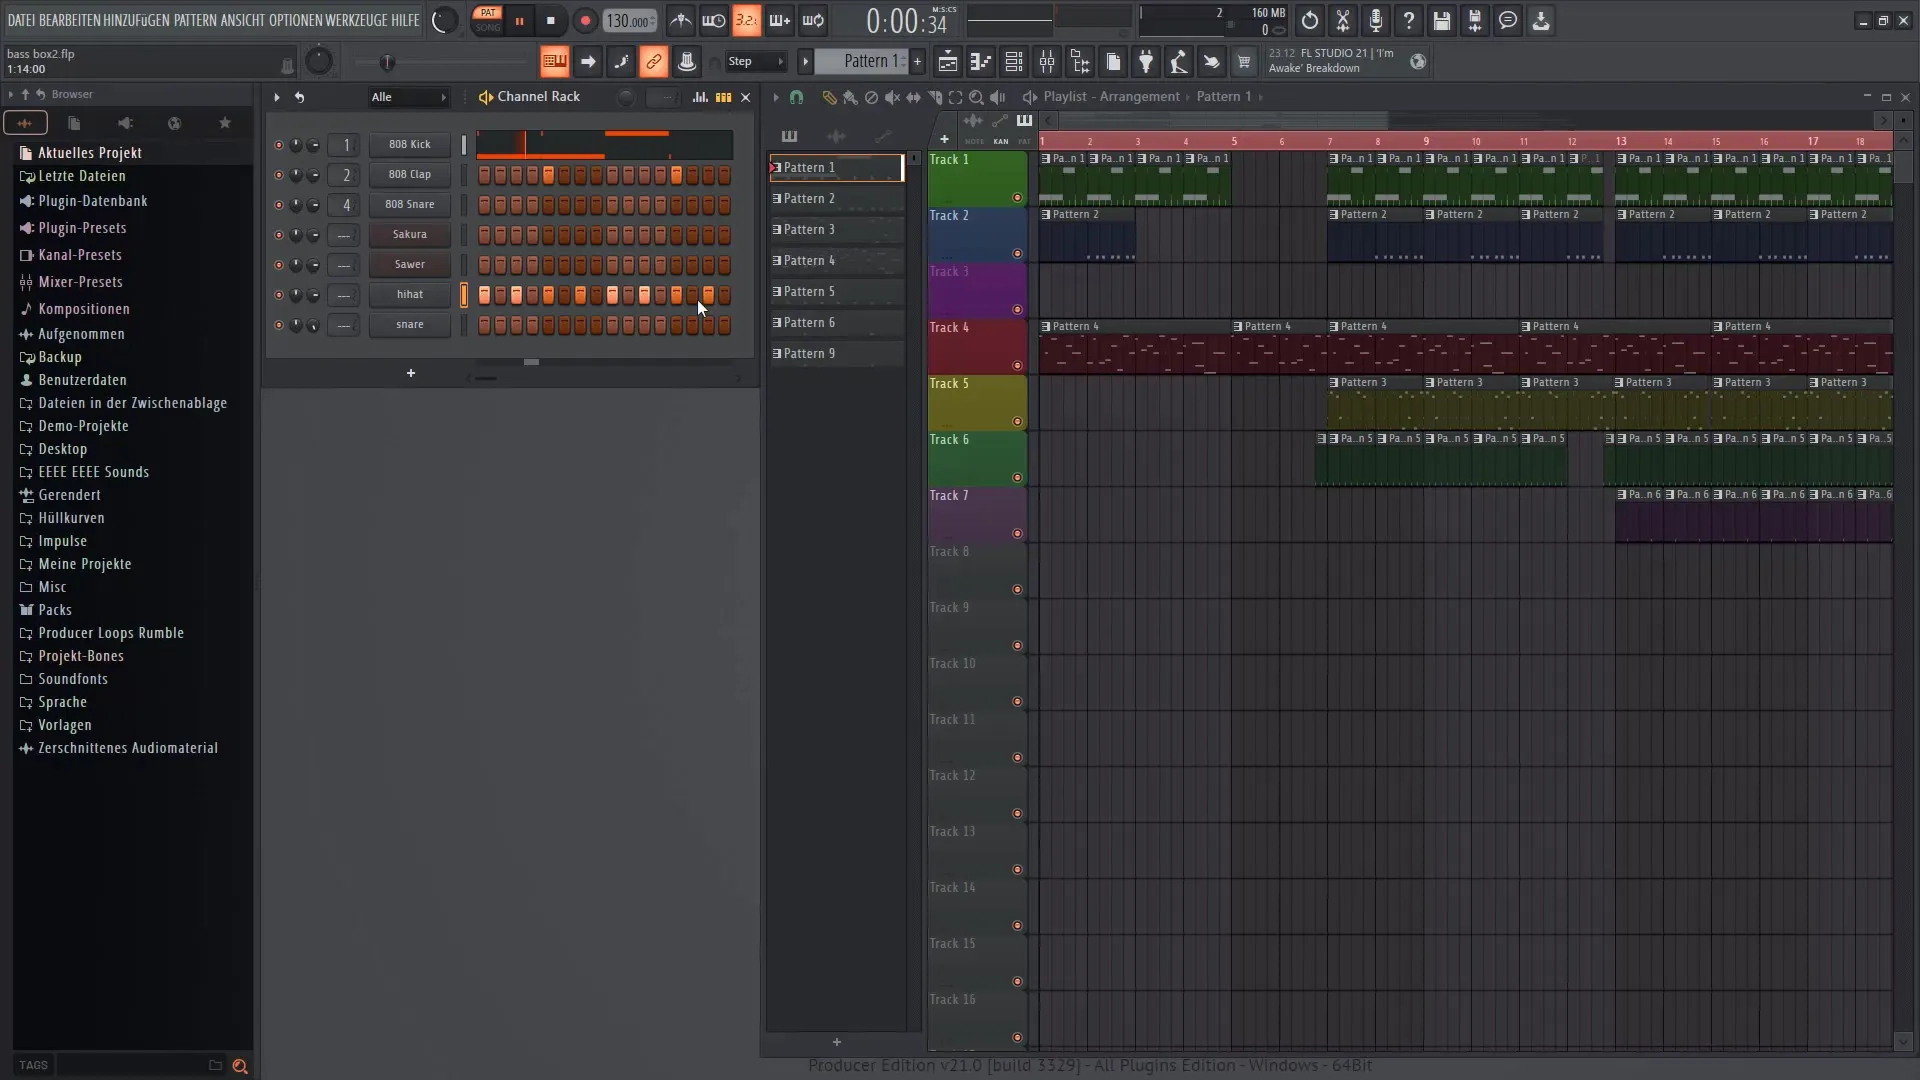
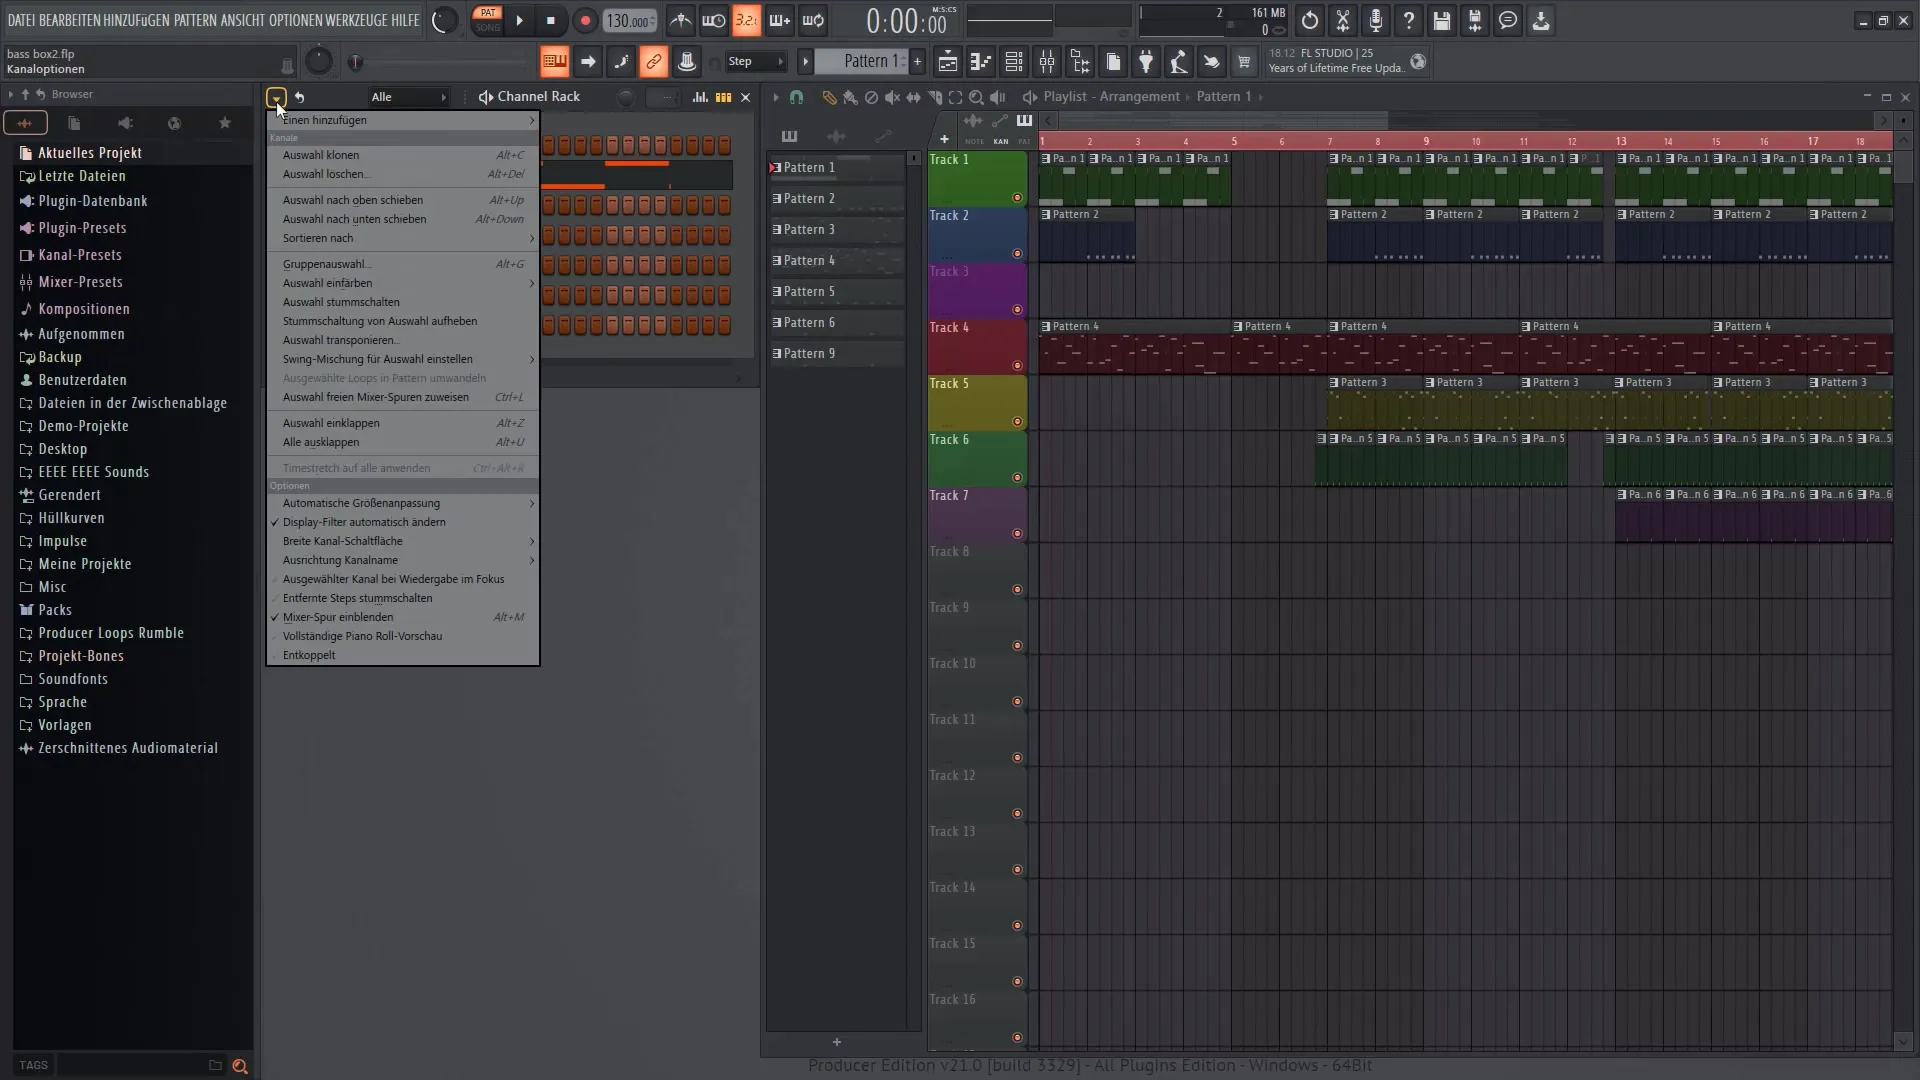
The Step Sequencer also allows you to combine different instruments. You can add not only samples but also synthesizers. To do this, simply click on the desired channel and select the corresponding instrument from the menu.
Using the Graphic Editor
After selecting your instrument, you have the option to use the graphic editor. With this tool, you can make more precise adjustments, such as the velocity of each note. This is particularly helpful in giving your music more expression.
Creating and Customizing Patterns
In the Step Sequencer, you can create different patterns by simply adding new sections. To create a new pattern, go to the menu and select "Create new pattern." You can then insert the desired sounds.
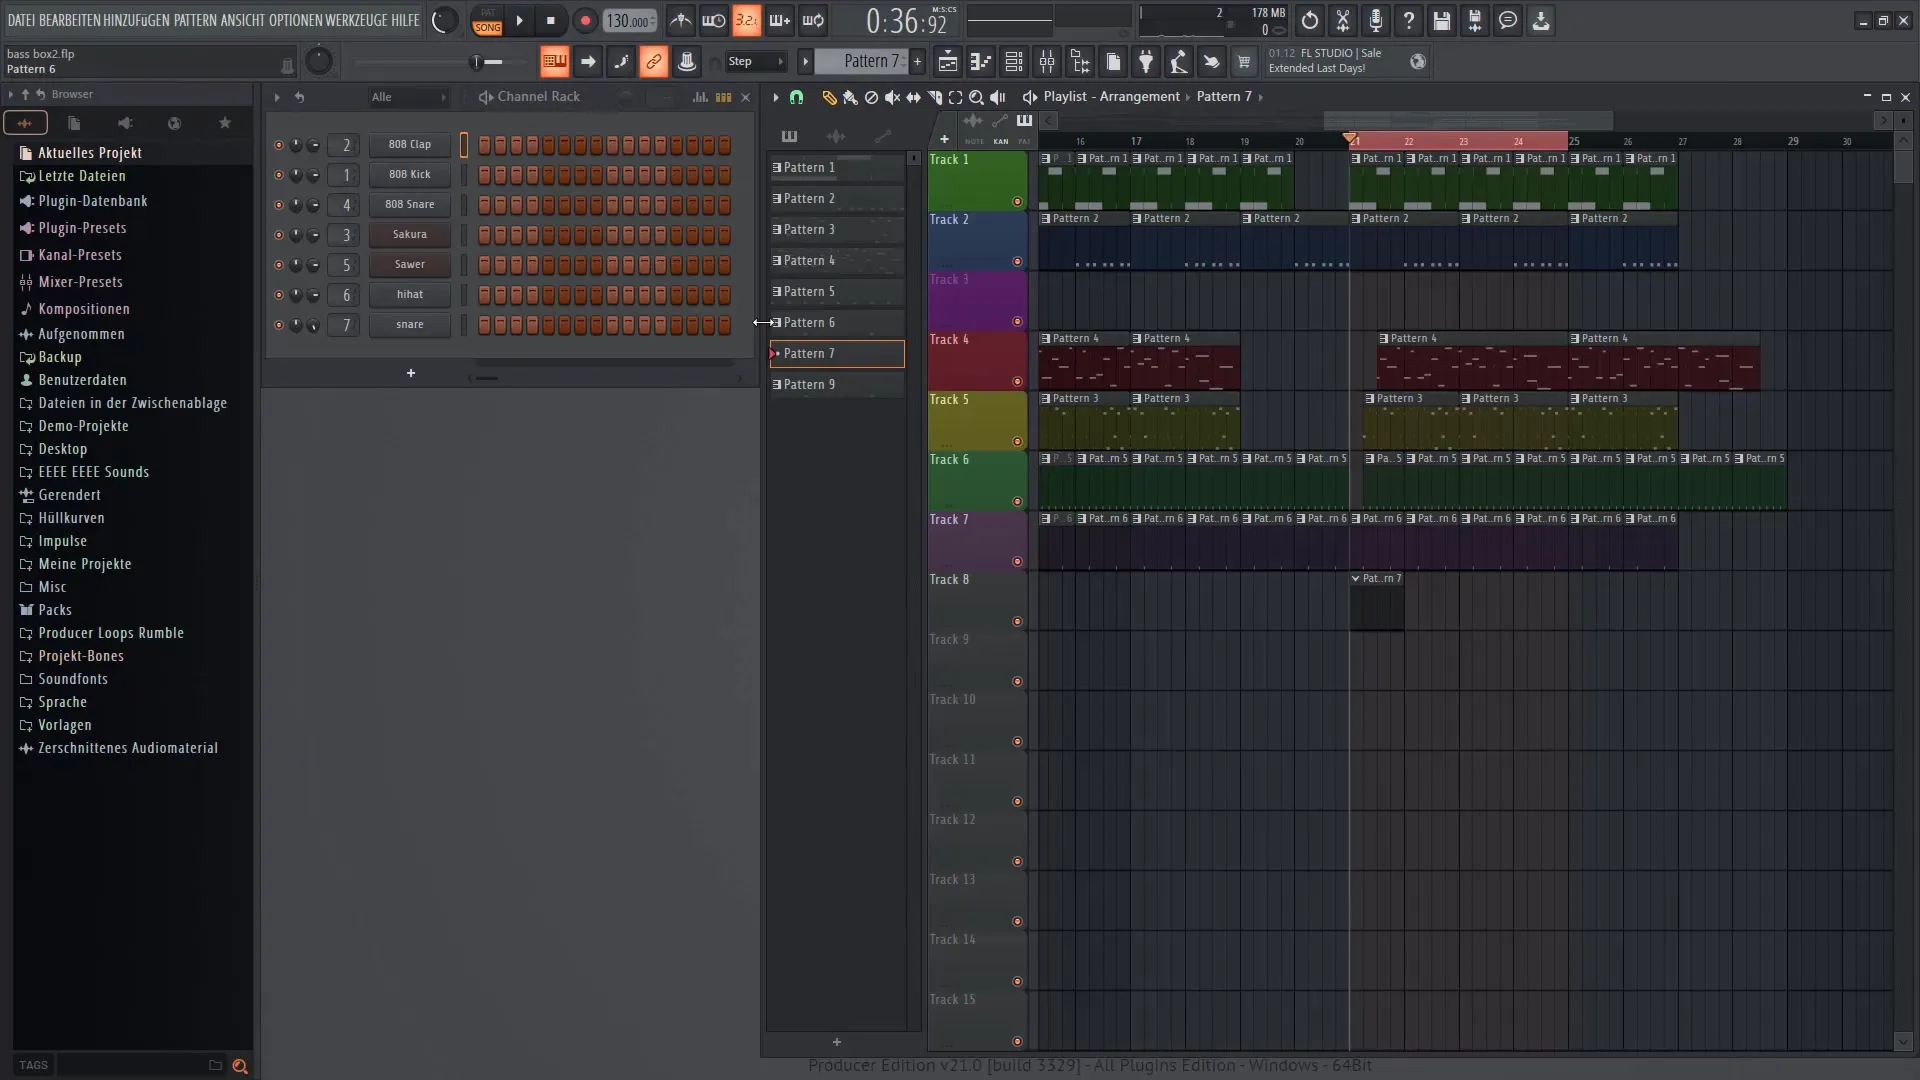
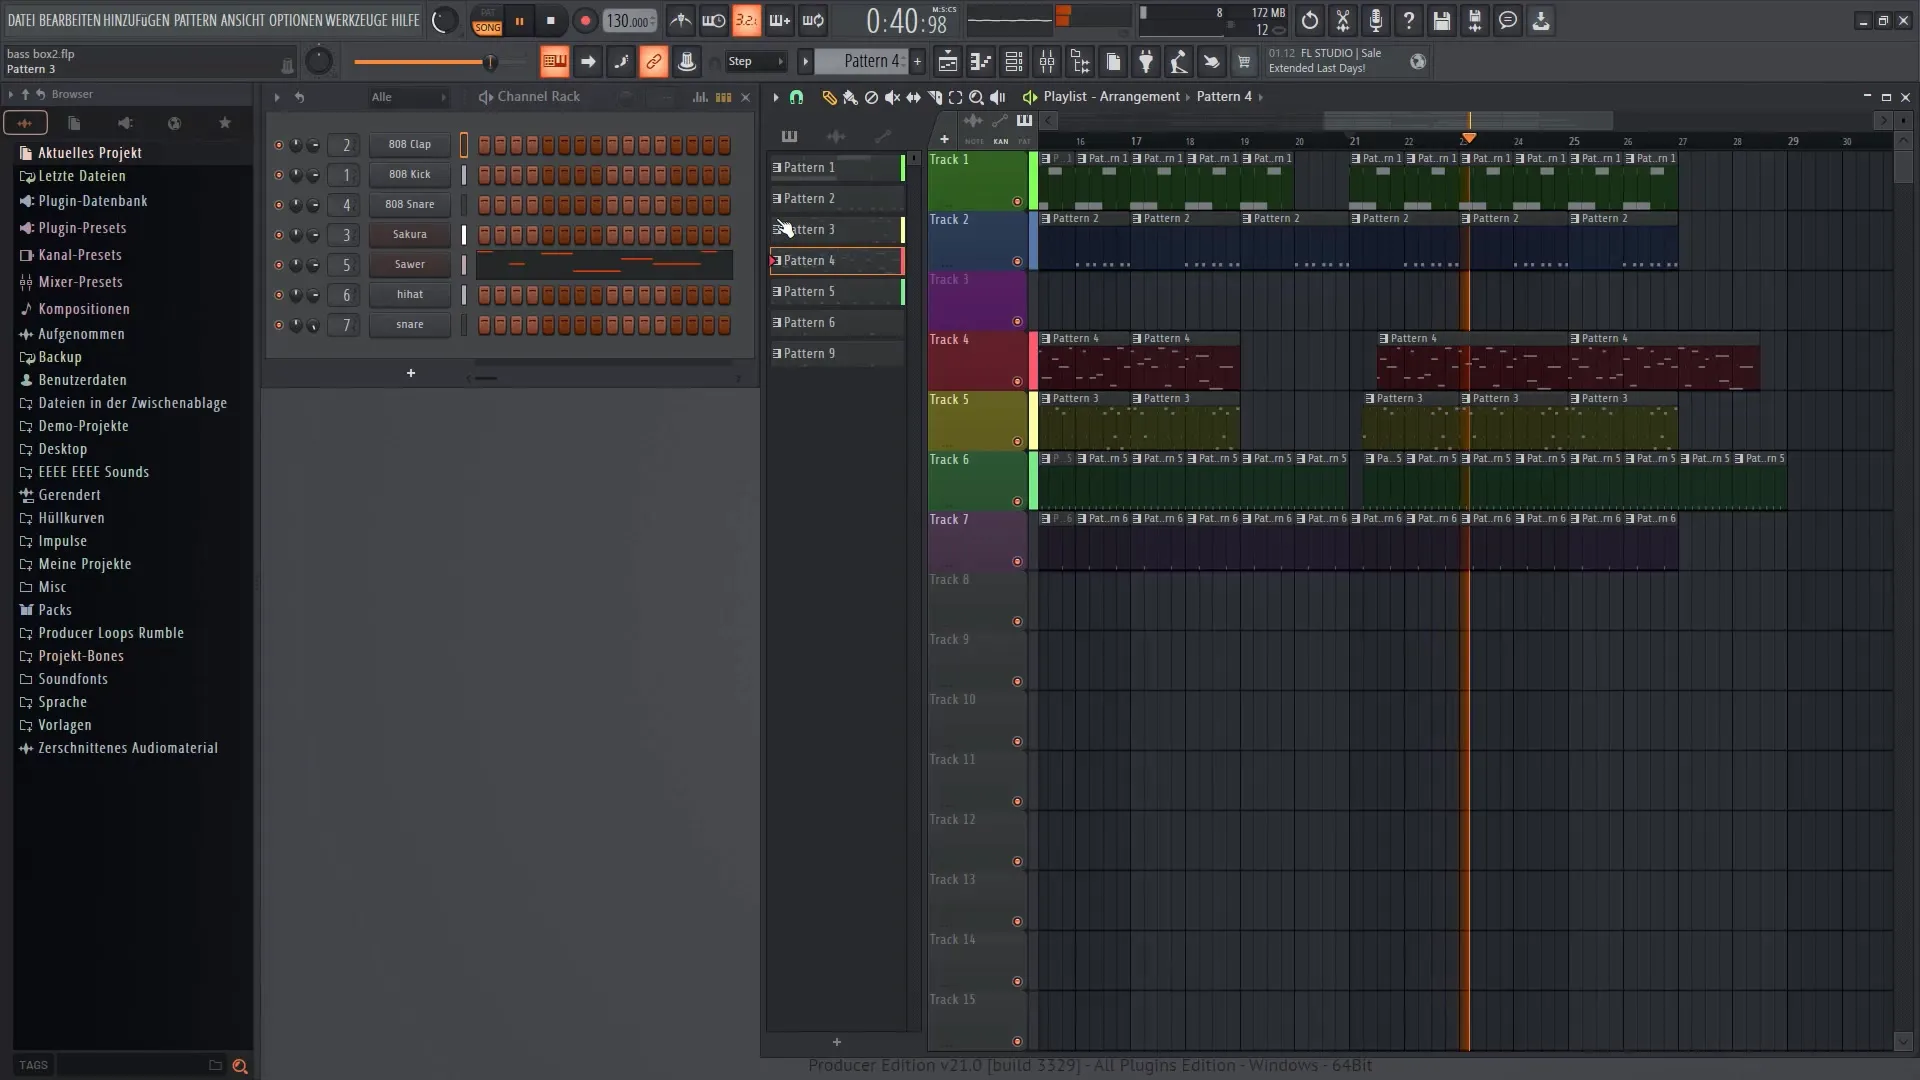
You can then easily drag these patterns into the Playlist to arrange them. You can adjust the length of the pattern and make sure it fits into the overall project.
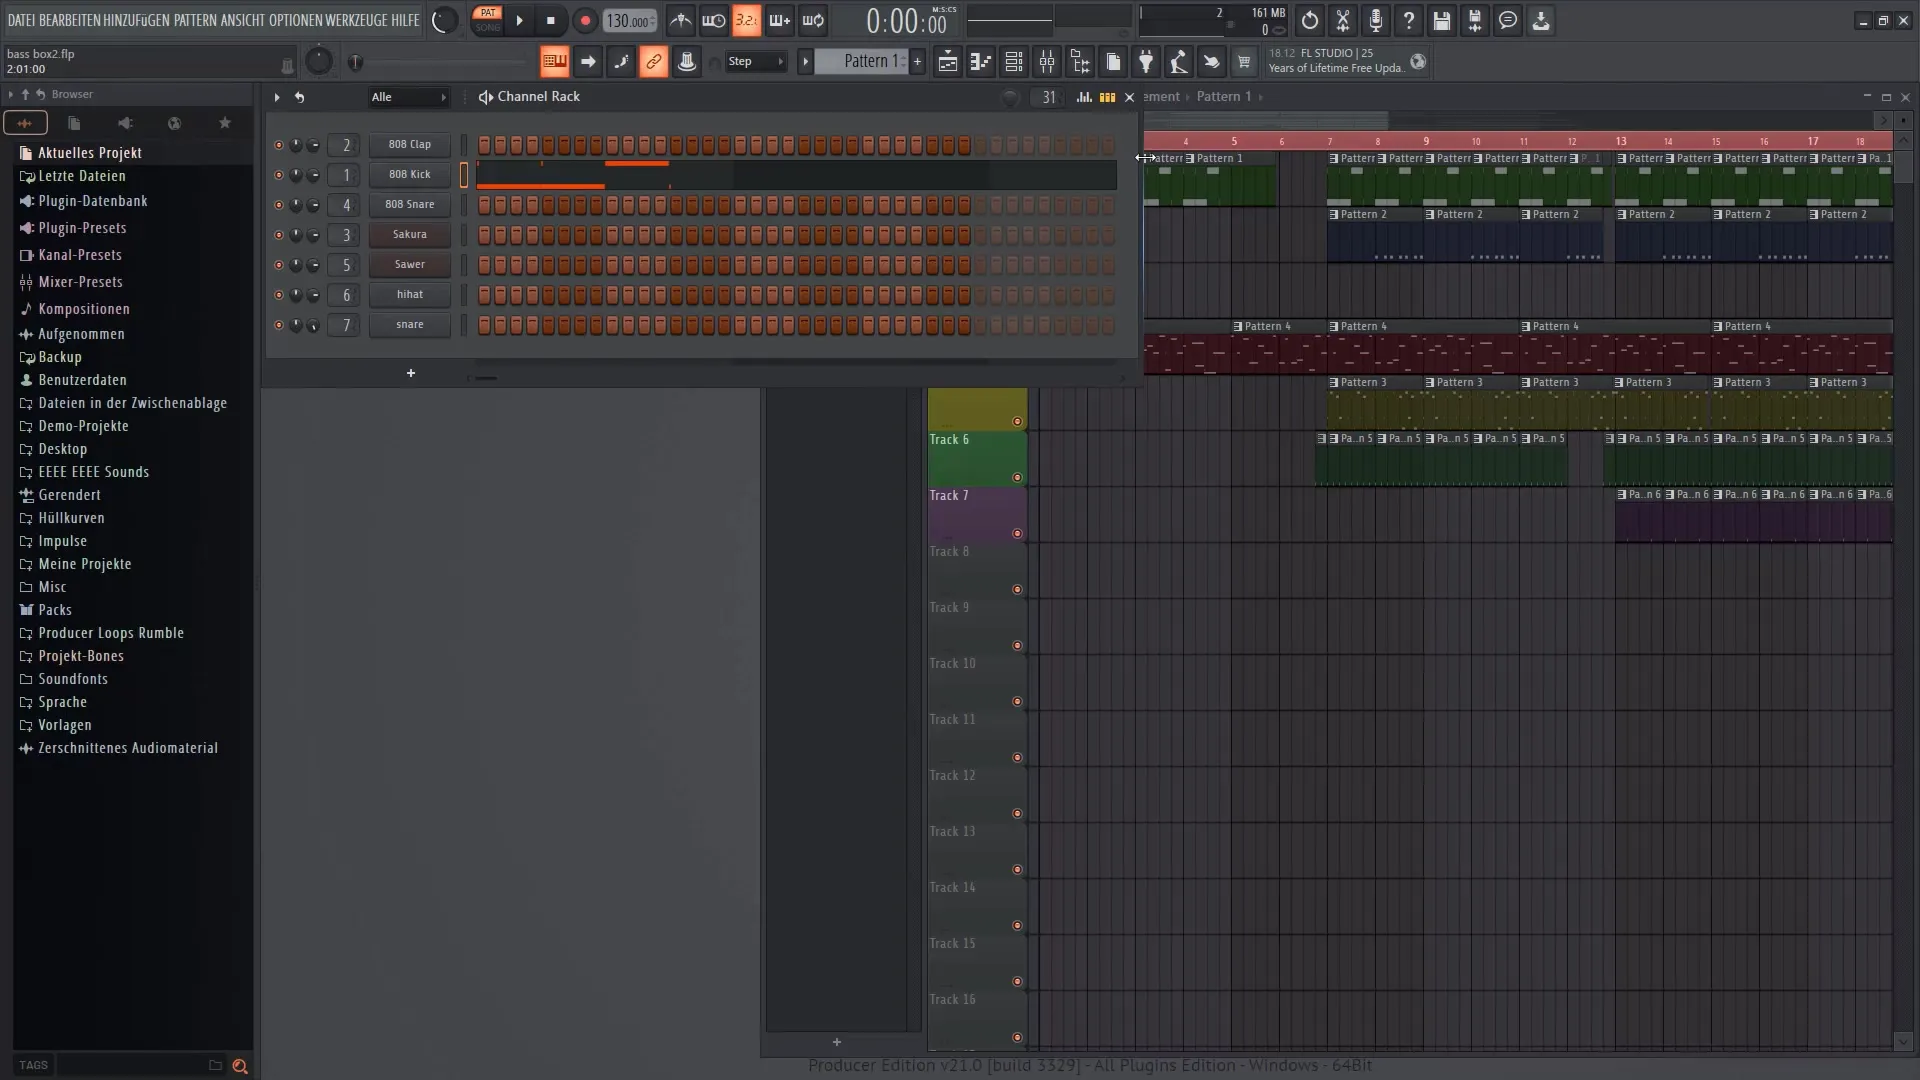
Working in the Playlist
The Playlist allows you to arrange your created patterns. You click on the areas where you want to insert these patterns, and they appear where the playback head is located.
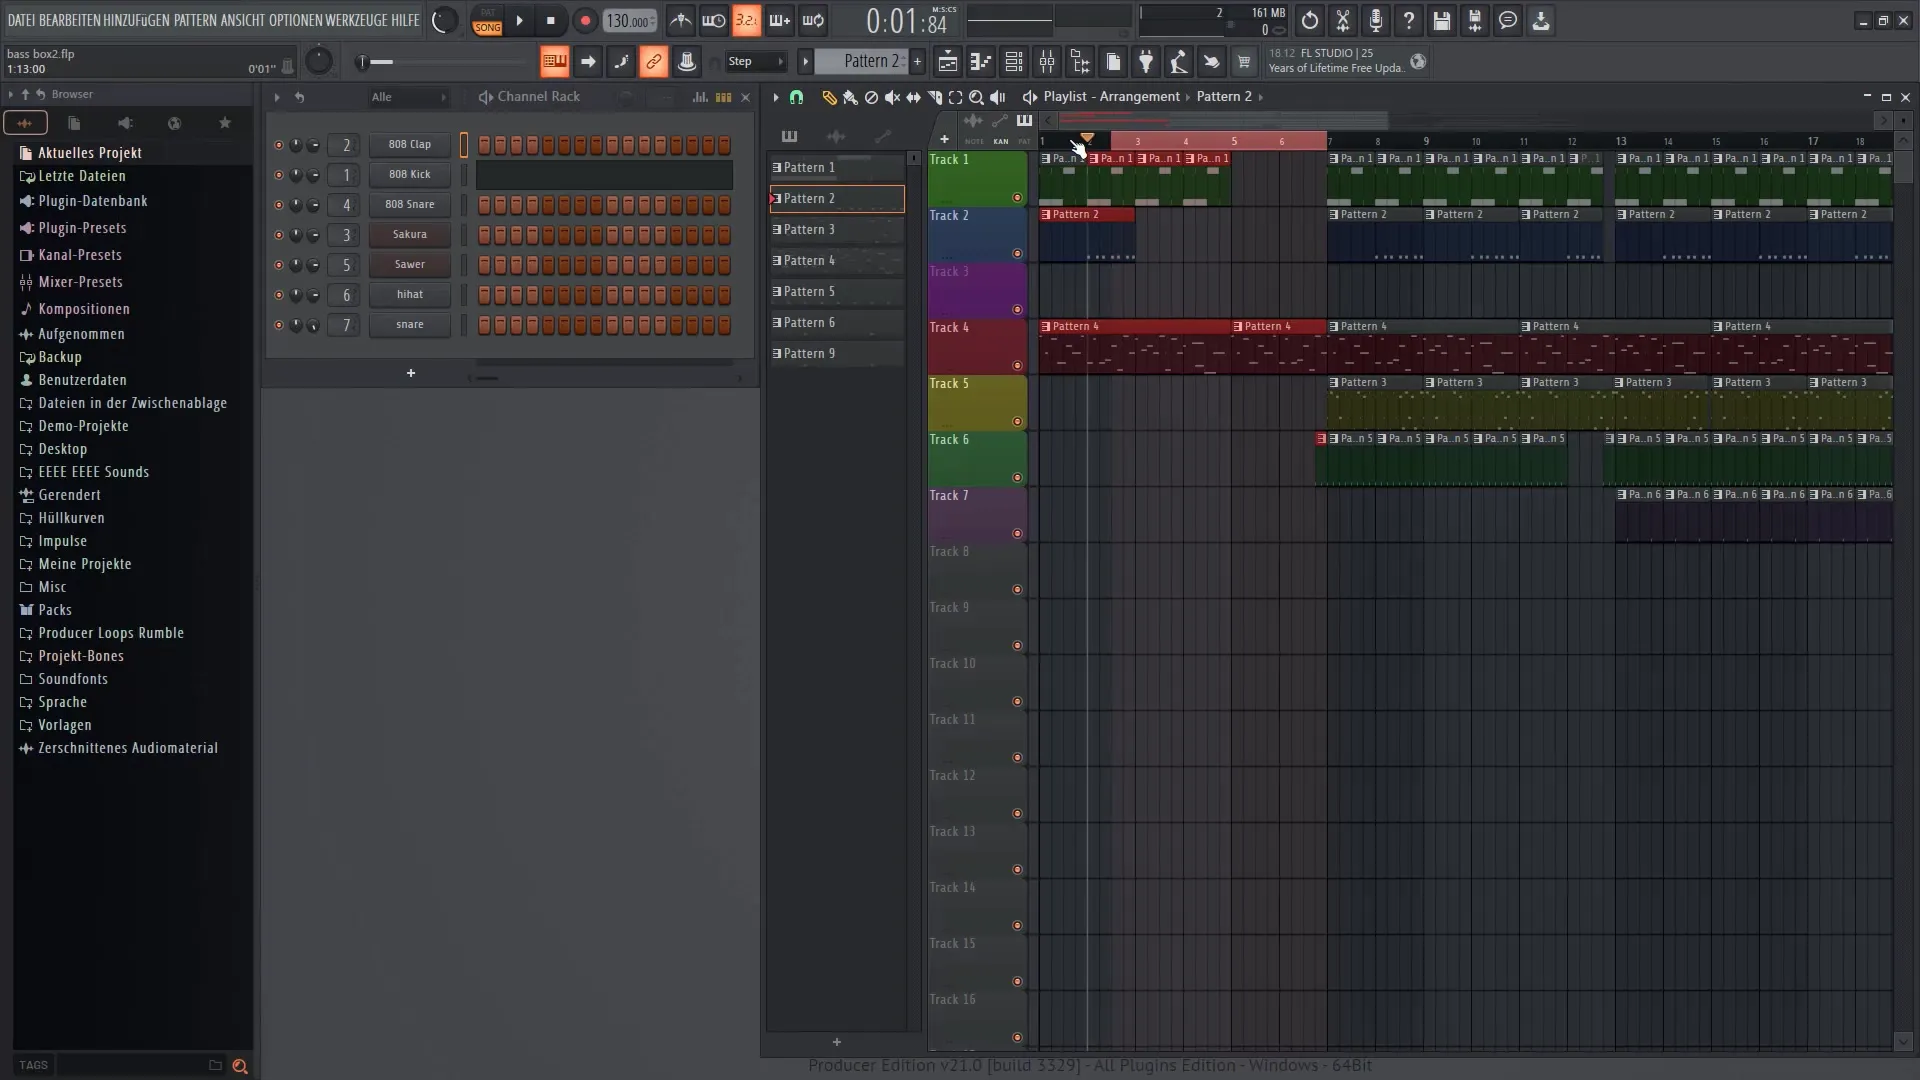
It is possible to double-click on an area to create a loop. This function is particularly useful when you want to create repetitive sound.
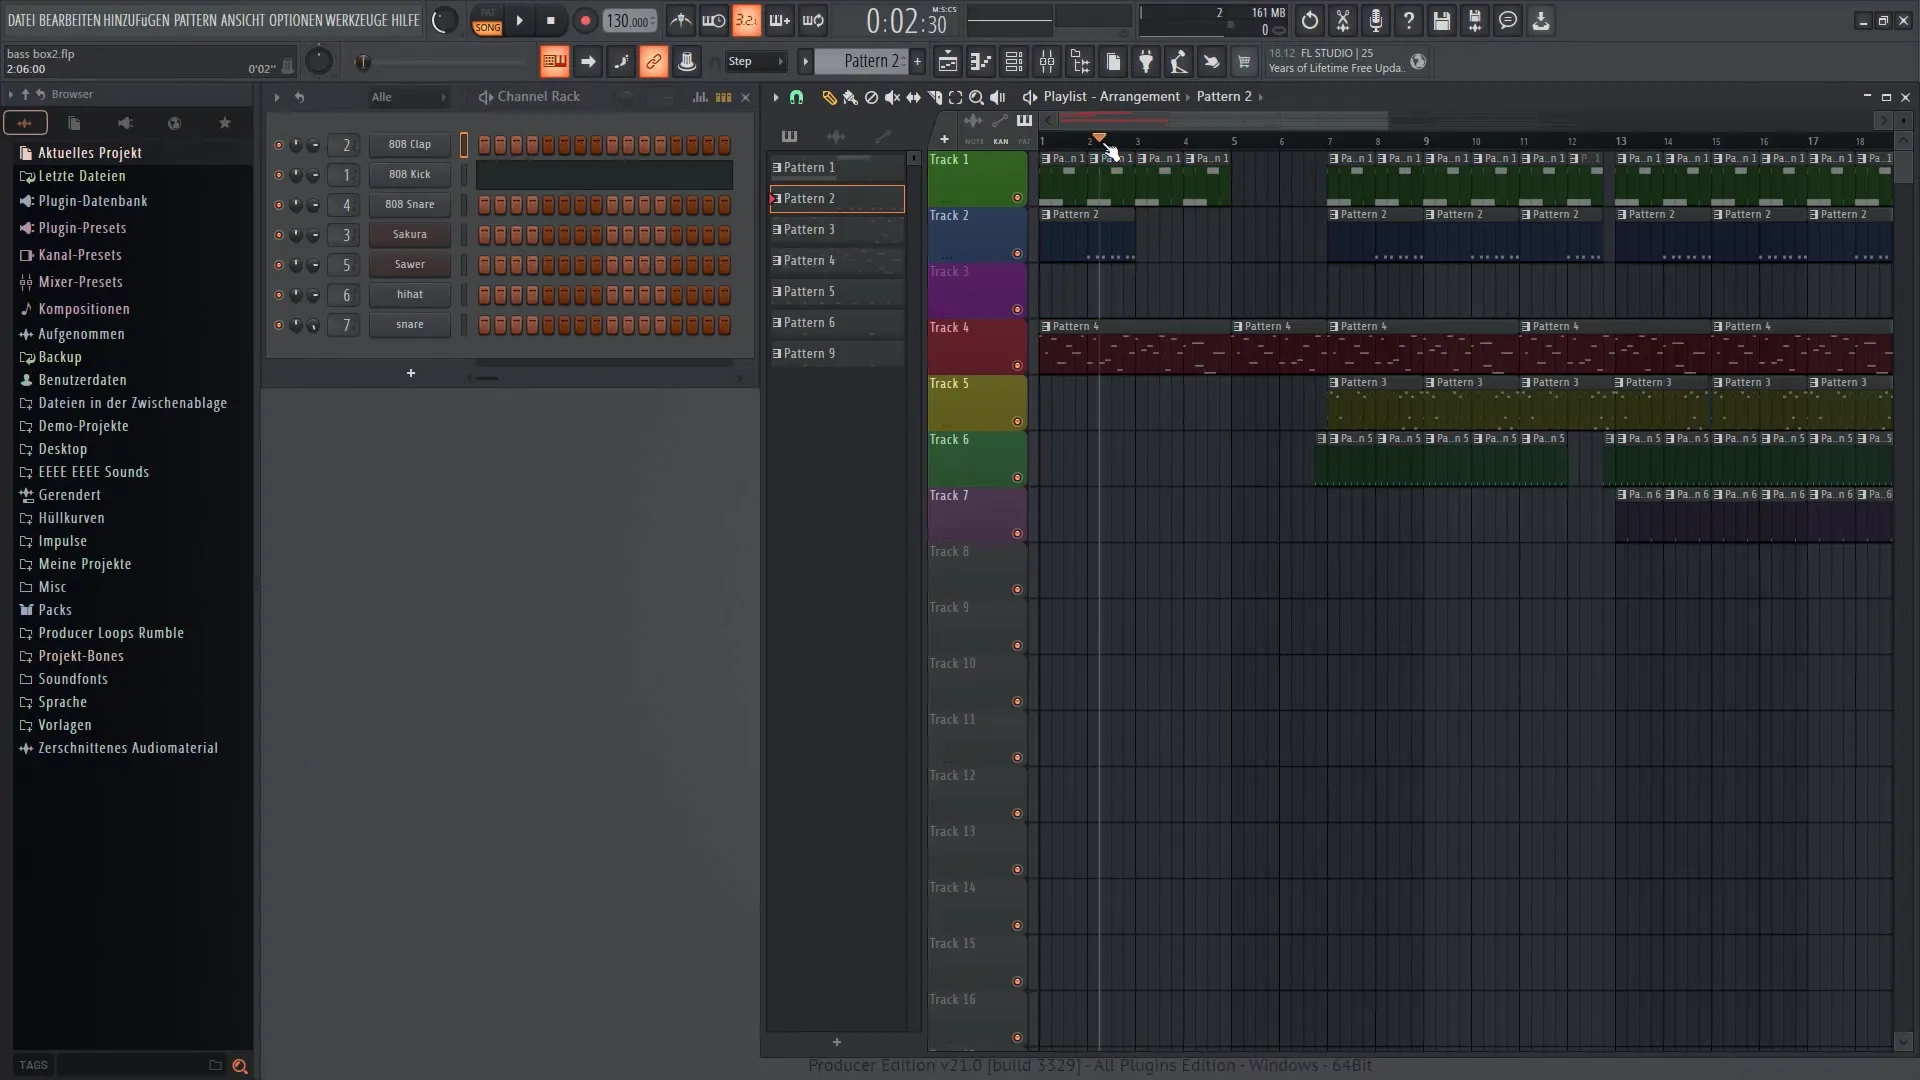
Backing Tracks and Arrangements
To complete your musical work, you can now add different instruments to the Playlist. You have the option to adjust the volume of the different channels to achieve the desired sound image.
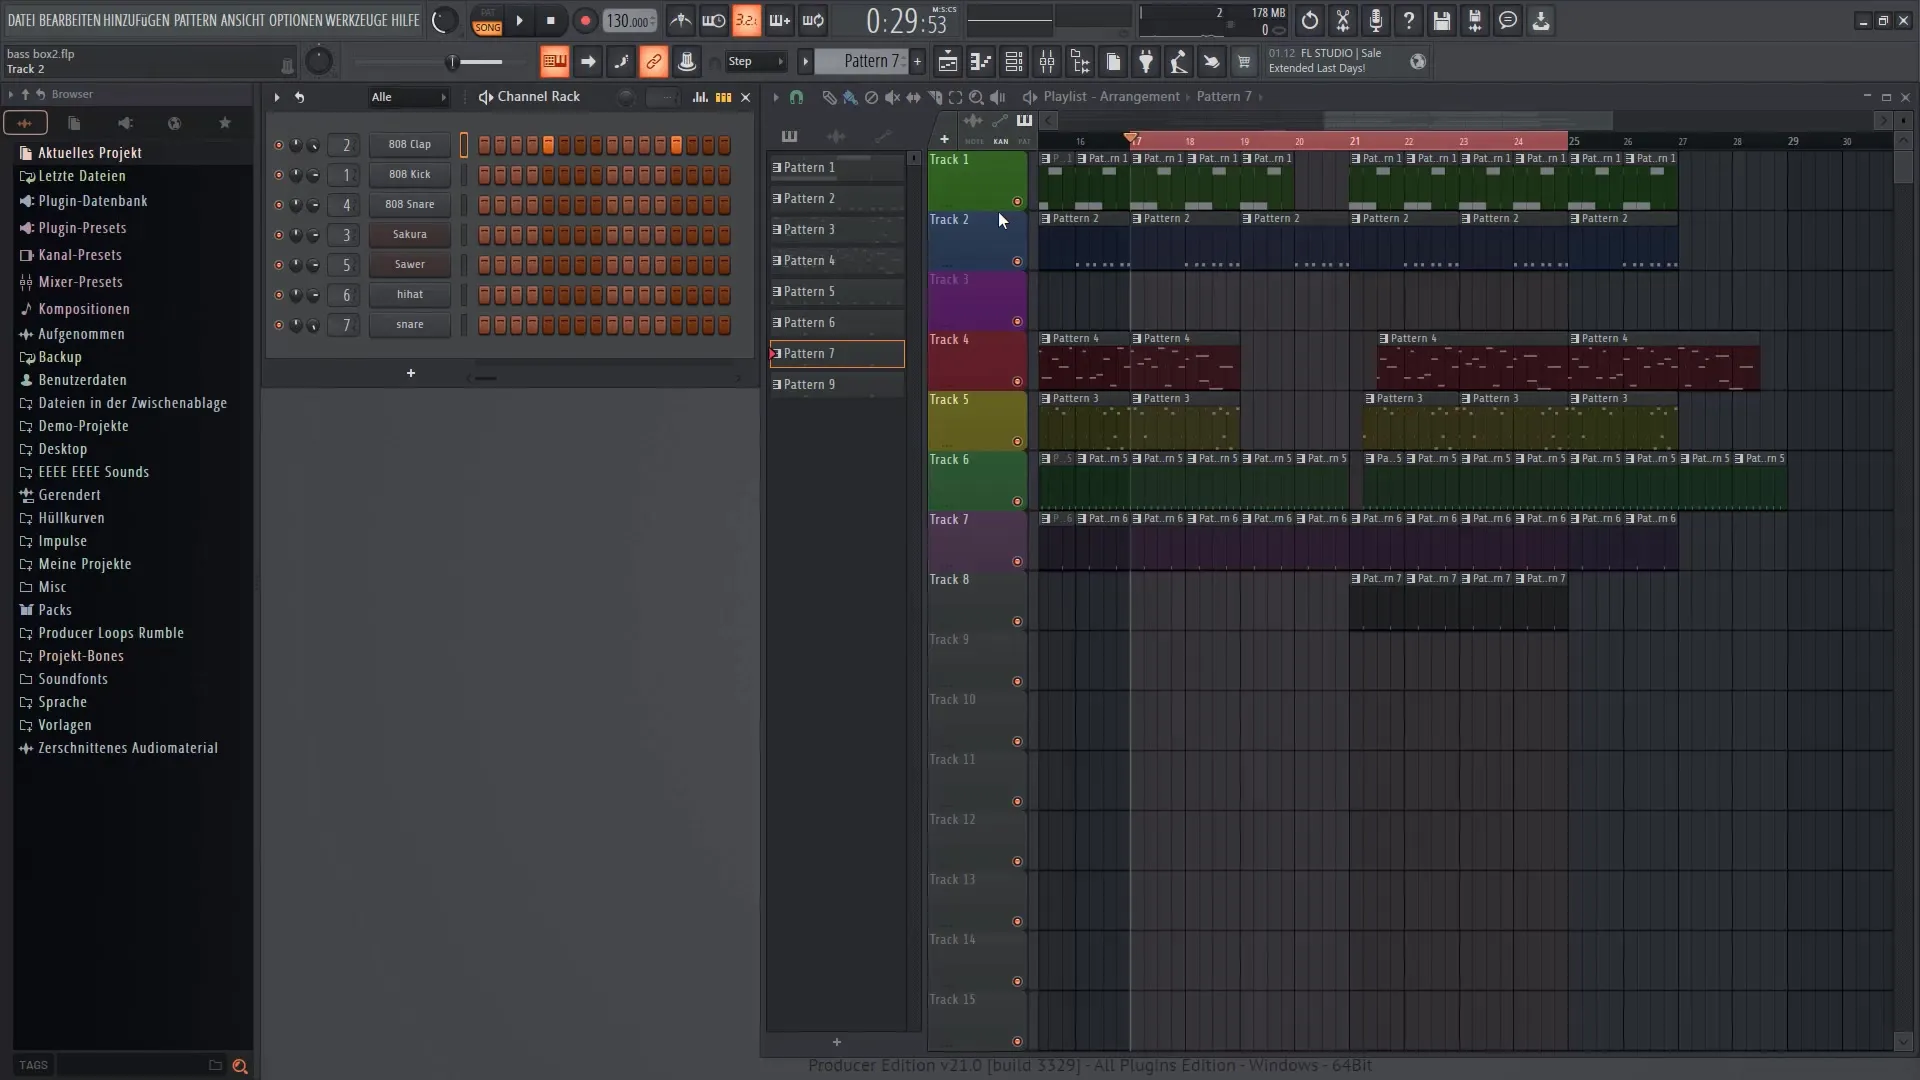
You can also customize the colors for the different tracks to have a better overview. This is especially useful when working with many different instruments.
Fine-Tuning and Effects
One of the final settings involves adding effects to your tracks. Through the Mixer, you can add sound adjustments and effects to give your project the final touch.
Exporting your Project
After you have finished your music, you can export the project. Go to "File" and select "Export". Here you can determine the format and make the desired settings.
Summary
In this tutorial, you have learned the basics of the Step Sequencer and Playlist in FL Studio 21. You now know how to create and arrange rhythms and melodies to bring your musical ideas to life. Use the described features such as the graphical editor and effect control to further develop and refine your music.
Frequently Asked Questions
How can I create a new pattern?Click on "Create New Pattern" in the menu and add the desired sounds.
How can I change the velocity of a note?Open the graphical editor and adjust the velocity for each note.
Can I use multiple instruments in the Step Sequencer?Yes, you can use different instruments on different channels in the Step Sequencer.
How do I export my project?Go to "File" and select "Export" to save your project in the desired format.
Can I customize the colors of my tracks in the Playlist?Yes, it is possible to customize the colors of each track to improve visibility.
