In this tutorial, I will show you how to prepare yourself optimally for the production of your own track in FL Studio. We will go through all the necessary steps to ensure that you are working with the right settings and tools. Whether you are just starting out or want to refresh your knowledge, this guide will take you through the entire process.
Key Insights
- Audio settings are crucial for low latency.
- Customizing the browser and samples makes work easier.
- The BPM (Beats per Minute) of your track must be set before creation.
- Saving your project is essential for being able to easily access it later.
Step-by-Step Guide
First, open FL Studio 21 and get an overview of the standard interface. Here, you should immediately go into the options to adjust the correct audio settings. Click on "Options" and then on "Audio".
In the audio settings, you have the choice between different drivers. If no audio interface is available, you can choose the primary sound drivers or "ASIO for All". I recommend using "FL Studio ASIO". Make sure the sampling rate is set to 44100 Hz and the buffer size is chosen to have the lowest possible latency.
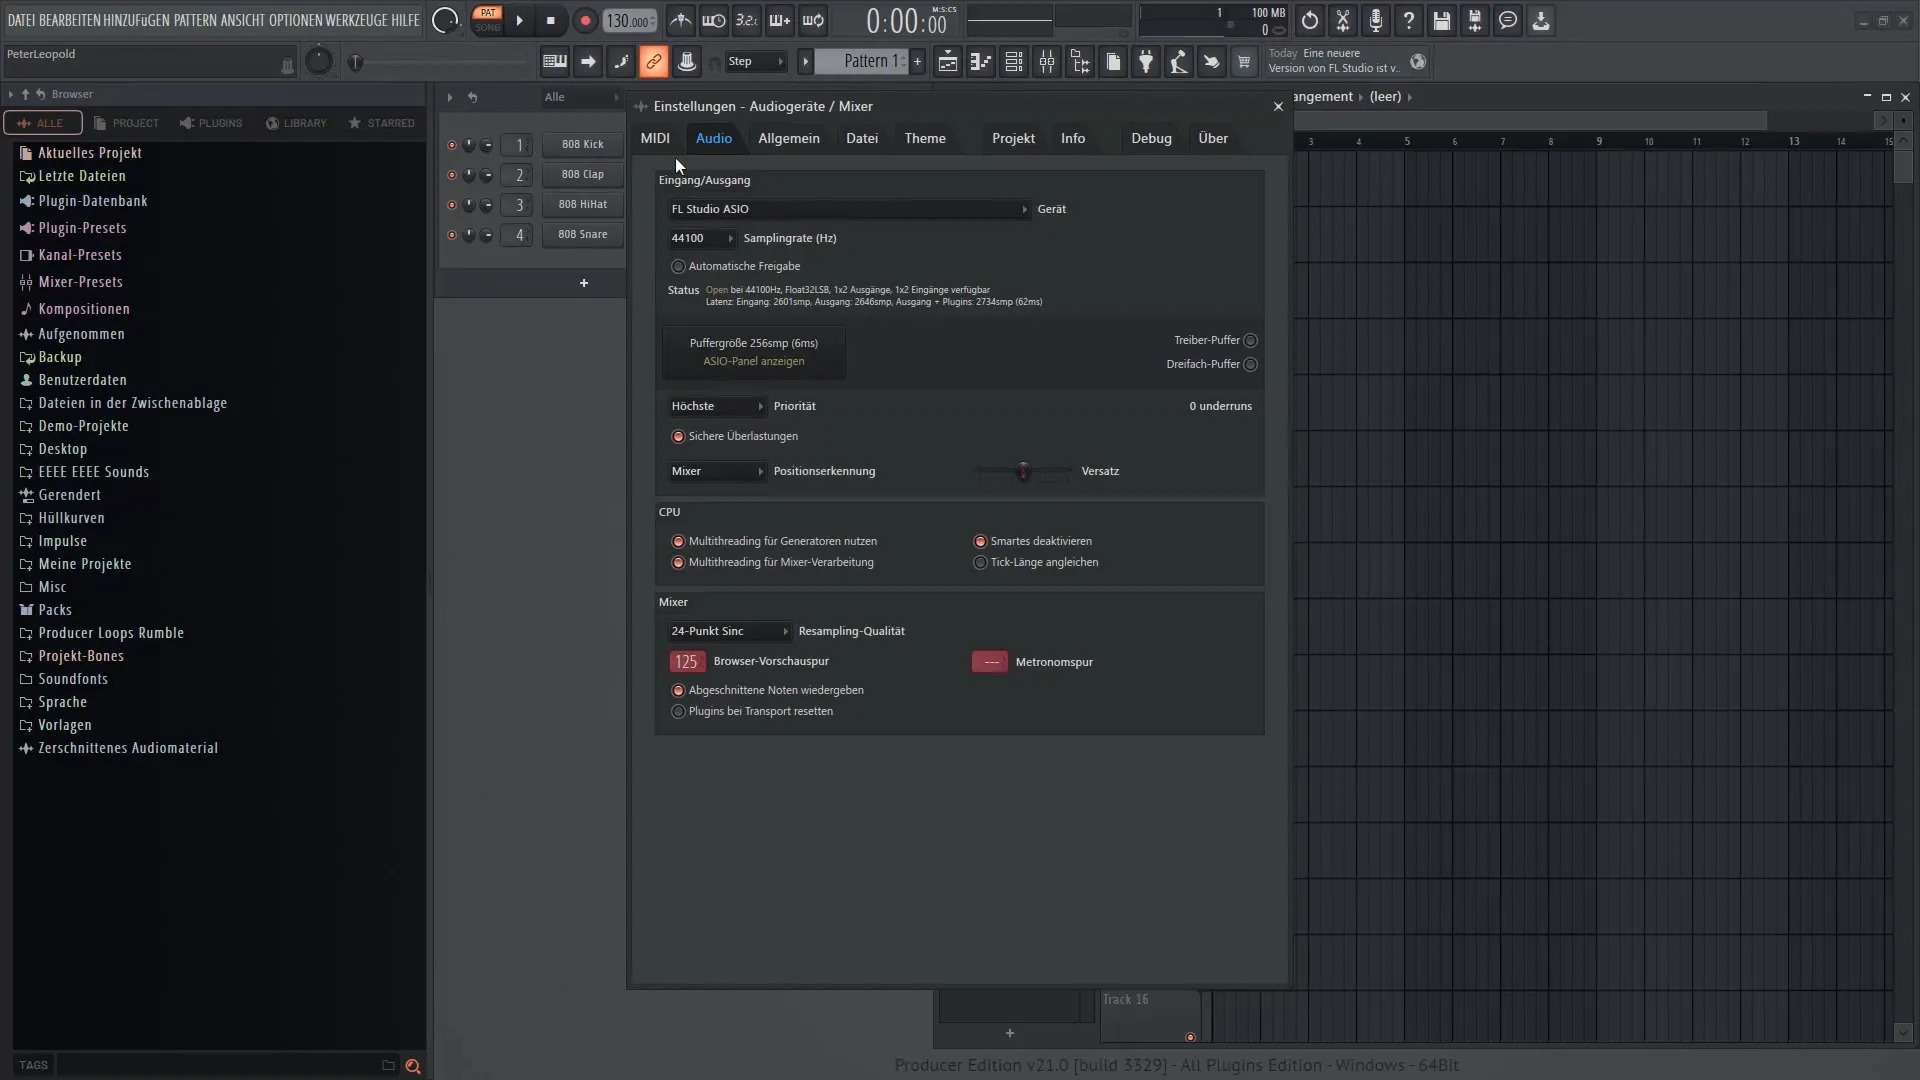
Low latency is especially important when recording live or working with effects-rich sounds. Make sure the latency is configured to allow real-time playback when playing the notes. A recommendation is to keep the buffer size low to minimize delays.
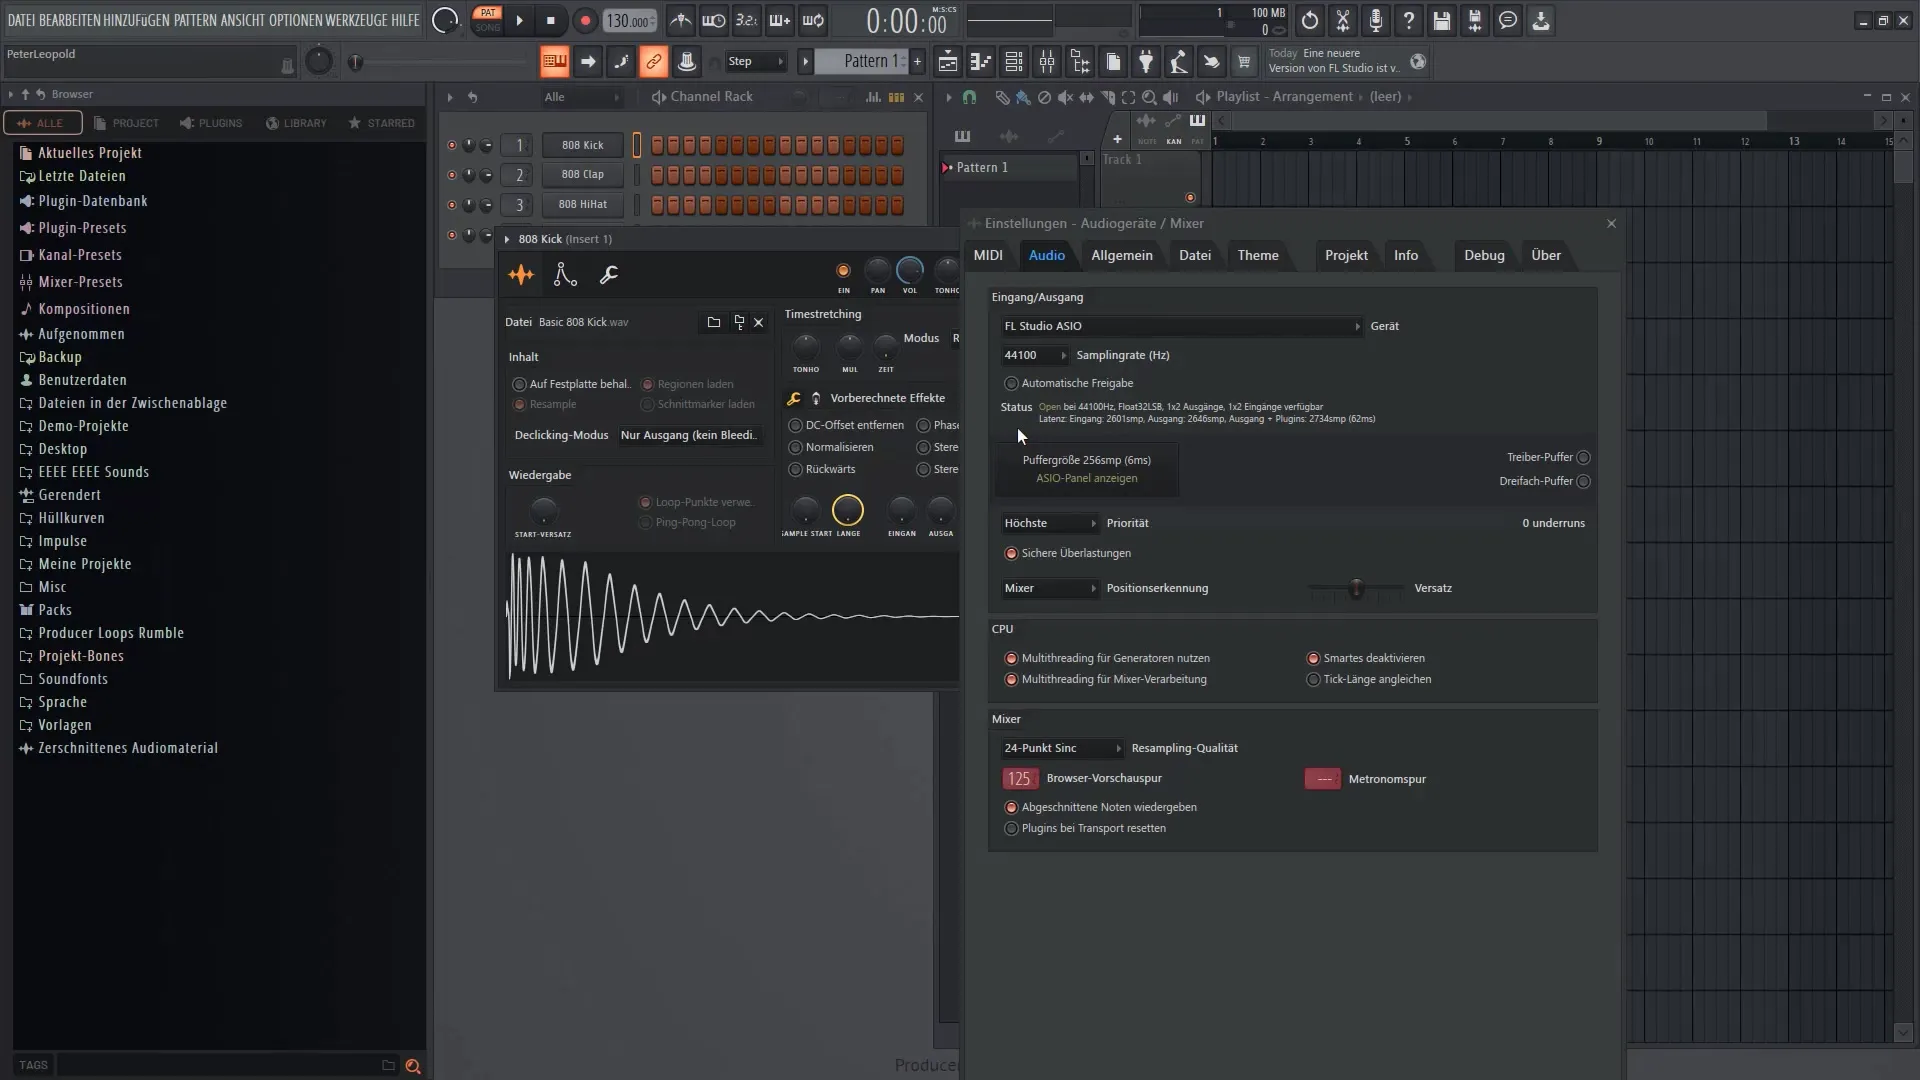
Once you have optimized the audio settings, you can now set up the metronome track, which will help you stay in rhythm when recording vocals or instruments. You can control this via the volume and at the top of the metronome.
Now, it's time to configure the browser. Go to "All" and right-click on it, then choose "Clone tab". This gives you the ability to customize the view to suit your needs. For example, you can search for suitable sounds under "Packs".
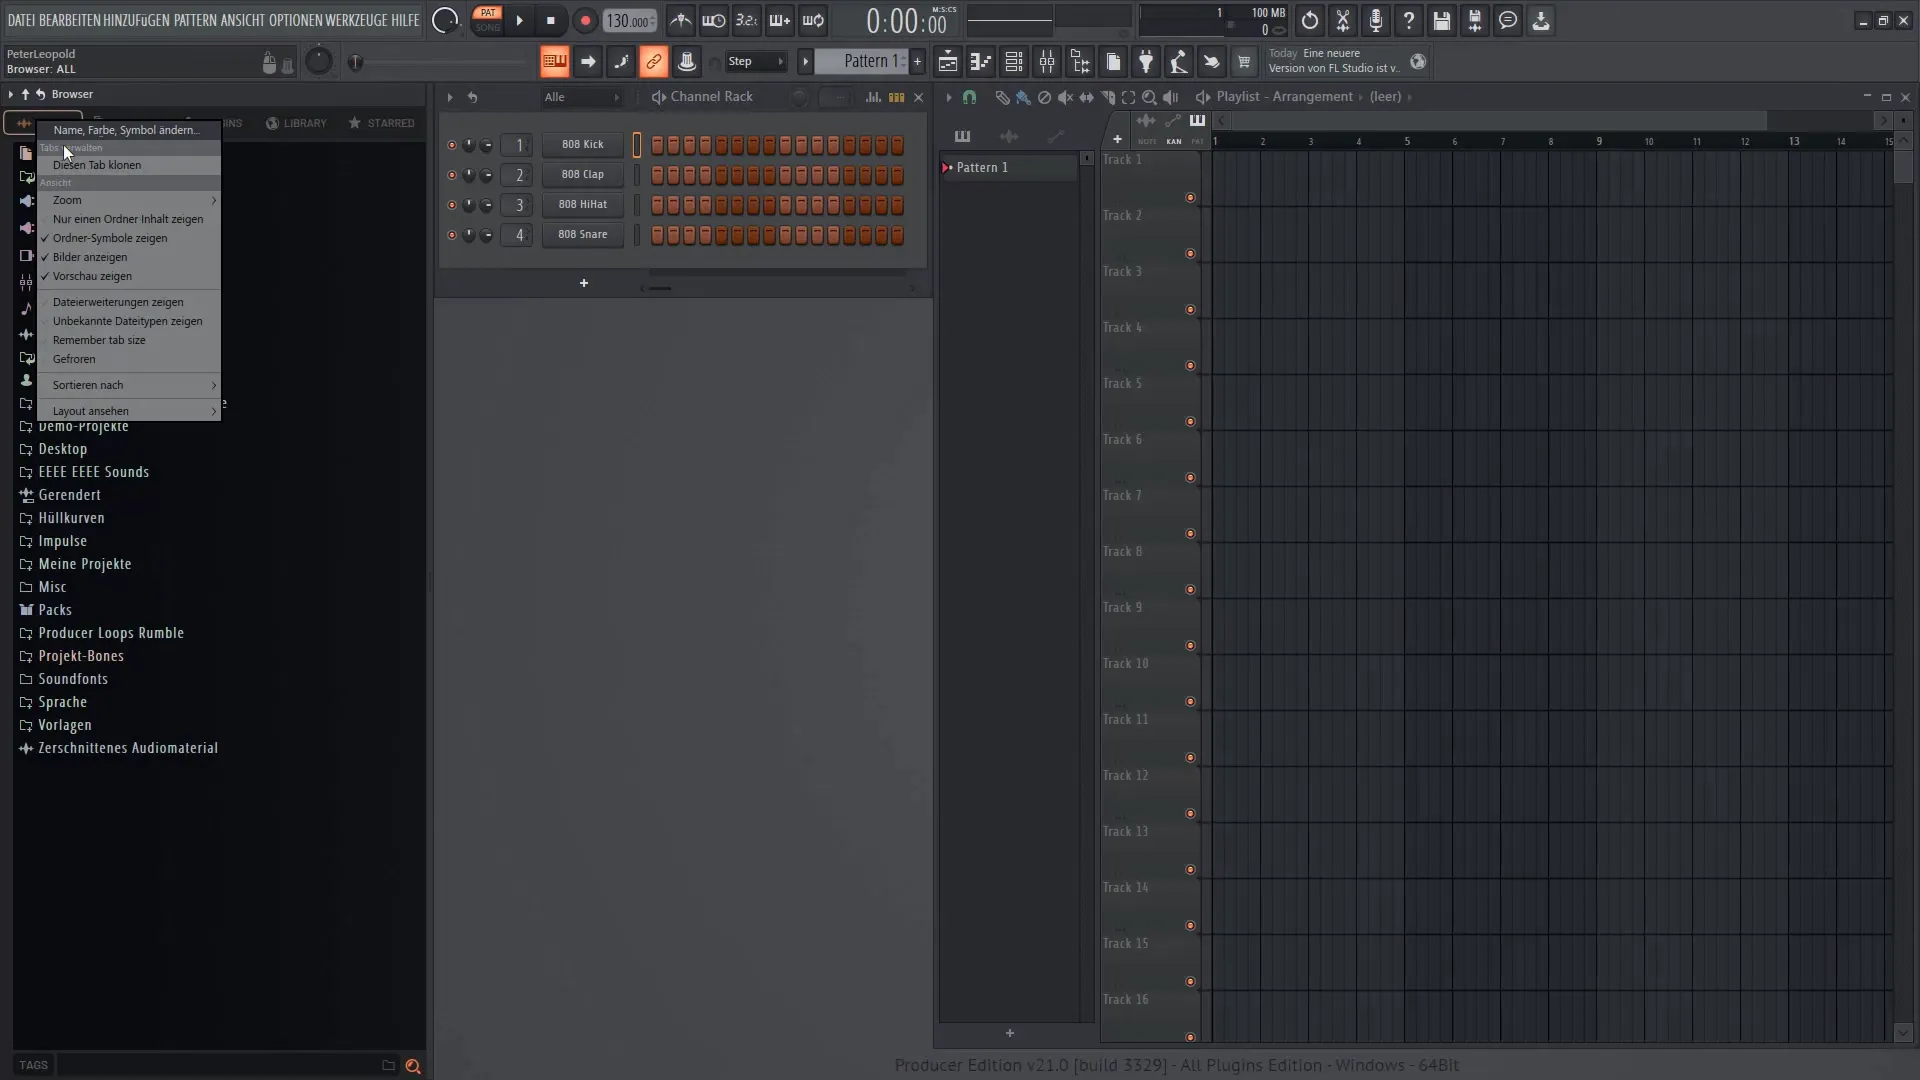
For better visibility, you can customize the layout. Right-click and choose "View layout" and then "Samples". Move this screen to get an overview of the available samples.
Once you have selected the desired samples, it's advisable to set the speed of your song. This is done through the BPM display. Right-click in an empty area and create a new pattern. Insert this into your playlist window and listen to the initial sounds.
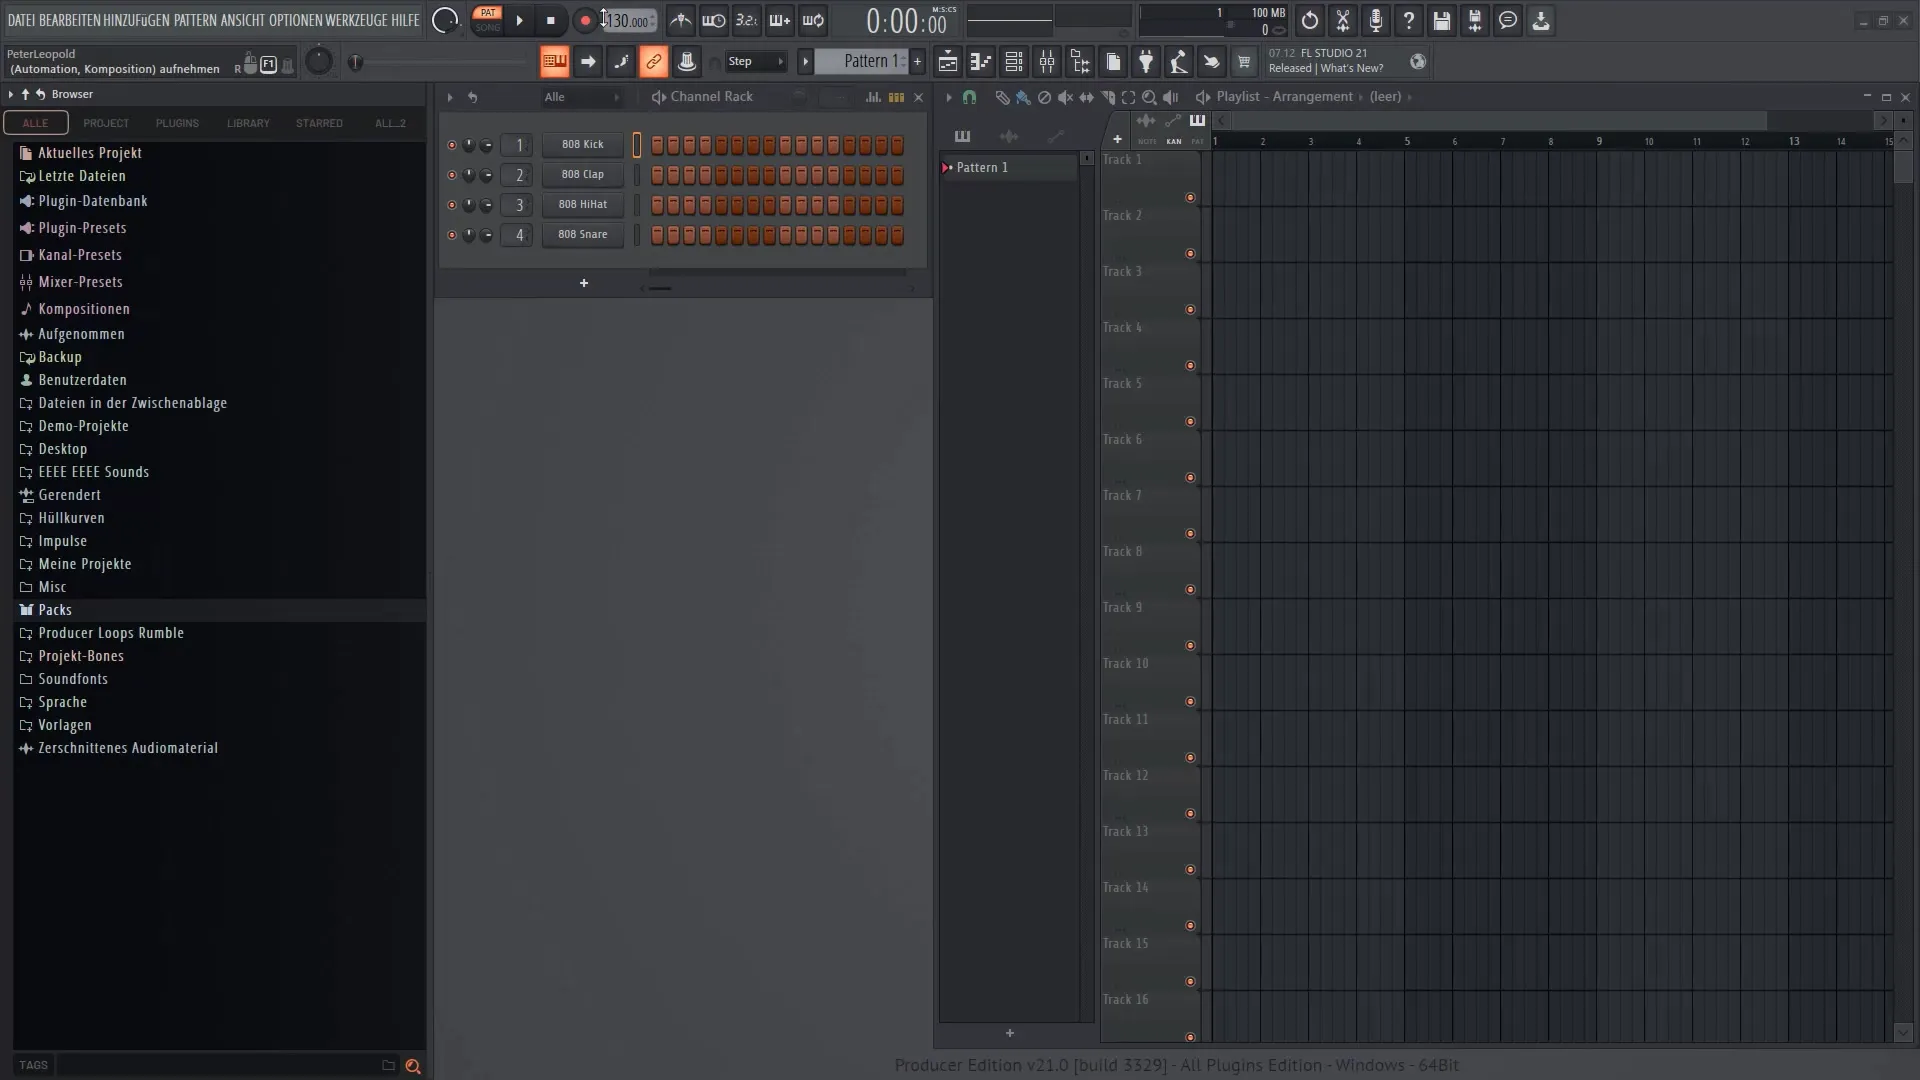
It is important to set a BPM number as adjusting the beat count afterwards can affect the timing, especially with samples. This can lead to synchronization difficulties. Setting the BPM ensures the uniformity of the tracks.
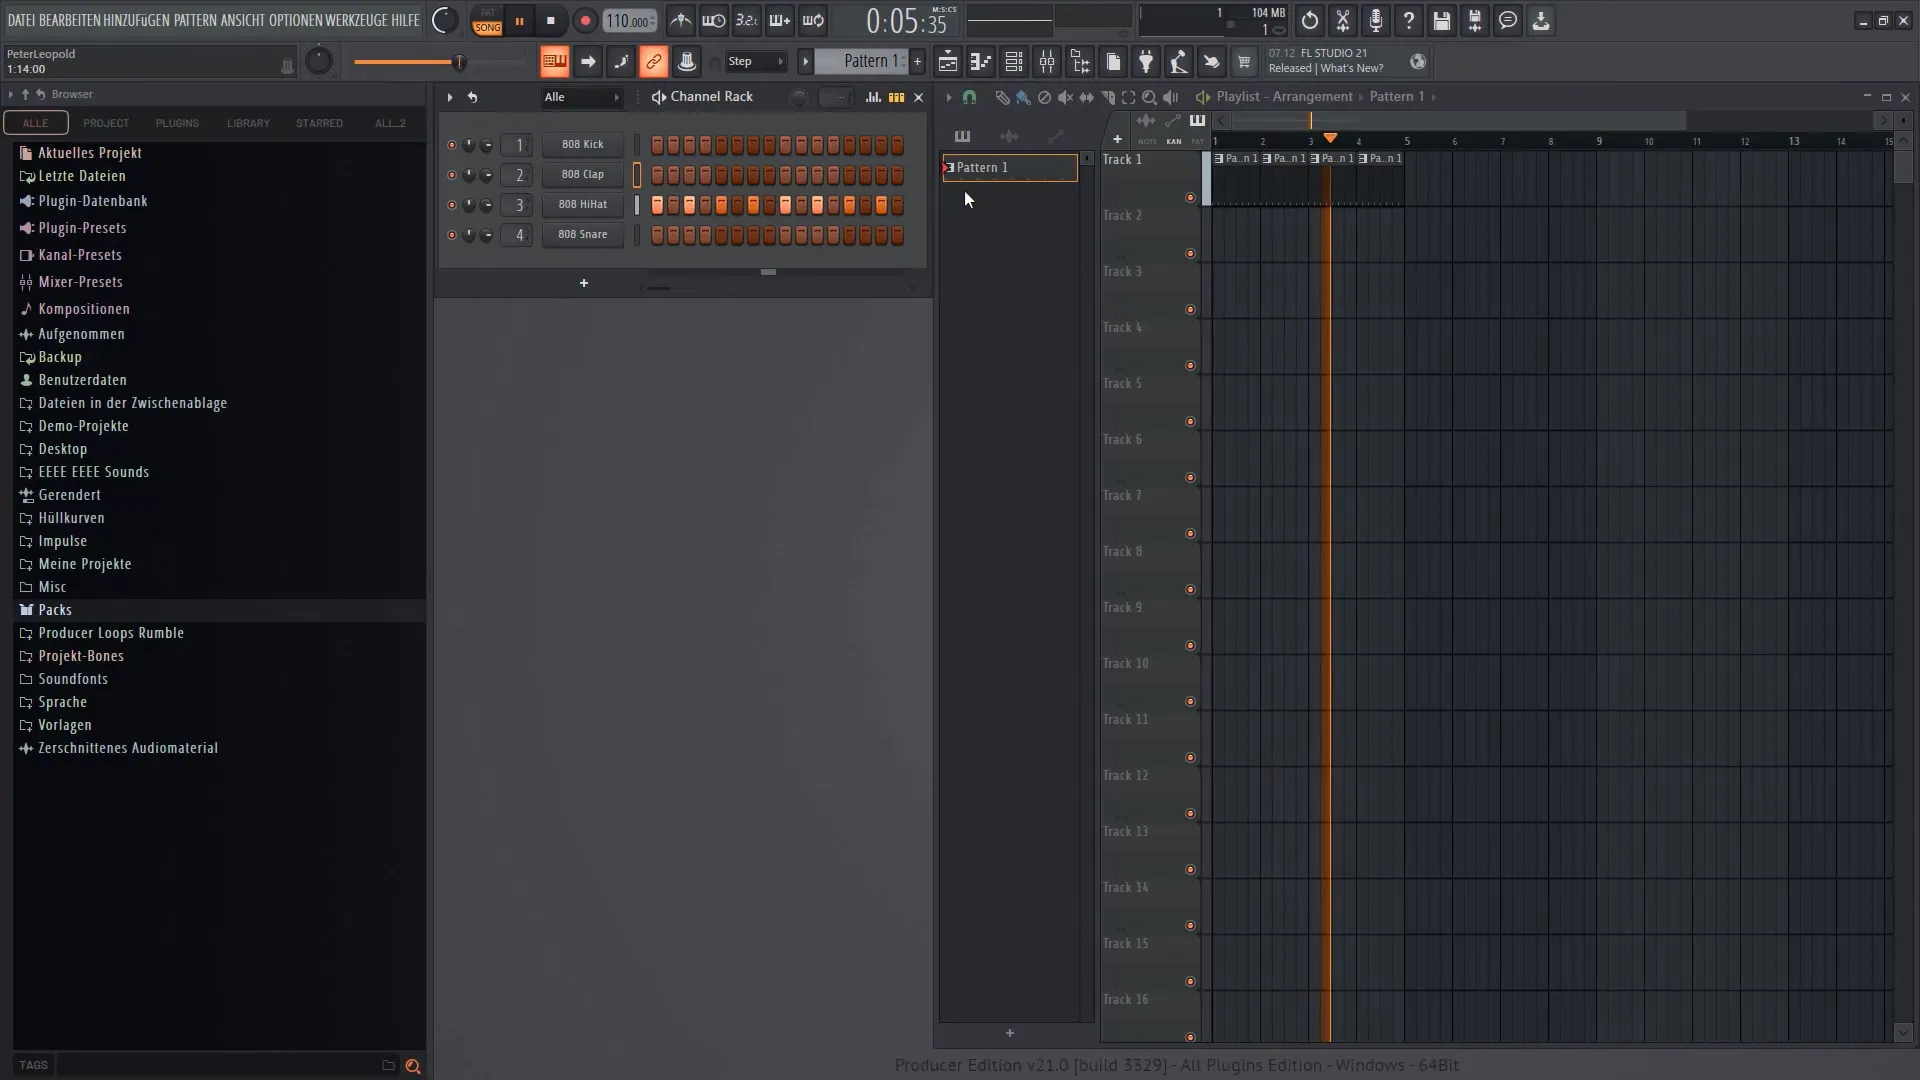
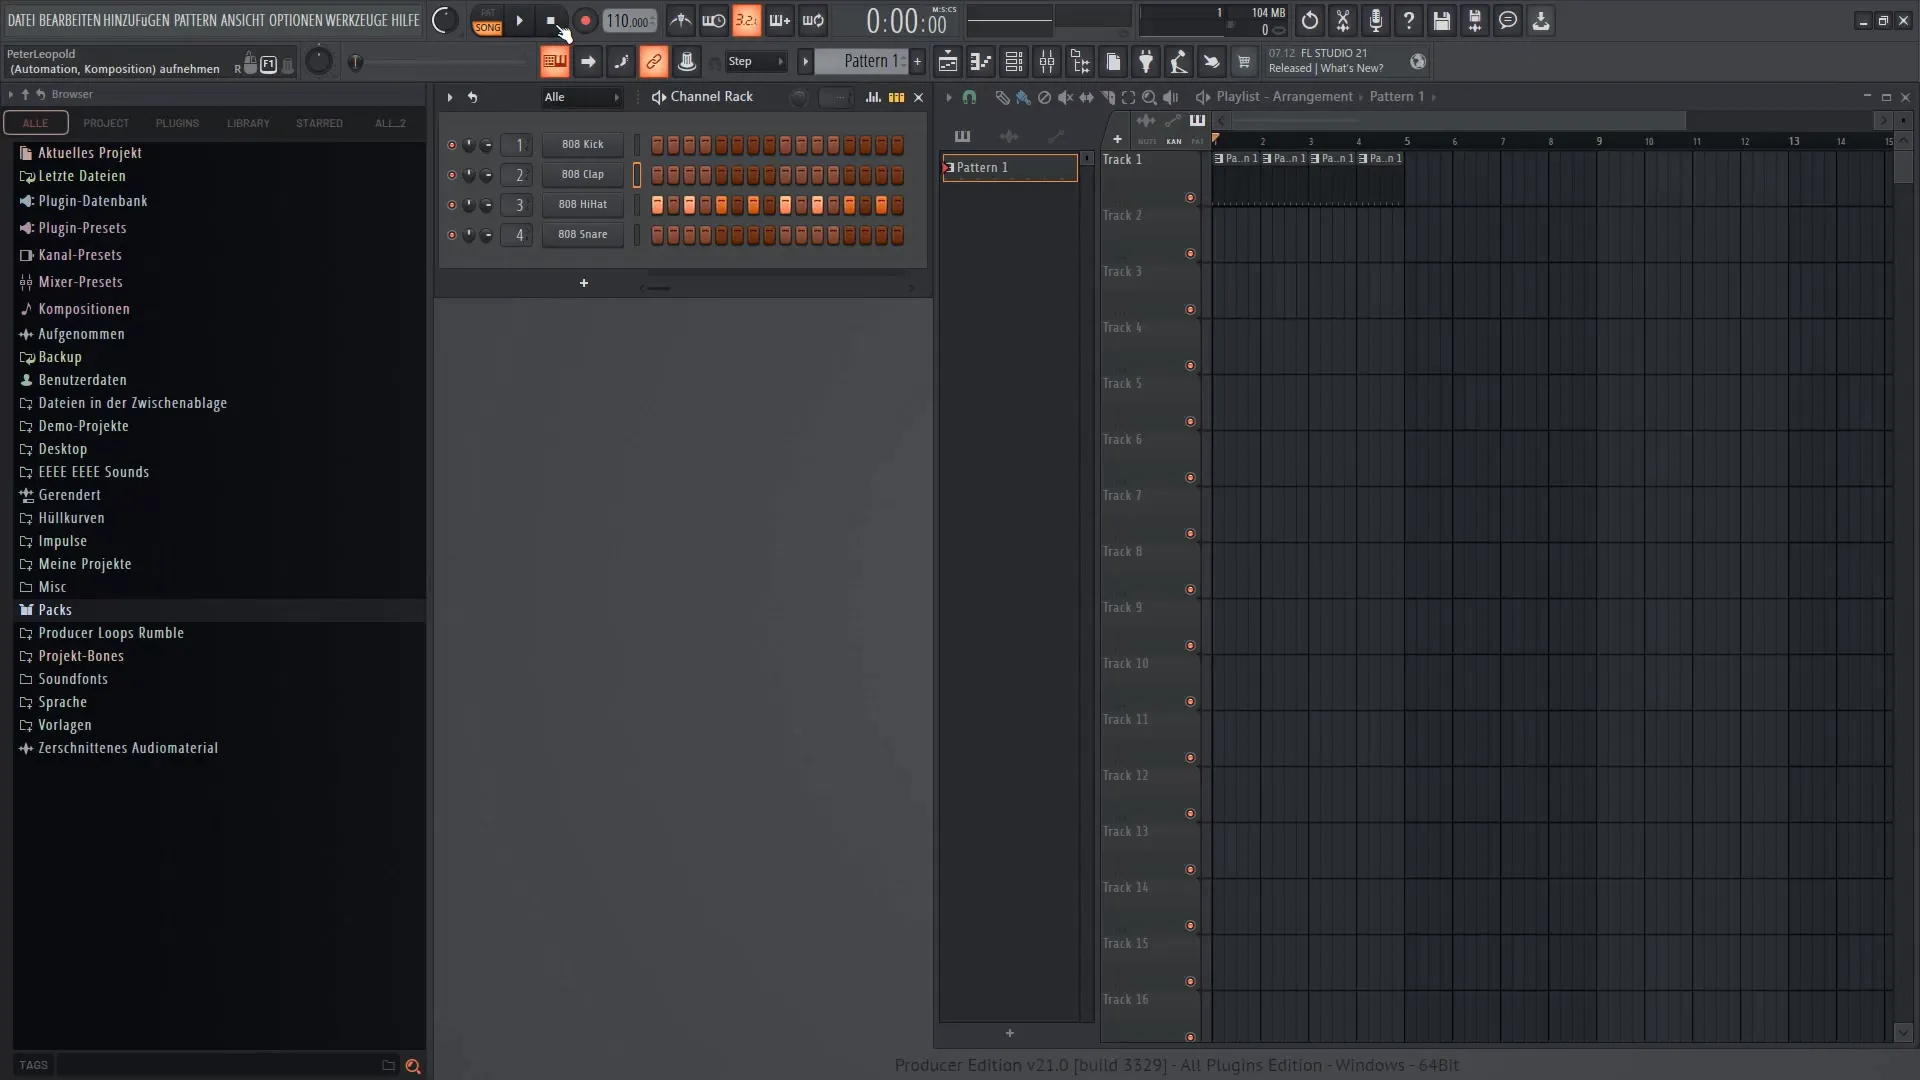
When you start recording, make sure that the automation and audio options are enabled so that you can make optimal use of all features. Is there anything else you need to consider? Yes, during recording, a count-down is displayed to help you adjust to the right timing.
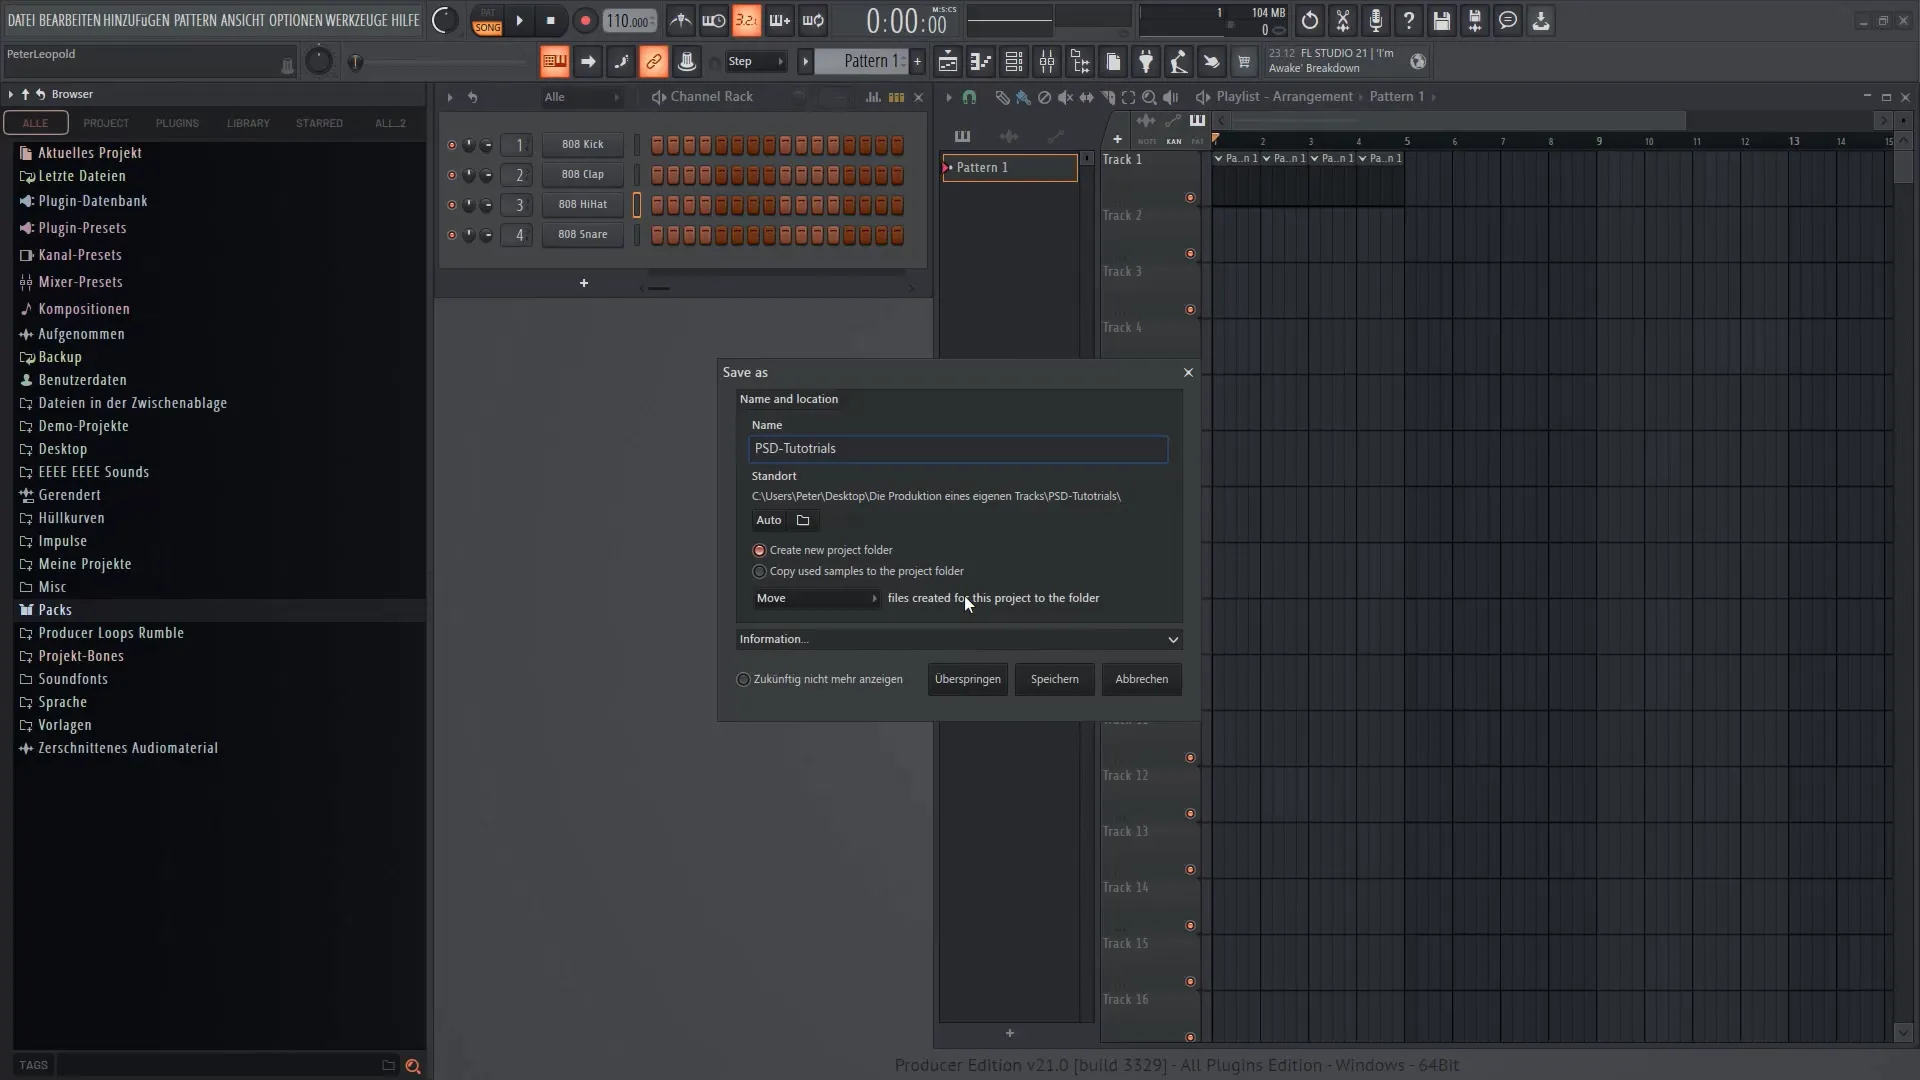
Now that you have made all the necessary adjustments, it is crucial to save your project. Go to "File" and select "Save as". Give it a meaningful name, for example, "MyFirstTrack", and choose the storage location. If you choose "Create new project folder", a new folder will be created for your project.
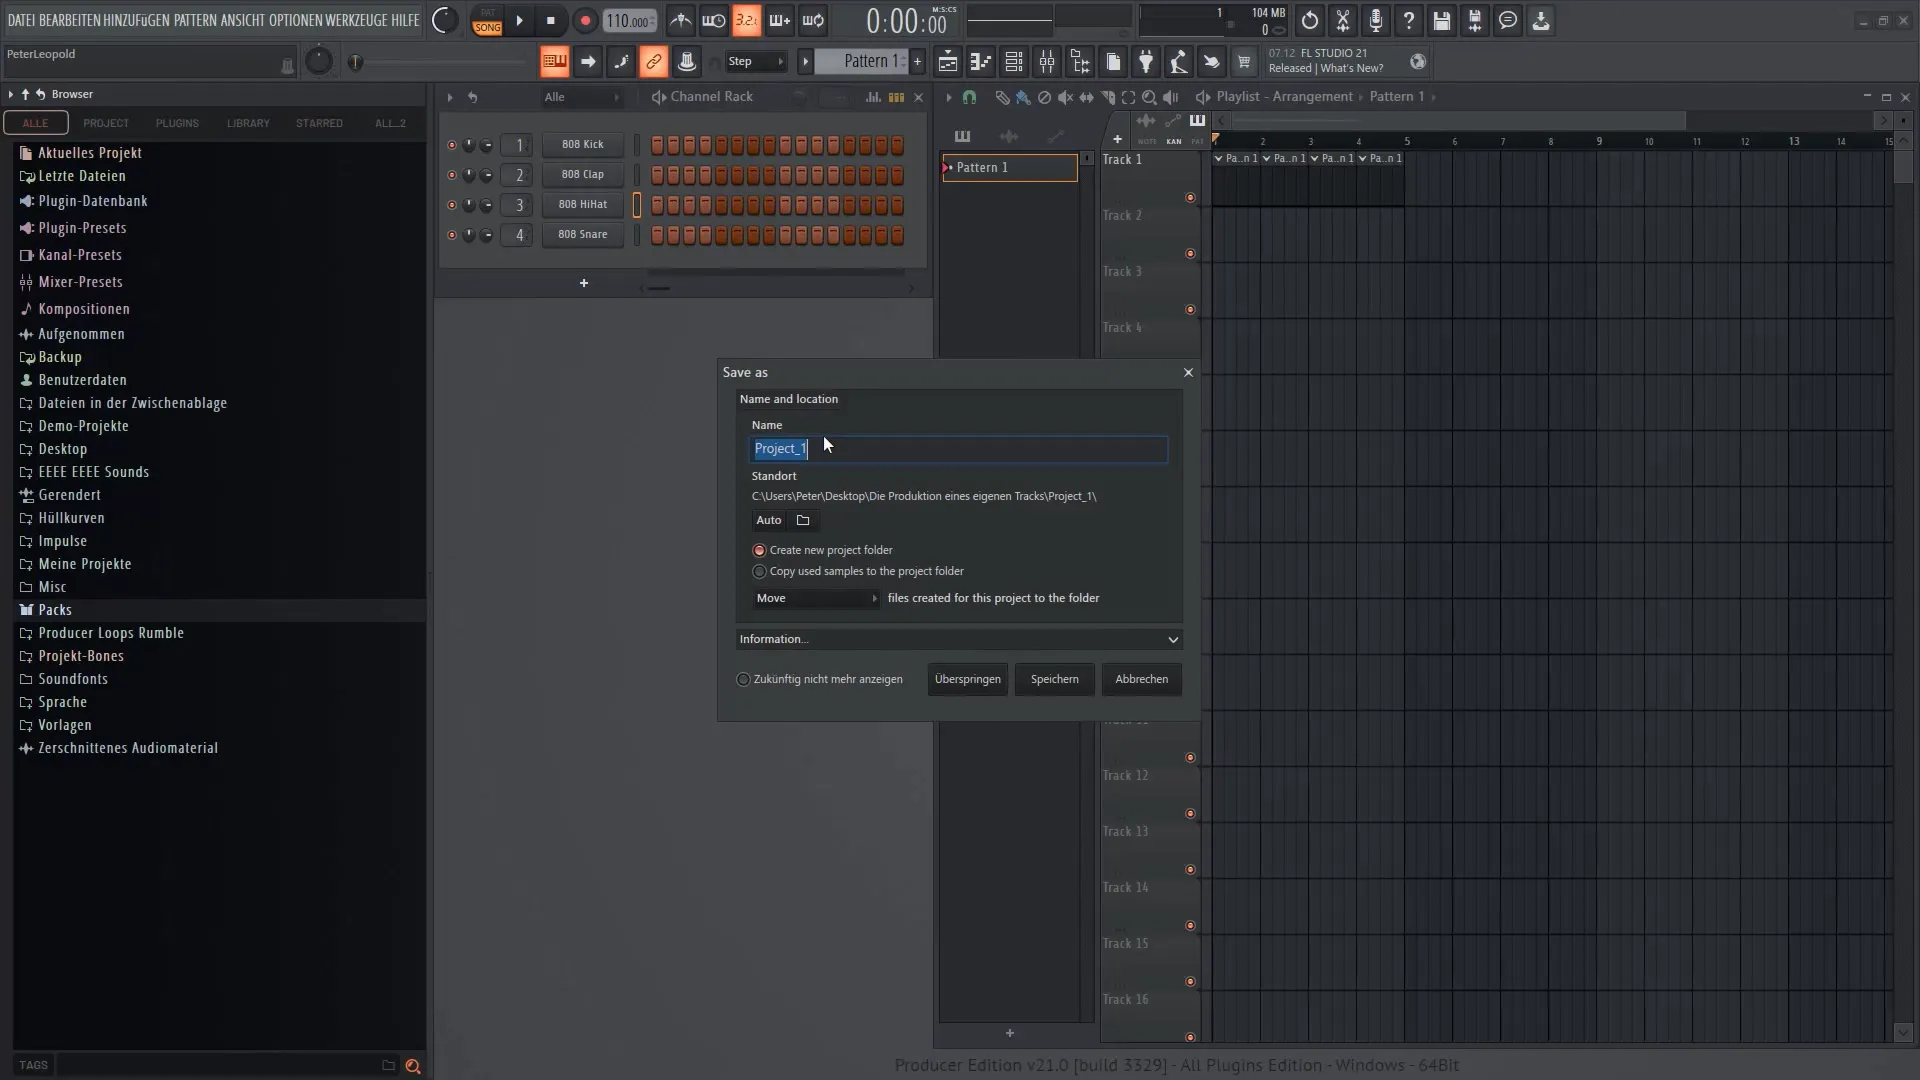
Additionally, you should enable the option to copy samples into this project folder so that you can easily access them when needed. This provides you with the assurance that nothing will be lost. Also, remember to auto-save regularly so that you always have a backup file in case of an error.
By saving, you have now completed all the necessary steps to prepare your track. I feel ready to dive into the details of the production and look forward to supporting you in further videos.
Summary
In this tutorial, you have learned how to make the right audio settings, configure your browser, set the BPM, and save your project effectively. These steps form the foundation for a successful music production in FL Studio 21.
Frequently Asked Questions
What are the best audio settings in FL Studio?The best audio settings are "FL Studio ASIO" with a sampling rate of 44100 Hz and the lowest possible buffer size.
How do I save a project in FL Studio?Go to "File", select "Save As", enter a name, and choose the location to save.
Can I change the BPM later?It is possible to change the BPM, but this can affect the synchronization of samples.
How do I ensure low latency?By adjusting the buffer size in the audio settings and using audio interfaces if necessary.
What should I do if I have lost a sample?Check in the project folder if the "Copy Samples" option was enabled. This way, you should always have access to the files.
