In music production, the right balance of sounds can be crucial. To bring a kick drum to the foreground and push other frequencies to the background, you now know that the sidechain harbors immense potential. In this tutorial, I'll show you how to use sidechain to eliminate clashing frequencies, make your tracks clearer and more professional, and thus achieve sound improvement. Let's start with the basics of sidechain technique in FL Studio!
Main Insights
- Sidechain technique helps balance different frequencies and avoid collisions.
- The kick drum is often the sonic trigger for the sidechain effect.
- The Fruity Limiter is a helpful tool for implementing the sidechain effect.
Step-by-Step Guide
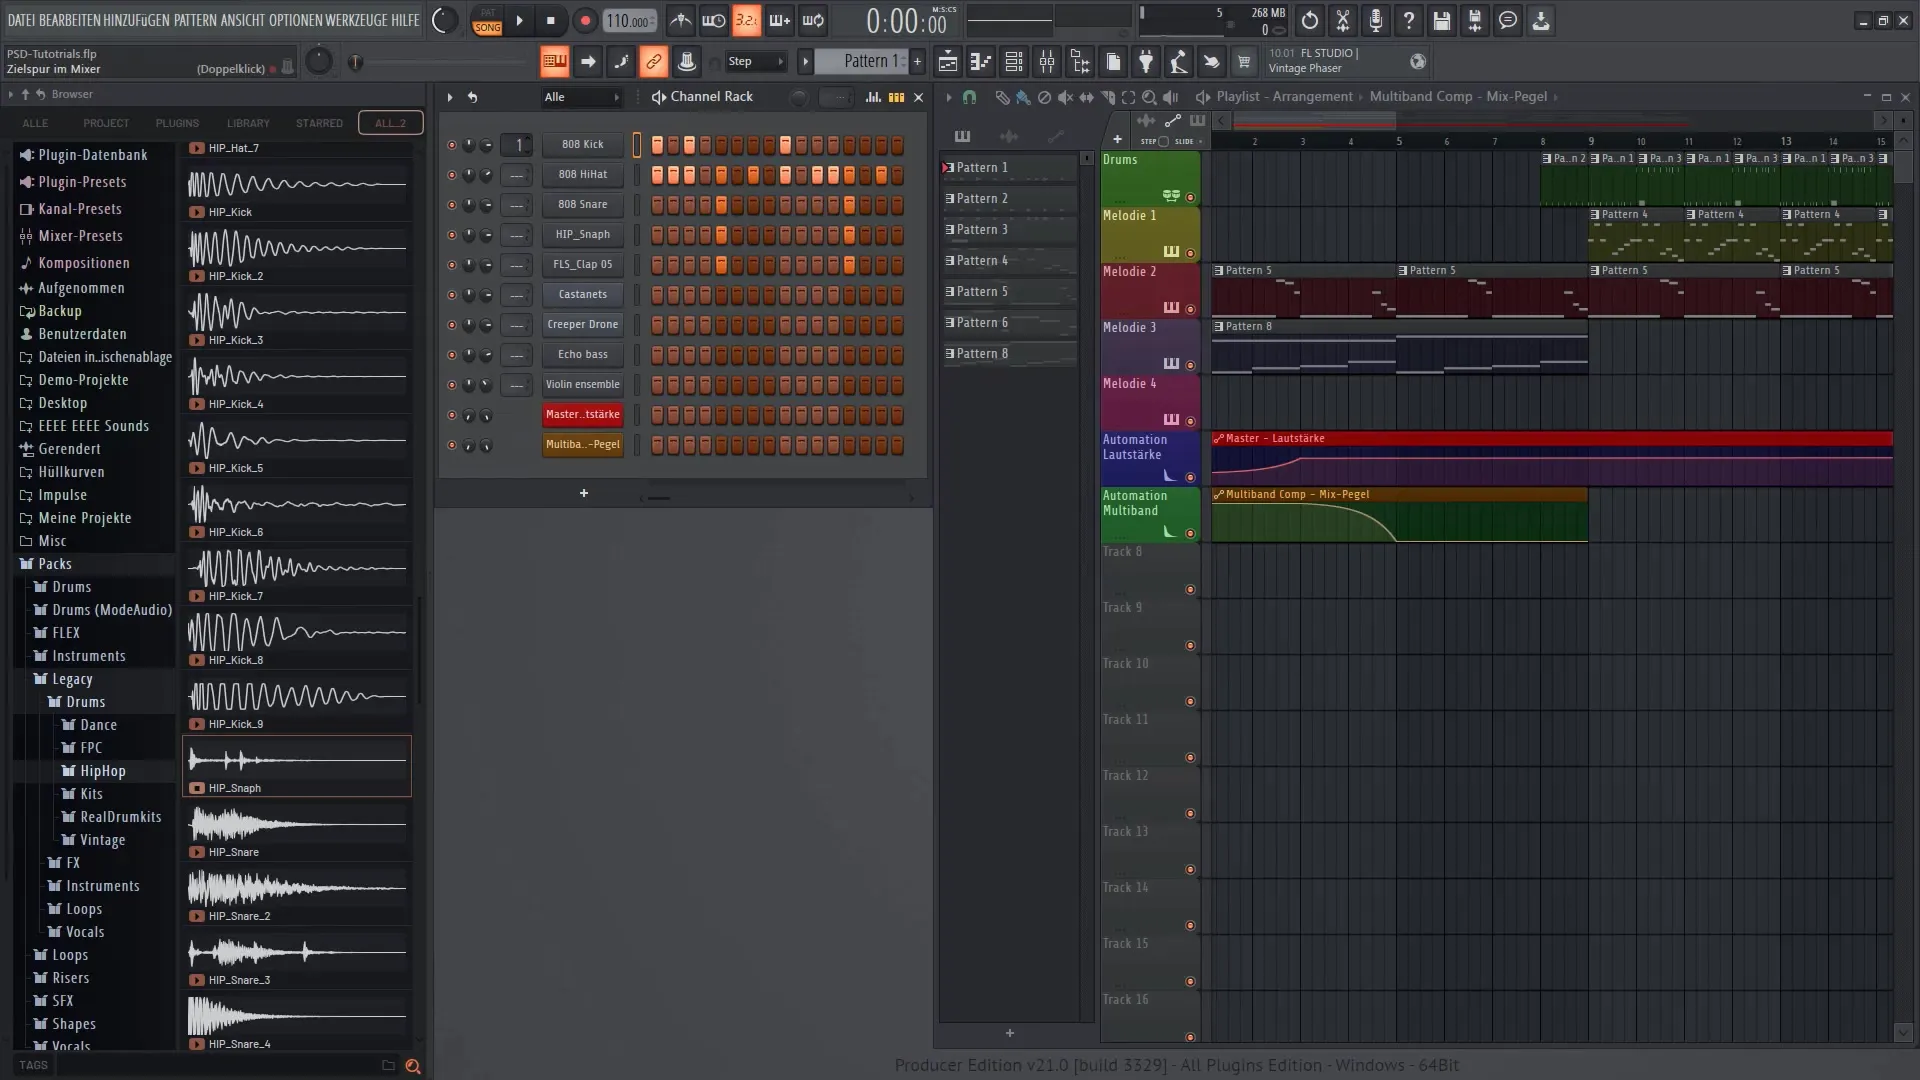
Firstly, open FL Studio 21 and prepare your tracks.
You can adjust the channels in your mixer by selecting specific tracks and temporarily deactivating others. The kick drum should come to the fore, so you deactivate other tracks to better perceive the difference.
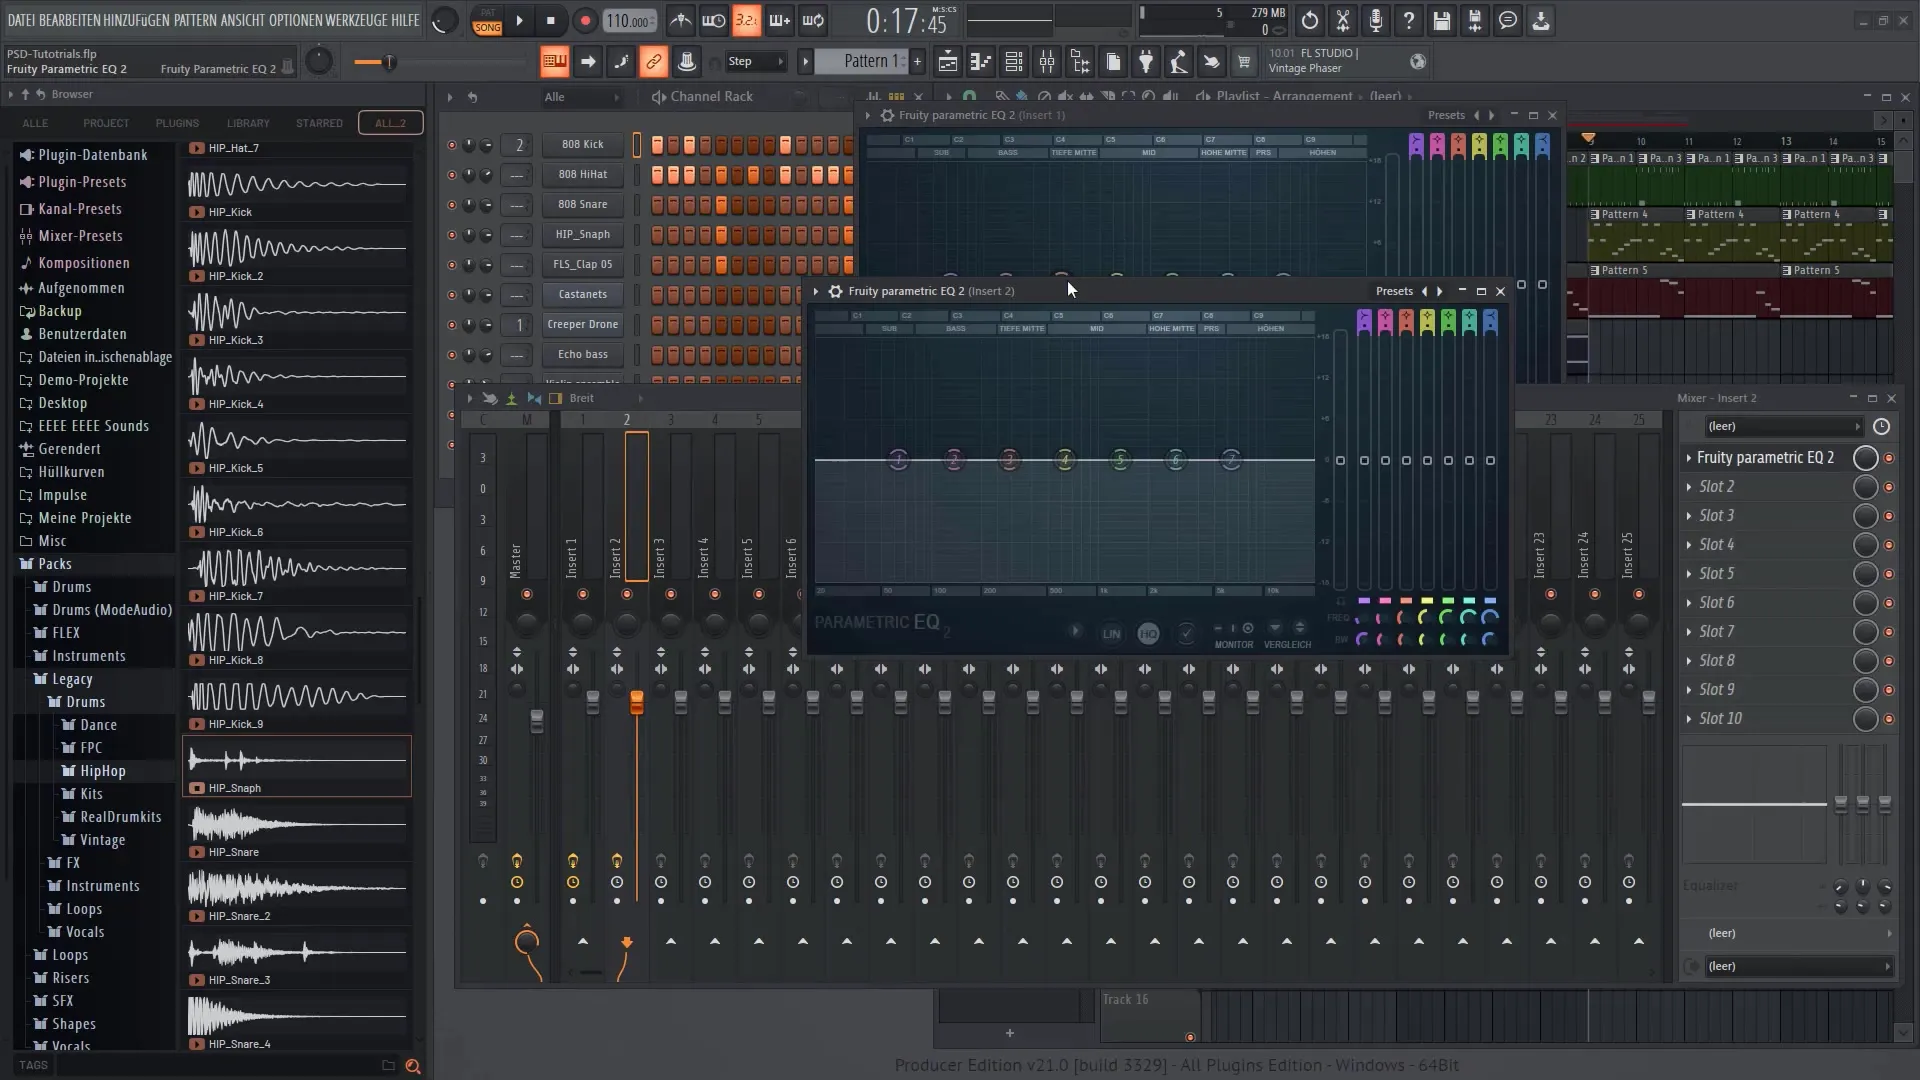
Now go to the mixer and click on the channel where your kick drum is located. In this case, select slot 1 and add a Parametric EQ to adjust frequencies.
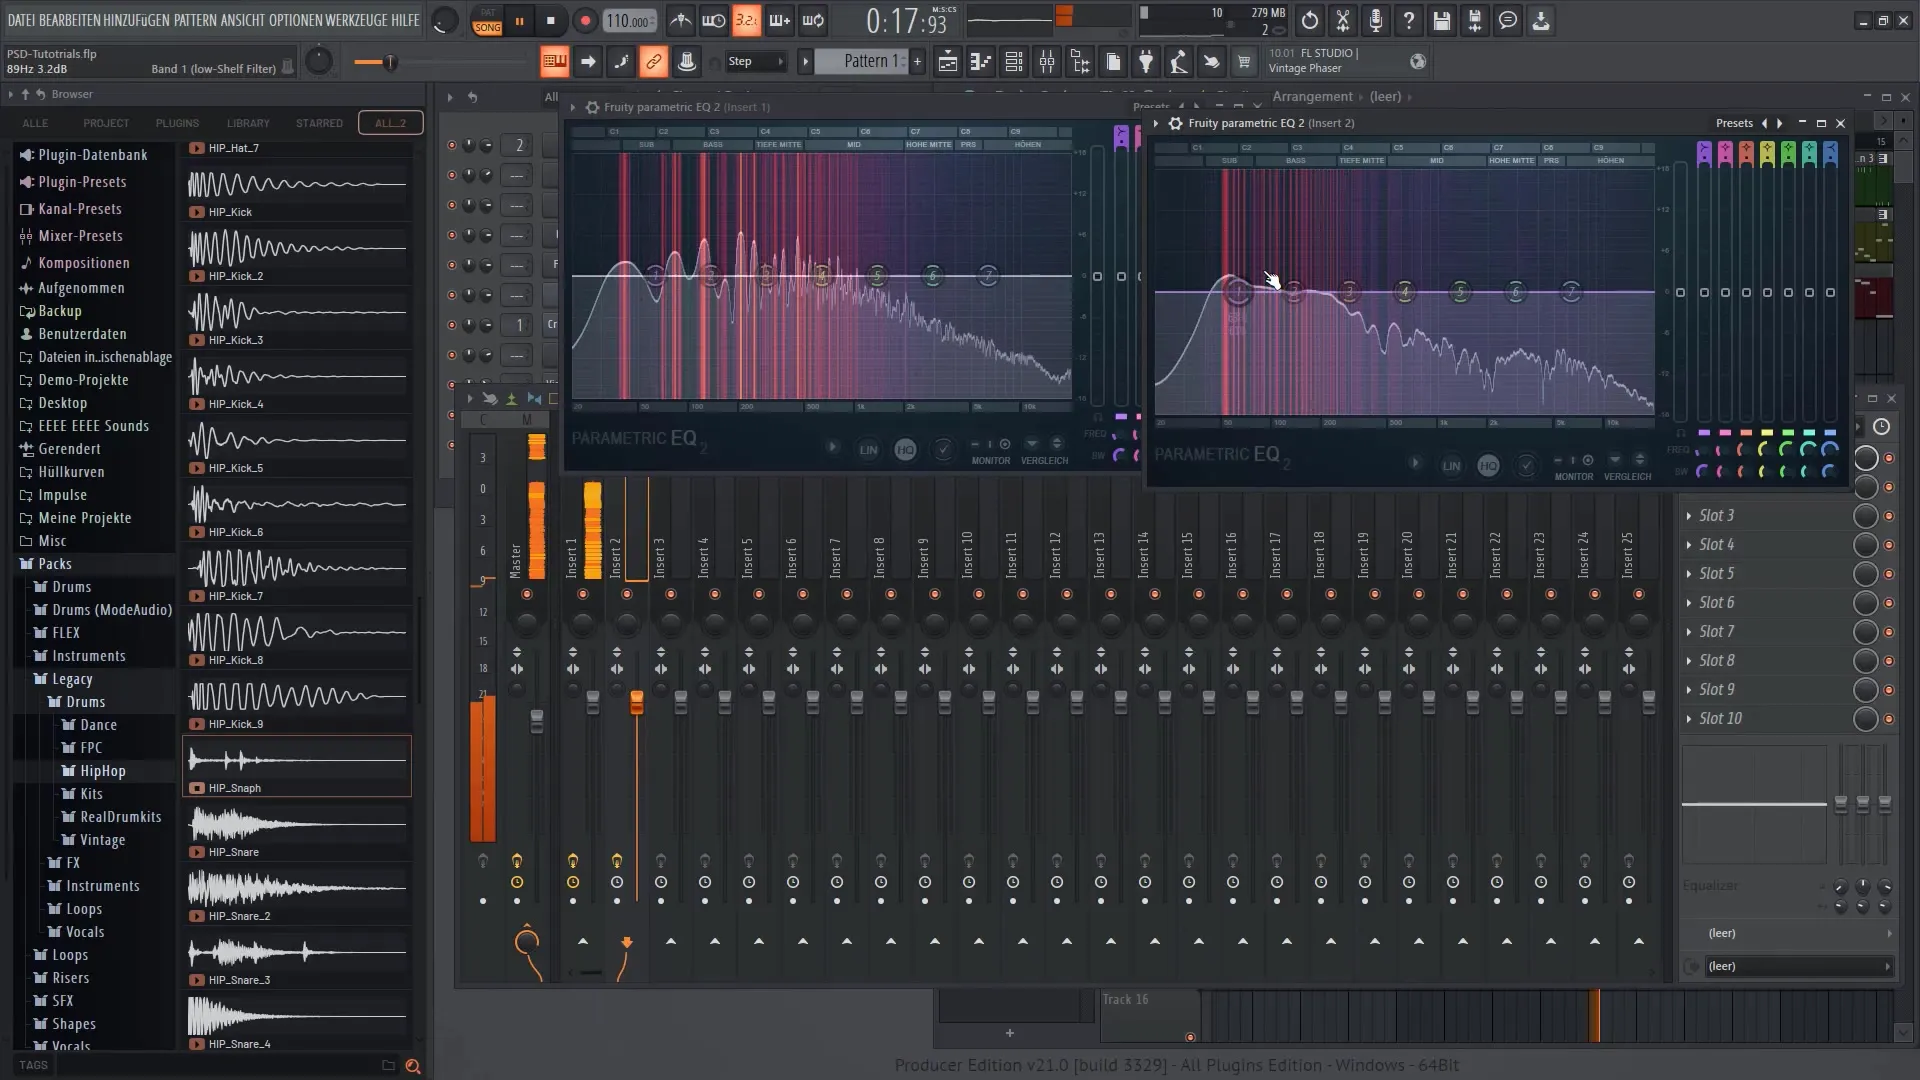
Now you can use the Parametric EQ for both tones that are active. Observe how the frequencies behave, especially those of your kick drum and the Creeper Drone you are using.
In the frequency view, you will see that the Creeper Drone is dominant in the high frequency range, while the kick drum plays in the lower frequencies. This means that these frequencies may overlap and make the sound muffled.
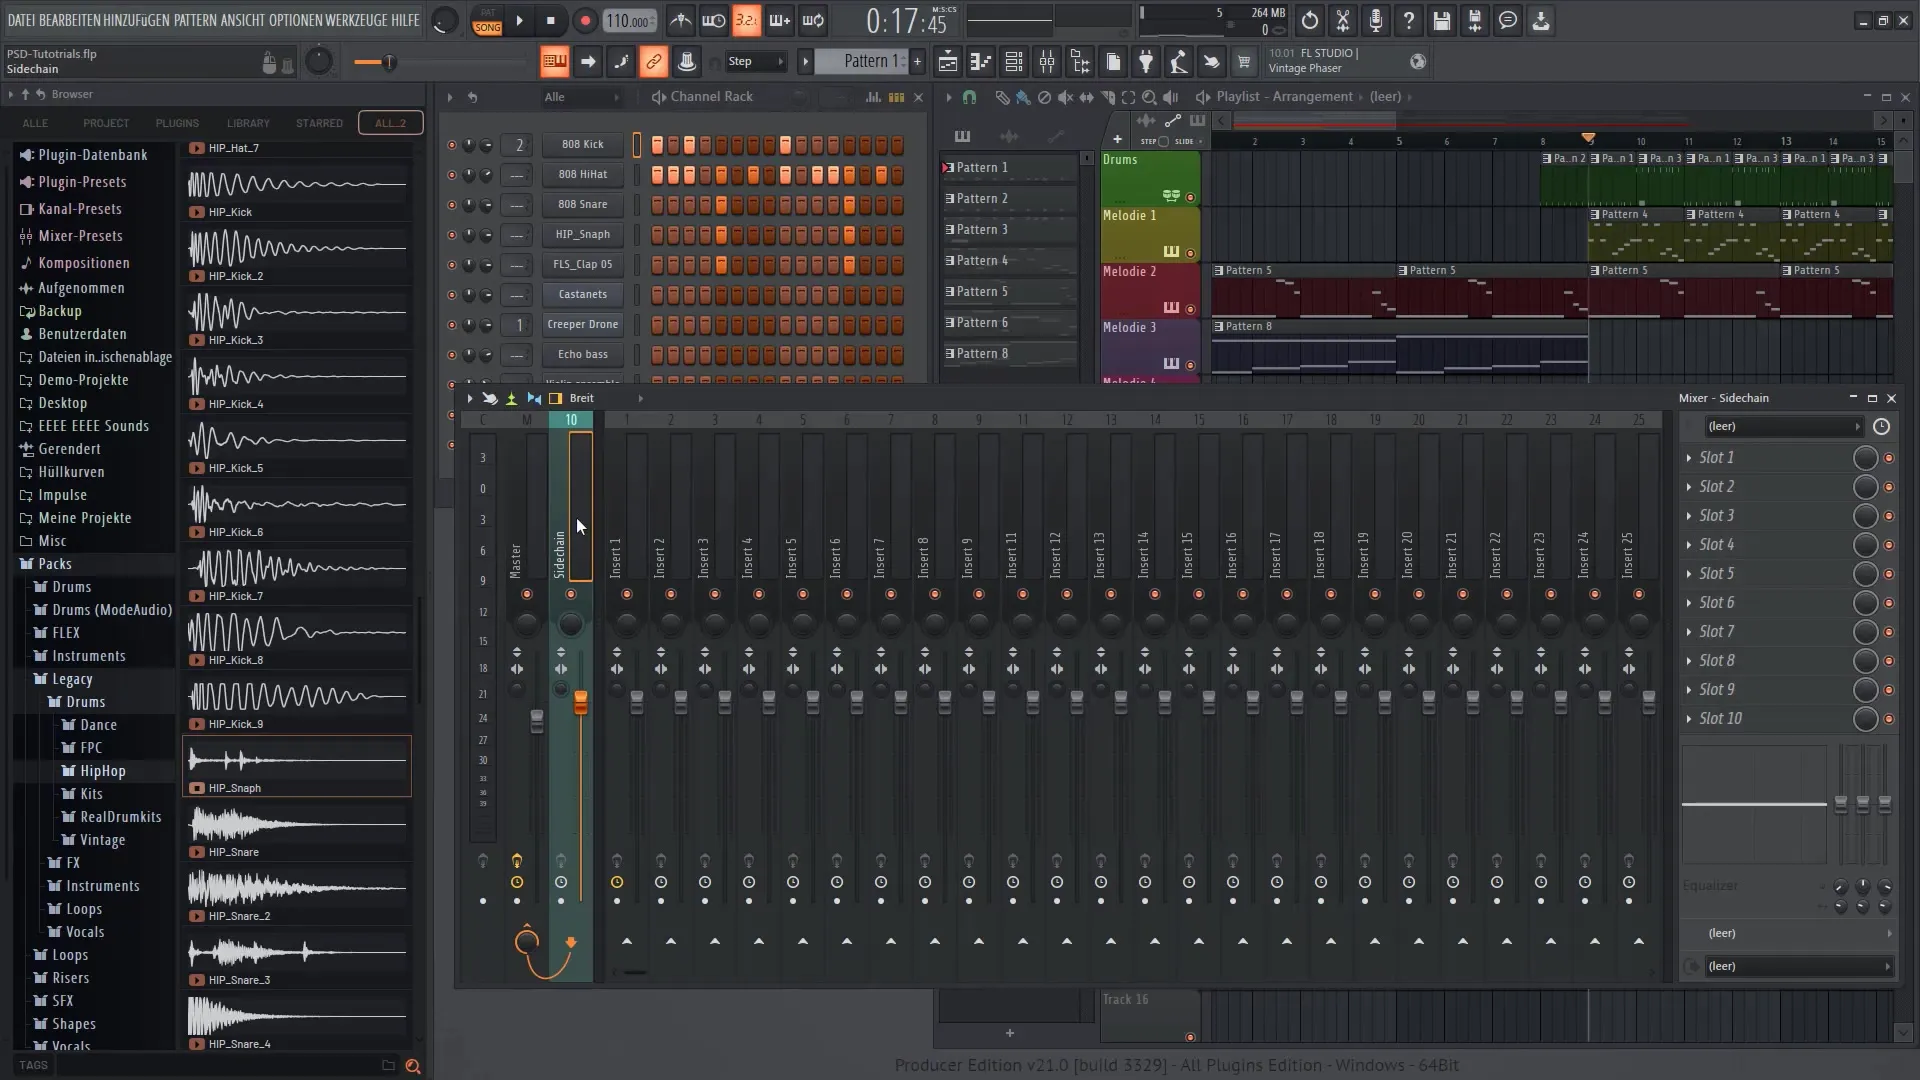
To solve this problem and emphasize the kick drum, we apply the sidechain technique. Select an empty mixer channel to add the sidechain effect there. Right-click on the tenth channel and change the name to "Sidechain".
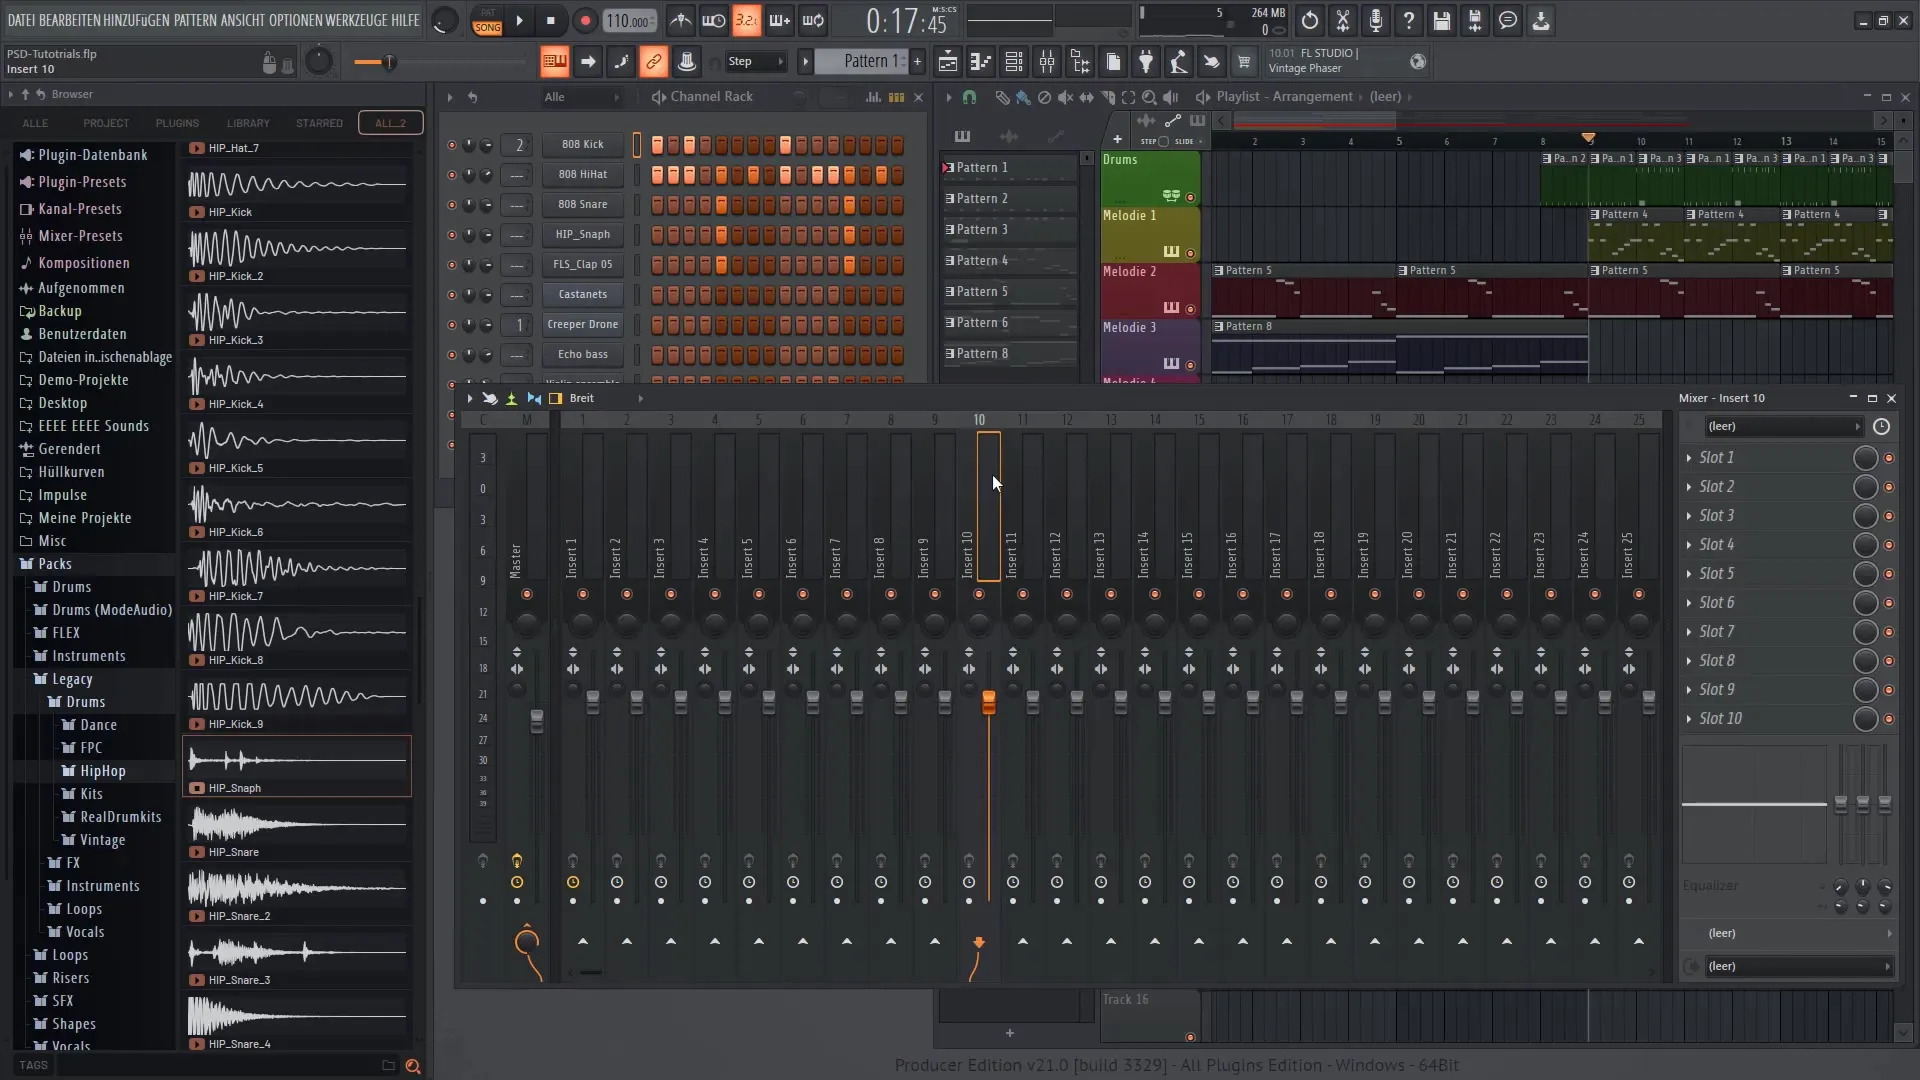
Now we dock the sidechain channel to the mixer. This is done by right-clicking → Dock and positioning it next to the master channel for better overview.
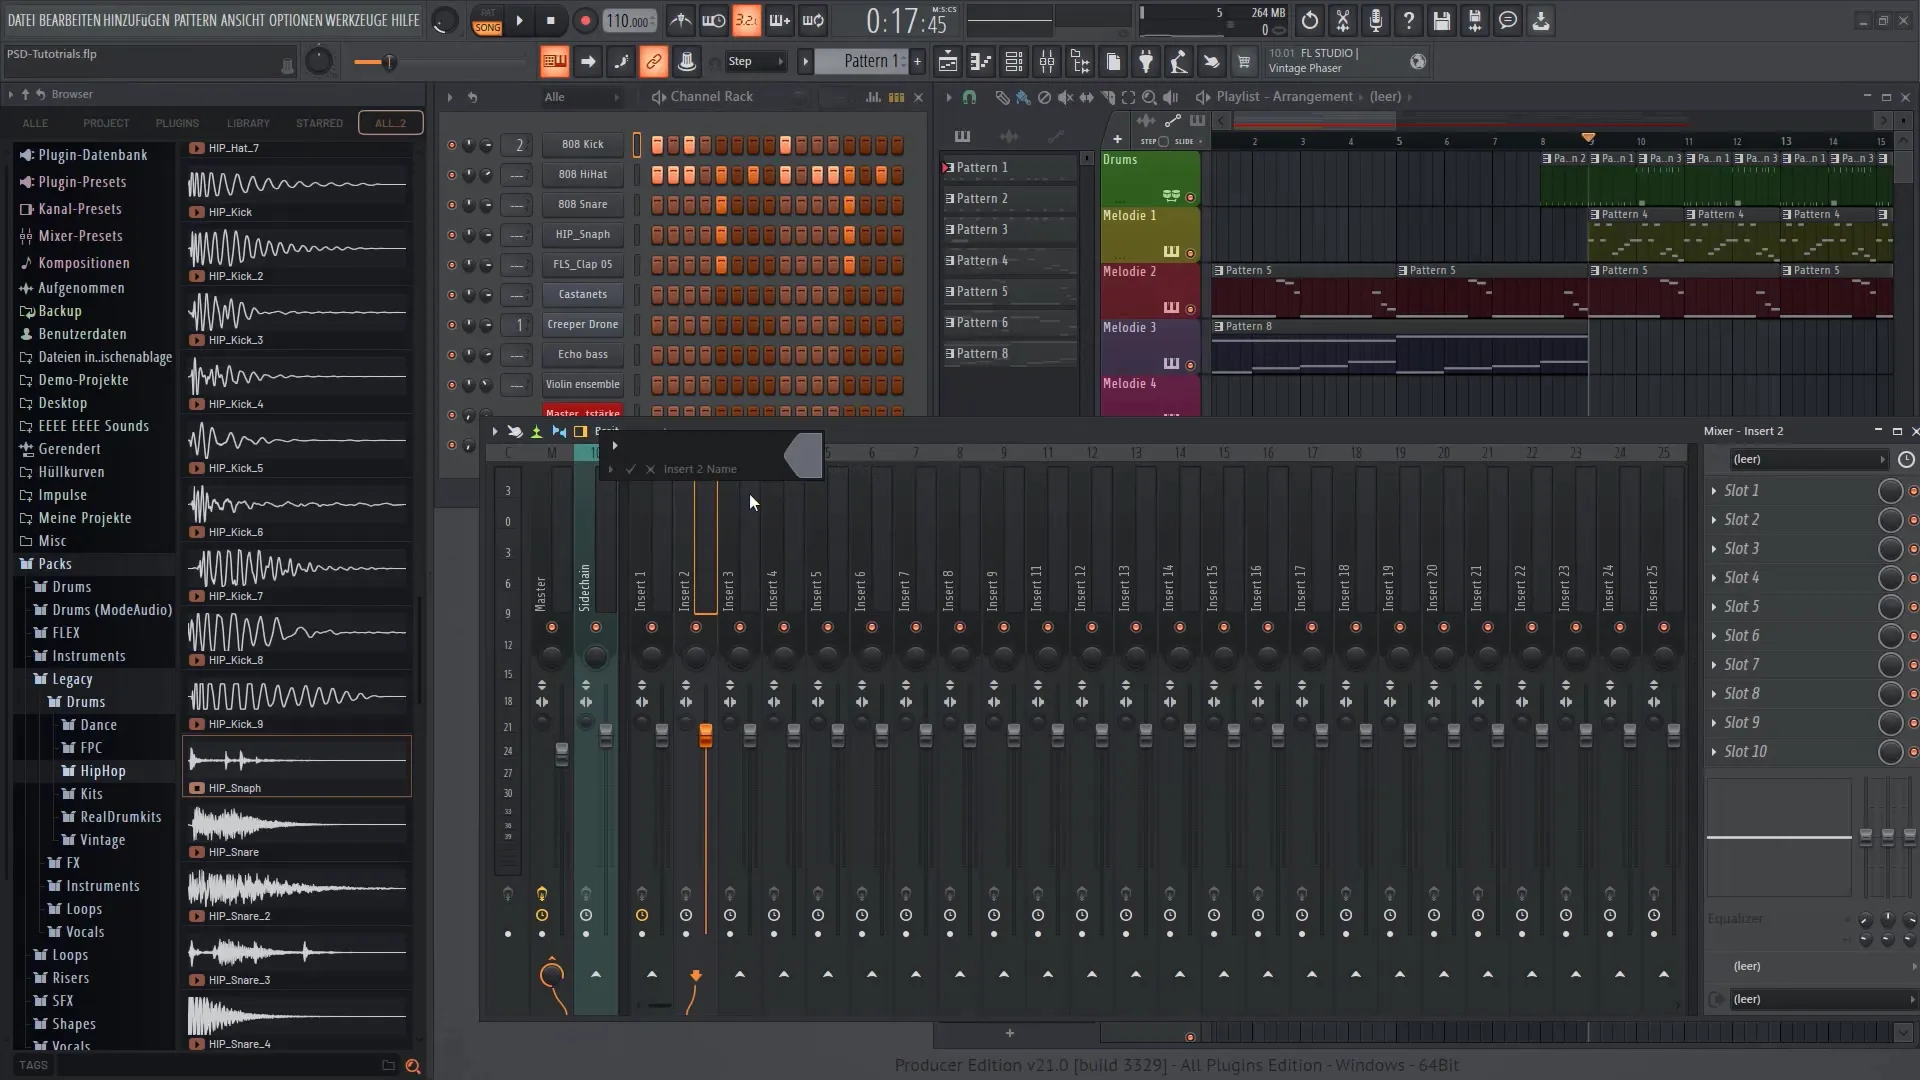
Now let's focus on the sounds: You now have both the kick drum and a deep tone you call bass. Don't forget to name all channels accordingly.
Next, we link the sidechain channel to the kick drum. Add the Fruity Limiter to slot 1 of the sidechain channel. This limiter ensures that the frequencies of the bassline are influenced by the kick drum.
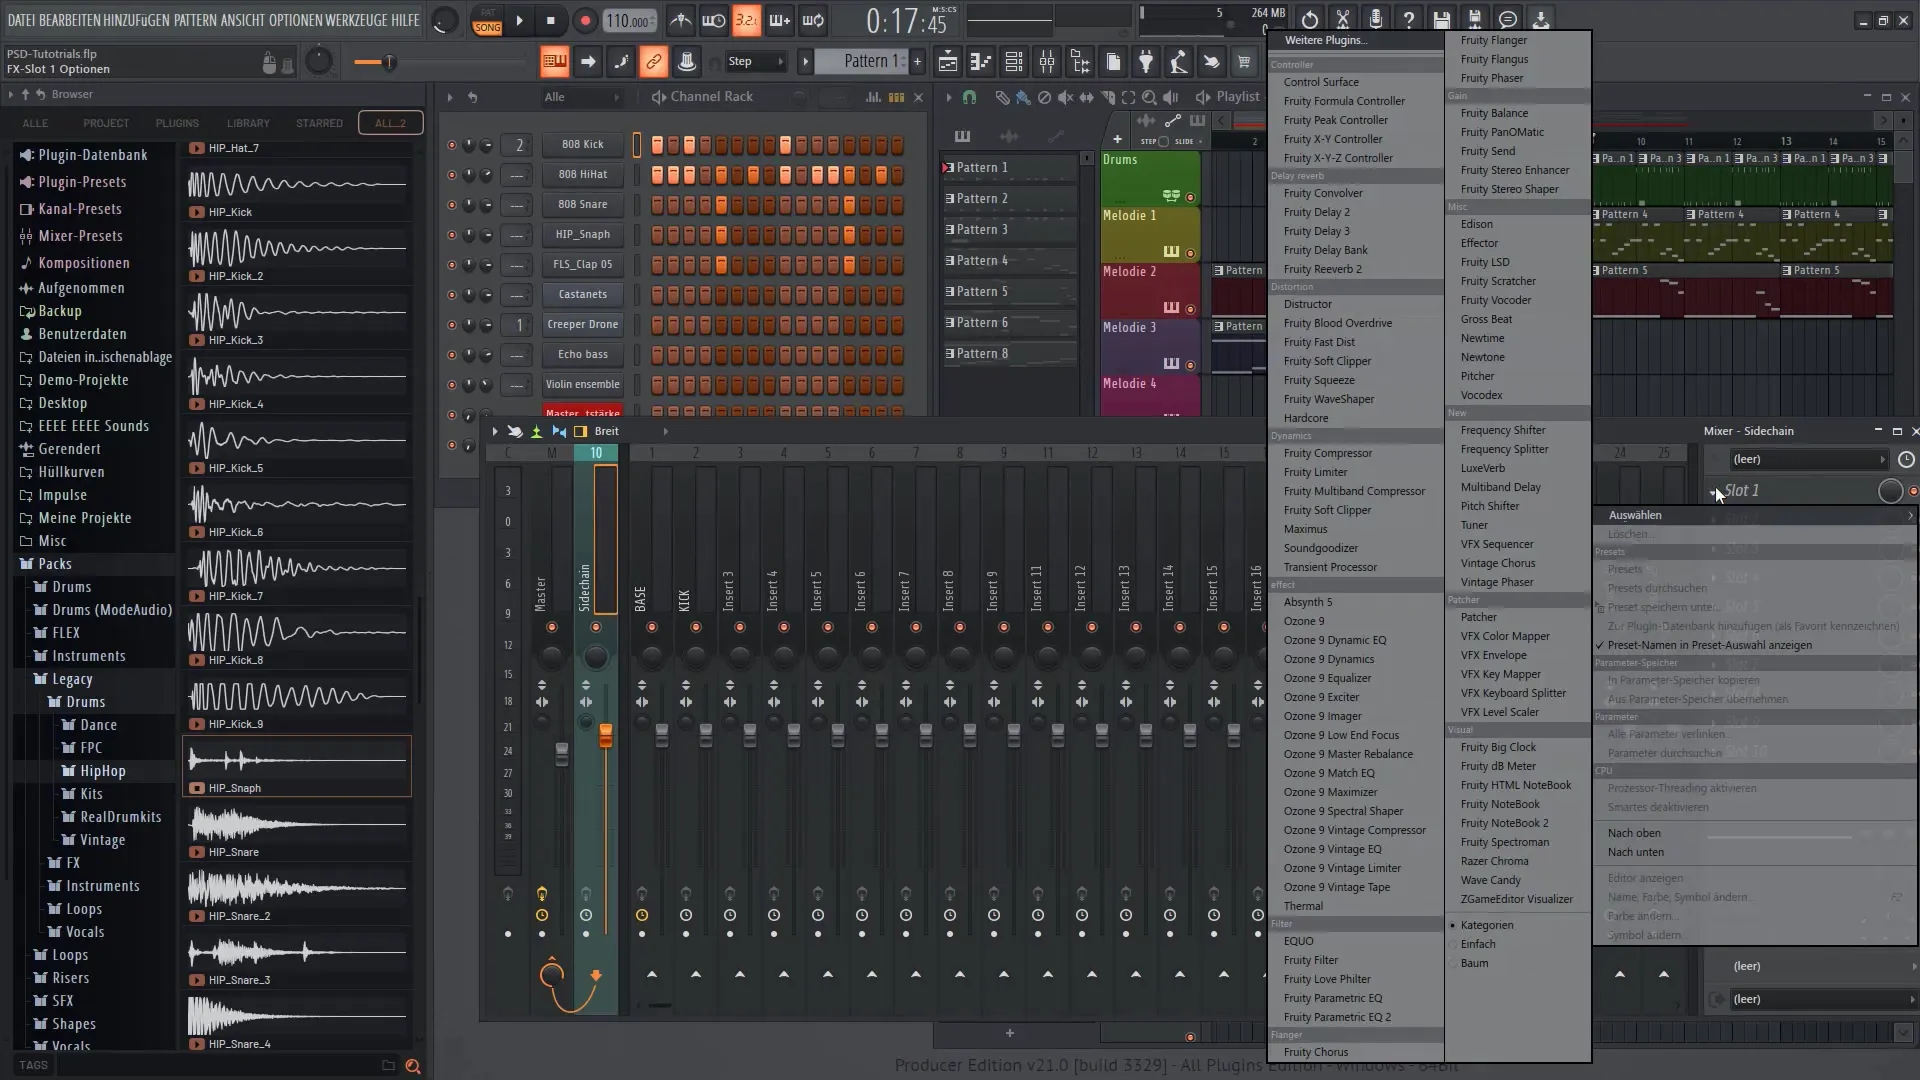
Click on the slot of the Fruity Limiter and activate the sidechain input. By linking it to the kick drum, you create a chain that triggers the sidechain effect.
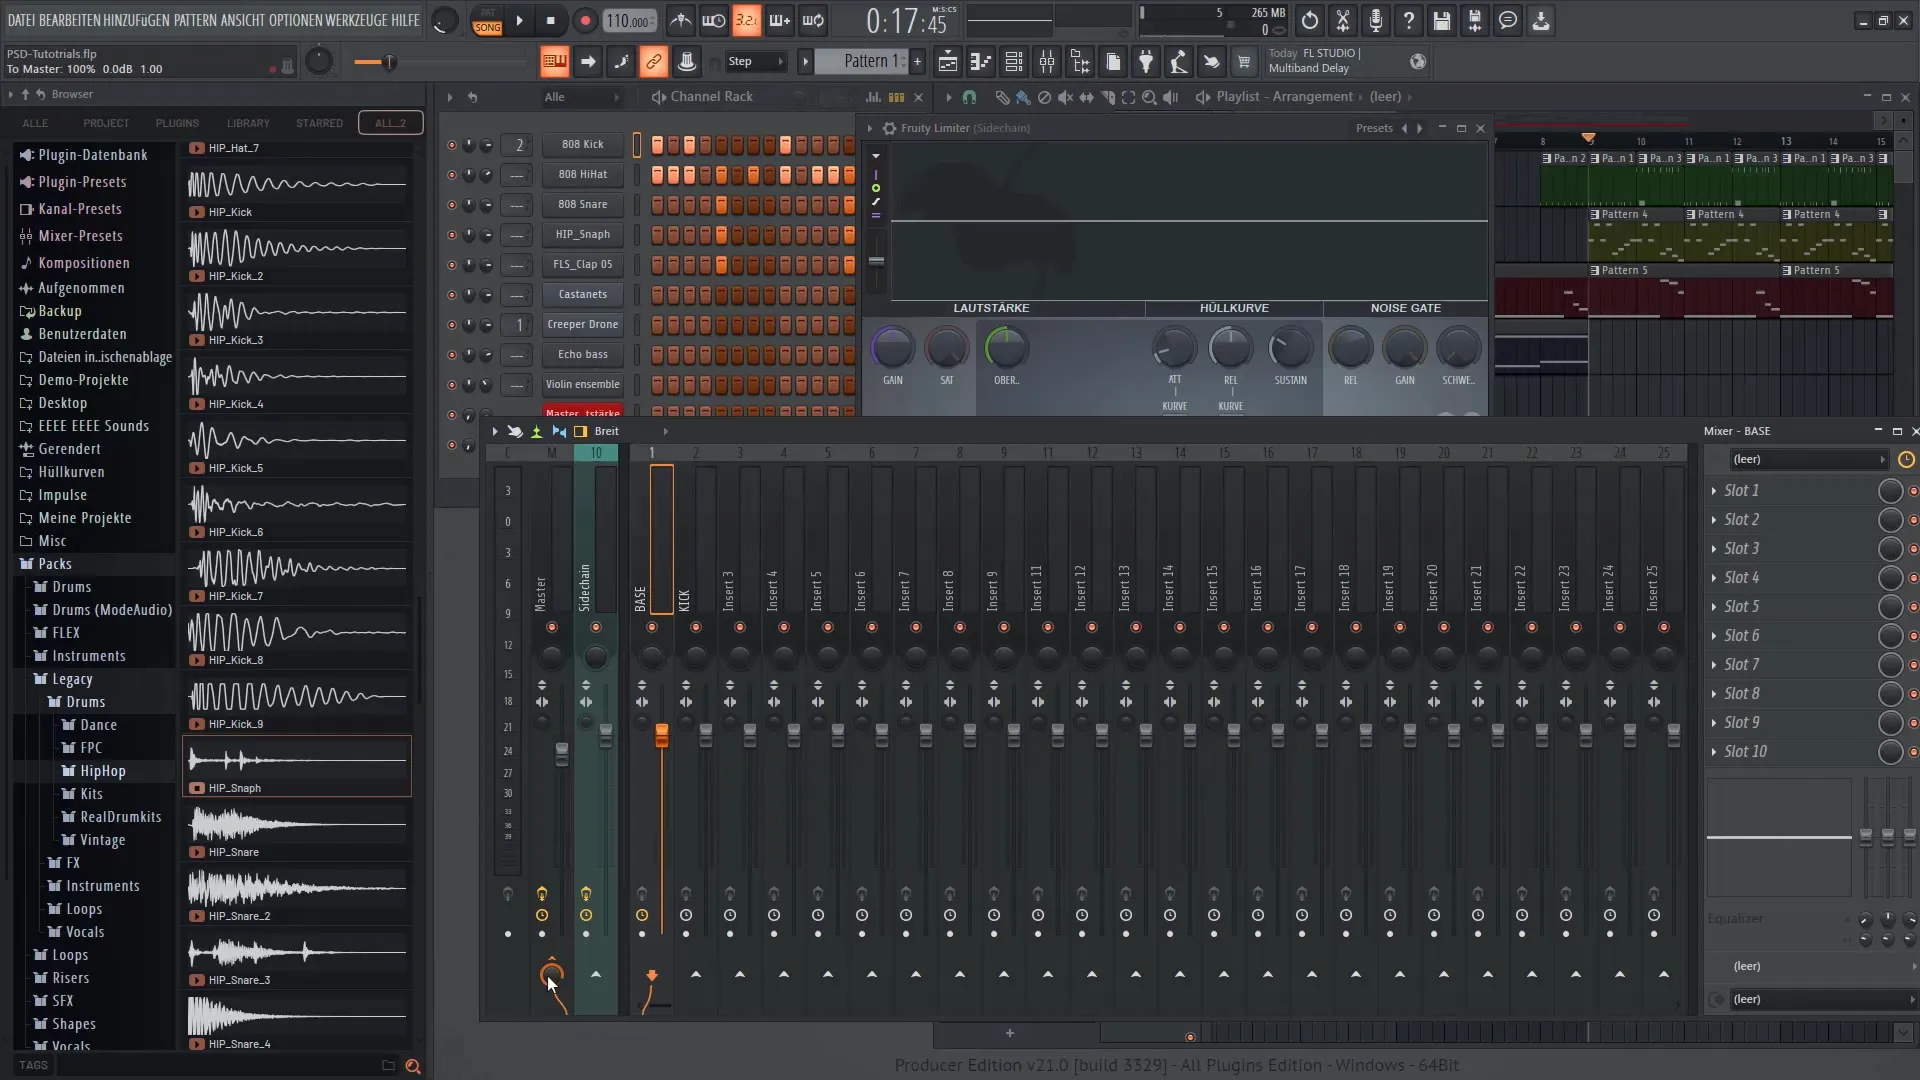
Once everything is correctly linked, you can start playing the music. Note that each track running through the sidechain will now be dynamically influenced by the kick drum.
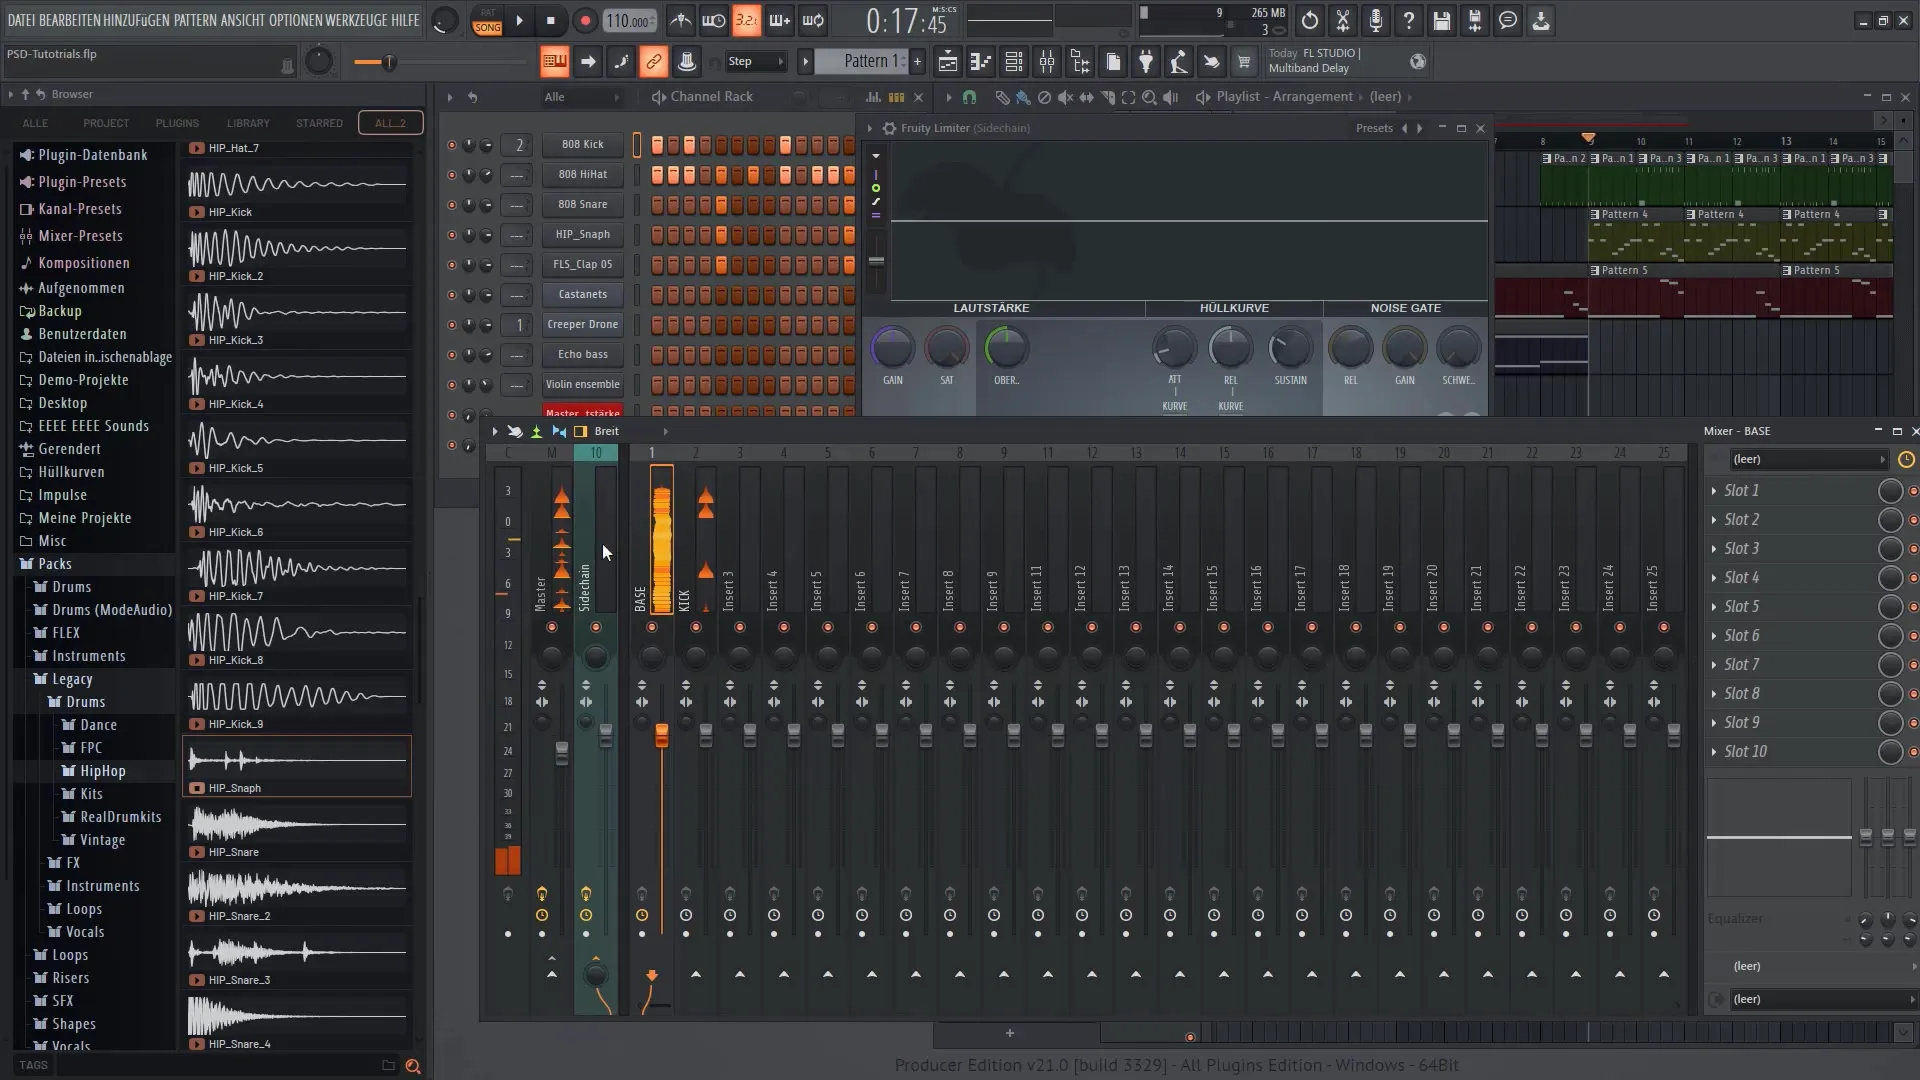
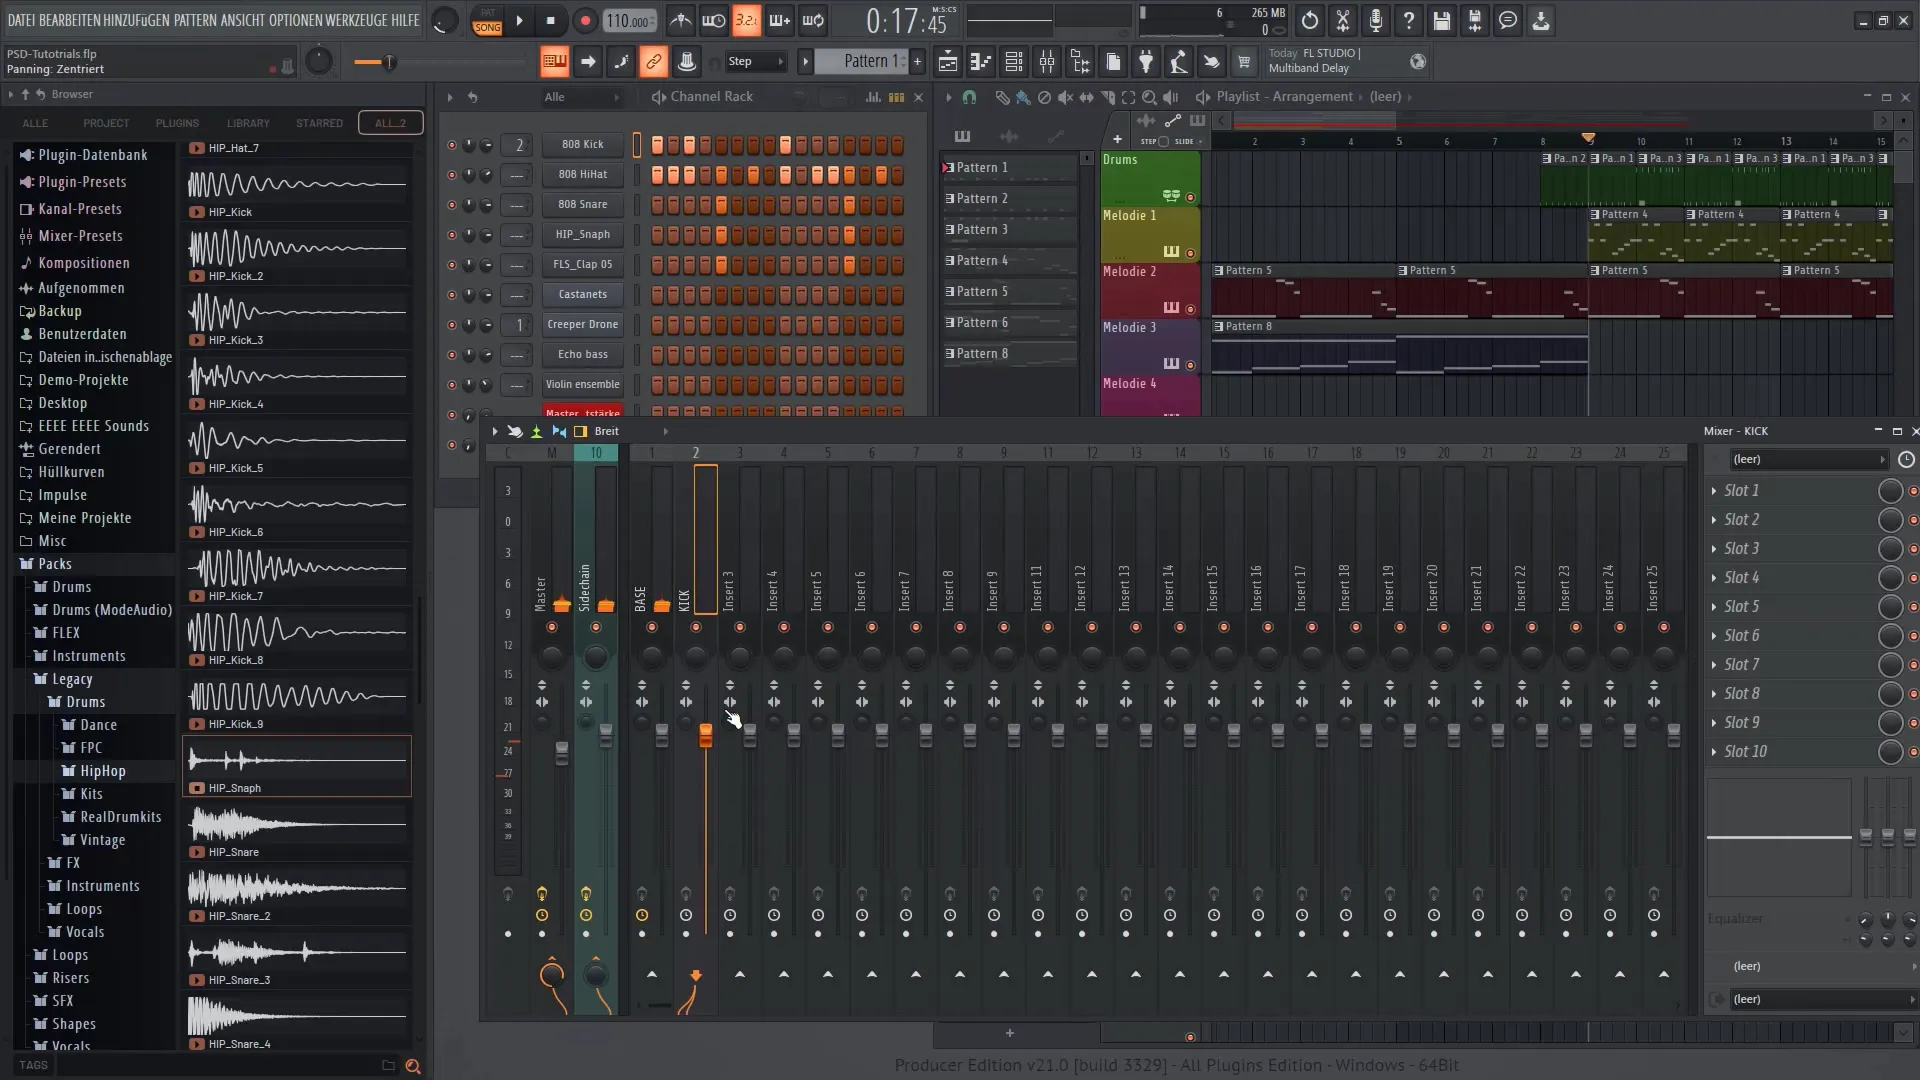
Now it's time to adjust the volume of the bass and kick drum tracks. Set the kick drum to zero volume, as it is already connected to the sidechain channel and should not be directly connected to the master.
Make sure that the Fruity Limiter correctly passes through the sound change. Click on the limiter and choose the settings that help you emphasize the kick.
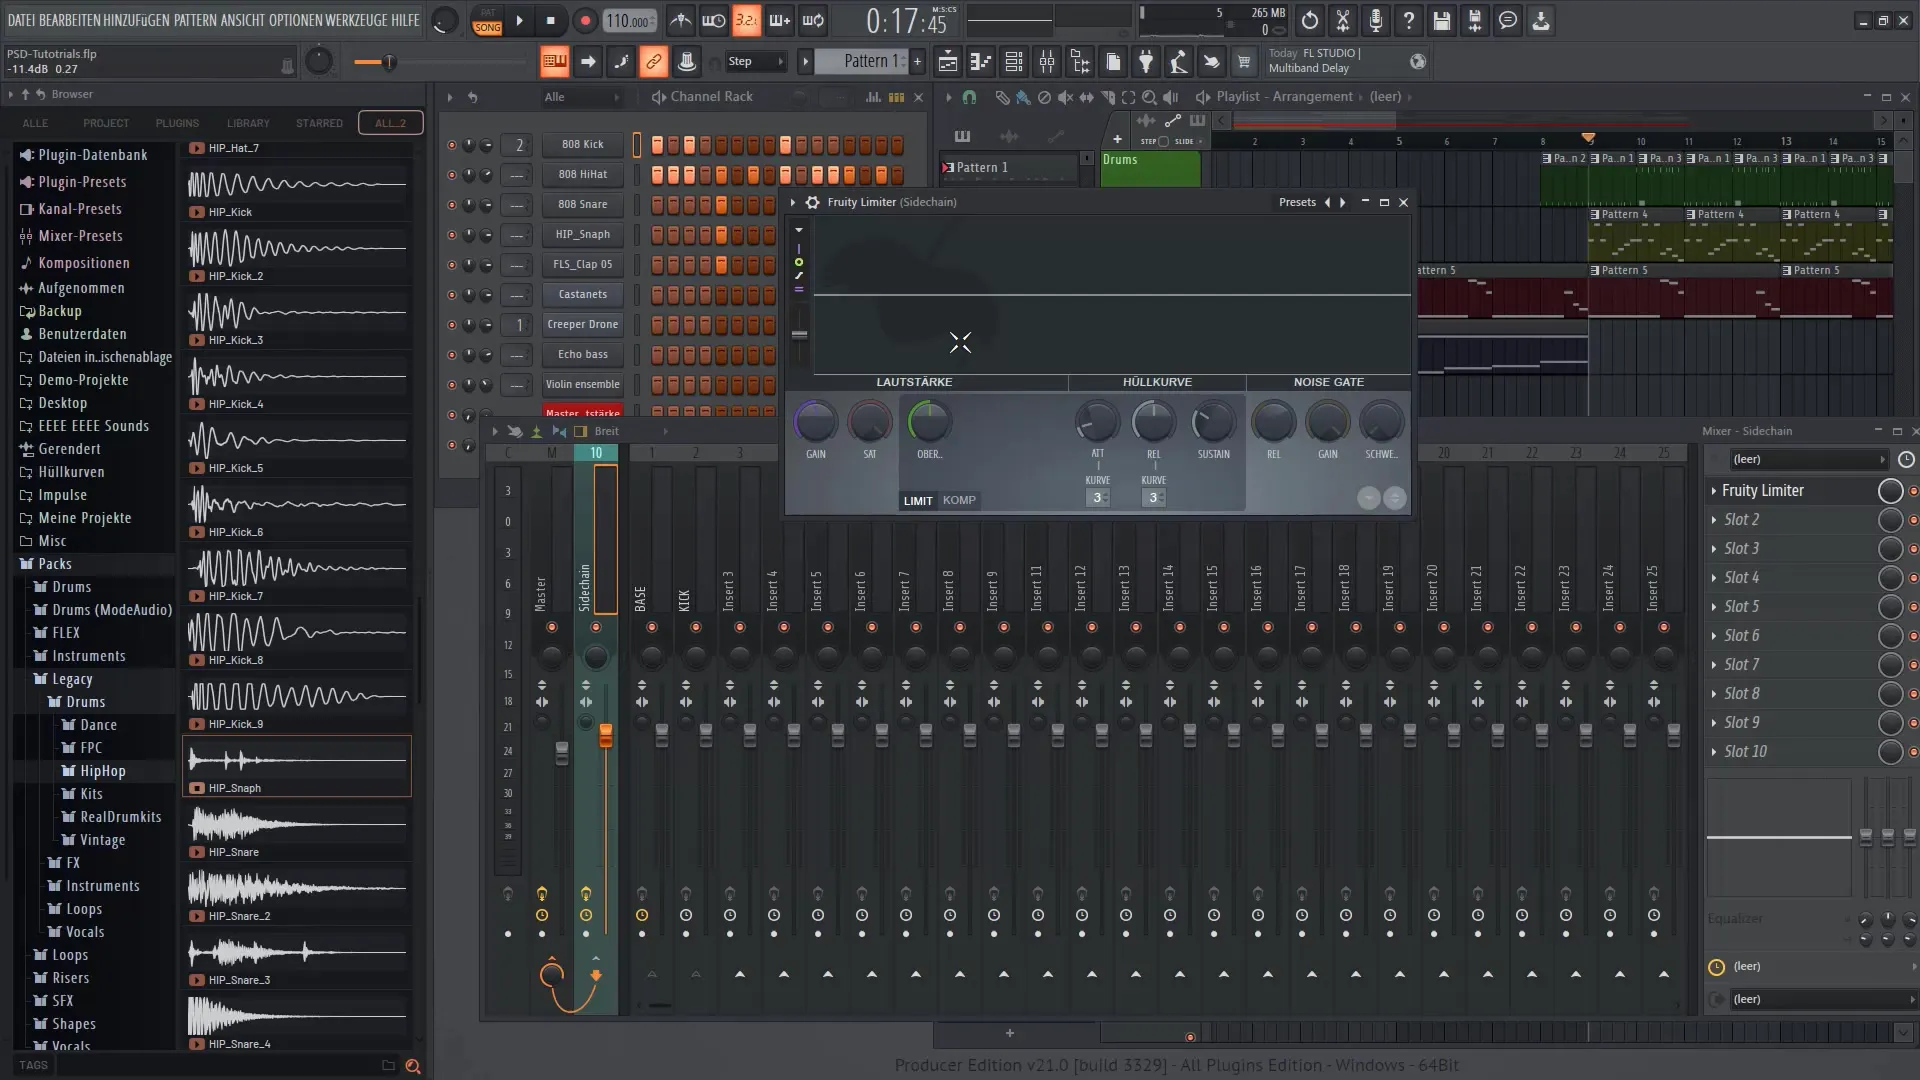
Move the controls in the Fruity Limiter for the desired sidechain effects. You can now hear that the kick becomes the priority and the bass frequencies are lowered.
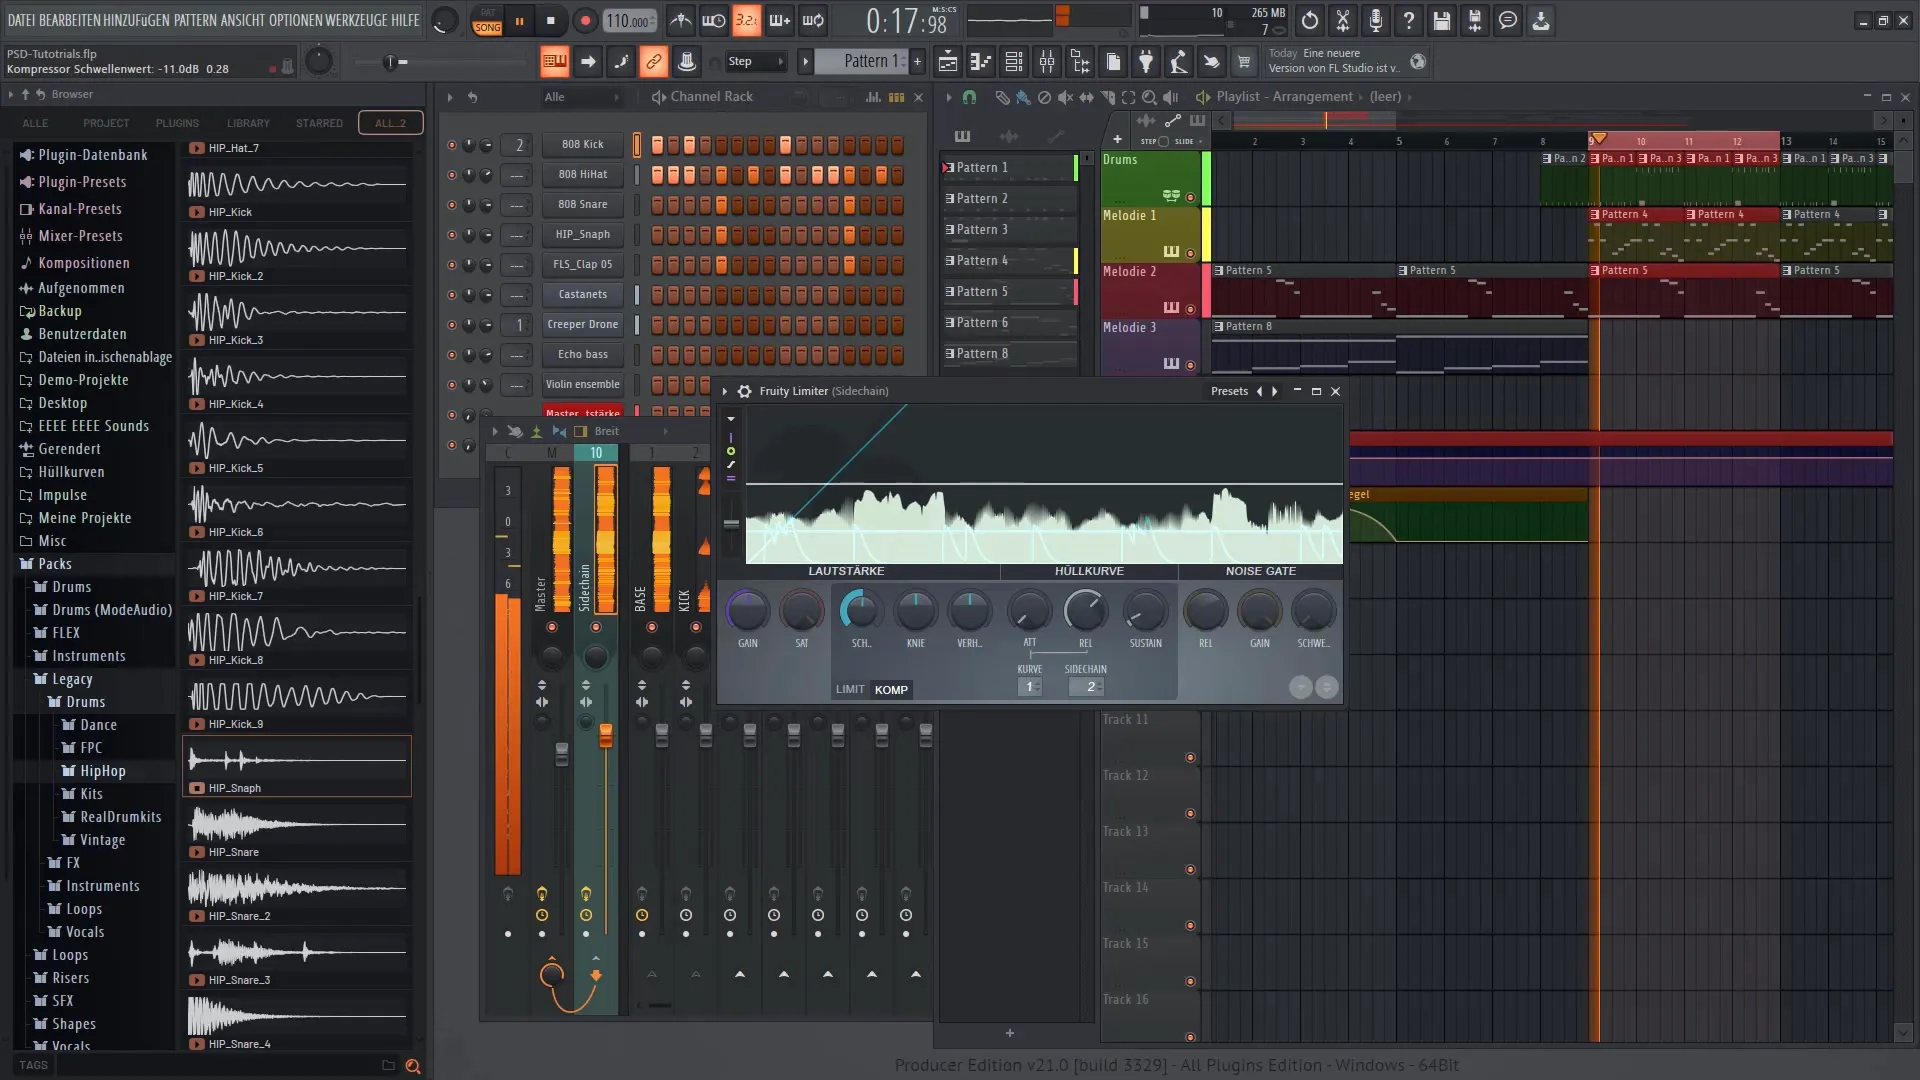
If you are convinced that everything is working well, you can make further adjustments. Adjust the settings until you are satisfied with the sound, especially at higher volumes.
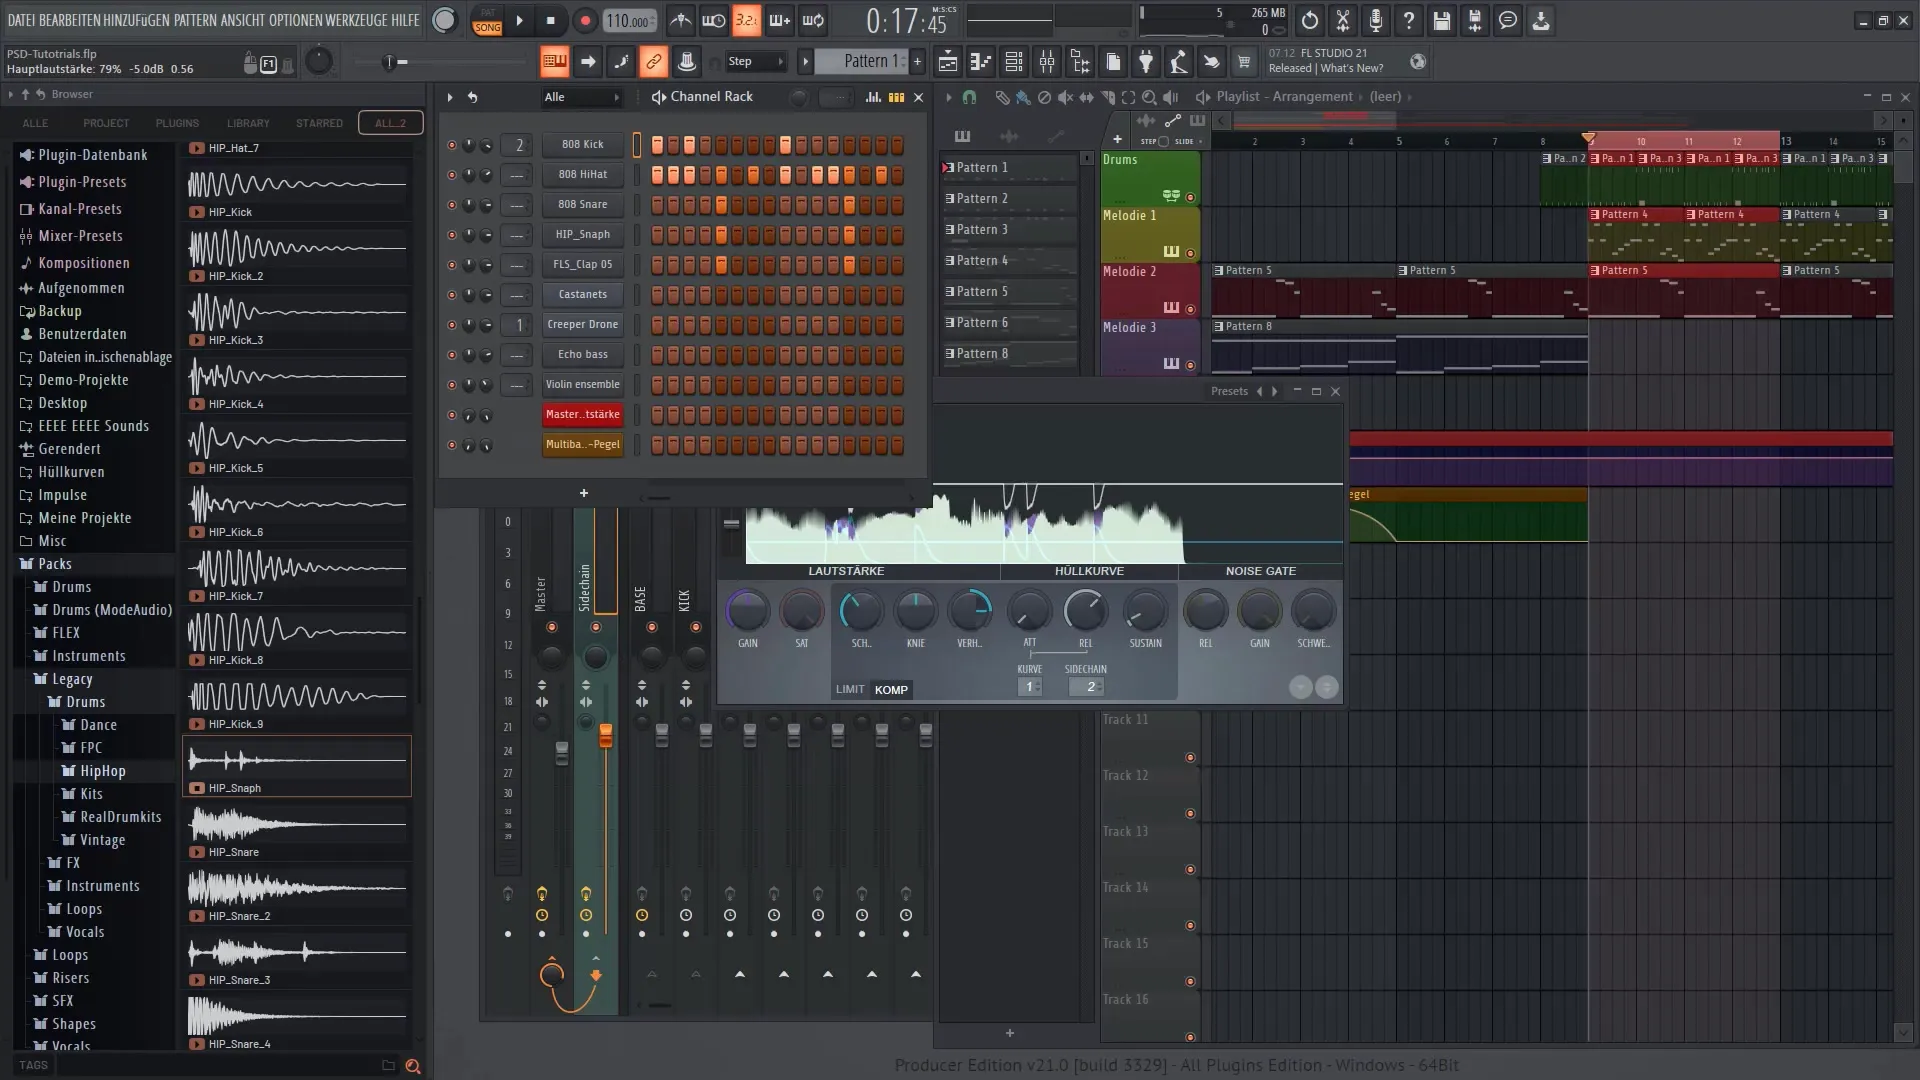
To illustrate, I will turn the Fruity Limiter on and off so you can hear the difference.
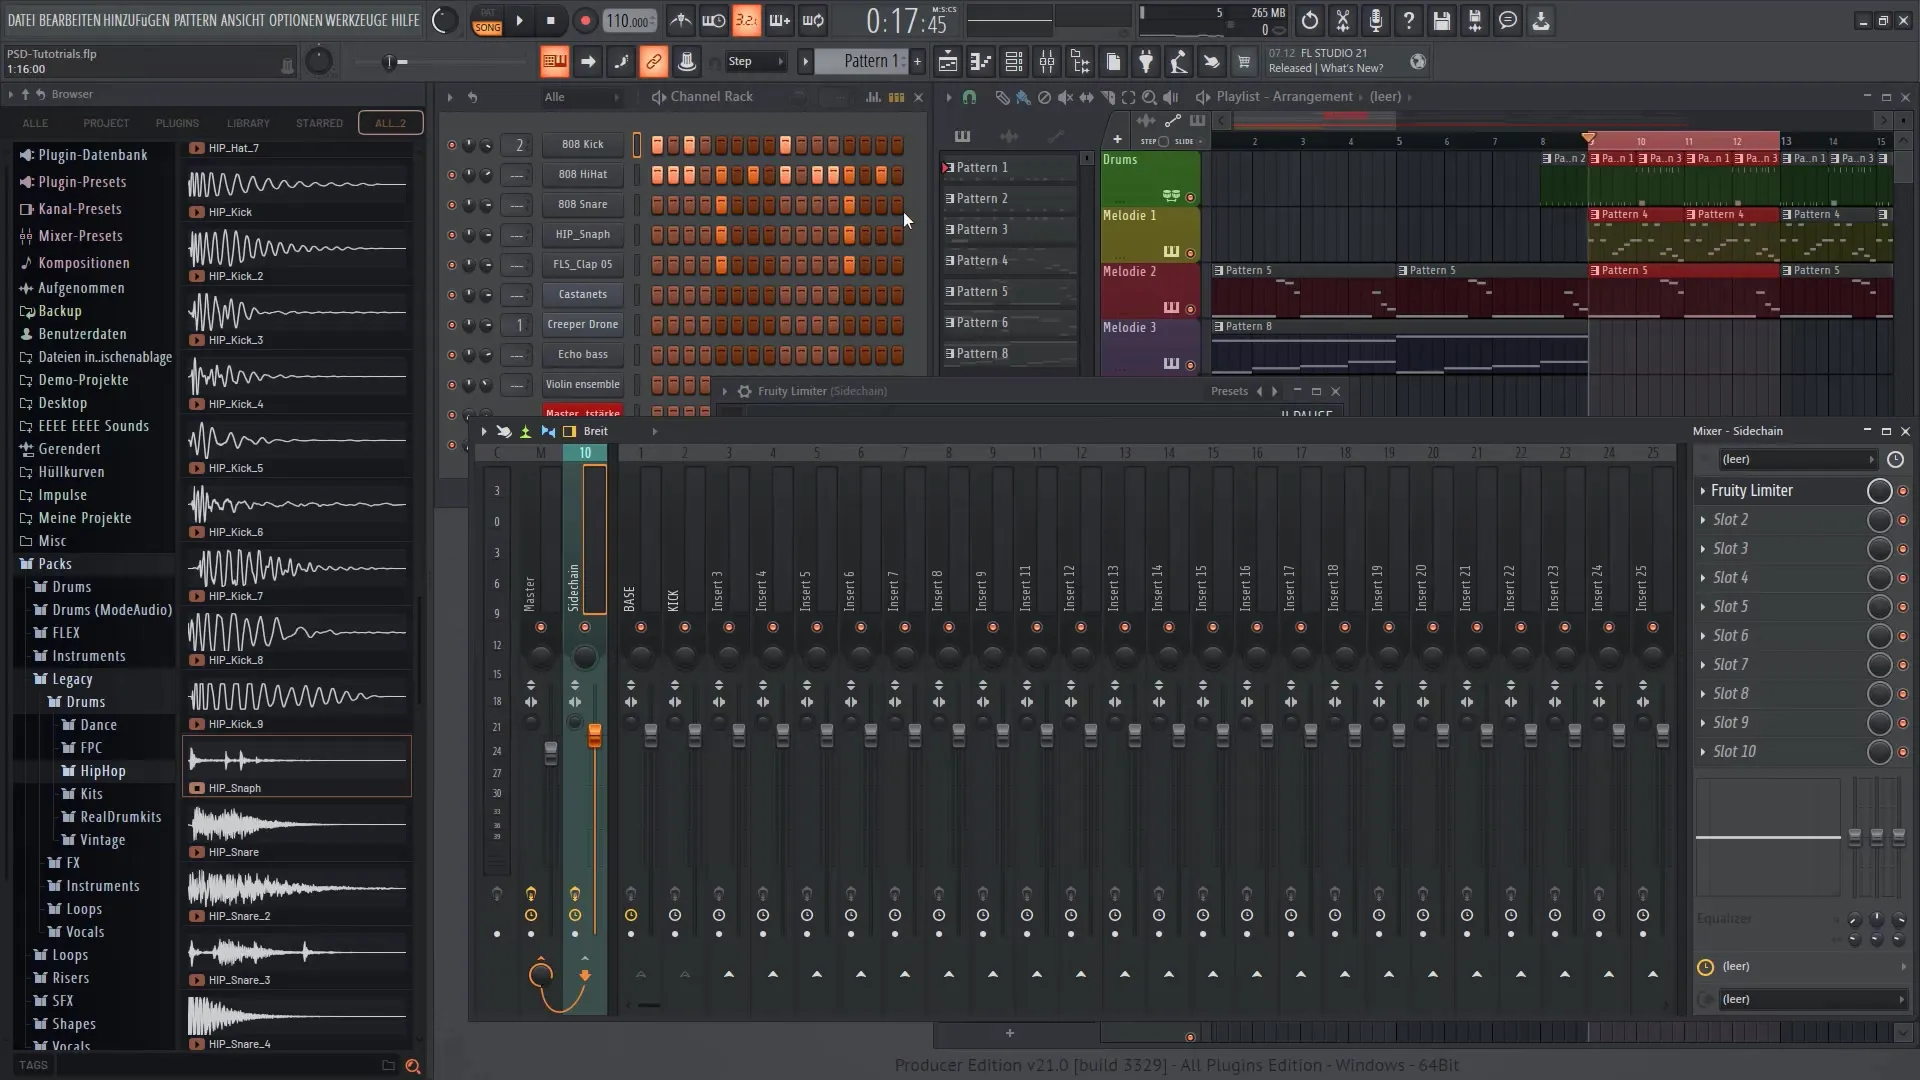
You have now successfully created a sidechain connection. You should now be able to reduce frequency interference and highlight the kick more clearly. I hope this tutorial has helped you understand and apply the sidechain technique in FL Studio 21!
Summary
In this tutorial, you will learn how to apply the sidechain technique in FL Studio 21 to optimize the sound of your tracks. You will learn how to use the Fruity Limiter and the importance of balancing the frequency range.
