In this second part of the E-Commerce course, you will gain important insights into the process of creating products in Shopify. After the first part, where we laid the foundation for creating a product, we will now delve deeper into the details. You will learn how to enter and optimize various product information to ensure a smooth sales process.
Key Insights
Before you start creating a product in Shopify, it is important to understand the basic information you need to provide. This includes pricing, inventory management, shipping details, and search engine optimization (SEO) of your product. The process described here will allow for a smooth flow of your sales activities and help you make the most out of your E-Commerce platform.
Step-by-Step Guide
First, you should access your Shopify Dashboard and navigate to the area where you can add a new product. Here, you can input the basic product information that is important for your customers.
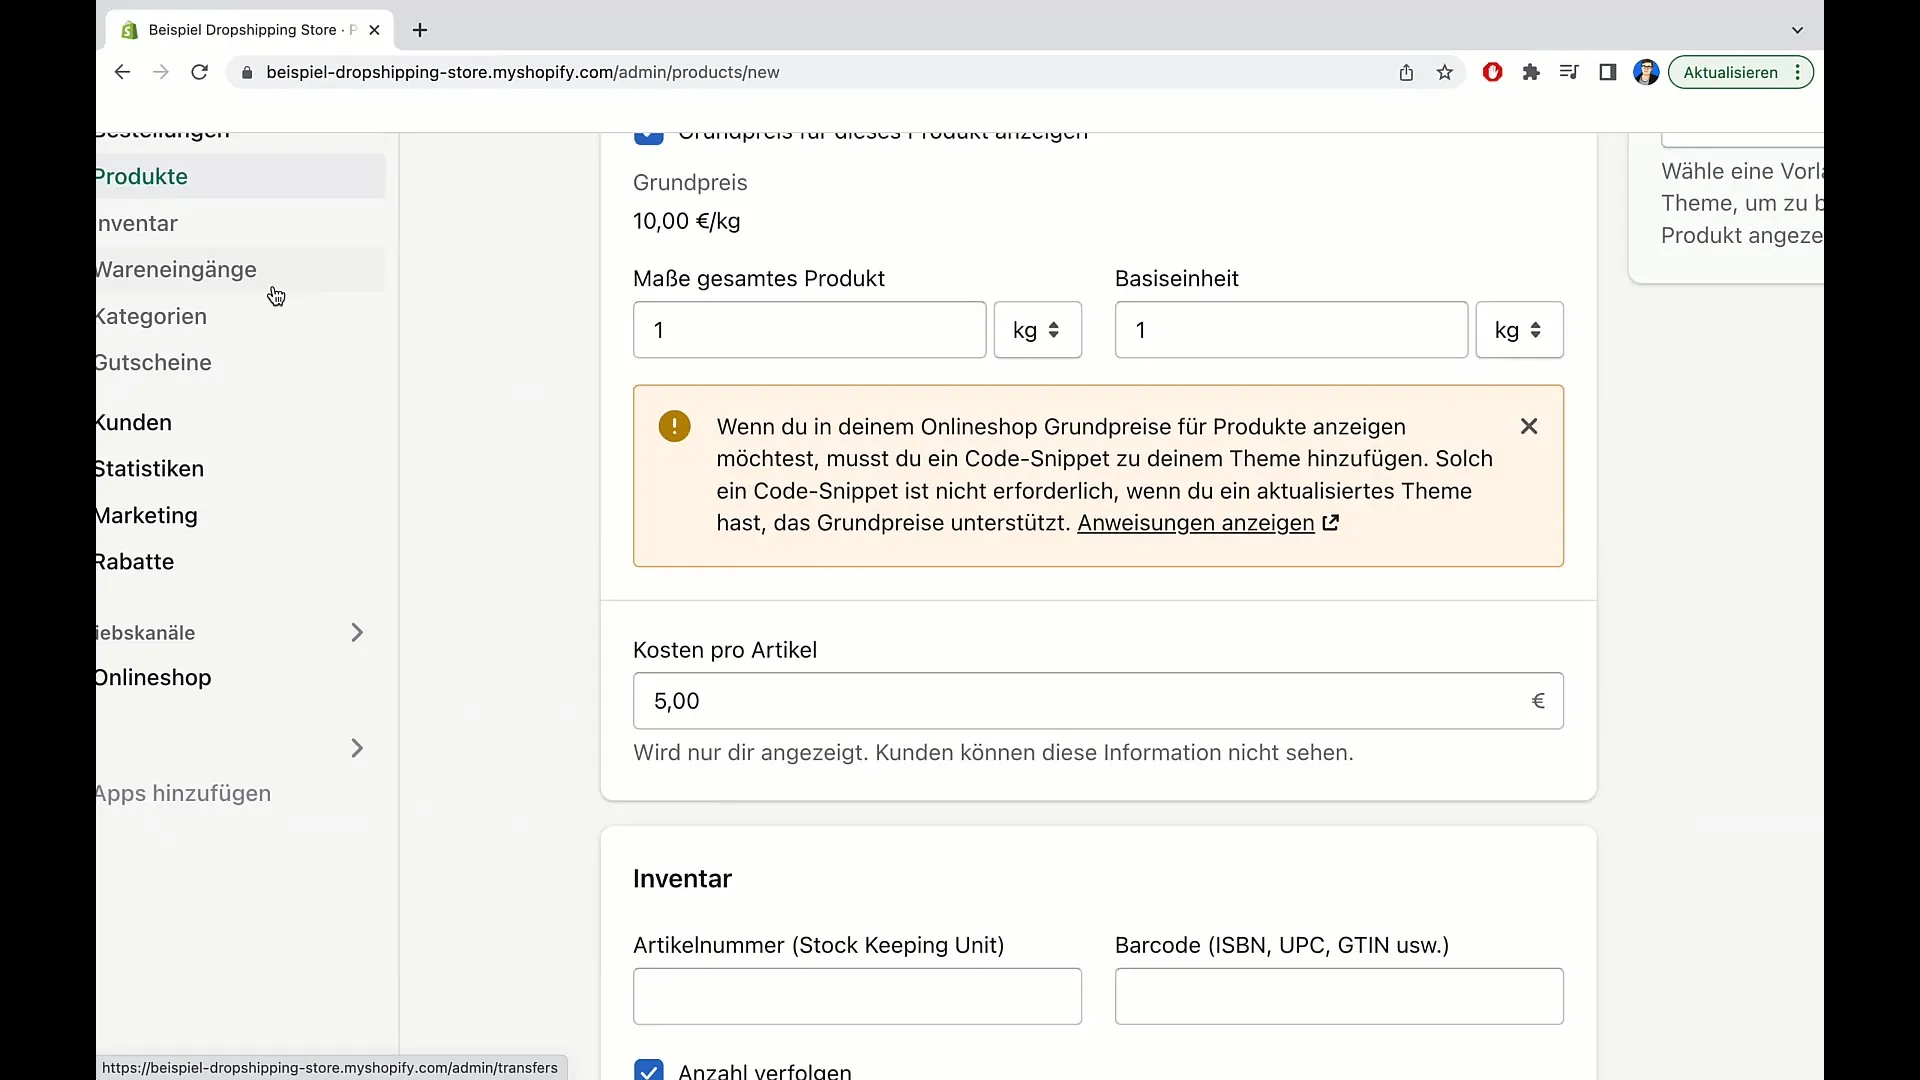
In the first step, you have already set the base price for the product. For example, you have specified a price of 10 euros for 1 kilogram. This information is fundamental because it immediately gives customers an idea of the costs they will incur.
After the price, you will enter the specific measurement units of your product. You have the option to specify different units of measurement such as kilos, liters, or other dimensions. This is particularly important to give customers a clear idea of the size or quantity of the product.
The next step is to input the costs per item. This information is crucial in creating an accurate picture of your product's profitability. Here, you should consider all manufacturing costs and any additional expenses.
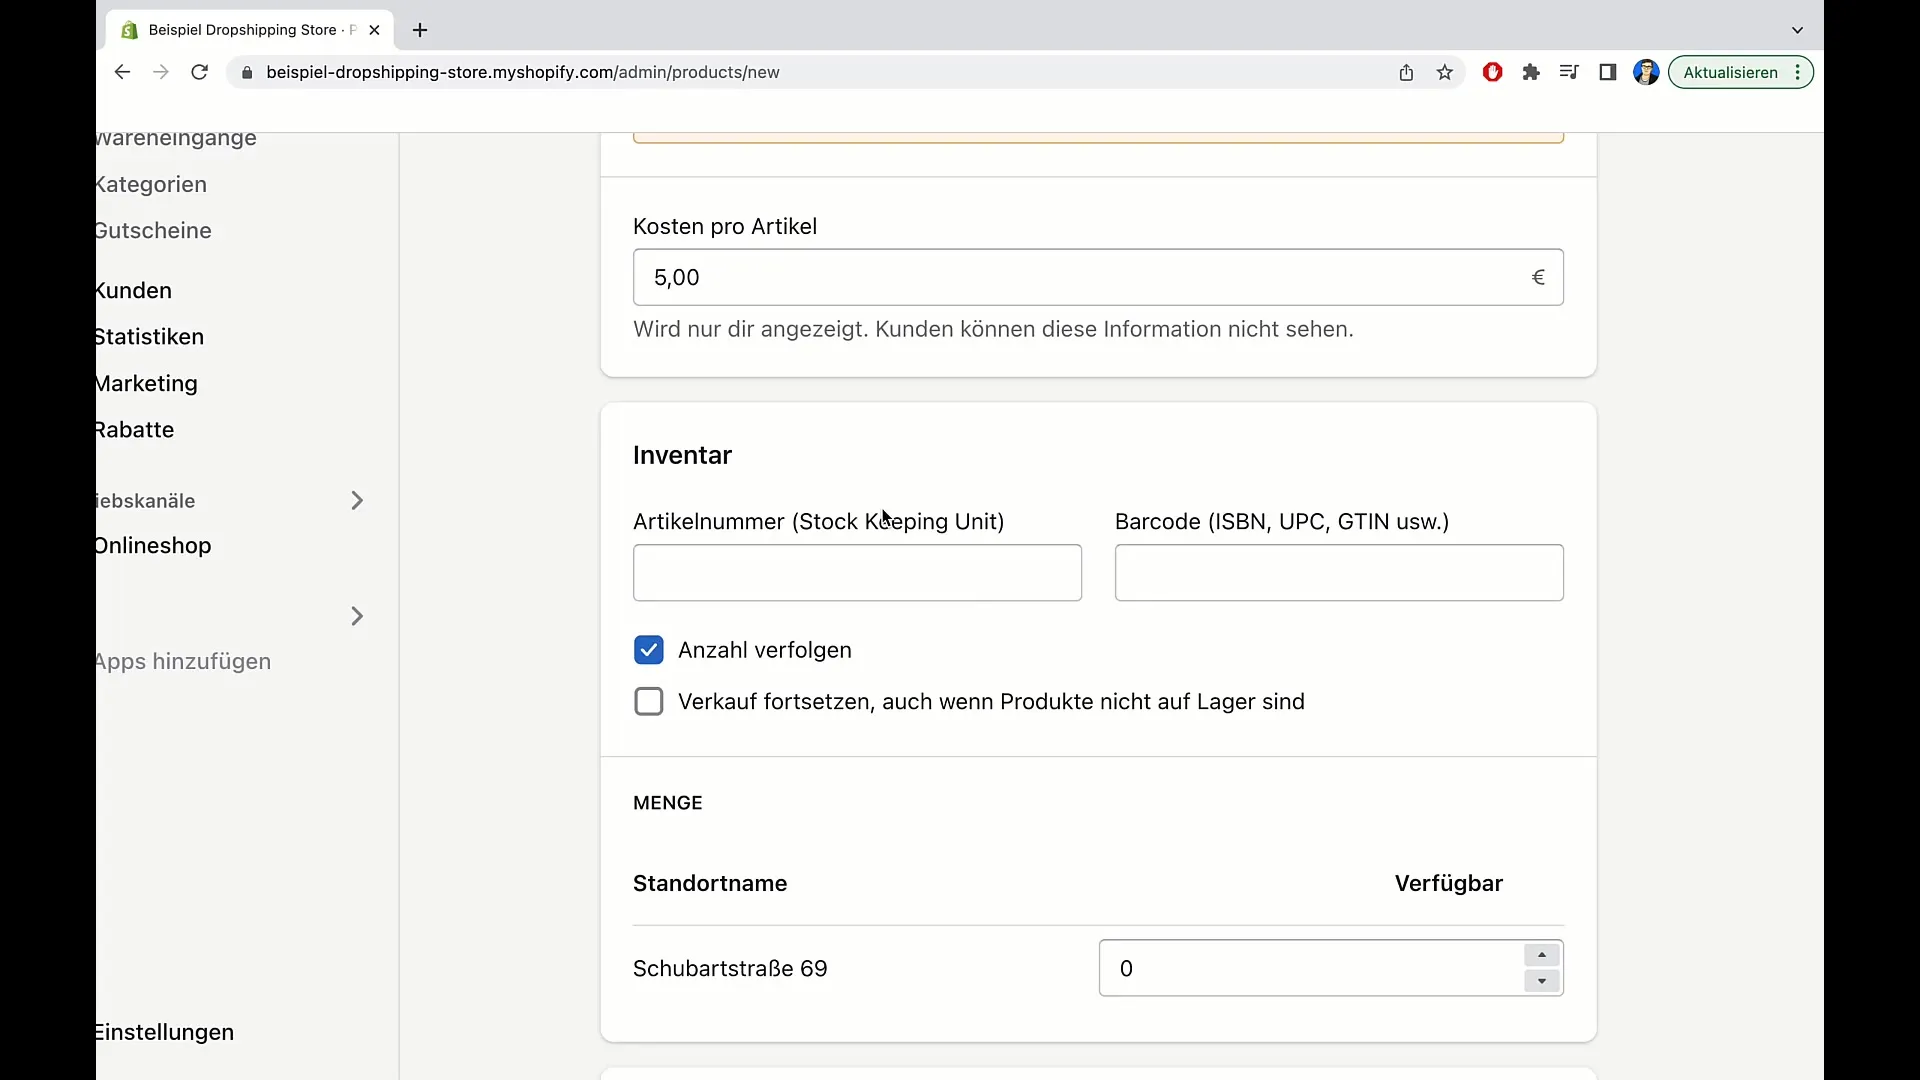
Next comes inventory management. In this area, you can add either an item number or a barcode. An individual item number could simply be a number chosen by you, while barcodes like ISBNs for books are used to uniquely identify products.
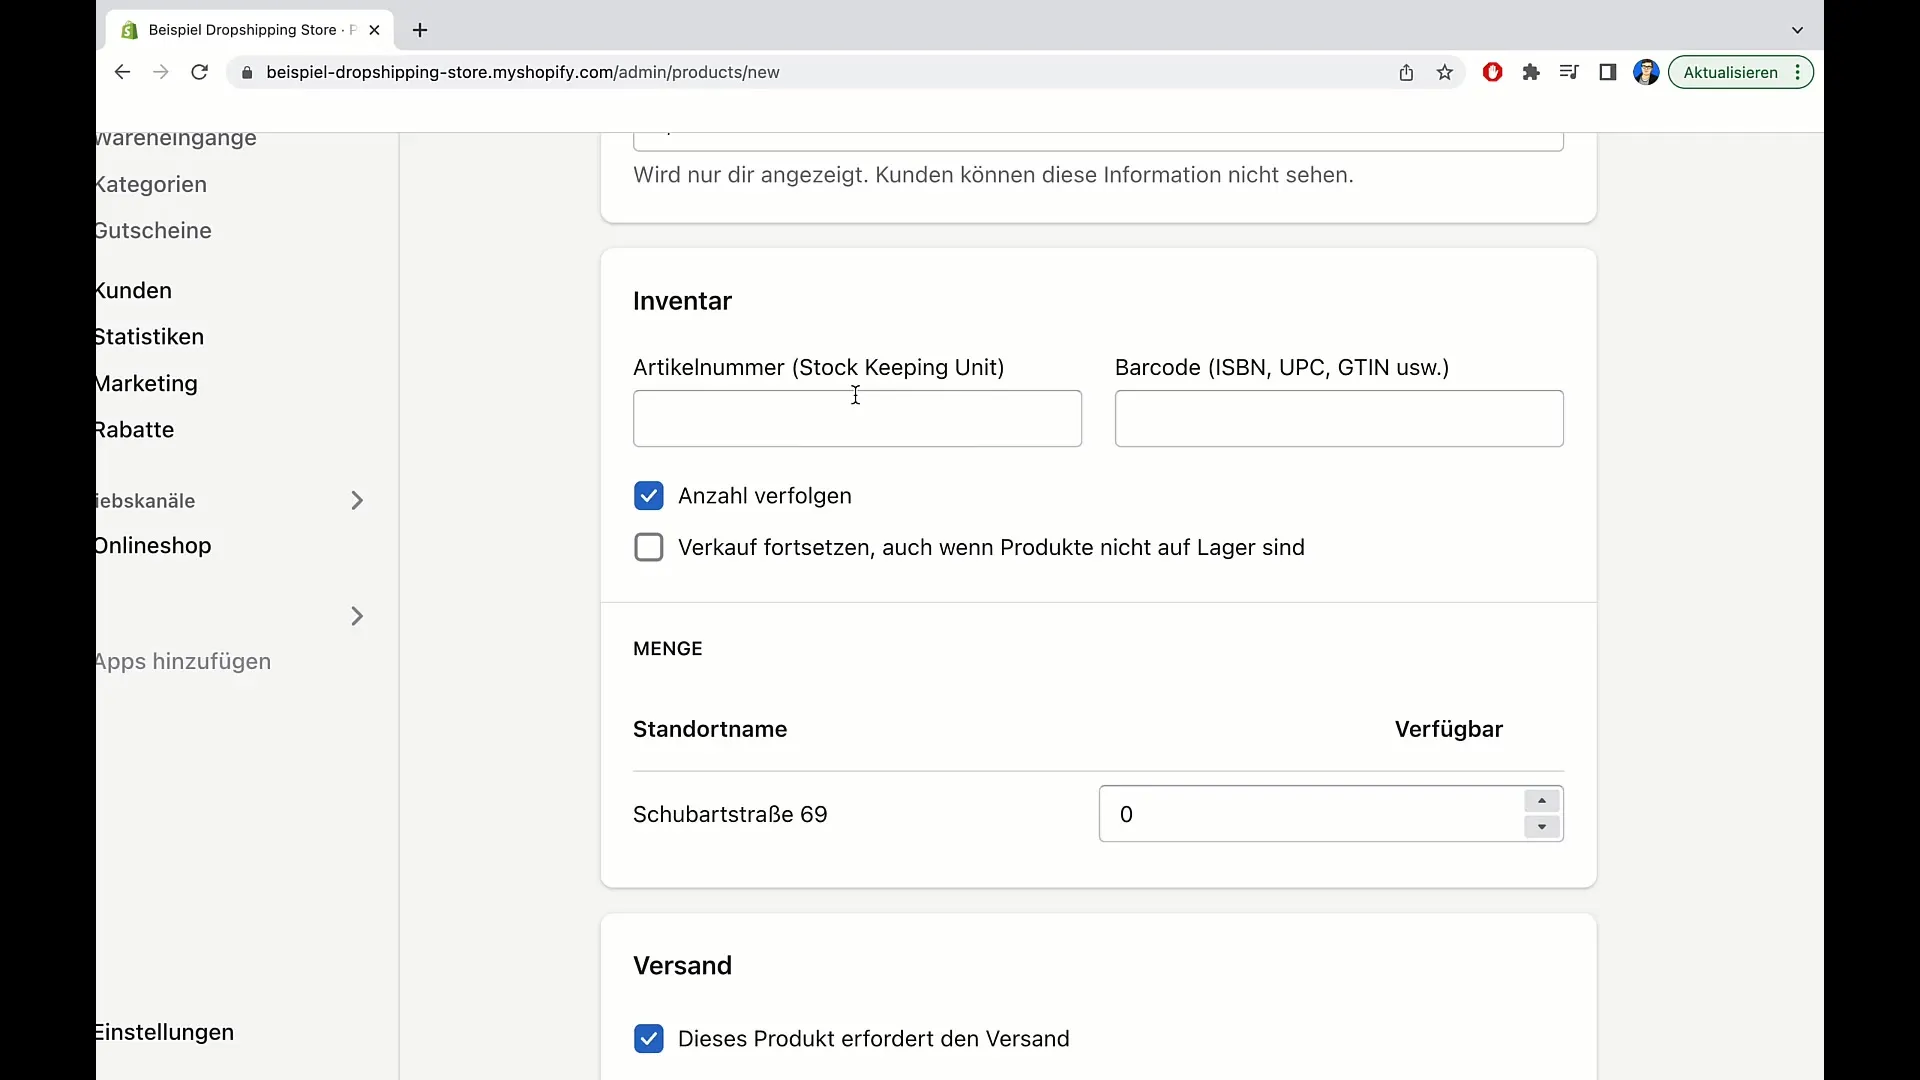
Activating the "Track quantity" option will notify you when inventory is low. This feature is important for planning your orders and deliveries and helps ensure you always have sufficient products in stock.
Another important aspect is location management, where you can specify the availability of your product at different locations. For example, you can indicate that 100 units of a particular product are available in your warehouse.
The next step is classifying the product in terms of shipping. Here, you can specify whether the product requires physical shipping or if it can be delivered digitally. This information helps customers better estimate delivery times.
When entering the weight of the product, you should provide the correct dimensions for shipping. This is important in order to successfully determine shipping costs and methods.
Under shipping information, you have the option to specify the country of origin and the HS code for the product. This information is important for international shipping methods and customs clearance.
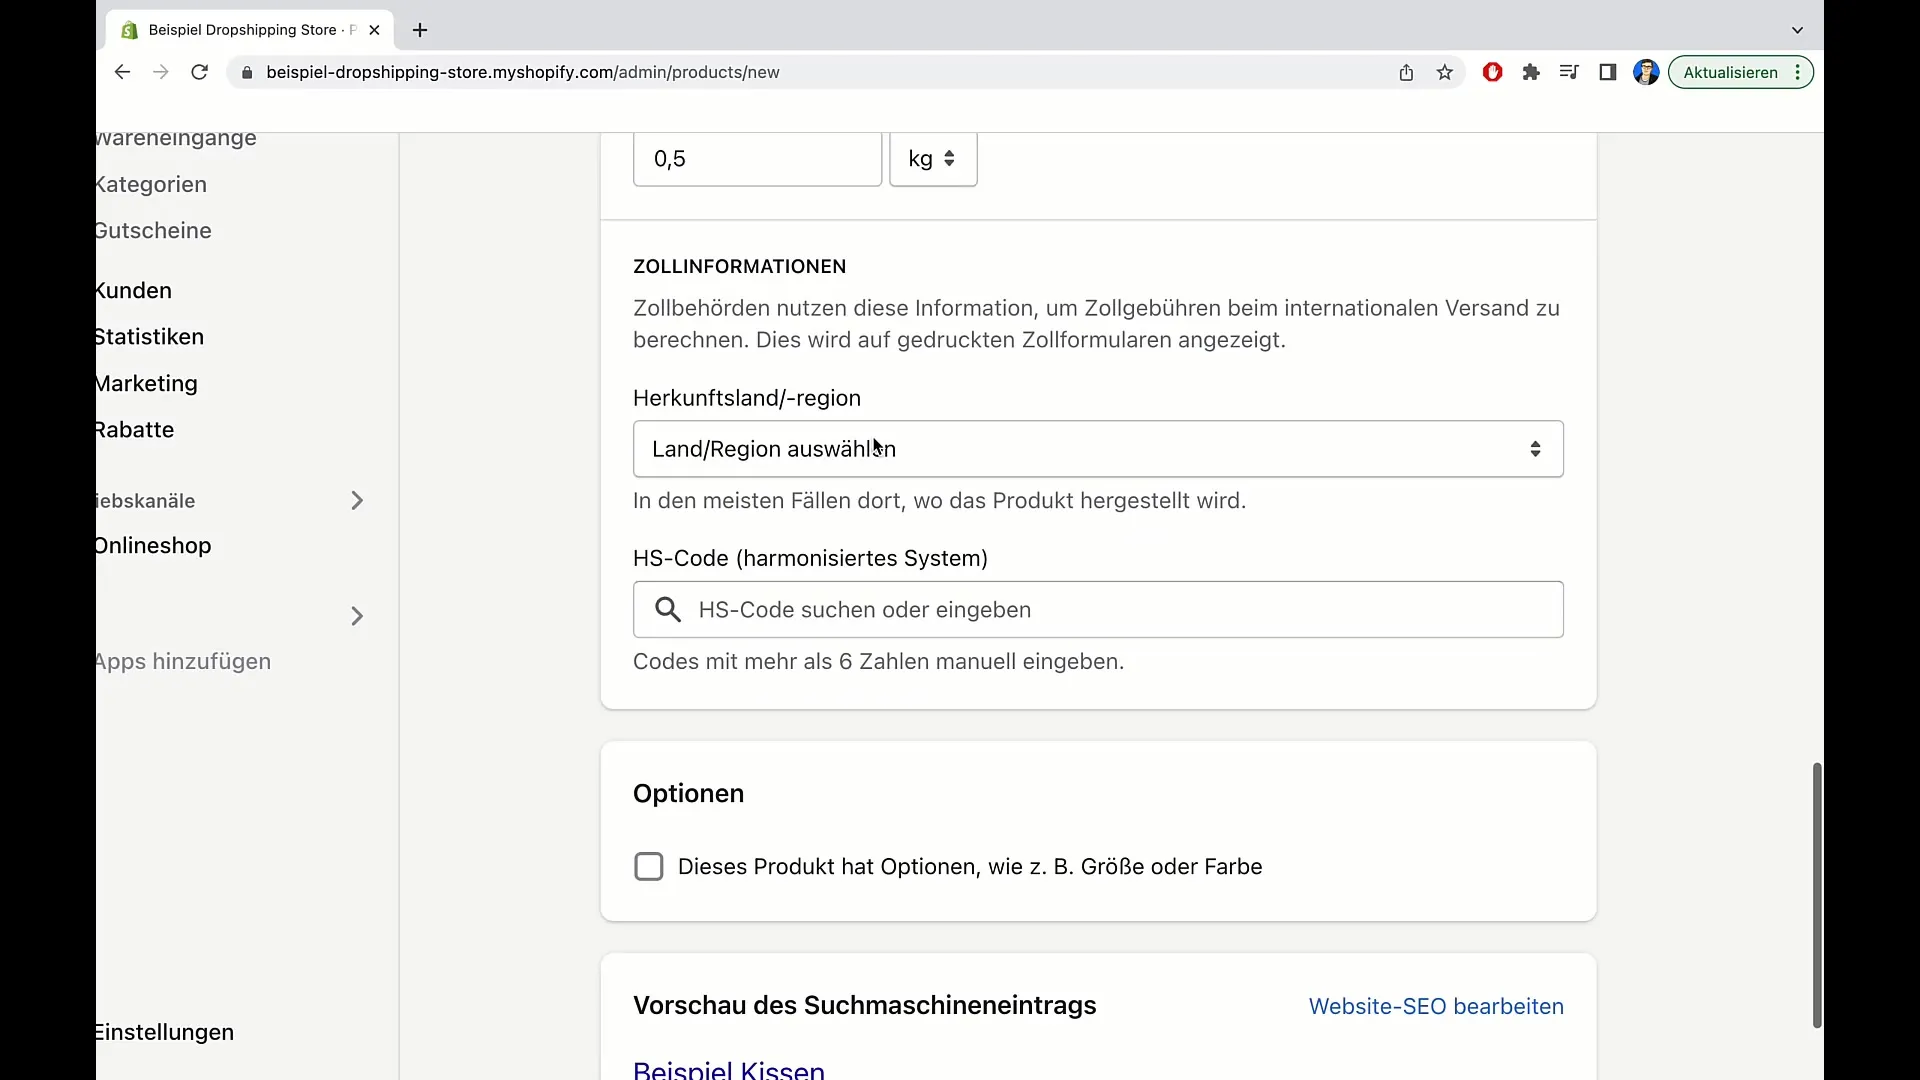
Additionally, you can set various options under product attributes such as color or size. If your product is available in different variants, you should clearly specify these options to provide your customers with a better selection.
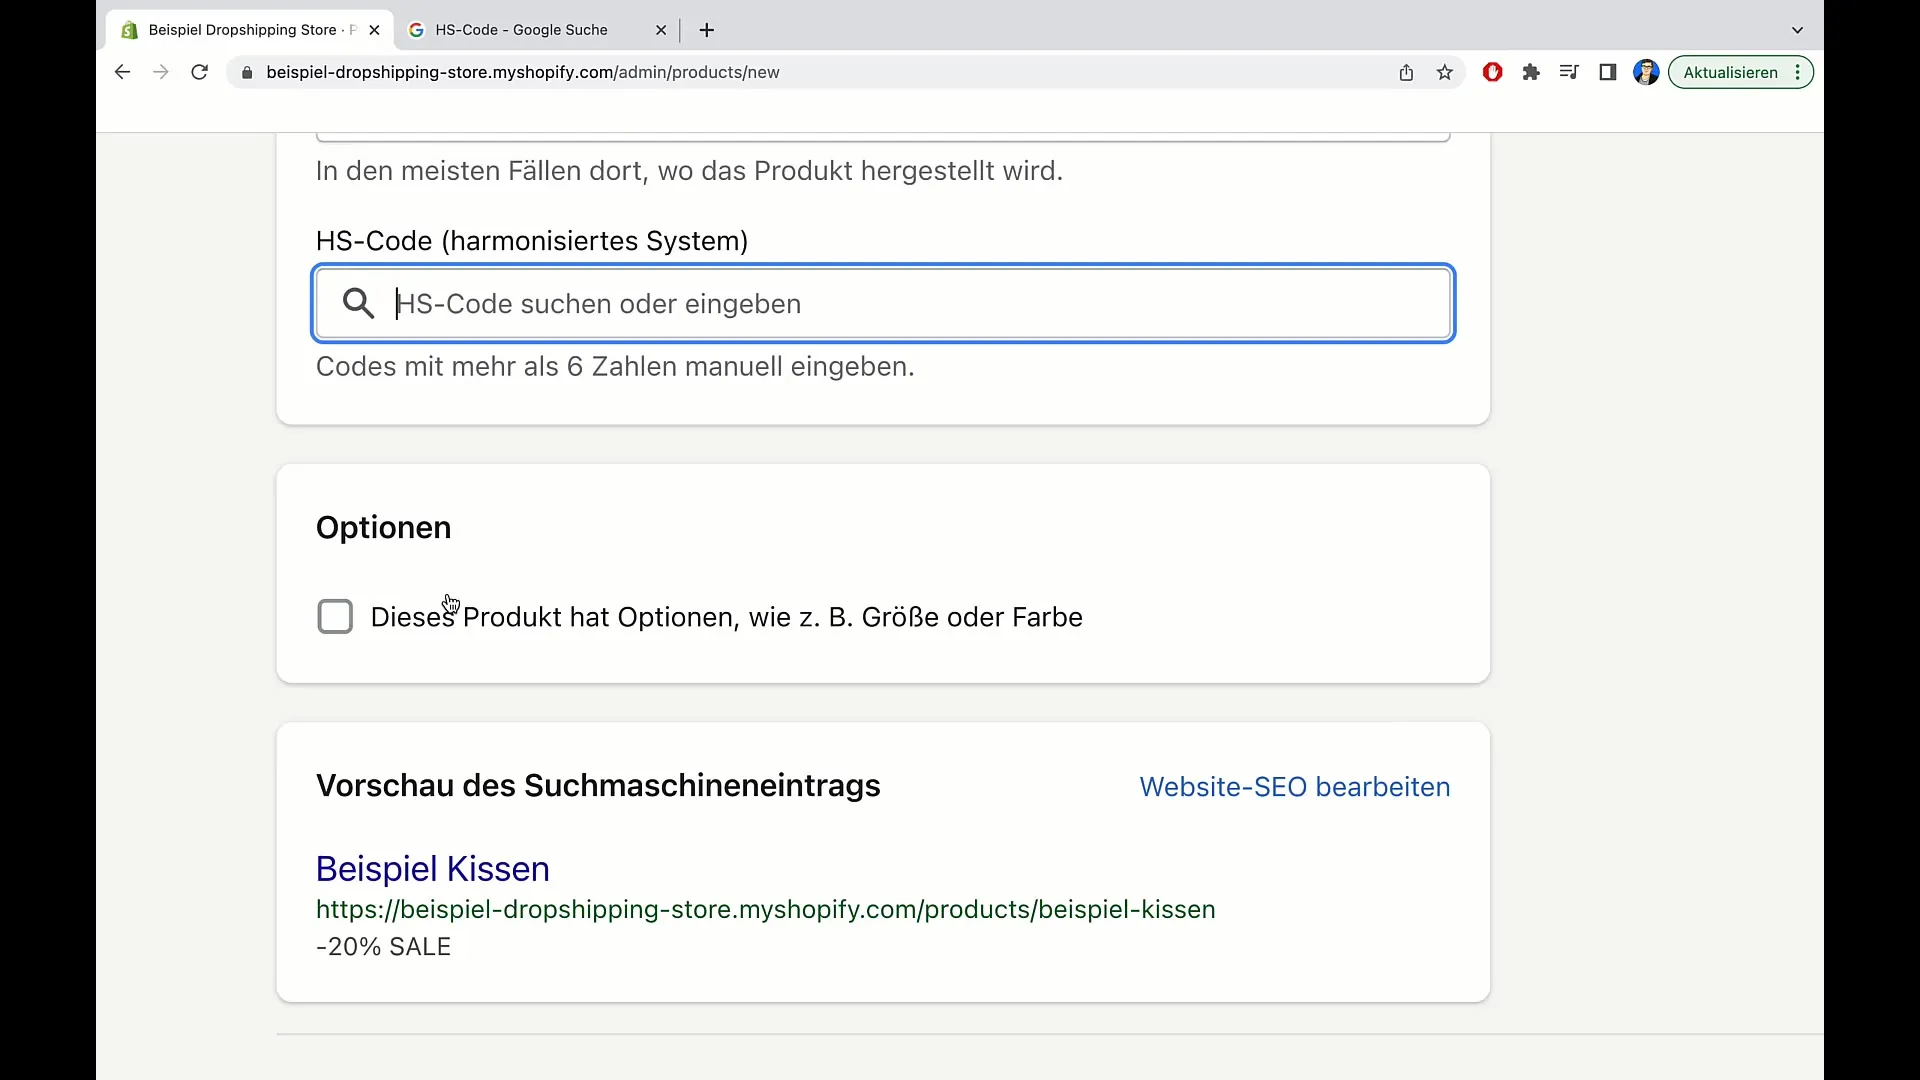
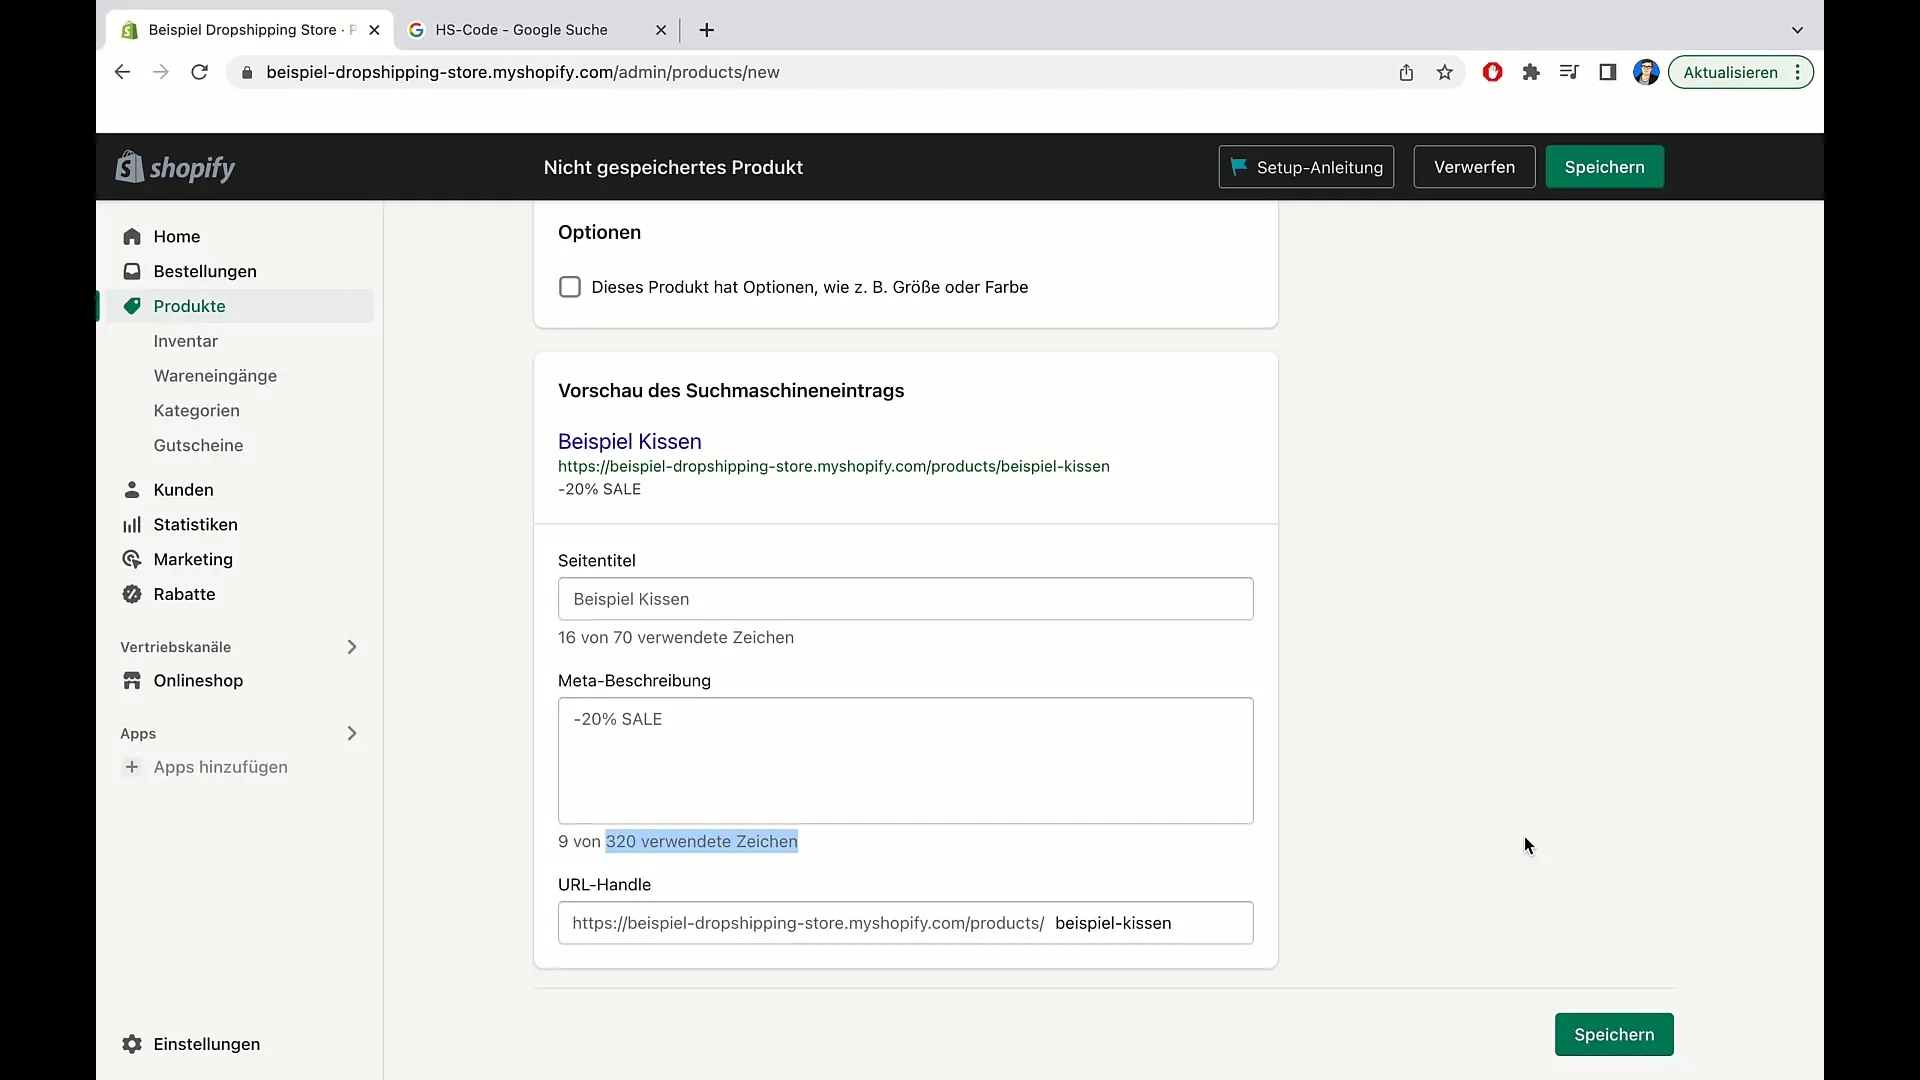
A crucial component for online sales is the search engine optimization (SEO) of your product. By using relevant keywords in the title and description, you ensure that your product is easily found by potential buyers in search engines.
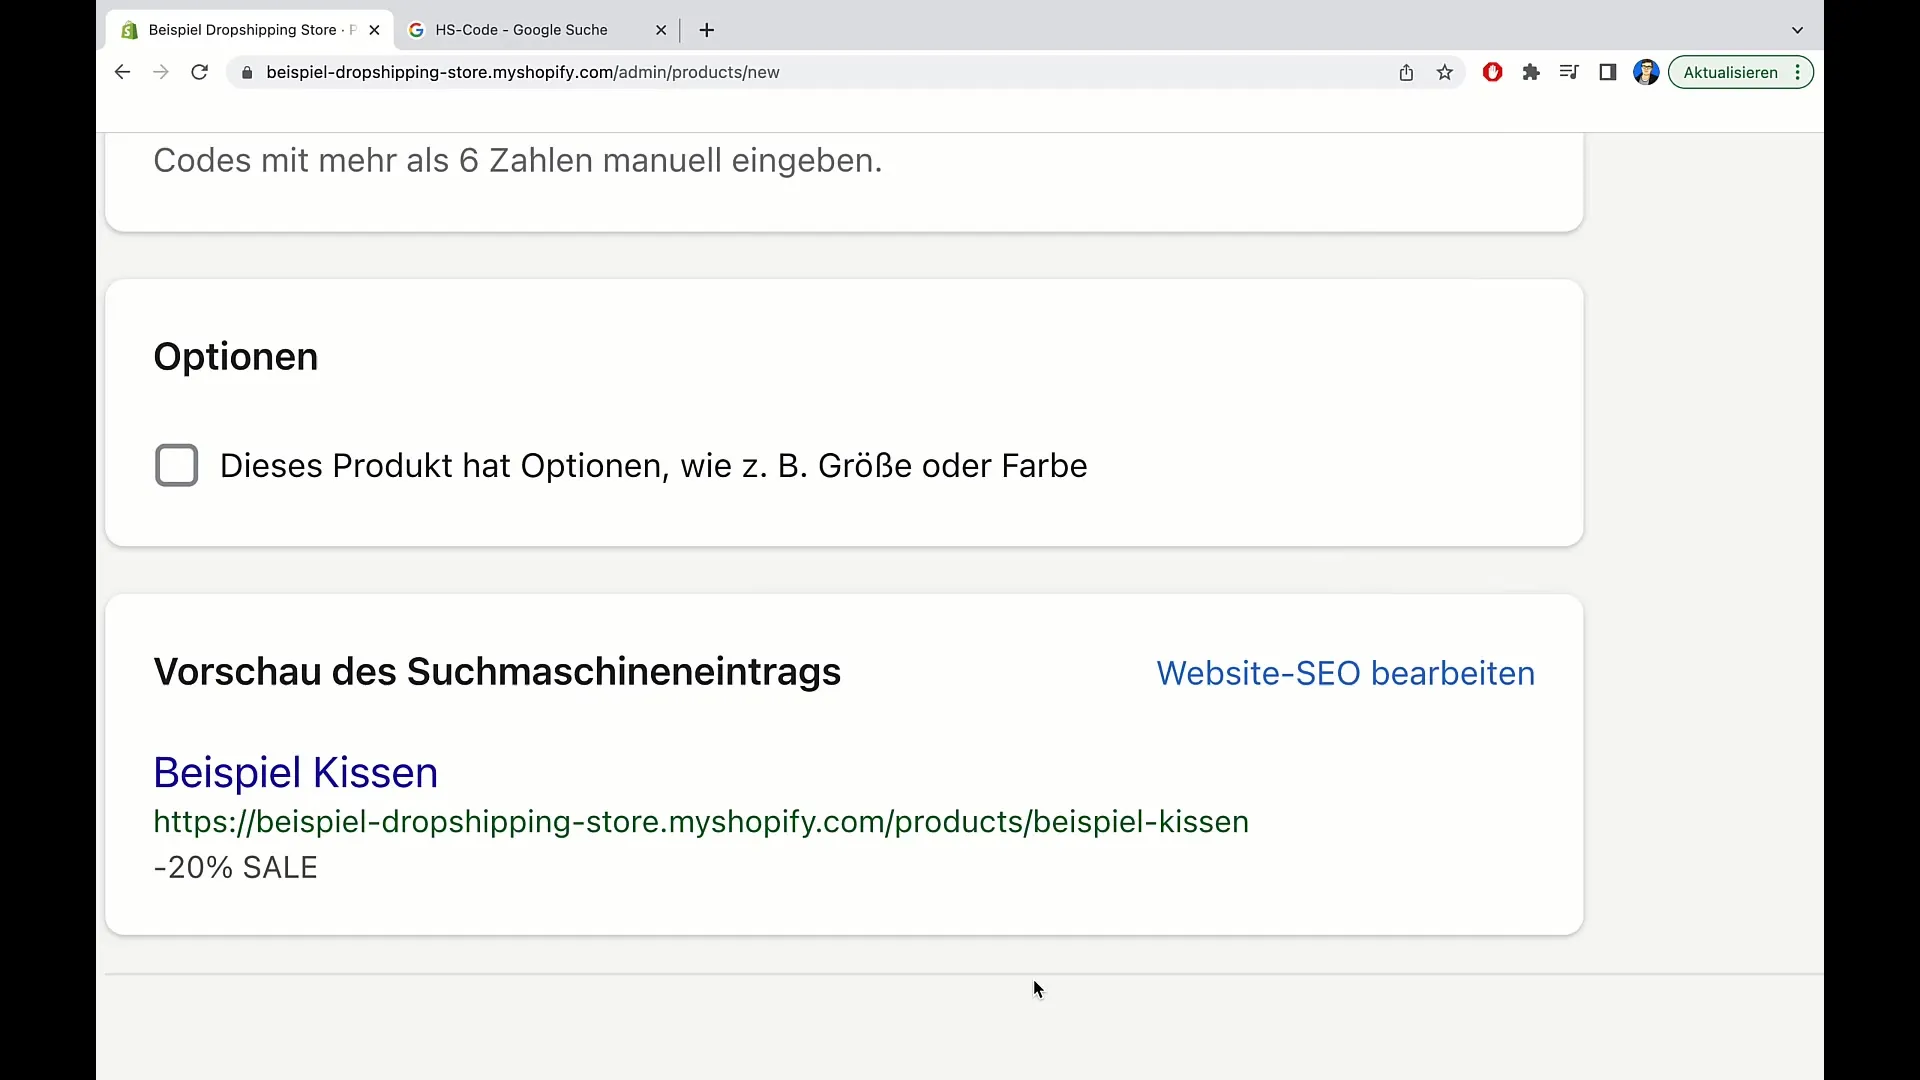
You have the option to preview your product in terms of search engine entries. It is advisable to choose appealing and concise titles and descriptions that are not only informative but also pique interest.
Once you have entered all the necessary information, simply click on "Save". This will secure all your inputs, and the product will be published in your Shopify store.
Summary
In this tutorial, you have learned how to create a product in Shopify, considering important factors such as pricing, inventory management, shipping details, and SEO. This process is crucial to increase the visibility of your product and help potential customers make informed purchasing decisions. By entering this information correctly, you can ensure that your e-commerce store leaves the best possible impression.
Frequently Asked Questions
How do I create a product in Shopify?To create a product in Shopify, go to your dashboard and select the 'Add new product' option, then fill in the required information.
What is the HS code and why is it important?The HS code is an international standard for the classification of goods. It is important for customs and shipping handling.
Can I add multiple variants of a product?Yes, you can add different variants of a product such as size or color.
How important is search engine optimization for my products?SEO is crucial to ensure that your product is well-found in search engines, potentially attracting more buyers.
How do I save the changes to my product?You can save your changes by clicking on the 'Save' button at the end of the product page.


