In this tutorial, you will learn how to effectively manage the product settings in Shopify. Shopify is one of the leading e-commerce platforms that allows you to build and operate your own online store. Understanding the proper product settings can be crucial in maximizing sales and organizing your shop well. Let's walk through the process step by step and make sure you have all the necessary information at hand.
Key insights
- The product status can be set to "active" or "draft".
- You can select distribution channels through which the product should be sold.
- Proper product organization is important to maintain clarity.
- Tags can be added to facilitate product searches.
- Theme templates help design the appearance of the product in the online shop.
Step-by-step guide
1. Set product status
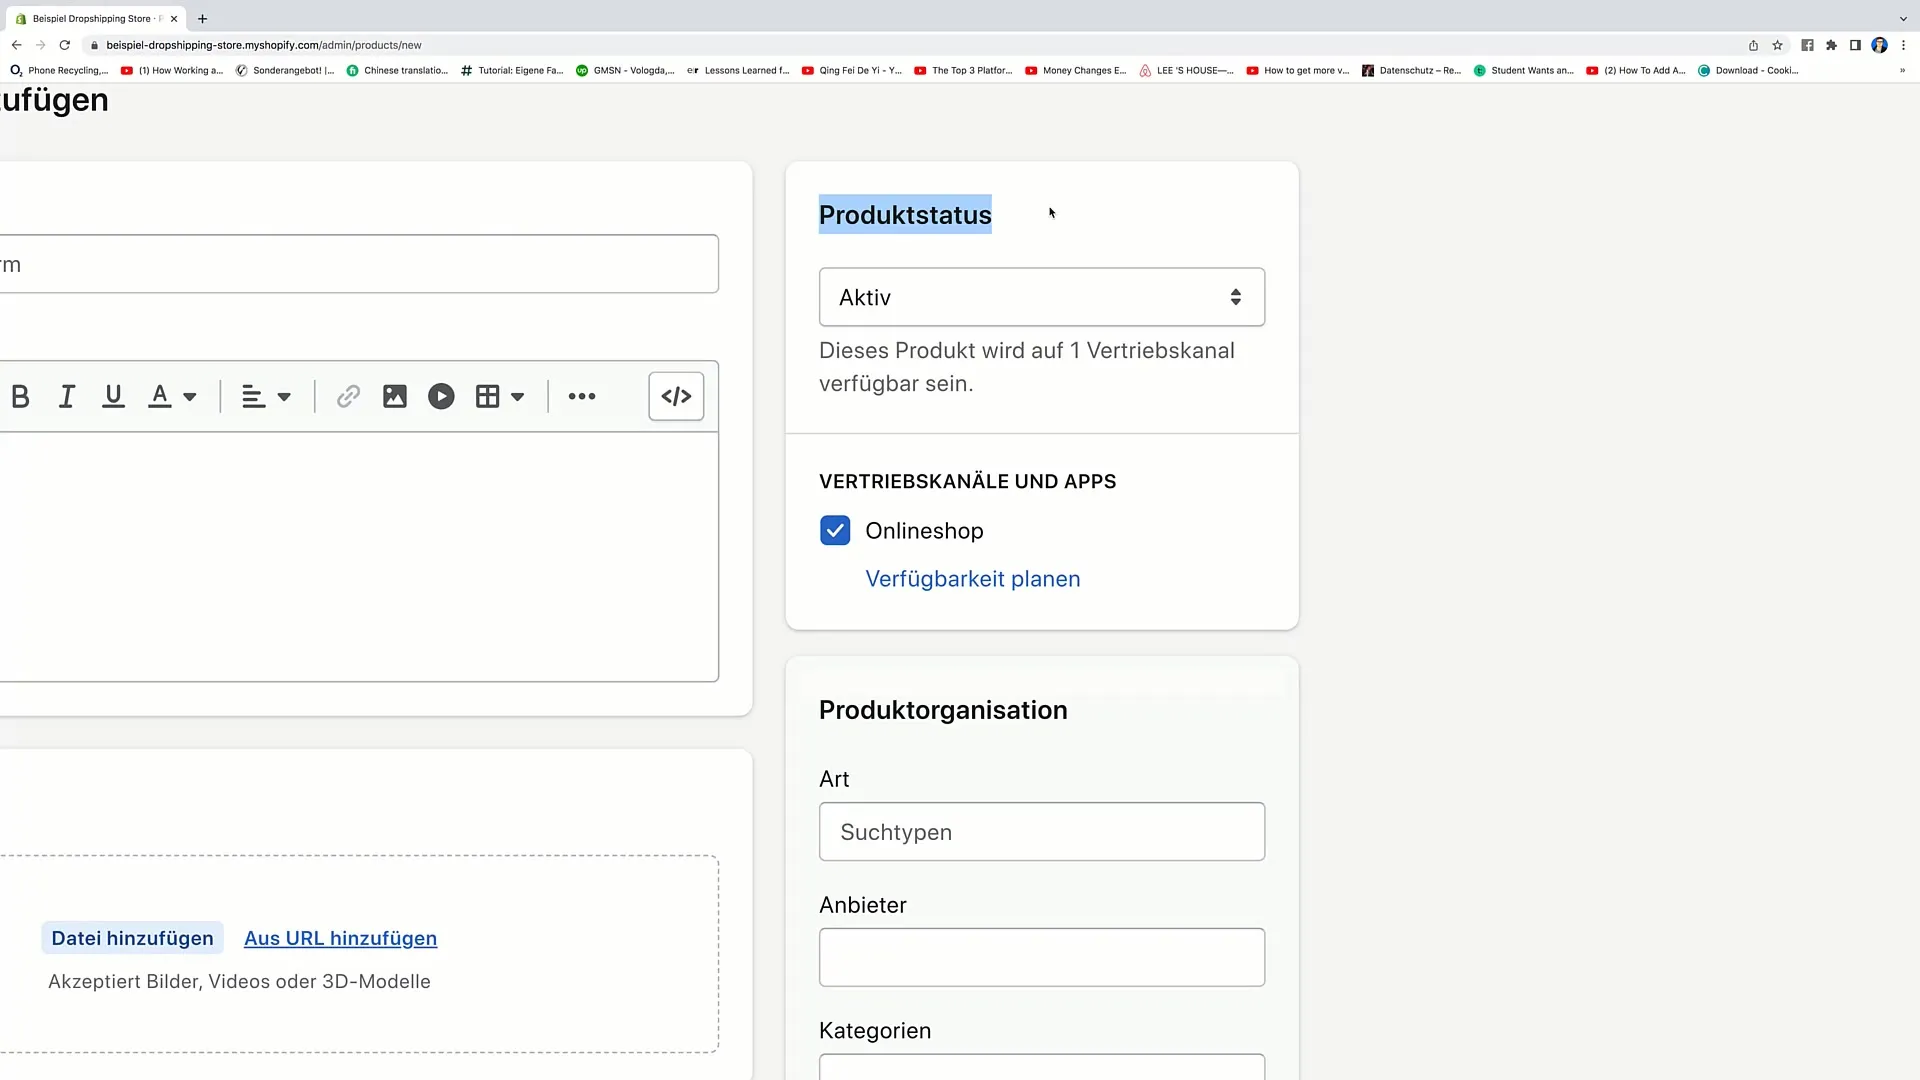
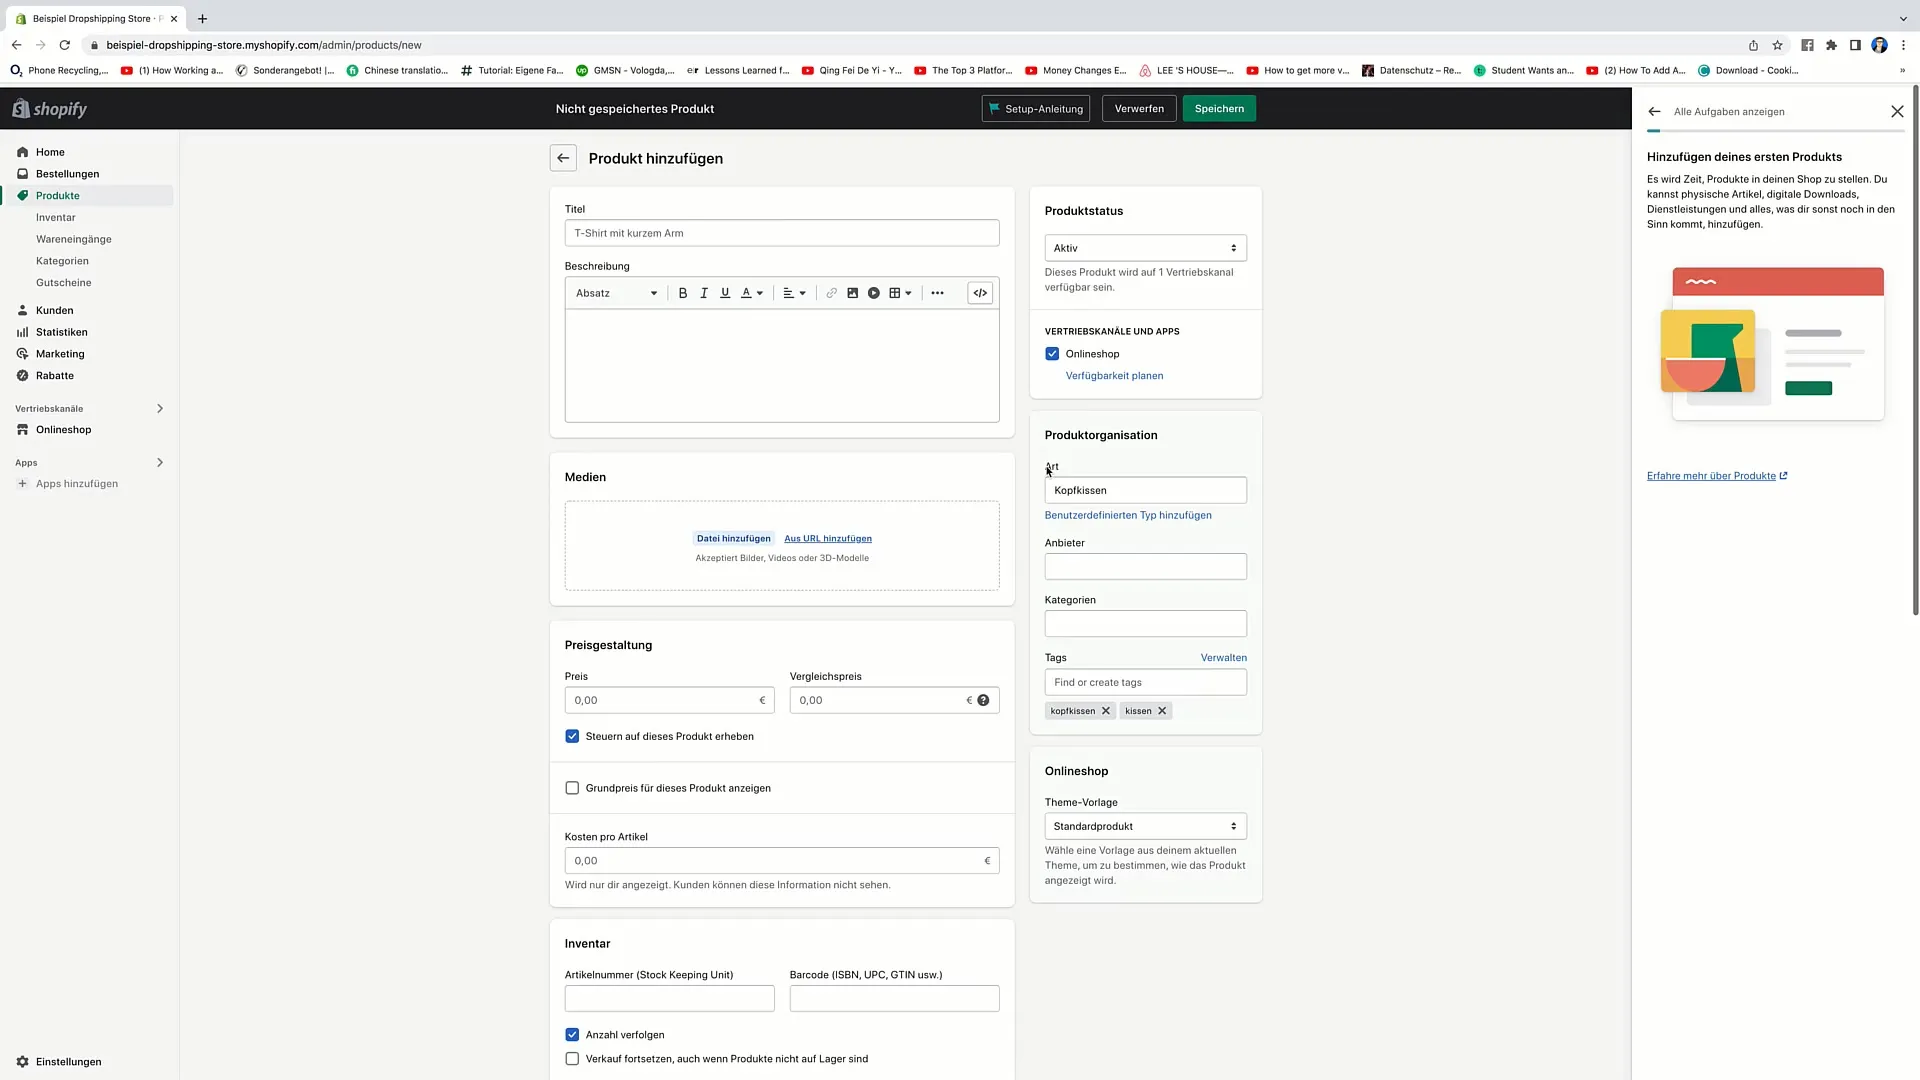
The first step in editing your product settings is to set the product status. On the right side of the screen, you will find the option for the product status. You can choose either "active" or "draft". By selecting "active", your product will be published in the online shop, and customers can purchase it. Choosing "draft" means the product will not be public and therefore not sold.
2. Configure distribution channels
Under the dropdown menu for distribution channels, you can select which platforms you want to sell your product through. In addition to your main online shop, you can also add other channels. For example, clicking on "Online shop" will make the product available through that platform.
3. Product organization
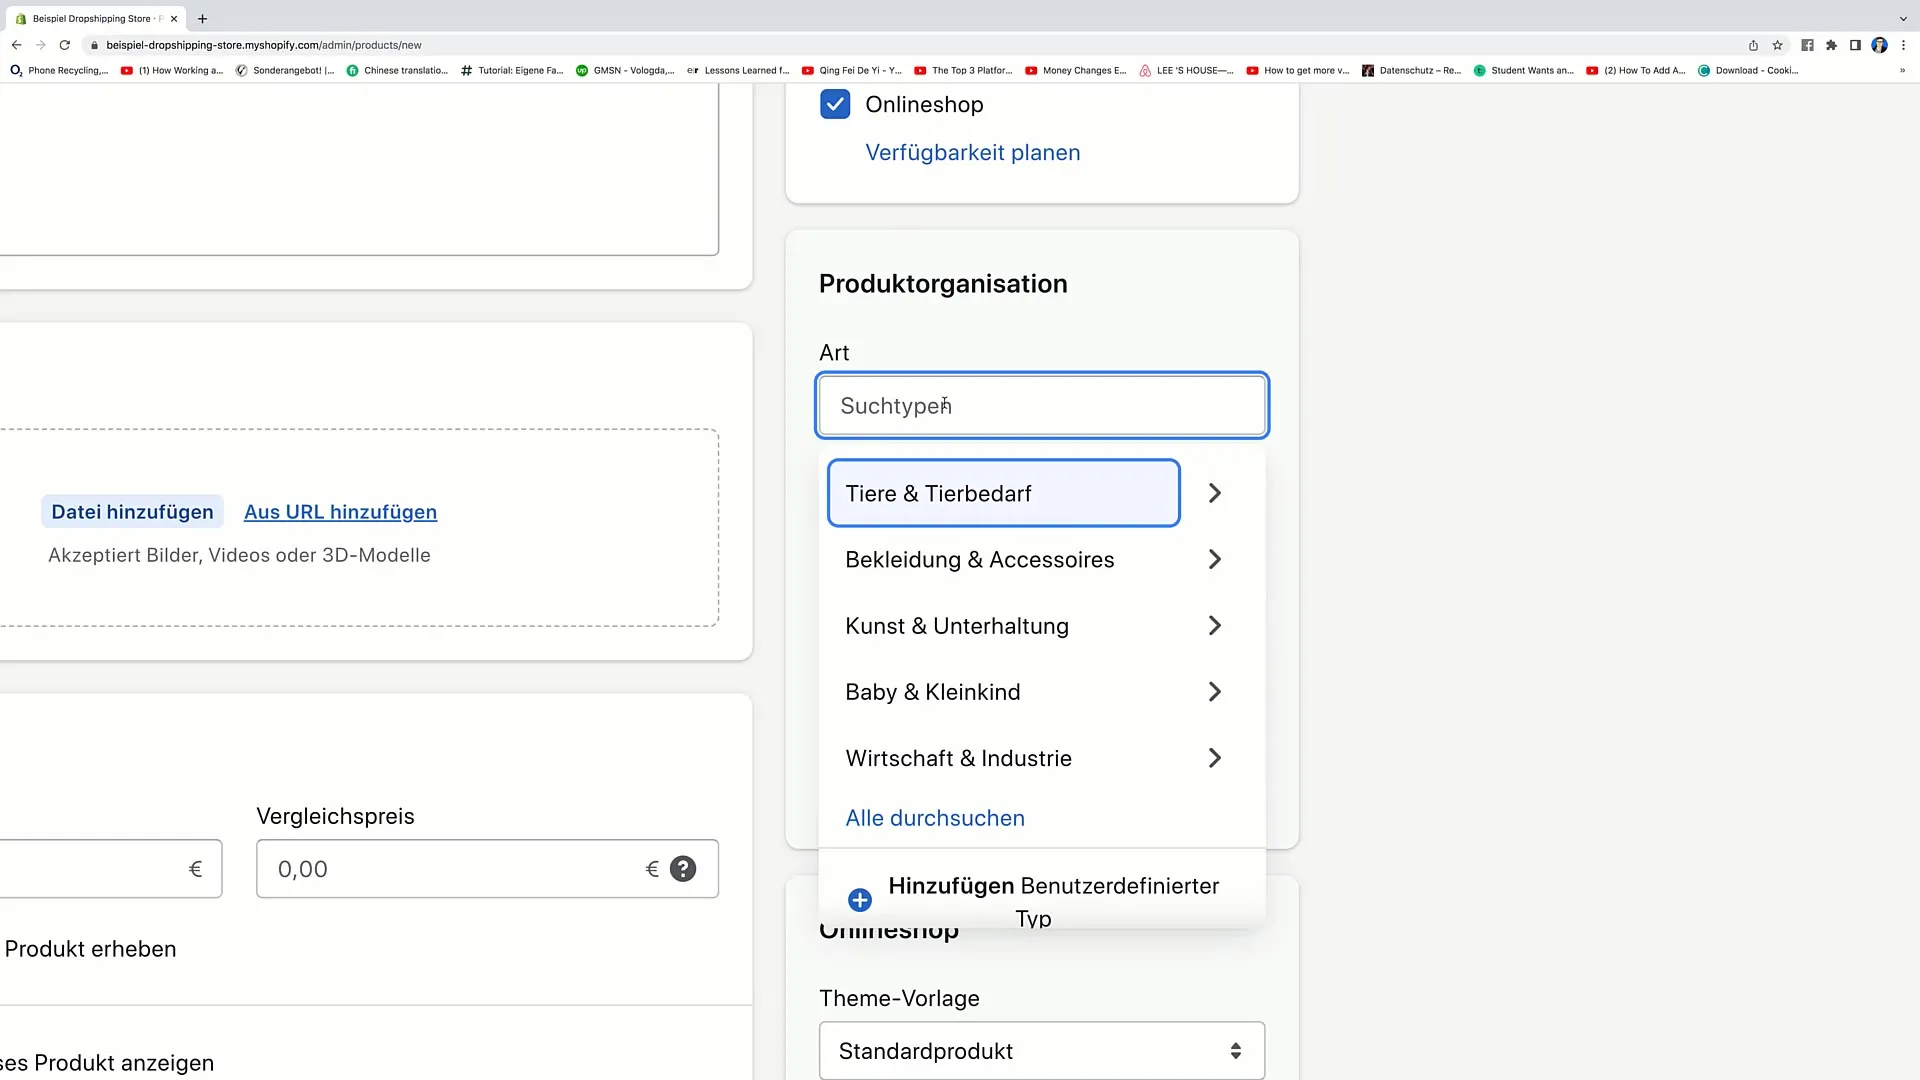
Product organization allows you to specify a specific category for your product. This helps make the product easier to find. You can enter what type of product you offer here, for example, "Pillows". You can also search directly for categories to improve the availability and visibility of your product in the shop.
4. Add suppliers and categories
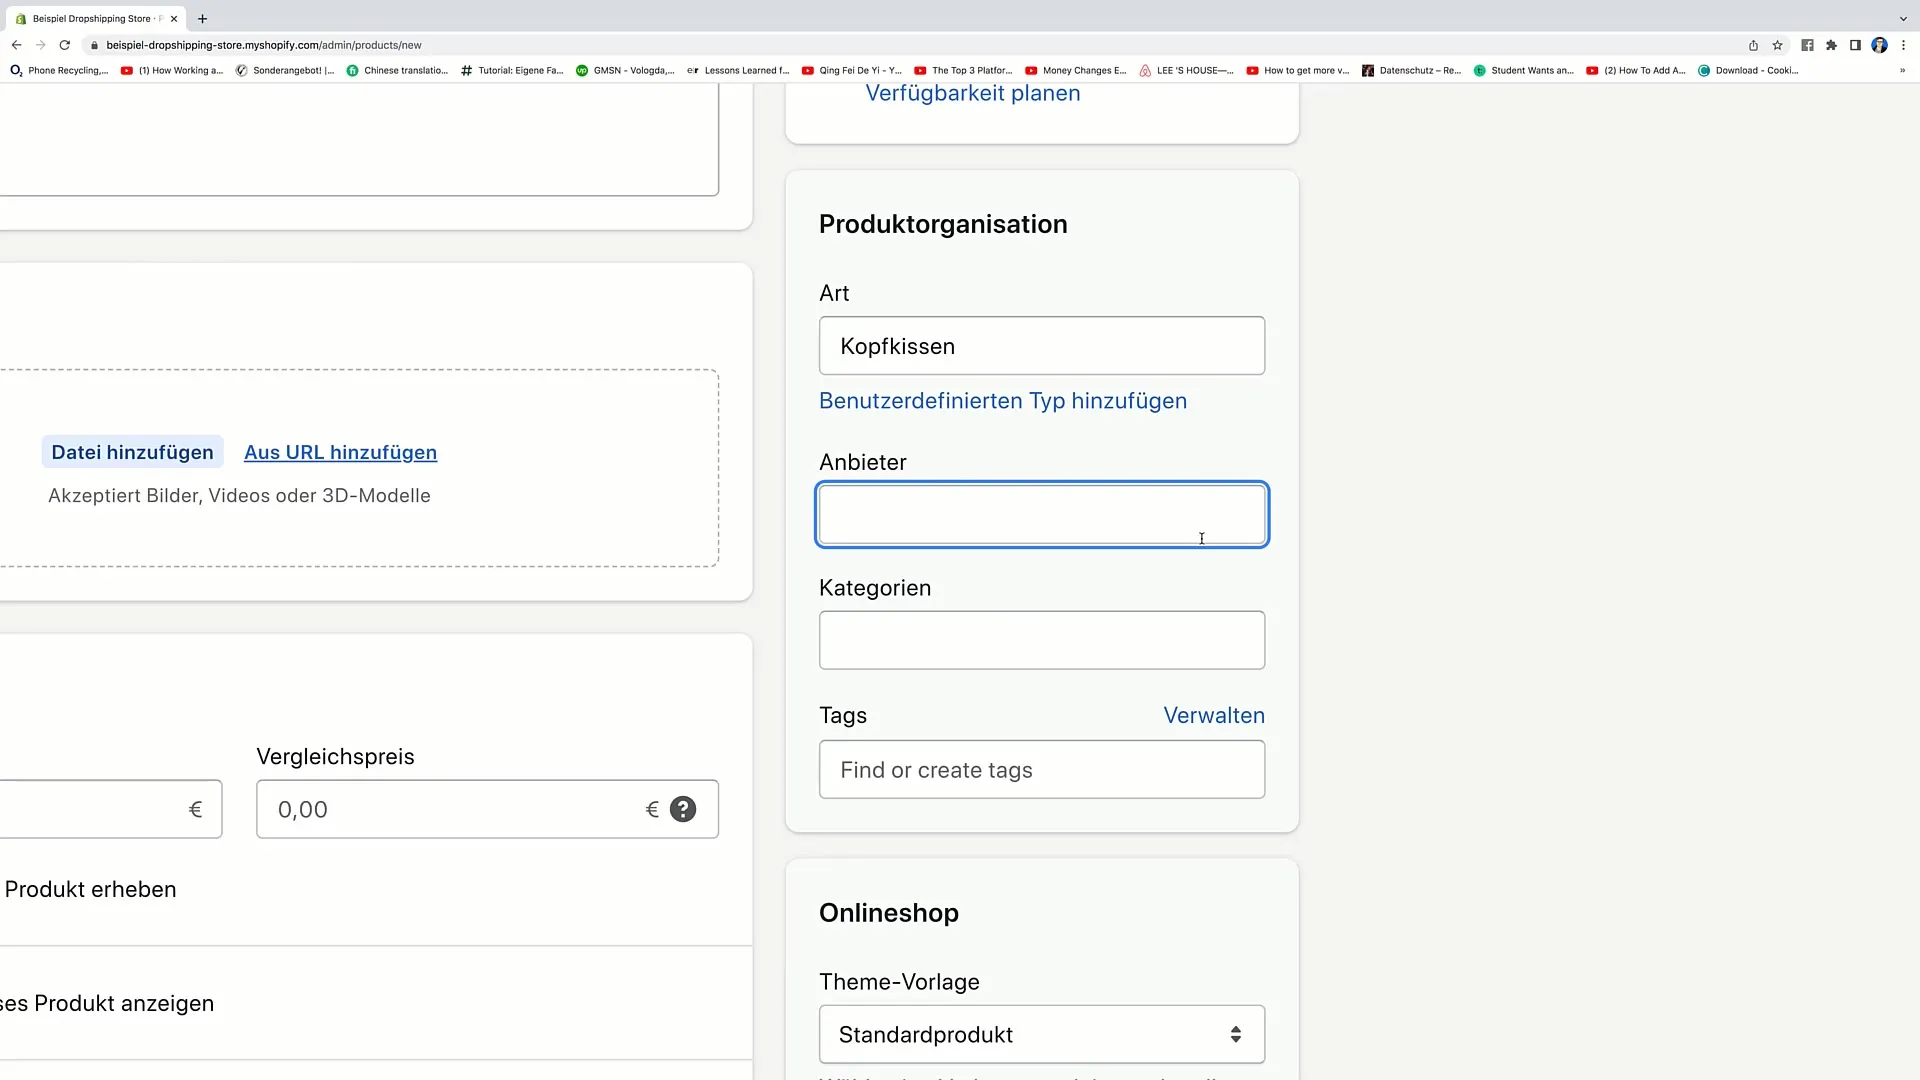
If you already have a supplier for your product, you can enter it here. This could be a manufacturer from whom you source your products. Additionally, you should assign the product to a product category. For example, if you are selling "Pillows," you could choose this category as "Pillows" or more broadly as "Home accessories."
5. Add tags
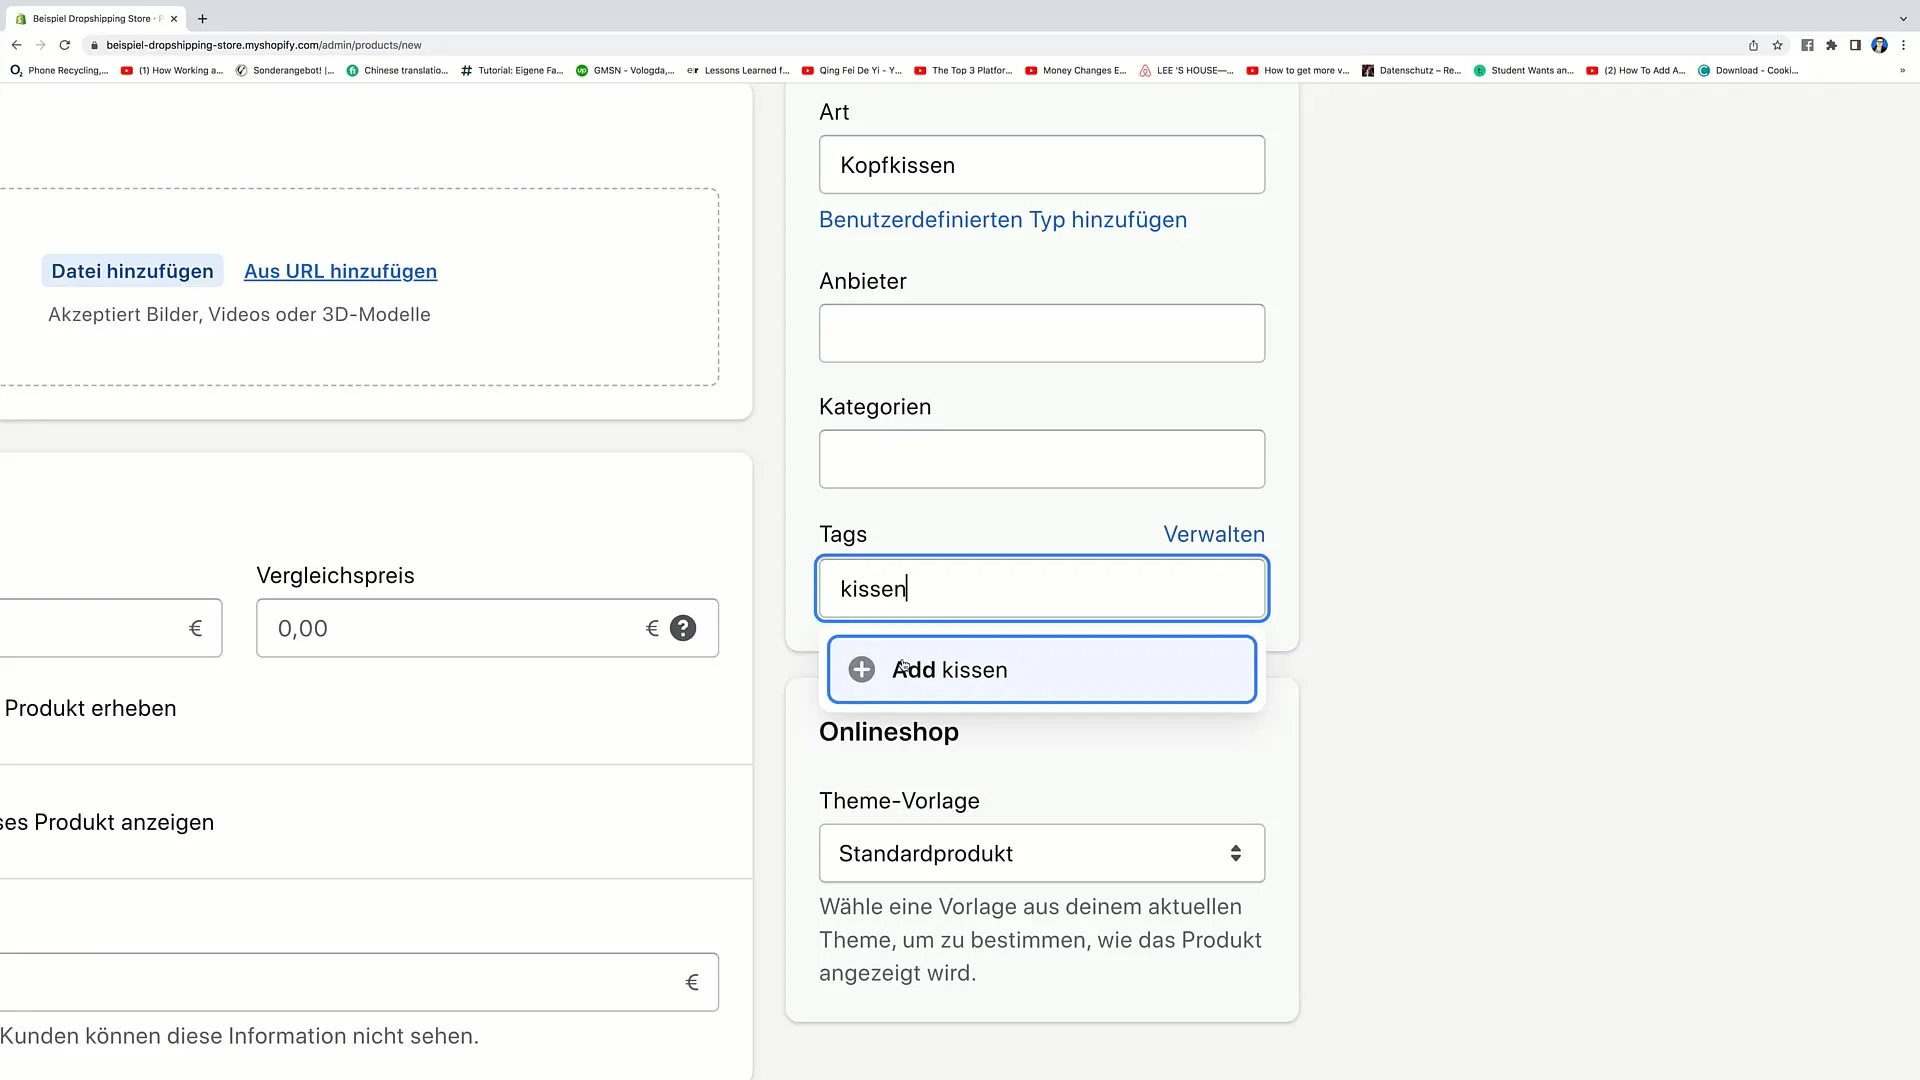
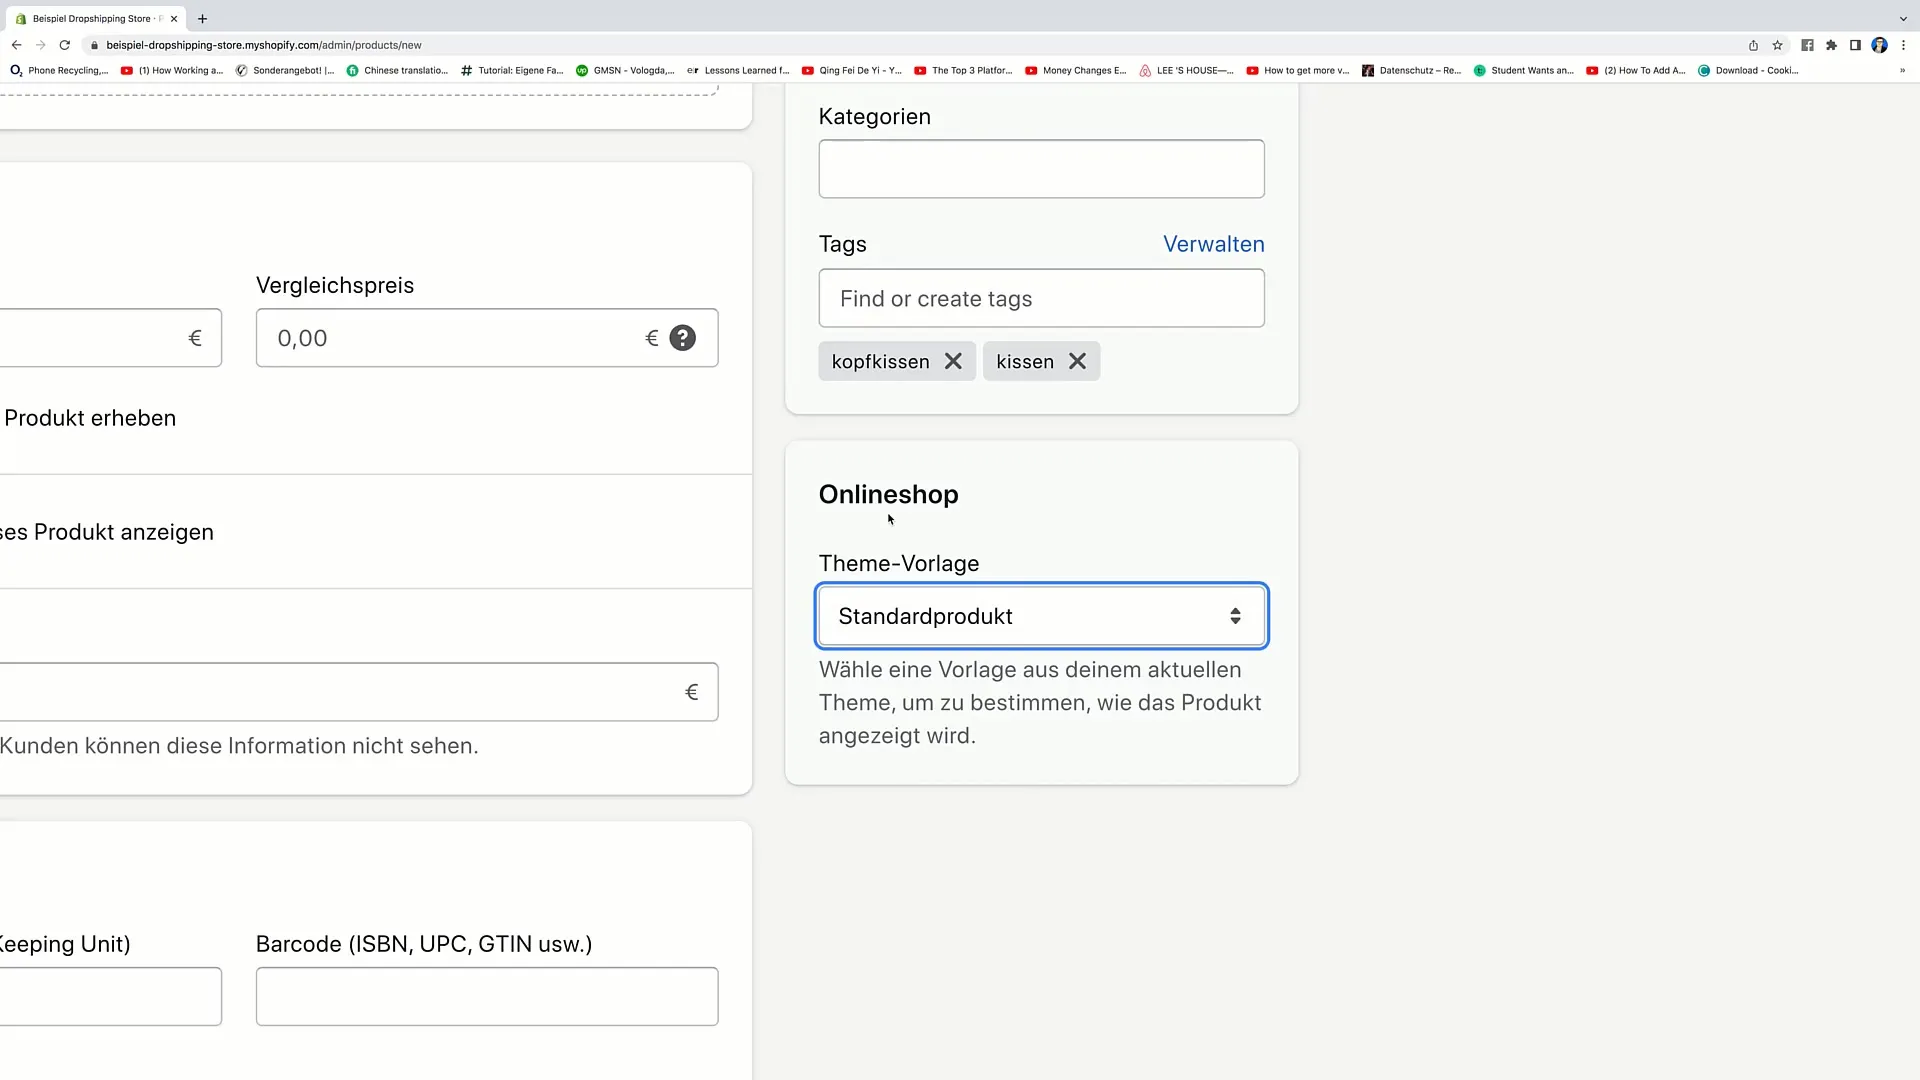
Tags are a great way to further categorize your products. You can add tags like "Pillows," "Throw pillows," or "Scented pillows." Each tag helps you bundle products and make them easier for customers to find. To add a new tag, simply click on "Add Tag" and enter the desired name.
6. Set theme template
Choosing the right theme template is also crucial for displaying your product in the shop. You have the option to choose which template will be used for the product by going through the dropdown list. Choose the default product template to ensure your product utilizes it.
7. Save or discard changes
Once you have entered all the necessary information and are satisfied with the settings, click on "Save" to apply the changes. If you have changed your mind, you can also click on "Discard" to not save any changes.
Summary
In this guide, you have learned how to edit the product settings in Shopify. From setting the product status to configuring distribution channels, and selecting the right tags and theme templates, you now have the right tools to make your shop economically successful.
Frequently Asked Questions
What does the product status "Draft" mean?The product status "Draft" means that the product is not actively being sold and is not displayed in the shop.
How do I add a product to a sales channel?You can select sales channels by clicking on the relevant option in the product settings and activating the desired channels.
What are tags and what are they used for?Tags are keywords that can be added to products to categorize them better and make them easier to find.
How do I save changes to a product?To save changes, you need to click on the "Save" button.
How can I see which products are in my shop?In the Shopify product area, you can see all the products that have been added, as well as their status.


