In this tutorial, you will learn how to edit collages in Shopify. We will explore the features of the multimedia collage and show you step by step how to effectively present products. This will not only optimize the presentation of your products, but also improve the user experience in your online shop.
Key Insights
- You have the opportunity to present different categories.
- The arrangement of products can be customized to fit the layout of your website.
- Collages can be created in both desktop and mobile layouts.
Step-by-step guide to editing collages
Start by finding the section for editing multimedia collages in your Shopify dashboard. Scroll down and click on "Multimedia Collage".
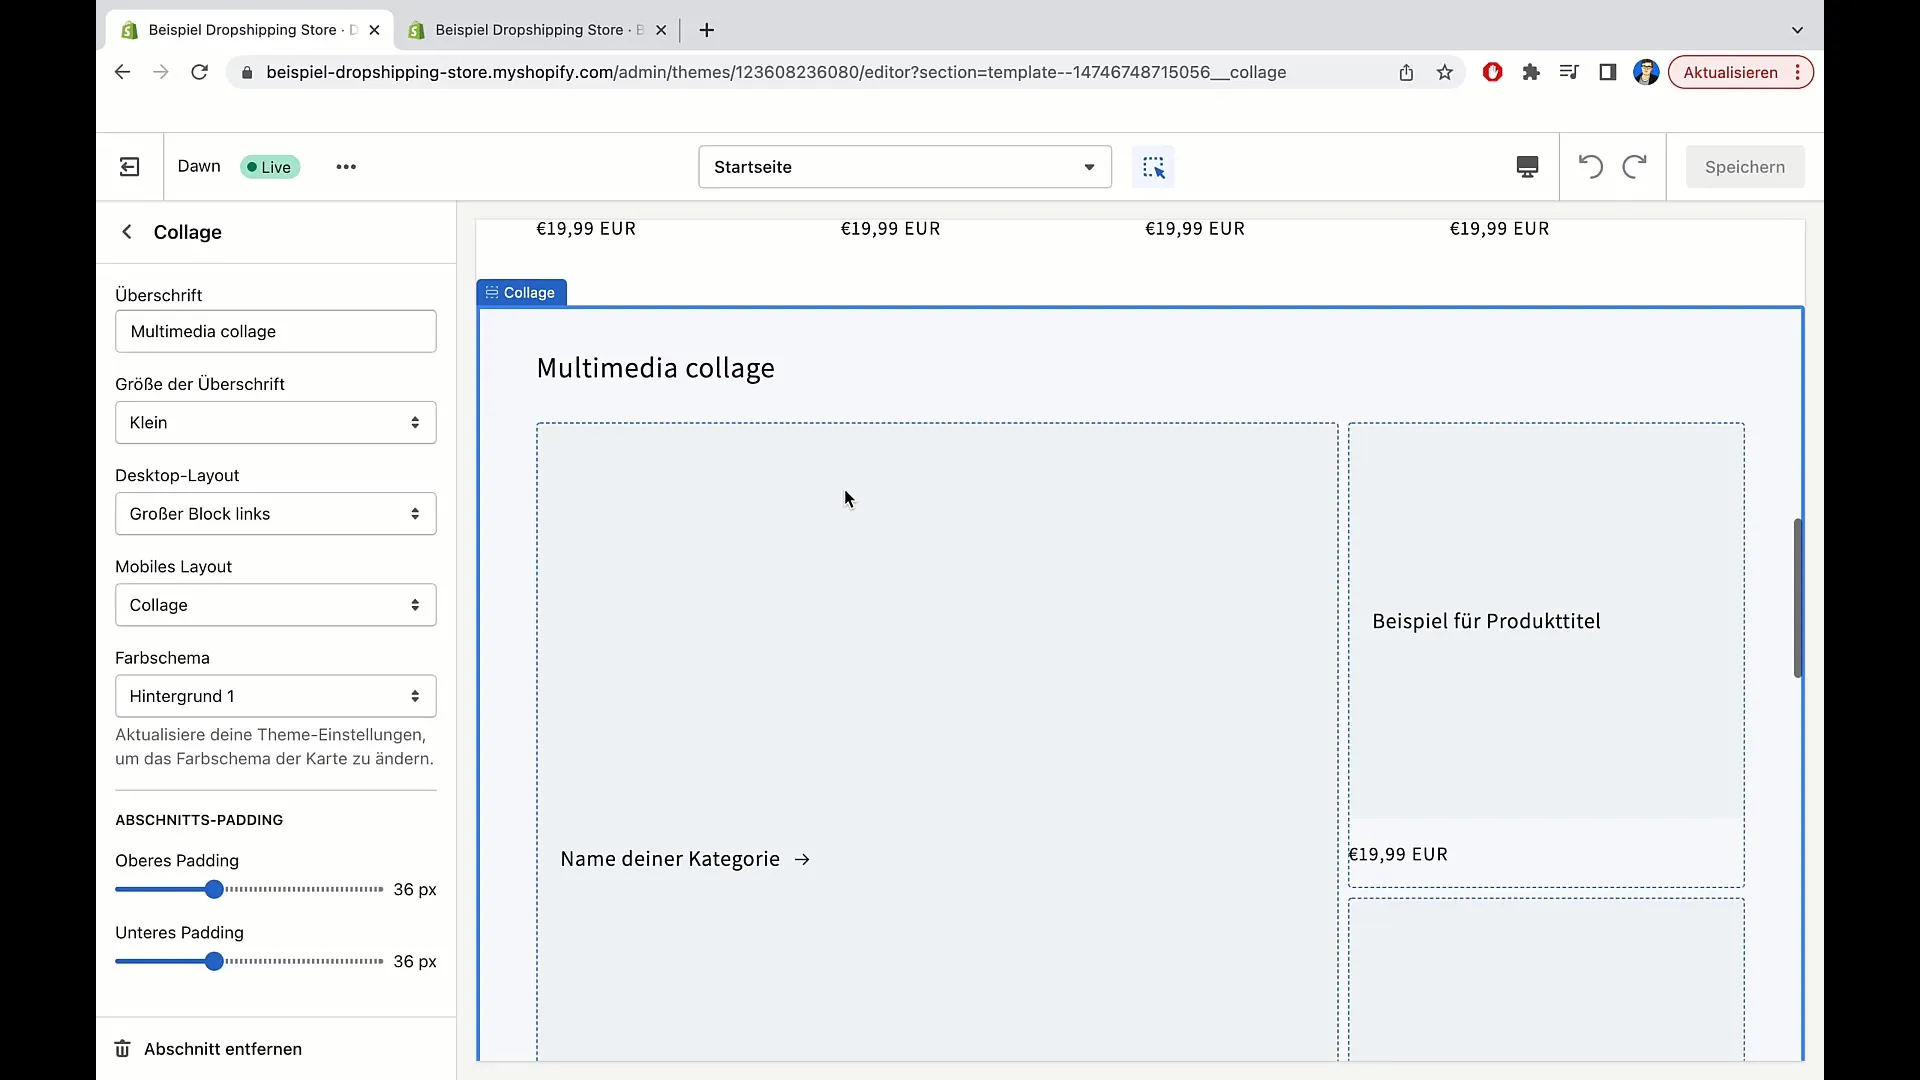
Here you have the option to create a collage using different products and categories. For example, you can highlight products from a specific category, such as pillows or T-shirts. An image of a pillow could represent the "Pillows" category, while an image of a T-shirt could represent the "T-Shirts" category.
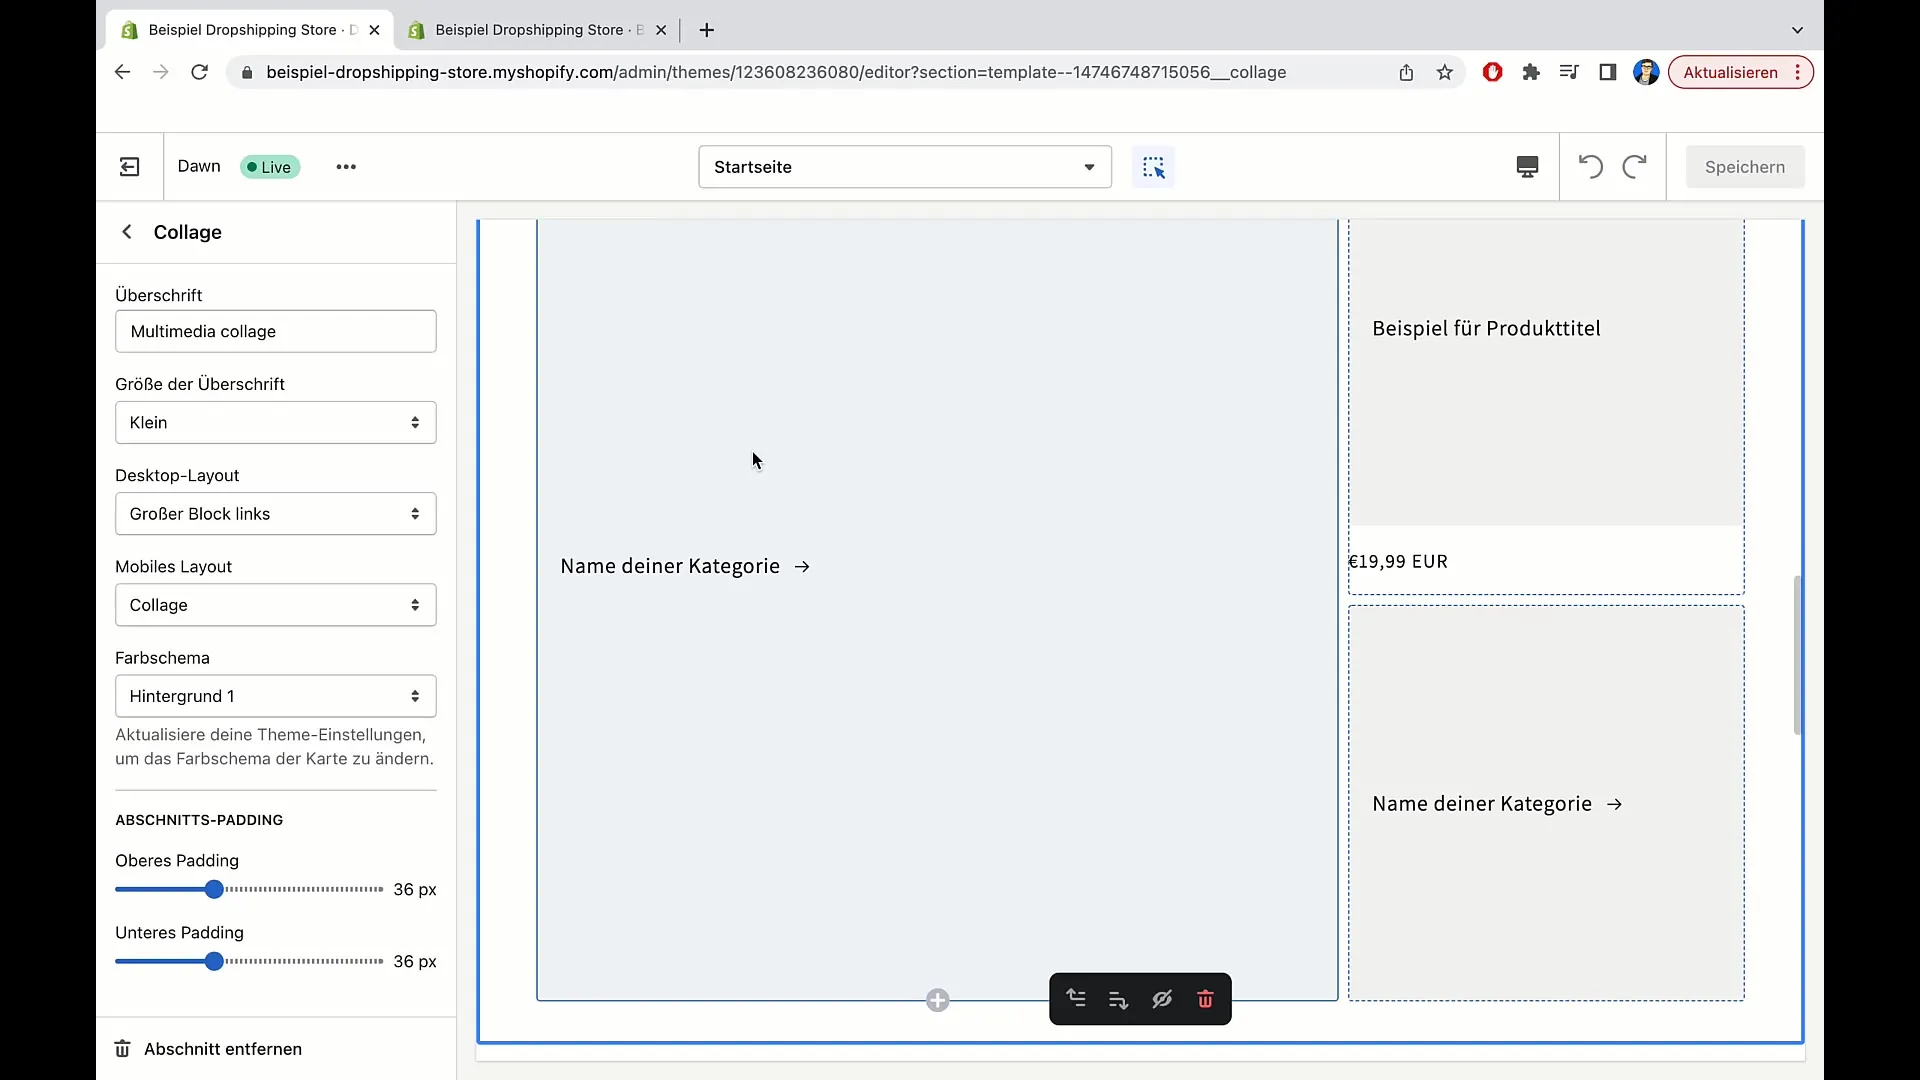
By clicking on the category, the user will be directed to the respective product page. This way, you can promote specific products that are performing well, such as T-shirts, and ensure that users quickly reach relevant product pages.
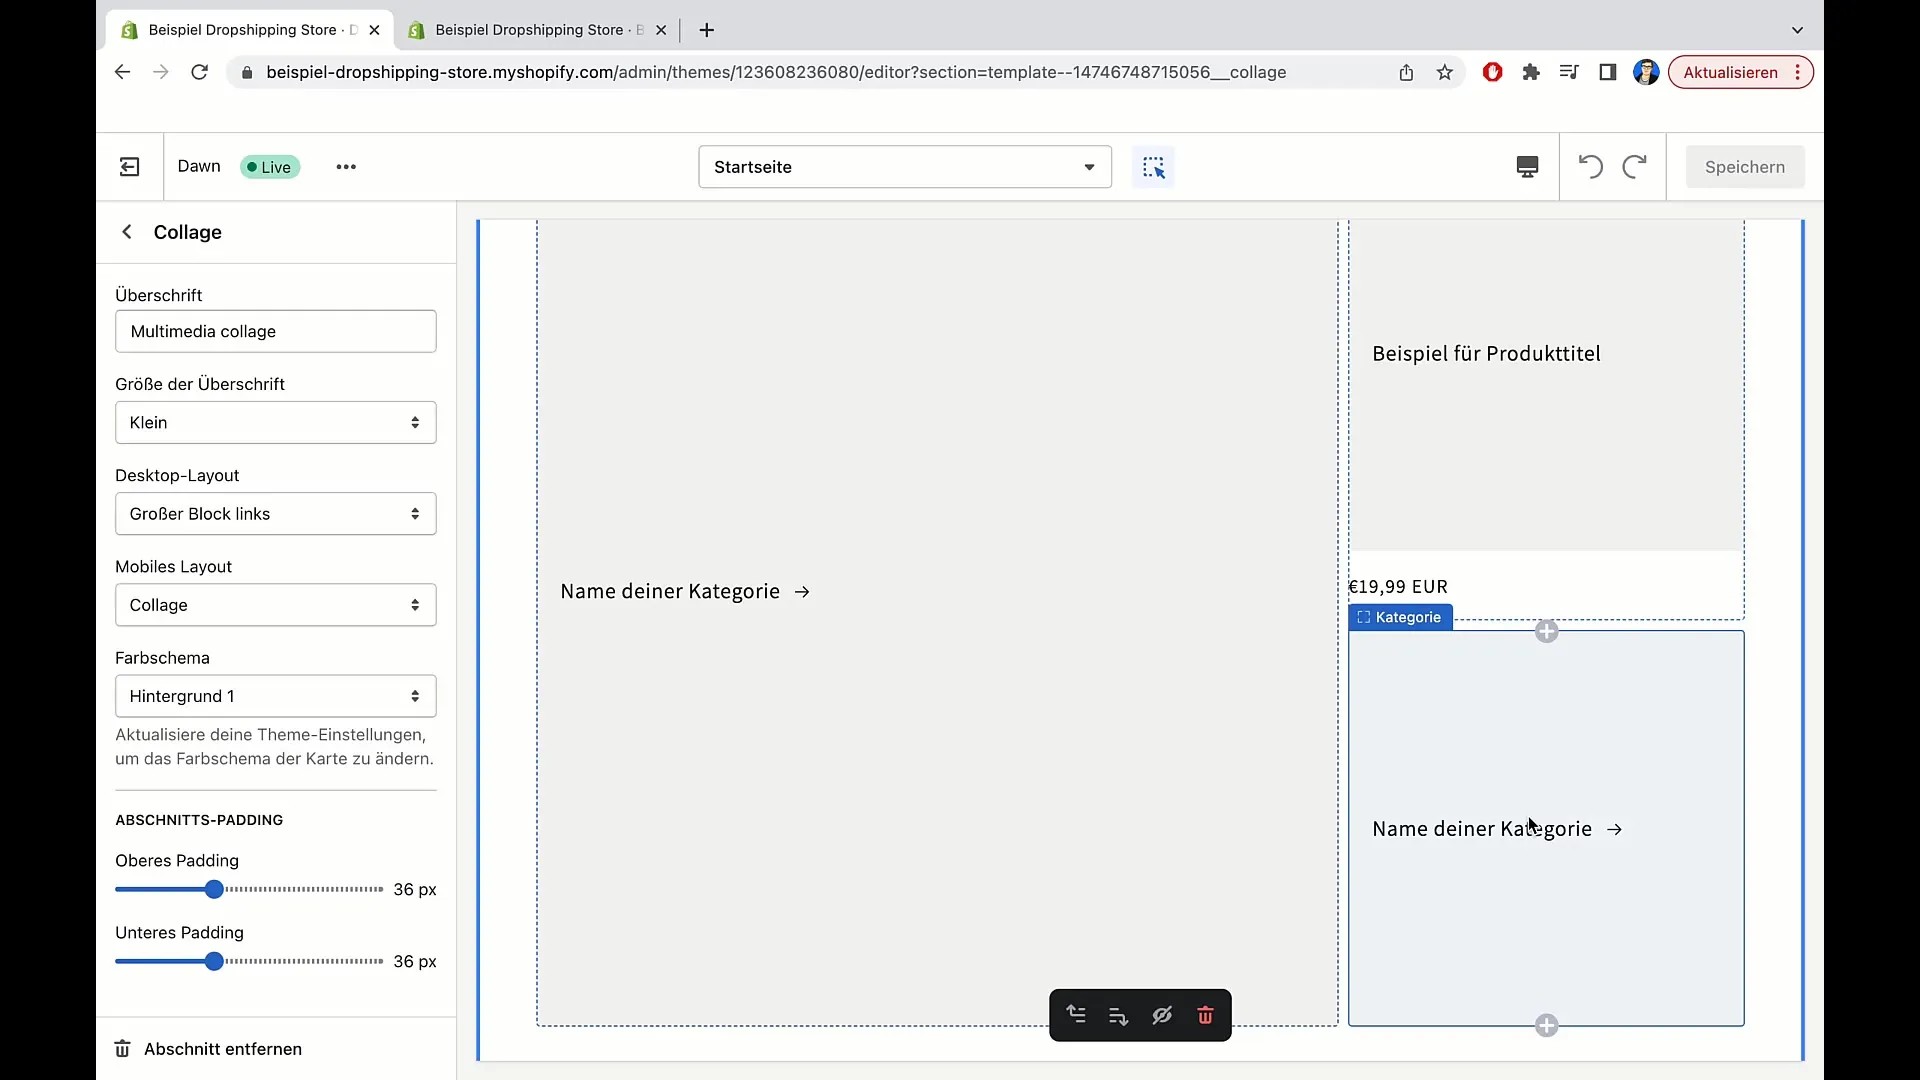
Explore the options for adding products. You can insert examples of pillows, T-shirts, and other items to create an appealing presentation. Naming the categories is also important – consider which names are most appealing to your customers.
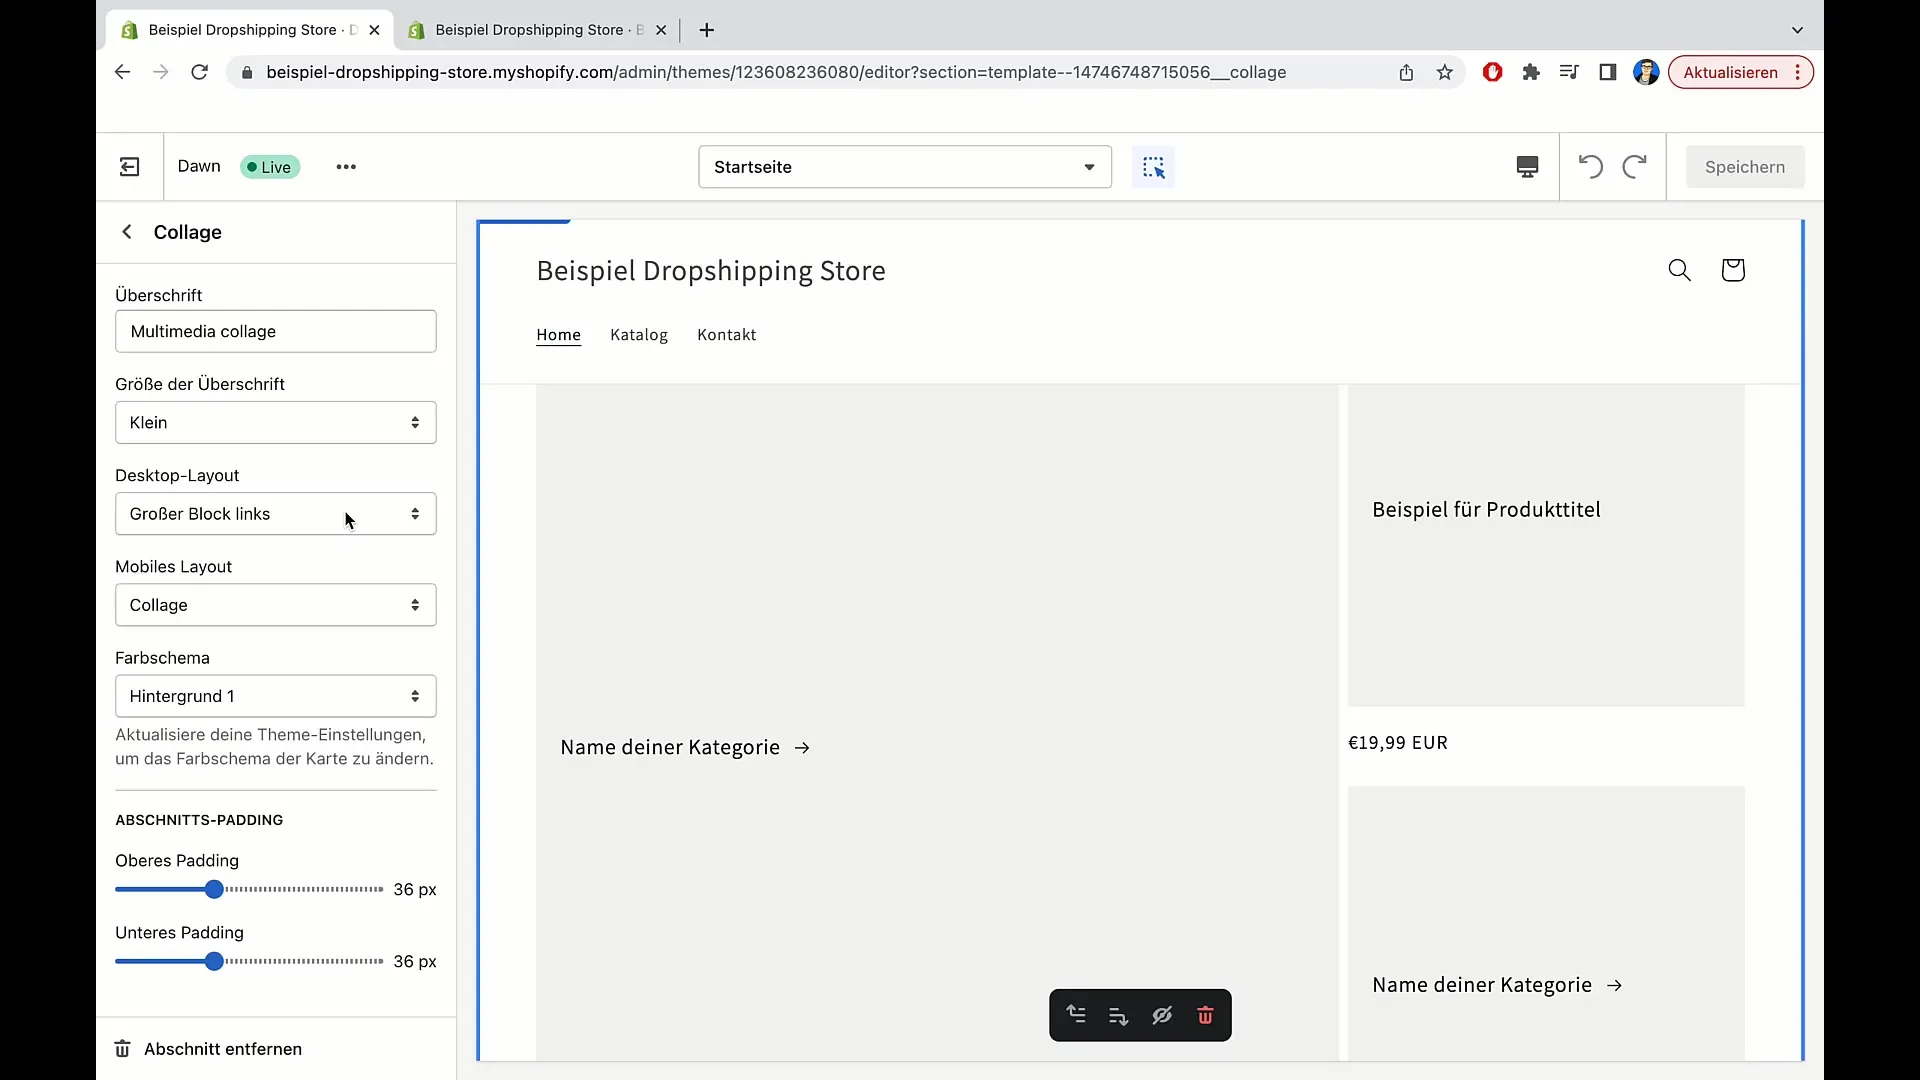
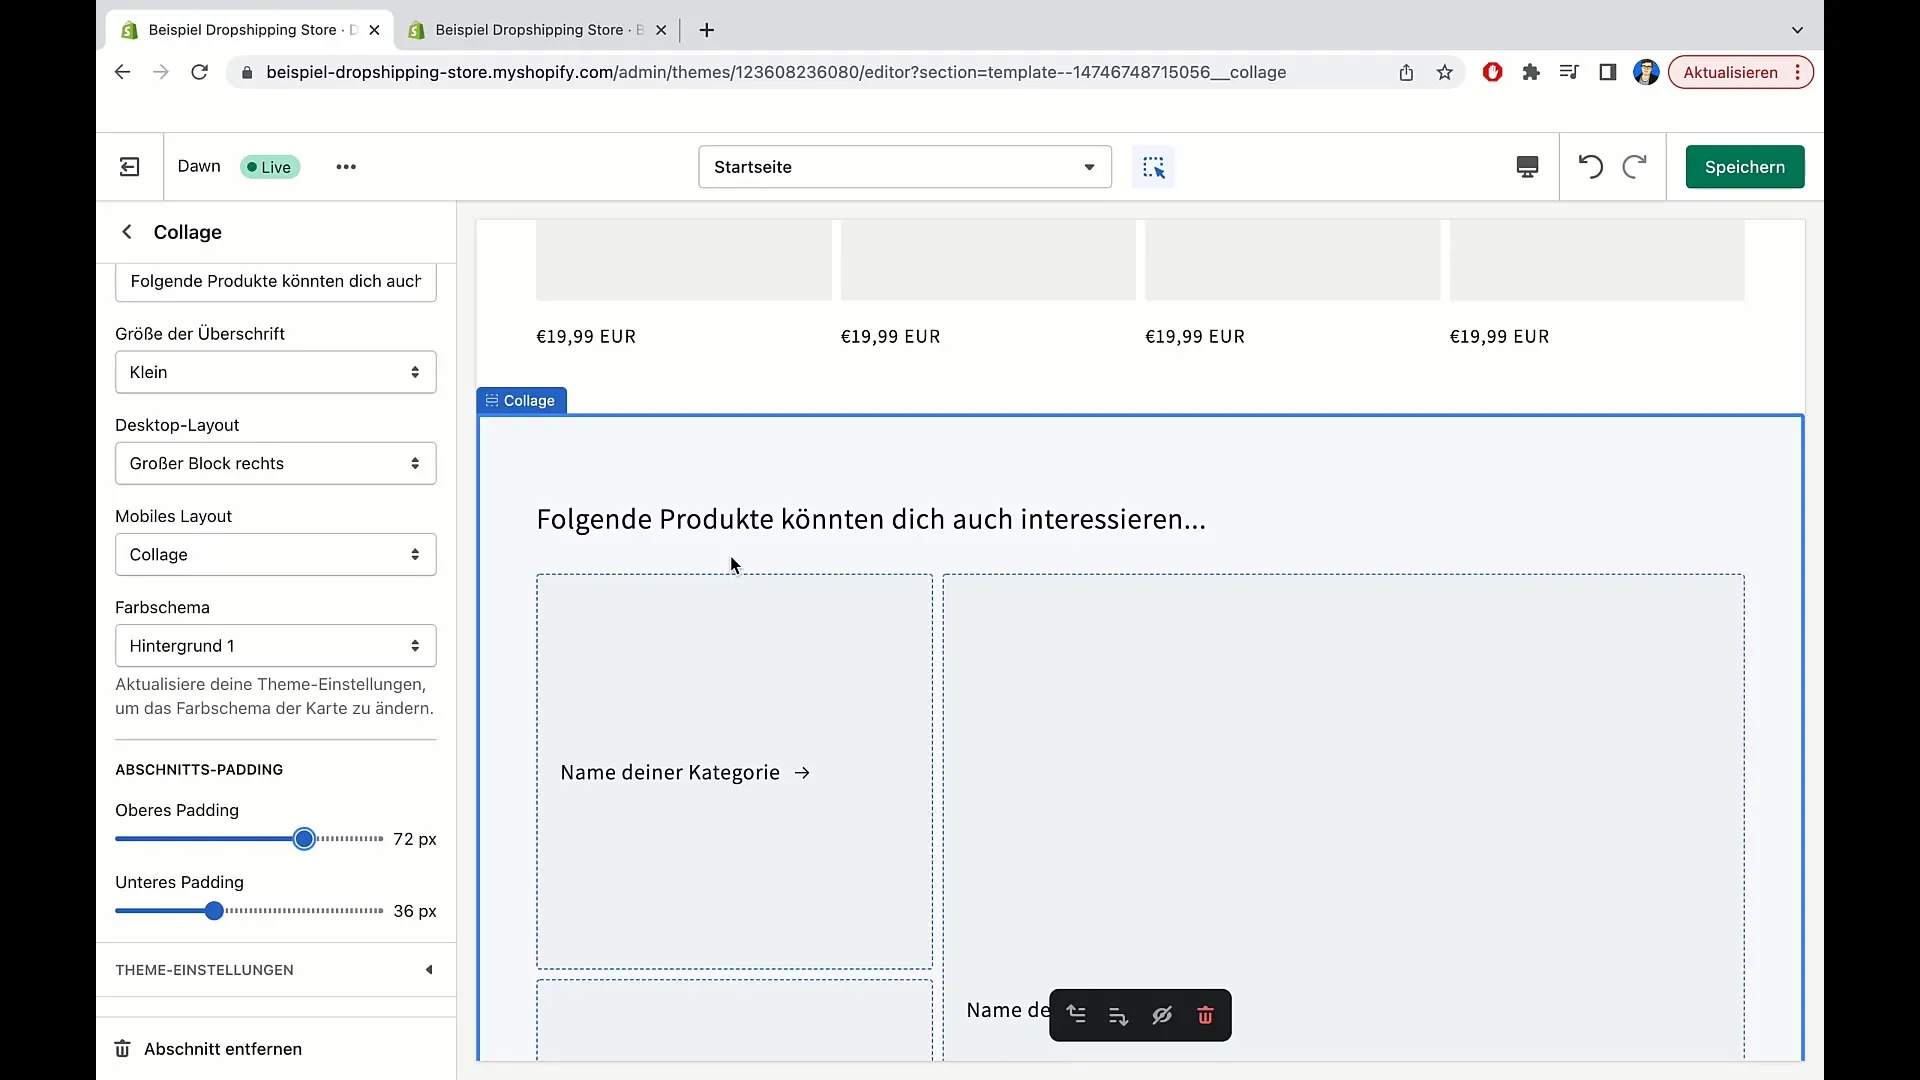
An important feature is the ability to edit the title of the collage. You can choose something like "Get an overview of our products" or "You might be interested in the following products...". This way, you can capture the user's attention.
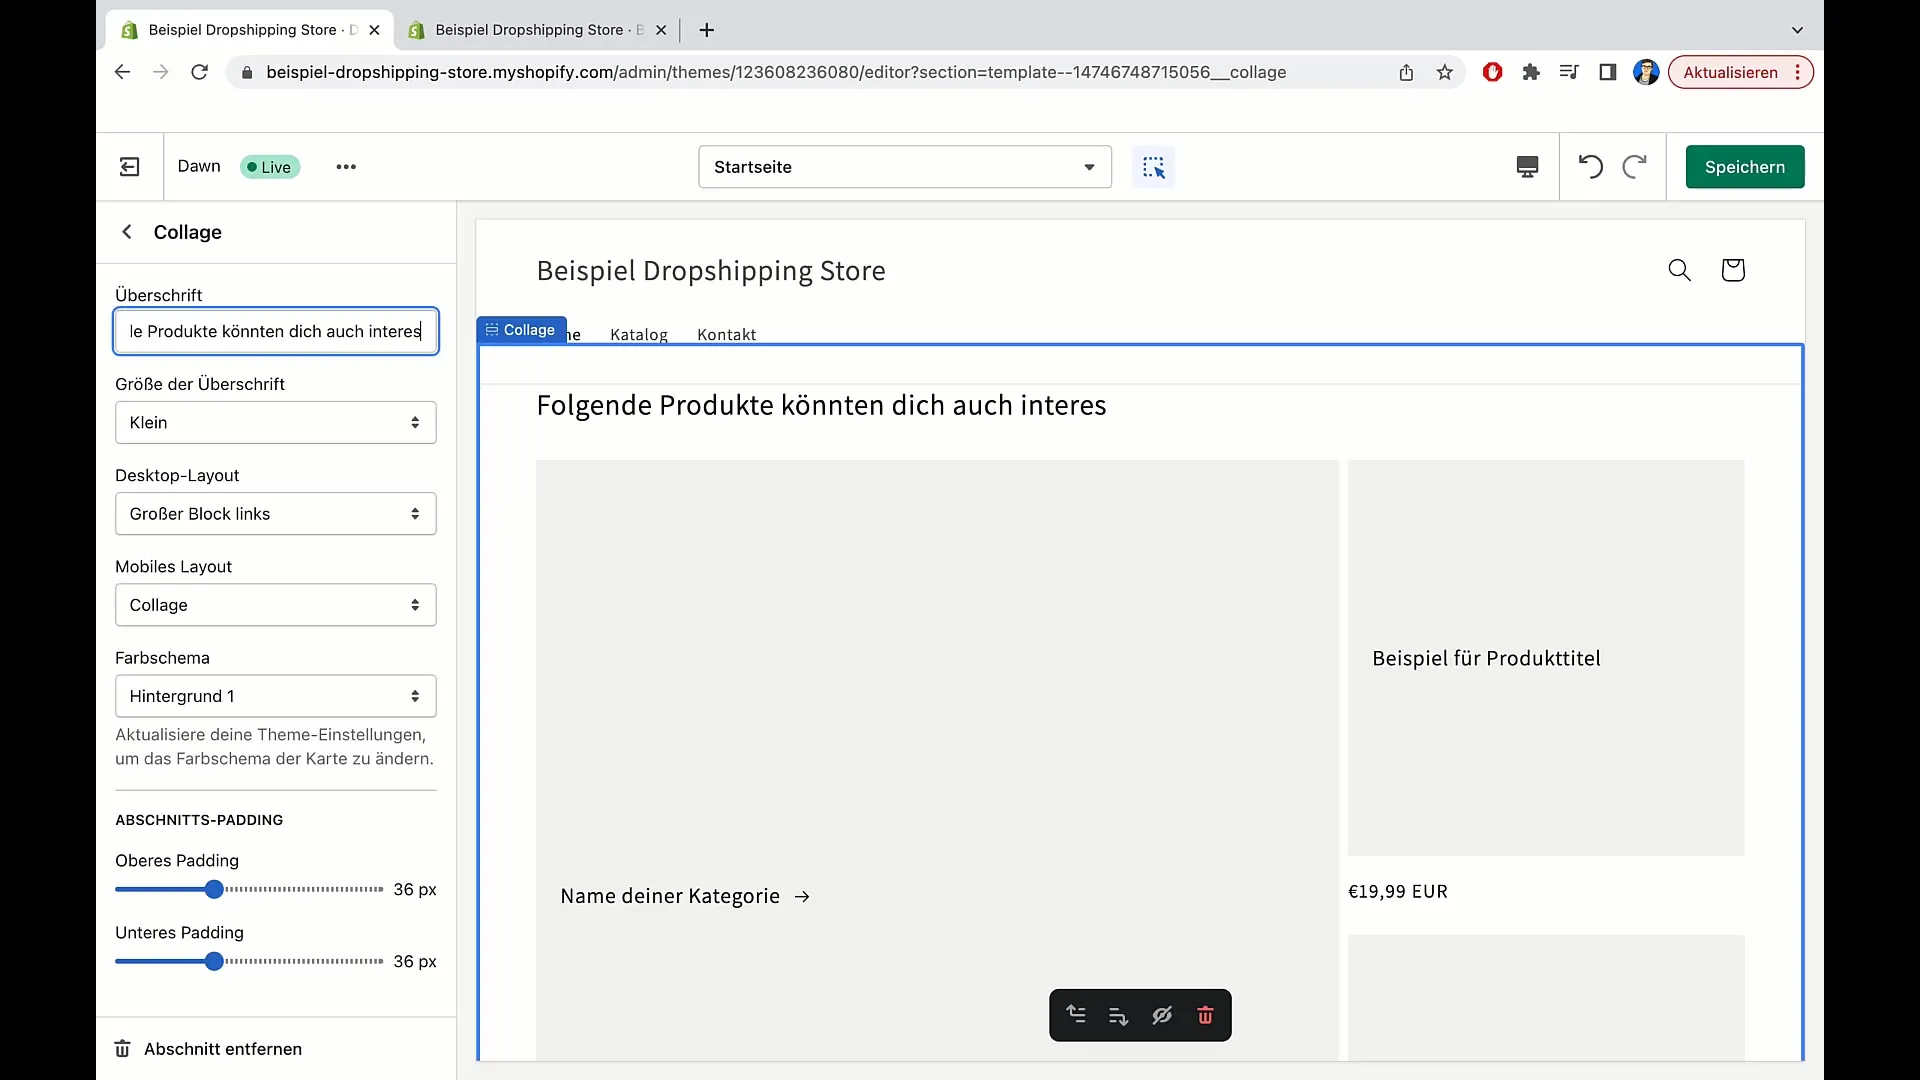
Below that, you have the option to select the size of the main title. Here, you can choose between small, medium, and large. In this example, I recommend the "small" font size to create a harmonious overall look.

Now, look at the settings for the desktop layout. Here, you have the choice between a large block on the left or right. The block can be moved to optimize the appearance of your online shop. In this example, I choose the right side as it looks more aesthetic.
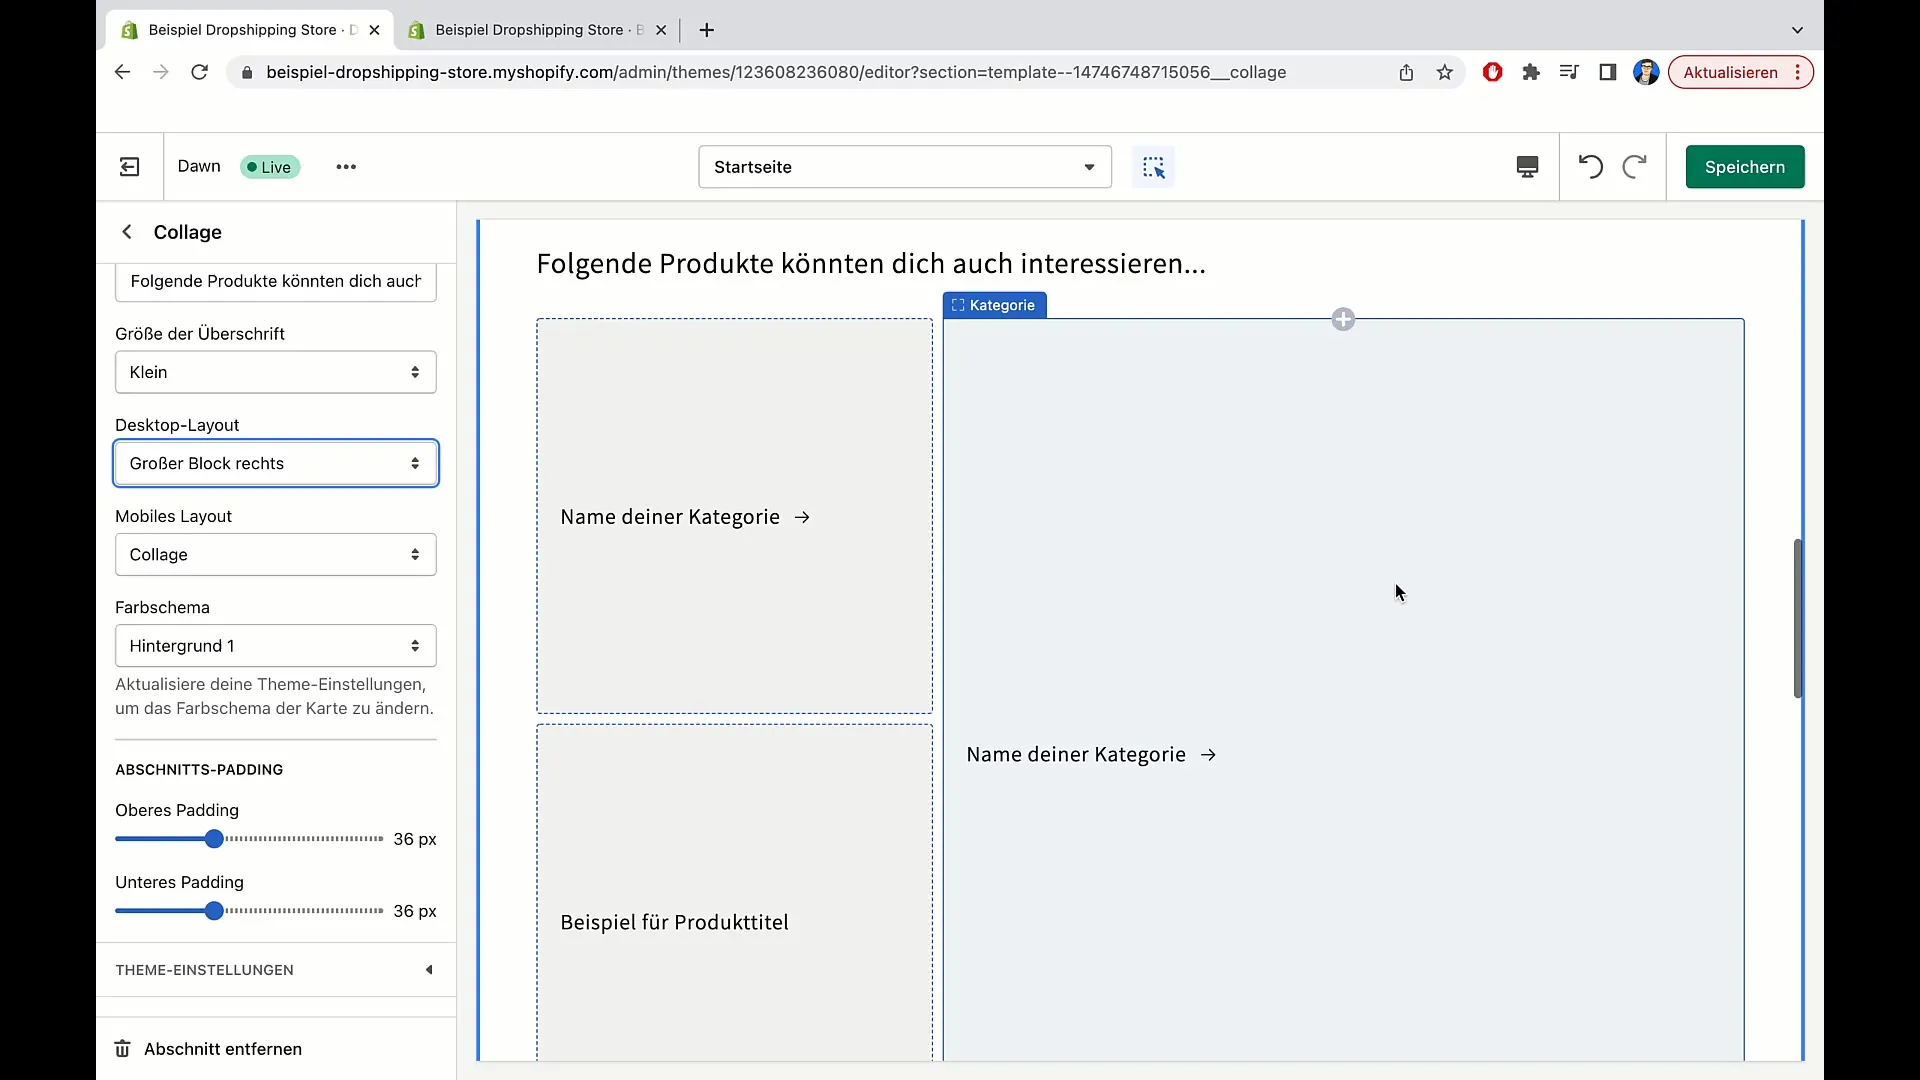
It is also important to check the layout for mobile devices. While scrolling in the mobile layout, you will see options for "Collage" or "Column". Click on "Collage" to create an appealing connection between the products. Alternatively, you can choose the "Column" option, which displays separate columns for individual tiles.
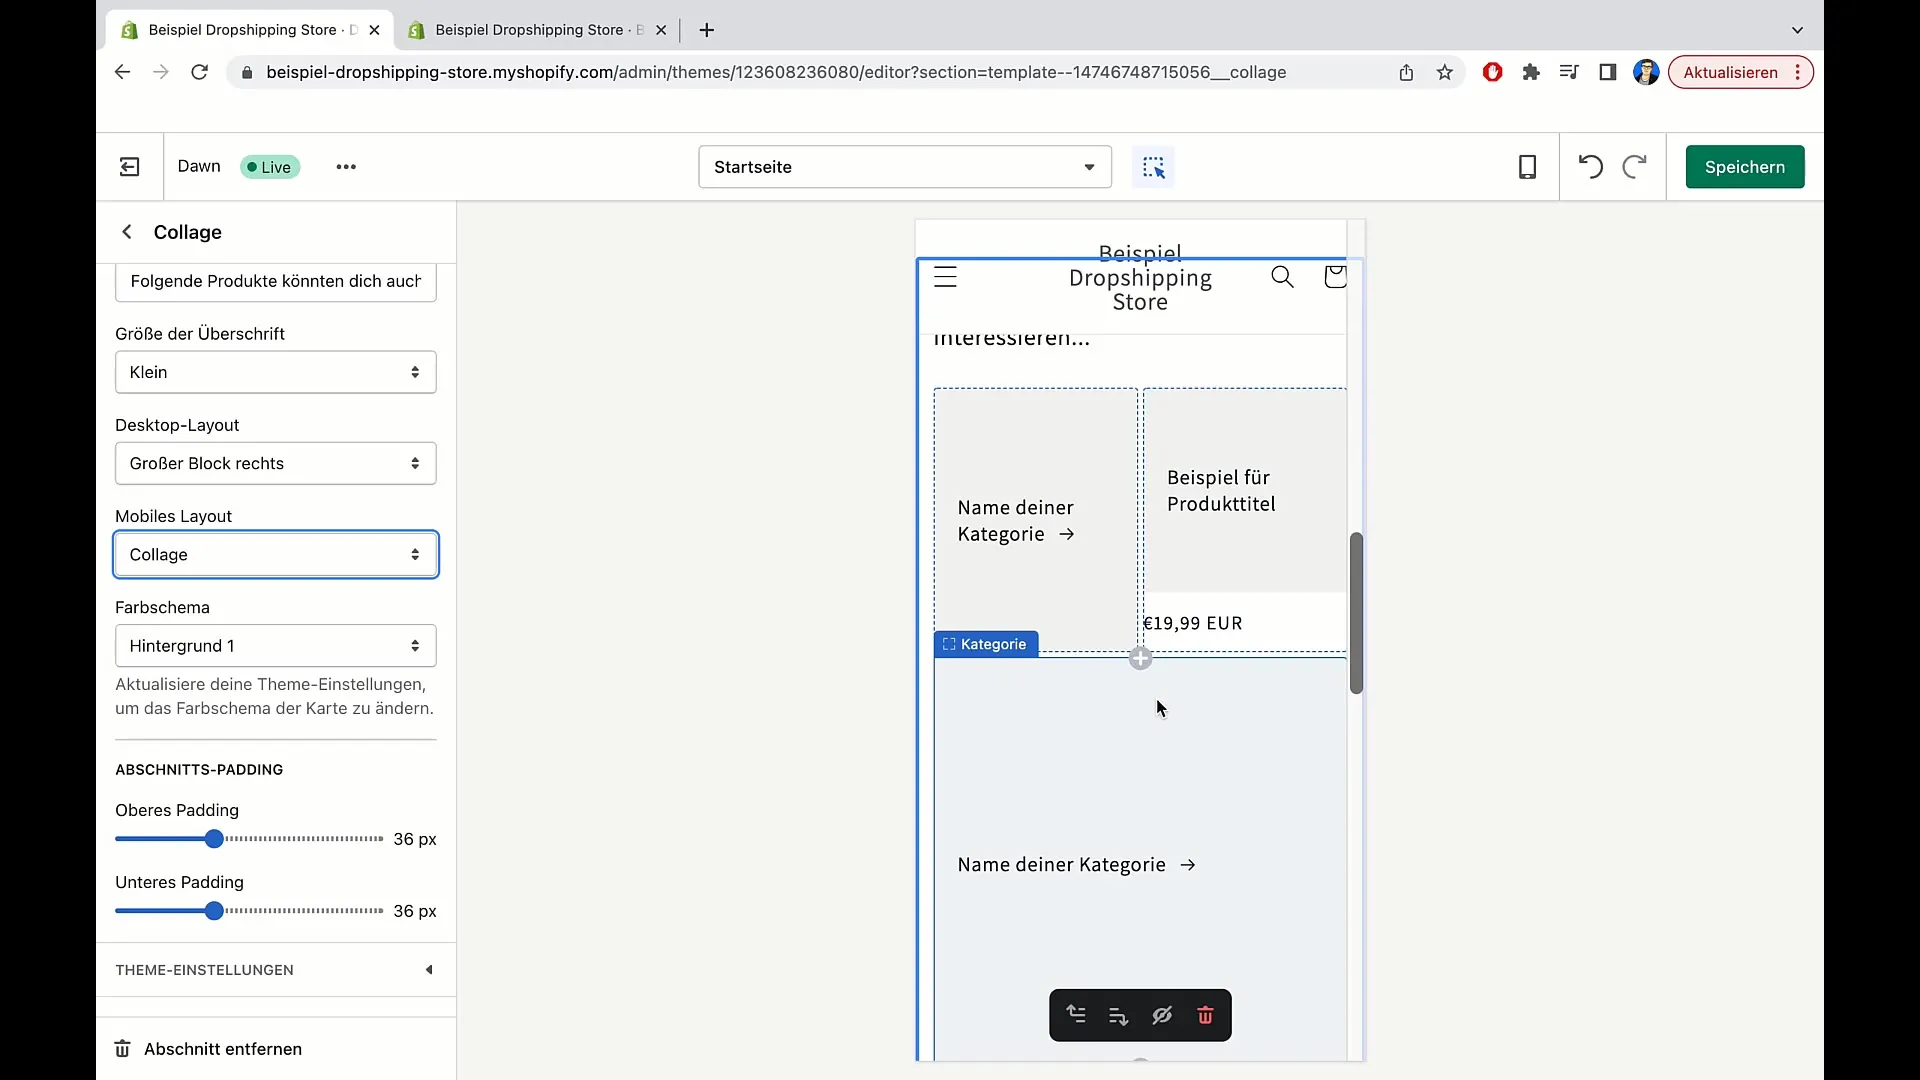
Personally, I prefer the "Collage" option as it not only looks appealing but is also easier to navigate. After selecting the layout options, return to the desktop view and add the desired products.
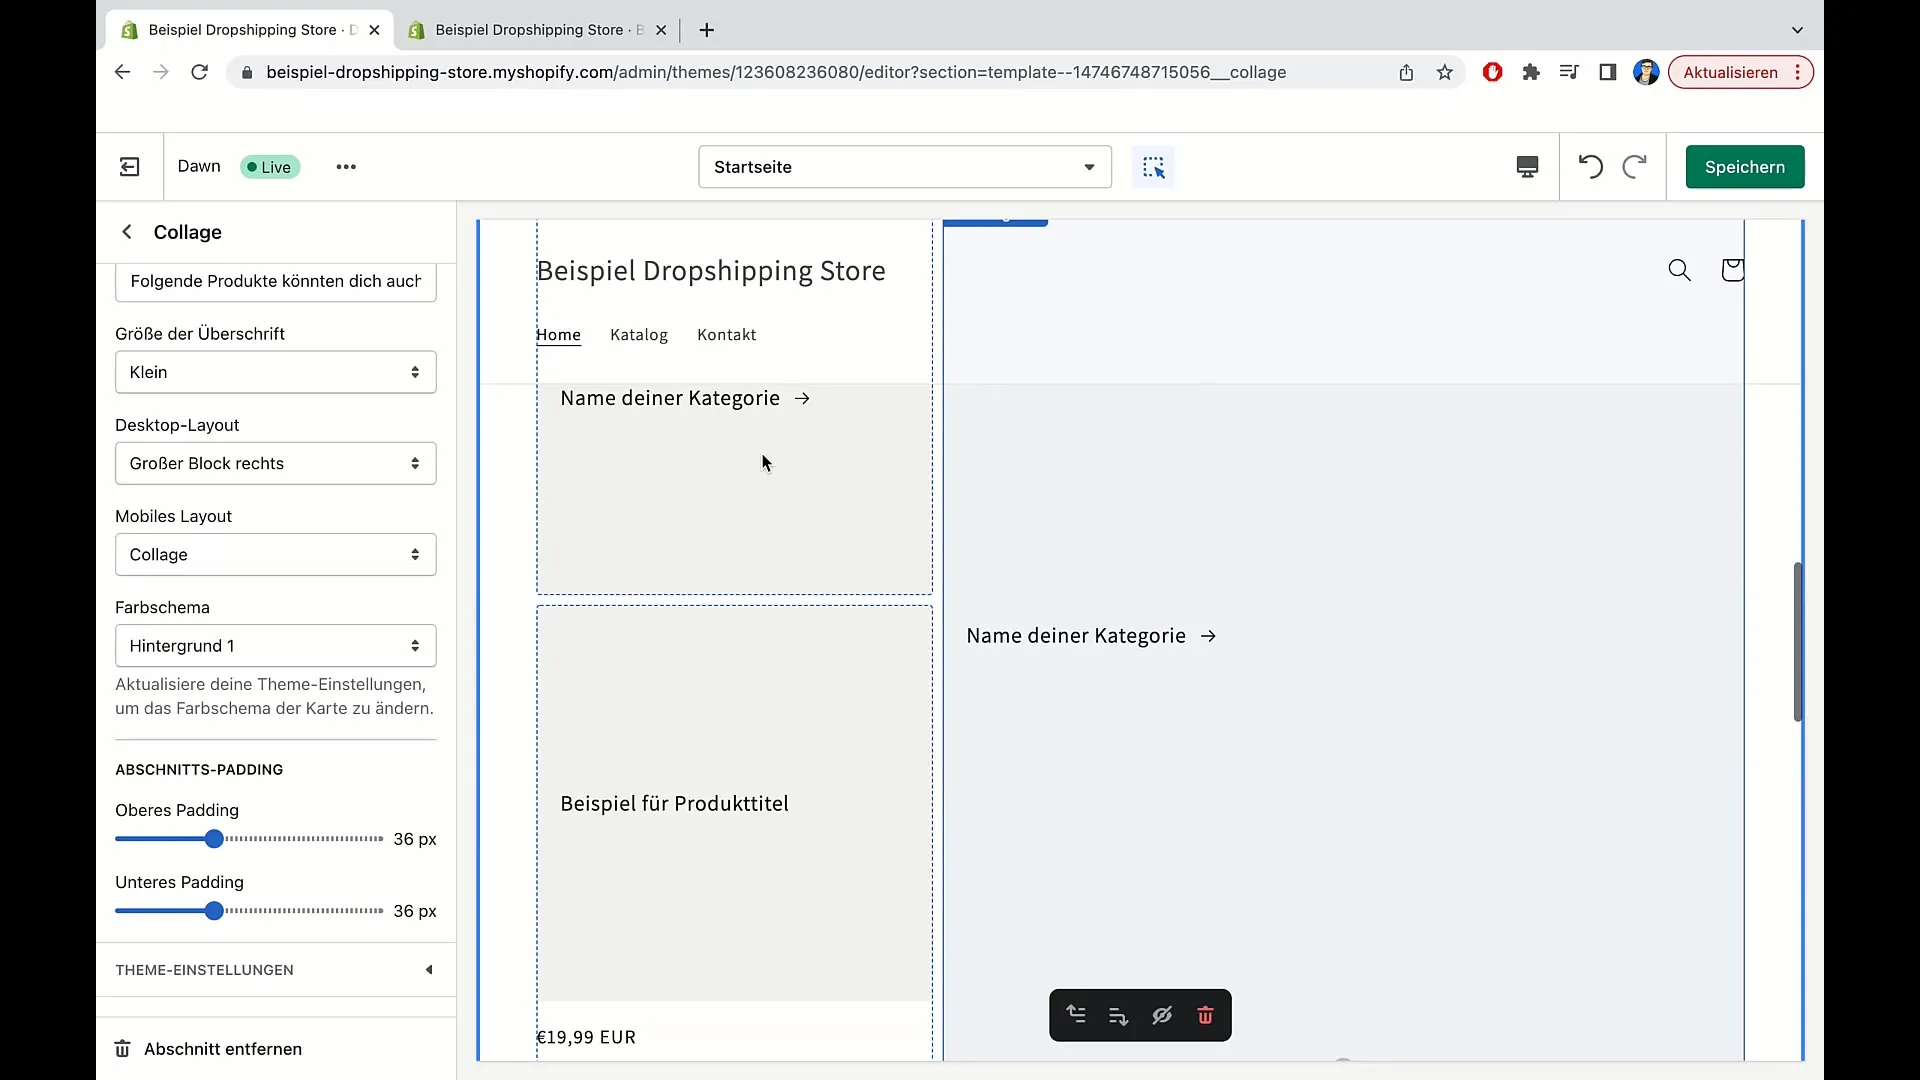
Now, go to the section padding. Here, you can adjust the spacing between the individual sections. Depending on your preference, you can increase or decrease the spacing – both at the top and bottom. Experiment with these settings to find the optimal layout.
If you are satisfied with the editing of the collage, you have successfully completed your task. I thank you for your attention, and I hope that you will also be present in the next video to discover more useful features of Shopify.
Summary
In this tutorial, you have learned how to edit collages in Shopify. You have learned how to insert products and categories, customize the view for desktop and mobile devices, and optimize the user experience. Use these features to make your online shop more appealing and increase the conversion rate.
Frequently Asked Questions
What is a multimedia collage in Shopify?A multimedia collage allows you to visually showcase various products and categories.
How can I add products to my collage?In the editing view, you can select various products and assign them to the respective categories.
Can I preview my collage in the mobile layout?Yes, Shopify offers the ability to customize the layout for both desktop and mobile devices.
What are the benefits of a collage?A collage enhances user experience by linking various products together and providing easily accessible information to the user.


