The retro photo look brings the charm of past times to your images. With warm colors, soft contrasts, and authentic grain effects, you give your photos a nostalgic and timeless aesthetic. With Photoshop, you can easily achieve this look by combining color corrections, textures, and vignettes. In this tutorial, I'll show you step by step how to create a convincing retro photo look that makes your images appear as if from an old photo album. Let's get started and transform your photos into a stylish journey into the past!
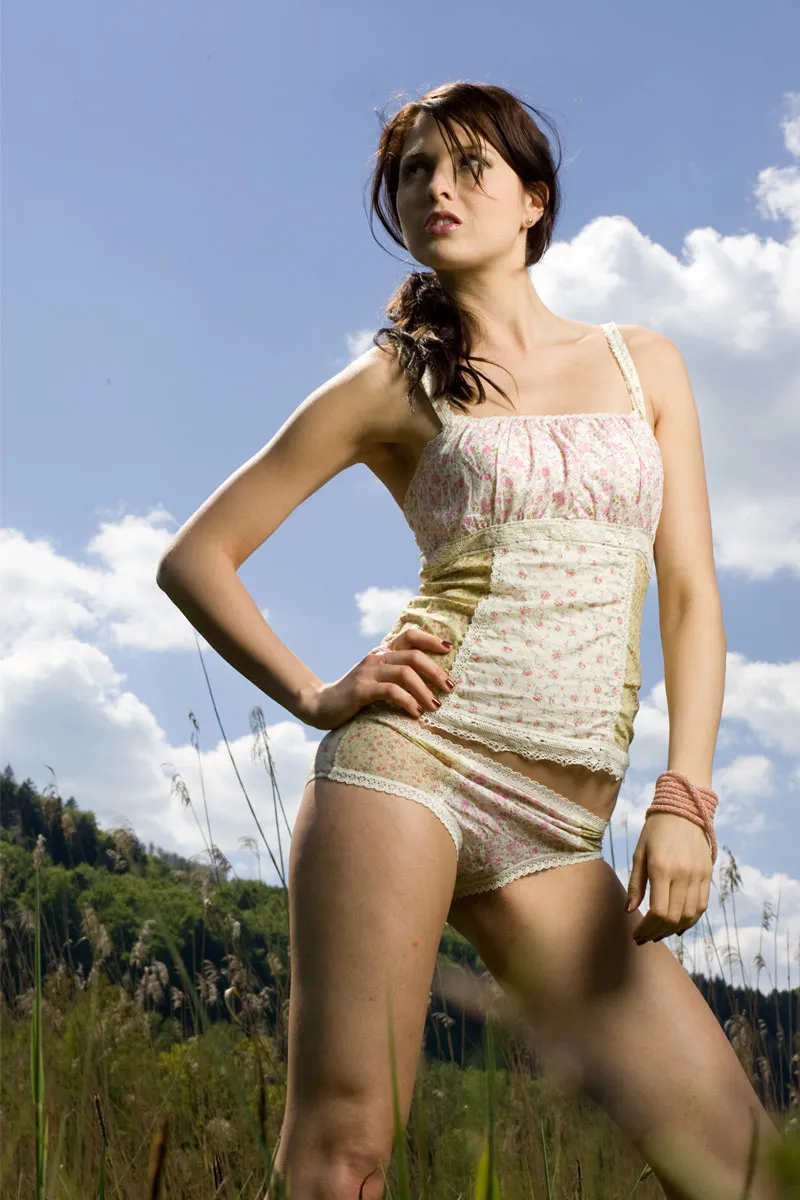
Before:
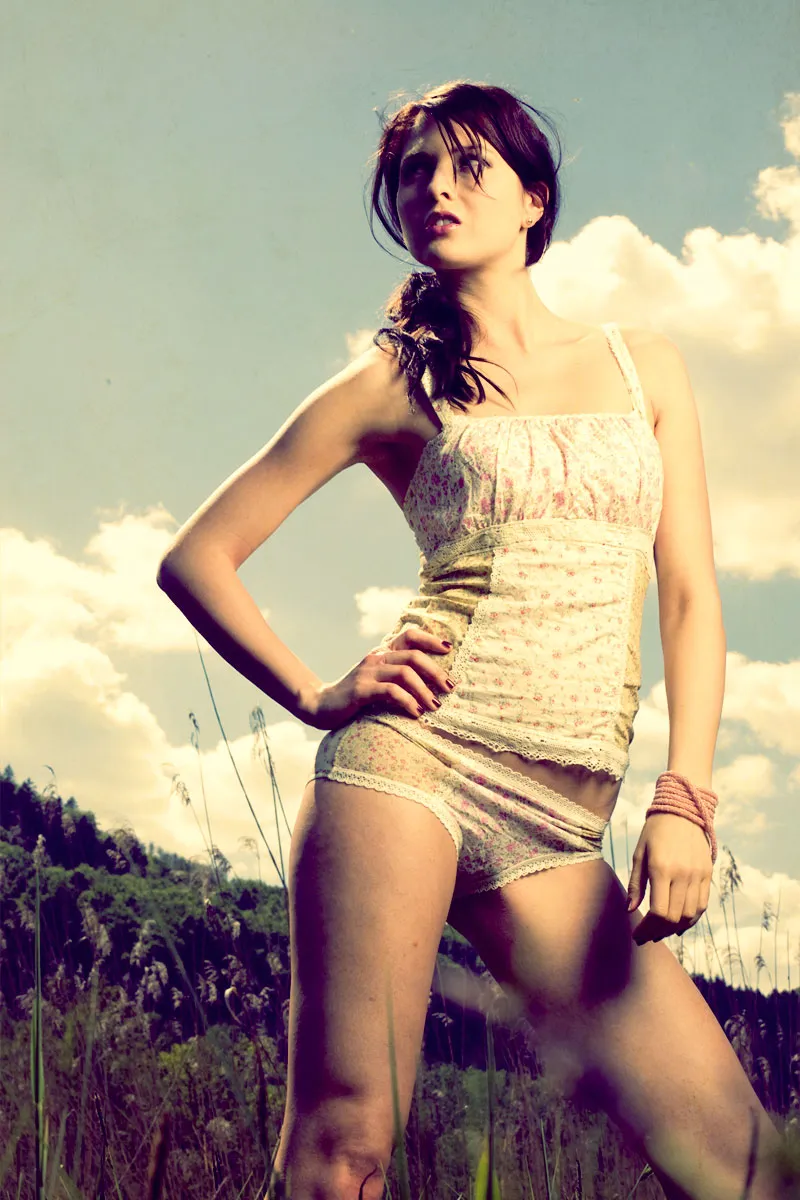
After:

Step 1
Open your photo and the texture from Fotolia: 14982837 - Amir Kaljikovic - Fotolia.com.
13631071 - Dark Edged Paper DavidMSchrader - Fotolia.com.
Now place the texture over your photo and reduce the opacity to 35% and set the blending mode to Soft Light..webp?tutkfid=57166)
Step 2
Now create a new adjustment layer of type Color Balance (Layer>New Adjustment Layer>Color Balance).
Set the following values:
• Shadows: 0 | -50 | 0.webp?tutkfid=57167)
• Midtones: -50 | 0 | 0.webp?tutkfid=57168)
• Highlights: 0 | 0 | -15.webp?tutkfid=57169)
Next, add another adjustment layer with a curves adjustment (Layer>New Adjustment Layer>Curves).
Here, adjust each channel individually; start with Red. Drag the curve of the red channel like a slight S-curve..webp?tutkfid=57170)
On the curve of the green channel, create a drag point in the middle of the line and pull it slightly upwards (Output: 140 | Input: 115)..webp?tutkfid=57171)
Finally, adjust the last channel: Blue. Adjust the point on the far left to: Output: 30 | Input: 0.
And the point on the far right: Output: 210 | Input: 255.webp?tutkfid=57172)
Step 3
Lastly, add two fill layers (Layer>New Fill Layer>Solid Color):
No. 1:
• Color: #18085b (dark blue)
• Opacity: 30%.webp?tutkfid=57173)
No. 2:
• Color: #eeb7b7 (pink)
• Opacity: 60%.webp?tutkfid=57174)
After adjusting the colors, apply a Photo Filter overall (Layer>New Adjustment Layer>Photo Filter).
Choose a yellow tone (e.g., #ffd500) and keep the Density at 30%. Reduce the Opacity to 80%..webp?tutkfid=57175)
That completes the retro photo look; depending on the photo, you may need to adjust the color values slightly.
Enjoy!


