In this guide, you will learn how to add photos to your Shopify store. Adding images is crucial to showcase your products and services in an appealing way. With Shopify, you can do this easily and without any programming knowledge.
Key Takeaways Adding and customizing images on Shopify is done through a simple drag-and-drop system. You have the option to upload images from your own library or use free images. Additionally, you can adjust the opacity of the images and experiment with different layouts.
Step-by-Step Guide
1. Customize Shopify Theme
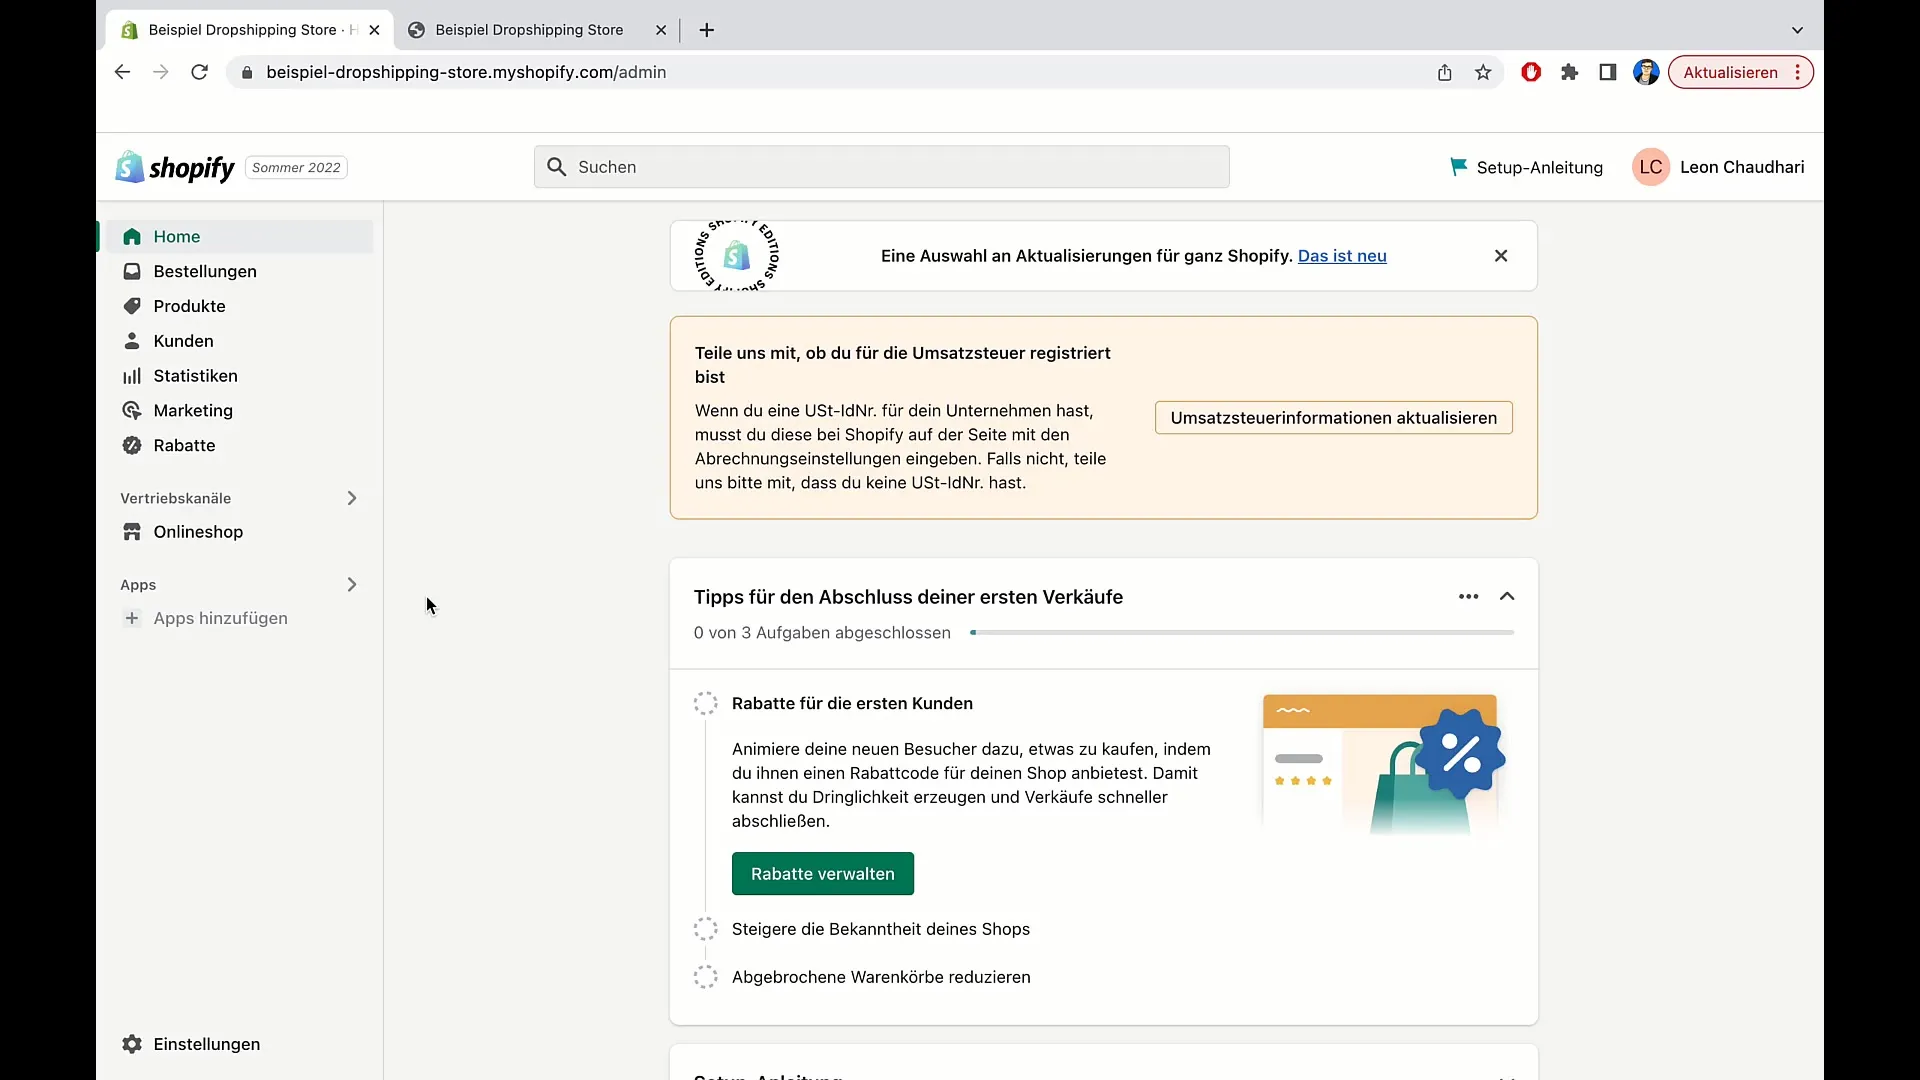
First, you should access the customization function of your Shopify theme. To do this, go to your Shopify admin area and scroll down. Click on "Customize Theme". You are now in the customization area of the current theme, usually "Dawn".
2. Identify Live Theme
In the customization area, you can see your "Live Theme". This is the currently active theme. Here you can also see information such as the name and version of the theme.

3. Add Image
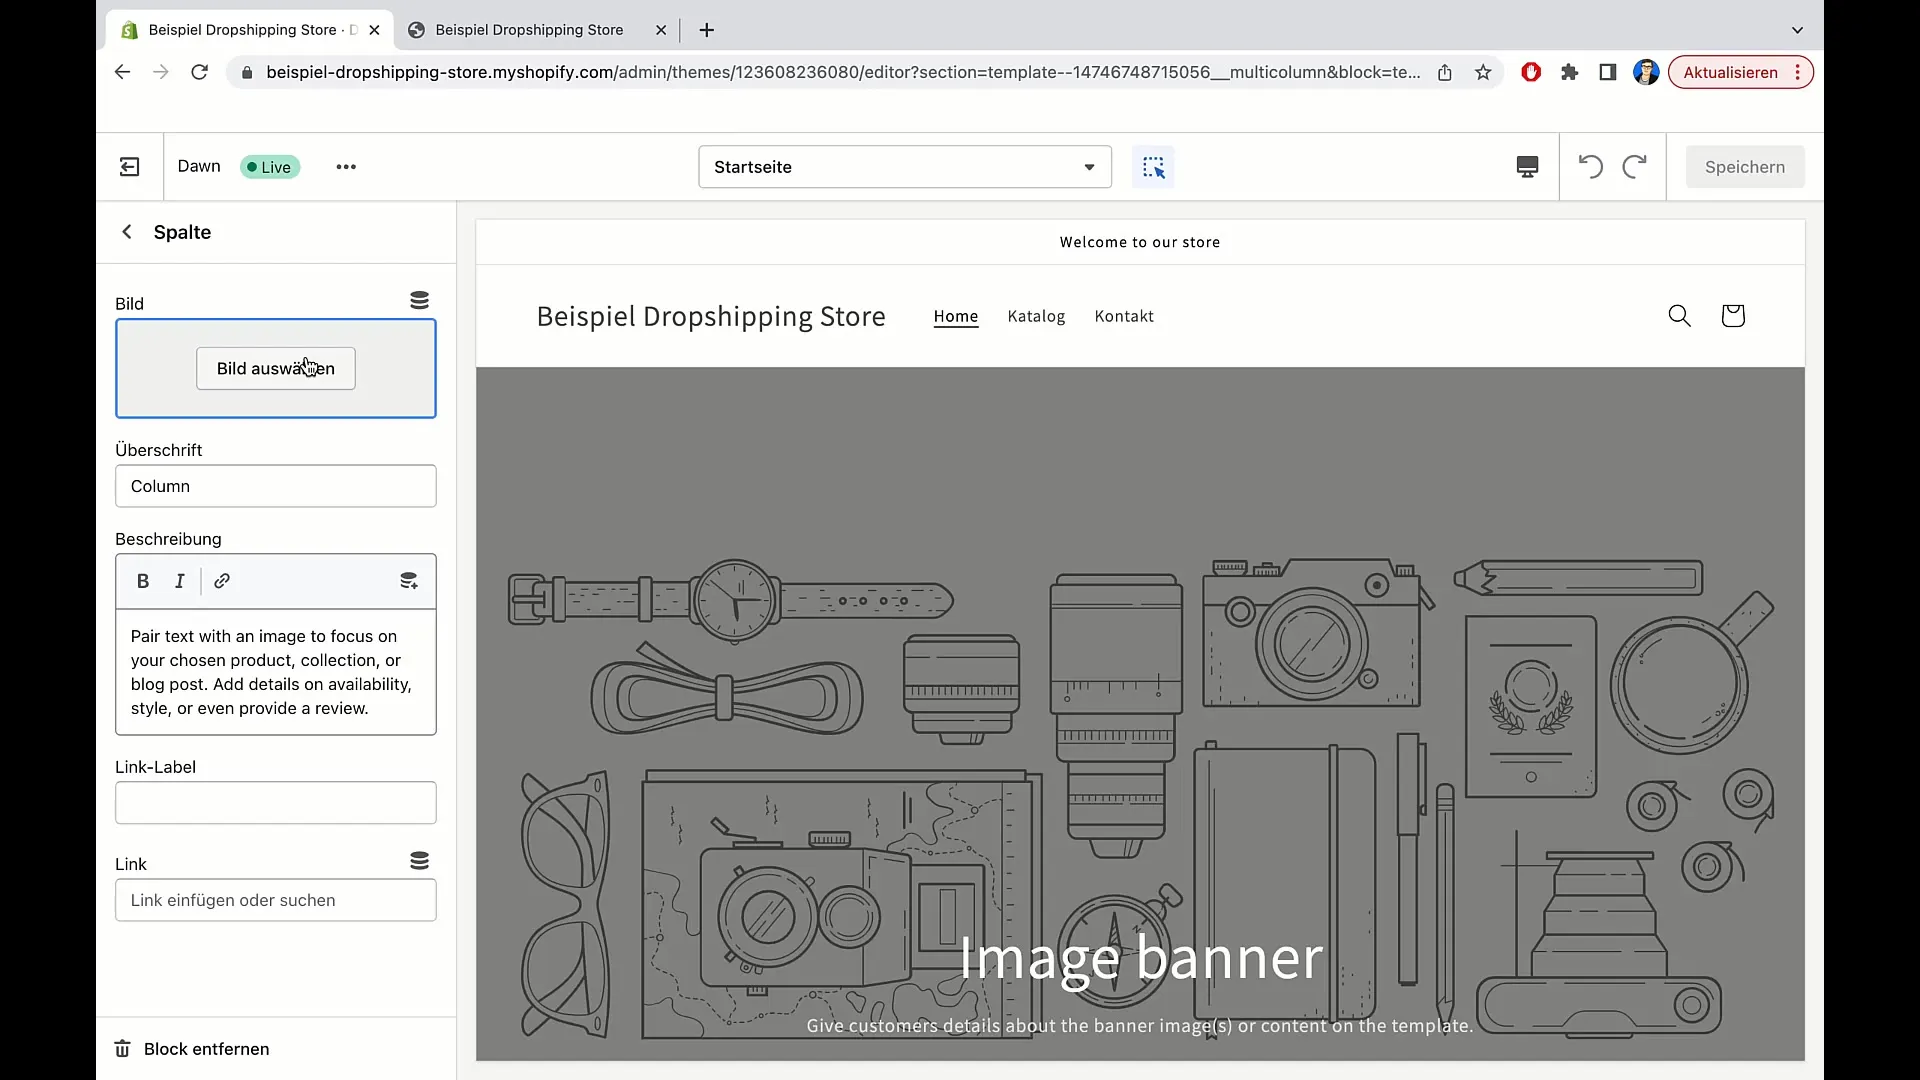
To add an image, click on the corresponding option for images in the customization area. Choose "Select Image" and decide whether you want to upload an image or use a free image.
4. Use Image Library
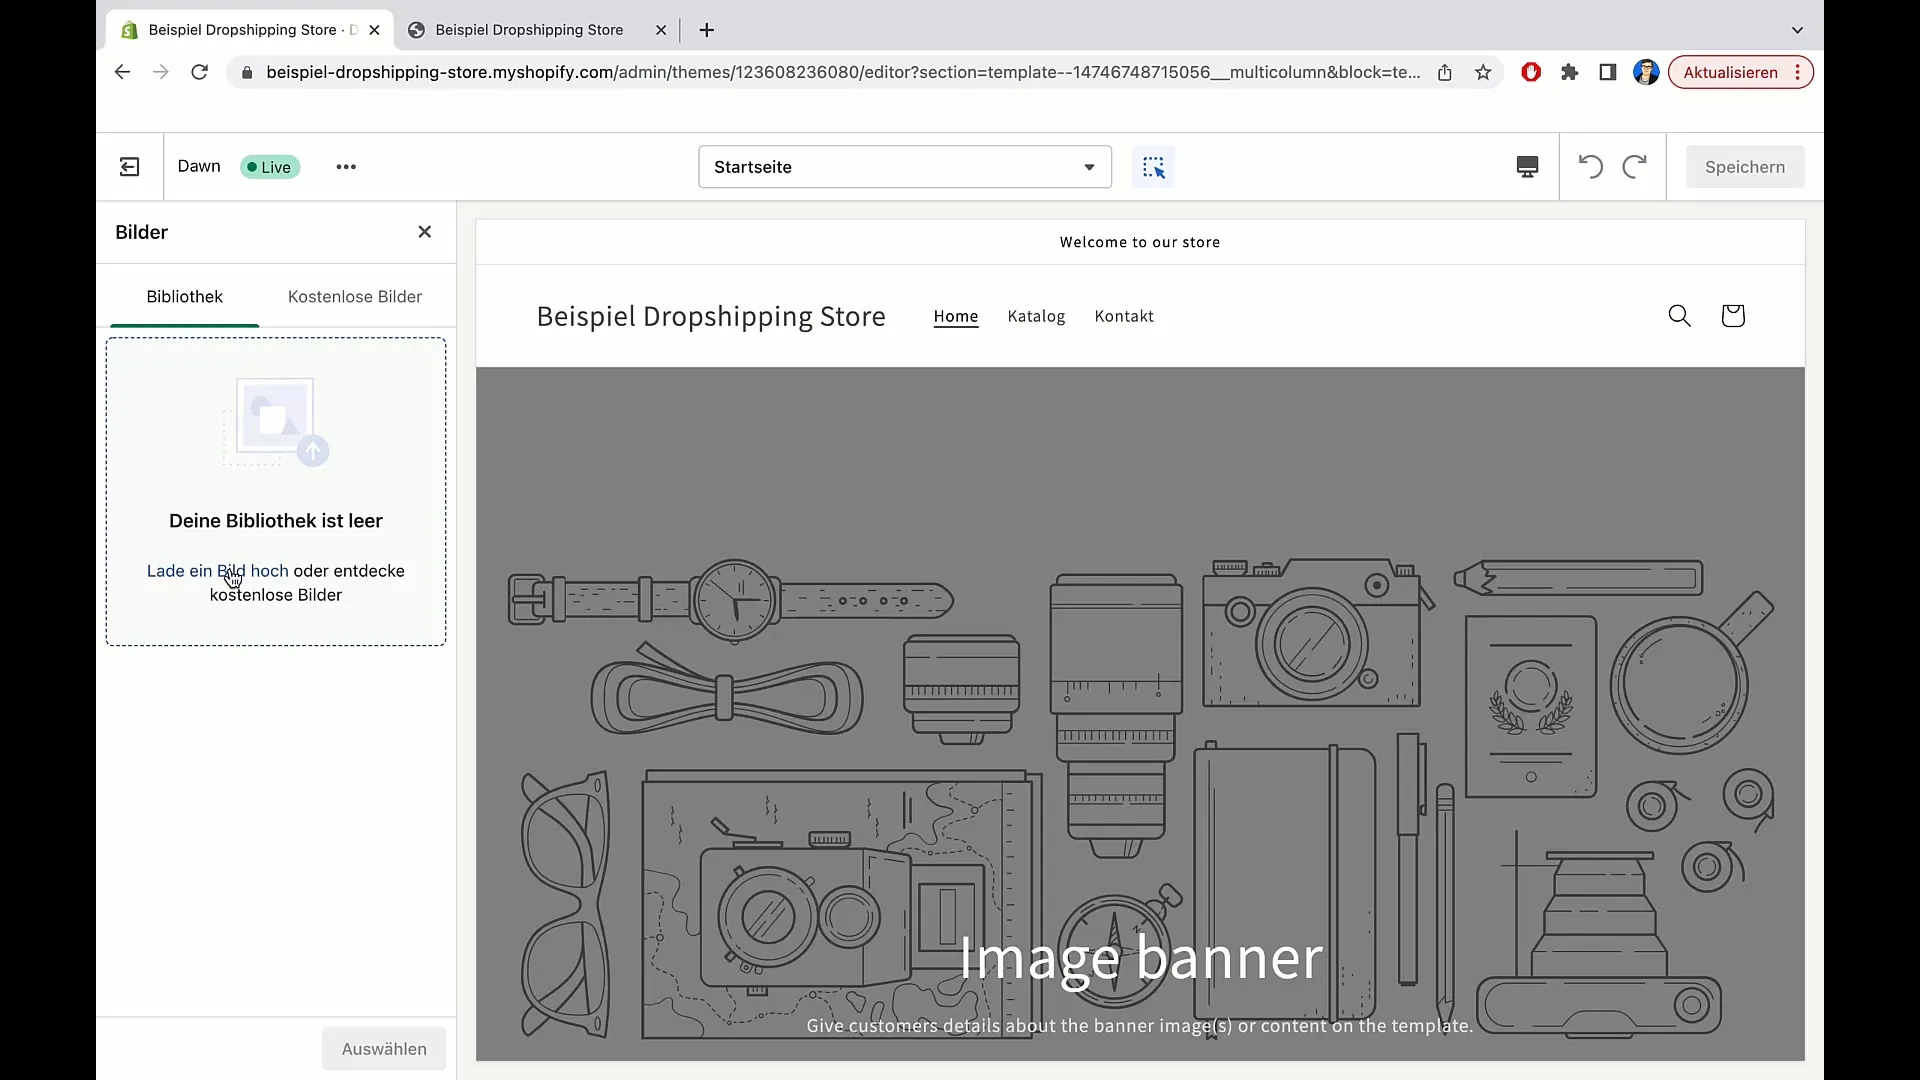
If you have already uploaded images to your library, you can select them. Otherwise, click on "Upload Image" to choose a new image from your computer.
5. Browse Free Images
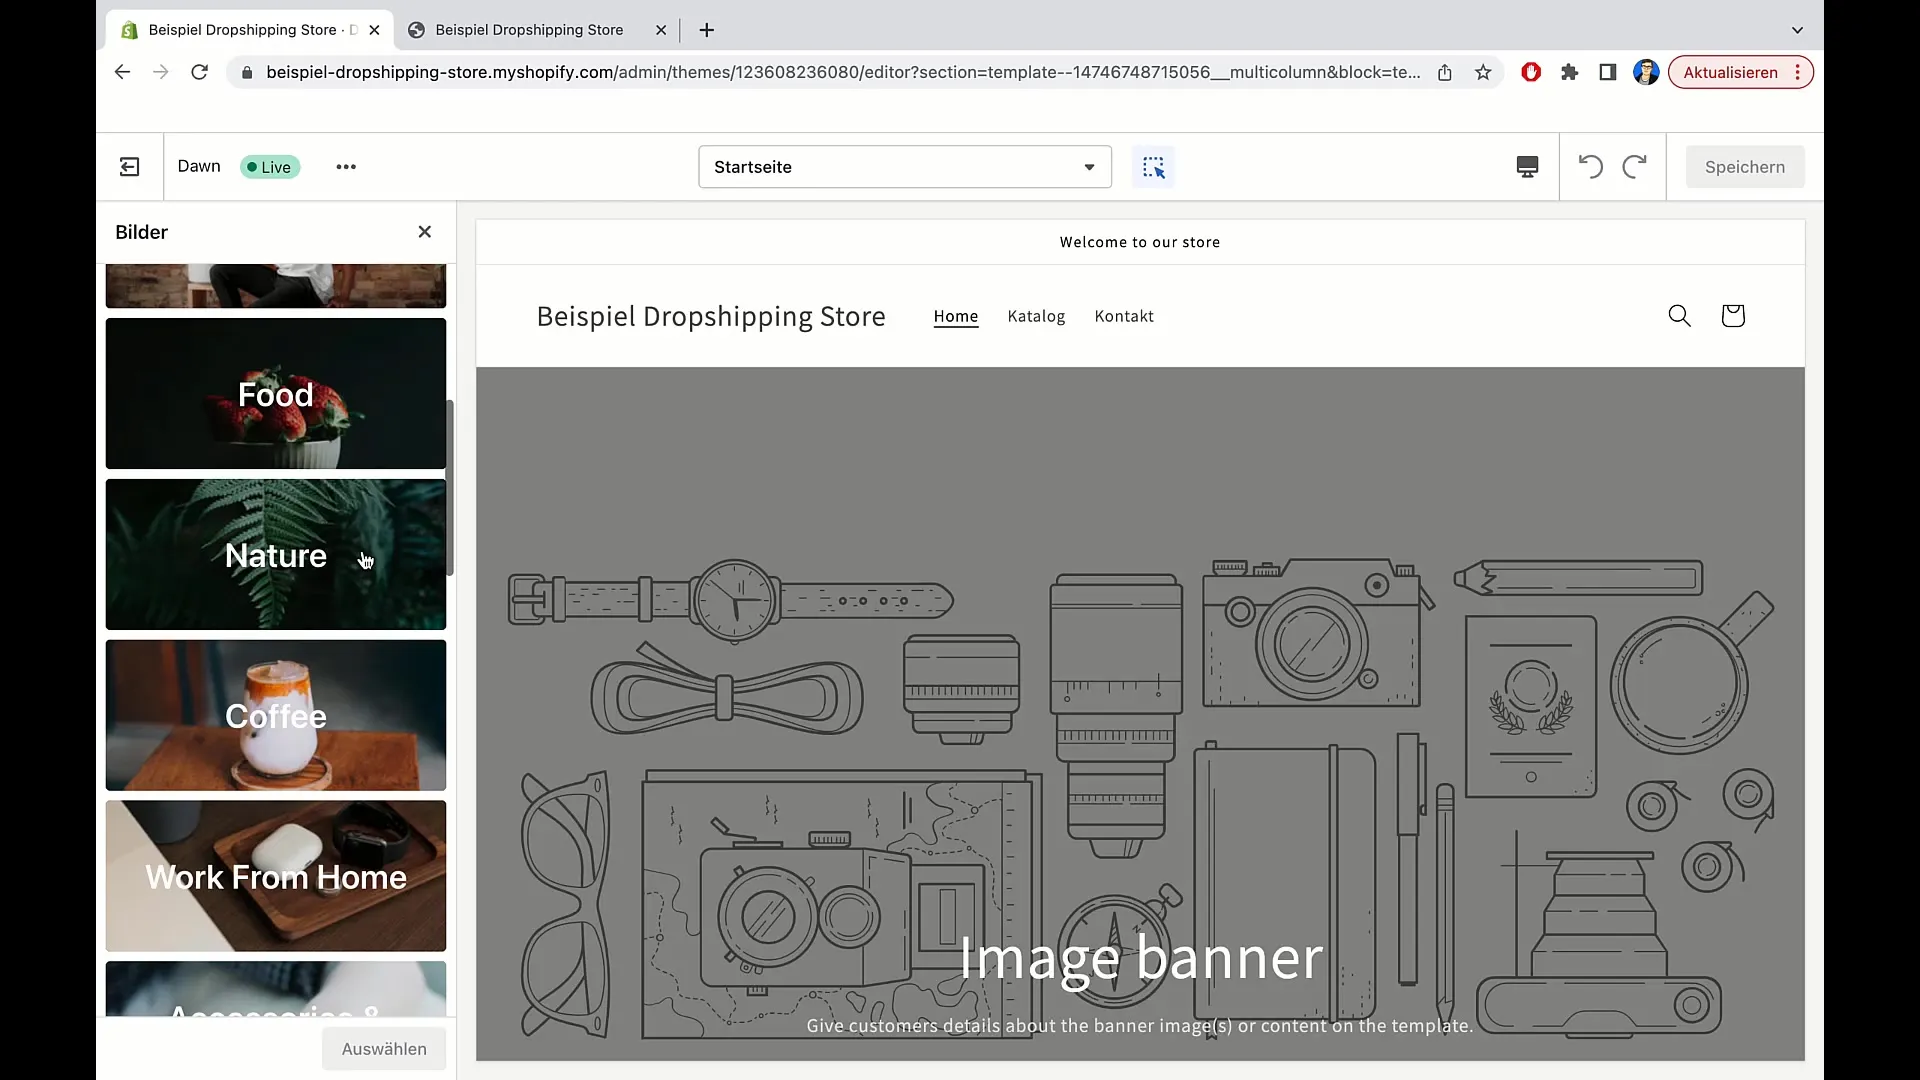
If you want to use free images from Shopify, select the "Free Images" option. You can browse through different categories, such as "Accessories and Jewelry" or "Home and Furniture," and choose the suitable images.
6. Select Photo
After selecting an image, click on "Select". This image will then be added as the main image in your shop.
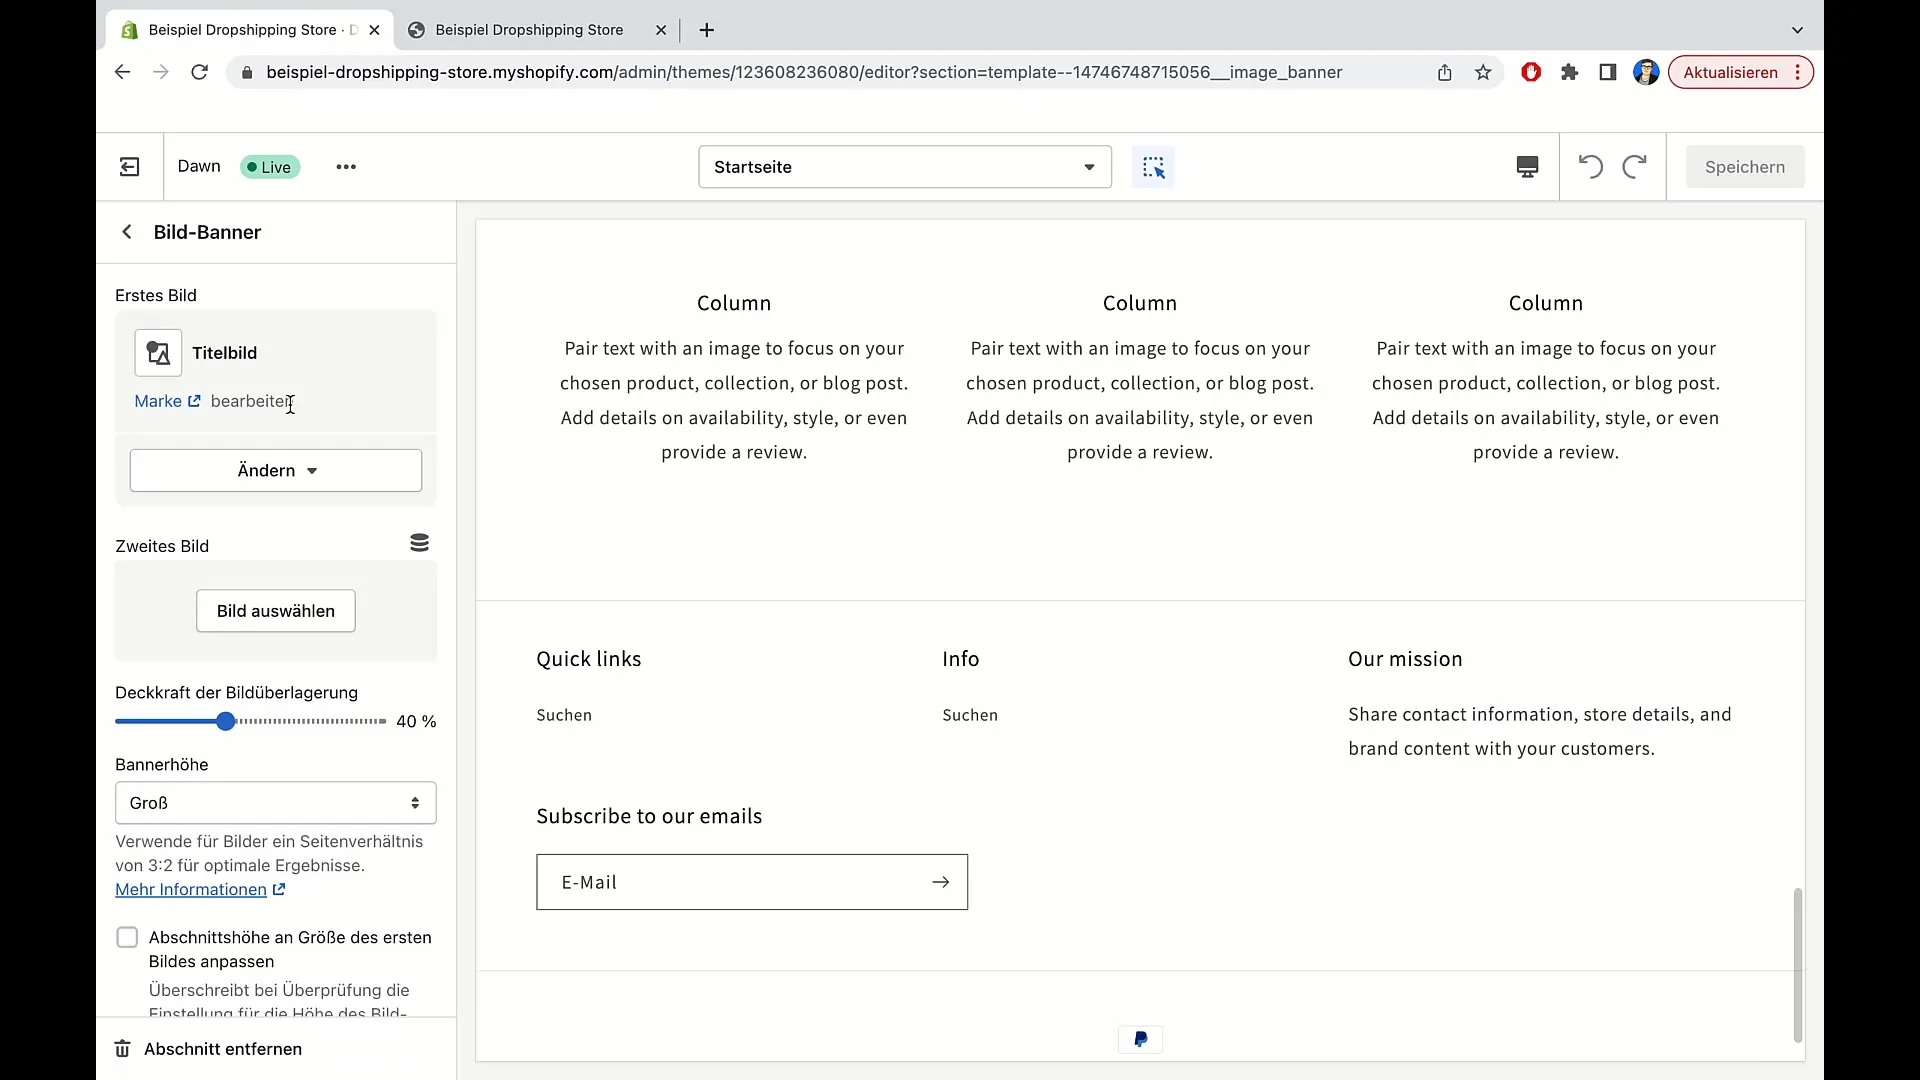
7. Make Additional Adjustments
Here, you can also adjust the image size by changing the banner size. A medium size could be most suitable for your layout.
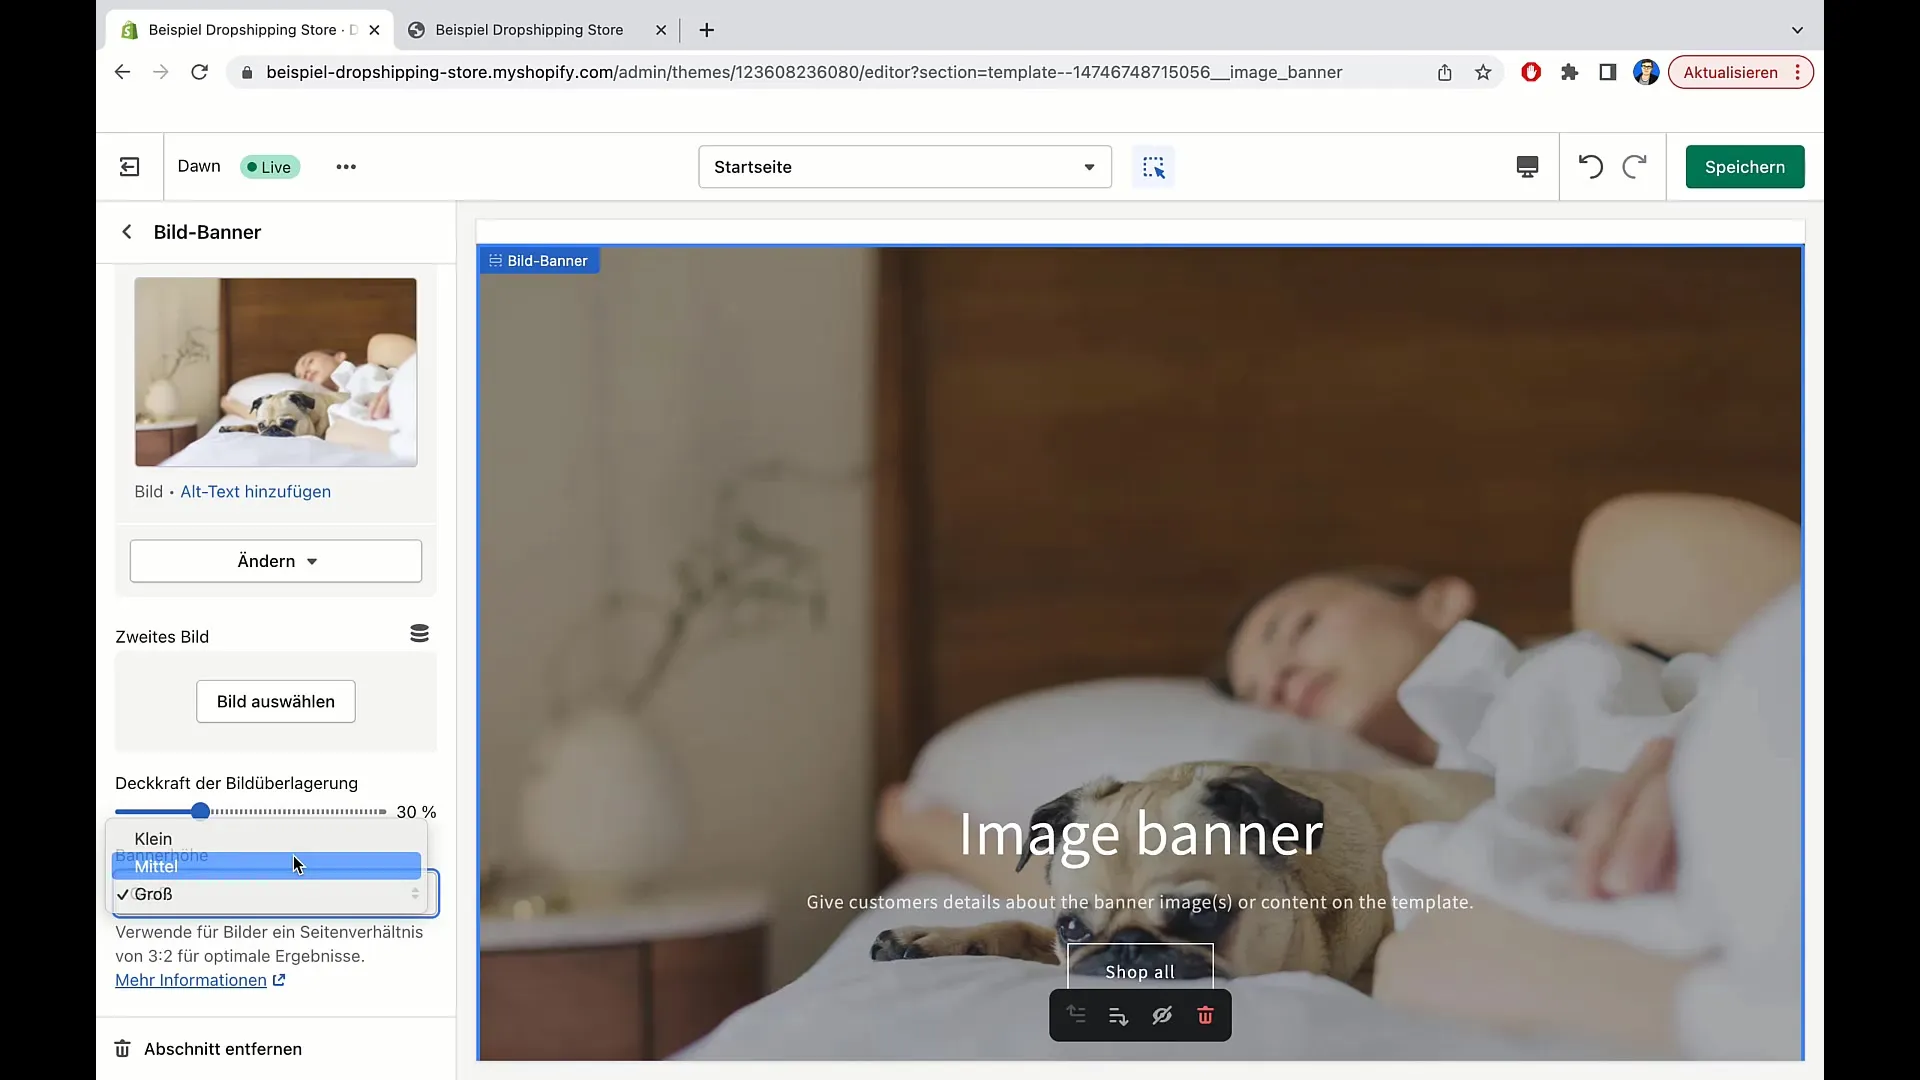
8. Change Opacity
Increase or decrease the opacity of the image to achieve the desired effect. This can help focus on the image or the background.
9. Save Changes
Don't forget to save your changes before leaving the theme. This way, you ensure that your new image remains visible in the shop.
Summary
In this guide, you have learned how to add and customize images in Shopify. You can always make changes to present your shop in the best possible way.
Frequently Asked Questions
How do I upload an image in Shopify?Go to "Customize Theme," choose "Select Image," and then click on "Upload Image."
Can I use free images in my Shopify store?Yes, you can select free images from the Shopify image library.
How can I resize an image?In the customization area, you can change the banner size to make the image larger or smaller.
How do I change the opacity of an image?You can decrease or increase the opacity in the customization area to achieve the desired effect.


